
What Is an LED? How It Works and How to Connect It to Arduino
What is an LED, how does it work and how do you tell the anode from the cathode? LED resistor calculation, LED voltages by color, RGB LEDs and wiring to Arduino.
An LED (Light Emitting Diode) is a semiconductor that emits light when current flows through it. LEDs are everywhere, from phone screens and traffic lights to car headlights and the bulbs in your home. In electronics, almost everyone's first project is lighting an LED, because it teaches digital outputs, current limiting and timing all at once.
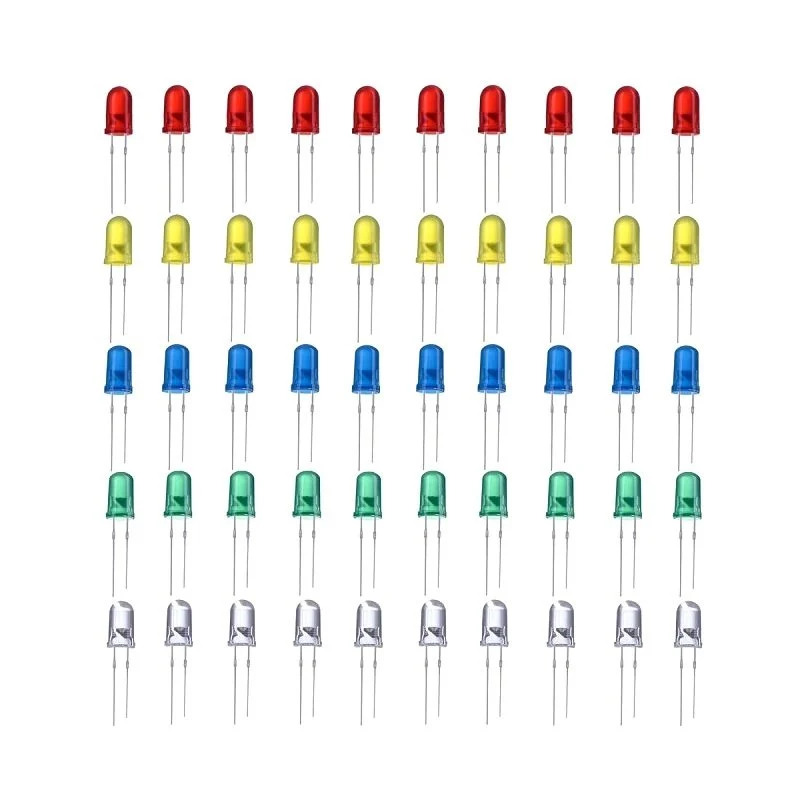
How does an LED work?
An LED is a diode: it lets current flow in only one direction. When connected the right way, electrons inside the semiconductor lose energy and emit light (photons). The color of the light depends on the semiconductor material, which is why red, green and blue LEDs run at different voltages.
How do you tell an LED's positive and negative legs apart?
- The long leg is the anode (+), the short leg is the cathode (−).
- The side with the flat edge on the LED's rim is the cathode.
- If you look inside the LED, the large flag-shaped part is usually connected to the cathode.
- An LED inserted backwards won't light but won't break either; flip it and try again.
Why shouldn't an LED be connected without a resistor?
An LED doesn't limit its own current. Just a little above its forward voltage, the current rises very fast and the LED can fail within seconds; the Arduino pin can be damaged too. That's why an LED always gets a series resistor. The resistor value is found with this formula:
R = (Supply voltage − LED voltage) / LED current
For example, with a 5 V Arduino, a red LED (about 2 V) and 15 mA: R = (5 − 2) / 0.015 = 200 Ω. The nearest standard value, 220 Ω, is used. To see this calculation and the actual current instantly, use the LED resistor calculator.
LED voltages by color
| LED color | Typical forward voltage (Vf) | Recommended resistor at 5 V (15 mA) |
|---|---|---|
| Red | 1.8–2.0 V | 220 Ω |
| Orange / Yellow | 1.9–2.1 V | 220 Ω |
| Green (classic) | 2.0–2.2 V | 200–220 Ω |
| Green (pure) | 3.0–3.2 V | 120–150 Ω |
| Blue / White | 3.0–3.3 V | 120–150 Ω |
| Infrared (IR) | 1.2–1.5 V | 240–270 Ω |
You can find typical and maximum values for every color in the LED voltage table.
Connecting an LED to Arduino
- Connect a digital pin of the Arduino (e.g. 9) to a 220 Ω resistor.
- Connect the other end of the resistor to the LED's long leg (anode).
- Connect the LED's short leg (cathode) to the Arduino's GND pin.
- In the code, make the pin an output with pinMode(9, OUTPUT) and turn it on and off with digitalWrite.
const int LED = 9;

void setup() {
  pinMode(LED, OUTPUT);
}

void loop() {
  // Yavaşça parlat / fade in (PWM, 0-255)
  for (int i = 0; i <= 255; i++) { analogWrite(LED, i); delay(4); }
  // Yavaşça söndür / fade out
  for (int i = 255; i >= 0; i--) { analogWrite(LED, i); delay(4); }
}What is an RGB LED?
An RGB LED contains three LEDs, red, green and blue, in a single package. By setting the brightness of each color separately with PWM you can get thousands of colors: red + green = yellow, green + blue = cyan, all three = white. RGB LEDs come as common cathode (common leg to GND) or common anode (common leg to 5 V); with common anode the code logic is inverted.
Addressable LEDs (WS2812B, NeoPixel)
Smart LEDs like the WS2812B each contain a tiny driver chip. This lets you control hundreds of LEDs with a single data pin and light each one in a different color. In LED strips each LED draws about 60 mA at full white, so long strips need a separate 5 V power supply.
Common mistakes
- Connecting several LEDs in parallel with one resistor: the current isn't shared equally; give each LED its own resistor.
- Drawing too much current from an Arduino pin: don't exceed 20 mA per pin or 200 mA for the whole board.
- Trying PWM on a non-PWM pin: the brightness doesn't change; the LED only turns on or off.
- Using a large resistor with blue and white LEDs on 3.3 V boards (ESP32, Pico): the LED will be very dim.
Frequently asked questions
What voltage does an LED run on?
It depends on the color: red needs about 2 V, blue and white about 3.2 V. However, you don't apply that voltage directly; you apply the supply voltage together with a resistor, which limits the current.
Should I use 220 Ω or 330 Ω for an LED?
With 5 V, both are safe for red, yellow and green LEDs. 220 Ω gives a brighter result (about 13 mA), 330 Ω a slightly dimmer one that draws less current (about 9 mA).
Can LEDs be connected in series?
Yes, as long as the total LED voltage is below the supply voltage. For example, three white LEDs (3 × 3.2 V = 9.6 V) can run from 12 V with a suitable resistor.
Why is my LED so dim?
The pinMode(pin, OUTPUT) line may be missing, the resistor may be too large, or you may be using a blue/white LED on a 3.3 V board. Use a smaller resistor and check your code.
How can I tell if an LED is broken?
Touch the LED's legs with a multimeter in diode mode; a working LED glows faintly in the right direction and the display shows its forward voltage. In the reverse direction it shows no reading.
More articles
We explain with examples how an LED works, how to identify its legs and which resistor to use so it doesn't burn out.


