
How to Connect a Push Button to Arduino: Pull-up, Pull-down and Debounce
How do you connect a push button to Arduino? The inside of a 4-leg button, pull-up and pull-down resistors, INPUT_PULLUP, debounce and an example that toggles an LED.
A button is the simplest part for bringing a user's touch into an Arduino project. Pressed, it joins two contacts; released, it separates them. Simple as it looks, wired wrongly it reads random values or counts one press several times. In this guide we cover how to connect and read a button correctly.
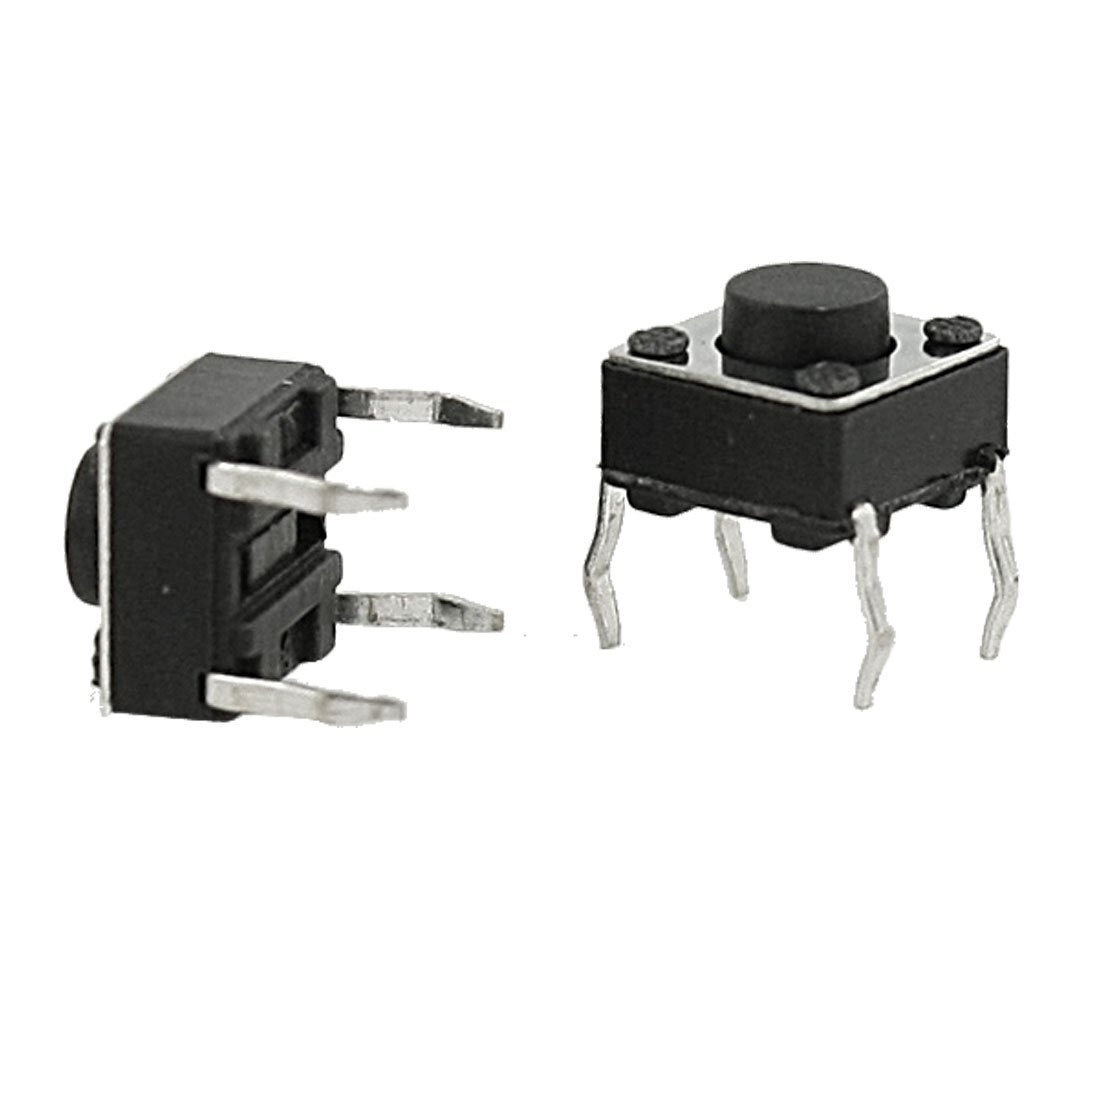
Inside a 4-leg button
The 6×6 mm tactile button you'll use most on a breadboard has 4 legs but only 2 connection points: opposite leg pairs are already connected inside. Pressing the button joins the two pairs. If you seat the button across the center channel of the breadboard, each pair lands in separate rows and the right orientation is easy.
Why do you need a pull-up or pull-down resistor?
When the button isn't pressed, the Arduino's input pin isn't connected to anything; this is called a floating input. Such a pin picks up electrical noise and reads random HIGH or LOW values. The fix is to pull the pin to a fixed level through a resistor:
| Method | Wiring | Not pressed | Pressed |
|---|---|---|---|
| Pull-down | 10 kΩ pin → GND, button pin → 5V | LOW | HIGH |
| Pull-up (external) | 10 kΩ pin → 5V, button pin → GND | HIGH | LOW |
| INPUT_PULLUP (internal) | Button pin → GND, no resistor needed | HIGH | LOW |
The most practical way is pinMode(pin, INPUT_PULLUP): the Arduino's internal resistor of about 20–50 kΩ is enabled and you just connect the button between the pin and GND. The only difference is that the logic is inverted: a press reads LOW.
Debounce: why does one press count several times?
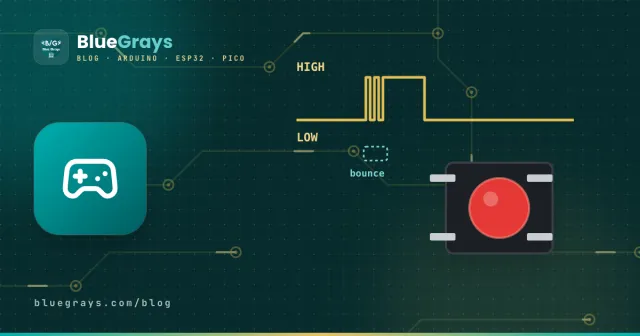
The moment the button's metal contacts touch, they vibrate for a few milliseconds and the circuit opens and closes many times. Because the Arduino reads so fast, it can see one press as 3–5 presses. This is called contact bounce. To fix it in software, new changes are ignored for about 50 ms after the last change.
const int BUTTON_PIN = 2;   // buton pin ile GND arasında / button between pin and GND
const int LED_PIN = 13;     // karttaki LED / onboard LED

bool ledOn = false;
int lastReading = HIGH;
int stableState = HIGH;
unsigned long lastChange = 0;

void setup() {
  pinMode(BUTTON_PIN, INPUT_PULLUP); // dahili pull-up / internal pull-up
  pinMode(LED_PIN, OUTPUT);
}

void loop() {
  int reading = digitalRead(BUTTON_PIN);
  if (reading != lastReading) lastChange = millis();   // değişti / changed
  if (millis() - lastChange > 50 && reading != stableState) {
    stableState = reading;                              // 50 ms kararlı / stable for 50 ms
    if (stableState == LOW) {                           // basıldı / pressed
      ledOn = !ledOn;                                   // LED'i değiştir / toggle LED
      digitalWrite(LED_PIN, ledOn ? HIGH : LOW);
    }
  }
  lastReading = reading;
}
This code toggles the LED once per press; holding the button doesn't keep toggling it. Because it uses millis() instead of delay(), the loop never waits and can do other jobs at the same time.
Common mistakes
- Inserting the button the wrong way: if you use an already-connected pair of legs, the button always reads as pressed. Turn it 90°.
- Not using a resistor: without a pull-up or pull-down the reading changes randomly.
- Expecting the wrong logic with INPUT_PULLUP: a press reads LOW, not HIGH; write your conditions accordingly.
- Using a long delay() for debounce: the program can't do anything during that time; timing with millis() is better.
- Using pins 34–39 on an ESP32: these pins have no internal pull-up; add an external resistor or pick another pin.
To place the button and resistor correctly on a breadboard, see What Is a Breadboard?, and to understand pull-up resistor values, What Is a Resistor?.
Frequently asked questions
What resistor do I need for a button?
10 kΩ is standard for a pull-up or pull-down. With INPUT_PULLUP you don't need an external resistor at all.
Why does the button read LOW when pressed?
With INPUT_PULLUP or an external pull-up, the pin is normally HIGH; the button connects it to GND, so it reads LOW when pressed. That's the expected behavior.
How long should the debounce time be?
20–50 ms is enough for most buttons. Old or low-quality buttons may need 80–100 ms.
How do I read several buttons?
Connect each button to its own pin and set them all to INPUT_PULLUP. For many buttons, use a keypad or read them on a single analog pin with different resistors.
Projects to build after reading this
See all projects
Led Burning with Push Button (Push)
Push control project that turns on the LED when the button is pressed and turns it off when it is released. Teaches button reading and conditional expression usage with digitalRead.

Led Burning with Button (On Off)
A toggle project that changes the state of the LED (on/off) with each button press. Teaches state variable and debounce logic.

Simple Piano with Buzzer and Button
Simple piano project with 8 buttons and buzzer to play notes from C to high C. Teaches how to simulate a musical instrument by assigning different frequencies to each button.

7 Segment Display and Counter with Button
Counter project that increases, decreases and resets the number on the 7 segment display with 3 buttons. Teaches boundary control and user interactive counter logic.

ESP32 LED Control with Push Button (Push)
The LED lights up when the button is pressed and turns off when released. Shows how the ESP32's digital input pin and internal pull-up resistor are used. The INPUT_PULLUP mode eliminates the need for an external resistor.

ESP32 LED Control with Pushbutton (Toggle)
Each time the button is pressed the state of the LED changes: if it is on it turns off, if it is off it turns on. Classic toggle pattern. With debounce we clean up the mechanical noise of the pushbutton to ensure a single toggle with a single press.

Raspberry Pi Pico Button Toggle LED (GP14 + GP2)
Button + LED — next level! 🔁 Unlike #155, no need to hold the button. Press and release → LED on. Press and release again → LED off (toggle). Same circuit as #155 (LED GP14, Button GP2), but big code difference. Learn **edge detection** (capturing the 1→0 falling moment), **state tracking**, **debounce** (mechanical bounce filter). MicroPython's `led.toggle()` swaps state in one line. Foundation of all interactive button projects (mode switcher, IRQ, double-click).

Raspberry Pi Pico Button Debounce: IRQ vs Software Polling (GP5 + GP4)
Press a button once, code counts 3-4? That is **contact bounce** — metal contacts oscillate for microseconds! 🔁 Compare 2 counting methods side-by-side in Serial: **RAW polling** (catches bounce, over-counts) vs **IRQ + software debounce** (accurate). Learn contact bounce physics, software debounce (`ticks_diff() > 50ms`), **Pin.irq()** interrupt registration, **IRQ_FALLING** trigger, ISR handlers, `global` + ISR safety. LED toggles via IRQ (visual feedback). Serial shows both counters per press
More articles
Learn why a button reads unreliably on its own, what a pull-up resistor does, how to use INPUT_PULLUP and how debounce makes presses count correctly.