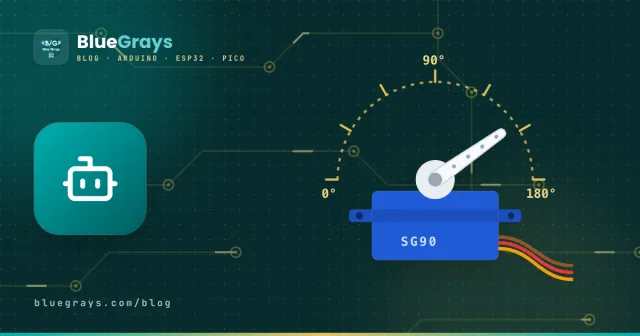
A servo motor is a small motor whose shaft turns to a set angle and stays there. A regular DC motor keeps spinning; a servo goes exactly to 90 degrees when you ask for 90 degrees and holds the load there. Robot arms, pan-tilt camera mounts, automatic door locks and the control surfaces of model planes are all moved by servos.
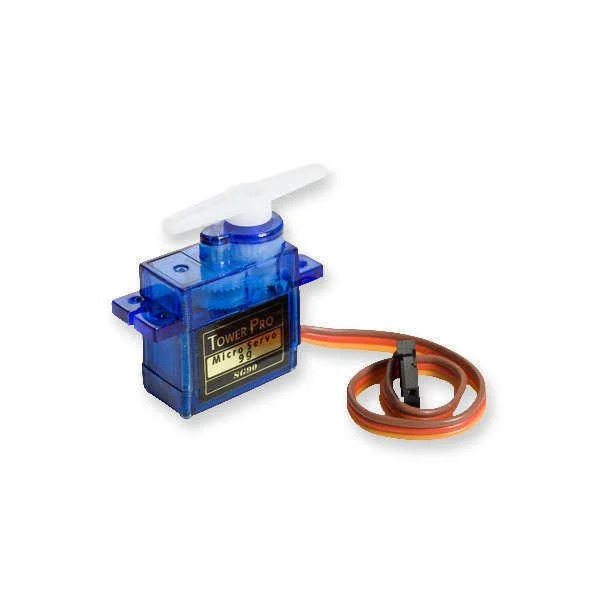
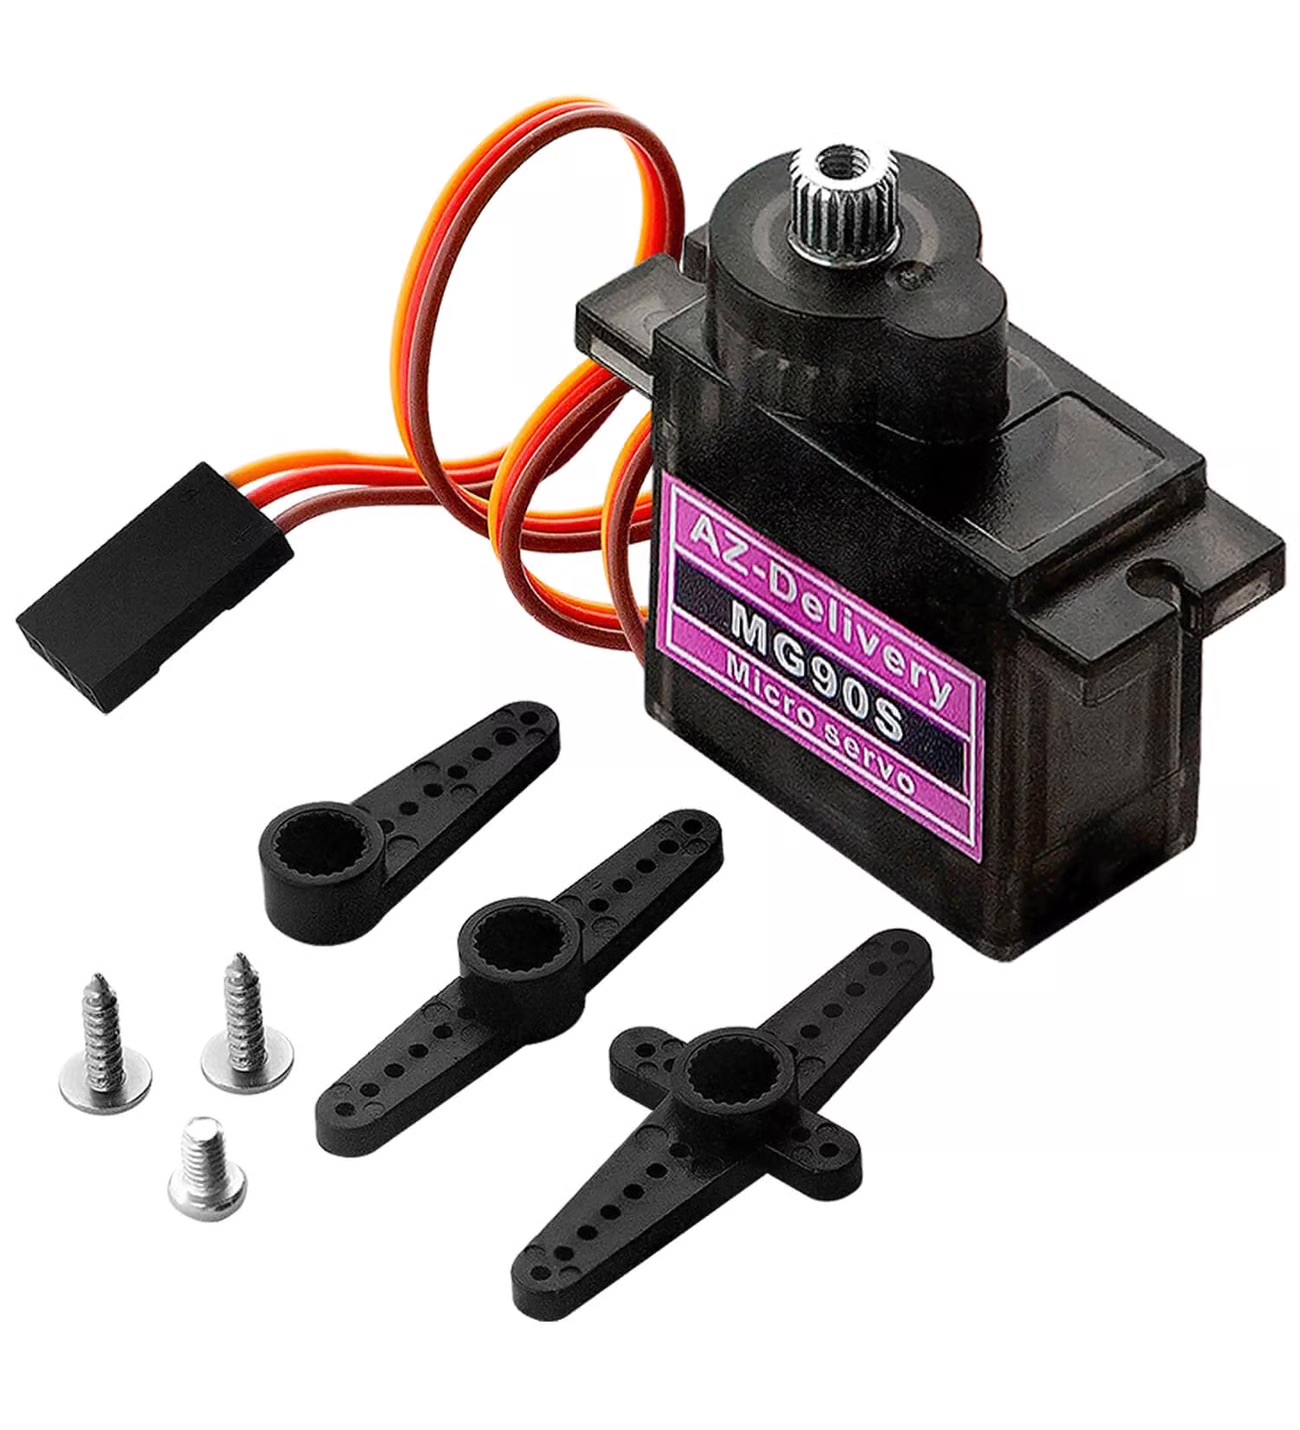
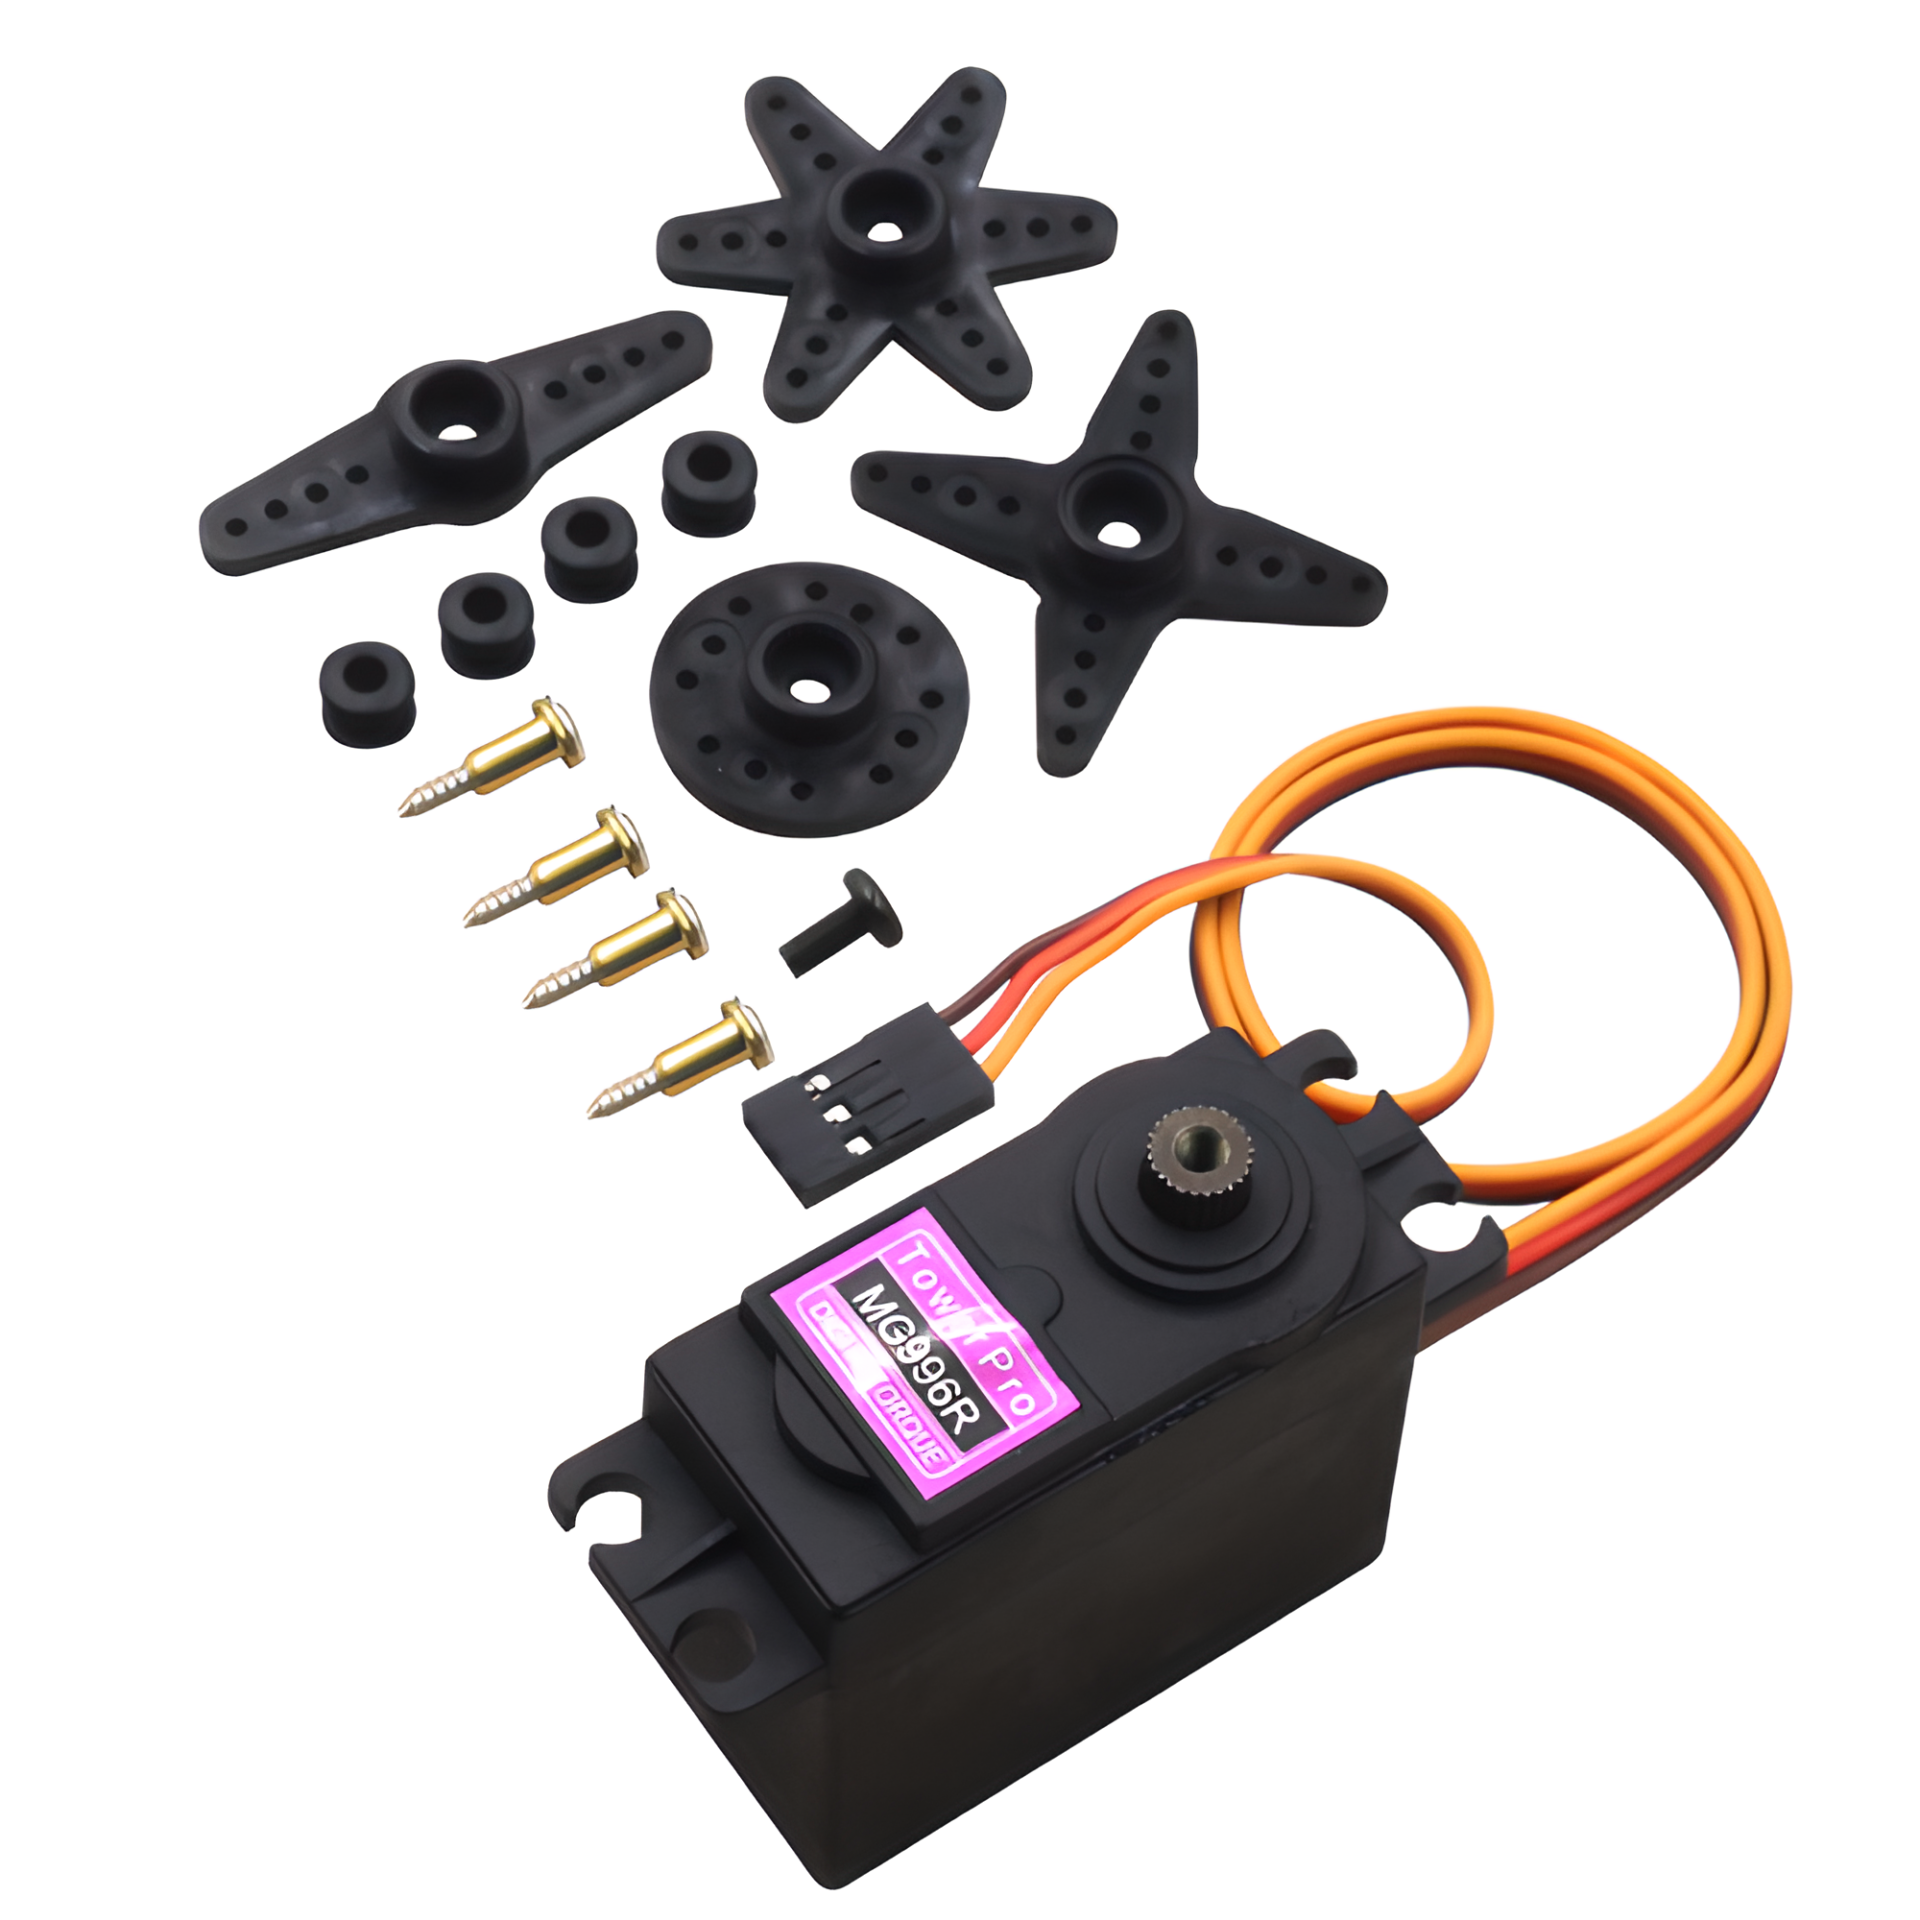
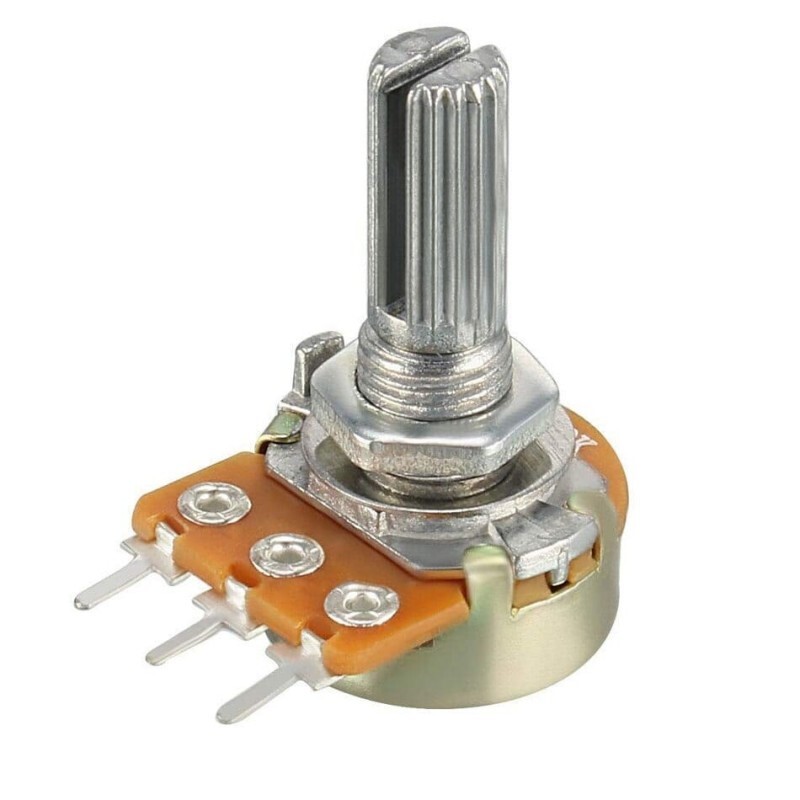
Inside a servo there are four parts: a small DC motor, a gearbox that lowers the speed and raises the torque, a potentiometer that measures the shaft position, and a control circuit that manages them. The control circuit constantly compares the requested angle with the angle read by the potentiometer and turns the motor until the difference is zero. Thanks to this closed loop, the servo holds its position even under load.
The angle is sent to the servo as a PWM signal: a pulse arrives every 20 ms (50 Hz) and the pulse width sets the angle. About 1 ms means 0°, 1.5 ms means 90° and 2 ms means 180°. Most servos accept a 0.5–2.5 ms range; the exact values vary a little between models.
Learn how a servo moves to a set angle, what its wires are for, how to control it with Arduino and why it often needs a separate power supply.
What is a servo motor, how does it work and how do you connect it to Arduino? SG90 vs MG90S vs MG996R, the Servo library, powering servos and common mistakes.
| Wire color | Function | Where it goes on the Arduino |
|---|
| Brown / black | GND (ground) | GND |
| Red | Power (+4.8–6 V) | 5V or an external 5–6 V supply |
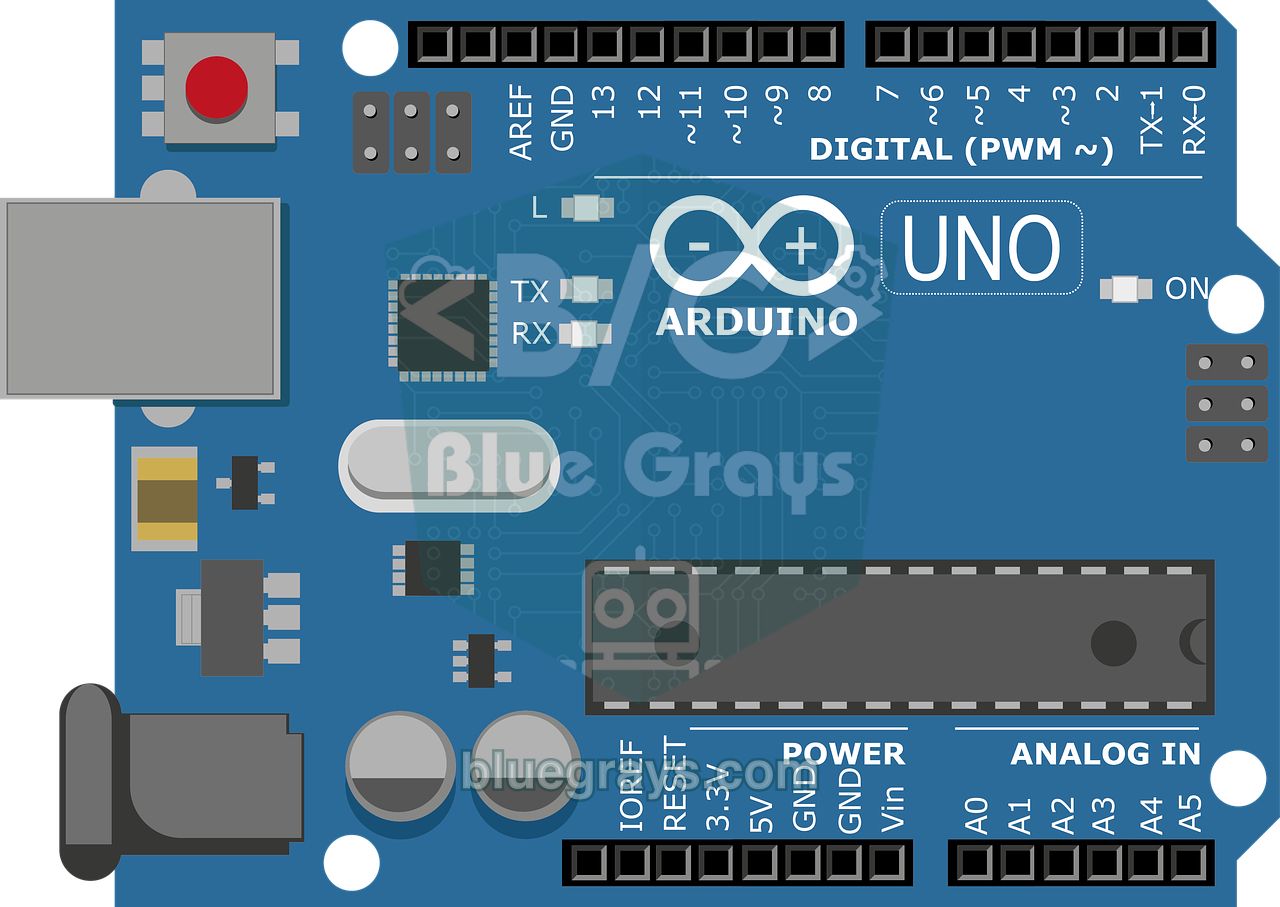
| Orange / yellow / white | Signal (PWM) | Any digital pin (e.g. 9) |
| Model | Torque (approx.) | Gears | Good for |
|---|---|---|---|
| SG90 | 1.8 kg·cm | Plastic | Light jobs, first experiments, pan-tilt |
| MG90S | 2.2 kg·cm | Metal | Same size as the SG90, more durable |
| MG996R | 9–11 kg·cm | Metal | Robot arms, heavy lids and mechanisms |
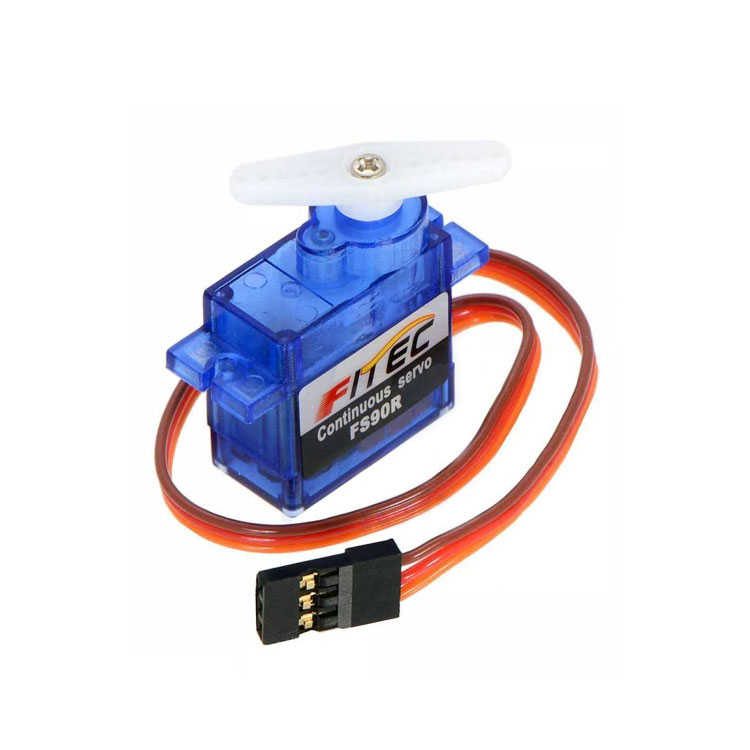
| FS90R | 1.5 kg·cm | Plastic | Continuous rotation: small wheeled robots |
#include <Servo.h>

Servo servo;                       // servo nesnesi / servo object
const int POT_PIN = A0;            // potansiyometre / potentiometer

void setup() {
  servo.attach(9);                 // sinyal 9. pinde / signal on pin 9
}

void loop() {
  int value = analogRead(POT_PIN);         // 0–1023 oku / read 0–1023
  int angle = map(value, 0, 1023, 0, 180); // açıya çevir / convert to angle
  servo.write(angle);                      // servoyu döndür / move the servo
  delay(15);                               // servo yetişsin / let the servo settle
}
servo.write(angle) takes an angle from 0 to 180. For finer control, use servo.writeMicroseconds(1500) to set the pulse width directly in microseconds. You can see which of your board's pins are PWM and digital in the pinout tool.
To see what you can build with servos, check out the robot and motor projects on BlueGrays. If you're new to Arduino, read What Is Arduino? first, and What Is a Breadboard? to build the circuit on a board.
Standard servos turn about 180°; some models are 90° or 270°. Continuous rotation servos turn without limit but don't hold an angle.
You can power a single SG90 with a light load for testing. For several servos, strong models like the MG996R or projects under load, use an external 5–6 V supply and join the grounds.
The Servo library supports up to 12 servos on the Arduino Uno and 48 on the Mega. For many servos, 16-channel I2C driver boards like the PCA9685 are more practical.
The most common causes are insufficient power, a missing common ground and long signal wires. Use a strong supply, add a capacitor to the servo's power and keep the wires short.
A servo uses feedback to go to a specific angle and stay there, and it's usually limited to 180°. A stepper turns step by step without limit; it needs a driver board for precise positioning and doesn't measure its own position.