
Arduino LED Candle Flicker: Realistic Flame and Advent Wreath
Make an Arduino LED candle flicker like a real flame with PWM and smoothed randomness: a 4-candle Advent wreath, flicker settings, Nano battery life and Pico.

In this Arduino LED candle project you make an ordinary LED flicker like a real candle flame using PWM and controlled randomness. The result is a candle that burns safely on the table, the windowsill or in a child's room, with no fire, soot or risk of tipping over. Most ready-made LED candles repeat a single flicker pattern; when you write your own code, you decide exactly how calm or lively the flame is, the range it glows and dims in, and how often it bends in a "draught".
In this guide you'll first find the logic behind the flicker effect and a short single-candle sketch, then a table showing how each parameter changes the flame. Next you'll build a four-candle Advent wreath: each press of the button lights one more candle, the choice is stored in EEPROM, and the circuit puts itself to sleep after 6 hours. Finally, there's fitting it into a small box with an Arduino Nano, a battery life calculation and a MicroPython version for the Raspberry Pi Pico.
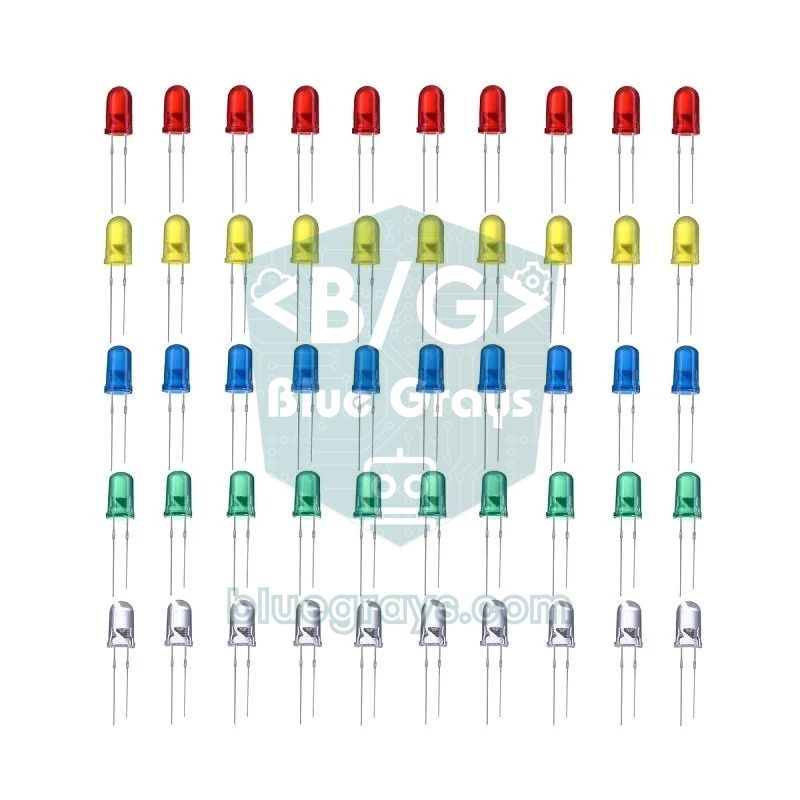
How does an LED candle effect work?
Arduino pins can only output 0 V or 5 V; to light an LED at half brightness, the pin is switched on and off hundreds of times a second. This is called PWM (pulse width modulation). The 0–255 value in analogWrite(pin, value) sets how much of each period the pin stays on: 64 means about 25 percent and 191 about 75 percent brightness. On the Uno and Nano the PWM frequency is about 980 Hz on pins 5 and 6 and about 490 Hz on pins 3, 9, 10 and 11; the eye can't see this speed and perceives the LED as steady but dimmed. The details are in the what is PWM guide.
The secret of a realistic flame is to smooth the randomness. If you write analogWrite(pin, random(0, 256)) every 20 milliseconds, the LED twitches like a broken fluorescent tube, because a real flame never jumps from zero to full brightness in an instant. A better method is to pick a random target brightness and move the current brightness a little closer to it on every step: level = level + (target − level) / 4. The target changes now and then and the level flows smoothly towards it. Add occasional deep dips, the flame bending in a draught, and the eye accepts it as a real candle.
Parts and choosing the LEDs
| LED colour | Forward voltage (approx.) | Resistor (Uno, 5 V) | Resistor (Pico, 3.3 V) | Candle look |
|---|---|---|---|---|
| Yellow | 2.0–2.1 V | 220 Ω (~13 mA) | 220 Ω (~6 mA) | Very good, classic candle colour |
| Orange / amber | 2.0–2.1 V | 220 Ω (~13 mA) | 220 Ω (~6 mA) | The warmest, most realistic tone |
| Warm white | 3.0–3.2 V | 150 Ω (~12 mA) | Not recommended (too dim) | Bright, like a modern LED candle |
| Red | 1.8–2.0 V | 220 Ω (~14 mA) | 220 Ω (~6 mA) | Too dark on its own; good together with yellow |
- Arduino Uno or Nano: The Uno for testing on the desk, the Nano for fitting into a box. Both boards share the same pins and code.
- 4 yellow or orange LEDs and the resistor from the table for each. You can find resistors for other LEDs with the LED resistor calculator.
- 1 push button: To change the number of candles and switch off. The internal pull-up is used, so no extra resistor is needed.
- Breadboard and jumper wires, plus perfboard and solder for a permanent wreath.
- Power: A USB adapter, a power bank or a battery holder. We'll choose the battery with the calculation below.
- Candle body: A piece of white PVC pipe, a hollowed-out old candle or a frosted glass; anything that diffuses the LED's light will do.
One candle: a first flicker sketch
1const byte LED_PIN = 9;          // PWM pini, 220 ohm ile LED / PWM pin, LED through 220 ohm
2
3int level = 180;                 // şu anki parlaklık / current brightness
4int target = 180;                // hedef parlaklık / target brightness
5
6void setup() {
7  pinMode(LED_PIN, OUTPUT);
8  randomSeed(analogRead(A0));    // her açılışta farklı titreme / different flicker on every start
9}
10
11void loop() {
12  if (random(100) < 8) {                 // %8 ihtimalle yeni hedef / 8% chance of a new target
13    target = random(90, 256);
14    if (random(100) < 5) target = 40;    // nadir esinti: alev eğilir / rare gust: the flame dips
15  }
16  level += (target - level) / 4;         // hedefe yumuşak yaklaş / ease toward the target
17  analogWrite(LED_PIN, level);
18  delay(random(15, 40));                 // düzensiz adım / irregular step
19}
Connect the LED through a 220 Ω resistor to pin 9, its short leg to GND, and upload the sketch. On every loop there's an 8 percent chance of a new target between 90 and 255; with a 5 percent chance the target is pulled down to 40 for a deep dip. The level += (target − level) / 4 line adds a quarter of the difference for a smooth transition, and the random 15–40 ms pause makes the pattern even more irregular. The randomSeed(analogRead(A0)) line uses the noise on the floating A0 pin to start a different random sequence on every power-up; without it the candle flickers the same way each time.
Flicker parameters table
| Parameter | Default | If you lower it | If you raise it |
|---|---|---|---|
| FLAME_MIN | 90 | The flame flickers deeper and looks about to go out | The flame calms down and burns almost steadily |
| FLAME_MAX | 255 | The candle gets dimmer, like a night light | 255 is the upper limit; for more brightness you need more LED current |
| CHANGE_CHANCE | 8 (%) | A still flame in a draught-free room | Fast, nervous flicker that gets tiring after a while |
| GUST_CHANCE | 3 (%) | Almost no draughts | A flame that bends often, like an open window |
| SMOOTH | 4 | 1–2: sudden jumps, like a faulty bulb | 8 and above: slow, wave-like brightness swings |
| STEP_MS | 25 ms | A faster, livelier flame | At 50 ms and above it looks like slow motion |
Four-candle Advent wreath: wiring
An Advent wreath is a tradition, especially loved in Germany, Austria and Switzerland, in which one more candle is lit on each of the four Sundays before Christmas. In 2026 the Advent Sundays are 29 November, 6 December, 13 December and 20 December. In our wreath four LEDs stand for the four candles; a short press of the button adds one lit candle (0, 1, 2, 3, 4 and back to 0) and a long press switches the circuit off. Each candle has its own flicker state, so the four flames look independent and natural.
| Connection | Arduino Uno / Nano | Raspberry Pi Pico |
|---|---|---|
| Candle 1 (resistor to the LED's long leg) | D3 | GP14 |
| Candle 2 | D5 | GP15 |
| Candle 3 | D6 | GP16 |
| Candle 4 | D9 | GP17 |
| Short legs of the LEDs | GND | GND |
| Button (other leg to GND) | D2 | GP2 |
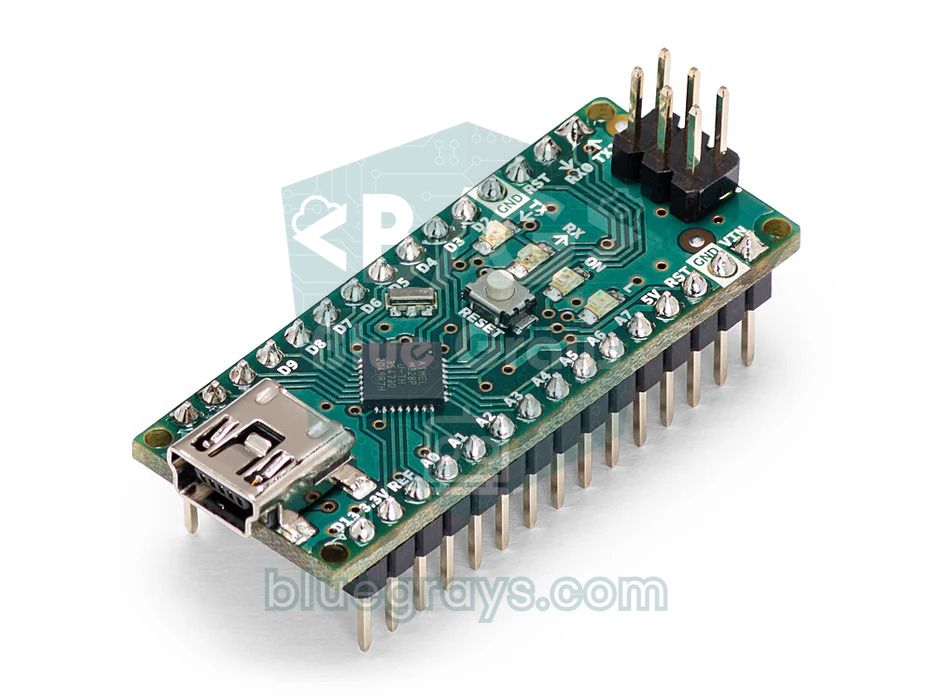
Advent wreath code: one more candle every Sunday
The sketch runs on millis() instead of delay(), so the flicker never stops while it listens to the button and counts the timer. This approach is explained in the millis vs delay guide. Every 25 ms the state of the four candles is updated, and unlit candles keep a PWM value of zero. The number of candles you choose is written to EEPROM address 0; even if you unplug and replug, the wreath comes back with the same number of candles.
1#include <EEPROM.h>
2#include <avr/sleep.h>
3
4const byte CANDLES = 4;
5const byte CANDLE_PINS[CANDLES] = {3, 5, 6, 9};   // PWM pinleri / PWM pins
6const byte BUTTON_PIN = 2;                        // buton -> GND, INT0 / button -> GND, INT0
7
8// Titreme ayarları / flicker settings
9const int FLAME_MIN = 90;          // en kısık alev / dimmest flame
10const int FLAME_MAX = 255;         // en parlak alev / brightest flame
11const byte CHANGE_CHANCE = 8;      // her adımda yeni hedef olasılığı (%) / chance of a new target per step (%)
12const byte GUST_CHANCE = 3;        // esinti olasılığı (%) / chance of a gust (%)
13const byte SMOOTH = 4;             // büyüdükçe alev yavaşlar / higher = calmer flame
14const unsigned long STEP_MS = 25;  // adım süresi / step time
15const unsigned long ON_TIME = 6UL * 60 * 60 * 1000;   // 6 saat sonra uyku / sleep after 6 hours
16
17int level[CANDLES];
18int target[CANDLES];
19byte litCount = 1;                 // yanan mum sayısı (0-4) / number of lit candles (0-4)
20unsigned long onSince = 0;
21unsigned long lastStep = 0;
22
23void wakeUp() {}                   // yalnız uyandırmak için / only used to wake the chip
24
25void goToSleep() {
26  for (byte i = 0; i < CANDLES; i++) analogWrite(CANDLE_PINS[i], 0);
27  while (digitalRead(BUTTON_PIN) == LOW) {}        // butonun bırakılmasını bekle / wait for release
28  delay(50);
29  set_sleep_mode(SLEEP_MODE_PWR_DOWN);
30  sleep_enable();
31  noInterrupts();
32  attachInterrupt(digitalPinToInterrupt(BUTTON_PIN), wakeUp, LOW);
33  interrupts();
34  sleep_cpu();                                     // burada uyur / sleeps here
35  sleep_disable();                                 // butona basınca buradan devam / resumes here on press
36  detachInterrupt(digitalPinToInterrupt(BUTTON_PIN));
37  while (digitalRead(BUTTON_PIN) == LOW) {}        // uyandıran basış sayılmasın / ignore the wake-up press
38  delay(50);
39  onSince = millis();
40}
41
42void flicker() {
43  for (byte i = 0; i < CANDLES; i++) {
44    if (i >= litCount) {                           // bu mum henüz yakılmadı / not lit yet
45      analogWrite(CANDLE_PINS[i], 0);
46      continue;
47    }
48    if (random(100) < CHANGE_CHANCE) {
49      target[i] = random(FLAME_MIN, FLAME_MAX + 1);
50      if (random(100) < GUST_CHANCE) target[i] = FLAME_MIN / 2;   // alev eğilir / the flame bends
51    }
52    level[i] += (target[i] - level[i]) / SMOOTH;
53    analogWrite(CANDLE_PINS[i], level[i]);
54  }
55}
56
57void setup() {
58  pinMode(BUTTON_PIN, INPUT_PULLUP);
59  for (byte i = 0; i < CANDLES; i++) {
60    pinMode(CANDLE_PINS[i], OUTPUT);
61    level[i] = target[i] = 200;
62  }
63  randomSeed(analogRead(A0));
64  litCount = EEPROM.read(0);                       // son seçimi hatırla / remember the last choice
65  if (litCount > CANDLES) litCount = 1;            // boş EEPROM 255 okur / empty EEPROM reads 255
66  onSince = millis();
67}
68
69void loop() {
70  if (digitalRead(BUTTON_PIN) == LOW) {
71    unsigned long pressStart = millis();
72    while (digitalRead(BUTTON_PIN) == LOW) {
73      if (millis() - pressStart > 1500) {          // uzun basış: kapat / long press: switch off
74        goToSleep();
75        return;
76      }
77    }
78    if (millis() - pressStart > 50) {              // kısa basış: bir mum daha / short press: one more candle
79      litCount = (litCount + 1) % (CANDLES + 1);
80      EEPROM.update(0, litCount);
81      onSince = millis();
82    }
83  }
84
85  if (millis() - onSince > ON_TIME) goToSleep();   // zamanlayıcı / auto-off timer
86
87  if (millis() - lastStep >= STEP_MS) {
88    lastStep = millis();
89    flicker();
90  }
91}| Code | What it does |
|---|---|
| level[i], target[i] | Each candle's own brightness and target; the four flames flicker independently |
| i >= litCount | Turns off candles whose turn hasn't come yet; for the 2nd Sunday litCount = 2 |
| EEPROM.update(0, litCount) | Doesn't write if the value hasn't changed, protecting the EEPROM cell's life |
| if litCount > CANDLES then 1 | Never-written EEPROM reads 255; on the very first start it begins with one candle |
| ON_TIME | After 6 hours turns the candles off and goes to sleep; a wreath forgotten overnight doesn't drain the battery |
| goToSleep() | Stops the processor with SLEEP_MODE_PWR_DOWN; pressing the button wakes the board via the INT0 interrupt |
In sleep mode the ATmega328P's clock stops and the processor drops to microamps. To wake it, a LOW-level interrupt is attached to pin 2; in power-down mode only a level interrupt can wake the processor, so CHANGE or FALLING won't work here. After waking, the code waits for the button to be released so that the waking press doesn't also count as adding a candle. millis() also stops during sleep, which is why the timer is reset on wake-up.
Small size with a Nano and battery life calculation
You find how long a battery lasts with run time (hours) = usable capacity (mAh) / average current (mA). Let's calculate the wreath's current: a flickering LED draws on average about 70 percent of its peak current, so about 8–9 mA for a 12 mA LED. Four candles come to about 35 mA; add the 15–20 mA a clone Nano uses itself and the total is about 50 mA. A 6-hour evening uses 300 mAh. During sleep the processor draws almost nothing, but because of the power LED, the USB chip and the regulator on the board, most Nano clones still use a few mA (typically around 5 mA); 18 hours of sleep adds about 90 mAh. You can try different scenarios with the battery life calculator.
| Power source | Usable capacity | 6-hour evenings (≈50 mA) | Note |
|---|---|---|---|
| 3 × AA alkaline (≈4.5 V, to the 5V pin) | ~2,000 mAh | ~5 evenings (incl. sleep losses) | The LEDs dim as the batteries weaken |
| 4 × AA NiMH rechargeable (≈4.8 V, to the 5V pin) | ~1,900 mAh | ~5 evenings | Needs recharging 4–5 times during Advent |
| 18650 + TP4056 + 5 V boost converter | ~1,600 mAh (at 5 V) | ~4 evenings | Charges over USB, fits in a box |
| 10,000 mAh USB power bank | ~6,300 mAh (at 5 V) | ~16 evenings | May switch itself off during sleep due to the low current |
| 5 V 1 A USB adapter | Unlimited | Unlimited | The easiest solution for a wreath on the table |
Raspberry Pi Pico MicroPython version
Every GPIO pin on the Pico can output PWM, so the candles go to GP14–GP17 and the button to GP2. In MicroPython brightness is set with duty_u16() from 0 to 65535; the code keeps the 0–255 values from the Arduino version and multiplies them by 257 to reach the same scale (255 × 257 = 65535). Instead of EEPROM, the number of candles is stored in a mum.txt file on the Pico's file system. Save the code as main.py and the wreath lights up the moment the Pico powers on.
1from machine import Pin, PWM
2import time, random
3
4PINS = (14, 15, 16, 17)              # 4 mum: GP14-GP17, 220 ohm / 4 candles, 220 ohm each
5button = Pin(2, Pin.IN, Pin.PULL_UP) # buton -> GND / button -> GND
6
7FLAME_MIN = 90                       # 0-255 ölçeğinde / on a 0-255 scale
8FLAME_MAX = 255
9CHANGE_CHANCE = 8                    # yeni hedef olasılığı (%) / chance of a new target (%)
10GUST_CHANCE = 3                      # esinti olasılığı (%) / chance of a gust (%)
11SMOOTH = 4
12STEP_MS = 25
13
14leds = []
15for p in PINS:
16    pwm = PWM(Pin(p))
17    pwm.freq(1000)                   # 1 kHz, göz titreşimi görmez / 1 kHz, no visible strobing
18    leds.append(pwm)
19
20level = [200] * len(PINS)
21target = [200] * len(PINS)
22
23try:
24    with open("mum.txt") as f:       # son seçimi oku / read the last choice
25        lit = int(f.read())
26except (OSError, ValueError):
27    lit = 1
28
29
30def save(n):
31    with open("mum.txt", "w") as f:
32        f.write(str(n))
33
34
35last_button = 1
36while True:
37    b = button.value()
38    if b == 0 and last_button == 1:  # basıldığı an / the moment it is pressed
39        lit = (lit + 1) % (len(PINS) + 1)
40        save(lit)
41        time.sleep_ms(30)            # basit debounce / simple debounce
42    last_button = b
43
44    for i, led in enumerate(leds):
45        if i >= lit:
46            led.duty_u16(0)
47            continue
48        if random.randint(0, 99) < CHANGE_CHANCE:
49            target[i] = random.randint(FLAME_MIN, FLAME_MAX)
50            if random.randint(0, 99) < GUST_CHANCE:
51                target[i] = FLAME_MIN // 2
52        level[i] += (target[i] - level[i]) // SMOOTH
53        led.duty_u16(level[i] * 257)  # 0-255 -> 0-65535
54    time.sleep_ms(STEP_MS)
Because the Pico runs at 3.3 V, warm white LEDs (about 3 V forward voltage) barely light at all; use yellow or orange LEDs with 220 Ω resistors. This version has no timer or sleep mode; if you like, count 6 hours with time.ticks_ms() and set all duty values to zero. We set the Pico's PWM frequency to 1 kHz; at lower frequencies, stripes can show up in videos shot with a phone camera.
Making it look realistic
- Diffuse the light: Frost the top of the LED with fine sandpaper or put a little cotton wool inside the candle body; the whole body glows instead of a single point.
- Two-LED flame: Put a yellow and an orange LED in one candle on separate PWM pins and flicker them at different speeds, and the flame's colour moves too; the Uno's six PWM pins are enough for three such candles.
- Candle body: Use white PVC pipe 2–3 cm across, a hollowed-out real candle or a frosted glass. A real candle body diffuses the light most naturally.
- Wreath base: Decorate the four candles with artificial fir branches and pine cones, hide the Nano and battery under the base and put the button in an easy-to-reach corner.
- Colour temperature: If you use warm white LEDs, an orange transparent film in front of them brings the light closer to a real flame colour.
Common mistakes and fixes
| Symptom | Likely cause | Fix |
|---|---|---|
| The LED doesn't flicker, it's either on or off | The LED is on a non-PWM pin | Move the LED to pin 3, 5, 6, 9, 10 or 11 |
| The flame twitches like a broken fluorescent tube | SMOOTH is too small or the target changes every step | Set SMOOTH to 4–6 and lower CHANGE_CHANCE below 10 |
| All candles flicker the same way at the same time | A single level variable is written to all pins | Use separate level and target arrays for each candle |
| The board doesn't wake from sleep | The button isn't on D2 or the interrupt isn't LOW-level | Connect the button to D2 and use attachInterrupt(..., LOW) |
| The same flicker pattern on every start | randomSeed wasn't called or A0 is connected to something | Call randomSeed(analogRead(A0)) with a floating analog pin |
| The battery runs out in a few days | The Nano's power LED and USB chip draw current even in sleep | Use an adapter or switch to a Pro Mini with the power LED removed |
This LED candle, built with a few LEDs, a few resistors and a button, brings PWM, timing with millis(), EEPROM, sleep mode and battery calculations together in one cosy project. You can carry the candle effect into your own projects by looking at the step-by-step circuit diagrams and code for basic light projects in the BlueGrays app, such as lighting an LED, switching an LED with a button, a smooth colour fade with an RGB LED and PWM dimming with an ESP32 or Pico.
Frequently asked questions
How do I make a flickering LED candle with Arduino?
Connect the LED through a 220 Ω resistor to one of the Arduino's PWM pins and change its brightness randomly but smoothly with analogWrite(). The best result comes from picking a random target brightness and moving the current brightness slowly towards it on each step. Occasional deep dips imitate the flame bending in a draught.
Which LED colour should I use for an LED candle?
Yellow or orange (amber) LEDs come closest to the colour of a real flame. Warm white LEDs are brighter and resemble modern LED candles, but they stay dim on 3.3 V boards. Blue and cool white LEDs don't look like a flame.
Which resistor should I use to connect an LED to Arduino?
At 5 V, a 220 Ω resistor for a yellow or red LED and 150 Ω for a warm white LED give about 12–14 mA, which is safe. The value is calculated with (supply voltage − LED voltage) / desired current. Leaving out the resistor can damage both the LED and the Arduino pin.
Which Arduino pins support PWM?
On the Arduino Uno and Nano the PWM pins are 3, 5, 6, 9, 10 and 11, marked with ~ on the board. Pins 5 and 6 run at about 980 Hz, the others at about 490 Hz. On the Raspberry Pi Pico every GPIO pin can output PWM.
How long does an Arduino LED candle last on batteries?
A four-candle wreath on a Nano draws about 50 mA; with three 2,000 mAh AA cells, including sleep losses, that's about five 6-hour evenings. A 10,000 mAh power bank lasts about 16 evenings. For long battery life, use a Pro Mini with its power LED removed plus sleep mode.
On which days are the Advent wreath candles lit?
On an Advent wreath one more candle is lit on each of the four Sundays before Christmas. In 2026 these are 29 November, 6 December, 13 December and 20 December. Press the button in this project once every Sunday to increase the number of lit candles.
Projects to build after reading this
See all projects
LED Blink
The very first hello of electronics: switching a single LED on and off. The Arduino turns the LED on and off at short intervals, so the light blinks quickly.

Two LEDs Blinking Alternately
Two LEDs blink quickly in turn: when one lights up the other goes off, as if they were tossing a ball back and forth.

Toggle an LED with a Button (On/Off)
Press the button once and the light comes on, press it again and it goes off, just like the light switch in your room.
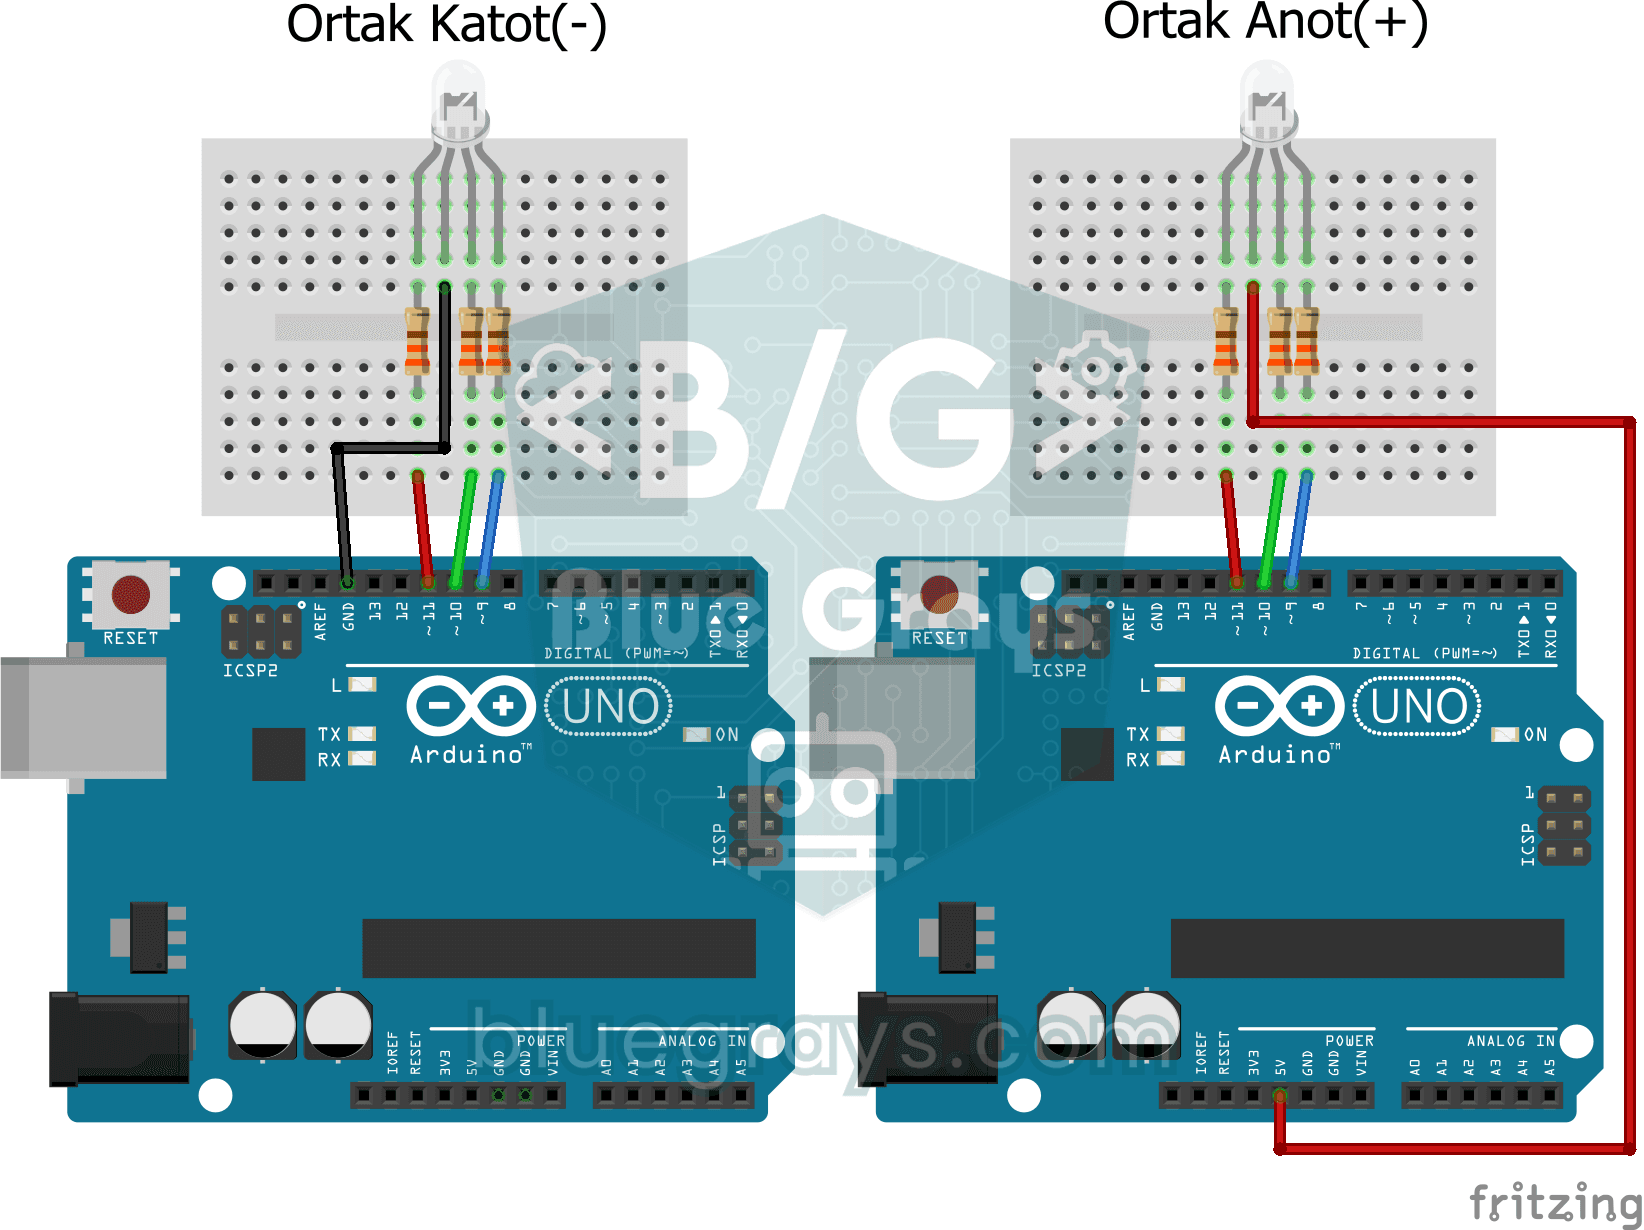
Using an RGB LED
Three colours hide inside a single LED: the RGB LED lights up red, then green, then blue, each colour on for half a second and off for half a second, before the cycle starts again.
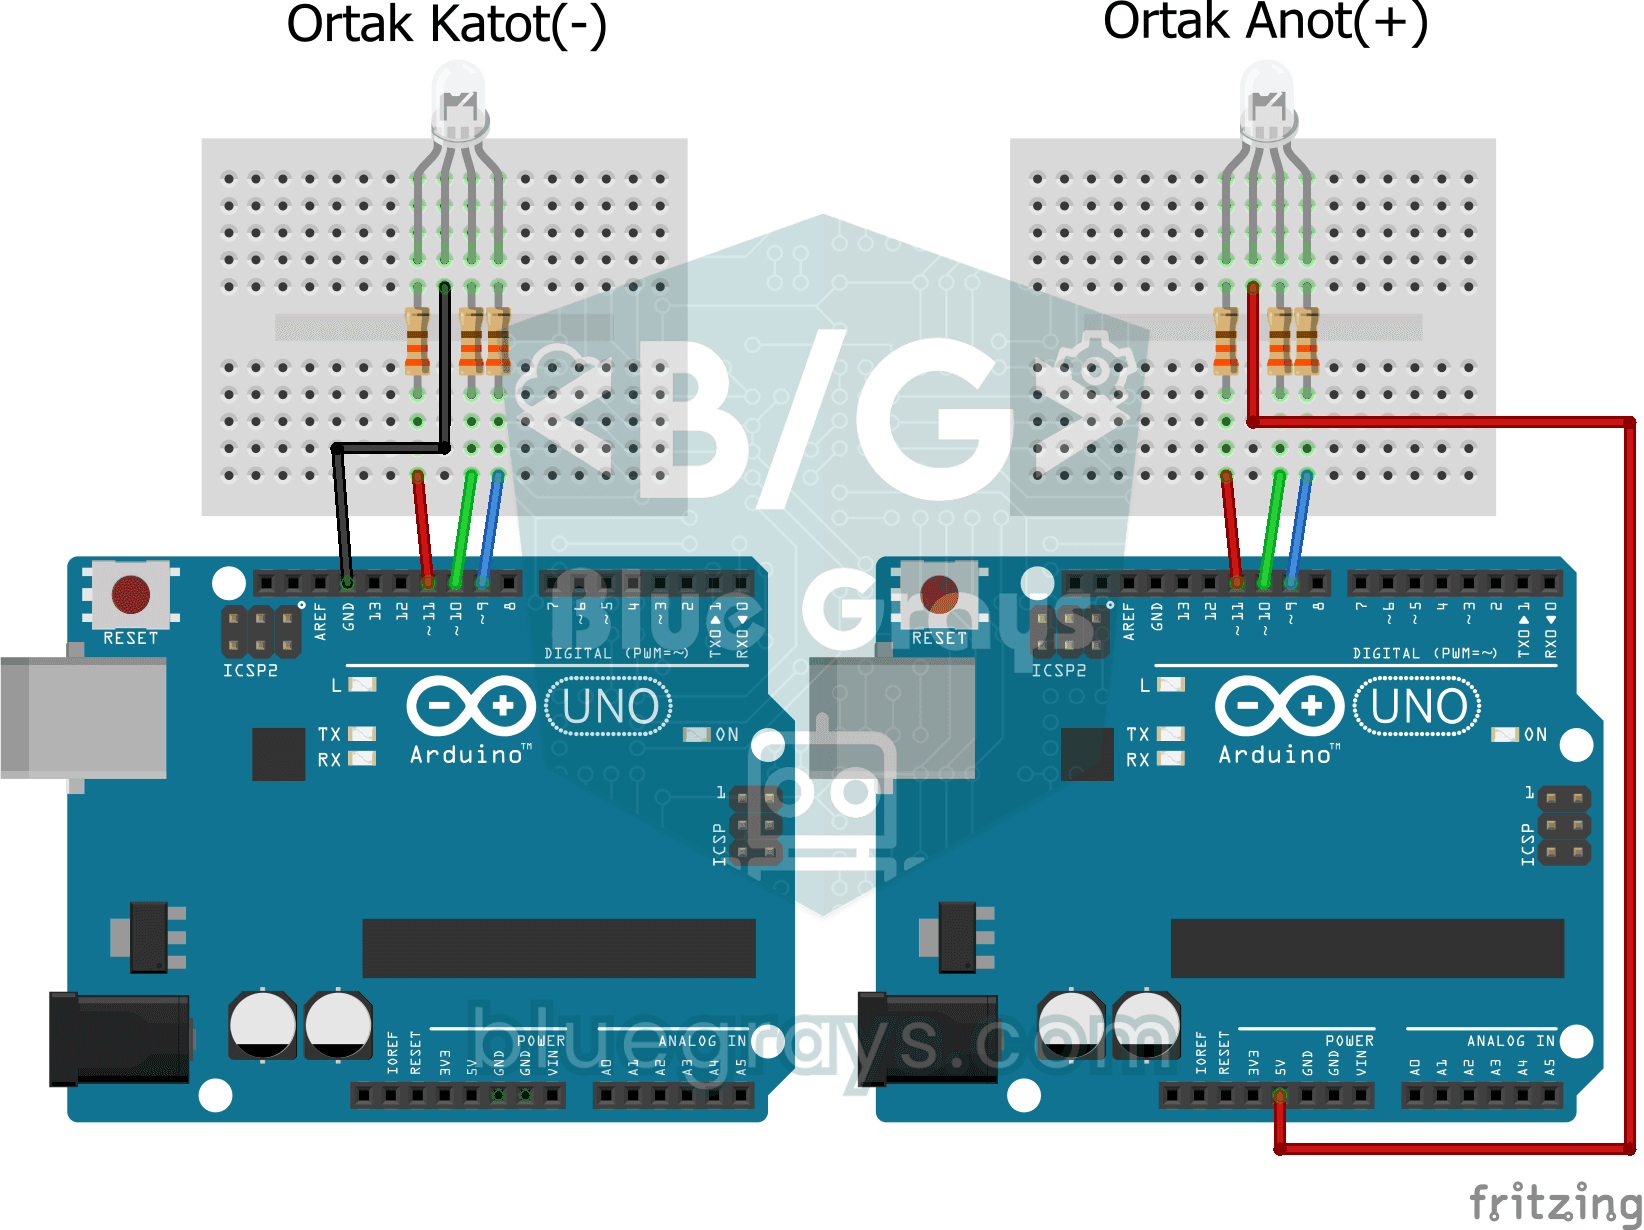
Smooth Color Transition with RGB Led
A single RGB LED drifts slowly from red to green, green to blue and back to red, looping through the rainbow without ever stopping.

ESP32 LED Fade with PWM
Smoothly changing the brightness of the LED from 0 to max, from max to 0. We control PWM with analogWrite() as in Arduino - the same syntax as ESP32 Arduino Core 3.0+ works without problems. Pin definition + pinMode + analogWrite is enough.

ESP32 LED Brightness Control with a Potentiometer (Analog → PWM)
In this project, we control the brightness of an LED analogically using a potentiometer. The ESP32's ADC pin reads the 0-3.3V voltage from the potentiometer, and this value is then converted into a PWM (Pulse Width Modulation) signal and sent to the LED. As a result, as you turn the potentiometer, the LED gradually brightens and dims. With Arduino Core 3.0+, analogWrite() can be used directly; on the ESP32-S2/S3, the ADC resolution is fixed at 12-bit.
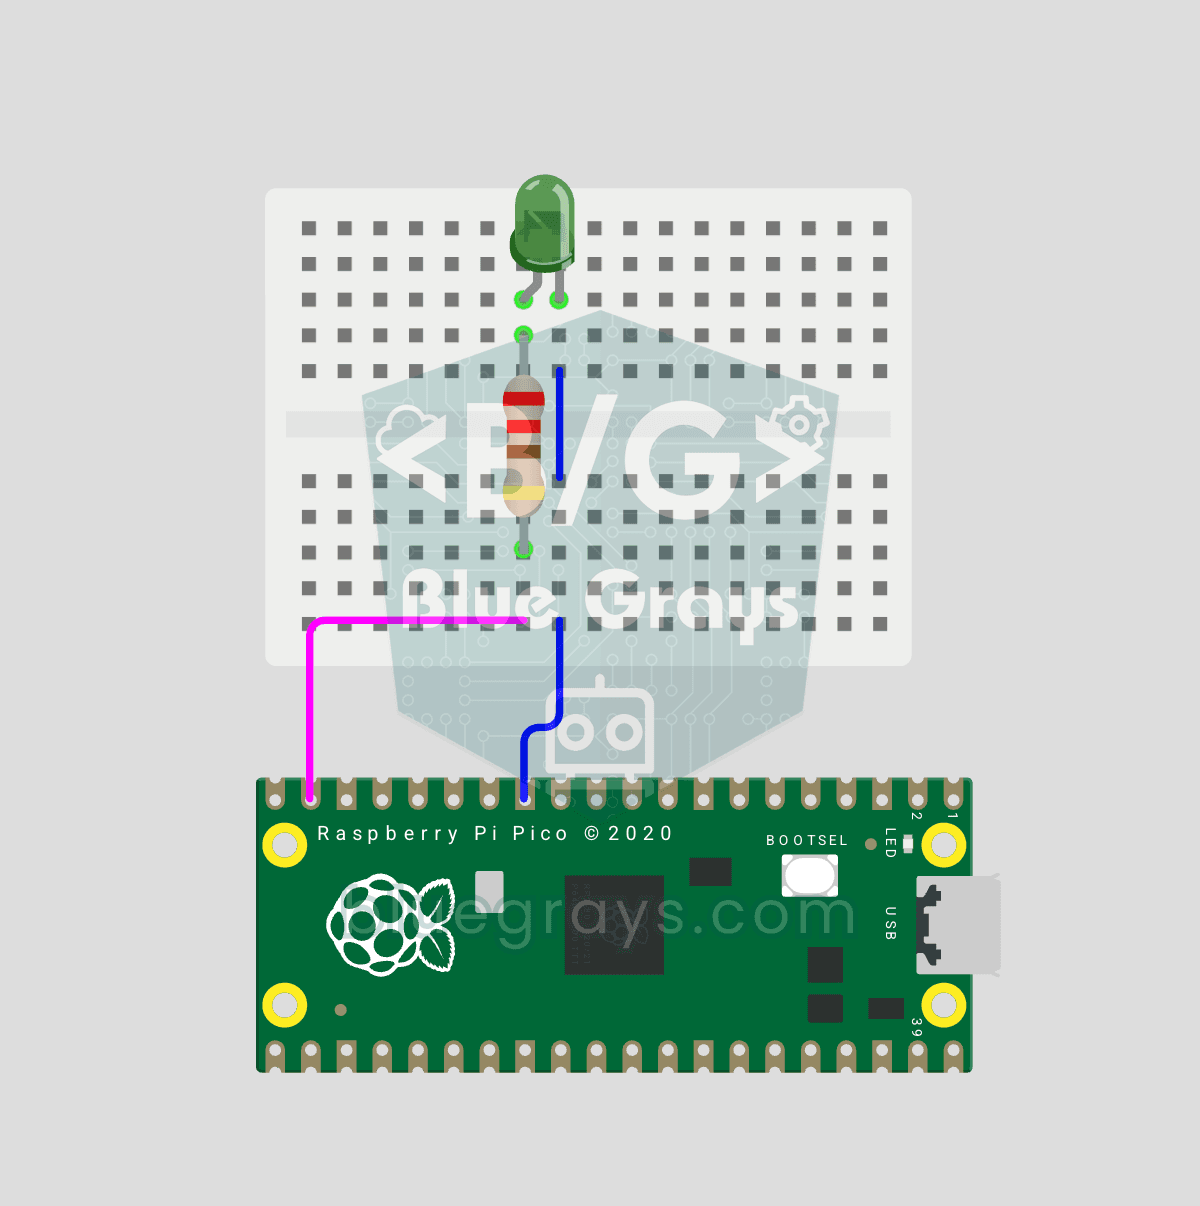
Raspberry Pi Pico PWM LED Fade (Breathing Effect)
The LED doesn't just blink anymore, it breathes! With the Raspberry Pi Pico's PWM (Pulse Width Modulation), the LED's brightness slowly rises and then slowly fades, a calm "breathing" effect like a sleeping laptop's light. You'll learn the machine.PWM class, the 16-bit brightness value from 0–65535 with duty_u16() and the PWM frequency.