
Raspberry Pi Pico Christmas Ornament: WS2812B NeoPixel Ring Star
Make a Raspberry Pi Pico Christmas ornament: 24-LED WS2812B ring, spinning, sparkle and snow effects in MicroPython, TTP223 touch modes, power bank, Pico W.

In this Raspberry Pi Pico Christmas ornament project you use a Pico and a 24-LED WS2812B ring to build a glowing Christmas star that spins, sparkles and snows, ready to hang on the tree. You write the code with MicroPython's built-in neopixel module, switch between effects with a TTP223 touch sensor and run the ornament cable-free from a USB power bank. There's almost no soldering, the total cost is low, and once you're done you have an ornament you can reuse every year.
In this guide you'll find how the ring works, the right wiring to the Pico, a first test sketch, the small maths tricks behind each of the five effects, an effect and brightness table, a complete program that remembers the last selected mode, and a calculation of how many hours it runs on a power bank. In the last section you'll make the same ornament controllable from your phone's browser with a Pico W.
Why a Pico and a WS2812B ring?
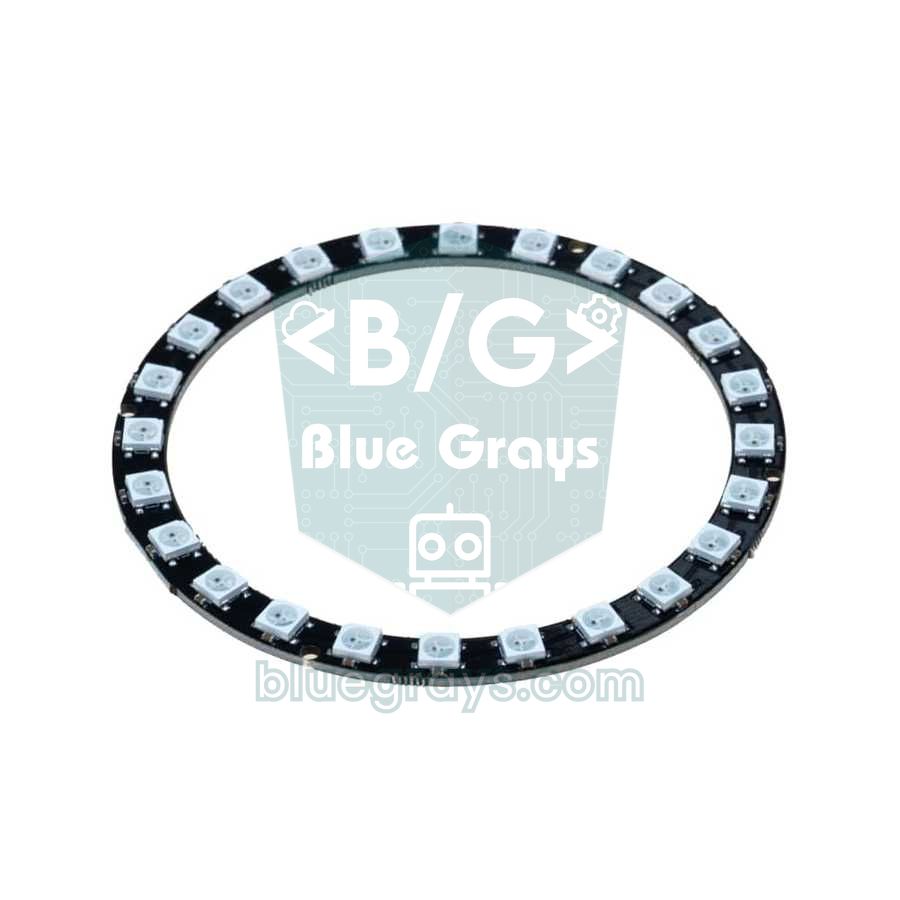
The WS2812B is an addressable LED that packs red, green and blue chips plus a tiny driver IC into the same 5050 package. The Pico sends 24-bit colour data down the data line one after another; the first LED takes its share and passes the rest on to the next. That way a single GPIO pin can light each of the 24 LEDs in its own colour. The ring shape fits neatly inside a star or a bauble. Because the neopixel module comes ready in the Pico's MicroPython firmware, you can start coding without downloading any library; for the basics of the WS2812B, see the WS2812B NeoPixel LED guide.
| Feature | Value |
|---|---|
| Number of LEDs | 24 × WS2812B (5050 SMD) |
| Outer diameter | About 6.5–8.5 cm (varies by maker) |
| Supply | 5 V (roughly 3.5–5.3 V) |
| Current | Up to ~20 mA per colour channel per LED; ~60 mA per LED at full white |
| Idle current | About 0.5–1 mA per LED even when the LEDs are off |
| Data | Single line, 800 kHz; updating 24 LEDs takes about 0.7 ms |
| Pins | DI (data in), DO (data out), 5V, GND |
Parts
- Raspberry Pi Pico (a Pico W or Pico 2 W if you want to pick colours from your phone) and a micro USB cable that carries data.
- 24-LED WS2812B ring: 12- or 16-LED rings work too; just change the N value in the code.
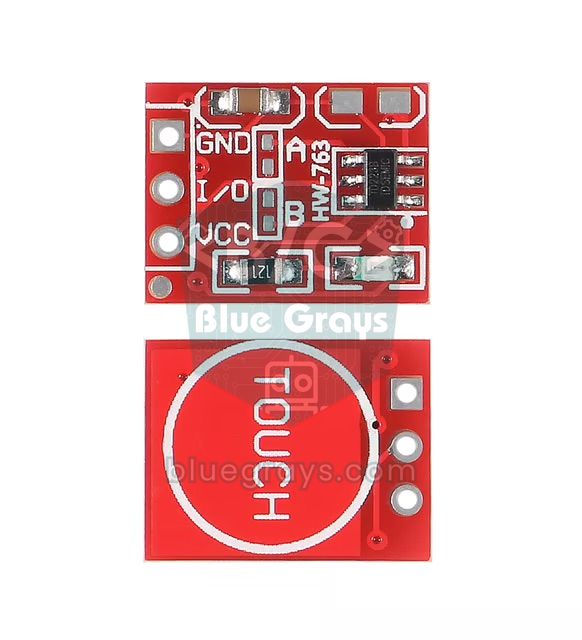
- TTP223 touch sensor module: For changing modes. You can use an ordinary push button instead.
- 330 Ω resistor (for the data line) and an optional 100–470 µF electrolytic capacitor.
- USB power bank: 5,000–10,000 mAh is enough. If the tree is near a socket, a USB charger works too.
- Ornament body: A star made of cardboard, foam or 3D-printed plastic; tracing paper or thin white foam to soften the light.
Wiring table
| Connection | Pico pin | Physical pin | Note |
|---|---|---|---|
| Ring DI (data in) | GP0 | 1 | 330 Ω resistor in between |
| Ring 5V | VBUS | 40 | 5 V from USB |
| Ring GND | GND | 38 | The capacitor's negative leg goes here too |
| TTP223 VCC | 3V3(OUT) | 36 | Runs on 3.3 V |
| TTP223 I/O | GP15 | 20 | HIGH when touched (A and B open) |
| TTP223 GND | GND | 23 | Any GND pin will do |
First test: lighting the ring with the neopixel module
1from machine import Pin
2import neopixel, time
3
4N = 24                                  # halkadaki LED sayısı / LEDs on the ring
5np = neopixel.NeoPixel(Pin(0), N)       # DIN -> 330 ohm -> GP0
6
7for i in range(N):
8    np[i] = (40, 0, 0) if i % 2 == 0 else (0, 40, 0)   # kırmızı-yeşil sıra / red-green pattern
9    np.write()                          # renkleri halkaya gönder / send colours to the ring
10    time.sleep_ms(50)
When you run the code in Thonny, the ring's LEDs should light up one by one in red and green. We deliberately kept the colour values at 40: 255 is dazzling and draws needless current during a test. The np[i] = (r, g, b) line sets LED number i's colour in memory, but nothing changes on the ring yet; the colours are only sent when np.write() is called. The WS2812B actually expects colours in green, red, blue (GRB) order; the neopixel module handles that for you, so you always write (red, green, blue). If the ring doesn't light at all, you may have connected the data to the wrong end: it must go to the pad marked DI or IN, while DO or OUT goes to the next ring.
Effect and brightness table
| Mode | Effect | Colours | Frame time | Approx. current (0.2 brightness, ring + Pico) |
|---|---|---|---|---|
| 0 | Spinning comet | One lap red, one lap green | 40 ms | ~65 mA |
| 1 | Golden sparkle | Warm base glow + random golden sparks | 60 ms | ~70 mA |
| 2 | Snowfall | Night-blue background, white snowflakes | 40 ms | ~110 mA |
| 3 | Breathing star | Golden yellow, slowly brightening and fading | 30 ms | ~125 mA |
| 4 | Rotating rainbow | The whole colour wheel | 30 ms | ~145 mA |
Here's a rough way to work out the current: each colour channel draws about 20 mA at full value (255) and proportionally less at lower values. So one LED draws roughly 20 mA × (r + g + b) / 255; add about 1 mA of idle current per LED and the Pico's own 20–25 mA. The code has three brightness steps: 0.08 (dim, for night), 0.2 (default) and 0.4 (for daylight). Going above 0.4 tires the eyes and quickly shortens battery life.
Full code: five effects and mode switching with the TTP223
Save the program below to the Pico as main.py in Thonny, so the ornament starts by itself as soon as it's plugged into the power bank. A short touch on the TTP223 moves to the next effect, a touch longer than 0.7 seconds changes the brightness step. Your choice is written to the susu.txt file and the ornament starts with the same effect next time.
1from machine import Pin
2import neopixel, time, random, math
3
4N = 24                                  # halkadaki LED sayısı / LEDs on the ring
5np = neopixel.NeoPixel(Pin(0), N)       # DIN -> 330 ohm -> GP0
6touch = Pin(15, Pin.IN)                 # TTP223 I/O (A ve B açık / A and B open)
7
8LEVELS = (0.08, 0.2, 0.4)               # parlaklık kademeleri / brightness steps
9FRAME_MS = (40, 60, 40, 30, 30)         # her efektin kare süresi / frame time of each effect
10NAMES = ("donen", "parilti", "kar", "nefes", "gokkusagi")
11LONG_MS = 700                           # uzun dokunuş / long touch
12
13buf = [[0, 0, 0] for _ in range(N)]     # ham renkler 0-255 / raw colours 0-255
14flakes = []                             # kar taneleri / snowflakes
15step = 0
16
17
18def load():
19    try:
20        with open("susu.txt") as f:
21            m, b = f.read().split(",")
22            return int(m) % len(NAMES), int(b) % len(LEVELS)
23    except (OSError, ValueError):
24        return 0, 1
25
26
27def save():
28    with open("susu.txt", "w") as f:
29        f.write("%d,%d" % (mode, level))
30
31
32def show():
33    k = LEVELS[level]
34    for i in range(N):
35        r, g, b = buf[i]
36        np[i] = (int(r * k), int(g * k), int(b * k))
37    np.write()
38
39
40def fade(f):
41    for c in buf:
42        c[0] = int(c[0] * f)
43        c[1] = int(c[1] * f)
44        c[2] = int(c[2] * f)
45
46
47def wheel(h):                           # 0-255 renk tekerleği / 0-255 colour wheel
48    h %= 256
49    if h < 85:
50        return [255 - h * 3, h * 3, 0]
51    if h < 170:
52        h -= 85
53        return [0, 255 - h * 3, h * 3]
54    h -= 170
55    return [h * 3, 0, 255 - h * 3]
56
57
58def spinning():                         # dönen kuyruklu yıldız / spinning comet
59    fade(0.7)
60    head = step % N
61    buf[head] = [255, 0, 0] if (step // N) % 2 == 0 else [0, 255, 0]
62
63
64def twinkle():                          # altın parıltı / golden sparkle
65    fade(0.88)
66    for c in buf:                       # sıcak taban ışığı / warm base glow
67        c[0] = max(c[0], 30)
68        c[1] = max(c[1], 10)
69    if random.randint(0, 99) < 35:
70        buf[random.randint(0, N - 1)] = [255, 170, 40]
71
72
73def snow():                             # tepeden iki yana akan kar / snow falling down both sides
74    for c in buf:
75        c[0], c[1], c[2] = 0, 0, 25     # gece mavisi / night blue
76    for j in range(len(flakes)):        # her tane bir LED aşağı / each flake moves one LED down
77        flakes[j] += 1
78    while flakes and flakes[0] > N // 2:
79        flakes.pop(0)                   # en alta ulaşan silinir / remove flakes at the bottom
80    if random.randint(0, 99) < 20:
81        flakes.append(0)                # tepede yeni tane / new flake at the top
82    for k in flakes:
83        buf[k % N] = [230, 230, 255]
84        buf[(N - k) % N] = [230, 230, 255]
85
86
87def breathe():                          # yıldız nefesi / breathing star
88    v = (1 - math.cos(step * 2 * math.pi / 100)) / 2
89    for i in range(N):
90        buf[i] = [int(255 * v), int(150 * v), int(20 * v)]
91
92
93def rainbow():                          # dönen gökkuşağı / rotating rainbow
94    for i in range(N):
95        buf[i] = wheel(i * 256 // N + step * 3)
96
97
98EFFECTS = (spinning, twinkle, snow, breathe, rainbow)
99mode, level = load()
100touch_start = None
101
102while True:
103    if touch.value() and touch_start is None:
104        touch_start = time.ticks_ms()               # dokunuş başladı / touch started
105    elif not touch.value() and touch_start is not None:
106        held = time.ticks_diff(time.ticks_ms(), touch_start)
107        touch_start = None
108        if held >= LONG_MS:
109            level = (level + 1) % len(LEVELS)      # uzun: parlaklık / long: brightness
110        else:
111            mode = (mode + 1) % len(NAMES)          # kısa: sonraki efekt / short: next effect
112            flakes = []                     # karı sıfırla / reset the snow
113        save()
114        print("efekt / effect:", NAMES[mode], "parlaklik / brightness:", LEVELS[level])
115
116    EFFECTS[mode]()
117    show()
118    step += 1
119 time.sleep_ms(FRAME_MS[mode])| Code | What it does |
|---|---|
| buf | Holds the raw colours of the 24 LEDs from 0 to 255; the effects always write here |
| show() | Multiplies the raw colours by the selected brightness and sends them to the ring; brightness is applied in one place |
| fade(f) | Dims every LED by the factor f; 0.7 leaves a short trail, 0.88 a long one |
| wheel(h) | Turns a single number from 0 to 255 into a colour blending red, green and blue |
| touch_start / held | Measures how long the touch lasted; the 700 ms limit separates short and long touches |
| load() / save() | Writes the mode and brightness to the Pico's file system and reads them back at start-up |
How do the effects work?
The spinning comet dims the whole ring by 30 percent every frame and lights the next LED at full brightness. Because the earlier LEDs fade a little more each frame, a soft tail forms behind the head on its own: 0.7 × 0.7 × 0.7 ≈ 0.34, so an LED three frames behind is at a third of its original brightness. Each time the head completes a lap it switches from red to green or back. The golden sparkle effect dims the ring more slowly but never lets any LED drop below a warm base glow; every frame, with a 35 percent chance, a random LED flares gold and slowly fades.
Snowfall treats the LED at the very top of the ring (number 0) as the sky and the one at the bottom (number 12) as the ground. A new snowflake is born at the top and moves down one LED per frame; the same flake is mirrored on both sides of the ring, so the snow seems to drift down both sides at once. The breathing star smoothly moves the brightness between zero and one with the formula (1 − cos(2π × step / 100)) / 2; with 30 ms frames, one breath takes about 3 seconds. The rainbow gives each LED an evenly spaced hue on the colour wheel and shifts all the hues slightly every frame.
Running on a power bank and battery life
The capacity printed on a power bank is the capacity of its 3.7 V cells. Because the output is 5 V and the converter runs at about 85 percent efficiency, the capacity you can actually use is capacity × 3.7 / 5 × 0.85; a 10,000 mAh power bank gives about 6,300 mAh at 5 V. The run time is usable capacity / average current. You can try other battery and current values with the battery life calculator.
| Brightness | Total current in rainbow mode | 5,000 mAh power bank | 10,000 mAh power bank |
|---|---|---|---|
| 0.08 (dim) | ~85 mA | ~37 hours | ~74 hours |
| 0.2 (default) | ~145 mA | ~22 hours | ~43 hours |
| 0.4 (bright) | ~240 mA | ~13 hours | ~26 hours |
Picking colours from your phone with a Pico W
If you're using a Pico W or Pico 2 W, you can add a small web page to the ornament. The program below connects to your home Wi-Fi, prints an IP address in the Shell, and when you open that address on your phone you get a colour picker and a list of effects. The colour you pick shows up on the ring instantly in solid, sparkle or rainbow mode. The lights and the web server run side by side with asyncio; neither waits for the other. The basics of the web server are explained in detail in the Pico W web server guide.
1import network, asyncio, neopixel, random, time
2from machine import Pin
3
4SSID = "AgAdi"                          # Wi-Fi adın (2,4 GHz) / your Wi-Fi name (2.4 GHz)
5PASSWORD = "Sifre123"                   # Wi-Fi şifren / your Wi-Fi password
6N = 24
7np = neopixel.NeoPixel(Pin(0), N)       # DIN -> 330 ohm -> GP0
8BRIGHT = 0.2                            # genel parlaklık / overall brightness
9
10color = [255, 120, 20]                  # telefondan seçilen renk / colour picked on the phone
11mode = 1                                # 0 sabit, 1 parıltı, 2 gökkuşağı / 0 solid, 1 sparkle, 2 rainbow
12
13PAGE = """<!DOCTYPE html><html><head><meta charset="utf-8">
14<meta name="viewport" content="width=device-width, initial-scale=1"><title>Noel Susu</title></head>
15<body style="font-family:sans-serif;text-align:center">
16<h2>Noel Susu / Ornament</h2>
17<form action="/" method="get">
18<p><input type="color" name="c" value="#ff7814" style="width:120px;height:80px"></p>
19<p><select name="m"><option value="0">Sabit / Solid</option><option value="1" selected>Parilti / Sparkle</option>
20<option value="2">Gokkusagi / Rainbow</option></select></p>
21<p><button style="font-size:22px">Uygula / Apply</button></p>
22</form></body></html>"""
23
24
25def connect():
26    wlan = network.WLAN(network.STA_IF)
27    wlan.active(True)
28    wlan.connect(SSID, PASSWORD)
29    for _ in range(20):
30        if wlan.isconnected():
31            break
32        time.sleep(1)
33    print("Telefonda ac / open on the phone: http://" + wlan.ifconfig()[0])
34
35
36def parse(query):
37    global mode
38    for part in query.split("&"):
39        if part.startswith("c=") and len(part) >= 8:
40            hexcode = part[-6:]                         # "%23ff7814" -> "ff7814"
41            color[0] = int(hexcode[0:2], 16)
42            color[1] = int(hexcode[2:4], 16)
43            color[2] = int(hexcode[4:6], 16)
44        elif part.startswith("m=") and part[2:].isdigit():
45            mode = int(part[2:]) % 3
46
47
48async def handle(reader, writer):
49    line = await reader.readline()                      # "GET /?c=%23ff7814&m=1 HTTP/1.1"
50    while True:                                         # başlıkları atla / skip the headers
51        h = await reader.readline()
52        if not h or h == b"\r\n":
53            break
54    try:
55        path = line.decode().split(" ")[1]
56        if "?" in path:
57            parse(path.split("?", 1)[1])
58    except (IndexError, ValueError):
59        pass
60    writer.write(b"HTTP/1.0 200 OK\r\nContent-Type: text/html\r\n\r\n")
61    writer.write(PAGE.encode())
62    await writer.drain()
63    writer.close()
64    await writer.wait_closed()
65
66
67def wheel(h):
68    h %= 256
69    if h < 85:
70        return (255 - h * 3, h * 3, 0)
71    if h < 170:
72        h -= 85
73        return (0, 255 - h * 3, h * 3)
74    h -= 170
75    return (h * 3, 0, 255 - h * 3)
76
77
78async def lights():
79    step = 0
80    while True:
81        for i in range(N):
82            if mode == 0:
83                c = color
84            elif mode == 1:                             # rastgele LED'ler parlar / random LEDs flare
85                k = 1.0 if random.randint(0, 99) < 8 else 0.25
86                c = [int(x * k) for x in color]
87            else:
88                c = wheel(i * 256 // N + step * 3)
89            np[i] = (int(c[0] * BRIGHT), int(c[1] * BRIGHT), int(c[2] * BRIGHT))
90        np.write()
91        step += 1
92        await asyncio.sleep_ms(60 if mode == 1 else 30)
93
94
95async def main():
96    connect()
97    await asyncio.start_server(handle, "0.0.0.0", 80)
98    await lights()                                      # ışıklar sonsuza kadar döner / lights run forever
99
100
101asyncio.run(main())
When the browser submits the form, the address looks like /?c=%23ff7814&m=1: %23 is the # sign at the start of the colour code. The parse() function takes the last six characters and splits them into three two-digit hexadecimal numbers, the red, green and blue values. The phone and the Pico must be on the same network; the Pico W only connects to 2.4 GHz networks. If you don't want a different IP on every start, reserve a fixed IP for the Pico in your router settings.
Mounting the ornament and styling tips
- Soften the light: Place tracing paper or white foam 1–2 cm in front of the ring. The LEDs then look like one glowing star rather than separate dots.
- Put it inside a star: Cut two cardboard stars, glue the ring between them, place the Pico and power bank at the foot of the tree and run the three wires (5V, GND, data) through the branches in a green cable.
- Hide the touch sensor: Tape the TTP223 to the back of the ornament. The sensor also works through 1–2 mm of cardboard or plastic.
- Several ornaments: Connect the first ring's DO to the second ring's DI and set N to 48 to drive two ornaments from one pin; double your power calculation.
- Mind the heat: At 0.2 brightness the ring doesn't even get warm, but if it will run for hours at 0.4 inside a closed box, add small ventilation holes.
Common mistakes and fixes
| Symptom | Likely cause | Fix |
|---|---|---|
| No LED lights up | Data is on the DO pad or the GND isn't shared | Connect the data to DI and join the ring's GND to the Pico's GND |
| First LED flickers, random colours | The 3.3 V data signal is marginal or the wire is long | Shorten the data wire, add the 330 Ω resistor, use a level shifter if needed |
| Wrong colours (green instead of red) | The ring uses a different colour order (e.g. RGB instead of GRB) | Add np.ORDER = (0, 1, 2, 3) after the np = neopixel.NeoPixel(...) line and try again |
| The touch sensor doesn't respond | The TTP223 calibrated while a finger was touching it at power-up | Take your hand away and replug the Pico's USB; don't touch the sensor at start-up |
| The Pico doesn't start the effect at power-up | The file wasn't saved as main.py | In Thonny: Save as > Raspberry Pi Pico > main.py |
| The ornament goes dark after a few minutes | The power bank switches off at low current | Use a power bank with a low-current mode or raise the lowest brightness |
This Christmas ornament, made from a Pico, a 24-LED ring and a touch sensor, teaches addressable LEDs, brightness control without PWM, saving settings to a file and battery calculations in a single project. You can add new effects to your ornament by looking at the step-by-step circuit diagrams and code in the BlueGrays app for basic Pico light projects such as LED fading, an RGB colour cycle and chasing LEDs, as well as WS2812B projects like a police light and animations.
Frequently asked questions
Can a Raspberry Pi Pico drive WS2812B LEDs directly?
Yes. MicroPython's neopixel module comes ready on the Pico and handles the WS2812B's precise timing itself. The data line can go to any GP pin; the LEDs, however, should be powered with 5 V from VBUS, not from the Pico's 3.3 V pin.
How much current does a 24-LED WS2812B ring draw?
Each LED draws about 60 mA at full white, so the worst case for 24 LEDs is about 1.44 A. With real effects at 0.2 brightness this drops to around 60–150 mA. Limiting brightness in code extends battery life and keeps the USB line from being strained.
Is the Pico's 3.3 V data signal enough for WS2812B?
Technically the WS2812B wants a data level of about 3.5 V on a 5 V supply, but with a short wire most rings work fine at 3.3 V. If the first LED flickers, shorten the wire and put the 330 Ω resistor close to the ring. The definitive fix is a level shifter such as the 74AHCT125.
How long does a Pico Christmas ornament run on a power bank?
A 10,000 mAh power bank delivers about 6,300 mAh at 5 V. At the default 0.2 brightness the ornament draws about 145 mA, which means more than 40 hours of run time. Halving the brightness nearly doubles that.
How do I make MicroPython code run automatically when the Pico starts?
Just save the code to the Raspberry Pi Pico as main.py in Thonny. On every power-up the Pico runs boot.py first and then main.py. To stop the code, press Stop in Thonny or use Ctrl+C.
Can Christmas lights be controlled from a phone with a Pico W?
Yes. The Pico W can join your home Wi-Fi and run a small web server; when you open the Pico's IP address in your phone's browser, a colour picker and effect buttons appear. Thanks to asyncio, the light effects and the web server run at the same time.
Projects to build after reading this
See all projects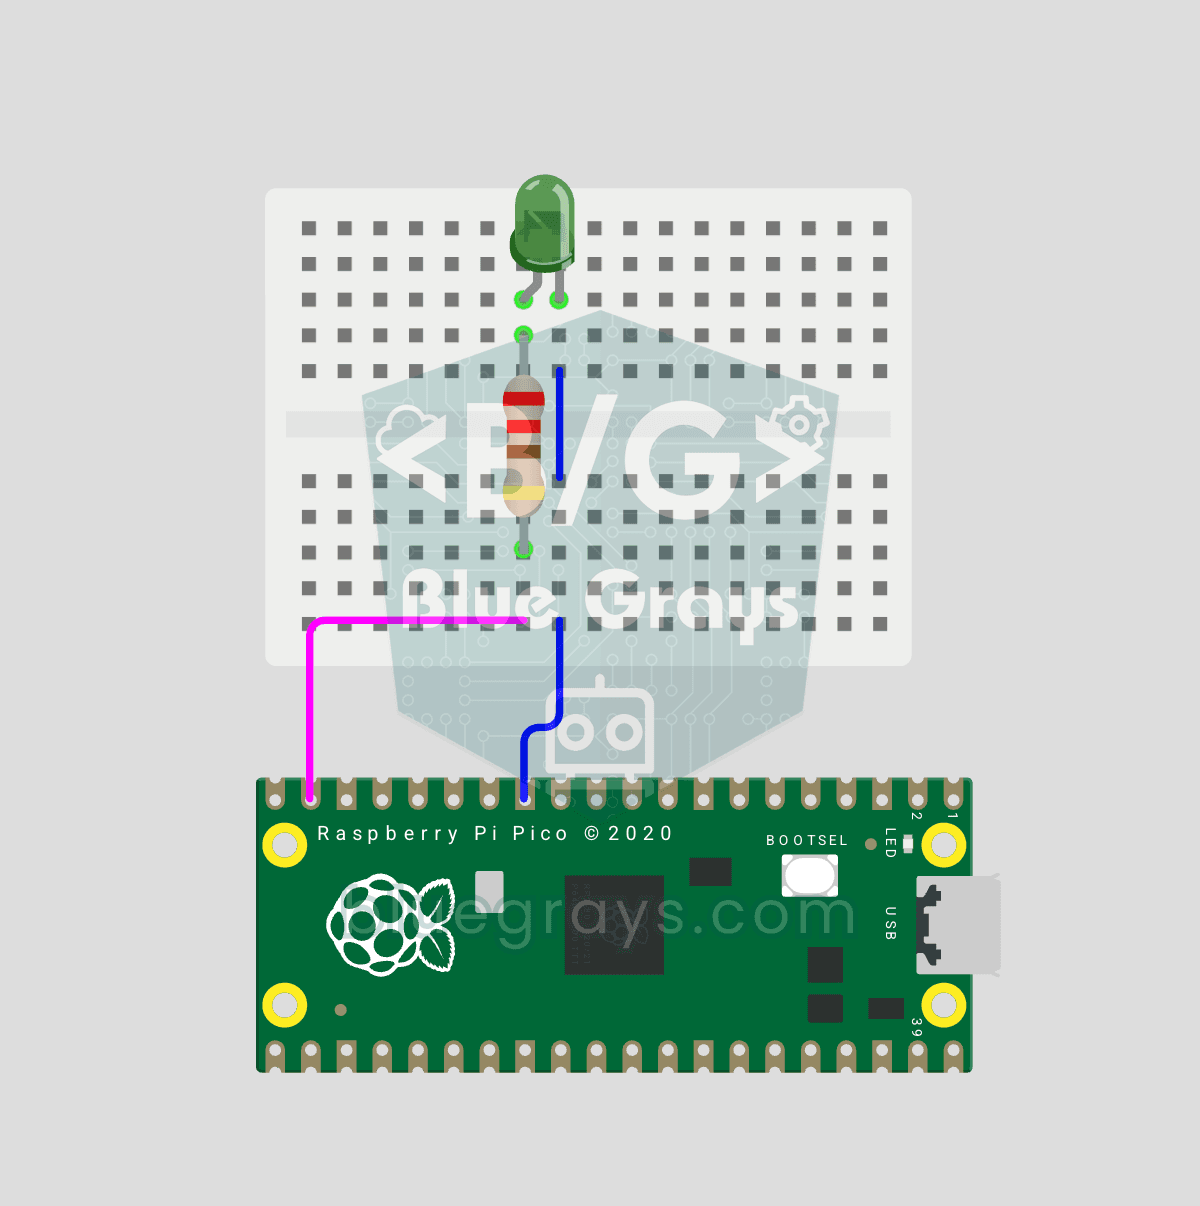
Raspberry Pi Pico PWM LED Fade (Breathing Effect)
The LED doesn't just blink anymore, it breathes! With the Raspberry Pi Pico's PWM (Pulse Width Modulation), the LED's brightness slowly rises and then slowly fades, a calm "breathing" effect like a sleeping laptop's light. You'll learn the machine.PWM class, the 16-bit brightness value from 0–65535 with duty_u16() and the PWM frequency.
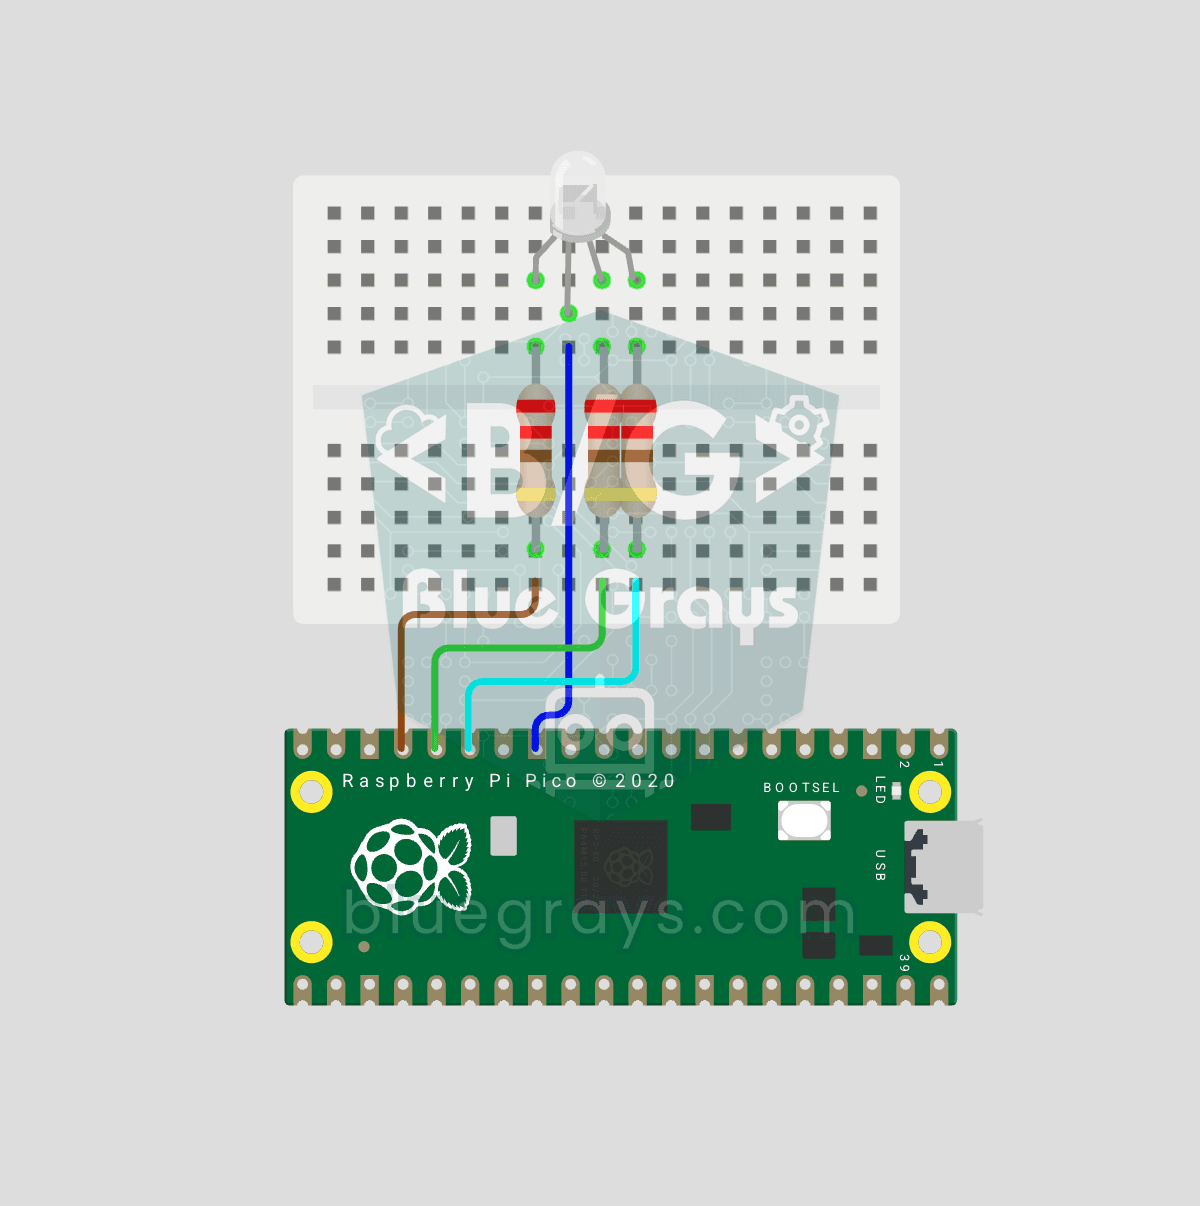
Raspberry Pi Pico RGB LED Color Cycle (3-Channel PWM)
One LED, millions of colors! An RGB LED actually holds 3 separate LEDs: red, green and blue. Set the brightness of each one separately with the Pico's 3 PWM channels and the colors mix: red + green = yellow, green + blue = cyan, all three = white. In this project the LED cycles through 8 colors.
Raspberry Pi Pico Chasing LED (6 LEDs)
The classic "running LED" animation with the Pico, 6-LED version! Six LEDs light up one after another from left to right, as if the light were walking along the row. You'll learn Python lists (LED_PINS = [14, 13, 12, 11, 10, 9]), list comprehensions, controlling pins with a for loop and enumerate(). Six LEDs go on pins GP9-GP14, each with a 220Ω current-limiting resistor.
Raspberry Pi Pico Knight Rider LED Scanner (6 LED Back-Forth)
Classic "Knight Rider" LED scanner effect with Pico! 6 LEDs go left-to-right, then right-to-left, forever. Like the front grille of KITT car from the iconic 80s TV series. This project is an upgrade of the Chasing LED project: same 6 LED circuit (GP9-GP14), different code pattern. Learn reversed() function for list reversal, two separate for loops for back-and-forth pattern, and generating multiple animations on same circuit.
Using a WS2812B LED Strip
Meet a smart LED strip where you can colour every single light on its own. The Arduino first lights the first five LEDs red, a second later turns the other five blue, then switches them all off and…
WS2812B LED Chaser
On a strip of ten LEDs, a green dot of light moves from start to finish one LED at a time, then jumps back to the beginning; it stays on each LED for a third of a second.

WS2812B Animation 1
On a strip of 56 LEDs, all the colours of the rainbow line up side by side and flow without ever stopping, as if a river of light were gliding along the strip.

ESP32 WS2812B NeoPixel Strip Control
WS2812B (NeoPixel) addressable LEDs are smart RGB LEDs that can be chained and controlled from a single data pin. In this project we drive an 8-LED WS2812B strip with the Adafruit_NeoPixel library and create a smooth rainbow animation. The ESP32's 3.3V logic works with most WS2812B batches; if it gets unstable, we show the fix with a 470Ω series resistor and a 1000µF capacitor. The animation shifts the hue in HSV color space.