
Share an Arduino Project With Students: Teach With Your Own
Share your own Arduino project as a Tutorial post on the forum: photos, circuit, code and parts list, sending students the link, Premium codes and a 40-minute lesson.
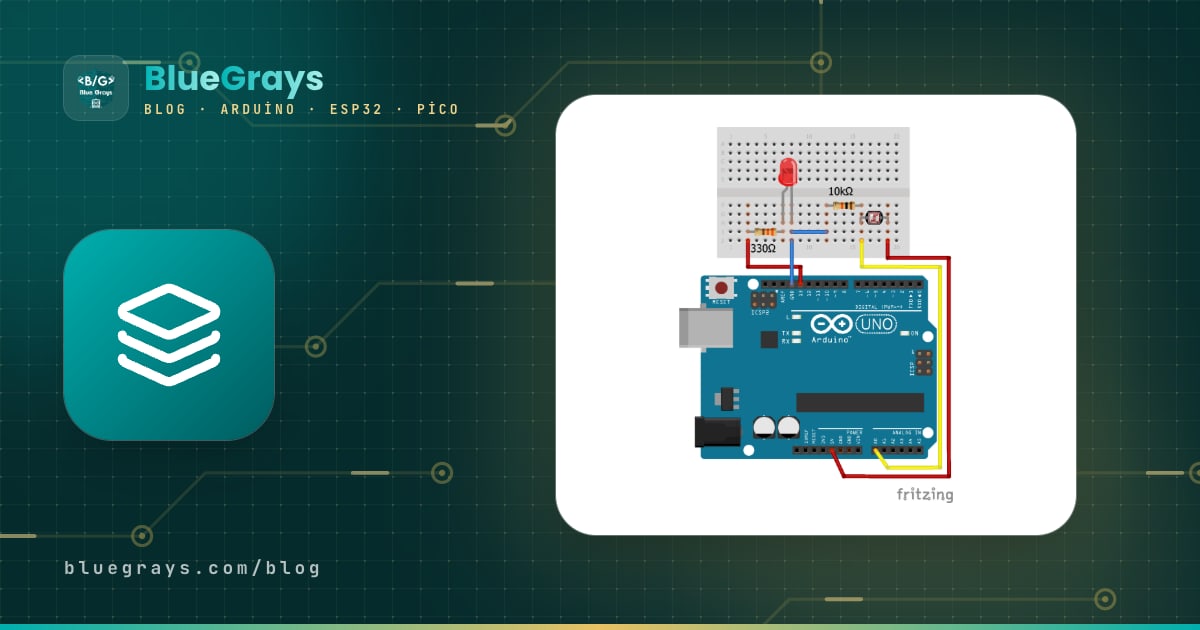
When teachers ask how to share an Arduino project with students, the question usually sounds like this: I want to teach with a project I built myself, so how will my students see the circuit diagram, the code and the parts list on their phones? In BlueGrays the answer is Learn > Forum > New Post. You choose Tutorial as the category, add the project photo and a circuit photo as images, paste your code and list the parts you used in the description; the post goes live without review. Then you send your students the link with the post's Share icon, and it opens the same post in their app.
This guide covers the prerequisites, how to prepare photos and code, how to fill in the New Post screen field by field, a copy-ready template for the description, publishing the post and how students find it, a 40-minute sample lesson built around the project and a checklist to run before you publish. One honest note up front: the post you share does not sit in a private class area. It is a public forum post as soon as it goes live, and we explain below what that means for you.
Why teach with your own project?
The ready-made projects in the app give most courses a solid backbone: LEDs, buttons, sensors, displays, motors. But nearly every teacher has a project of their own. The moisture alarm you fitted to the school greenhouse, a timer that works like the break bell, the light meter you use in physics, or the small robot your club has been improving for years. Teaching it every year with photocopies, a diagram drawn on the board or a code file dropped into a group chat is tiring: the diagram gets blurry, the code gets copied wrong and the parts list goes missing.
When you share the project as a Tutorial post on the forum, all of those pieces land in one place: project and circuit photos, copyable code, a parts list with quantities and the related ready-made projects you attach. Students open the same post at home, move the code to their computer and see which part they are missing. Next year you simply send the same link to the new class instead of explaining everything again. If the post needs an update, you edit it and save.
Before you start: prerequisites
| Prerequisite | Why it is needed | How to get it |
|---|---|---|
| A BlueGrays account | Posting on the forum is free but needs a signed-in account; no Premium required. | Download the app and create an account; if you have an educator package, keep its codes for your students. |
| Working, tested code | A student's first experience should not be a compile error; everyone who reads the post will copy the code as it is. | Upload and run the code on your own circuit from start to finish at least once. |
| Project photo | The first image of the post; it is where students first see the project. | A sharp, well-lit photo of the finished project. |
| Circuit photo | What students look at while wiring; one of the 5 images you can add to the post. | A readable circuit diagram or a photo where every connection is clearly visible. |
| List of parts | Students see what they are missing here; the parts list goes into the description. | Write down every part with its quantity beforehand. |
Preparation: photo, circuit image, code and parts list
Writing the post takes five minutes; the real time goes into preparation. A well-prepared post answers half the questions your students would otherwise ask during the lesson. If you work through the list below in order, everything will be at hand when the New Post screen opens.
- Project photo: Shoot the project while it is running, in daylight or under a white desk lamp. Keep the background plain and show the board and the output (a lit LED, text on a display) in the same frame. Holding the phone slightly above the project at about 45 degrees makes the wires easier to follow than a straight-down shot.
- Circuit photo: The best result comes from a diagram made in a circuit drawing program. If you take a photo, shoot the breadboard from directly above so both ends of every wire are visible. Standardise wire colours: red for 5V or 3.3V, black for GND, other colours for signals. Writing the pin numbers on a slip of paper next to the board makes it far more readable.
- Code: Define pin numbers as constants at the very top (for example const int ledPin = 8;), add a short comment to each section and delete leftover test lines. If you use a library, name it in the description. Compile and upload the code in the Arduino IDE one last time and paste exactly that version in with Add code.
- Video (optional): You can't upload a video to a forum post; if you want to show the project working in a short 30 to 90 second clip, put it on YouTube and add the link to the description. Showing the circuit up close once in the video helps students compare it with their own build.
- Parts list: Note every part with its quantity, and for resistors and LEDs add the value and colour too: 220 Ω resistor × 3, red LED × 1, yellow LED × 1 and so on. You can drop this note straight into the description.
Filling in the New Post screen field by field
When preparation is done, tap the Learn tab in the bottom bar, switch to the Forum section at the top and tap New Post. Choose Tutorial as the category. The fields on the screen and our suggestions are below:
| Field | Required? | What goes in | Example |
|---|---|---|---|
| Category | Yes | Tutorial for posts that walk through your own project | Tutorial |
| Title | Yes | A short name that says what it does | Soil Moisture Alarm (LED and Buzzer) |
| Description | Yes | Purpose, wiring, how it works and tasks, using the template below | The six headings of the template |
| Images | No (up to 5) | A sharp photo of the finished project and a readable circuit image | Image 1 the alarm next to the pot, image 2 a top-down photo of the breadboard |
| Code | No | The final Arduino code you tested, via Add code | Commented code with pin constants at the top |
| Project | No (up to 3) | Ready-made BlueGrays projects built on the same idea | Night Light with Ldr |
| Component | No (up to 5) | The main parts you used | Buzzer, red LED |
| Tool | No (up to 3) | Electronics tools that help with the maths | LED resistor |
In your post, the description is the main text students read. It replaces the step-by-step walkthrough of the ready-made projects, so use a structure with headings instead of one plain paragraph. Copy the template below and fill it in for your project:
- Purpose: What does the project do? One sentence. (When the soil dries out, the LED lights up and the buzzer gives short beeps.)
- What you will learn: Two or three concepts. (Reading a sensor with analogRead, a threshold value, making decisions with if-else.)
- Wiring: Which pin each part goes to, line by line. (Sensor AO → A0, LED → D8 + 220 Ω → GND, buzzer → D9.)
- How it works: The code flow in four to six steps. (Read the sensor, print the value to the serial monitor, compare it with the threshold, control the LED and buzzer, wait one second.)
- Try it yourself: Two or three small changes. (Raise the threshold from 500 to 600 and watch the difference; make the buzzer sound only when the soil is very dry.)
- Safety: Short warnings. (Unplug USB before changing the circuit; dip the sensor into water only up to the marked line.)
Parts list and difficulty level
Write the parts list into the description with quantities. Keep parts of the same type clearly apart: "330R", "10K", "Blue LED", "Male-Female" and so on. If you use resistors of two different values, put each on its own line with its value and quantity so students can read from the parts list which resistor goes where. You can also attach the main parts to the post in the Related project, component or tool section (up to 5 components); if a part you need is missing from the list, you can report it through the Support section of the app.
The forum has no separate difficulty field, so state the level in the title or at the top of the description. When deciding on the level, think about the number of code lines and the complexity of the circuit together. A rough guide is in the table below. When in doubt, pick the lower level: a student who struggles with a project marked Beginner loses motivation faster than one who finds an Intermediate project easy.
| Level | Typical circuit | Typical code | Example |
|---|---|---|---|
| Beginner | 1 to 3 parts, no library | Up to 30 lines, a single if or a single loop | LED with a button, night light with an LDR |
| Intermediate | One sensor and one or two outputs, maybe a library | 30 to 100 lines, several conditions, functions | Moisture alarm, buzzer by distance |
| Advanced | Several modules, a display, motors or a wireless link | 100+ lines, a state machine, timing | Irrigation station, obstacle-avoiding robot |
Publishing: no review, but language matters
When you fill in the fields and tap Publish, the post goes live on the forum without review. It is published in the language you are using the app in at that moment and is not translated automatically; students who use the app in another language see it by picking that language, or All, in the forum's Topic language selector. If you need to fix something later, you update the post with Edit Post.
After publishing: how students find your project
Your post shows on the forum in the Tutorial category under your name. Because it is not translated automatically, students who use the app in another language need to pick your language in the forum's Topic language selector. There are three ways for students to reach your post:
- Share link: Use the Share icon at the top of the post to send the link to your class channel; when a student taps it, the same post opens in the app (if they are not signed in, they are asked to sign in first).
- Forum search: If you gave the post a distinctive title (for example "Soil Moisture Alarm (LED and Buzzer)"), typing it into the forum's search box is enough; choosing the Tutorial category narrows the list.
- Links to ready-made projects: You can also send the ready-made projects you attached with Share on the project page; students save the ones they like to Workshop > Favorites with Favorite.
There is one important detail here: reading a forum post is free, but students need Premium to see the full Premium projects you attach to it. For a class, the easiest route is an educator package: you give each student a code, and all of the 200+ projects in the app unlock. Starting the first lessons with free projects and handing out codes in the week you move to Premium projects is a sensible order too.
A 40-minute sample lesson with this project
Let's say your project is a "Soil Moisture Alarm": a soil moisture sensor on A0, a red LED on D8 and a buzzer on D9; when the soil dries out, the LED lights up and the buzzer beeps briefly. Assume you split a class of 24 into 8 groups of three. The flow below can be adapted to any project of your own:
| Time | Stage | What happens |
|---|---|---|
| 0–5 min | Warm-up | Show the project's video or photo on the projector and ask: what does this circuit sense, and when does it warn us? |
| 5–10 min | Read the page together | Students open the forum post from the link you sent; you look at the parts list and the circuit photo together. |
| 10–20 min | Build the circuit | Groups build the circuit from the Wiring list in the description; you check the GND and 5V connections table by table. |
| 20–27 min | Upload the code | The code is copied from the post into the Arduino IDE, board and port are selected and the sketch is uploaded; sensor values are watched in the serial monitor. |
| 27–35 min | Try-it task | Groups measure the value in dry and wet soil, write it on the board and change the threshold to match their own readings. |
| 35–40 min | Exit question | Every student writes one sentence answering "What would happen if we lowered the threshold to 300?"; groups with a working circuit add a photo of it to the post as a comment. |
The most valuable part of this flow is minutes 27 to 35: when students replace the threshold you wrote with numbers they measured themselves, they see that code is not fixed text but an adjustable decision mechanism. That is why you should never leave the Try it yourself part of the description empty. If you want to show the same sensor logic in a ready-made project first, the free Night Light with Ldr project teaches the same threshold idea with light; doing it the week before your own project is good preparation.
Honest limits: what is missing and what to do instead
| Expectation | In reality | Our suggestion |
|---|---|---|
| Only my class should see my project | A forum post is public as soon as it goes live | Keep information you do not want published (school name, student names) out of the text and photos |
| My own project should have an Understand the code tab too | Forum posts do not have Understand the code steps or a block view | Write the How it works and Try it yourself headings in detail and keep code comments instructive |
| I want to see whether each student finished the project | There is no panel showing class progress to the educator | Ask for a photo of the circuit as a comment on the post at the end of the lesson; for ready-made projects, check the Completed Projects list on the student's own screen |
| It should be readable in other languages too | The post is not translated automatically and stays in the language it was written in | If needed, switch the app language and open a separate post in the second language |
Checklist before you publish
- The final code compiles and works on a real circuit.
- Pin numbers match in the code, the description and the circuit photo.
- The project photo shows the project working, sharp and well lit.
- Both ends of every wire are visible in the circuit photo.
- No faces, school names or personal details appear in the photos.
- Every part is in the parts list in the description with its quantity; resistor values are written out.
- The description follows the six-heading template: purpose, what you learn, wiring, how it works, tasks, safety.
- The names of the libraries you use are in the description.
- The difficulty level in the title or description fits the circuit and code length; when in doubt, the lower level was given.
- The post went live before the lesson where you will use it and you opened it once on your own phone to check it.
Once your project is live, it is easy to place it in a course sequence alongside the ready-made projects: the free LED Blink and Traffic Light in the first weeks, sensor projects in the middle and your own project at the end of term. If you are looking for a week-by-week skeleton, the 8-week robotics coding lesson plan is a good start, and for new ideas take a look at 30 Arduino project ideas. When you are ready to share your project, you can take the first step in the BlueGrays app under Learn > Forum > New Post.
Frequently asked questions
How do I share my own Arduino project in BlueGrays?
In the app, go to Learn > Forum > New Post and choose Tutorial as the category. Write a title and description, add up to 5 images (project and circuit photos), paste your code with Add code, pick related ready-made projects and components if you like, then tap Publish. The post goes live without review.
Do I need Premium to share a project on the forum?
No, posting on the forum is free. Premium is needed for students to see the full ready-made Premium projects you attach; you can provide it with codes from Educator Packages, and students enter them on the Profile > Redeem Code screen.
Will only my students see the project I share?
No, a forum post is public and shows your name. That is why you should not use student names, the school name or other details you do not want published in the photos or text.
How do my students find my projects?
Send the link from the post's Share icon to your class group; when students tap it, the post opens in the app. Searching for the title on the forum also works. Forum posts do not appear in the project list or its filters.
Is my post translated into other languages?
No, it is not translated automatically. The post is published in the language you are using the app in at that moment; students using another language see it by picking that language, or All, in the forum's Topic language selector. If needed, switch the app language and open a separate post in the second language.
What do students need to see my project?
To read a forum post they only need to be signed in to the app; no Premium required. For the Premium projects you mention in the post, the easiest route is giving each student a code from an educator package; they enter it on the Profile > Redeem Code screen and all projects in the app unlock.
Projects to build after reading this
See all projects
Night Light with Ldr
A little night light that turns on by itself when it gets dark and goes off when morning comes. A light sensor measures how bright the room is, and the Arduino switches the LED on when it is dark enou
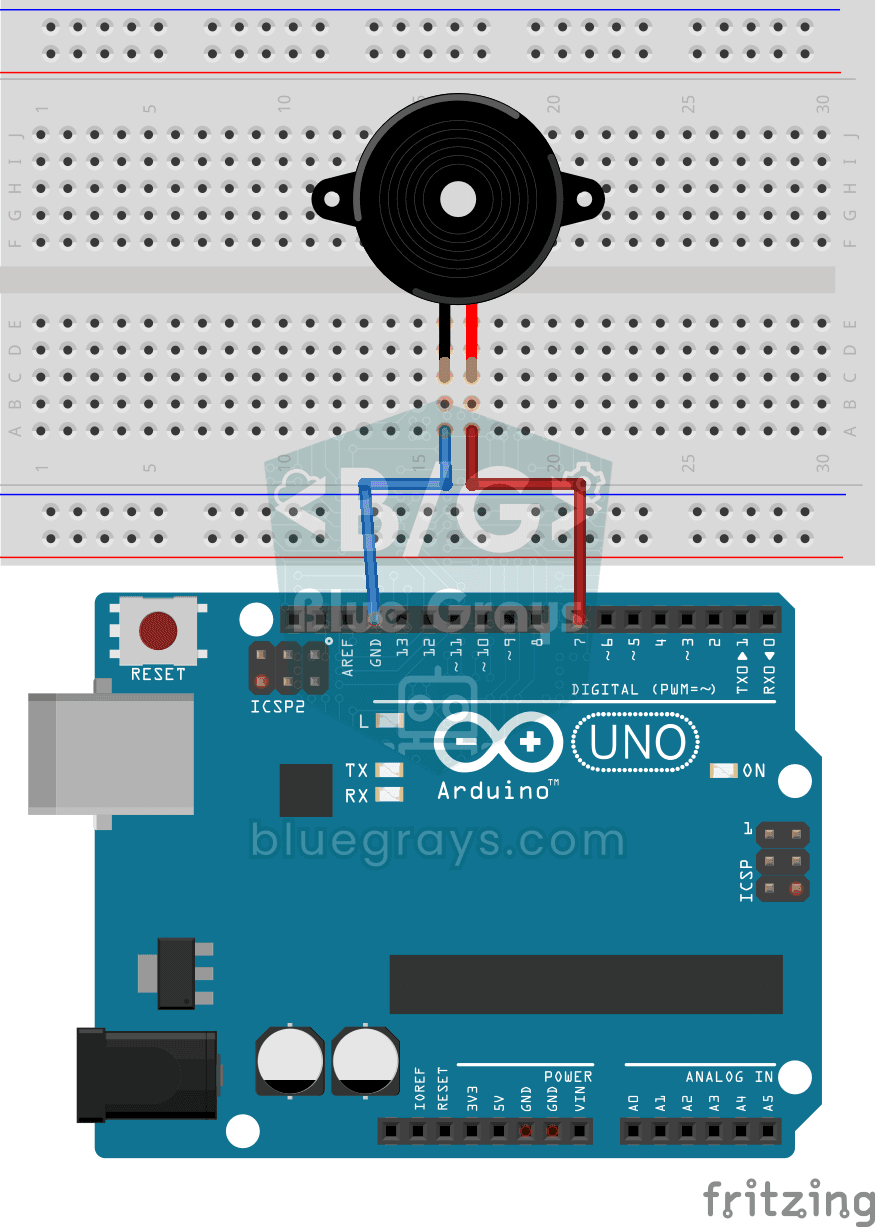
Using a Buzzer
Ever wondered how a doorbell or an alarm makes its sound? The Arduino makes a small buzzer beep at short intervals: beep, pause, beep, pause. You see how sound is made with electricity and take the fi

HC-SR04 Distance Measurement (Serial Display)
The HC-SR04 sensor works just like a bat finding its way in the dark: it sends out a sound you cannot hear, listens for the echo and measures how far away the object in front of it is. The Arduino wri

Temperature and Humidity with DHT11
How warm is your room, and is the air humid or dry? The DHT11 sensor measures temperature and humidity, and the Arduino writes the values on a two-line LCD screen, refreshing every couple of seconds.

Traffic Light
A tiny copy of the traffic light you see on the road every day. Red stays on for two seconds, yellow flashes for a moment, green stays on for two seconds, then it goes back to red through yellow again

Toggle an LED with a Button (On/Off)
Press the button once and the light comes on, press it again and it goes off, just like the light switch in your room. The Arduino notices every press and flips the LED to the opposite state, waiting
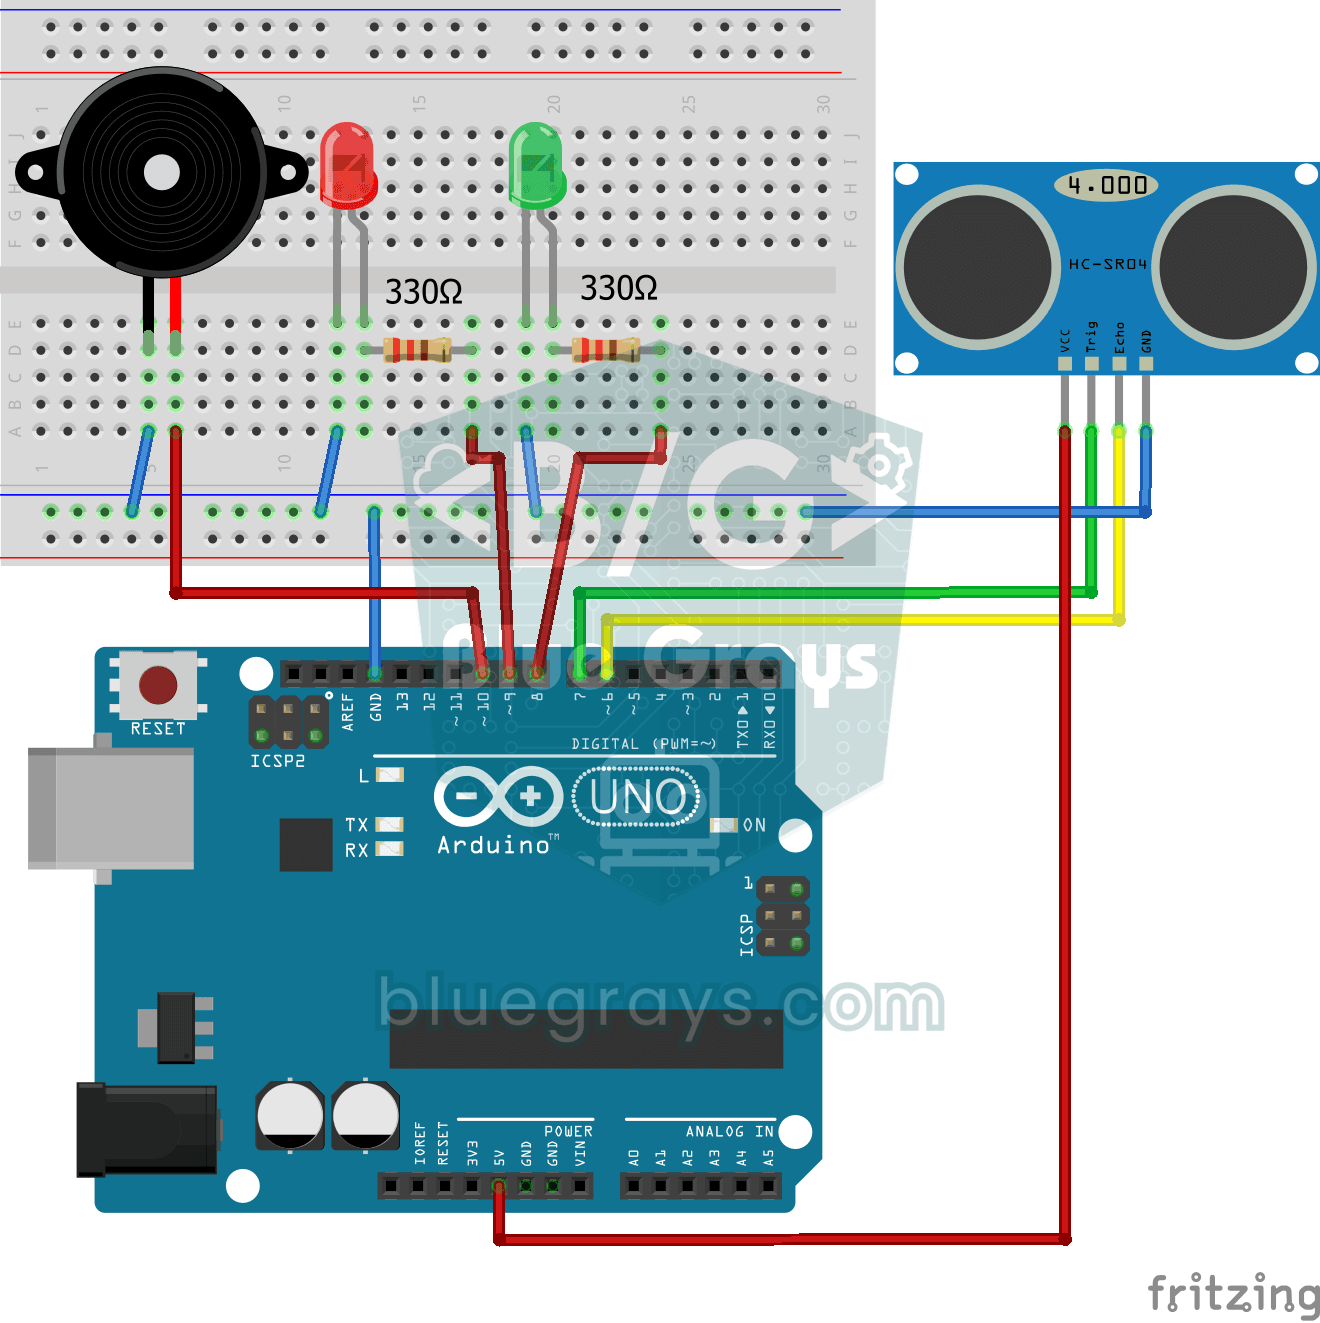
Parking Sensor with HC-SR04
A mini version of a car's parking sensor: the closer something gets, the faster the beeps. The distance sensor measures the object in front of it; if it is more than 20 centimetres away the green LED

Smart Irrigation Station
A gardener that waters your plants on its own, so they don't dry out while you're on vacation. A soil moisture sensor measures how wet the soil is; when it gets dry, the Arduino runs the water pump fo