
ESP32 Servo Web Server: Control a Servo With a Phone Slider
Build an ESP32 servo web server: ESP32Servo library, a web slider that sends the angle with fetch, pin choice, power and common ground, jitter fixes, pan-tilt.

The most fun way to build an ESP32 servo web server is to turn the servo in real time with a slider on your phone: slide your finger and the servo follows, with no app to install on the phone. In this guide we turn the ESP32 into a web server, send the slider value from the page in the browser to the ESP32 with JavaScript's fetch command, and move the servo to that angle with the ESP32Servo library.
Alongside the code we cover the hardware side in detail, because most Wi-Fi servo projects fail because of power, not software: the servo jitters, the ESP32 resets or the connection drops. Step by step you'll see which pin to pick, what to power the servo from, why a common ground is essential, how to stop jitter and, finally, how to build a pan-tilt mount with two servos.
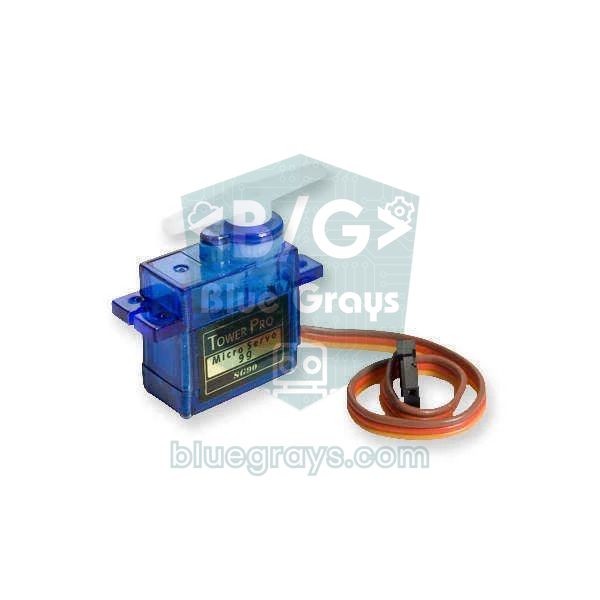
How it works: from the slider to the servo
- Your phone's browser opens the ESP32's IP address, and the ESP32 sends back a small HTML page with a slider.
- As you move the slider, JavaScript on the page sends the angle with fetch to an address such as /set?angle=120; the page doesn't reload.
- The web server on the ESP32 picks up the request, reads the angle and limits it to the 0–180 range.
- The ESP32Servo library turns the angle into a pulse width: about 500 µs for 0 degrees and 2400 µs for 180 degrees, sent 50 times a second.
- The control board inside the servo reads the pulse, drives the motor to that angle and holds it there.
We explained how a servo works and how pulse width relates to angle in What Is a Servo Motor? What matters here is this: the standard Arduino Servo library doesn't work on the ESP32, because the ESP32 generates PWM with different hardware (LEDC). That's why we use the ESP32Servo library; it offers the same attach() and write() commands and works with both the 2.x and 3.x ESP32 cores.
What you need
- An ESP32 development board (DevKit, NodeMCU-32S or similar)
- An SG90 or MG90S servo (two of them and a pan-tilt bracket for the pan-tilt version)
- An external 5 V supply: an adapter rated for at least 2 A, or a 4 × AA battery holder
- A 470–1000 µF electrolytic capacitor (rated 10 V or more)
- A breadboard and jumper wires
- The ESP32 board package installed in the Arduino IDE, and the ESP32Servo library installed from the Library Manager
Choosing a pin: which GPIO should the servo use?
Almost every output pin on the ESP32 can generate PWM, but they're not all equally good for a servo. Some pins output short signals during boot and make the servo twitch every time the board powers up; others are input-only. You can see your board's full pin map in the Pinout tool:
| Pins | For a servo | Why |
|---|---|---|
| GPIO 13, 25, 26, 27, 32, 33 | Recommended | Quiet at boot, and each can output PWM (LEDC) |
| GPIO 4, 16, 17, 18, 19, 21, 22, 23 | Fine | Safe general-purpose pins; leave them unused if you use I2C (21, 22) or SPI (18, 19, 23) |
| GPIO 2, 5, 12, 14, 15 | Avoid | Strapping pins or pins that output PWM at boot; the servo may twitch or the board may not boot |
| GPIO 34–39 | Can't be used | Input-only, they can't output PWM |
| GPIO 6–11 | Can't be used | Wired to the internal flash memory |
| GPIO 1 and 3 | Can't be used | The USB serial line (TX, RX) |
Powering the servo and the common ground
An idle SG90 draws around 10 mA, but the moment it starts moving or holds a load, the current jumps to 500–700 mA. The ESP32 itself draws bursts of about 250 mA while it transmits over Wi-Fi. Feed both from the same weak USB line and the voltage collapses, and the ESP32 resets with "Brownout detector was triggered". The fix is to power the servo from a separate 5 V supply and join the grounds of the two circuits:
| Servo wire | Connect to | Note |
|---|---|---|
| Brown or black (GND) | Negative of the external supply and the ESP32's GND pin | A common ground is a must: it's the signal's reference |
| Red (V+) | External 5 V supply (4.8–6 V) | Never connect it to the ESP32's 3V3 pin |
| Orange or yellow (signal) | GPIO 13 | A 3.3 V signal is enough for the SG90 and MG90S |
| Setup | Recommended supply | Note |
|---|---|---|
| 1 SG90, no-load test | The ESP32 board's 5V (VIN) pin, from USB | Short tests only; brownouts are possible together with Wi-Fi |
| 2 SG90 (pan-tilt) | 5 V adapter, at least 2 A | Add a 470–1000 µF capacitor across the supply |
| 1–2 MG996R | 5–6 V, at least 3 A | Stall current can reach 2.5 A per servo |
| Portable project | 4 AA batteries (alkaline, 6 V) | Rechargeable NiMH cells give 4.8 V, which is fine too |
Step 1: a first test with ESP32Servo
Before you add Wi-Fi, make sure the servo and its power supply work properly. Search for ESP32Servo in the Library Manager, install the library by Kevin Harrington and John K. Bennett, then upload the sketch below. The servo should sweep slowly between 0 and 180 degrees; if it doesn't, the problem is in the wiring or the power, not the software.
1#include <ESP32Servo.h>
2
3const int SERVO_PIN = 13;                  // açılışta sessiz, güvenli pin / quiet at boot, safe pin
4Servo servo;
5
6void setup() {
7  servo.setPeriodHertz(50);                // standart servo 50 Hz / standard servo, 50 Hz
8  servo.attach(SERVO_PIN, 500, 2400);      // 0° = 500 µs, 180° = 2400 µs (SG90)
9}
10
11void loop() {
12  for (int a = 0; a <= 180; a += 2) {      // 0 → 180°
13    servo.write(a);
14    delay(15);
15  }
16  for (int a = 180; a >= 0; a -= 2) {      // 180 → 0°
17    servo.write(a);
18    delay(15);
19  }
20}Step 2: control the servo with a slider on a web page
Now for the main project. The sketch below connects the ESP32 to your home network, serves a page with a slider and writes the angle that arrives at /set to the servo. The HTML page lives inside the code as a raw string, so there's no separate file to upload. Enter your Wi-Fi name and password, upload the sketch, then open the IP address shown in the Serial Monitor in your phone's browser.
1#include <WiFi.h>
2#include <WebServer.h>
3#include <ESP32Servo.h>
4
5const char* WIFI_SSID = "AgAdi";          // Wi-Fi adın / your Wi-Fi name
6const char* WIFI_PASS = "Sifre123";       // Wi-Fi şifren / your Wi-Fi password
7const int SERVO_PIN = 13;
8
9WebServer server(80);
10Servo servo;
11int currentAngle = 90;                    // açılışta ortada / centred at start
12
13// Telefonda açılan sayfa / page opened on the phone
14const char PAGE[] PROGMEM = R"rawliteral(
15<!DOCTYPE html><html><head><meta charset="utf-8">
16<meta name="viewport" content="width=device-width,initial-scale=1">
17<title>ESP32 Servo</title>
18<style>
19body{font-family:sans-serif;text-align:center;margin-top:40px}
20input{width:85%;height:40px}
21#v{font-size:56px;font-weight:bold}
22</style></head><body>
23<h2>ESP32 Servo</h2>
24<p><span id="v">%ANGLE%</span>°</p>
25<input type="range" id="s" min="0" max="180" value="%ANGLE%">
26<script>
27const s = document.getElementById('s');
28const v = document.getElementById('v');
29let last = 0, timer = null;
30function send() {
31  fetch('/set?angle=' + s.value);          // açıyı gönder / send the angle
32  last = Date.now();
33}
34s.addEventListener('input', () => {
35  v.textContent = s.value;
36  clearTimeout(timer);
37  if (Date.now() - last > 100) send();     // en fazla 10 istek/sn / at most 10 requests/s
38  else timer = setTimeout(send, 100);      // son değer mutlaka gider / the last value always goes out
39});
40</script></body></html>
41)rawliteral";
42
43void handleRoot() {
44  String html = PAGE;
45  html.replace("%ANGLE%", String(currentAngle));   // slider doğru yerde başlar / slider starts at the right spot
46  server.send(200, "text/html", html);
47}
48
49void handleSet() {
50  if (!server.hasArg("angle")) {
51    server.send(400, "text/plain", "angle?");
52    return;
53  }
54  int angle = constrain(server.arg("angle").toInt(), 0, 180);   // güvenli aralık / safe range
55  if (angle != currentAngle) {             // aynı açıyı tekrar yazma / don't rewrite the same angle
56    servo.write(angle);
57    currentAngle = angle;
58  }
59  server.send(200, "text/plain", String(currentAngle));
60}
61
62void setup() {
63  Serial.begin(115200);
64  servo.setPeriodHertz(50);
65  servo.attach(SERVO_PIN, 500, 2400);
66  servo.write(currentAngle);
67
68  WiFi.mode(WIFI_STA);
69  WiFi.begin(WIFI_SSID, WIFI_PASS);
70  while (WiFi.status() != WL_CONNECTED) {  // bağlanana kadar bekle / wait until connected
71    delay(500);
72    Serial.print(".");
73  }
74  Serial.println();
75  Serial.print("IP: ");
76  Serial.println(WiFi.localIP());          // bu adresi telefonda aç / open this address on your phone
77
78  server.on("/", handleRoot);
79  server.on("/set", handleSet);
80  server.begin();
81}
82
83void loop() {
84  server.handleClient();
85}
There are two key points in this code. First, the JavaScript doesn't send a request every time the slider moves: it waits at least 100 ms between requests and always sends the last value when you lift your finger. A slider can fire 60 events a second; sending them all clogs the ESP32's web server and makes the servo move in jerks. Second, on the server side constrain() limits the angle to 0–180, so even if someone types a bad value into the address bar, the servo isn't forced.
Every time the page opens, the %ANGLE% placeholder is replaced with the servo's current angle, so the slider starts in the right position even after you close and reopen the browser. Several phones can connect at once, and the last angle sent wins. If you want a live interface that updates instantly on every phone, switch to the approach in ESP32 Async Web Server and WebSocket.
No router? Let the ESP32 create its own Wi-Fi network
If you'll use the project at a science fair, in the garden or anywhere without a home network, run the ESP32 in access point (AP) mode. In setup(), replace the WiFi.mode and WiFi.begin lines and the loop that waits for the connection with the lines below; then just join the ESP32-Servo network with your phone and open 192.168.4.1 in the browser:
1// Router yoksa: ESP32 kendi ağını kurar / No router: the ESP32 creates its own network
2WiFi.softAP("ESP32-Servo", "12345678");    // şifre en az 8 karakter / password, at least 8 characters
3Serial.print("IP: ");
4Serial.println(WiFi.softAPIP());           // genellikle 192.168.4.1 / usually 192.168.4.1
How to stop servo jitter
- Separate power and a common ground: a weak supply is the number one cause of jitter; power the servo from a 5 V supply rated for at least 2 A and join the grounds.
- Capacitor: put a 470–1000 µF electrolytic capacitor across the servo's power wires, close to the servo; it smooths the voltage dip when the servo starts. You can decode capacitor markings with the capacitor code tool.
- Limit requests: don't send every slider event; the 100 ms limit in the code takes the load off both the network and the servo.
- Don't rewrite the same angle: the if (angle != currentAngle) check in the code skips needless writes.
- The right pulse range: if the servo buzzes at the ends, it's pushing against its mechanical stop; narrow the attach() range or the angle limits.
- Keep the signal wire short: with wires longer than 30 cm, run signal and GND side by side, ideally twisted together.
- Last resort, detach(): calling detach() once the servo reaches its position cuts the signal and the jitter stops, but the servo no longer holds the load.
If the problem persists, see Servo Jitter: Causes and Fixes, where we go through every cause of jitter with measurements. If you run on batteries, you can estimate how long they'll last in advance with the battery life calculator.
Step 3: a pan-tilt version with two servos
A pan-tilt mount has two servos: the lower one turns horizontally (pan) and the upper one vertically (tilt). Add a camera, a laser or an ultrasonic sensor and you get an eye you can aim remotely. Connect the pan servo to GPIO 13 and the tilt servo to GPIO 27, and power both from the same external 5 V supply. This version brings two changes: the page has two sliders, and instead of jumping straight to the new angle, the servos move one degree every 10 ms until they get there. That makes the motion smoother and stops both servos from drawing a big current at the same moment.
1#include <WiFi.h>
2#include <WebServer.h>
3#include <ESP32Servo.h>
4
5const char* WIFI_SSID = "AgAdi";          // Wi-Fi adın / your Wi-Fi name
6const char* WIFI_PASS = "Sifre123";       // Wi-Fi şifren / your Wi-Fi password
7const int PAN_PIN = 13;                   // yatay servo / pan servo
8const int TILT_PIN = 27;                  // dikey servo / tilt servo
9
10WebServer server(80);
11Servo pan, tilt;
12int panTarget = 90, tiltTarget = 90;      // hedef açılar / target angles
13int panNow = 90, tiltNow = 90;            // anlık açılar / current angles
14unsigned long lastStep = 0;
15
16const char PAGE[] PROGMEM = R"rawliteral(
17<!DOCTYPE html><html><head><meta charset="utf-8">
18<meta name="viewport" content="width=device-width,initial-scale=1">
19<title>ESP32 Pan-Tilt</title>
20<style>body{font-family:sans-serif;text-align:center}input{width:85%;height:40px}</style>
21</head><body>
22<h2>ESP32 Pan-Tilt</h2>
23<p>Pan: <b id="pv">%PAN%</b>°</p>
24<input type="range" id="pan" min="0" max="180" value="%PAN%">
25<p>Tilt: <b id="tv">%TILT%</b>°</p>
26<input type="range" id="tilt" min="20" max="160" value="%TILT%">
27<script>
28const pan = document.getElementById('pan');
29const tilt = document.getElementById('tilt');
30let last = 0, timer = null;
31function send() {
32  fetch('/set?pan=' + pan.value + '&tilt=' + tilt.value);   // iki açı tek istekte / both angles in one request
33  last = Date.now();
34}
35function changed() {
36  document.getElementById('pv').textContent = pan.value;
37  document.getElementById('tv').textContent = tilt.value;
38  clearTimeout(timer);
39  if (Date.now() - last > 100) send();
40  else timer = setTimeout(send, 100);
41}
42pan.addEventListener('input', changed);
43tilt.addEventListener('input', changed);
44</script></body></html>
45)rawliteral";
46
47void handleRoot() {
48  String html = PAGE;
49  html.replace("%PAN%", String(panTarget));
50  html.replace("%TILT%", String(tiltTarget));
51  server.send(200, "text/html", html);
52}
53
54void handleSet() {
55  if (server.hasArg("pan"))  panTarget  = constrain(server.arg("pan").toInt(), 0, 180);
56  if (server.hasArg("tilt")) tiltTarget = constrain(server.arg("tilt").toInt(), 20, 160);   // braket sınırı / bracket limit
57  server.send(200, "text/plain", "OK");
58}
59
60// Her 10 ms'de hedefe 1 derece yaklaş: yumuşak hareket, düşük akım
61// Step 1 degree toward the target every 10 ms: smooth motion, lower current peaks
62void moveSmoothly() {
63  if (millis() - lastStep < 10) return;
64  lastStep = millis();
65  if (panNow != panTarget) {
66    panNow += (panTarget > panNow) ? 1 : -1;
67    pan.write(panNow);
68  }
69  if (tiltNow != tiltTarget) {
70    tiltNow += (tiltTarget > tiltNow) ? 1 : -1;
71    tilt.write(tiltNow);
72  }
73}
74
75void setup() {
76  Serial.begin(115200);
77  pan.setPeriodHertz(50);
78  tilt.setPeriodHertz(50);
79  pan.attach(PAN_PIN, 500, 2400);
80  tilt.attach(TILT_PIN, 500, 2400);
81  pan.write(panNow);
82  tilt.write(tiltNow);
83
84  WiFi.mode(WIFI_STA);
85  WiFi.begin(WIFI_SSID, WIFI_PASS);
86  while (WiFi.status() != WL_CONNECTED) {
87    delay(500);
88    Serial.print(".");
89  }
90  Serial.println();
91  Serial.print("IP: ");
92  Serial.println(WiFi.localIP());
93
94  server.on("/", handleRoot);
95  server.on("/set", handleSet);
96  server.begin();
97}
98
99void loop() {
100  server.handleClient();                   // istekleri işle / handle requests
101  moveSmoothly();                          // servoları hedefe taşı / move the servos toward their targets
102}
The tilt axis is limited to 20–160 degrees, because on most plastic pan-tilt brackets the upper servo hits the base at the extremes. On your own mount, move the servo slowly towards each end, note the angle just before it hits, and set both the slider's min and max values and the constrain() limits in the code to match. If you need more servos, moving from the ESP32's pins to a 16-channel PCA9685 servo driver board makes wiring and power much easier.
Common mistakes and how to fix them
- The servo doesn't move at all: the grounds aren't joined, the servo is on 3V3, or the signal wire is on one of the input-only pins GPIO 34–39.
- The ESP32 resets when the servo moves: the power supply isn't up to it; power the servo from a separate 5 V supply and add a capacitor.
- "This library only supports boards with an AVR..." error: the Arduino Servo library doesn't support the ESP32; use #include <ESP32Servo.h>.
- The page won't open: the phone and the ESP32 aren't on the same network, the phone has switched to mobile data, or the network is 5 GHz; the ESP32 only joins 2.4 GHz networks. For other connection problems, see ESP32 Won't Connect to Wi-Fi.
- The servo lags behind the slider: too many requests are queuing up; keep the 100 ms limit in the JavaScript or raise it to 150 ms.
- The servo twitches every time the board powers up: the signal is on a pin that outputs PWM at boot (GPIO 2, 5, 12, 14, 15); move it to GPIO 13, 25–27 or 32–33.
Controlling a servo from your phone with a slider is the foundation of many projects: robot arms, camera mounts, smart door locks and lids that open remotely. If you're moving to a stronger servo, work out the power budget with MG996R Servo Motor. In the BlueGrays app you'll find the ESP32 potentiometer servo control, the RFID door lock with a servo and the ESP32 web server projects step by step, each with its circuit diagram and code.
Frequently asked questions
How do you control a servo motor with an ESP32?
Install the ESP32Servo library, connect the servo's signal wire to a safe pin such as GPIO 13, start it with servo.attach(13, 500, 2400) and then use servo.write(angle). Power the servo from an external 5 V supply rather than the ESP32, and join the grounds.
Why doesn't Servo.h work on the ESP32?
The standard Arduino Servo library is written for processors such as AVR and SAMD and doesn't know the ESP32's PWM hardware (LEDC). The ESP32Servo library offers the same commands and works on both the 2.x and 3.x ESP32 cores.
Is the ESP32's 3.3 V signal enough for a servo?
Most common servos, including the SG90, MG90S and MG996R, read a 3.3 V signal without any problem. The trouble is almost always the power, not the signal: the servo's red wire must go to a 5–6 V supply that can deliver enough current.
How many servos can an ESP32 control?
The classic ESP32's LEDC unit has 16 PWM channels, so in theory you can drive up to 16 servos. In practice you run out of suitable pins or power first; for more than four servos, a PCA9685 driver board over I2C is a cleaner solution.
Can I control a servo with an ESP32 without a router?
Yes. Put the ESP32 in access point mode with WiFi.softAP() and it creates its own Wi-Fi network. Join that network with your phone, open 192.168.4.1 in the browser and use the same slider page.
Why does my servo jitter when connected to an ESP32?
The most common causes are an inadequate power supply, a missing common ground and too many commands per second. Power the servo from a separate 5 V supply, add a 470–1000 µF capacitor and limit the web page's requests to one every 100 ms.
Projects to build after reading this
See all projects
ESP32 Servo Motor (Potentiometer Control)
In this project, we control an SG90 servo motor using a potentiometer. We adjust the servo angle by mapping the analog value read from the potentiometer to the 0–180-degree range. The ESP32Servo library generates servo signals on suitable output-capable GPIO pins of the ESP32; this project uses GPIO 18. This is a fundamental control method for robotic arms, camera gimbals, and automatic door mechanisms.

ESP32 RFID Door Lock (RC522 + Servo + OLED + Buzzer + LED)
We build a smart door lock with an ESP32, an RC522 RFID module, an SG90 servo, an SSD1306 OLED display, an active buzzer and 2 LEDs. When a card is scanned, its UID is checked against the authorized cards defined in the code; if it matches, the servo unlocks (green LED + 2 short beeps) and locks again after 5 seconds. An unknown card lights the red LED, gives 3 quick beeps and shows its UID on the OLED.

ESP32 Asynchronous Web Server (with IP Display on LCD)
In this project, we’re turning the ESP32 into an asynchronous web server that you can control from your phone or computer on the same Wi-Fi network. Thanks to the ESPAsyncWebServer library, the server can process multiple requests simultaneously (unlike the classic WebServer.h, which blocks on a single request). You’ll be able to open the ESP32’s IP address in a browser and click the ON/OFF buttons (the /on and /off routes) to turn the LED connected to GPIO 5 on and off.

ESP32 WebSocket Counter (2 Buttons + LCD + Real-Time Web)
In this project, two buttons wired to the ESP32 (GPIO 5 counts up, GPIO 4 counts down) change a counter. The value updates instantly both on a 16x2 I2C LCD and, through the WebSocket support of ESPAsyncWebServer, in every connected browser without reloading the page. Instead of HTTP polling a single persistent connection is used, and the ESP32 sends the new value to everyone with ws.textAll().

ESP32 Wi-Fi STA Connection (with LCD Screen)
In this project, we connect the ESP32 to the home Wi-Fi network in Station (STA) mode in a secure, fault-tolerant manner. We store the SSID and password in a separate secrets.h file to prevent leaking to Git, set up an auto-reconnect mechanism, and display the RSSI signal level and IP address on an I2C LCD screen. The internal LED works as a status indicator. It is a production-grade connection manager.

ESP32 mDNS: Accessing the Device via bluegrays-esp.local (with LCD Screen)
In this project we add an mDNS (Multicast DNS) service to the ESP32, so you reach it by a readable host name like bluegrays-esp.local instead of an IP address. Even if the IP assigned by DHCP changes, the device always answers to the same name. A small web server on the board lets you control the LED from your browser at http://bluegrays-esp.local/.
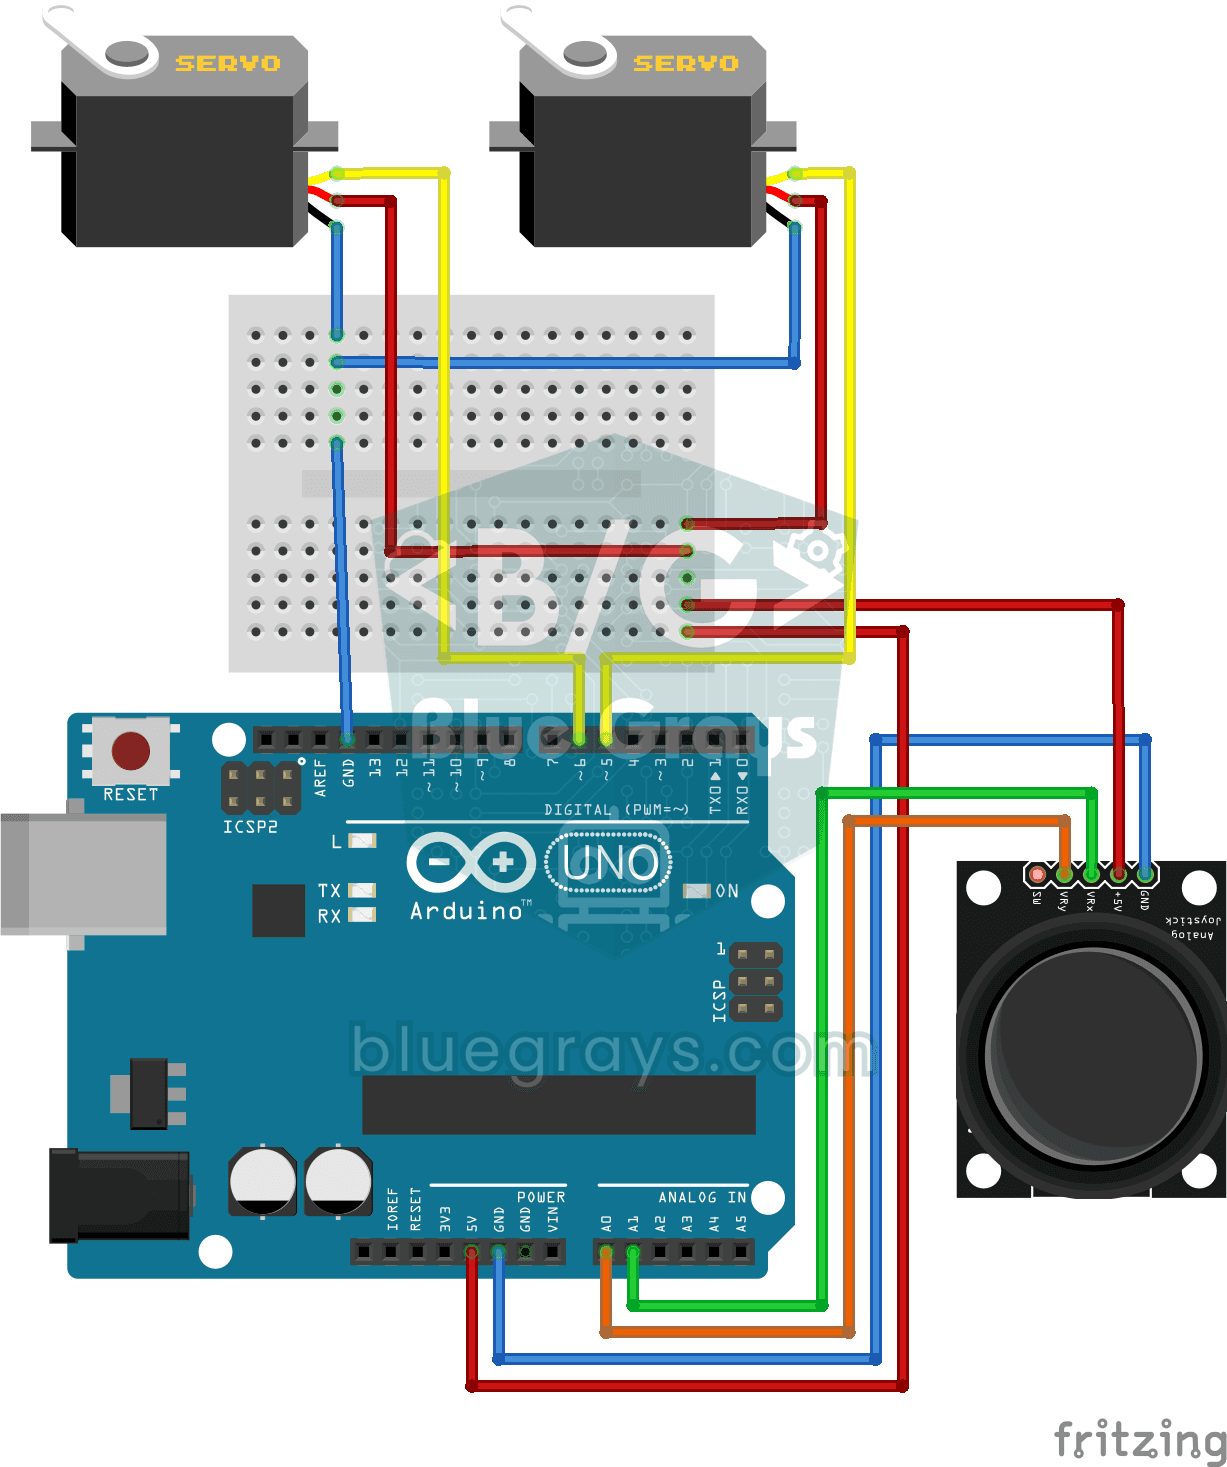
Servo Control with Joystick
Steer two motors with a joystick, just like turning a security camera. Push the stick left or right and the bottom servo motor slowly turns, push it up or down and the top servo tilts up and down…