
Arduino Leonardo Keyboard and Mouse: Build a Macro Keypad (HID)
Arduino Leonardo keyboard guide: ATmega32U4, Keyboard.h and Mouse.h, a macro keypad, a joystick mouse, double-reset uploads and why an Uno can't be a USB HID.

The Arduino Leonardo can act as a keyboard and mouse: plug it into a computer with a USB cable and it's recognised as a real keyboard. No driver is needed; Windows, macOS, Linux and even tablets see it as an ordinary USB keyboard or mouse. That lets you build a macro keypad that sends your favourite shortcuts, text snippets or game commands with one key, a mouse driven by a joystick, or a custom input device for users with disabilities. The small Pro Micro, which uses the same chip as the Leonardo, can do exactly the same.
In this guide you'll learn about the ATmega32U4 chip that sets the Leonardo apart from the Uno, the commands of the Keyboard.h and Mouse.h libraries, and you'll build a four-key shortcut keypad and a joystick mouse step by step. Then we'll solve the most feared problem, the port disappearing after an upload, with the double-reset method, explain why an Uno can't be a keyboard and show how to do the same job with a Raspberry Pi Pico. If you want a refresher on wiring buttons, see How to wire a button.
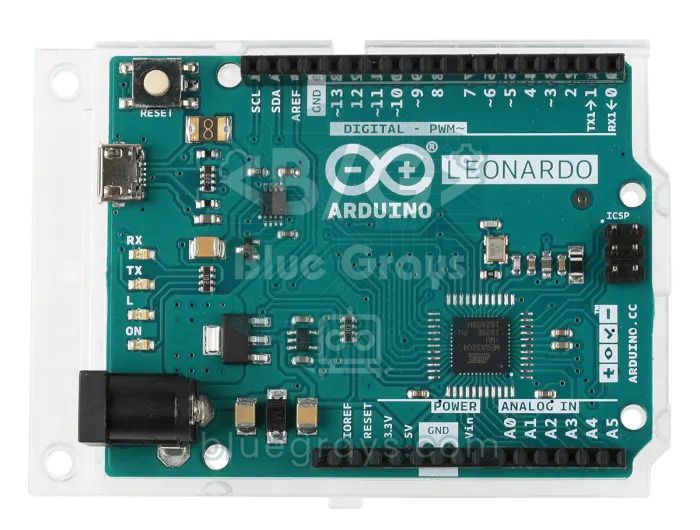
The ATmega32U4 difference: why can the Leonardo be a keyboard?
Every USB device introduces itself with a class: serial port (CDC), storage, audio or HID (Human Interface Device). Keyboards and mice are HID devices. The ATmega32U4 on the Leonardo has USB hardware built in, which means your program decides how the USB port presents itself. The Arduino core presents the chip as a serial port and a keyboard and mouse at the same time; when you call Keyboard.begin(), the computer finds a new keyboard. The Uno's ATmega328P has no USB hardware, and the differences go beyond USB:
| Feature | Leonardo / Pro Micro (ATmega32U4) | Uno R3 / Nano (ATmega328P) |
|---|---|---|
| Built-in USB | Yes, can be HID | No, uses a separate USB-serial chip |
| Flash memory | 32 KB (4 KB bootloader, 28 KB usable) | 32 KB (0.5 KB bootloader) |
| SRAM | 2.5 KB | 2 KB |
| Analog inputs | 12 (A0-A5 + 6 on digital pins) | 6 (8 on the Nano) |
| I2C pins | D2 (SDA), D3 (SCL) | A4 (SDA), A5 (SCL) |
| Serial ports | Serial = USB, Serial1 = D0/D1 | One Serial, shared by USB and D0/D1 |
| External interrupt pins | D0, D1, D2, D3, D7 | D2, D3 |
The I2C row in the table is a small but important trap: an OLED or LCD example written for the Uno won't work on the Leonardo, because SDA and SCL are on D2/D3 rather than A4/A5 (the SDA/SCL header in the top corner goes to the right place on both boards). Another difference is the serial port: on the Leonardo Serial is the USB connection itself, while the hardware serial port on pins D0/D1 is called Serial1. You can see the full pin layout in the Pinout tool.
Why can't an Arduino Uno be a keyboard (HID)?
On the Uno R3 the USB cable doesn't go to the main processor but to the small ATmega16U2 chip next to the USB socket. From the factory this chip only runs USB-to-serial firmware; the computer always sees it as a serial port and your sketch can't change that. That's why writing #include <Keyboard.h> on an Uno gives a compile error "'Keyboard' was not declared in this scope". In theory you can turn an Uno into a keyboard by reflashing the 16U2 in DFU mode, but then the board can no longer be programmed the normal way; it's not recommended for beginners. The Nano, Mega and Pro Mini can't be HID for the same reason, and Nano clones with a CH340 or FT232 chip don't even have that option.
| Board | USB keyboard/mouse (HID) | Note |
|---|---|---|
| Leonardo, Micro, Pro Micro | Yes | ATmega32U4, with Keyboard.h and Mouse.h |
| Uno R4 Minima / WiFi | Yes | Built-in USB of the Renesas RA4M1 chip |
| Raspberry Pi Pico | Yes | Arduino-Pico core or the MicroPython usb-device package |
| ESP32-S2 / ESP32-S3 | Yes | USBHIDKeyboard over the built-in USB |
| Classic ESP32 | Bluetooth only | Can act as a BLE keyboard, not over USB |
| Uno R3, Nano, Mega, Pro Mini | No | USB comes from a separate chip, serial port only |
Keyboard.h and Mouse.h commands
| Command | What it does |
|---|---|
| Keyboard.begin() | Starts the keyboard; optionally takes a layout such as KeyboardLayout_de_DE |
| Keyboard.print("text") / println() | Types the text letter by letter; println adds Enter at the end |
| Keyboard.write(c) | Presses and releases a single key |
| Keyboard.press(k) / release(k) | Holds or releases a key; used for shortcuts |
| Keyboard.releaseAll() | Releases every key that is held down |
| KEY_LEFT_CTRL, KEY_LEFT_SHIFT, KEY_LEFT_ALT, KEY_LEFT_GUI | Ctrl, Shift, Alt and the Windows/Cmd key |
| KEY_RETURN, KEY_TAB, KEY_ESC, KEY_F1... | Enter, Tab, Esc, function and arrow keys (KEY_UP_ARROW and so on) |
| Mouse.move(x, y, wheel) | Moves the cursor relatively in steps from -128 to 127 |
| Mouse.click() / press() / release() | MOUSE_LEFT, MOUSE_RIGHT or MOUSE_MIDDLE button |
First test: typing text when a button is pressed
Connect one leg of a button to D4 and the other to GND; the internal pull-up resistor is used, so no other parts are needed. When choosing the board, select Arduino Leonardo under Tools > Board (this also works for a 5 V, 16 MHz Pro Micro). After uploading, open a text editor, put the cursor inside it and press the button.
1// Leonardo: butona basınca yazı yaz / type text when the button is pressed
2#include <Keyboard.h>
3
4const int BUTTON_PIN = 4;   // buton diğer ucu GND / other leg of the button to GND
5
6void setup() {
7  pinMode(BUTTON_PIN, INPUT_PULLUP);
8  Keyboard.begin();         // ya da Keyboard.begin(KeyboardLayout_de_DE) / or pick a layout
9}
10
11void loop() {
12  if (digitalRead(BUTTON_PIN) == LOW) {
13    Keyboard.println("Hello BlueGrays");      // yaz ve Enter'a bas / type and press Enter
14    delay(50);
15    while (digitalRead(BUTTON_PIN) == LOW) {}  // bırakılmasını bekle / wait for release
16    delay(50);
17  }
18}Macro keypad: build your own shortcut keyboard
Now let's build a real four-button shortcut keyboard. Each button sends a key combination; the code reacts only at the moment of the press and filters button bounce with a 30 ms debounce time. Swap the buttons for mechanical keyboard switches and print a case on a 3D printer, and you have a real "stream deck" on your desk. If you want more keys, connect a 4x4 keypad instead of four buttons and define 16 macros.
| Pin | Connection | Windows / Linux | macOS (MAC = true) |
|---|---|---|---|
| D4 | Button 1, other leg to GND | Ctrl+C (copy) | Cmd+C |
| D5 | Button 2, other leg to GND | Ctrl+V (paste) | Cmd+V |
| D6 | Button 3, other leg to GND | Ctrl+Shift+T (reopen tab) | Cmd+Shift+T |
| D7 | Button 4, other leg to GND | Win+L (lock screen) | Ctrl+Cmd+Q |
| D9 | Switch or jumper wire to GND | Safety: works only when connected | Same |
1// Leonardo / Pro Micro makro tuş takımı / macro keypad
2#include <Keyboard.h>
3
4const bool MAC = false;                  // macOS için true / true for macOS
5const int ENABLE_PIN = 9;                // GND'ye bağlıyken çalışır / works only when tied to GND
6const int KEY_PINS[4] = {4, 5, 6, 7};    // butonlar, diğer uç GND / buttons, other leg to GND
7const unsigned long DEBOUNCE_MS = 30;
8
9int lastState[4] = {HIGH, HIGH, HIGH, HIGH};
10unsigned long lastChange[4] = {0, 0, 0, 0};
11
12void sendCombo(uint8_t k1, uint8_t k2 = 0, uint8_t k3 = 0) {
13  Keyboard.press(k1);                    // tuşlara sırayla bas / press the keys in order
14  if (k2) Keyboard.press(k2);
15  if (k3) Keyboard.press(k3);
16  delay(30);
17  Keyboard.releaseAll();                 // hepsini bırak / release them all
18}
19
20void runMacro(int i) {
21  const uint8_t MOD = MAC ? KEY_LEFT_GUI : KEY_LEFT_CTRL;   // Cmd ya da Ctrl / Cmd or Ctrl
22  switch (i) {
23    case 0: sendCombo(MOD, 'c'); break;                     // kopyala / copy
24    case 1: sendCombo(MOD, 'v'); break;                     // yapıştır / paste
25    case 2: sendCombo(MOD, KEY_LEFT_SHIFT, 't'); break;     // kapanan sekmeyi aç / reopen closed tab
26    case 3:                                                 // ekranı kilitle / lock the screen
27      if (MAC) sendCombo(KEY_LEFT_CTRL, KEY_LEFT_GUI, 'q');
28      else     sendCombo(KEY_LEFT_GUI, 'l');
29      break;
30  }
31}
32
33void setup() {
34  pinMode(ENABLE_PIN, INPUT_PULLUP);
35  for (int i = 0; i < 4; i++) pinMode(KEY_PINS[i], INPUT_PULLUP);
36  Keyboard.begin();
37}
38
39void loop() {
40  bool enabled = digitalRead(ENABLE_PIN) == LOW;   // güvenlik anahtarı / safety switch
41  for (int i = 0; i < 4; i++) {
42    int s = digitalRead(KEY_PINS[i]);
43    if (s != lastState[i] && millis() - lastChange[i] > DEBOUNCE_MS) {
44      lastChange[i] = millis();
45      lastState[i] = s;
46      if (s == LOW && enabled) runMacro(i);        // yalnız basış anında / only on press
47    }
48  }
49}- Use lowercase letters for letter keys ('c', 'v'); with an uppercase letter the library also presses Shift and sends a different shortcut such as Ctrl+Shift+C.
- sendCombo() presses the keys in order, waits 30 ms and releases them all with releaseAll(); this pause is needed so some programs notice the shortcut.
- Each button keeps its own debounce time, so pressing two buttons almost at once is no problem. You'll find why the timing uses millis() rather than delay() in millis() vs delay().
- Volume and media keys aren't part of Keyboard.h; they need a library with Consumer Control support, such as HID-Project.
Building a USB mouse with a joystick
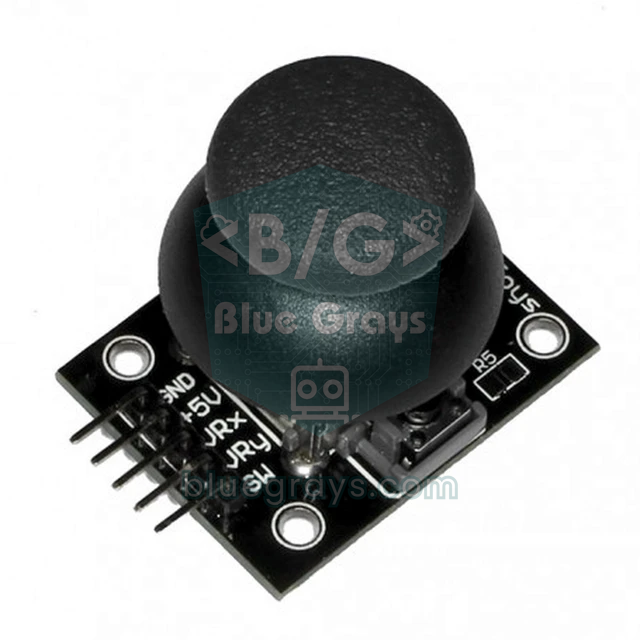
Connect the joystick module's VCC to 5V, GND to GND, VRx to A0, VRy to A1 and SW to D8. At startup the code stores the resting value as the centre, ignores a ±40 zone around it (the dead zone) and turns the deflection into a movement of at most 10 pixels per step. Don't touch the joystick while plugging the board in, or the wrong centre is stored. For the joystick's internals and value ranges, see the joystick module article.
1// Leonardo: joystick ile fare / joystick mouse
2#include <Mouse.h>
3
4const int X_PIN = A0;        // joystick VRx
5const int Y_PIN = A1;        // joystick VRy
6const int SW_PIN = 8;        // joystick SW (basınca GND / pulls to GND when pressed)
7const int DEADZONE = 40;     // merkezdeki titreşimi yok say / ignore jitter around the centre
8const int MAX_SPEED = 10;    // adım başına en fazla piksel / max pixels per step
9
10int centerX, centerY;
11
12int axis(int raw, int center) {
13  int d = raw - center;
14  if (abs(d) < DEADZONE) return 0;
15  return map(d, -512, 512, -MAX_SPEED, MAX_SPEED);
16}
17
18void setup() {
19  pinMode(SW_PIN, INPUT_PULLUP);
20  centerX = analogRead(X_PIN);   // açılışta merkez ölçümü, joystick'e dokunma / centre calibration, don't touch
21  centerY = analogRead(Y_PIN);
22  Mouse.begin();
23}
24
25void loop() {
26  int dx = axis(analogRead(X_PIN), centerX);
27  int dy = axis(analogRead(Y_PIN), centerY);   // ters ise -axis(...) yaz / use -axis(...) if inverted
28  if (dx != 0 || dy != 0) Mouse.move(dx, dy, 0);
29
30  if (digitalRead(SW_PIN) == LOW) {
31    if (!Mouse.isPressed(MOUSE_LEFT)) Mouse.press(MOUSE_LEFT);    // sol tık basılı / left button down
32  } else if (Mouse.isPressed(MOUSE_LEFT)) {
33    Mouse.release(MOUSE_LEFT);                                   // bırak / release
34  }
35  delay(10);                      // saniyede yaklaşık 100 güncelleme / about 100 updates per second
36}
The port disappeared: uploading with a double reset
Because your sketch runs the USB on the Leonardo, the computer can't see the port if the sketch crashes, locks up in an endless loop or never starts USB. Normally the Arduino IDE briefly opens and closes the port at 1200 baud when an upload starts; this "touch" sends the board into the bootloader and the code uploads within seconds. When the port is gone that touch can't happen, but you can start the bootloader by hand: after a reset the bootloader waits about 8 seconds for new code. This is also why the port number changes for a moment during uploads.
- Open a known-good sketch (for example File > Examples > Basics > Blink) with Leonardo selected as the board.
- Click Upload and wait for compiling to finish in the output below.
- As soon as "Uploading..." appears, press the reset button on the Leonardo once; on a Pro Micro without a button, tap the RST pin to GND twice quickly.
- If the board's LED is slowly "breathing", it's in the bootloader; the IDE finds the new port and uploads the code.
- If it fails, try again with different timing; you'll catch the right moment within a few attempts.
A USB keyboard alternative with the Raspberry Pi Pico
The Raspberry Pi Pico's RP2040 chip also has built-in USB and costs less than a Leonardo. If you use Earle Philhower's Raspberry Pi Pico/RP2040 package in the Arduino IDE, the same Keyboard.h and Mouse.h commands work almost unchanged; you just adjust the pin numbers to the GP pins. If you prefer MicroPython, from version 1.23 onwards the official usb-device-keyboard package turns the Pico into a keyboard. Install it on the board from your computer with mpremote mip install usb-device-keyboard. When the code runs, the Pico re-enumerates its USB with a keyboard, so the Thonny connection drops; that's normal. If you're new to the Pico, start with What Is the Raspberry Pi Pico?.
1# Raspberry Pi Pico: MicroPython USB makro klavye / USB macro keyboard
2# Önce / first: mpremote mip install usb-device-keyboard  (MicroPython 1.23+)
3import time
4import usb.device
5from usb.device.keyboard import KeyboardInterface, KeyCode
6from machine import Pin
7
8MACROS = (
9    (Pin(2, Pin.IN, Pin.PULL_UP), (KeyCode.LEFT_CTRL, KeyCode.C)),   # kopyala / copy
10    (Pin(3, Pin.IN, Pin.PULL_UP), (KeyCode.LEFT_CTRL, KeyCode.V)),   # yapıştır / paste
11    (Pin(4, Pin.IN, Pin.PULL_UP), (KeyCode.LEFT_UI, KeyCode.L)),     # Windows: ekranı kilitle / lock screen
12)
13
14kb = KeyboardInterface()
15usb.device.get().init(kb, builtin_driver=True)   # USB'yi klavyeyle yeniden tanıt / re-enumerate with a keyboard
16
17
18def tap(keys):
19    kb.send_keys(keys)       # tuşlara bas / press the keys
20    time.sleep_ms(20)
21    kb.send_keys(())         # hepsini bırak / release all
22
23
24last = [1] * len(MACROS)
25while True:
26    if kb.is_open():
27        for i, (pin, keys) in enumerate(MACROS):
28            v = pin.value()
29            if v == 0 and last[i] == 1:      # basış anı / moment of press
30                tap(keys)
31            last[i] = v
32    time.sleep_ms(10)        # basit debounce / simple debounce
Arduino Leonardo keyboard project ideas
- Developer keyboard: map editor shortcuts such as build, run, comment line and open terminal to single keys.
- Meeting panel: assign the mute-microphone and camera-off shortcuts to big illuminated buttons.
- Scroll knob: scroll pages with a rotary encoder by sending Mouse.move(0, 0, step) like a mouse wheel.
- Accessible mouse: click with big buttons or a foot pedal and move the cursor with a joystick.
- Presentation remote: a small two-button remote that sends the left and right arrow keys.
- Game control panel: a cockpit full of switches and buttons for flight or racing games.
Common mistakes and how to fix them
| Symptom | Cause | Fix |
|---|---|---|
| 'Keyboard' was not declared in this scope | Uno, Nano or Mega selected | Use a Leonardo, Micro or Pro Micro |
| Port disappeared after upload | The sketch locked up or crashed USB | Upload a known-good sketch with a double reset |
| Board keeps sending keys | Unconditional Keyboard.print() or a floating button pin | Use INPUT_PULLUP and a safety switch |
| Wrong characters appear | Keyboard layout mismatch | Keyboard.begin(KeyboardLayout_xx_XX) or switch to US layout |
| Code doesn't start until the Serial Monitor opens | while (!Serial); in setup() | Remove that line or add a timeout |
| OLED from an Uno example doesn't work | Different I2C pins | Connect SDA to D2 and SCL to D3 |
| Pro Micro never shows up | 16 MHz code uploaded to an 8 MHz board | Pick the right board with the SparkFun package, double reset |
The Leonardo and Pro Micro are the easiest way to build your first electronic device that talks to a computer: a few buttons, a little code and you have your own shortcut keyboard. In the BlueGrays app you'll find the Arduino Developer Keyboard and Python Developer Keyboard projects, along with button, keypad and joystick projects, each with circuit diagrams and code step by step, ready to combine with the HID techniques in this article.
Frequently asked questions
How do I use an Arduino Leonardo as a keyboard?
Add #include <Keyboard.h> to your sketch and call Keyboard.begin() in setup(). Then you can type text with Keyboard.print() and send shortcuts such as Ctrl+C with Keyboard.press() and releaseAll(). Always tie the code to a button, otherwise the board sends keys non-stop.
Can an Arduino Uno be used as a keyboard?
Not directly, because the Uno R3 uses a separate ATmega16U2 chip that presents USB only as a serial port. Reflashing that chip via DFU is possible but fiddly. For keyboard and mouse projects, a Leonardo, Pro Micro, Uno R4 or Raspberry Pi Pico is much easier.
What is the difference between the Leonardo and the Pro Micro?
Both use the same ATmega32U4 chip and run the same code. The Pro Micro is much smaller, usually has no reset button and comes in two versions, 5 V/16 MHz and 3.3 V/8 MHz. For the 5 V Pro Micro you can select Arduino Leonardo in the Arduino IDE.
My Arduino Leonardo port is not showing up. What should I do?
Your sketch may have locked up or crashed USB. Start uploading a known-good sketch and press reset as soon as the IDE shows "Uploading"; on a Pro Micro, tap RST to GND twice quickly. The board stays in the bootloader for a few seconds and the code uploads.
Why does my Leonardo type the wrong characters?
The Keyboard library sends keys by their position on a US layout. On a computer set to another layout, such as German QWERTZ or French AZERTY, some letters and symbols come out wrong. Call Keyboard.begin(KeyboardLayout_de_DE) or another supported layout, or switch the computer to the US layout.
Can a Raspberry Pi Pico be a USB keyboard?
Yes. Thanks to the RP2040's built-in USB, the Pico works as a keyboard with Keyboard.h and Mouse.h in the Arduino-Pico core, or with the usb-device-keyboard package in MicroPython 1.23 and later. It's cheap and powerful, which makes it a good choice for macro keypads.
Projects to build after reading this
See all projects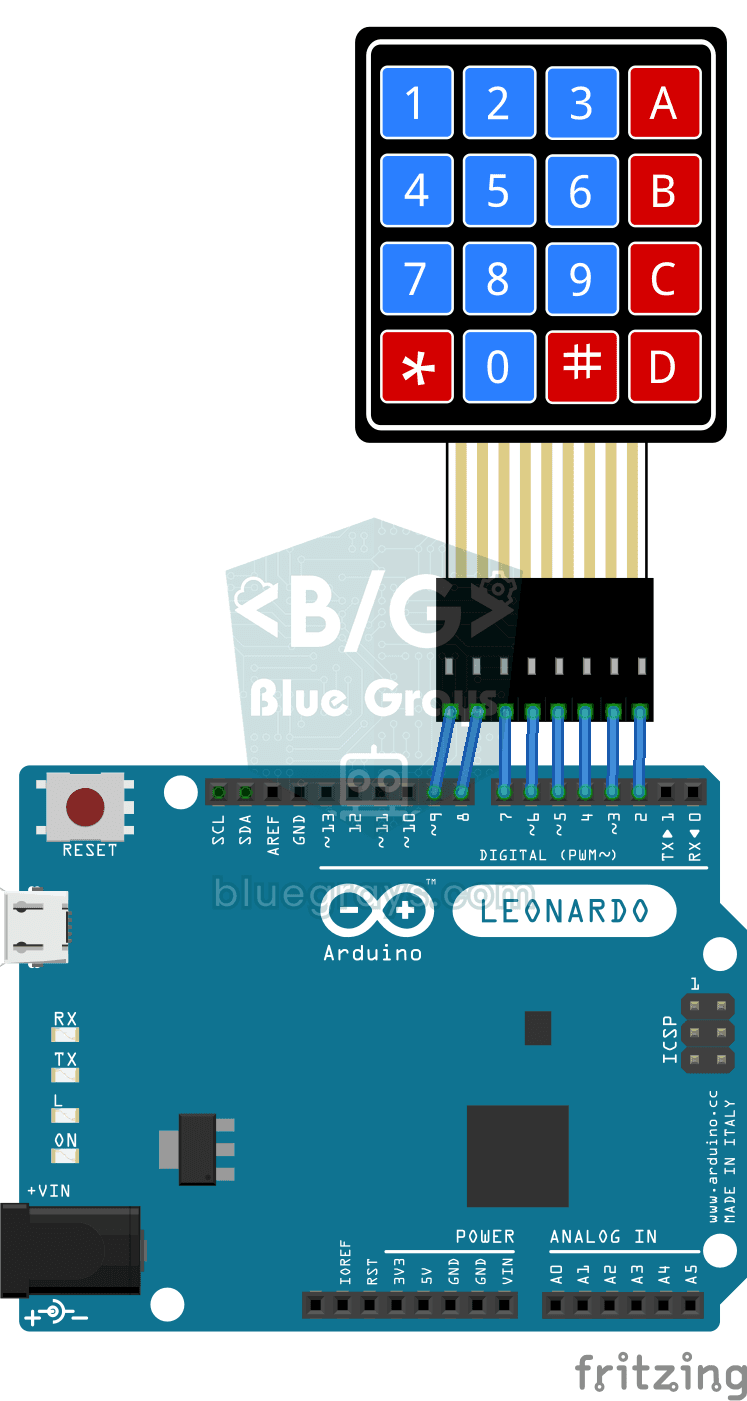
Arduino Developer Keyboard
If you are tired of typing the same lines over and over while coding, this little keypad becomes your shortcut keyboard.
Python Developer Keyboard
If you are tired of typing the same patterns over and over while coding, this little keyboard is made for you.

LED Control with a Push Button (Push)
Just like a doorbell: the light stays on as long as you press, and goes off when you let go.

Toggle an LED with a Button (On/Off)
Press the button once and the light comes on, press it again and it goes off, just like the light switch in your room.
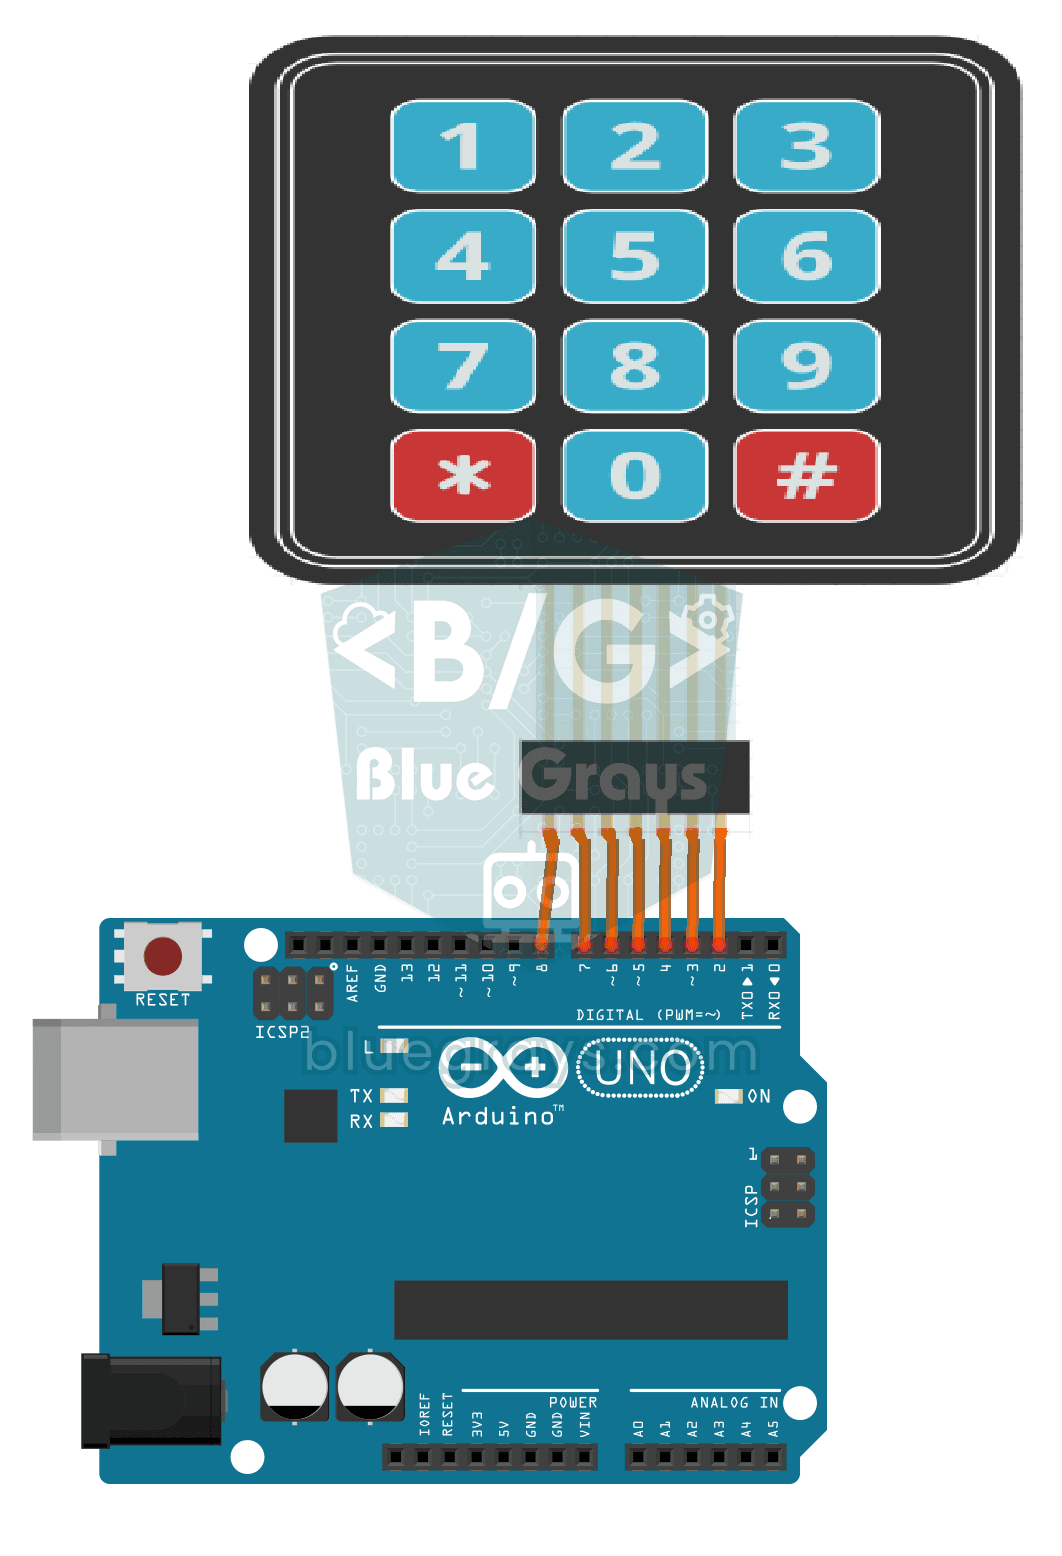
3x4 Keypad Operation
The Arduino instantly knows which key you press on a 12-key keypad that looks like a phone dial pad, and writes it on your computer screen.
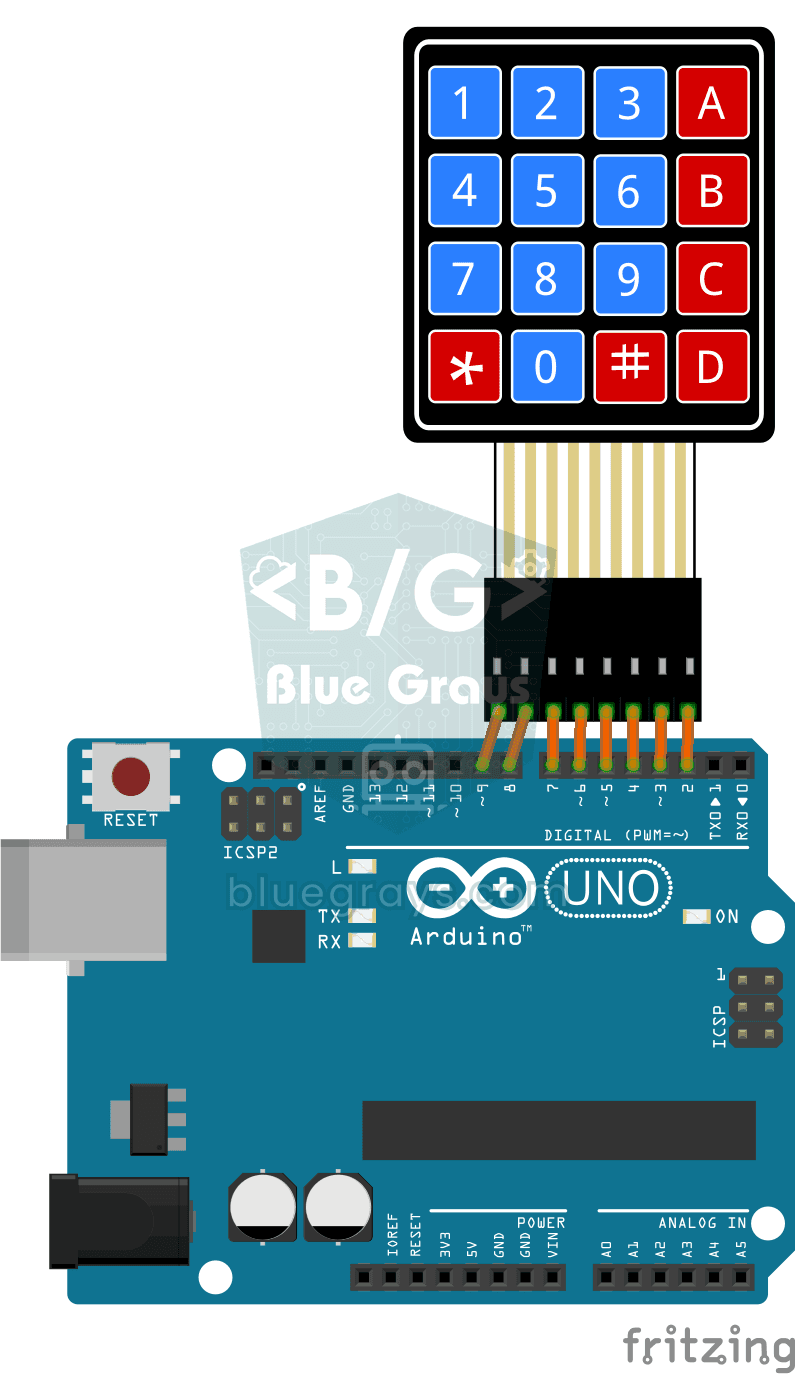
4x4 Keypad Operation
On the 4x4 keypad, which looks a lot like a phone's buttons, the Arduino instantly knows which key you pressed and writes it to your computer screen.
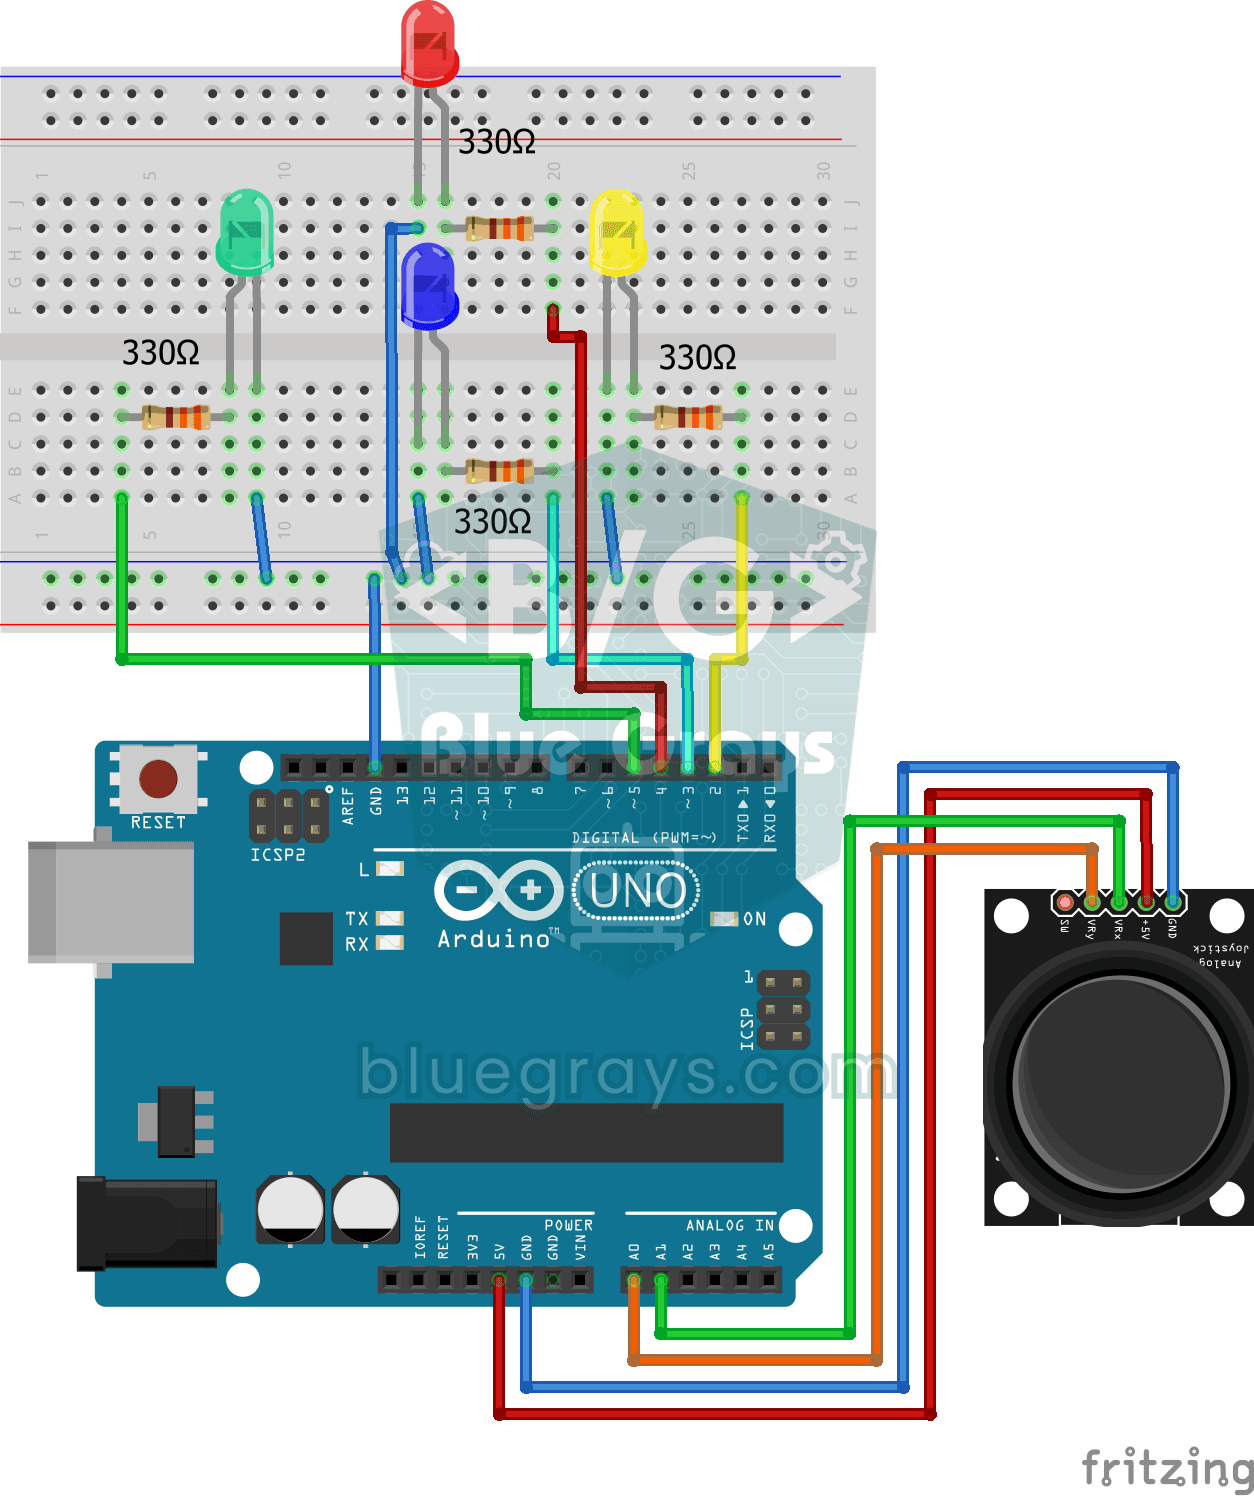
Led Control with Joystick
Push the little stick on the joystick all the way in any direction and the LED for that direction lights up: there are four different colours for right, left, up and down.
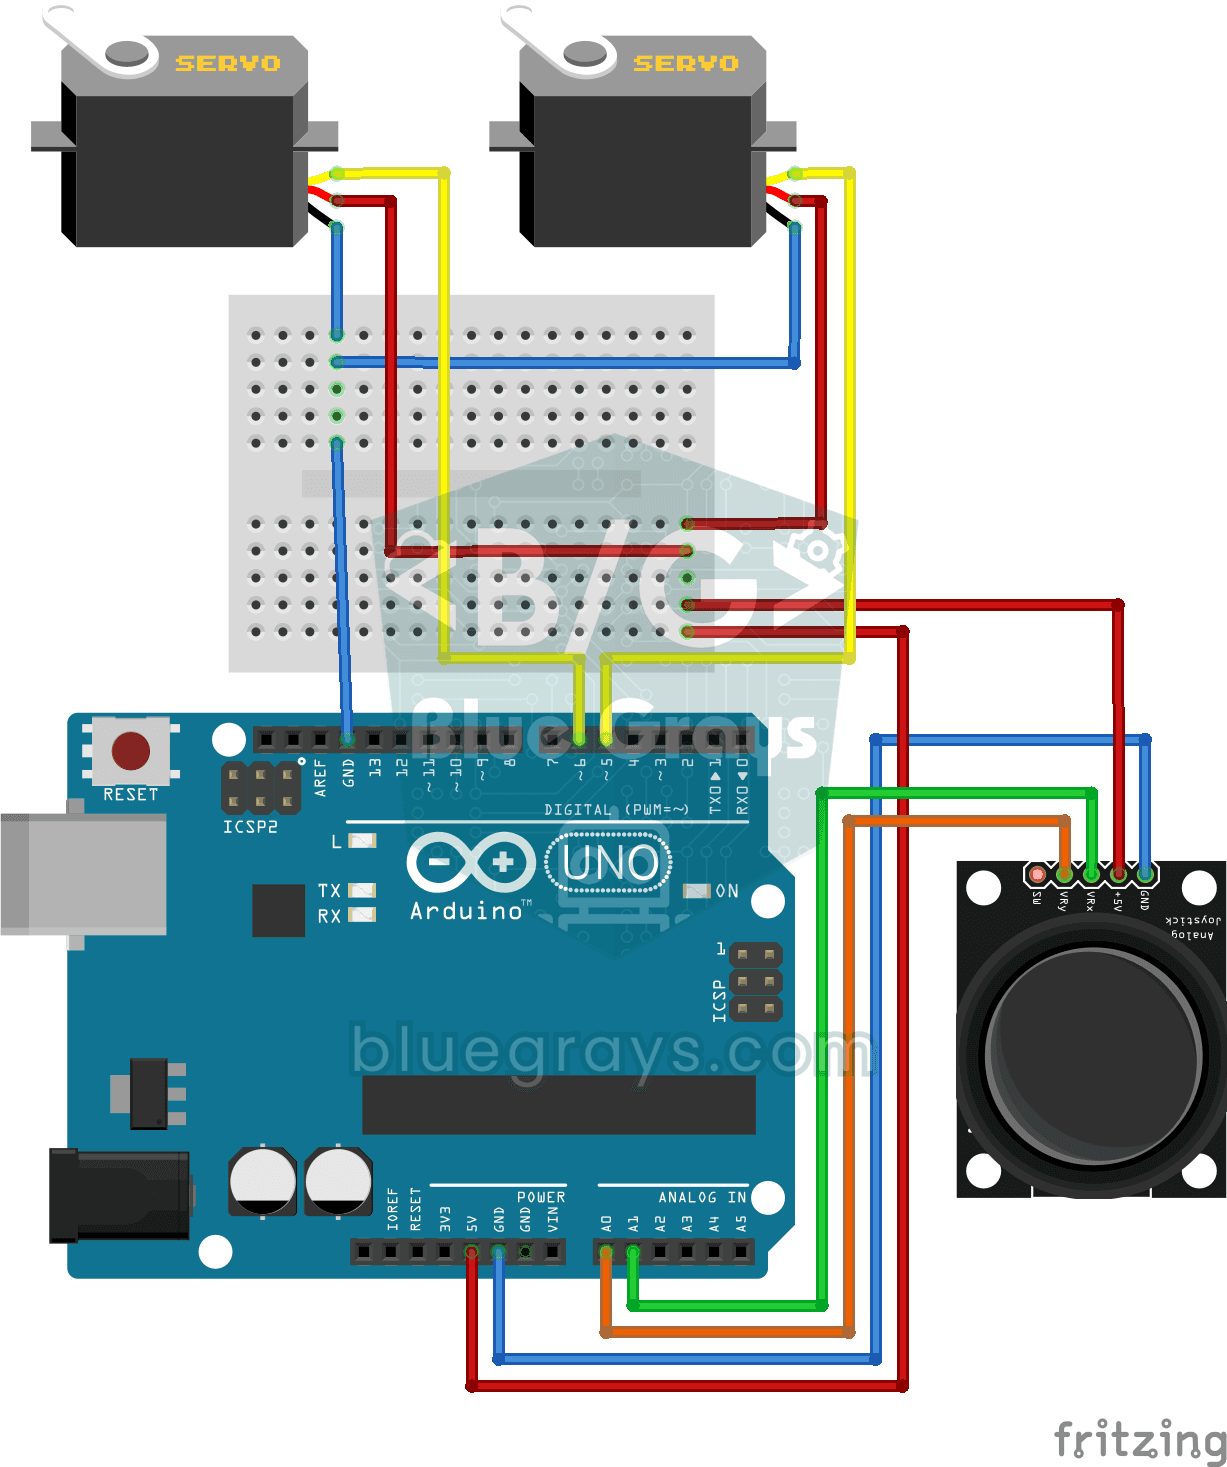
Servo Control with Joystick
Steer two motors with a joystick, just like turning a security camera. Push the stick left or right and the bottom servo motor slowly turns, push it up or down and the top servo tilts up and down…