
CH340 Driver: How to Install It on Windows 11, macOS and Linux
Install the CH340 driver step by step on Windows 10/11, macOS (M1-M4) and Linux: CP2102 driver, board-to-chip table, COM port not showing, Code 10 and 52.
Installing the CH340 driver is the first step to getting a clone Arduino Uno, a Nano or many ESP8266 and ESP32 boards recognized by your computer. Next to the USB socket on these boards sits a small chip that translates USB into the serial communication the microcontroller understands; without its driver, the Port menu in the Arduino IDE stays empty and you can't upload anything. Windows 10 and 11 usually install the driver on their own, and macOS and Linux already ship with it. When things go wrong, the culprit is usually the cable, a missing permission or an old driver that gets in the way.
In this guide you'll first find out whether your board has a CH340, a CP2102 or something else. Then you'll install the driver step by step on Windows, macOS (including Macs with M1, M2, M3 and M4 chips) and Linux, prove the port really works with a small test sketch, fix Device Manager errors such as Code 10 and Code 52, and, if needed, remove the driver cleanly and reinstall it.
What is the CH340 and why does your computer need a driver?
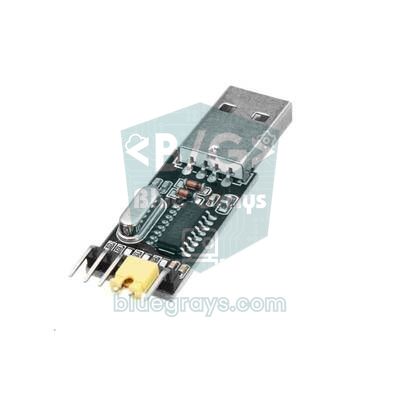
The Arduino's processor (the ATmega328P) and the ESP32 don't speak USB; they only know two-wire UART serial. The translation in between is done by a USB to serial bridge chip such as the CH340, made by the Chinese company WCH. The chip shows up on your computer as a virtual serial port: COM3 or COM4 on Windows, something like /dev/cu.usbserial-1410 on macOS and /dev/ttyUSB0 on Linux. The Arduino IDE writes your sketch to that port and the chip passes the bytes on to the board's RX pin. For the computer to recognize the chip it needs a driver that knows its ID (VID:PID). Without one, the board powers up and its LEDs light, but no port ever appears.
Which USB chip is on your board? Board-to-chip table
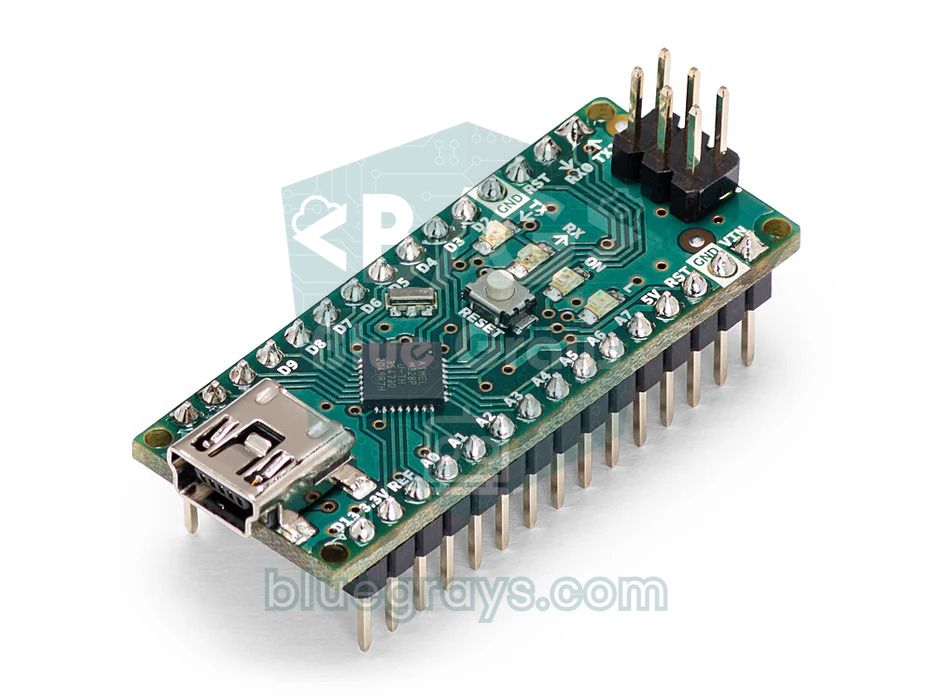
Installing the right driver starts with knowing the chip's name. Look at the black chip next to the USB socket: it will be marked CH340G, CH340C, CP2102 or FT232RL, for example. The CH340G has a small 12 MHz metal crystal next to it; the CH340C has no crystal but uses the same driver. If you can't read the marking, this table is a good starting point for the most common boards:
| Board | USB chip | Windows 10 / 11 | macOS and Linux |
|---|---|---|---|
| Arduino Uno R3 (genuine), Mega 2560 | ATmega16U2 | Comes with the Arduino IDE install | Built in; /dev/cu.usbmodem…, /dev/ttyACM0 |
| Clone Uno, clone Mega | CH340G | Usually installed by Windows Update; otherwise CH341SER | Built in; /dev/cu.usbserial-…, /dev/ttyUSB0 |
| Clone Nano | CH340G or CH340C | Usually installed by Windows Update; otherwise CH341SER | Built in; /dev/cu.usbserial-…, /dev/ttyUSB0 |
| Genuine Nano (classic) | FT232RL | Installed by Windows Update | Built in; /dev/cu.usbserial-…, /dev/ttyUSB0 |
| NodeMCU V3 (LoLin), Wemos D1 mini | CH340G | CH341SER | Built in; /dev/ttyUSB0 |
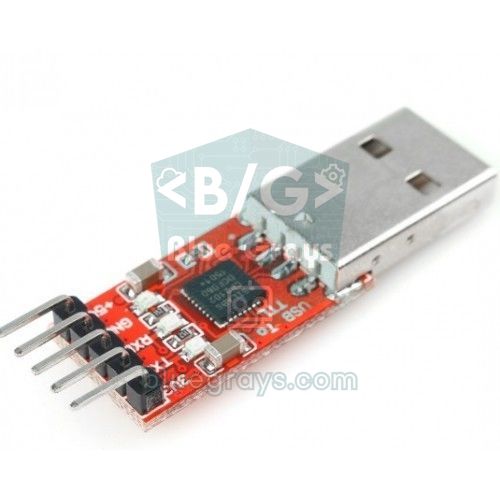
| NodeMCU V1.0 (Amica), ESP32 DevKit V1 | CP2102 | Usually automatic; otherwise CP210x VCP | Built in; /dev/cu.usbserial-… or /dev/cu.SLAB_USBtoUART, /dev/ttyUSB0 |
| Newer ESP32 DevKit boards | CH9102 or CH343 | Usually automatic; otherwise CH343SER | Built in; WCH driver on macOS if it misbehaves, /dev/ttyACM0 |
| ESP32-CAM and ESP32-CAM-MB | CH340 (on the MB base board) | CH341SER | Built in; /dev/ttyUSB0 |
| Raspberry Pi Pico, Leonardo, ESP32-S3 and C3 native USB | No separate chip | No driver needed | /dev/cu.usbmodem…, /dev/ttyACM0 |
If you can't read the chip, ask the computer. On Windows, right-click the device in Device Manager and open Properties > Details > Hardware Ids; you'll see something like USB\VID_1A86&PID_7523. Those two four-digit numbers are the chip's ID card and tell you, beyond any doubt, which driver to install. On macOS you'll find the same values as Vendor ID and Product ID under System Information > USB, and on Linux in the output of the lsusb command.
| VID:PID | Chip | Driver to install |
|---|---|---|
| 1A86:7523 | CH340 (G, C, E, K) | CH341SER (WCH) |
| 1A86:55D4 | CH9102 | CH343SER (WCH) |
| 1A86:55D3 | CH343 | CH343SER (WCH) |
| 10C4:EA60 | CP2102, CP2102N, CP2104 | CP210x VCP (Silicon Labs) |
| 0403:6001 | FT232R | FTDI VCP; installed by Windows Update |
| 2341:0043 | Genuine Arduino Uno R3 | Comes with the Arduino IDE |
| 2E8A:0005, 303A:1001 | Pico (MicroPython), ESP32-S3 and C3 native USB | Not needed |
Check the cable first: the charge-only cable trap
Most "port not showing" complaints come from the cable, not the driver. Some of the thin cables bundled with phone chargers only have two power wires; the D+ and D- data wires simply aren't there. With such a cable the board's power LED lights up and the loaded sketch even runs, but the computer sees no device at all: Windows plays no connect sound and nothing changes in Device Manager. Test the cable by transferring files to a phone, or try it with a board you know works. If you can, plug the board straight into the computer; unpowered hubs, extension cables and the case's front-panel ports can make the connection drop in and out.
Installing the CH340 driver on Windows 10 and 11
- Plug in the board and open Win + X > Device Manager. If you see a line like USB-SERIAL CH340 (COM5) under Ports (COM & LPT), the driver is already installed and you can skip the remaining steps.
- If you see USB2.0-Serial with a yellow exclamation mark under Other devices, the driver is missing. First check Settings > Windows Update > Advanced options > Optional updates; if WCH or CH340 appears among the driver updates, tick it and install.
- If it isn't there, download the CH341SER.EXE installer from the official website of WCH, the chip's maker. Stay away from random "driver pack" sites; some of their files are outdated, unsigned or bundled with malware.
- Run the file as administrator, click INSTALL in the small window that opens and wait for the Driver install success! message.
- Unplug the board and plug it back in. A USB-SERIAL CH340 (COMx) line should now appear in Device Manager; the number in brackets is your port.
- In the Arduino IDE pick that COM number under Tools > Port, then select your board manually under Tools > Board (for example Arduino Nano or ESP32 Dev Module).
Arduino IDE 2 recognizes genuine boards from their USB ID and shows them by name. Clone boards don't carry an Arduino ID, so the IDE lists the port as Unknown or just by its COM number. That isn't an error; simply pick the board from the menu yourself. If a clone Nano shows a port but uploads end with not in sync, try Tools > Processor > ATmega328P (Old Bootloader). Every upload error is covered in the Arduino upload error guide.
Installing the CP2102 driver (ESP32 and NodeMCU)
ESP32 DevKit and NodeMCU V1.0 boards usually carry Silicon Labs' CP2102 chip. Windows 10 and 11 also tend to install this driver through Windows Update; when the board is recognized, Device Manager shows Silicon Labs CP210x USB to UART Bridge (COMx). If it isn't, CP2102 USB to UART Bridge Controller sits under Other devices with a yellow exclamation mark. In that case download the CP210x VCP Windows package from Silicon Labs' website, extract the zip into a folder and, on 64-bit Windows, run CP210xVCPInstaller_x64.exe. If the package only contains an .inf file, right-click the device in Device Manager, choose Update driver > Browse my computer for drivers and point it at that folder.
CH340 and CP2102 on macOS, including Apple Silicon Macs
From macOS Big Sur onwards, Apple's own drivers for the CH340, CP2102 and FT232 are part of the system. Every Mac with an M1, M2, M3 or M4 chip already runs one of these versions, so most of the time there's nothing to install. After plugging in the board, run ls /dev/cu.* in Terminal: if a new line such as /dev/cu.usbserial-1410 appears, the port is ready. /dev/cu.Bluetooth-Incoming-Port exists on every Mac and has nothing to do with your board. The same port also shows up with a name starting with /dev/tty.; in the Arduino IDE choose the one that starts with cu. If no new line appears, hold Option, open the Apple menu and go to System Information > USB. If the board is listed there as USB Serial or USB2.0-Serial with vendor ID 0x1a86, the chip has been detected but no port was created.
If you're on an older macOS, if uploads to an ESP32 with a CH9102 chip stop halfway, or if Apple's driver won't open the port, you can install WCH's macOS driver:
- Download the CH34xVCPDriver package from WCH's website and move the app inside it to your Applications folder.
- Open the app and click Install.
- If System Settings > Privacy & Security shows a blocked system software message, click Allow and enter your password.
- Unplug and replug the board; this time the port appears as /dev/cu.wchusbserial…. Select that port in the Arduino IDE.
CH340 on Linux: ttyUSB0, dialout and brltty
The Linux kernel ships the ch341 module for the CH340, cp210x for the CP2102 and ftdi_sio for the FT232, so there's no driver to install. After plugging in the board, the output of sudo dmesg | tail should include ch341-uart converter now attached to ttyUSB0. If the port exists but the Arduino IDE says Permission denied, your user isn't in the serial port group: on Ubuntu, Debian and Fedora run sudo usermod -a -G dialout $USER (on Arch-based distributions the group is called uucp), then log out and back in. If on Ubuntu 22.04 or later the port vanishes the moment you plug the board in, the culprit is usually the screen reader package brltty, which mistakes the CH340 for a Braille device and grabs the port. If you don't use a Braille display, remove it with sudo apt remove brltty.
| Command | What it shows |
|---|---|
| lsusb | Connected USB devices; for a CH340, a 1a86:7523 QinHeng Electronics line |
| sudo dmesg | tail | The latest kernel messages; which module loaded and the port name |
| ls /dev/ttyUSB* /dev/ttyACM* | The serial ports that were created |
| groups | Your user's groups; dialout must be in the list |
| sudo apt remove brltty | Removes the brltty package that grabs the port (Ubuntu, Debian) |
Does the port work? A serial test sketch
A port showing up in the menu doesn't mean the job is done; you should also test two-way communication. The sketch below runs unchanged on the Arduino Uno, the Nano and the ESP32: the board prints a line every second and echoes back every character you send from the Serial Monitor. Upload it, open the Serial Monitor and set the speed to 115200 baud.
1// Seri port testi: her saniye bir satır yazar, gönderdiğin karakteri geri yollar
2// Serial port test: prints a line every second and echoes back what you send
3unsigned long lastPrint = 0;   // son yazdırma zamanı / last print time
4unsigned long counter = 0;     // satır sayacı / line counter
5
6void setup() {
7  Serial.begin(115200);                    // Seri Monitör de 115200 olmalı / Serial Monitor must be 115200 too
8  while (!Serial && millis() < 3000) { }   // yerel USB'li kartları bekle / wait for native-USB boards
9  Serial.println(F("Port hazir / port ready"));
10}
11
12void loop() {
13  if (millis() - lastPrint >= 1000) {
14    lastPrint = millis();
15    Serial.print(F("Merhaba / hello #"));
16    Serial.println(counter++);
17  }
18  while (Serial.available() > 0) {         // gelen her baytı oku / read every incoming byte
19    char c = Serial.read();
20    if (c == '\n' || c == '\r') continue;  // satır sonlarını atla / skip line endings
21    Serial.print(F("Geldi / received: "));
22    Serial.println(c);
23  }
24}
If lines keep arriving and the letters you type come back, the driver, the cable and the chip are all fine. If you see garbled characters, the problem isn't the driver but the speed setting; set the baud rate in the bottom-right corner of the Serial Monitor to the one in the sketch. Line endings, speeds and every other setting are explained in the Arduino Serial Monitor guide.
Which COM port is which board? Finding the USB chip with Python
With several boards plugged in at once, working out which port belongs to which board gets tedious. If you have Python on your computer, install the pyserial library with pip install pyserial and run the short script below. It lists every port's name, its VID:PID and the chip's name on a single screen, and it works the same way on Windows, macOS and Linux.
1# Seri portları ve USB yongalarını listeler / lists serial ports and their USB chips
2# Kurulum / install: pip install pyserial
3from serial.tools import list_ports
4
5CHIPS = {
6    (0x1A86, 0x7523): "CH340",
7    (0x1A86, 0x55D4): "CH9102",
8    (0x1A86, 0x55D3): "CH343",
9    (0x10C4, 0xEA60): "CP2102 / CP2104",
10    (0x0403, 0x6001): "FT232R",
11    (0x2341, 0x0043): "Arduino Uno R3 (ATmega16U2)",
12    (0x2E8A, 0x0005): "Raspberry Pi Pico (MicroPython)",
13    (0x303A, 0x1001): "ESP32-S3 / C3 yerel USB / native USB",
14}
15
16ports = [p for p in list_ports.comports() if p.vid is not None]   # yalnız USB portları / USB ports only
17if not ports:
18    print("USB seri port yok / no USB serial port found")
19for p in ports:
20    name = CHIPS.get((p.vid, p.pid), "bilinmeyen / unknown")
21    print(f"{p.device:<24} {p.vid:04X}:{p.pid:04X}  {name}")
Driver errors: Code 10, Code 28, Code 43 and Code 52
| What Device Manager shows | What it means | Fix |
|---|---|---|
| Code 28: The drivers for this device are not installed | No driver has been installed | Install CH341SER or the CP210x VCP driver, then unplug and replug the board |
| Code 52: Windows cannot verify the digital signature | An old, unsigned or modified driver is installed | Uninstall it and install the maker's current, signed package; don't disable signature checks |
| Code 10: This device cannot start | Driver and chip don't get along; often appears after an update | Properties > Driver > Roll Back Driver; if that fails, uninstall and reinstall |
| Code 43: Windows has stopped this device | Faulty chip or cable, or not enough power | Try another cable and port, disconnect everything from the board |
| Unknown USB Device | The computer can't talk to the chip at all | Cable, socket or short circuit; nothing to do with the driver |
| Port exists but "Access is denied" | Another program is using the port | Close other Serial Monitor windows and programs such as PuTTY or Cura |
On Windows 11, while Windows Security > Device security > Core isolation > Memory integrity is on, old incompatible drivers won't load at all. Instead of switching that setting off, ditch the packages you downloaded years ago and install the maker's current driver. "Test mode" tricks that disable signature enforcement leave your computer needlessly exposed; the current CH340 and CP2102 drivers are signed anyway.
How to uninstall and reinstall the CH340 driver
- Plug in the board and enable View > Show hidden devices in Device Manager, so that old ports from boards you plugged in earlier are listed too.
- Right-click each USB-SERIAL CH340 entry, choose Uninstall device and tick Attempt to remove the driver for this device.
- If you like, run CH341SER.EXE again and click UNINSTALL this time, so the driver files are deleted as well.
- Unplug the board, restart the computer and reinstall the driver cleanly with the installation steps above.
- To remove WCH's driver on macOS, open the CH34xVCPDriver app and click Uninstall; moving the app to the Bin isn't enough on its own.
Still not showing up? A final checklist
- Try another computer: if the board doesn't show up there either, the board itself is the problem; the USB chip or the regulator may be damaged.
- Disconnect everything from the pins: a circuit with a short between 5V and GND can stop the board from ever establishing a USB connection.
- ESP32 shows a port but won't upload: that's no longer a driver issue but a download mode issue; see the BOOT button and capacitor fix in the ESP32 Failed to Connect guide.
- Using a board without USB: programming a Pro Mini, an ESP-01 or an ESP32-CAM needs a separate USB to TTL adapter, with TX and RX crossed over.
- The Arduino IDE doesn't refresh the port list: close and reopen the IDE or update to the latest version; the setup steps are in the Arduino IDE installation guide.
- Working in a virtual machine: in VirtualBox or Parallels you have to pass the USB device through to the guest; otherwise the port only shows up on the host.
Once the driver is set up properly, there's no difference at all between a CH340 clone and a genuine board when you write code. If your port is ready, start with the LED blink project in the BlueGrays app; if you're using an ESP32, the same app walks you through projects from the onboard LED all the way to a Wi-Fi connection, each with a wiring diagram and ready-to-use code.
Frequently asked questions
How do I install the CH340 driver on Windows 11?
Plug in the board and first check the optional driver updates in Windows Update. If it isn't there, download CH341SER.EXE from WCH's official website, run it as administrator, click INSTALL, then unplug and replug the board. It should appear as USB-SERIAL CH340 under Ports (COM & LPT) in Device Manager.
Does a Mac need a CH340 driver?
macOS Big Sur and later, including on Apple Silicon Macs, have a built-in driver for the CH340, and the board shows up as /dev/cu.usbserial-…. A separate driver is only needed on older macOS versions or for ESP32 boards with a CH9102 chip that misbehave with the built-in driver.
Why is my CH340 not showing up in Device Manager?
If nothing at all appears, the cable is almost always a charge-only one without data wires, or the USB socket or board is faulty. If it appears as USB2.0-Serial under Other devices with a yellow mark, the driver is missing. Swap the cable first, then install CH341SER.
Is CH340 better than CP2102?
For hobby projects there's no noticeable difference; both run reliably at 115200 baud and above. The CP2102 has an internal oscillator and a stronger 3.3 V output, while the CH340 is cheaper and far more common on clone boards. What really matters is installing the right driver for the chip on your board.
How do I know if my board uses a CH340 or a CP2102?
Read the marking on the chip next to the USB socket. If you can't, check Hardware Ids in the device's properties in Device Manager: VID_1A86&PID_7523 means CH340 and VID_10C4&PID_EA60 means CP2102. On macOS, System Information > USB shows the same, and on Linux the lsusb command does.
How do I uninstall the CH340 driver?
In Device Manager, enable Show hidden devices, right-click every USB-SERIAL CH340 entry, choose Uninstall device and tick the option to remove the driver. You can also run CH341SER.EXE and click UNINSTALL. Restart the computer before installing a fresh copy.
Projects to build after reading this
See all projects
LED Blink
The very first hello of electronics: switching a single LED on and off. The Arduino turns the LED on and off at short intervals, so the light blinks quickly.

LED Blink with ESP32
Teaches basic GPIO output usage with ESP32. We achieve a blinking effect by turning an LED on and off from a digital pin. ESP32 version of the classic blink project on Arduino UNO; the basic blink commands in the Arduino environment are the same, but the ESP32's pin layout and 3.3 V GPIO levels differ from those of the Arduino UNO.

ESP32 Built-in LED Blink
Blinking the built-in blue LED on the ESP32 DevKit V1. No external components required! The first project you should try when you buy an ESP32. GPIO 2 is connected to the built-in LED.
HC-SR04 Distance Measurement (Serial Display)
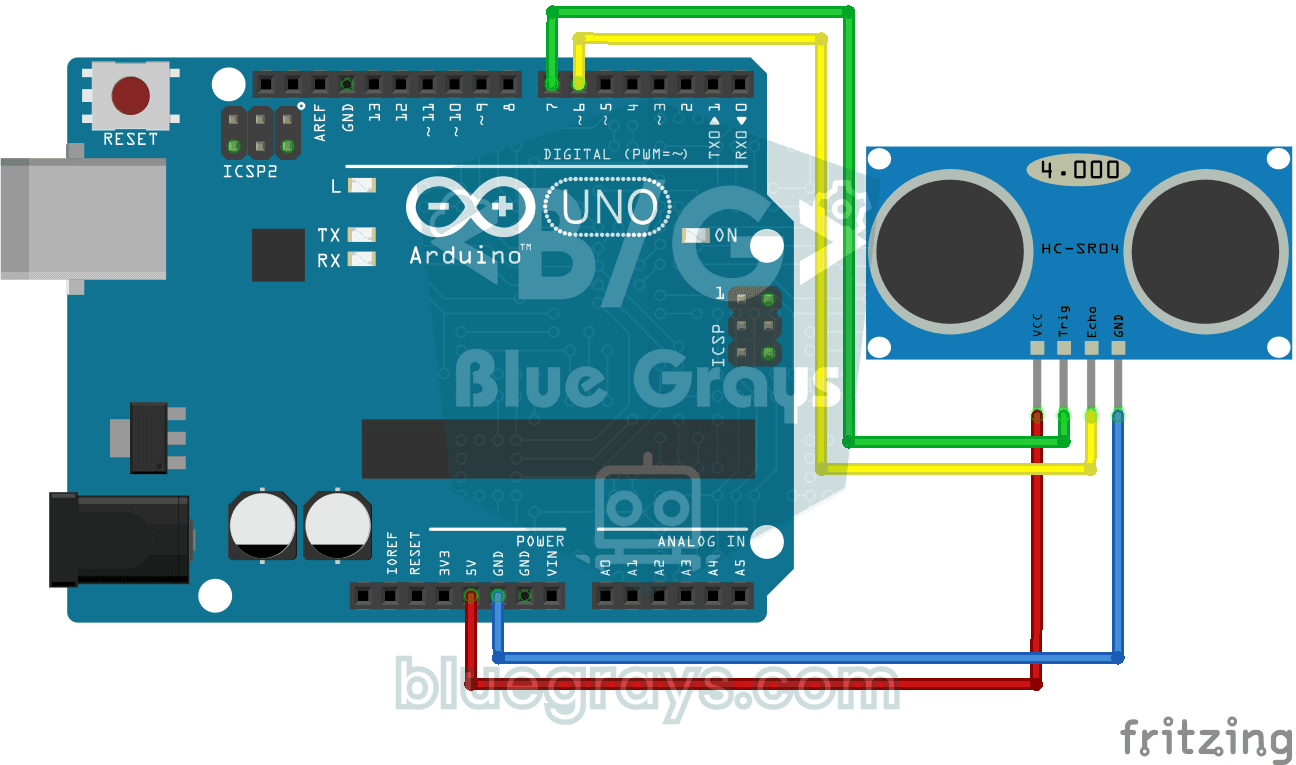
The HC-SR04 sensor works just like a bat finding its way in the dark: it sends out a sound you cannot hear, listens for the echo and measures how far away the object in front of it is.

Measuring Light Intensity with an LDR
Want to see how bright your room is as a number? The LDR, a small part that reacts to light, measures the light around it, and the Arduino writes the value to your computer screen every half second.

Reading Light Intensity with the ESP32 LDR Module
Real-time monitoring of the LDR module's raw ADC value and relative light percentage calculated from dark and light reference values in the Serial Monitor. This percentage is not a lux measurement. Teaches the module’s calibration logic. It is ideal to complete this before Project 10, as it is used to determine the threshold value.

Temperature and Humidity with DHT11
How warm is your room, and is the air humid or dry? The DHT11 sensor measures temperature and humidity, and the Arduino writes the values on a two-line LCD screen, refreshing every couple of seconds.
One-Way Communication Between 2 Arduinos
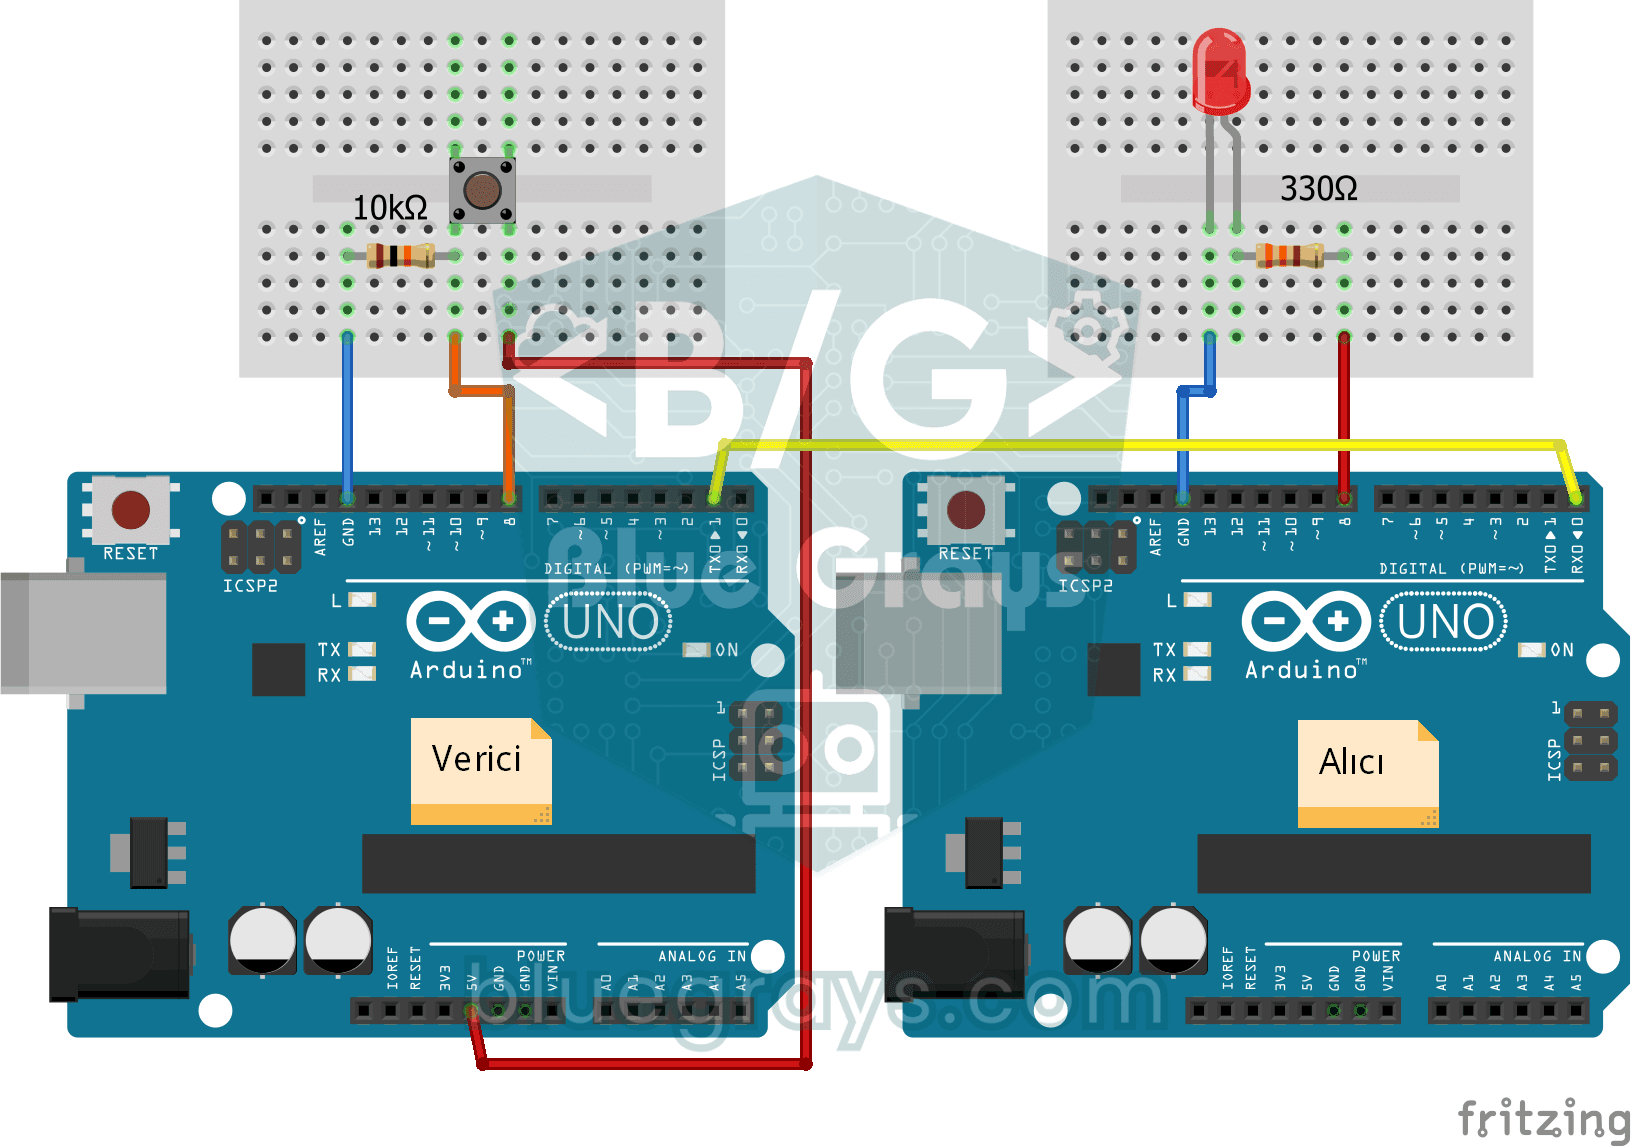
You get two Arduinos talking over a single wire: press the button on one and the LED on the other lights up, press it again and it goes off.