
WLED Setup on ESP32: Control Addressable LEDs Without Coding
WLED setup step by step: web installer, Wi-Fi, LED count and pin, effects and presets, power injection, music-reactive light and Home Assistant integration.
WLED setup is the quickest way to turn an ESP32 into a Wi-Fi LED controller without writing a single line of code. WLED is free, open-source firmware written to drive addressable LED strips, rings and matrices such as the WS2812B. It's flashed to the board from your browser in a few clicks; after that you pick from more than 100 effects, dozens of colour palettes, timers and music-reactive animations on your phone or computer. A TV bias light, shelf lighting, stair lights or Christmas decorations all run on the same setup.
In this guide you'll see step by step how to wire the ESP32, LED strip and power supply correctly, install WLED with the web installer, do the first Wi-Fi setup, and set the LED count, data pin and colour order. Then you'll learn to use effects, palettes, segments and presets, how to calculate power and inject it along long strips, how to sync the light to music with an I2S microphone, and how to integrate it with Home Assistant. Finally there are two short programs that control WLED over the JSON API from another ESP32 and a Raspberry Pi Pico W, plus fixes for the most common problems.
What is WLED and what can it do?
Normally, to drive addressable LEDs you write code in the Arduino IDE with Adafruit NeoPixel or FastLED and reprogram the board for every change. WLED turns this completely around: the board is programmed once, and every setting, effect and schedule is handled from the board's own web interface. The ESP32 joins your home Wi-Fi, runs a web server, and any device on the same network reaches it from a browser or the phone app. Settings are stored in the board's flash memory, so after a power cut the lights carry on where they left off.
- Supported LEDs: WS2812B, WS2811, WS2813, WS2815, SK6812 (including RGBW), TM1814, and clocked LEDs such as the APA102 and SK9822.
- Effects and palettes: More than 100 built-in effects and over 70 colour palettes; every effect can be tuned with speed and intensity sliders.
- Segments: Split a single strip into sections and give each one its own effect and colour.
- Presets and playlists: Save looks you like and recall them with one tap, or build lists that change in sequence.
- Timers: Lights that switch on or off at a set time, at sunrise or sunset, plus a sleep timer.
- Integration: Talks to other systems on the network through Home Assistant, MQTT, Alexa, E1.31 and Art-Net.
What you need
| Item | Recommended | Note |
|---|---|---|
| Controller | ESP32 development board (ESP32-WROOM, ESP32-S3 or C3) | You also need a USB data cable |
| LEDs | WS2812B strip, ring or matrix (5 V) | 12 V WS2811 and WS2815 are supported too |
| Power supply | 5 V, 3–20 A depending on the LED count | Details in the power section |
| Series resistor | 220–470 Ω | On the data line, close to the first LED |
| Capacitor | 1000 µF, at least 10 V | Across 5 V and GND at the strip input |
| Level shifter (recommended) | 74AHCT125 or 74HCT125 | Raises 3.3 V data to 5 V |
| Microphone (optional) | INMP441 I2S microphone module | For music-reactive effects |
Compatibility note: WLED also runs on ESP8266-based boards (NodeMCU, Wemos D1 mini), but because their memory and processing power are more limited they handle fewer LEDs, and the music-reactive feature only exists on the ESP32. That's why we recommend an ESP32 for new projects, and this whole guide is written for the ESP32. The Raspberry Pi Pico can't run WLED; to drive addressable LEDs with a Pico you can use MicroPython's neopixel module, or, as in the JSON API example below, use a Pico W to control an ESP32 that runs WLED remotely.
Wiring: ESP32, LED strip and power supply
| Connection | From | To | Note |
|---|---|---|---|
| LED power | Power supply +5 V | Strip 5V (+) pad | Directly, not through the ESP32 |
| Ground | Power supply GND | Strip GND and ESP32 GND | A common ground is essential |
| ESP32 power | Power supply +5 V | ESP32 VIN (5V) pin | USB is enough while programming |
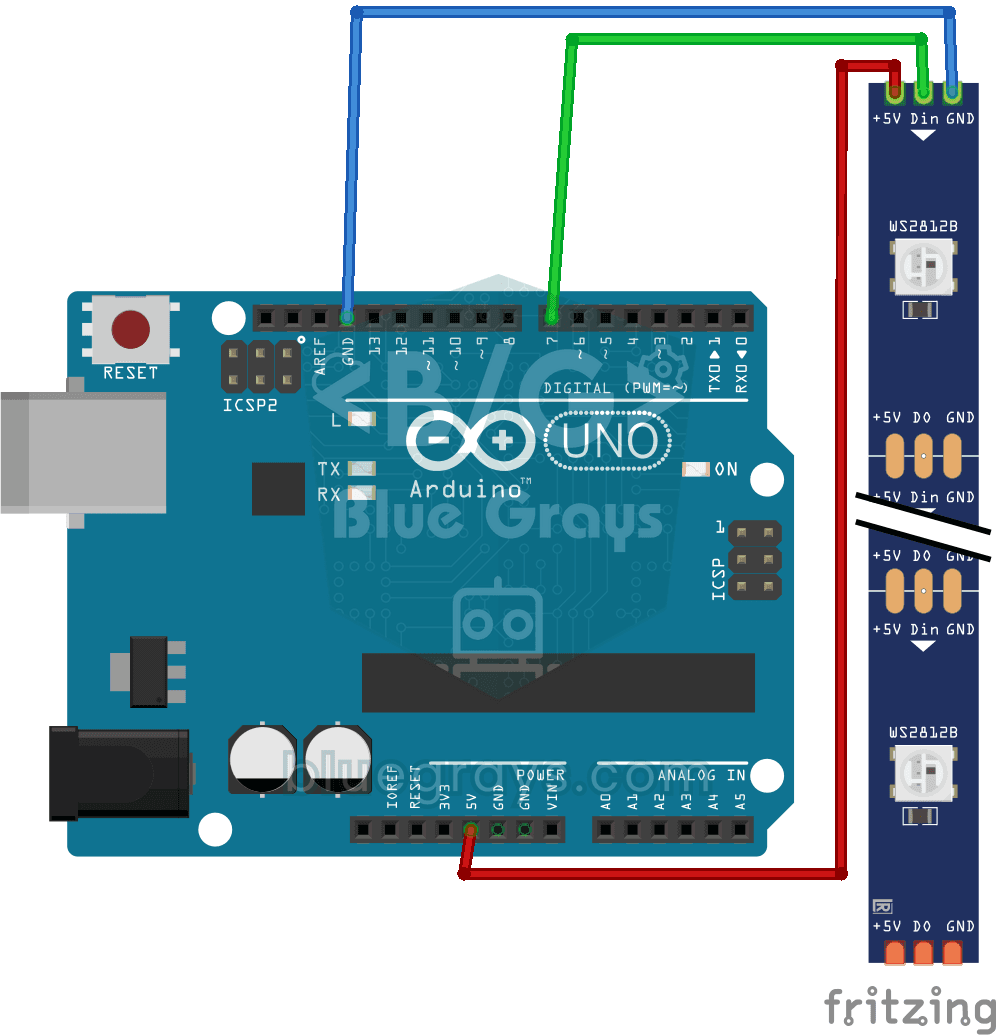
| Data | ESP32 GPIO 16 | 220–470 Ω → strip DIN | Optionally through a 74AHCT125 |
| Capacitor | Strip input 5 V | Strip input GND | 1000 µF, positive lead to 5 V |
Installing WLED with the web installer
You don't need the Arduino IDE or any other program to install WLED. The official web installer (install.wled.me) connects straight to the ESP32 through the browser's Web Serial feature, detects the board's chip and writes the matching firmware. This works in Chromium-based desktop browsers such as Chrome, Edge and Opera; Firefox and Safari don't support Web Serial at the moment. For the board to show up as a serial port on your computer, the CP210x or CH340 driver must be installed.
- Plug the ESP32 into the computer with a USB cable that can carry data. You don't need to connect the LED strip yet.
- Open the WLED web installer in Chrome or Edge. From the version list choose the latest stable release; beta versions are for testing.
- Press the Install button. In the window that opens, select your board's port (something like COM3 on Windows, cu.usbserial... or cu.wchusbserial... on macOS) and click Connect.
- Once the installer has detected the chip, confirm the Install WLED option. If the board was used with another program before, clearing the memory with "Erase device" stops old settings from getting mixed in.
- Writing takes about a minute. If the upload doesn't start, hold down the ESP32's BOOT button and try again.
- When the installation finishes, the installer asks for your Wi-Fi details. Enter the network name and password and click Connect, then open the WLED interface with the Visit Device link that appears.
First Wi-Fi setup
If you skipped the installer's Wi-Fi step, or the board can't join the network, WLED opens its own access point. Connect your phone to the network called WLED-AP; the default password is wled1234. On most phones the settings page opens by itself; if it doesn't, type 4.3.2.1 into the browser. On the WiFi Setup page, enter your home network's name and password, save, and wait for the board to restart. The ESP32 only supports 2.4 GHz Wi-Fi; if your router uses the same name for 2.4 and 5 GHz it's usually fine, but it can't join a network that only broadcasts on 5 GHz. After connecting, you can find the board's IP address in your router's list of connected devices or with the WLED app's automatic discovery. It's also a good idea to change the access point password on the same page for security.
LED count, data pin and colour order
- In the WLED interface open the Config menu (gear icon) and go to LED Preferences.
- Under LED outputs choose the LED type: "WS281x" for WS2812B, "SK6812/WS2814 RGBW" for RGBW strips.
- Set Color Order to GRB for the WS2812B; if the colours come out wrong, change this field until you find the right one.
- In Length, enter the number of LEDs on the strip (e.g. 60 for 1 m of 60 LED/m strip).
- In GPIO, enter the pin the data wire is connected to (16 in this guide). GPIO 6–11 are reserved for the flash memory and 34–39 are input-only; don't use them.
- In Maximum Current (the automatic brightness limiter), enter about 80% of the current your supply can deliver, in mA; 3200 for a 5 V 4 A supply.
- Press Save at the bottom of the page. Go back to the main screen and pick a colour; the whole strip should light up in that colour.
| LED type | Supply | Type in WLED | Typical colour order | Note |
|---|---|---|---|---|
| WS2812B | 5 V | WS281x | GRB | The most common; single data line |
| SK6812 RGBW | 5 V | SK6812/WS2814 RGBW | GRBW | Strip with a separate white LED |
| WS2811 | 12 V | WS281x | BRG or RGB | Three LEDs act as one pixel |
| WS2815 | 12 V | WS281x | GRB | Backup data line; the strip keeps working if one LED fails |
| APA102 / SK9822 | 5 V | APA102 / SK9822 | BGR | Two lines, data and clock, very fast |
Effects, palettes, segments and presets
WLED's main screen has three parts: the colour picker and brightness at the top, the effect list in the middle and the palette list beside it. When you pick an effect (e.g. Rainbow, Fire 2012, Twinkle), the Speed and Intensity sliders below it change its speed and density. The palette decides which family of colours the effect uses: the same "Colorwaves" effect looks like blue waves with the "Ocean" palette and like red flames with "Lava". If you want an effect to use the colours you picked, choose palettes such as "Default" or "Color 1".
- Segments: Split the strip into parts in the Segments section; for example, LEDs 0–29 can breathe in blue while 30–59 run a rainbow. Each segment has its own effect, palette, brightness and direction.
- Presets: Name and save the look you like in the Presets section. A preset stores effect, colour, segments and brightness all at once and brings them back with one tap.
- Playlists: Build a list that cycles through several presets in order, for durations you choose; ideal for shop windows or party lights.
- Timers: Set your time zone on the Config > Time & Macros page, then run a preset at a set time, at sunrise or at sunset.
- Nightlight: The moon button slowly dims the light and switches it off over a time you choose; handy for a child's room.
- Sync: Several WLED devices on the same network can link up over UDP and play the same effect at the same time.
The phone app
The interface works in any browser, but for everyday use the free WLED app for iOS and Android is more convenient. The app finds WLED devices on the same network automatically, lists them, and opens the board's own interface when you tap one. If you have several devices (e.g. living room, kitchen and stairs), you control them all from one screen. If a device doesn't appear in the list, make sure the phone and the ESP32 are on the same network, or add the IP address manually. Because the app is only an interface, the phone doesn't need to stay on for the lights to work; timers and presets keep running inside the ESP32.
Power budget and power injection
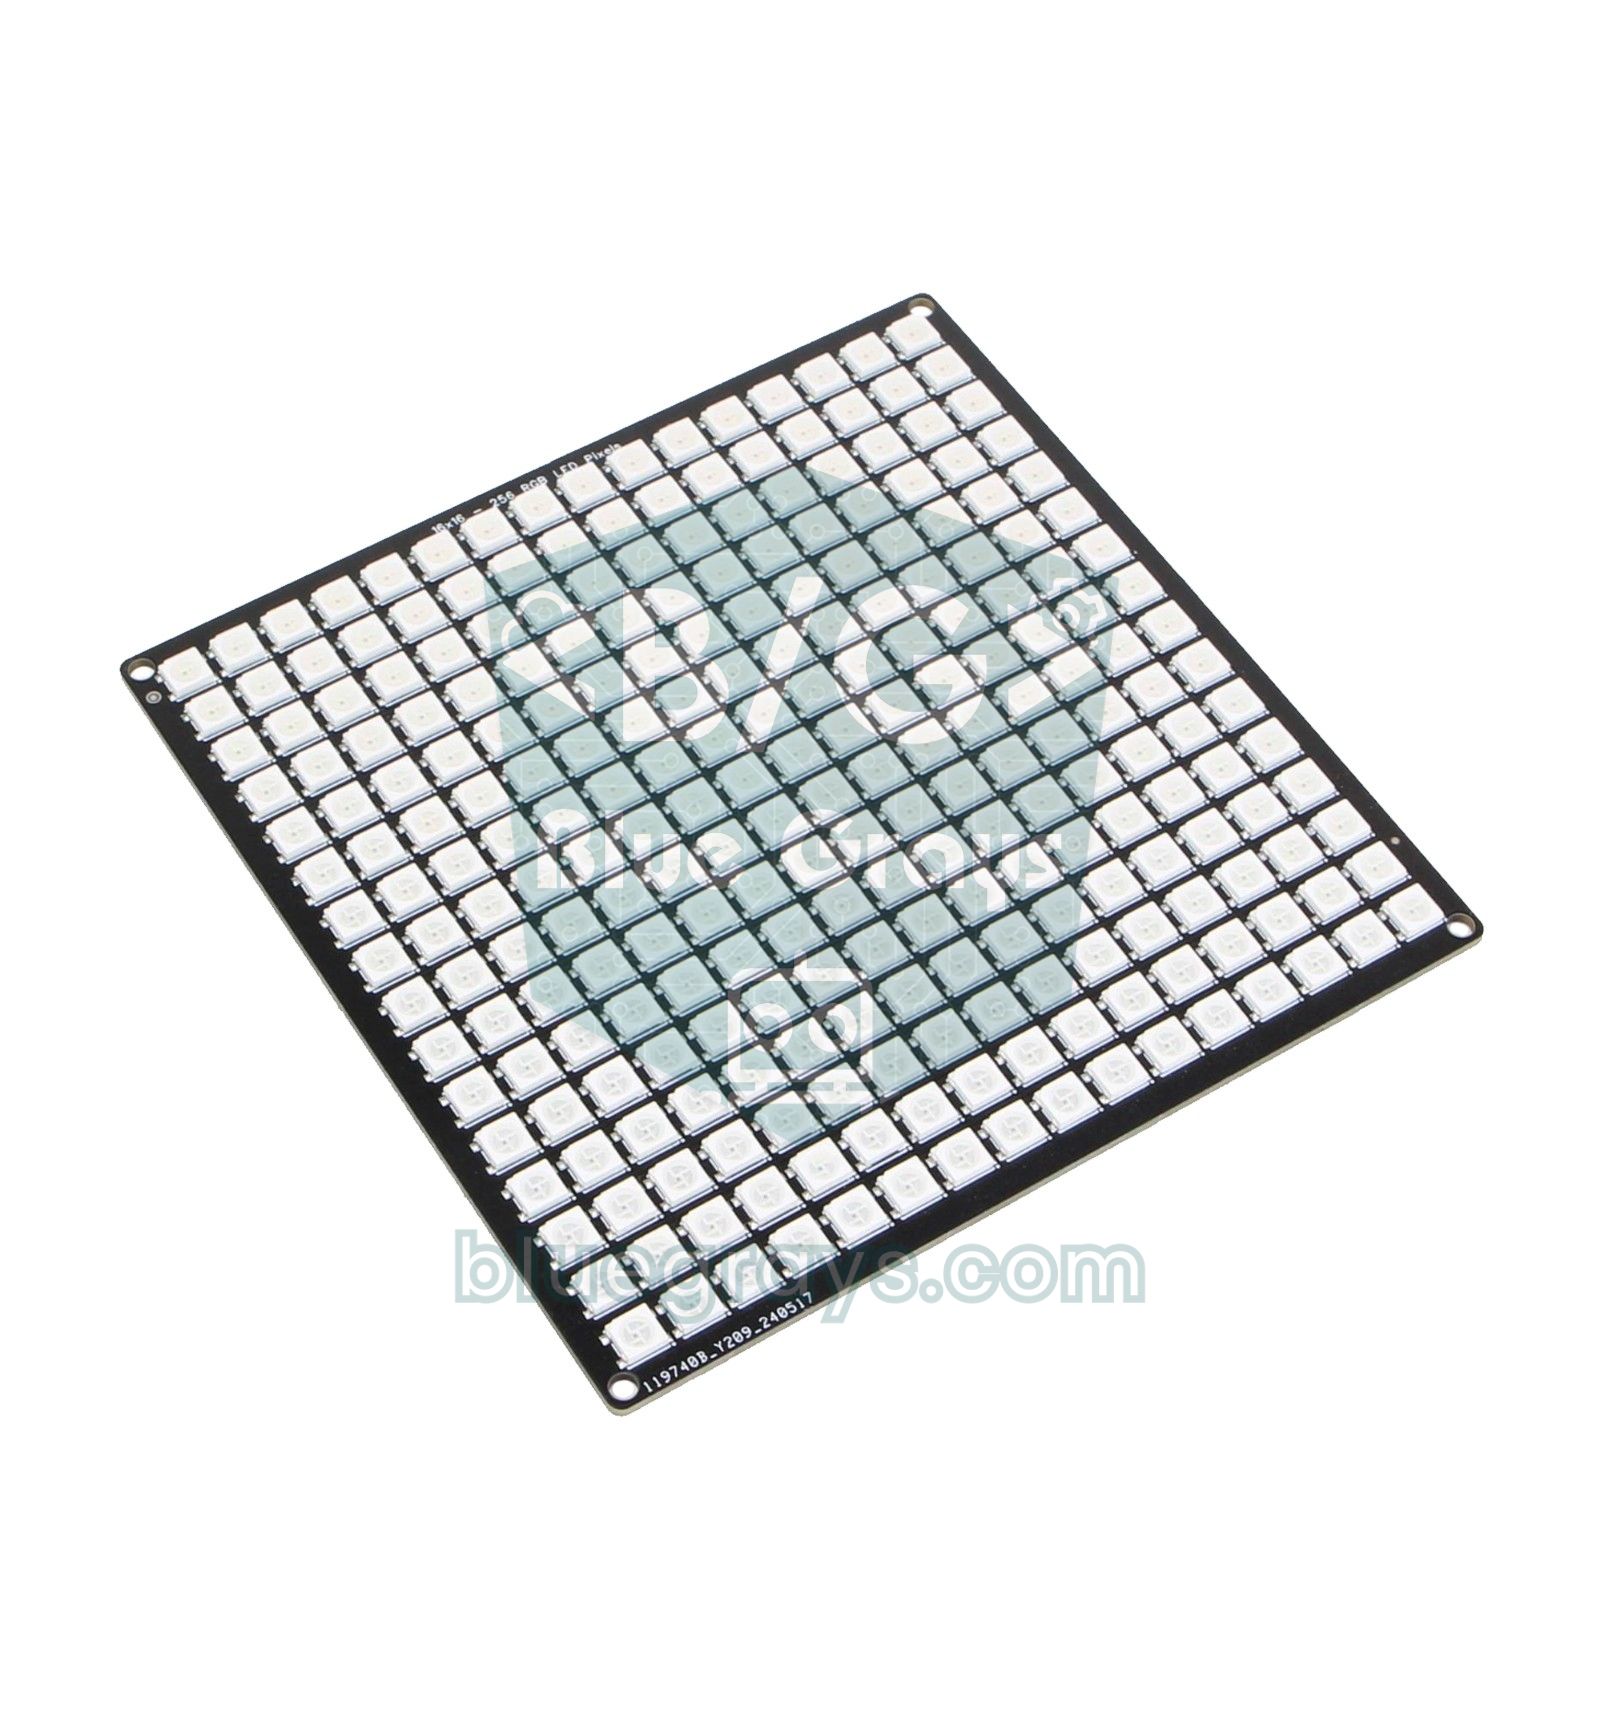
A WS2812B LED contains three tiny LEDs, red, green and blue, each drawing about 20 mA at full brightness. So a single pixel needs about 60 mA at full white. That's the worst case; with coloured effects and medium brightness the real consumption is often about a third of that. WLED's Maximum Current setting (the automatic brightness limiter) calculates the current each frame will draw and lowers the brightness by itself if it would exceed the limit. Thanks to this you can safely run a 300-LED strip from a 5 V 10 A supply; only full white gets a little dimmer. The default limit is kept low so the board stays safe when powered from USB, so be sure to update it when you move to an external supply.
| LED count | Example | Worst case (full white) | Recommended supply | Maximum Current |
|---|---|---|---|---|
| 30 | 0.5 m of 60 LED/m strip | 1.8 A | 5 V 3 A | 2400 mA |
| 60 | 1 m of 60 LED/m strip | 3.6 A | 5 V 4 A | 3200 mA |
| 150 | 5 m of 30 LED/m strip | 9 A | 5 V 10 A | 8000 mA |
| 300 | 5 m of 60 LED/m strip | 18 A | 5 V 20 A (or 10 A with limited brightness) | 16000 mA (or 8000 mA) |
- Voltage drop: The copper traces of 5 V strips are thin; as the current rises, the voltage drops towards the end of the strip and white looks yellowish or pinkish. This usually starts after 1–2 metres (60–120 LEDs).
- Power injection: Run separate 5 V and GND wires from the power supply to every 1–2 metres of the strip and solder them to the strip's copper pads. Feeding both ends of a long strip also works well. The data line only enters at the start; injection wires carry only 5 V and GND.
- Wire size: Use at least 0.75–1 mm² (around 18 AWG) for a few amps and 1.5 mm² for 10 A and above; the strip's own thin lead wires are only meant for short strips.
- Fuse: Fit a fuse between the supply and the strip on every feed, rated for what the wire can carry; it stops the wire from burning in a short circuit.
- 12 V option: For very long installations, 12 V strips such as the WS2815 draw a third of the current for the same power and suffer much less from voltage drop.
- Calculator: If you're building a portable setup on batteries or a power bank, work out the runtime with the battery life calculator.
Light synced to music with a microphone
WLED builds for the ESP32 come with the AudioReactive add-on built in; connect a microphone, change a few settings, and the effects move with the rhythm and frequencies of the music. The best results come from the INMP441, a digital I2S microphone: because it sends the signal digitally, you avoid the noise and gain problems of analog microphones. Analog microphone modules such as the MAX9814 or MAX4466 can also be used on an ADC1 pin (e.g. GPIO 36), but they need more tuning. Sound sensors such as the KY-038 only tell you whether there is sound, so they're not suitable for this job.
| INMP441 pin | ESP32 | Note |
|---|---|---|
| VDD | 3V3 | 3.3 V only |
| GND | GND | Common ground |
| L/R | GND | Selects the left channel |
| SD (data) | GPIO 32 | I2S SD pin in WLED |
| WS (word select) | GPIO 15 | I2S WS pin in WLED |
| SCK (clock) | GPIO 14 | I2S SCK pin in WLED |
After wiring, enable the AudioReactive section on the Config > Usermods page, choose "Generic I2S" as the microphone type and enter the SD, WS and SCK pins as in the table. After saving and restarting the board, the sound-driven effects stand out in the effect list; GEQ, Gravimeter and Waterfall are good starting points. If the lights twitch when there's no sound, raise the Squelch value (noise threshold); if they don't react enough to the music, increase Gain. Placing the microphone somewhere it hears the room, rather than right in front of the speaker, gives the most balanced result.
Home Assistant integration
Home Assistant has a built-in WLED integration and usually finds WLED devices on the same network by itself. If a "New device discovered" notification appears, just confirm it; if not, go to Settings > Devices & Services > Add integration, choose WLED and enter the device's IP address. The integration adds the strip and each segment as separate lights, presets, playlists and palettes as select boxes, and speed and intensity as sliders. That lets you set up automations such as "switch the living room strip to warm white at sunset" or "light the hallway when the door opens" in a few clicks. If you'd rather use MQTT, WLED can also connect to an MQTT broker from its Sync Interfaces page; we covered using MQTT with Home Assistant in the ESP32, MQTT and Home Assistant article.
Controlling WLED from code: the JSON API
WLED works without code, but when you want another device to control it, a simple HTTP request is enough. A JSON message sent to the device's /json/state address changes the light's state: {"on":"t"} toggles it, {"bri":128} sets half brightness, {"ps":2} runs preset number 2. If you add "v":true to the message, WLED replies with the current state. The first program below uses a button on a separate ESP32 to cycle through the first three presets on WLED; the second does the same with a Raspberry Pi Pico W and MicroPython. In both programs, enter your own network details and the IP address of the WLED device.
1// İkinci bir ESP32'den WLED preset değiştirme (JSON API) / Switch WLED presets from a second ESP32 (JSON API)
2// Buton: GPIO 4 -> GND (dahili pull-up) / button: GPIO 4 -> GND (internal pull-up)
3#include <WiFi.h>
4#include <HTTPClient.h>
5
6const char* WIFI_SSID = "AgAdi";                           // ağ adı / network name
7const char* WIFI_PASS = "Sifre";                           // ağ şifresi / network password
8const char* WLED_URL = "http://192.168.1.50/json/state";   // WLED cihazının IP'si / IP of the WLED device
9const int BUTTON_PIN = 4;
10
11int preset = 1;
12bool lastState = HIGH;
13
14int sendJson(const String& body) {
15  HTTPClient http;
16  http.begin(WLED_URL);
17  http.addHeader("Content-Type", "application/json");
18  int code = http.POST(body);                              // 200 = başarılı / success
19  http.end();
20  return code;
21}
22
23void setup() {
24  Serial.begin(115200);
25  pinMode(BUTTON_PIN, INPUT_PULLUP);
26  WiFi.begin(WIFI_SSID, WIFI_PASS);
27  while (WiFi.status() != WL_CONNECTED) {
28    delay(300);
29    Serial.print('.');
30  }
31  Serial.print("\nIP: ");
32  Serial.println(WiFi.localIP());
33}
34
35void loop() {
36  bool state = digitalRead(BUTTON_PIN);
37  if (lastState == HIGH && state == LOW) {                 // butona basıldı / button pressed
38    String body = "{\"on\":true,\"ps\":" + String(preset) + "}";
39    int code = sendJson(body);
40    Serial.printf("Preset %d -> HTTP %d\n", preset, code);
41    preset = preset % 3 + 1;                               // 1 -> 2 -> 3 -> 1
42    delay(50);                                             // basit debounce / simple debounce
43  }
44  lastState = state;
45}1# Raspberry Pi Pico W: butonla WLED aç/kapat (JSON API) / toggle WLED with a button (JSON API)
2# Buton: GP14 -> GND (dahili pull-up) / button: GP14 -> GND (internal pull-up)
3import network
4import time
5import urequests
6from machine import Pin
7
8SSID = "AgAdi" # ağ adı / network name
9PASSWORD = "Sifre" # ağ şifresi / network password
10WLED_URL = "http://192.168.1.50/json/state" # WLED cihazının IP'si / IP of the WLED device
11
12button = Pin(14, Pin.IN, Pin.PULL_UP)
13
14wlan = network.WLAN(network.STA_IF)
15wlan.active(True)
16wlan.connect(SSID, PASSWORD)
17while not wlan.isconnected():
18 time.sleep(0.3)
19print("IP:", wlan.ifconfig()[0])
20
21last = 1
22while True:
23 now = button.value()
24 if last == 1 and now == 0: # butona basıldı / button pressed
25 r = urequests.post(WLED_URL, json={"on": "t", "v": True})
26 state = r.json() # güncel durum / current state
27 r.close()
28 print("Acik / On:", state["on"], " Parlaklik / Brightness:", state["bri"])
29 time.sleep_ms(50) # basit debounce / simple debounce
30 last = now
31 time.sleep_ms(10)In both programs the current state is compared with the previous one so that a single press sends only one request, and the 50 ms wait filters out the button's mechanical bounce. In a real project it's a good idea to give the WLED device a fixed IP address on your router, or use its mDNS name from the WLED interface, because the IP can change when the power goes off and the router restarts. With the same method you can turn on stair lights when a motion sensor triggers, switch to a night preset when an LDR says it's getting dark, or change the strip's colour according to a temperature reading.
Common problems and fixes
| Symptom | Likely cause | Fix |
|---|---|---|
| First LED doesn't light or shows random colours, the rest are fine | First LED damaged or 3.3 V data is borderline | Cut out the first LED; add 220–470 Ω and a 74AHCT125 on the data line |
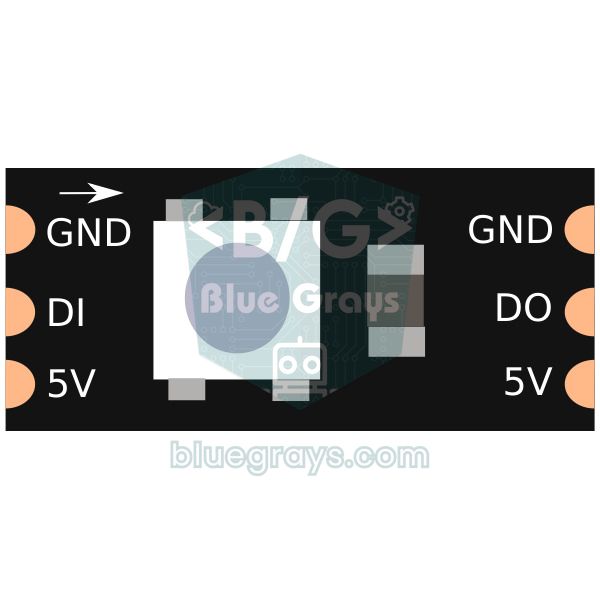
| No LEDs light at all | Data on the DOUT end, wrong GPIO, or no common GND | Use the DIN end where the arrows start, check the GPIO setting and GND |
| Choosing red gives green | Wrong colour order | Set Color Order to GRB or RGB in LED Preferences |
| Only part of the strip lights | Length is smaller than the LED count | Enter the real number of LEDs in Length |
| End of the strip looks yellowish or pinkish | Voltage drop | Inject power every 1–2 metres |
| ESP32 restarts when brightness goes up | Supply too weak, the voltage collapses | Use a stronger supply and lower Maximum Current |
| Device not on the network after install | Wrong password or a 5 GHz-only network | Join WLED-AP and set up Wi-Fi again at 4.3.2.1 |
| LEDs flicker or blink randomly | No common GND, long data wire | Join the GNDs, place the ESP32 near the strip or use a level shifter |
WLED is one of the most enjoyable ways to work with addressable LEDs: setup takes a few minutes, you get professional-looking effects without writing code, and when you need to you can tie it into your own projects with the JSON API. If you'd like to learn how LEDs are driven in code, you can build the "ESP32 WS2812B NeoPixel Strip Control" project and the WS2812B chaser, Knight Rider and police light projects in the BlueGrays app, step by step with a wiring diagram and ready-made code.
Frequently asked questions
What is WLED, and is it free?
WLED is open-source firmware for the ESP32 and ESP8266 that controls addressable LEDs over Wi-Fi. It's completely free, and so is the phone app. Once it's flashed to the board, effects, colours and timers are set from a browser or the app without writing code.
Which boards does WLED run on?
WLED runs on the ESP32 family (ESP32, ESP32-S2, S3 and C3) and on ESP8266-based boards. An ESP32 is recommended for the music-reactive feature and for more LEDs. The Arduino Uno and Raspberry Pi Pico can't run WLED because they don't have an ESP Wi-Fi chip; a Pico W can, however, control a WLED device remotely through the JSON API.
How many LEDs can WLED control?
Sending data to one WS2812B LED takes about 30 microseconds, so a 1000-LED strip can refresh at most around 30 frames per second. On an ESP32, a few hundred to 1000 LEDs run smoothly on one output; for more, the LEDs are split across several outputs (different GPIOs). The real limit is usually the power supply and wiring.
Do I need the Arduino IDE to install WLED?
No. WLED is written to the board in a few clicks with the official web installer opened in Chrome or Edge; you don't need the Arduino IDE or any other program. All you need for the computer to see the board is a USB cable that carries data and the CP210x or CH340 driver.
Does WLED work without the internet?
Yes. WLED works on the local network and doesn't need the internet; if there's no network at all, it opens its own WLED-AP access point and you can connect to it directly from your phone. Only clock-based timers and sunrise and sunset settings need the board to get the time from the internet (NTP).
How do I factory reset WLED?
In the WLED interface, the factory reset option on the Config > Security & Updates page erases all settings. If you can't reach the interface, open the web installer again and reinstall WLED from scratch with the "Erase device" option. After the reset the board starts with the WLED-AP access point and you set up Wi-Fi again.
Projects to build after reading this
See all projects
LED Blink with ESP32
Teaches basic GPIO output usage with ESP32. We achieve a blinking effect by turning an LED on and off from a digital pin. ESP32 version of the classic blink project on Arduino UNO; the basic blink commands in the Arduino environment are the same, but the ESP32's pin layout and 3.3 V GPIO levels differ from those of the Arduino UNO.

ESP32 WS2812B NeoPixel Strip Control
WS2812B (NeoPixel) addressable LEDs are smart RGB LEDs that can be controlled in a daisy-chain configuration via a single data pin. In this project, we will control an 8-LED WS2812B strip using the Adafruit_NeoPixel library to create a smooth rainbow animation. While the ESP32’s 3.3V logic level works seamlessly with most WS2812B components, we’ll demonstrate a solution using a 470Ω series resistor and a 1000µF capacitor in case of instability. The animation is achieved by shifting the hue value
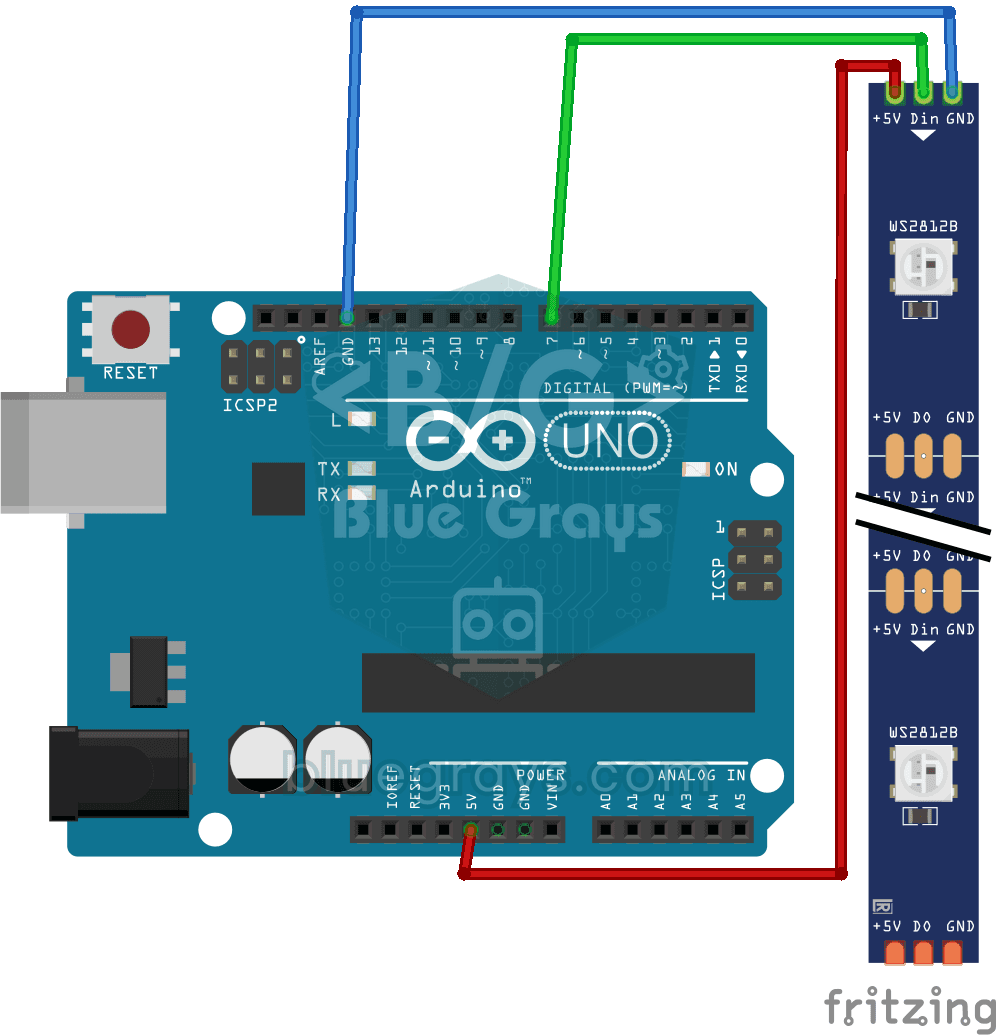
Using a WS2812B LED Strip
Meet a smart LED strip where you can colour every single light on its own. The Arduino first lights the first five LEDs red, a second later turns the other five blue, then switches them all off and st
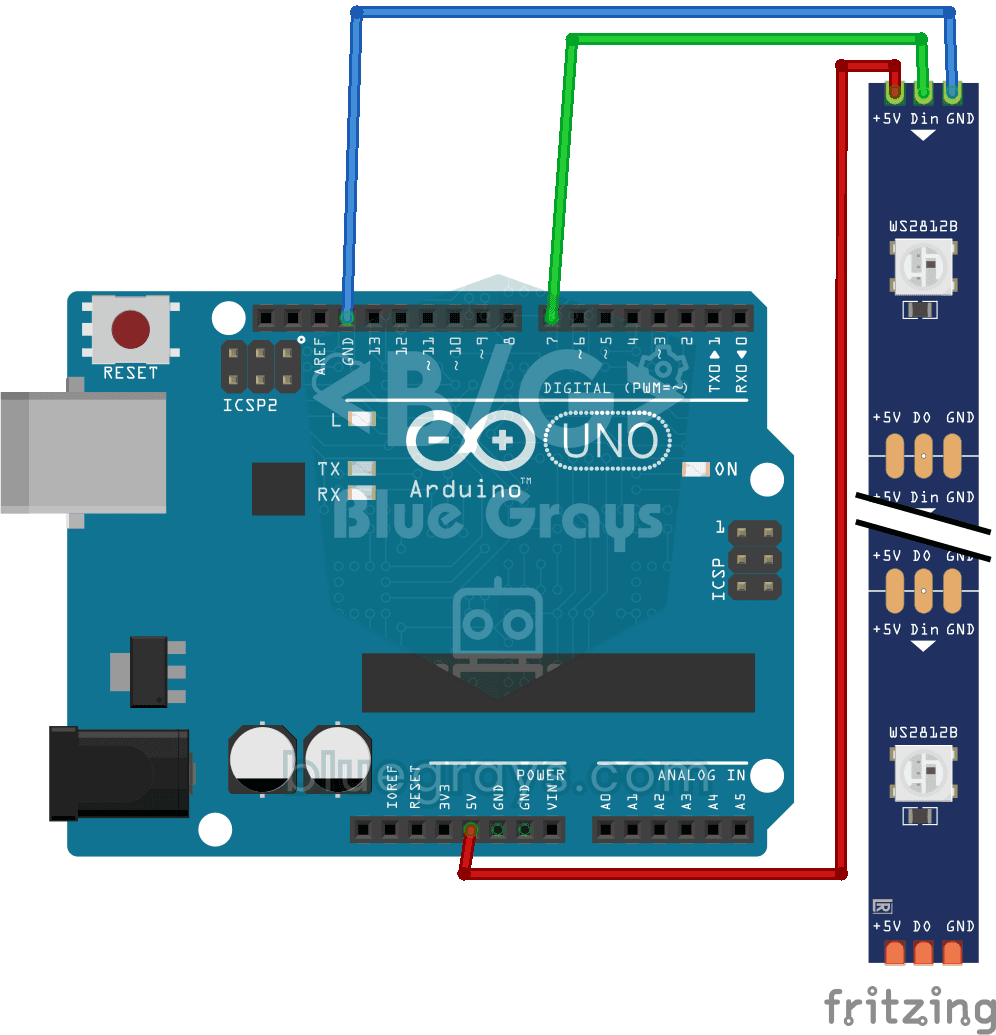
Police Lights with WS2812B
You bring the red and blue lights from the roof of a police car right onto your desk. One half of a ten-LED WS2812B strip flashes red three times in quick succession, then the other half flashes blue
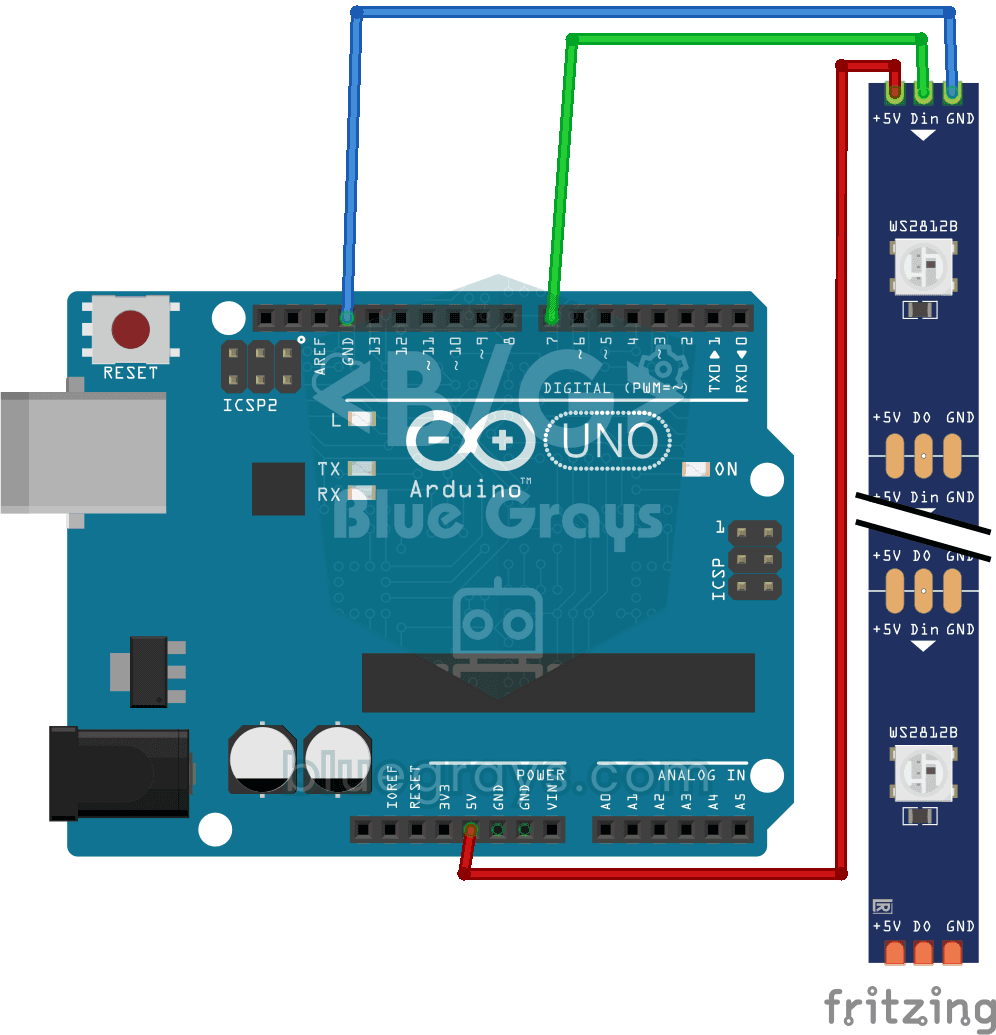
WS2812B LED Chaser
On a strip of ten LEDs, a green dot of light moves from start to finish one LED at a time, then jumps back to the beginning; it stays on each LED for a third of a second. On a WS2812B strip you contro
WS2812B Knight Rider Effect
A red dot of light slides from one end of a smart LED strip to the other, then comes back, sweeping back and forth without ever stopping. At each step the Arduino lights just one LED, waits a tenth of

WS2812B Animation 1
On a strip of 56 LEDs, all the colours of the rainbow line up side by side and flow without ever stopping, as if a river of light were gliding along the strip. Each LED glows in a slightly different c

ESP32 RGB LED Control
Unlimited color generation with a single RGB LED instead of 3 separate LEDs. As in Arduino, we make a rainbow transition by setting the R/G/B values with analogWrite(). Color theory (such as red+green=yellow) is seen practically.