
Arduino Bluetooth Projects: 15 Ideas With HC-05, HM-10 and ESP32
15 Arduino Bluetooth projects: phone-controlled LED and relay, Bluetooth car, voice control, LED sign, BLE sensor; HC-05, HM-10, ESP32 and app tables.

Arduino Bluetooth projects turn your phone into a remote that sends wireless commands to an Arduino, or let you read the Arduino's measurements on your phone: switching an LED or a relay, driving a robot car, writing a message on a scrolling LED sign or seeing a sensor value in your pocket. No internet or router is needed; the phone and the board talk directly within a few metres. That is why Bluetooth is the first wireless method most people learn, before Wi-Fi, and one of the most popular topics for school projects.
But if you pick the wrong module or the wrong phone app, the project stalls before it starts: an iPhone never sees an HC-05, some apps only talk to BLE modules, and newer ESP32 chips have no Classic Bluetooth. In this guide we first compare the HC-05, HC-06, HM-10 and ESP32, then apps such as App Inventor, Serial Bluetooth Terminal and Dabble, and then walk through 15 projects from easy to hard. There are two ready sketches too: LED, relay and brightness control with an HC-05, and LED control from your phone with ESP32 BLE. If you are using the module for the first time, start with the HC-05 Bluetooth module article.
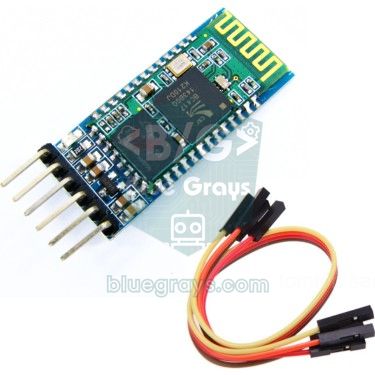
Which Bluetooth module? HC-05, HC-06, HM-10 and ESP32
All Bluetooth modules seem to do the same job, but they use two different technologies. Classic Bluetooth (SPP) behaves like a serial port: every character you send from your phone is read on the Arduino with Serial.read(), and the code is very simple. The HC-05 and HC-06 belong to this group; they work fine with Android, but because Apple does not expose this profile to apps on iPhones, they are invisible on iOS. Bluetooth Low Energy (BLE) carries data through a small table of services and characteristics, uses very little power and works with both Android and iPhone. The HM-10 is a BLE module that connects to the Arduino like a serial port; the ESP32 has both Classic Bluetooth and BLE built in. Newer chips such as the ESP32-S3 and ESP32-C3 only have BLE.
| Module | Bluetooth | Role | iPhone | Arduino side | Best project |
|---|---|---|---|---|---|
| HC-05 | 2.0 Classic (SPP) | Master and slave | Does not work | SoftwareSerial, 9600 baud | Android remote, link between two Arduinos |
| HC-06 | 2.0 Classic (SPP) | Slave only | Does not work | SoftwareSerial, 9600 baud | The simplest Android remote |
| HM-10 | 4.0 BLE | Master and slave | Works | SoftwareSerial, 9600 baud | Projects that must work with an iPhone |
| ESP32 (classic) | Classic + BLE built in | Both | Works over BLE | BluetoothSerial or BLEDevice | Module-free projects, BLE sensor, keyboard |
| ESP32-S3 / C3 | BLE only | Both | Works | BLEDevice or NimBLE | Low-power BLE devices |
Which phone app? App and module compatibility table
The phone side matters as much as the Arduino side. To test without writing code you use a ready terminal app, for a remote with buttons you use ready panels such as Dabble, and for your own design you use App Inventor. The rule is simple: only Android apps talk to Classic modules (HC-05, HC-06), while both Android and iPhone apps can talk to BLE modules (HM-10, ESP32 BLE). The table below shows which app works with which module.
| App | Phone | Supported modules | What for? |
|---|---|---|---|
| Serial Bluetooth Terminal | Android | HC-05, HC-06, HM-10, ESP32 | Sending commands and reading incoming data; quick tests with macro buttons |
| Dabble | Android and iOS | HC-05, HC-06 (Android), HM-10, ESP32 | Ready gamepad, terminal, phone sensors; Dabble library on the Arduino |
| App Inventor | Android (you build the app) | Classic modules; HM-10 and ESP32 with the BLE extension | Your own buttons, sliders and voice commands in an app that is fully yours |
| nRF Connect / LightBlue | Android and iOS | BLE (HM-10, ESP32) | Viewing BLE services and writing values to characteristics |
| Bluetooth Electronics | Android | HC-05, HC-06, HM-10 | Drag-and-drop panels with buttons, sliders and charts |
15 Arduino Bluetooth projects in one table
| # | Project | Board and module | Extra parts | Phone app | Level |
|---|---|---|---|---|---|
| 1 | LED on/off from your phone | Uno + HC-05 | LED, 220 Ω | Serial Bluetooth Terminal | Easy |
| 2 | Lamp control with a relay | Uno + HC-05 | Relay module | Serial Bluetooth Terminal, Dabble | Easy |
| 3 | RGB LED colour picker | Uno + HC-05 | RGB LED, 3 resistors | App Inventor | Easy |
| 4 | Bluetooth-controlled car | Uno + HC-05 | L298N, 2-motor chassis, battery | Dabble Gamepad or an RC car app | Medium |
| 5 | Voice control | Uno + HC-05 | Relay or LEDs | App Inventor (speech recognition) | Medium |
| 6 | Bluetooth LED sign | Uno + HC-05 | MAX7219 8x32 matrix | Serial Bluetooth Terminal | Medium |
| 7 | Servo and robot arm from your phone | Uno + HC-05 | SG90 servos, external 5 V | App Inventor sliders | Medium |
| 8 | Sensor data to your phone | Uno + HC-05 | DHT11 | Bluetooth Electronics, terminal | Easy |
| 9 | Password-protected Bluetooth door lock | Uno + HC-05 | Servo or solenoid lock | App Inventor | Medium |
| 10 | Bluetooth between two Arduinos | 2 × Uno + 2 × HC-05 | Button, LED | Not needed | Medium |
| 11 | Dabble gamepad | Uno + HC-05 or HM-10 | Motors or LEDs | Dabble Gamepad | Easy |
| 12 | ESP32 BLE LED control | ESP32 | None (onboard LED) | nRF Connect, LightBlue | Medium |
| 13 | ESP32 BLE sensor | ESP32 | DHT22 | nRF Connect, your own app | Medium |
| 14 | ESP32 BLE keyboard and presentation remote | ESP32 | 2–3 buttons | Not needed (the computer sees a keyboard) | Medium |
| 15 | Car driven by a game console controller | ESP32 | Motor driver, chassis | Not needed (PS4 / Xbox controller) | Hard |
The first two ideas on the list also exist as ready projects in the BlueGrays app: the Turning on an LED from Your Phone via Bluetooth project builds Project 1, and the Bluetooth-Controlled Car with L298N project builds Project 4, step by step with a circuit diagram and code. The other items are project ideas you can build by combining the app's RGB LED, 230 V bulb with relay, servo and WS2812B projects with Bluetooth commands; the table lists the parts and the phone side each one needs.
First projects with the HC-05 (1–3): LED, relay and brightness
The first three projects run on the same circuit and the same code. We do not connect the HC-05 to the Arduino's hardware serial pins 0 and 1, but to pins 10 and 11 with SoftwareSerial; that way you do not have to unplug the module while uploading, and you keep the Serial Monitor for debugging. The module's TX pin outputs a 3.3 V signal, which the Arduino reads without trouble. In the other direction, the Arduino's 5 V TX signal must not go straight into the module's RX pin: a voltage divider made of a 1 kΩ and a 2 kΩ resistor brings 5 V down to about 3.3 V.
| Connection | Arduino Uno | Note |
|---|---|---|
| HC-05 VCC | 5V | The module board has a regulator |
| HC-05 GND | GND | Common ground |
| HC-05 TXD | D10 (SoftwareSerial RX) | Connected directly |
| HC-05 RXD | D11 (SoftwareSerial TX) | Through a 1 kΩ (D11 side) + 2 kΩ (GND side) divider |
| LED | D13 | The onboard LED is on the same pin |
| Relay module IN | D7 | The relay runs on 5 V |
| PWM LED | D5 | With a 220 Ω resistor |
1// Arduino Uno + HC-05/HC-06: telefondan LED, röle ve PWM parlaklık kontrolü
2// Arduino Uno + HC-05/HC-06: control an LED, a relay and PWM brightness from your phone
3// Komutlar / Commands: L1, L0, R1, R0, P0..P255, ?  (her komut satır sonuyla / each ends with a newline)
4#include <SoftwareSerial.h>
5
6#define BT_RX_PIN 10   // HC-05 TX buraya / HC-05 TX goes here
7#define BT_TX_PIN 11   // HC-05 RX'e gerilim bölücüyle / to HC-05 RX through a voltage divider
8#define LED_PIN   13
9#define RELAY_PIN 7
10#define PWM_PIN   5    // 220 ohm dirençli LED / LED with a 220 ohm resistor
11
12SoftwareSerial bt(BT_RX_PIN, BT_TX_PIN);
13char line[16];
14byte len = 0;
15int brightness = 0;
16
17void reportState() {
18  bt.print(F("LED="));    bt.print(digitalRead(LED_PIN));
19  bt.print(F(" ROLE="));  bt.print(digitalRead(RELAY_PIN));
20  bt.print(F(" PWM="));   bt.println(brightness);
21}
22
23void runCommand(const char* cmd) {
24  switch (cmd[0]) {
25    case 'L': digitalWrite(LED_PIN, cmd[1] == '1' ? HIGH : LOW); break;
26    case 'R': digitalWrite(RELAY_PIN, cmd[1] == '1' ? HIGH : LOW); break;  // aktif LOW modülde tersle / invert for active-LOW modules
27    case 'P':
28      brightness = constrain(atoi(cmd + 1), 0, 255);
29      analogWrite(PWM_PIN, brightness);
30      break;
31    case '?': break;
32    default:
33      bt.println(F("Bilinmeyen komut / Unknown command"));
34      return;
35  }
36  reportState();      // her komuttan sonra durumu telefona yaz / send the state back after each command
37}
38
39void setup() {
40  pinMode(LED_PIN, OUTPUT);
41  pinMode(RELAY_PIN, OUTPUT);
42  pinMode(PWM_PIN, OUTPUT);
43  Serial.begin(9600);
44  bt.begin(9600);     // HC-05 ve HC-06 varsayılan hızı / default HC-05 and HC-06 baud rate
45  Serial.println(F("Bluetooth hazir / Bluetooth ready"));
46}
47
48void loop() {
49  while (bt.available()) {
50    char c = bt.read();
51    if (c == '\r') continue;
52    if (c == '\n') {               // satır bitti, komutu çalıştır / line complete, run it
53      line[len] = '\0';
54      if (len > 0) runCommand(line);
55      len = 0;
56    } else if (len < sizeof(line) - 1) {
57      line[len++] = toupper(c);    // l1 ile L1 aynı / l1 equals L1
58    }
59  }
60}
The code collects incoming characters in a buffer until a line ending (\n) arrives, then runs the command. This way multi-character commands such as P128 are read in one piece. In Serial Bluetooth Terminal, set the line ending to "LF" or "CR+LF" in the settings; the code already ignores the \r character. After every command the Arduino writes the current state (such as LED=1 ROLE=0 PWM=128) back to the phone, so you can see the command really worked. The toupper() line also accepts commands typed in lowercase. If your relay module is active LOW, just swap HIGH and LOW in the L and R lines. You can check why 220 Ω is enough with the LED resistor calculator.
Project 3 extends the same logic to three PWM pins: in App Inventor you make three sliders for red, green and blue, each slider sends text such as "R120" when it changes, and the Arduino sets that colour with analogWrite(). It matters here whether the RGB LED is common anode or common cathode; with common anode, 255 means off and 0 means brightest (using an RGB LED). Build the circuit from the BlueGrays RGB LED Usage and Smooth Colour Fading with RGB LED projects and add the command-reading part from this code to complete the project.
Projects that move (4, 7): Bluetooth car and robot arm
Project 4 is the favourite among Bluetooth projects: as you press the arrow buttons on your phone, the car goes forward, back, left and right. Most RC car apps send a single letter per button (F for forward, B for back, L for left, R for right, S for stop); the Arduino sets the L298N's four input pins according to that letter and sets the speed with PWM on the ENA and ENB pins. Power the motors from a separate 7–12 V battery pack, not from the Arduino's 5 V, and join all the grounds; otherwise the voltage drops when the motors start and the HC-05 drops the connection. Driver details are in the DC motor control with L298N article. In Project 7 each slider in App Inventor sends a servo angle (such as "A90" or "B45"); always power two or more servos from an external 5 V supply.
Phone screen and voice control (5, 6, 8, 9)
In Project 5 App Inventor's speech recognizer listens through the phone's microphone and turns what you say into text; the app sends this text, for example "light on", over Bluetooth as it is. On the Arduino you read the incoming line into a String and control the relay with simple checks such as indexOf("on"). Accented characters take more than one byte in UTF-8, so write the command words the same way on the Arduino, or make the app convert the text to lowercase and strip special characters. In Project 6 the message you type on your phone scrolls across an 8x32 LED matrix driven by MAX7219 chips; the MD_Parola library handles the scrolling in one line (MAX7219 LED matrix). Keep the message in a char array and limit its length, because the Uno's 2 KB of RAM fills up quickly with long texts.
Project 8 works the other way round: every two seconds the Arduino sends the temperature and humidity read from a DHT11 to the phone as a line such as "T:24.0,H:45". The Bluetooth Electronics app can turn this line into a chart or a gauge panel (DHT11 temperature and humidity sensor). In Project 9 the phone app sends a password, and if it is correct the Arduino opens a solenoid lock through a servo or a relay. The Bluetooth pairing PIN alone gives no security; do not hard-code the command password, add a wait after wrong attempts, and build the lock so it can also be opened mechanically during a power cut (solenoid lock).
Module to module and ready panels (10, 11)
Project 10 has no phone: one of two HC-05s is made master with AT commands and set to connect automatically to the other's address (with commands such as AT+ROLE=1 and AT+BIND). Once connected, everything one Arduino writes to its serial port is read by the other; you can light an LED in another room with a button or show a sensor value wirelessly. Since the HC-06 can only be a slave, this project needs at least one HC-05. Entering AT mode and the command list are in the HC-05 article. In Project 11 you use the Dabble app's ready Gamepad screen: install the Dabble library on the Arduino and read the buttons with functions such as GamePad.isUpPressed(); you do not have to design anything on the phone. With an HM-10 or an ESP32, Dabble also works on iPhone.
ESP32 Bluetooth projects (12–15): BLE, keyboard and console controller
On the ESP32, Bluetooth is built into the board, so you need no extra module or voltage divider. Project 12 shows how BLE works: the ESP32 advertises as "BlueGrays-LED" and contains a service with a writable characteristic. Connect to the board with nRF Connect or LightBlue and write "1", "0" or "P128" as UTF-8 text to that characteristic, and the LED turns on, off or to half brightness. Because the same apps also run on iPhone, this project does what the HC-05 cannot.
1// ESP32 BLE: telefondan LED aç/kapa ve parlaklık (nRF Connect, LightBlue)
2// ESP32 BLE: switch an LED and set its brightness from your phone (nRF Connect, LightBlue)
3// Komutlar / Commands: 1, 0, P0..P255  (UTF-8 metin olarak yaz / write as UTF-8 text)
4#include <BLEDevice.h>
5#include <BLEServer.h>
6#include <BLEUtils.h>
7
8#define LED_PIN 2      // DevKit üzerindeki mavi LED / onboard blue LED on most DevKits
9#define SERVICE_UUID "4fafc201-1fb5-459e-8fcc-c5c9c331914b"
10#define CMD_UUID     "beb5483e-36e1-4688-b7f5-ea07361b26a8"
11
12volatile bool connected = false;
13
14class ServerEvents : public BLEServerCallbacks {
15  void onConnect(BLEServer* server) override { connected = true; }
16  void onDisconnect(BLEServer* server) override {
17    connected = false;
18    BLEDevice::startAdvertising();          // bağlantı kopunca yeniden görünür ol / advertise again after disconnect
19  }
20};
21
22class CommandEvents : public BLECharacteristicCallbacks {
23  void onWrite(BLECharacteristic* ch) override {
24    String cmd = ch->getValue().c_str();    // 2.x ve 3.x çekirdekte çalışır / works on core 2.x and 3.x
25    cmd.trim();
26    if (cmd == "1") analogWrite(LED_PIN, 255);
27    else if (cmd == "0") analogWrite(LED_PIN, 0);
28    else if (cmd.startsWith("P")) analogWrite(LED_PIN, constrain(cmd.substring(1).toInt(), 0, 255));
29    Serial.println("Komut / Command: " + cmd);
30  }
31};
32
33void setup() {
34  Serial.begin(115200);
35  pinMode(LED_PIN, OUTPUT);
36
37  BLEDevice::init("BlueGrays-LED");         // telefonda görünen ad / name shown on the phone
38  BLEServer* server = BLEDevice::createServer();
39  server->setCallbacks(new ServerEvents());
40
41  BLEService* service = server->createService(SERVICE_UUID);
42  BLECharacteristic* cmdChar = service->createCharacteristic(
43      CMD_UUID, BLECharacteristic::PROPERTY_WRITE | BLECharacteristic::PROPERTY_WRITE_NR);
44  cmdChar->setCallbacks(new CommandEvents());
45  service->start();
46
47  BLEAdvertising* adv = BLEDevice::getAdvertising();
48  adv->addServiceUUID(SERVICE_UUID);        // uygulamalar servisi taramada görsün / apps see the service while scanning
49  adv->setScanResponse(true);
50  BLEDevice::startAdvertising();
51  Serial.println("BLE yayinda: BlueGrays-LED / Advertising as BlueGrays-LED");
52}
53
54void loop() {
55  delay(1000);          // tüm iş geri çağırmalarda / all work happens in the callbacks
56}
The key line in the code is the startAdvertising() call inside onDisconnect: the ESP32 stops advertising when a phone connects and may not restart by itself when the connection drops; without this line you cannot find the board a second time. The service and characteristic UUIDs can be any random 128-bit values; when you write your own app, just use the same UUIDs. The getValue().c_str() form compiles on both the 2.x and 3.x releases of the Arduino ESP32 core. In Project 13 a readable characteristic with notifications is added to the same structure; the ESP32 pushes the temperature read from a DHT22 to the phone every few seconds. Details are in the ESP32 Bluetooth and BLE article.
In Project 14 the ESP32 presents itself to your computer or phone as a BLE keyboard. With a library such as ESP32-BLE-Keyboard, assign the right and left arrow keys to two buttons and you get a remote that moves your presentation slides; assign shortcuts to a few buttons and you get a small macro keyboard. No driver or app is needed on the computer. This library is widely used on the classic ESP32; pick a version that matches your core release. In Project 15 the Bluepad32 library connects a PS4, PS5 or Xbox controller directly to the ESP32; the result is a robot car whose speed you control precisely with the analog sticks (ESP32 car with a PS4 controller).
Common Arduino Bluetooth mistakes and fixes
| Symptom | Likely cause | Fix |
|---|---|---|
| The iPhone never sees the module | HC-05 and HC-06 are Classic Bluetooth; iOS does not expose it to apps | Use an HM-10 or ESP32 BLE |
| Pairs but commands do not arrive | Wrong baud rate or TX/RX swapped | Use 9600 baud; module TX to D10, RX to D11 through the divider |
| Garbage characters on the screen | The Arduino and the module use different baud rates | Match bt.begin() to the module's rate |
| Code will not upload | The module is on D0 and D1 | Remove the module while uploading or move it to other pins with SoftwareSerial |
| Connection drops when the motors start | Voltage drop | Power the motors from a separate battery, join the grounds, add a capacitor |
| BluetoothSerial does not compile on ESP32-S3 | The chip has no Classic Bluetooth | Use BLE or switch to a classic ESP32 board |
Which Bluetooth project should you start with?
- You have an Android phone and an HC-05: start with Projects 1 and 2 and send commands by hand from Serial Bluetooth Terminal.
- You use an iPhone: get an HM-10 or go straight to an ESP32 and learn BLE with Project 12.
- You want motion: build the car from Project 4 by testing the motors in the air first, then mount them on the chassis.
- You want to build your own app: move to App Inventor for Projects 3 and 5; buttons and sliders send the same text commands.
- You want to control your computer: turn the ESP32 into a BLE keyboard with Project 14.
The beauty of Bluetooth projects is that the same command logic works everywhere: the "L1" command that switches on an LED today will drive a relay tomorrow and a robot car the day after. If you choose the right module for your phone and test with a terminal app first, most projects work on the first try. In the BlueGrays app you will find the Bluetooth LED and Bluetooth-controlled car with L298N projects, as well as RGB LED, relay, servo and WS2812B projects, each with a circuit diagram, parts list and ready code, so you can combine them with Bluetooth commands.
Frequently asked questions
What Bluetooth projects can you build with an Arduino?
The most popular Arduino Bluetooth projects are LED and relay control from a phone, a Bluetooth-controlled car, voice-controlled home automation, an LED sign you write to from your phone, sending sensor data to a phone and a password-protected door lock. With an ESP32 you can also build a BLE sensor, a BLE keyboard and control with a game console controller.
What is the difference between HC-05 and HC-06?
Both are Classic Bluetooth modules and talk to the Arduino in the same way over a serial port. The HC-05 can be master or slave, so it can connect two Arduinos to each other; the HC-06 is slave only and just waits for a device such as a phone to connect.
Does the HC-05 work with an iPhone?
No. The HC-05 and HC-06 use the serial port profile of Classic Bluetooth, and iOS does not expose this profile to apps. For a project that must work with an iPhone, use a BLE module such as the HM-10 or an ESP32 with built-in BLE.
Which app should I use for Arduino Bluetooth?
For testing, Serial Bluetooth Terminal on Android and nRF Connect or LightBlue for BLE modules are the most practical choices. If you want a ready remote panel use Dabble, and if you want to design your own buttons and sliders use App Inventor.
Why do you need a resistor on the HC-05 RX pin?
The HC-05 uses 3.3 V logic, while the Arduino Uno's TX pin outputs 5 V. A voltage divider made of a 1 kΩ and a 2 kΩ resistor brings this signal down to about 3.3 V and protects the module's input; no resistor is needed from the module's TX to the Arduino.
What is the range of Arduino Bluetooth?
The HC-05, HC-06 and HM-10 reach about 10 metres in open space; walls and human bodies shorten that distance. The ESP32's built-in Bluetooth offers a similar range; for longer distances you need methods such as Wi-Fi, ESP-NOW or LoRa.
Projects to build after reading this
See all projects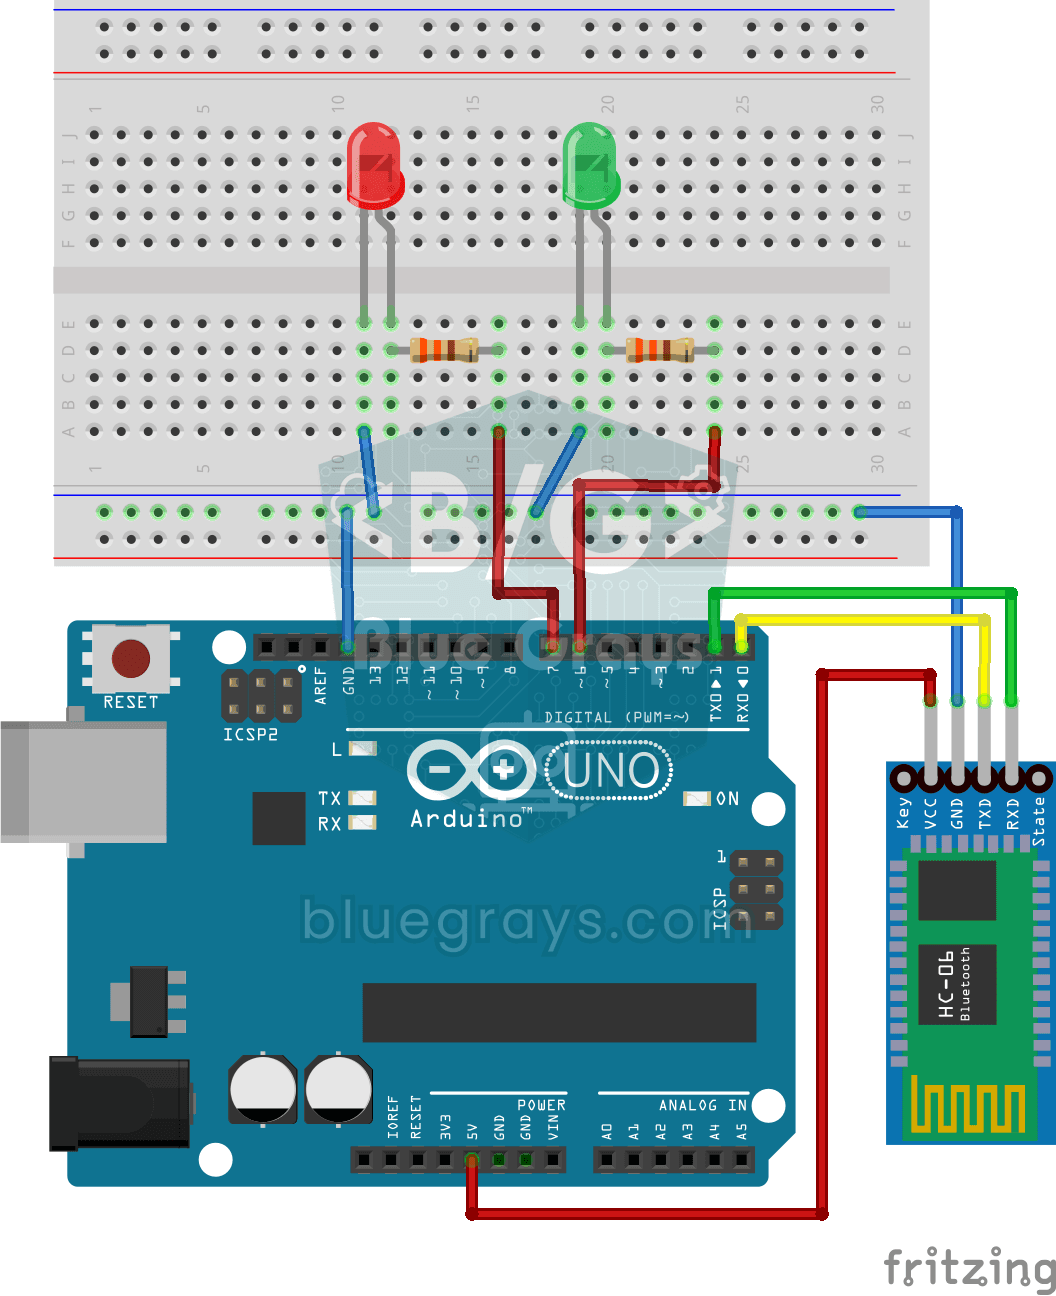
Control an LED from Your Phone via Bluetooth
A small rehearsal for switching the lights in your room on and off from your phone.

Bluetooth Controlled Car with L298N
Turn your phone into a remote and drive your own robot car. The Arduino receives commands from a remote-control app on your phone through a Bluetooth module and spins the wheels with a motor driver…
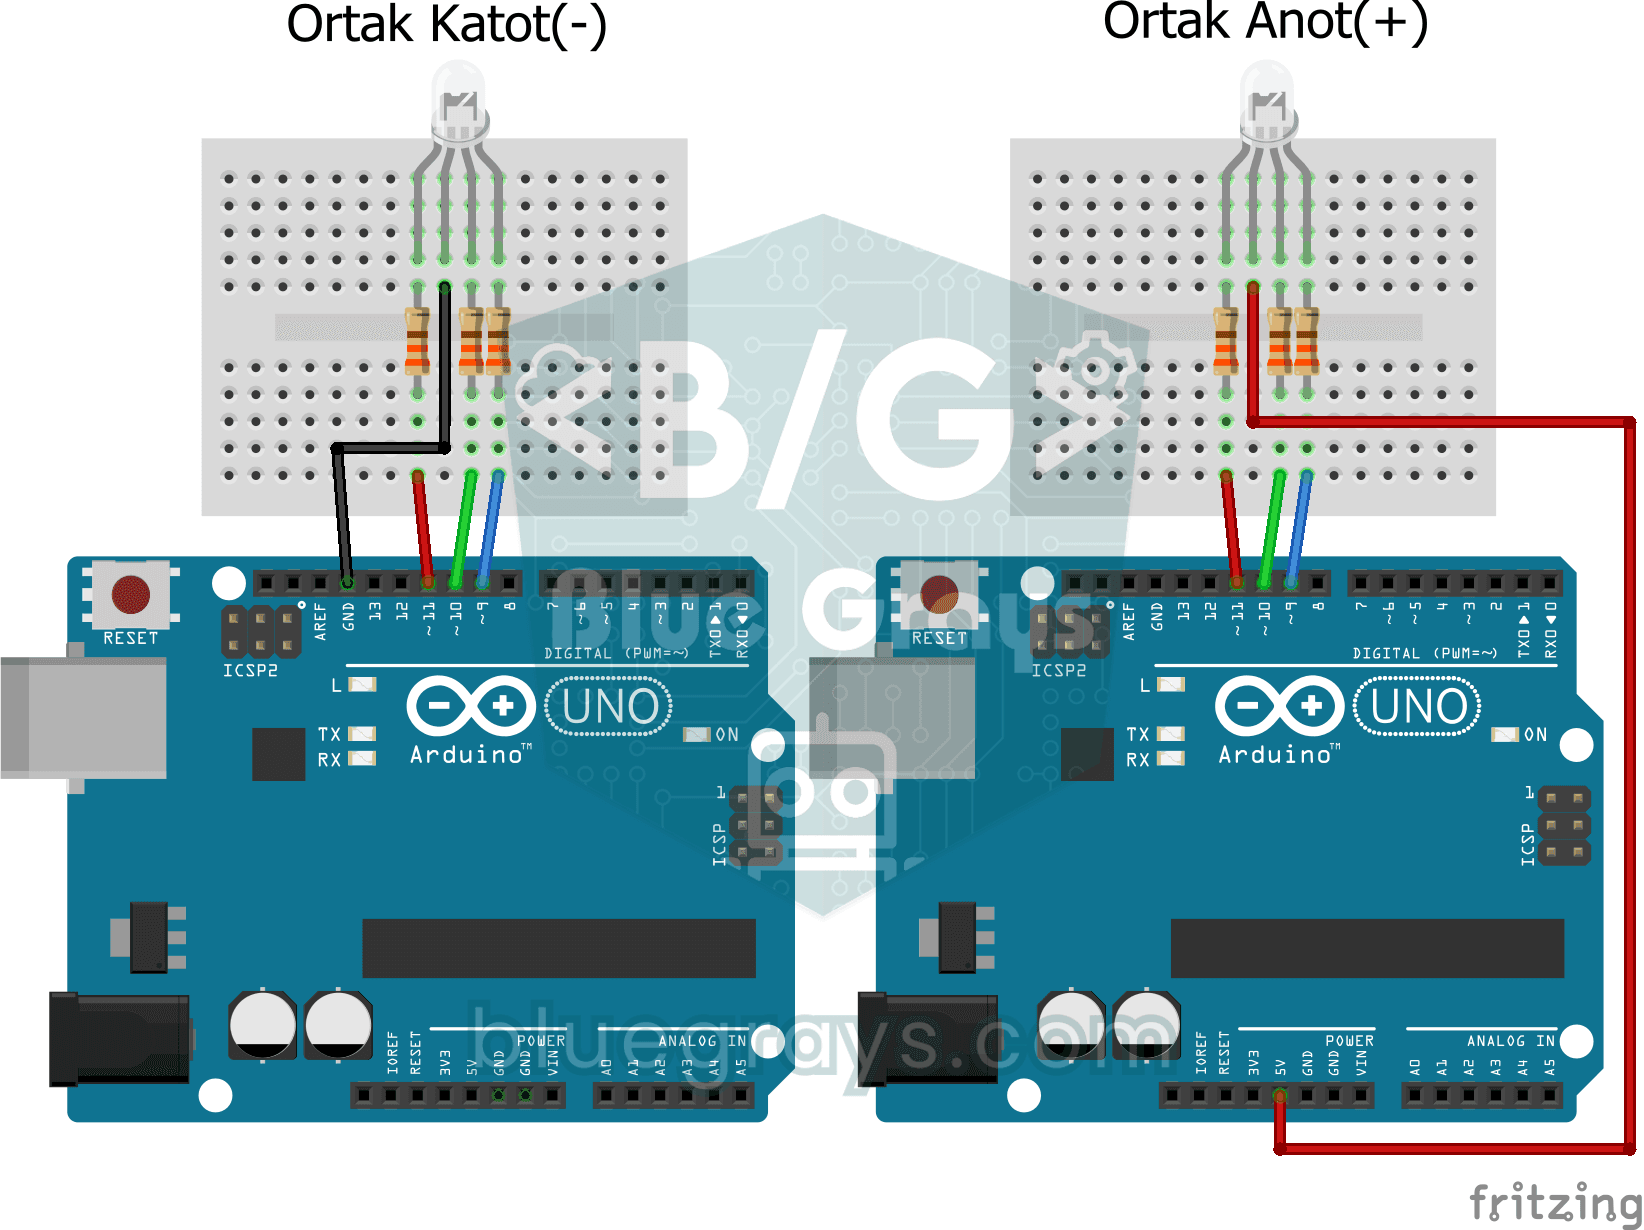
Using an RGB LED
Three colours hide inside a single LED: the RGB LED lights up red, then green, then blue, each colour on for half a second and off for half a second, before the cycle starts again.
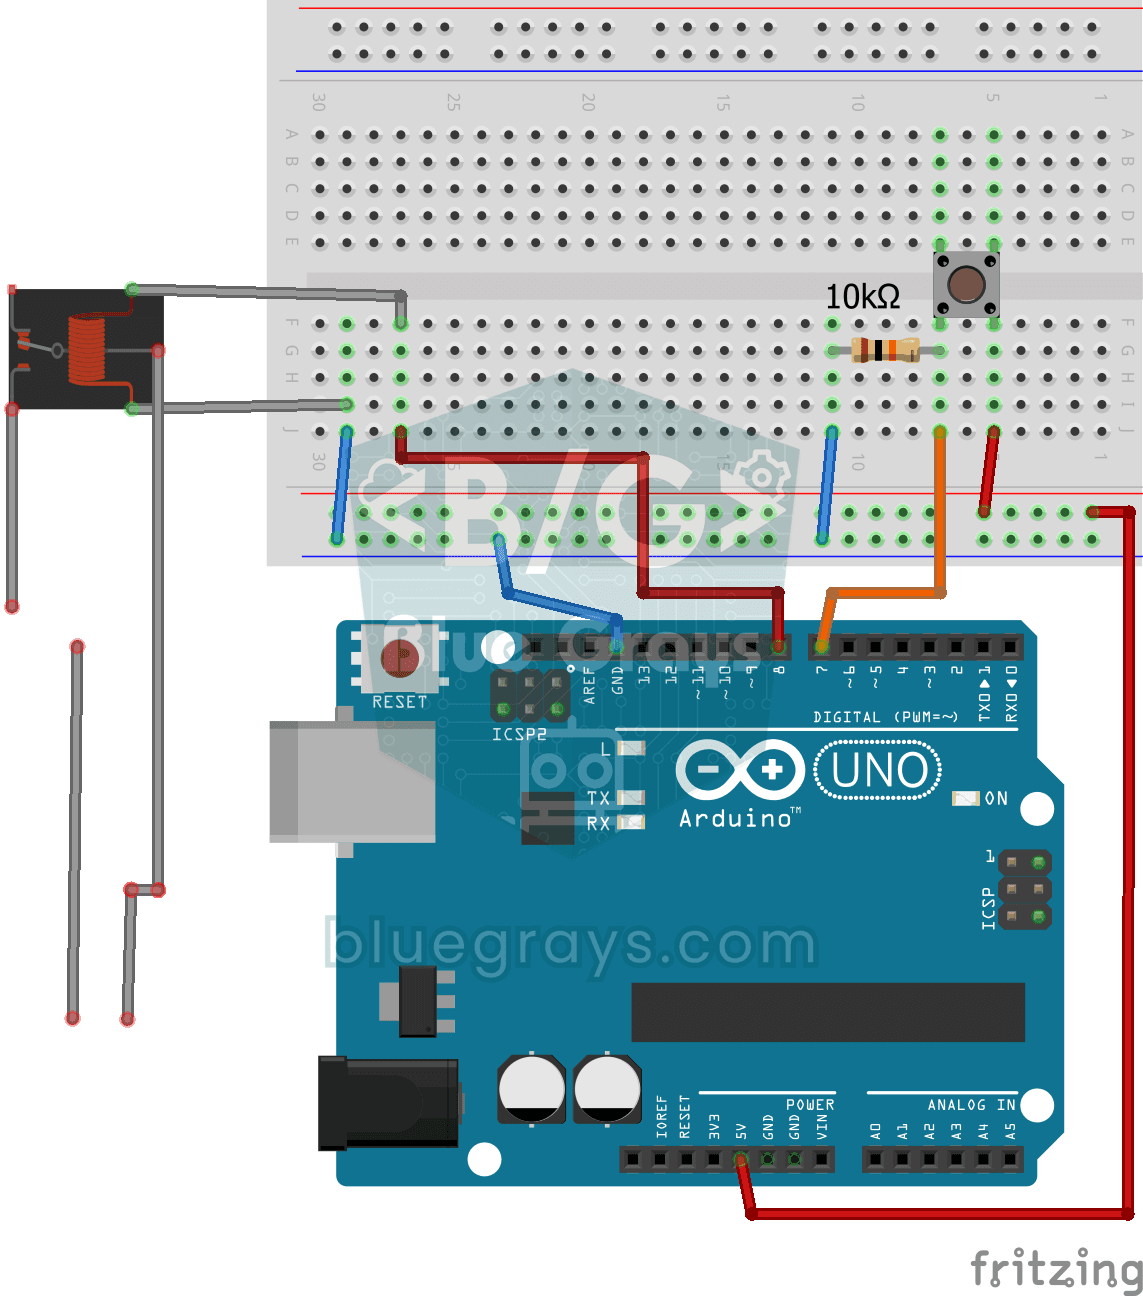
Lighting 220V Bulb with Button (On-Off)
Want to switch a real household bulb on and off with a tiny button? Each time you press the button, the Arduino flips a relay and the bulb lights up; press again and it goes off.
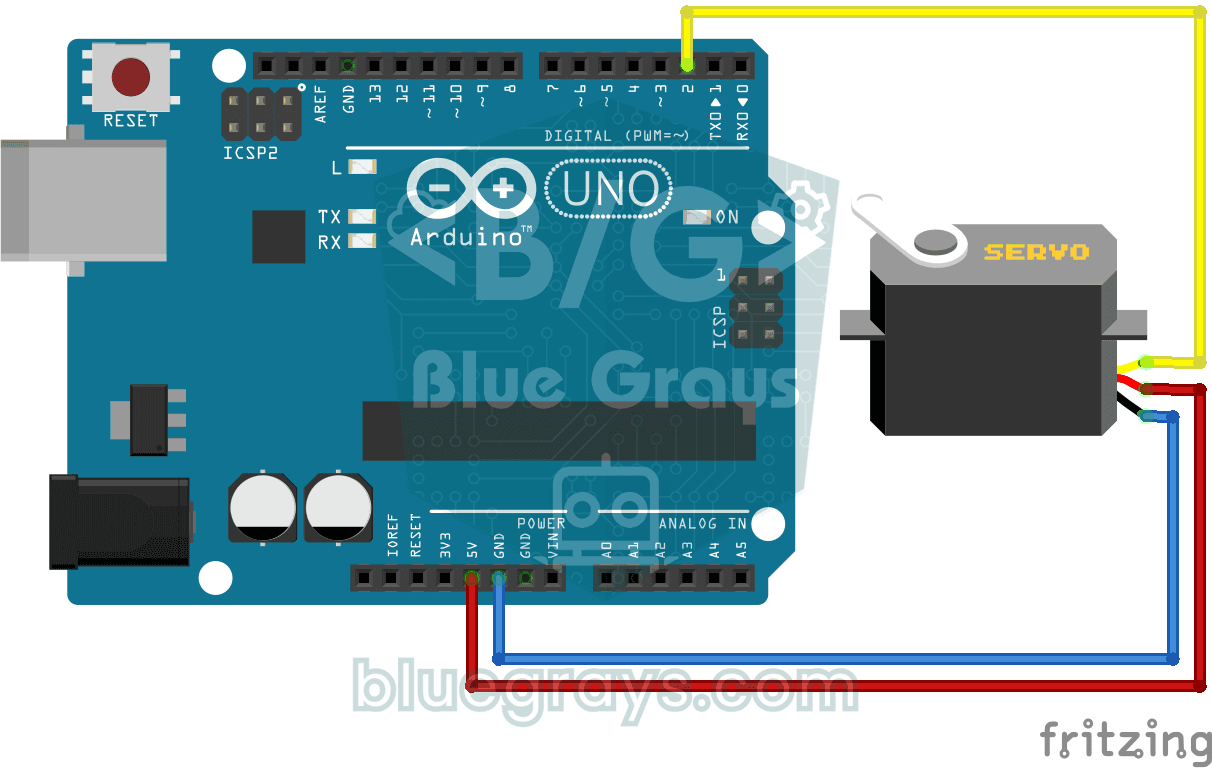
Using a Servo Motor
The arm of a small servo motor turns to three positions in turn: all the way to the start, right to the middle and all the way to the end, waiting two seconds at each stop.
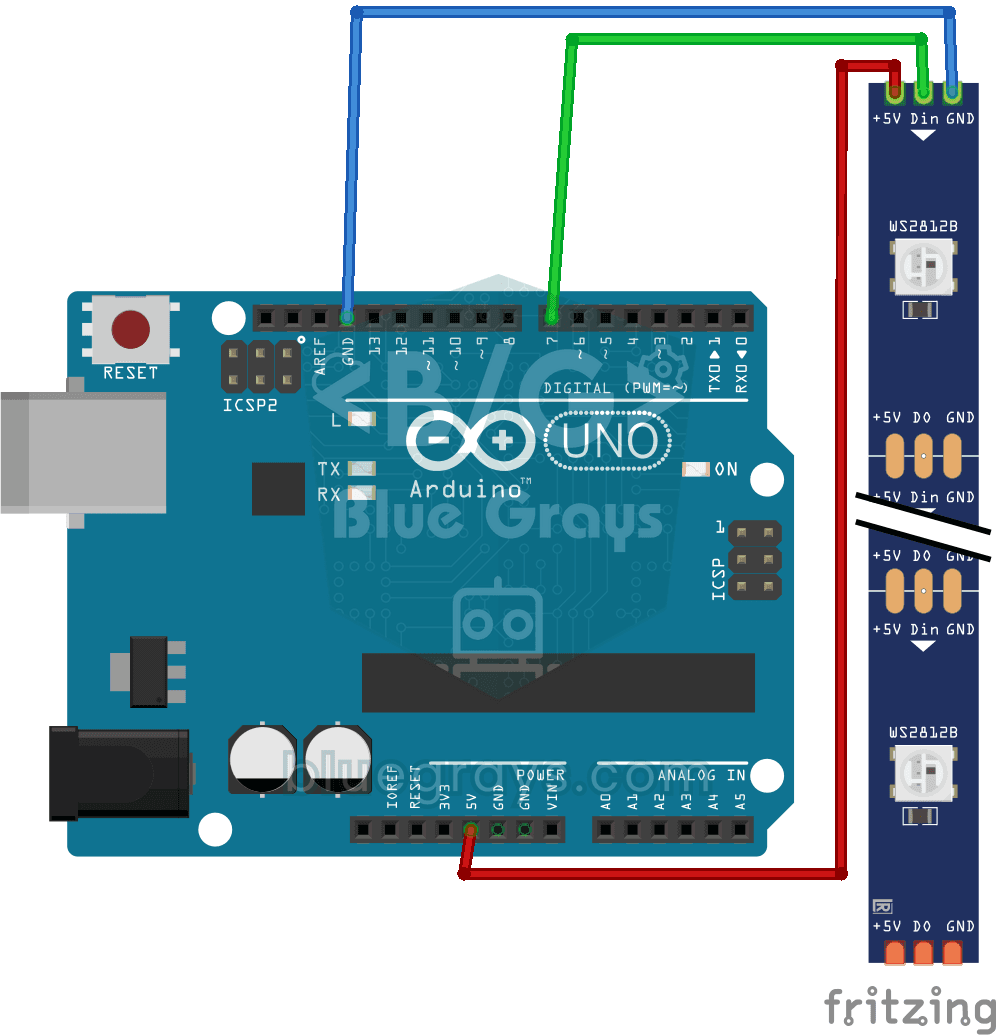
Using a WS2812B LED Strip
Meet a smart LED strip where you can colour every single light on its own. The Arduino first lights the first five LEDs red, a second later turns the other five blue, then switches them all off and…

ESP32 RGB LED Control
Unlimited color generation with a single RGB LED instead of 3 separate LEDs. As in Arduino, we make a rainbow transition by setting the R/G/B values with analogWrite(). Color theory (such as red+green=yellow) is seen practically.

Obstacle Avoidance Robot
How about building a smart vehicle that finds its own way? The Obstacle Avoidance Robot constantly scans its surroundings thanks to the ultrasonic sensor in front of it.