
ESP32 Bluetooth Tutorial: Classic vs BLE, LED Control and Sensors
ESP32 Bluetooth guide: control an LED from your phone with BluetoothSerial, build a BLE server with services and UUIDs, test with nRF Connect, send sensor data.
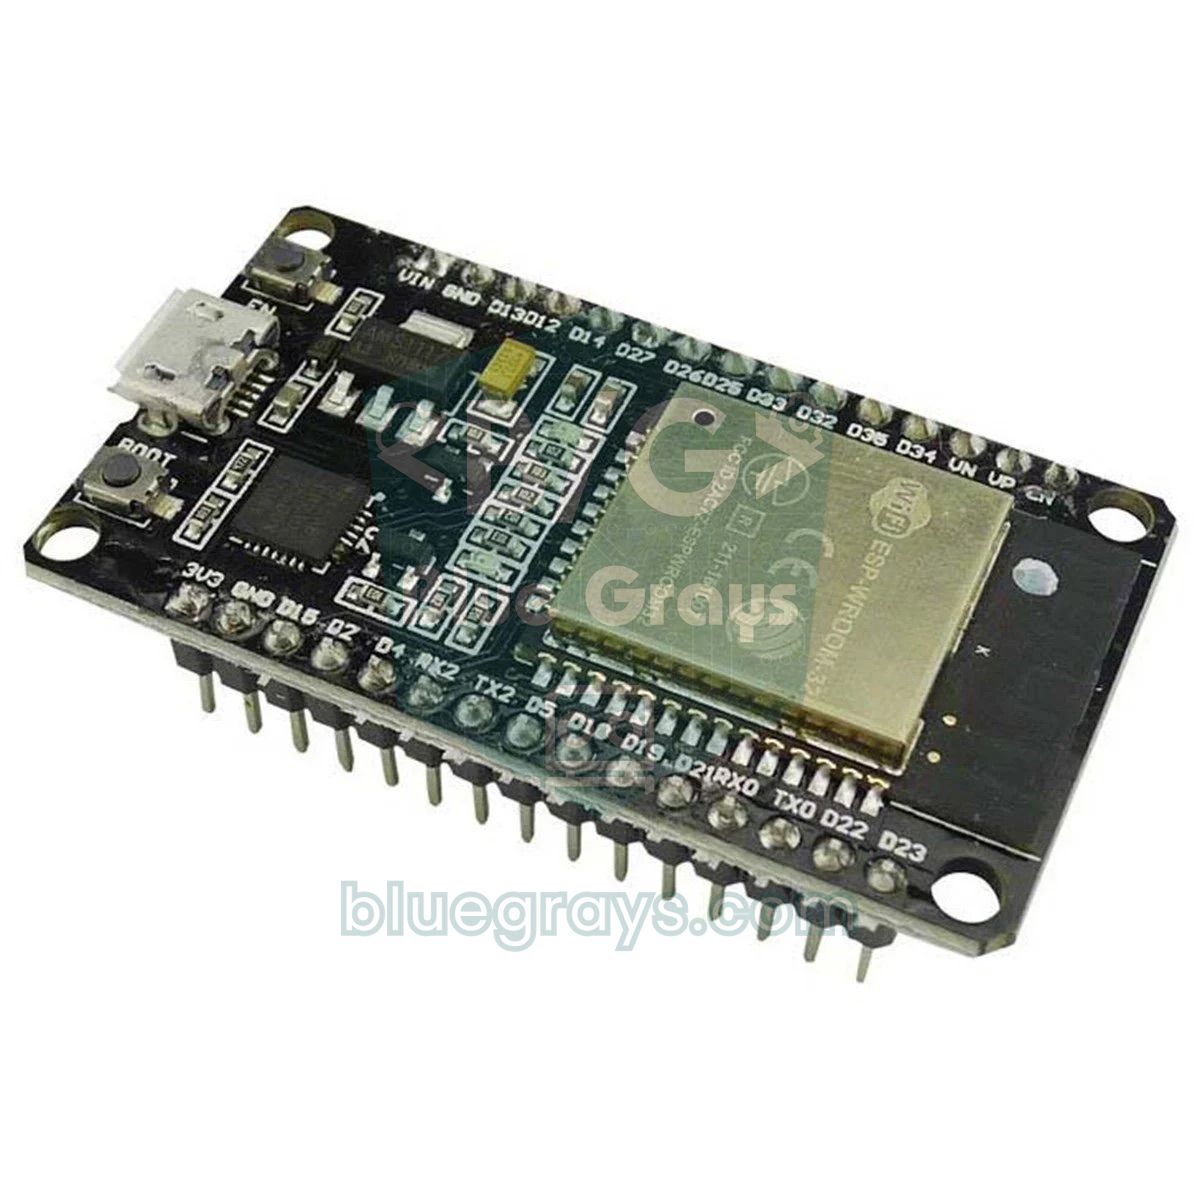
ESP32 Bluetooth uses the wireless radio built into the chip to connect your ESP32 to a phone, tablet or computer without any extra module. The original ESP32 supports two different kinds of Bluetooth at once: Bluetooth Classic, which behaves like a serial port, and Bluetooth Low Energy (BLE), which uses very little power. On an Arduino Uno you need a separate HC-05 module to talk to your phone; on the ESP32 a few lines of code are enough. In this guide you'll set up both methods step by step, switch an LED on from your phone, write your own BLE service and send sensor data to your phone.
Which method you choose depends on your phone and your board. If you have an Android phone and a classic ESP32 DevKit, the quickest start is the BluetoothSerial library. If you use an iPhone, or your board is an ESP32-S3 or ESP32-C3, Classic Bluetooth won't help you; you need BLE. Near the end you'll also find the same BLE project for the Raspberry Pi Pico W in MicroPython. If this is your first time with the ESP32, finish the Arduino IDE setup in What Is the ESP32? first.
What is ESP32 Bluetooth? Classic vs BLE
Bluetooth Classic is the older, familiar kind used in wireless headphones and modules like the HC-05. The ESP32 uses it through SPP (Serial Port Profile): bytes flow one after another as if there were an invisible serial cable between the phone and the board. You first pair the device in your phone's Bluetooth settings, then connect with a terminal app. BLE, on the other hand, is a separate system introduced with Bluetooth 4.0 in 2010 and designed for devices that run for months on a battery. BLE has no continuous data stream; the ESP32 keeps a small table of values (GATT), and the phone reads them, writes them or subscribes to be told when they change. Despite the similar names, the two can't talk to each other: an app written for BLE can't connect to a Classic Bluetooth device.
| Feature | Bluetooth Classic (SPP) | Bluetooth Low Energy (BLE) |
|---|---|---|
| Arduino library | BluetoothSerial (included in the ESP32 package) | BLEDevice (included in the ESP32 package) or NimBLE-Arduino |
| Data model | Continuous byte stream, like a serial port | GATT table made of services and characteristics |
| Amount of data | High, suited to continuous streams | Small packets; 20 bytes per notification by default |
| Power consumption | Constantly high while connected | Very low; can run for months on a battery |
| Pairing | Done in the phone's Bluetooth settings | Not needed; the connection is made inside the app |
| Android | Supported | Supported |
| iPhone (iOS) | Not supported | Supported |
| Supported ESP32s | Only the original ESP32 (WROOM-32, WROVER) | ESP32, S3, C3, C6 and H2 (not S2) |
| Typical use | Serial terminal, robot car, HC-05 replacement | Sensors, wearables, smart home, beacons |
Here's a practical rule: if you want to send and receive text from an Android phone and see results fast, use Classic; if you need iPhone support, low power or one of the newer ESP32 boards, use BLE. If you're starting a new project, BLE is worth learning, because it works on both kinds of phone and is found in every new Espressif chip with Bluetooth. If you've worked with the HC-05 before, you'll see that the command logic from HC-05 Bluetooth Module is exactly the same with BluetoothSerial.
Which ESP32 boards have which Bluetooth?
Not every chip in the ESP32 family has the same Bluetooth hardware. The most common mistake is trying to upload a BluetoothSerial example found online to an ESP32-S3 or ESP32-C3 board. Espressif put Classic Bluetooth only in the original ESP32 chip; the later chips that have Bluetooth support BLE only. You can tell which chip your board carries from the text on the module's metal shield (for example ESP32-WROOM-32 or ESP32-S3-WROOM-1).
| Board / chip | Bluetooth Classic | BLE | Note |
|---|---|---|---|
| ESP32 (WROOM-32, WROVER, DevKit V1) | Yes | Yes (4.2) | The only ESP32 family that runs BluetoothSerial |
| ESP32-S2 | No | No | Wi-Fi only |
| ESP32-S3 | No | Yes (Bluetooth 5) | BluetoothSerial won't compile, use BLE |
| ESP32-C3 | No | Yes (Bluetooth 5) | Small, cheap BLE boards |
| ESP32-C6 | No | Yes (Bluetooth 5) | Also has Wi-Fi 6, Zigbee and Thread |
| ESP32-H2 | No | Yes (Bluetooth 5) | No Wi-Fi; focused on Zigbee and Thread |
| ESP8266 (NodeMCU, Wemos D1) | No | No | Needs an HC-05 or HM-10 for Bluetooth |
| Raspberry Pi Pico W / Pico 2 W | In hardware | Yes | MicroPython supports BLE only |
| Raspberry Pi Pico / Pico 2 | No | No | Needs an external Bluetooth module |
Bluetooth Classic: controlling an LED from your phone with BluetoothSerial
The BluetoothSerial library presents the ESP32 to your phone like an HC-05 module and uses the same commands as the Serial object: available(), read(), print() and println(). The library comes with the ESP32 board package, so there's nothing extra to install. For the circuit, the blue built-in LED wired to GPIO 2 on most DevKit boards is enough; if you use an external LED, connect it to GPIO 2 through a 220 Ω resistor. You can check the resistor value with the LED resistor calculator and see the ESP32's other safe pins in the Pinout tool. Make sure ESP32 Dev Module is selected under Tools > Board and upload this code:
1#include "BluetoothSerial.h"
2
3// Klasik Bluetooth yalnızca ilk ESP32'de var / Classic Bluetooth exists only on the original ESP32
4#if !defined(CONFIG_BT_ENABLED) || !defined(CONFIG_BLUEDROID_ENABLED)
5#error Bluetooth is not enabled! Please run `make menuconfig` to and enable it
6#endif
7#if !defined(CONFIG_BT_SPP_ENABLED)
8#error Serial Bluetooth not available or not enabled. It is only available for the ESP32 chip.
9#endif
10
11BluetoothSerial SerialBT;
12const int LED_PIN = 2;                 // DevKit dahili LED / DevKit onboard LED
13bool ledAcik = false;
14
15void ledAyarla(bool acik) {
16  ledAcik = acik;
17  digitalWrite(LED_PIN, acik ? HIGH : LOW);
18  SerialBT.println(acik ? "LED acik / LED on" : "LED kapali / LED off");
19}
20
21void setup() {
22  Serial.begin(115200);
23  pinMode(LED_PIN, OUTPUT);
24  SerialBT.begin("BlueGrays-ESP32");   // telefonda görünecek ad / name shown on the phone
25  Serial.println("Eslesmeye hazir / Ready to pair");
26}
27
28void loop() {
29  if (SerialBT.available()) {
30    String komut = SerialBT.readStringUntil('\n');  // satır sonuna kadar oku / read until newline
31    komut.trim();                                   // CR ve boşlukları sil / strip CR and spaces
32    komut.toLowerCase();
33
34    if (komut == "1" || komut == "ac") {
35      ledAyarla(true);
36    } else if (komut == "0" || komut == "kapat") {
37      ledAyarla(false);
38    } else if (komut == "durum") {
39      SerialBT.println(ledAcik ? "LED acik / LED on" : "LED kapali / LED off");
40    } else if (komut.length() > 0) {
41      SerialBT.print("Bilinmeyen komut / Unknown command: ");
42      SerialBT.println(komut);
43    }
44  }
45
46  if (Serial.available()) {            // Seri Monitör'den telefona / Serial Monitor to phone
47    SerialBT.write(Serial.read());
48  }
49}
The code reads every line coming from the phone as a command. readStringUntil() waits until the newline character arrives, and trim() removes the carriage return (CR) the phone adds as well as any spaces; if you forget this line, sending "1" actually delivers "1" plus an invisible CR character and no command matches. Because the commands are converted to lower case, "AC" and "ac" do the same thing. The two lines at the bottom forward everything you type in the Serial Monitor to the phone, so you can hold a wireless chat between your computer and your phone. The #error checks at the top make the build stop with a clear message if the wrong board is selected.
Connecting from your phone with Serial Bluetooth Terminal
- After uploading, open the Serial Monitor at 115200 baud and look for the "Eslesmeye hazir / Ready to pair" message.
- On your Android phone, scan for new devices under Settings > Bluetooth and pair with BlueGrays-ESP32. By default the ESP32 pairs without asking for a PIN; if the phone shows a confirmation code, accept it.
- Install the Serial Bluetooth Terminal app by Kai Morich from Google Play.
- In the app, open Devices from the side menu and pick BlueGrays-ESP32 on the Bluetooth Classic tab.
- Tap the plug icon in the top bar; once "Connected" appears on screen, you're connected.
- Type 1 in the box at the bottom and send it: the LED lights up and the reply "LED acik / LED on" appears. 0 switches it off, and durum tells you its current state.
How does BLE work? Services, characteristics and UUIDs
BLE has two roles. The ESP32 plays the server (peripheral): it holds the values and announces "I'm here" by sending small advertising packets of at most 31 bytes at short intervals (every 20–40 ms by default on the ESP32). The phone plays the client (central): it scans the surroundings, finds the device and connects. Once connected, the phone reads the ESP32's GATT (Generic Attribute Profile) table. Think of this table as a filing cabinet: each drawer is a service, and each file in a drawer is a characteristic. A characteristic carries a single value (such as a temperature or an LED command) plus properties that say what can be done with it.
| Term | Meaning | Example in this guide |
|---|---|---|
| Advertising | Short packet in which the device announces its name and services | Advertising under the name "BlueGrays-BLE" |
| Service | Group that holds related characteristics together | Nordic UART service, Environmental Sensing (0x181A) |
| Characteristic | A single value that is read or written | LED command, temperature (0x2A6E) |
| READ | The phone reads the value whenever it wants | Last measured temperature |
| WRITE / WRITE_NR | The phone writes a value (with or without response) | Writing "1" lights the LED |
| NOTIFY | The ESP32 tells the phone by itself when the value changes | A new temperature every 2 seconds |
| Descriptor 0x2902 (CCCD) | Switch that turns notifications on and off | Triple-arrow button in nRF Connect |
| UUID | ID number of services and characteristics | 6E400001-B5A3-F393-E0A9-E50E24DCCA9E |
Every service and characteristic is identified by a UUID. Standard features defined by the Bluetooth SIG use short 16-bit numbers, such as 0x180F for the battery service and 0x2A6E for the temperature characteristic. For your own data with no standard equivalent, generate a random 128-bit UUID; in Python, import uuid; print(uuid.uuid4()) is all it takes. When choosing your own UUID, don't use a value matching the pattern xxxxxxxx-0000-1000-8000-00805F9B34FB, because that pattern is reserved for the Bluetooth SIG's 16-bit numbers. If you want to work smoothly with existing apps, it's even more practical to use UUIDs everyone recognises:
| Service / characteristic | UUID | Data format |
|---|---|---|
| Battery Service / Battery Level | 0x180F / 0x2A19 | 1 byte, percent (0–100) |
| Environmental Sensing / Temperature | 0x181A / 0x2A6E | 2-byte signed integer, 0.01 °C |
| Environmental Sensing / Humidity | 0x181A / 0x2A6F | 2-byte unsigned integer, 0.01 % |
| Heart Rate / Heart Rate Measurement | 0x180D / 0x2A37 | Flags byte + heart rate value |
| Nordic UART Service (NUS) | 6E400001-B5A3-F393-E0A9-E50E24DCCA9E | RX 6E400002 (write), TX 6E400003 (notify) |
ESP32 BLE server: controlling an LED from your phone (Nordic UART)
In our first BLE project we turn the ESP32 into a Nordic UART Service (NUS) server. NUS is a "serial port over BLE" service defined by Nordic Semiconductor that has become a de facto standard: the phone writes to the RX characteristic and the ESP32 sends notifications from the TX characteristic. Its advantage is that many ready-made apps recognise it; nRF Connect, the Bluetooth LE tab of Serial Bluetooth Terminal and Bluefruit Connect on the iPhone all work with the same code. So the code in this section works with both Android and iPhone, and also on BLE-only boards like the ESP32-S3 and C3. The BLE library is part of the ESP32 board package, so there's nothing extra to install.
1#include <BLEDevice.h>
2#include <BLEServer.h>
3#include <BLEUtils.h>
4#include <BLE2902.h>
5
6// Nordic UART Service UUID'leri / Nordic UART Service UUIDs
7#define SERVICE_UUID "6E400001-B5A3-F393-E0A9-E50E24DCCA9E"
8#define RX_UUID      "6E400002-B5A3-F393-E0A9-E50E24DCCA9E"  // telefon -> ESP32 / phone -> ESP32
9#define TX_UUID      "6E400003-B5A3-F393-E0A9-E50E24DCCA9E"  // ESP32 -> telefon / ESP32 -> phone
10
11const int LED_PIN = 2;
12
13BLEServer *sunucu = nullptr;
14BLECharacteristic *txKarakteristik = nullptr;
15volatile bool bagli = false;
16bool oncekiBagli = false;
17volatile int bekleyenKomut = -1;          // -1: yeni komut yok / no new command
18
19class SunucuOlaylari : public BLEServerCallbacks {
20  void onConnect(BLEServer *s) { bagli = true; }
21  void onDisconnect(BLEServer *s) { bagli = false; }
22};
23
24class RxOlaylari : public BLECharacteristicCallbacks {
25  void onWrite(BLECharacteristic *c) {
26    String deger = c->getValue().c_str(); // çekirdek 2.x ve 3.x ile uyumlu / works on core 2.x and 3.x
27    deger.trim();
28    if (deger == "1") bekleyenKomut = 1;
29    else if (deger == "0") bekleyenKomut = 0;
30  }
31};
32
33void cevapGonder(const char *mesaj) {
34  txKarakteristik->setValue((uint8_t *)mesaj, strlen(mesaj));
35  txKarakteristik->notify();              // telefona bildirim / notify the phone
36}
37
38void setup() {
39  Serial.begin(115200);
40  pinMode(LED_PIN, OUTPUT);
41
42  BLEDevice::init("BlueGrays-BLE");       // yayında görünecek ad / advertised name
43  sunucu = BLEDevice::createServer();
44  sunucu->setCallbacks(new SunucuOlaylari());
45
46  BLEService *servis = sunucu->createService(SERVICE_UUID);
47
48  txKarakteristik = servis->createCharacteristic(TX_UUID, BLECharacteristic::PROPERTY_NOTIFY);
49  txKarakteristik->addDescriptor(new BLE2902());   // bildirim anahtarı (CCCD) / notification switch (CCCD)
50
51  BLECharacteristic *rx = servis->createCharacteristic(
52    RX_UUID, BLECharacteristic::PROPERTY_WRITE | BLECharacteristic::PROPERTY_WRITE_NR);
53  rx->setCallbacks(new RxOlaylari());
54
55  servis->start();
56
57  BLEAdvertising *yayin = BLEDevice::getAdvertising();
58  yayin->addServiceUUID(SERVICE_UUID);
59  yayin->setScanResponse(true);
60  yayin->setMinPreferred(0x06);           // iPhone bağlantısına yardımcı / helps iPhone connections
61  yayin->setMaxPreferred(0x12);
62  BLEDevice::startAdvertising();
63  Serial.println("BLE yayini basladi / BLE advertising started");
64}
65
66void loop() {
67  if (bekleyenKomut != -1) {              // telefondan komut geldi / command received
68    int komut = bekleyenKomut;
69    bekleyenKomut = -1;
70    digitalWrite(LED_PIN, komut == 1 ? HIGH : LOW);
71    if (bagli) cevapGonder(komut == 1 ? "LED acik" : "LED kapali");
72  }
73
74  if (!bagli && oncekiBagli) {            // bağlantı koptu / disconnected
75    delay(500);                           // yığına zaman tanı / give the stack time
76    sunucu->startAdvertising();           // yeniden görünür ol / advertise again
77    Serial.println("Yeniden yayin / Advertising again");
78    oncekiBagli = false;
79  }
80  if (bagli && !oncekiBagli) {            // yeni bağlantı / new connection
81    Serial.println("Telefon baglandi / Phone connected");
82    oncekiBagli = true;
83  }
84}
The most important part of the code is the callback classes. onConnect and onDisconnect track the connection state, and onWrite catches the value the phone writes to the RX characteristic. These functions run in the Bluetooth stack's own task, so instead of doing long jobs inside them we only change a variable; loop() does the actual work. The BLE2902 descriptor added to the TX characteristic is needed so the phone can switch notifications on. When the connection drops, the ESP32 doesn't restart advertising on its own; without the startAdvertising() line in loop(), the device can't be found again after the first connection. The setMinPreferred and setMaxPreferred lines add the preferred connection interval to the advertisement, which makes connecting with iPhones easier.
Testing BLE with nRF Connect step by step
- Install Nordic Semiconductor's free nRF Connect for Mobile app on your phone; it's available for Android and iPhone.
- On Android the app asks for Bluetooth and Nearby devices permission (on Android 11 and older, location permission with location services switched on); without it the scan list stays empty.
- On the Scanner tab, press SCAN and find BlueGrays-BLE in the list. The RSSI value next to it is the signal strength: -50 dBm means very close, -90 dBm is the edge of the range.
- Tap CONNECT. The screen that opens shows the Nordic UART Service; if you had used UUIDs you generated yourself, it would say "Unknown Service" here.
- Tap the triple down-arrow icon next to the TX characteristic (6E400003) to switch notifications on.
- Tap the up-arrow icon next to the RX characteristic (6E400002), choose Text (UTF-8) as the data type, type 1 and send it. The LED lights up and "LED acik" appears on the TX line.
This test is the quickest way to prove the ESP32 side works before you write a phone app. If something goes wrong, try nRF Connect first: if the device isn't in the list, the problem is the advertising; if it connects but the service doesn't show, the service's start() call is missing; if you write a value and the LED stays off, check the comparison inside onWrite. You can also try the same code from the Bluetooth LE tab of Serial Bluetooth Terminal; the app recognises the NUS service and you chat just as with Classic Bluetooth. If you'd like to build your own Android app, take a look at App Inventor Arduino Bluetooth.
Broadcasting sensor data over BLE (DHT22)
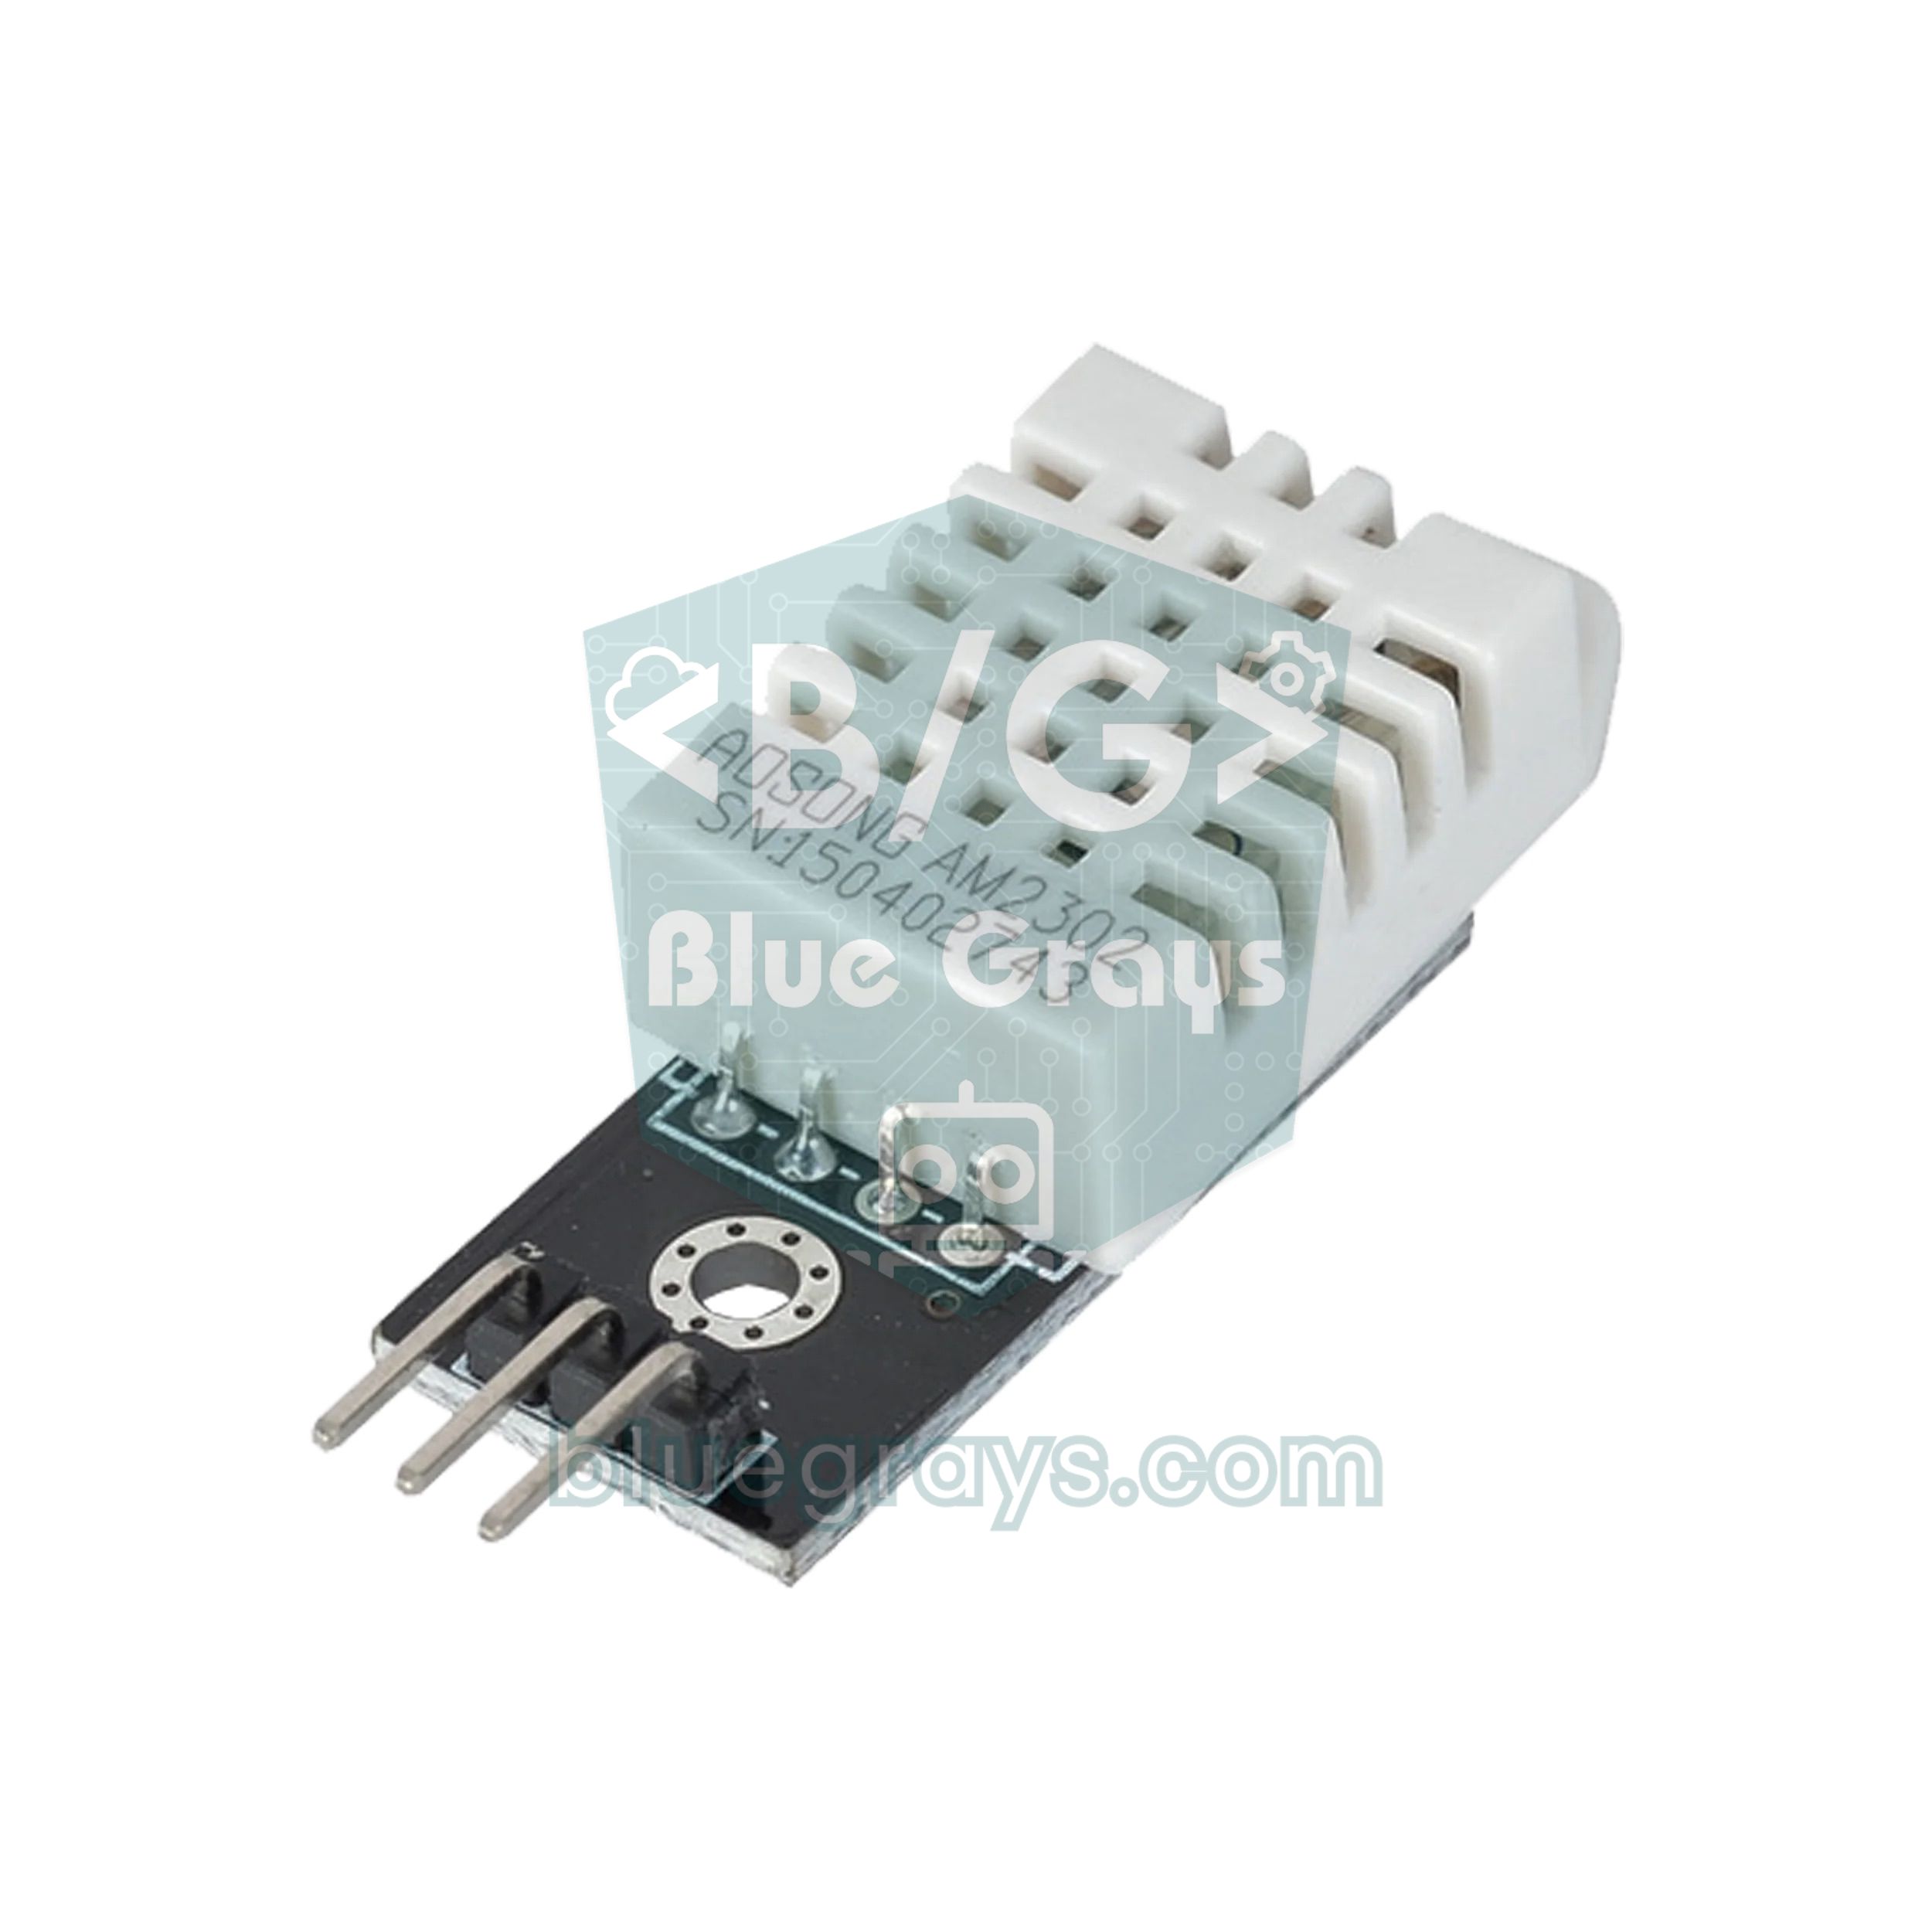
| DHT22 pin | ESP32 | Note |
|---|---|---|
| VCC (+) | 3V3 | Works from 3.3 to 5 V |
| DATA (OUT) | GPIO 4 | On a bare sensor, add a 10 kΩ resistor between DATA and 3V3 |
| GND (−) | GND | Common ground |
In this example we use the standard Environmental Sensing service (0x181A) and its temperature (0x2A6E) and humidity (0x2A6F) characteristics. The beauty of standard UUIDs is that apps like nRF Connect can recognise the value and show it directly as "23.45 °C". The standard asks for values to be sent not as text but as integers multiplied by 100: a temperature of 23.45 °C becomes the number 2345 and is sent as 2 bytes, low byte first (little-endian). To read the sensor we use Adafruit's DHT sensor library, which we covered in the DHT11 guide; you can install it from the Library Manager.
1#include <BLEDevice.h>
2#include <BLEServer.h>
3#include <BLE2902.h>
4#include <DHT.h>
5
6#define DHT_PIN 4
7DHT dht(DHT_PIN, DHT22);
8
9BLEServer *sunucu = nullptr;
10BLECharacteristic *sicaklikKar = nullptr;
11BLECharacteristic *nemKar = nullptr;
12volatile bool bagli = false;
13bool oncekiBagli = false;
14unsigned long sonOlcum = 0;
15
16class SunucuOlaylari : public BLEServerCallbacks {
17  void onConnect(BLEServer *s) { bagli = true; }
18  void onDisconnect(BLEServer *s) { bagli = false; }
19};
20
21BLECharacteristic *karakteristikEkle(BLEService *servis, uint16_t uuid) {
22  BLECharacteristic *k = servis->createCharacteristic(
23    BLEUUID(uuid), BLECharacteristic::PROPERTY_READ | BLECharacteristic::PROPERTY_NOTIFY);
24  k->addDescriptor(new BLE2902());        // bildirim için gerekli / needed for notify
25  return k;
26}
27
28void setup() {
29  Serial.begin(115200);
30  dht.begin();
31
32  BLEDevice::init("BlueGrays-Sensor");
33  sunucu = BLEDevice::createServer();
34  sunucu->setCallbacks(new SunucuOlaylari());
35
36  BLEService *servis = sunucu->createService(BLEUUID((uint16_t)0x181A));  // Environmental Sensing
37  sicaklikKar = karakteristikEkle(servis, 0x2A6E);  // sıcaklık, 0,01 °C / temperature, 0.01 °C
38  nemKar = karakteristikEkle(servis, 0x2A6F);       // nem, %0,01 / humidity, 0.01 %
39  servis->start();
40
41  BLEAdvertising *yayin = BLEDevice::getAdvertising();
42  yayin->addServiceUUID(BLEUUID((uint16_t)0x181A));
43  yayin->setScanResponse(true);
44  BLEDevice::startAdvertising();
45}
46
47void loop() {
48  if (millis() - sonOlcum >= 2000) {      // DHT22 en fazla 2 sn'de bir / DHT22 at most every 2 s
49    sonOlcum = millis();
50    float t = dht.readTemperature();
51    float h = dht.readHumidity();
52    if (!isnan(t) && !isnan(h)) {
53      int16_t t100 = (int16_t)lroundf(t * 100);    // 23,45 °C -> 2345
54      uint16_t h100 = (uint16_t)lroundf(h * 100);  // %41,2 -> 4120
55      sicaklikKar->setValue((uint8_t *)&t100, 2);  // 2 bayt, düşük bayt önce / 2 bytes, little-endian
56      nemKar->setValue((uint8_t *)&h100, 2);
57      if (bagli) {
58        sicaklikKar->notify();
59        nemKar->notify();
60      }
61      Serial.printf("%.2f C  %.2f %%\n", t, h);
62    }
63  }
64
65  if (!bagli && oncekiBagli) {            // bağlantı koptu / disconnected
66    delay(500);
67    sunucu->startAdvertising();           // yeniden yayın / advertise again
68    oncekiBagli = false;
69  }
70  if (bagli && !oncekiBagli) oncekiBagli = true;
71}
The code takes a reading every two seconds, because the DHT22 can't be read more often. The values are first written to the characteristic with setValue(), so the phone also gets the latest measurement when it reads (READ) without waiting for a notification. If the phone is connected, notify() sends the new value straight away. If nRF Connect can't decode the value, you'll see the raw bytes: for 23.45 °C the screen shows (0x) 29-09. Reverse the bytes and you get 0x0929, which is 2345 in decimal; divide by 100 and you have the temperature. You'll need to do the same calculation when you write your own app. Sending the value as text may look easier, but the standard format uses fewer bytes and works with existing apps.
ESP32 Bluetooth with the iPhone (iOS)
The question iPhone users ask most is why the ESP32 doesn't show up in the Bluetooth settings. Apple opens the Classic Bluetooth serial port profile (SPP) only to MFi-certified accessories, so you can't connect to an ESP32 running BluetoothSerial from an iPhone. The solution is BLE, and the NUS and sensor examples above work fine on the iPhone. There are a few things to keep in mind:
- Searching in Settings: BLE devices aren't listed in iOS Bluetooth settings; make the connection inside an app such as nRF Connect, LightBlue or Bluefruit Connect.
- Cache: iOS remembers the device's name and service list. If you still see the old list after changing the services in your code, switch the phone's Bluetooth off and on again.
- No MAC address: iOS doesn't show apps the device's MAC address and gives each device an identifier of its own; if you use several ESP32s, give each one a different name.
- Connection interval: don't delete the setMinPreferred(0x06) and setMaxPreferred(0x12) lines; Espressif's examples also recommend them against iPhone connection issues.
- Your own app: on iOS you use Core Bluetooth with Swift; no pairing is needed, and the app scans directly for the service UUID.
BLE with the Raspberry Pi Pico W and MicroPython
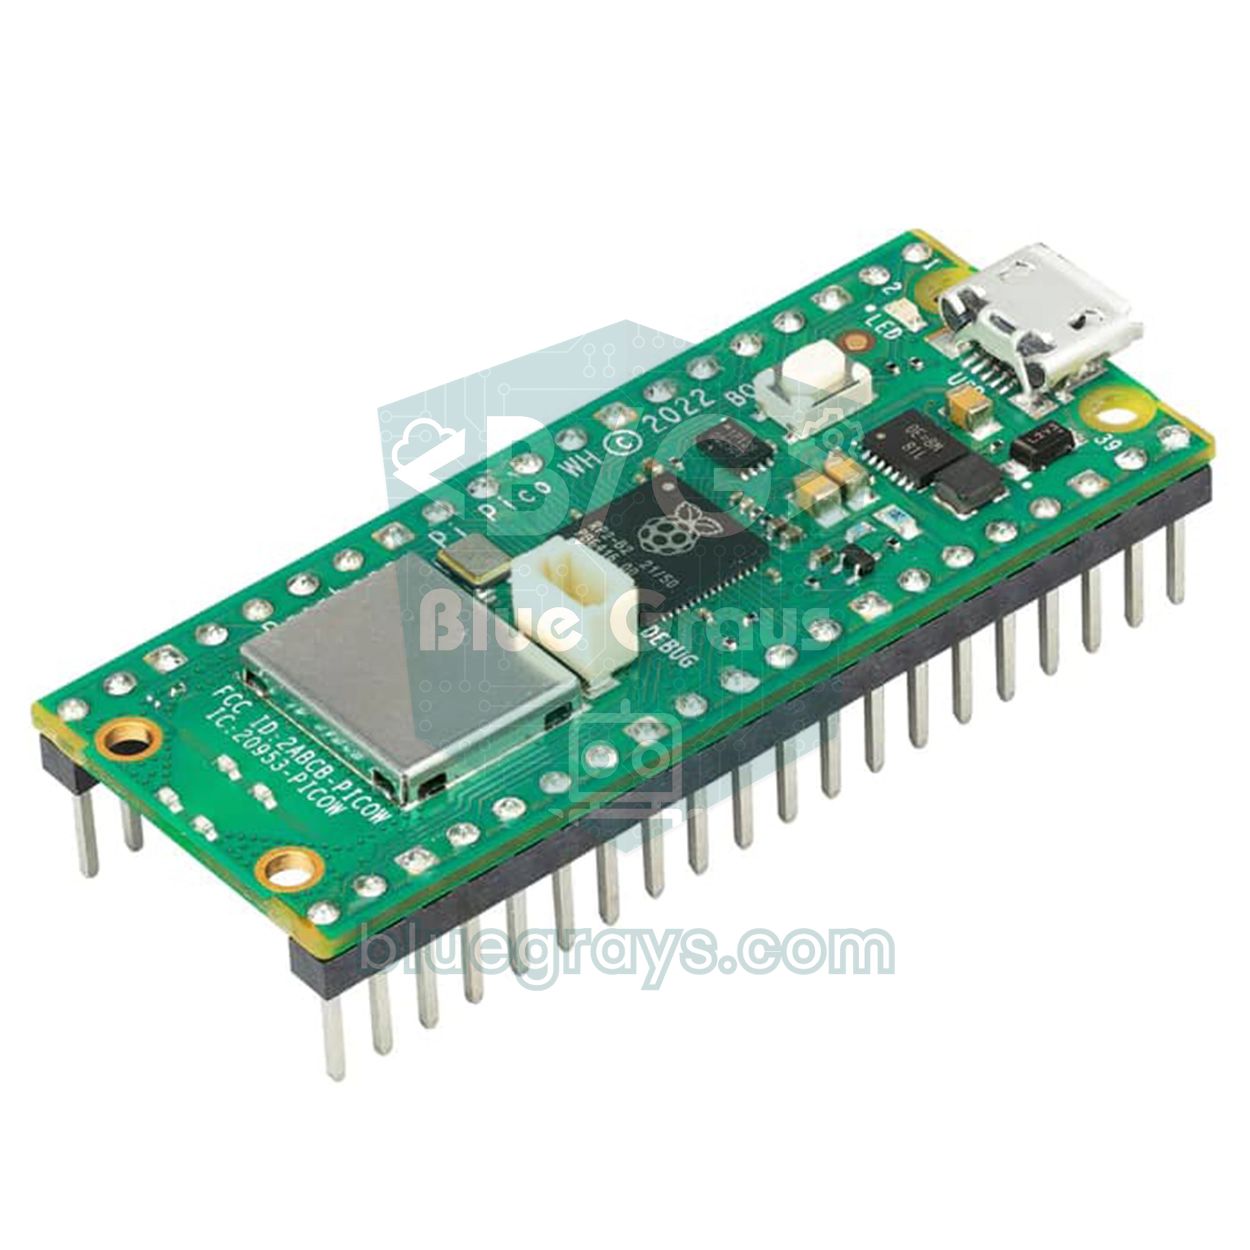
In the Raspberry Pi Pico family, Bluetooth is only available on the Pico W and Pico 2 W. The on-board CYW43439 chip supports both Classic Bluetooth and BLE in hardware, but MicroPython only uses BLE (from version 1.20 onwards). The code below is the MicroPython equivalent of the ESP32 NUS example; because it uses the same UUIDs, you test it the same way with nRF Connect and Serial Bluetooth Terminal. You must have flashed the MicroPython build made for the Pico W. The code also reads the board's internal temperature sensor and sends it to the connected phone every 2 seconds.
1import bluetooth
2import struct
3import time
4from machine import Pin, ADC
5from micropython import const
6
7_IRQ_CENTRAL_CONNECT = const(1)
8_IRQ_CENTRAL_DISCONNECT = const(2)
9_IRQ_GATTS_WRITE = const(3)
10_FLAG_READ = const(0x0002)
11_FLAG_WRITE_NO_RESPONSE = const(0x0004)
12_FLAG_WRITE = const(0x0008)
13_FLAG_NOTIFY = const(0x0010)
14
15# Nordic UART Service: ESP32 örneğiyle aynı UUID'ler / same UUIDs as the ESP32 example
16NUS_UUID = bluetooth.UUID("6E400001-B5A3-F393-E0A9-E50E24DCCA9E")
17TX = (bluetooth.UUID("6E400003-B5A3-F393-E0A9-E50E24DCCA9E"), _FLAG_READ | _FLAG_NOTIFY)
18RX = (bluetooth.UUID("6E400002-B5A3-F393-E0A9-E50E24DCCA9E"), _FLAG_WRITE | _FLAG_WRITE_NO_RESPONSE)
19
20led = Pin("LED", Pin.OUT)       # Pico W dahili LED / Pico W onboard LED
21sensor = ADC(4)                 # dahili sıcaklık sensörü / internal temperature sensor
22
23ble = bluetooth.BLE()
24ble.active(True)
25((tx_h, rx_h),) = ble.gatts_register_services(((NUS_UUID, (TX, RX)),))
26baglanti = None
27
28
29def alan(tur, veri):            # uzunluk + tür + veri / length + type + data
30    return struct.pack("BB", len(veri) + 1, tur) + veri
31
32
33YAYIN = alan(0x01, b"\x06") + alan(0x09, b"BlueGrays-Pico")  # bayraklar + ad / flags + name
34YANIT = alan(0x07, bytes(NUS_UUID))                          # 128 bit UUID / 128-bit UUID
35
36
37def yayinla():
38    ble.gap_advertise(100000, adv_data=YAYIN, resp_data=YANIT)  # 100 ms aralık / interval
39
40
41def olay(event, data):
42    global baglanti
43    if event == _IRQ_CENTRAL_CONNECT:
44        baglanti = data[0]
45    elif event == _IRQ_CENTRAL_DISCONNECT:
46        baglanti = None
47        yayinla()                                 # yeniden görünür ol / advertise again
48    elif event == _IRQ_GATTS_WRITE and data[1] == rx_h:
49        komut = ble.gatts_read(rx_h).decode().strip()
50        if komut == "1":
51            led.on()
52        elif komut == "0":
53            led.off()
54
55
56ble.irq(olay)
57yayinla()
58
59while True:
60    if baglanti is not None:
61        volt = sensor.read_u16() * 3.3 / 65535
62        sicaklik = 27 - (volt - 0.706) / 0.001721   # veri sayfası formülü / datasheet formula
63        try:
64            ble.gatts_notify(baglanti, tx_h, "T:{:.1f}\n".format(sicaklik).encode())
65        except OSError:
66            pass                                    # bağlantı yeni koptu / just disconnected
67    time.sleep(2)
Because MicroPython's bluetooth module is low-level, we build the advertising packet ourselves. Each field consists of a length byte, a type byte and the data: 0x01 is the flags, 0x09 the device's complete name and 0x07 the 128-bit service UUID. Since an advertising packet holds at most 31 bytes, we put the 18-byte UUID field in the scan response (resp_data). gatts_register_services() returns the characteristics' handles; we use these handles to read the value the phone wrote and to send notifications. If you'd like shorter code, you can install the asyncio-based aioble library with mip. To run the code on the ESP32 under MicroPython, just change the LED line to Pin(2, Pin.OUT) and read, for example, a DHT11 instead of the internal temperature sensor.
Wi-Fi and Bluetooth together: memory, range and power
On the ESP32, Wi-Fi and Bluetooth share the same 2.4 GHz radio. The chip runs both by time-sharing, so you can use them at the same time, but each gets a little slower, and Classic Bluetooth combined with heavy Wi-Fi traffic is the toughest scenario. The real problem is usually memory, though: the Bluetooth stack is large, and together with Wi-Fi the program can exceed the default 1.2 MB (1,310,720 bytes) app partition; even the BLE example in this guide fills about 80% of that space on its own. If the build ends with "Sketch too big" or "text section exceeds available space in board" and you don't use over-the-air updates (OTA), choose Huge APP (3MB No OTA/1MB SPIFFS) under Tools > Partition Scheme. The NimBLE-Arduino library, which uses less flash and RAM, is a good alternative too.
Range depends on the board's antenna design and the environment. With an ESP32 that has an on-board PCB antenna, expect 10–20 metres indoors depending on the walls, more in open space; modules with an external antenna connector (for example the ESP32-WROOM-32U) reach even further. Covering the antenna with a metal box, a battery or cables cuts the range dramatically. Because the current briefly rises when the radio switches on, a weak USB cable can make the board restart with the message "Brownout detector was triggered"; you'll find the fixes in ESP32 Brownout and Guru Meditation.
ESP32 Bluetooth project ideas
- Bluetooth robot car: pass the F, B, L and R commands received via BluetoothSerial to an L298N motor driver; for the mechanics, see Building an Arduino Robot Car.
- Smart socket: replace the LED in the NUS example with a relay module and switch a lamp on from your iPhone.
- Wireless thermometer: add an OLED display to the DHT22 example so the value appears both on the screen and on your phone.
- Colourful mood light: change the colour of a WS2812B NeoPixel strip with R, G and B values sent from your phone.
- Your own Android app: build a remote-control app with buttons and sliders in App Inventor in a few hours.
- Communication between two ESP32s: to make two boards talk without a phone, try the simpler and faster ESP-NOW instead of Bluetooth.
Common ESP32 Bluetooth problems and fixes
| Symptom / error | Cause | Fix |
|---|---|---|
| "Serial Bluetooth not available or not enabled" | The selected board is an ESP32-S3, C3, C6 or H2, which has no Classic Bluetooth | Use a classic ESP32 or switch to the BLE (NUS) example |
| "conversion from 'String' to non-scalar type 'std::string' requested" | Code written for core 2.x (std::string) compiled on a 3.x core | Assign getValue().c_str() to a String variable |
| "Sketch too big" | Bluetooth plus Wi-Fi exceeded the app partition | Partition Scheme: choose Huge APP or use NimBLE-Arduino |
| The iPhone can't find the ESP32 | Classic Bluetooth (SPP) isn't supported on iOS | Use BLE and connect from inside an app |
| The device disappears after the first connection | Advertising wasn't restarted after the disconnect | Call startAdvertising() after a disconnect |
| No notifications arrive | Notifications weren't enabled on the phone, or BLE2902 is missing | Tap the triple arrow in nRF Connect; add BLE2902 to the characteristic |
| "read failed, socket might closed or timeout" | Stale pairing data, or another phone is already connected | Forget the device on the phone and pair again; SPP accepts only one connection at a time |
| The end of a long message is cut off | Default MTU is 23 bytes, i.e. 20 bytes of data per notification | Split the message into 20-byte chunks or allow a larger MTU with BLEDevice::setMTU(185) |
| Service changes don't show on the phone | The phone keeps the old GATT table in its cache | Switch the phone's Bluetooth off and on; on Android, forget the device |
With ESP32 Bluetooth, turning your phone into a remote and the ESP32 into a wireless sensor or smart device takes just a few lines of code. BluetoothSerial is the right choice for a quick start with Android, and BLE for iPhone support and low power. If you'd like to keep going with wireless ESP32 projects, the BlueGrays app has projects such as LEDs, RGB LEDs, temperature measurement with the DHT22 and a Bluetooth-controlled car, each with a step-by-step circuit diagram and ready-to-use code.
Frequently asked questions
Does the ESP32 have Bluetooth?
Yes. The original ESP32 chip supports both Classic Bluetooth (BR/EDR) and BLE with Bluetooth 4.2 and needs no extra module. The ESP32-S3, C3, C6 and H2 support BLE only, and the ESP32-S2 has no Bluetooth at all.
What is the range of ESP32 Bluetooth?
With an ESP32 that has an on-board PCB antenna you usually get 10–20 metres indoors; walls, metal objects and the antenna's orientation affect this distance. The range grows in open space, and modules with an external antenna (for example the WROOM-32U) reach even further.
Can the ESP32 connect to an iPhone over Bluetooth?
Yes over BLE, but not over Classic Bluetooth (BluetoothSerial), because iOS opens the serial port profile (SPP) only to MFi-certified accessories. On the iPhone you can connect to the ESP32's BLE service with an app such as nRF Connect, LightBlue or Bluefruit Connect.
Does BluetoothSerial work on the ESP32-S3 and ESP32-C3?
No. These chips have no Classic Bluetooth hardware, so BluetoothSerial won't compile. To get the same serial-port logic over BLE you can use the Nordic UART Service (NUS); apps like Serial Bluetooth Terminal recognise it.
Can the ESP32 use Wi-Fi and Bluetooth at the same time?
Yes, both work together by time-sharing the same 2.4 GHz radio. Speed drops a little and the program gets bigger, though; if you get a "Sketch too big" error, choose Huge APP under Partition Scheme or use the lighter NimBLE-Arduino library.
Do I need an HC-05 with the ESP32?
Usually not. The BluetoothSerial library on the classic ESP32 does the HC-05's job internally and works with the same terminal apps. You only need an HC-05 on boards without Bluetooth (Arduino Uno, ESP8266, the standard Pico, ESP32-S2) or if a project needs Classic Bluetooth and you're using a BLE-only ESP32.
Projects to build after reading this
See all projects
ESP32 Built-in LED Blink
Blinking the built-in blue LED on the ESP32 DevKit V1. No external components required! The first project you should try when you buy an ESP32. GPIO 2 is connected to the built-in LED.

LED Blink with ESP32
Teaches basic GPIO output usage with ESP32. We achieve a blinking effect by turning an LED on and off from a digital pin. ESP32 version of the classic blink project on Arduino UNO; the basic blink commands in the Arduino environment are the same, but the ESP32's pin layout and 3.3 V GPIO levels differ from those of the Arduino UNO.

ESP32 LED Control with Pushbutton (Toggle)
Each time the button is pressed the state of the LED changes: if it is on it turns off, if it is off it turns on. Classic toggle pattern. With debounce we clean up the mechanical noise of the pushbutton to ensure a single toggle with a single press.
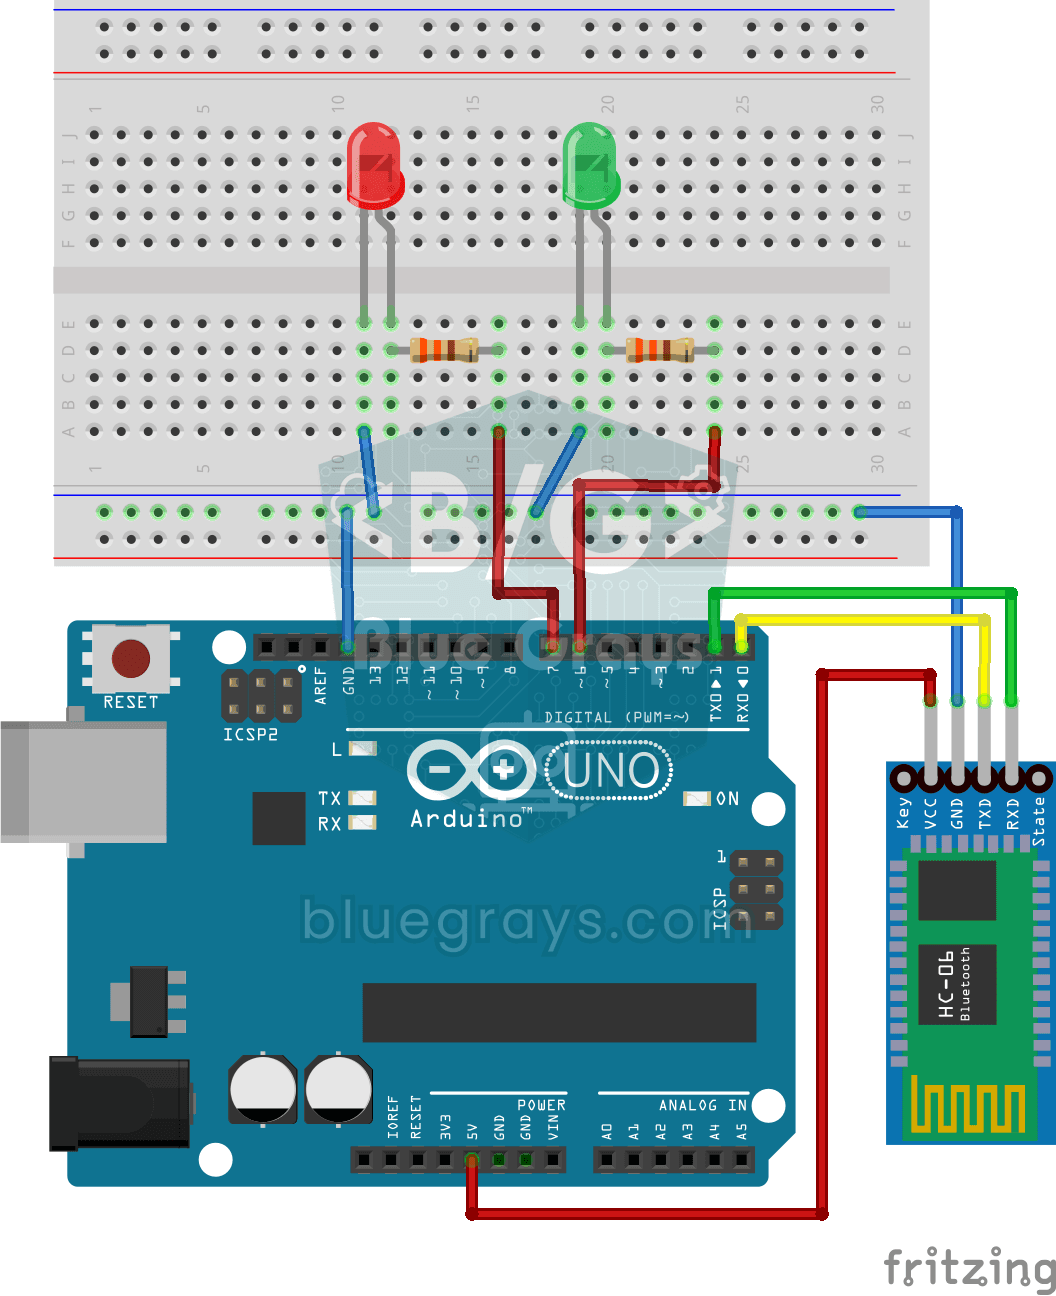
Control an LED from Your Phone via Bluetooth
A small rehearsal for switching the lights in your room on and off from your phone. The Bluetooth module passes the letters sent from your phone to the Arduino; one letter turns on the red LED, anothe

Bluetooth Controlled Car with L298N
Turn your phone into a remote and drive your own robot car. The Arduino receives commands from a remote-control app on your phone through a Bluetooth module and spins the wheels with a motor driver; t

ESP32 RGB LED Control
Unlimited color generation with a single RGB LED instead of 3 separate LEDs. As in Arduino, we make a rainbow transition by setting the R/G/B values with analogWrite(). Color theory (such as red+green=yellow) is seen practically.

ESP32 DHT22 Temperature and Humidity (with LCD Display)
This project measures ambient temperature and humidity using a DHT22 sensor and displays the data in real time on a 16x2 I2C LCD. Data is read from the sensor using the one-wire protocol via the Adafruit DHT library. This project serves as the foundation for IoT weather stations, smart home automation, or environmental monitoring systems in greenhouses. Communication with the DHT22 is established via the ESP32's GPIO 4 pin.

ESP32 WS2812B NeoPixel Strip Control
WS2812B (NeoPixel) addressable LEDs are smart RGB LEDs that can be controlled in a daisy-chain configuration via a single data pin. In this project, we will control an 8-LED WS2812B strip using the Adafruit_NeoPixel library to create a smooth rainbow animation. While the ESP32’s 3.3V logic level works seamlessly with most WS2812B components, we’ll demonstrate a solution using a 470Ω series resistor and a 1000µF capacitor in case of instability. The animation is achieved by shifting the hue value