
Arduino Solenoid Lock: 12V Door Lock with MOSFET, Keypad and RFID
Arduino solenoid lock guide: how a 12V lock works, MOSFET or relay drive, flyback diode, heating, keypad and RFID locks, fail-safe vs fail-secure, ESP32.

A solenoid lock is an electric latch that pulls its bolt back when current flows through the coil inside and lets a spring push it out again when the current stops. With an Arduino solenoid lock you can build a code-protected cabinet, a door that opens with an RFID card, a drawer that opens with your fingerprint or a mailbox you unlock from your phone. The most common type in hobby projects is the small 12 V "cabinet lock" that draws about 0.5-1 A. That's 25 to 50 times what an Arduino pin can supply, so the lock isn't driven straight from a pin but through a MOSFET or a relay.
In this guide I'll explain what's inside a solenoid lock, how to work out its current and power, two ways of driving it with a MOSFET or a relay, the flyback diode you need so you don't destroy your board, and why the coil should only be energised briefly. Then we'll write code for a keypad code lock, an RC522 card lock and an ESP32 lock you open from your phone. Finally we'll look at fail-safe and fail-secure, which decide what happens when the power goes out. If MOSFETs are new to you, Using a MOSFET with Arduino is a good start.
What is a solenoid lock and how does it work?
The word "solenoid" describes a coil of wire wound around a tube. When current flows through the coil a magnetic field forms inside it, and that field pulls the iron core (plunger) in the middle towards itself. In a lock the plunger is attached to a slanted bolt. With no current a spring keeps the bolt out and the door stays locked; apply 12 V and the plunger is pulled in, the bolt retracts and the door opens. Thanks to the bolt's slanted face, closing the door pushes the bolt in and lets it snap back into place, so locking needs no power at all. If you're curious about how coils behave electrically, see What is an inductor?.
| Property | Typical 12 V cabinet solenoid lock | Note |
|---|---|---|
| Operating voltage | 12 V DC | Weak pull at 9 V; at 5 V it usually won't open |
| Current | 0.5-1 A (0.6-0.8 A is common) | Check the label or measure the coil resistance |
| Coil resistance | About 12-24 Ω | I = V / R; 0.75 A at 16 Ω |
| Power | 6-12 W | P = V × I; 12 V × 0.75 A = 9 W |
| Energising time | A few seconds (10 s max on most models) | Heats up if held open continuously |
| On power loss | Stays locked (fail-secure) | Magnetic door locks do the opposite and open |
If you don't know your lock's current, set the multimeter to ohms, measure the resistance between the coil's two leads and work out the current with the Ohm's law calculator. If you measure 16 Ω at 12 V, the lock draws 0.75 A; pick a supply rated for at least twice that, so 12 V 2 A. The current can spike briefly at the first pull, and if a weak adapter's voltage sags the lock won't open fully.
Driving the solenoid lock with a MOSFET or a relay
There are two common methods. A MOSFET is silent, fast, doesn't wear out and takes up little space; chosen correctly it doesn't even get warm. The feature to look for is "logic level": its gate must turn fully on at 5 V, or at 3.3 V if you use an ESP32. The IRLZ44N has about 0.025 Ω of resistance at 5 V; at 0.75 A the power it dissipates is P = I² × R ≈ 14 mW, so no heatsink is needed. The popular IRF520 modules, on the other hand, are designed for a 10 V gate and stay half on and hot at 5 V. A relay module is simple and also isolates the two circuits; its downsides are the click, contact wear and the current its own coil draws. To choose a transistor or MOSFET, check the values in the transistor tool.
| Connection (MOSFET circuit) | Where? | Why? |
|---|---|---|
| Lock red (+) | 12 V adapter + | The coil always sits on the positive side |
| Lock black (-) | MOSFET drain (D) | The MOSFET switches the negative side |
| MOSFET source (S) | 12 V adapter - and Arduino GND | Common ground |
| MOSFET gate (G) | Arduino D10 through 220 Ω | Limits the pin's charging current spike |
| 10 kΩ resistor | Between gate and GND | Keeps the lock from opening at power-up |
| 1N4007 diode | Reverse-biased across the lock; striped end to +12 V | Absorbs the coil's reverse voltage spike |
| 470 µF capacitor | Between 12 V + and -, close to the lock | Reduces the voltage dip at pull-in |
Powering the Arduino and the lock from the same 12 V adapter is practical: you can feed the Uno 12 V through its DC jack. But the voltage dips for a moment when the lock pulls in, and the Uno's regulator gets warm dropping 12 V to 5 V; a sturdier option is to drop the 12 V to 5 V with an LM2596 module and feed the board through its 5V pin. Either way, the MOSFET source, the adapter's negative and the Arduino's GND must meet at one point; I explain why in detail in GND and common ground.
Short energising and heat: how long can you keep the lock open?
Burning 9 W in a small coil is like running a little soldering iron in the space of your palm. Cheap cabinet locks are usually designed for intermittent duty: opening for a few seconds is fine, but held open for minutes the coil gets too hot to touch, the insulation varnish degrades and the lock weakens over time. That's why you should always define a maximum open time in software; in this article's code it's 3 seconds. If the door has to stay open for a long time, there are two solutions: choose a lock that holds its bolt open mechanically, or give full power at pull-in and then reduce it with PWM. A coil needs much more force to pull the bolt in than to hold it; after 200 ms at full power, 30-40% PWM holds the bolt in on most locks and cuts the heating several times. You'll find how PWM works in What is PWM?.
A keypad code lock with a solenoid
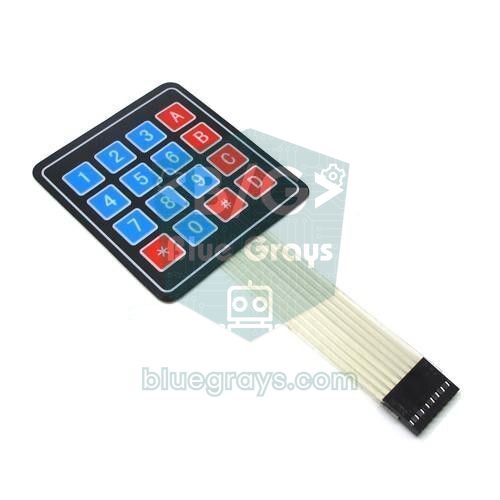
The first project uses a 4x4 keypad to enter a code. Connect the keypad's row pins to D9, D8, D7, D6 and its column pins to D5, D4, D3, D2; the MOSFET gate goes to D10 and a small active buzzer to A0. Install Mark Stanley's Keypad library from the Library Manager. You type the code and confirm with #, while * clears the entry. After three wrong attempts the keypad locks for 30 seconds; this small measure makes guessing the code by trial and error practically impossible. You'll find how the keypad works inside in the keypad article.
1// Keypad şifreli solenoid kilit / keypad-code solenoid lock
2#include <Keypad.h>
3
4const int LOCK_PIN = 10;                 // MOSFET gate (220 ohm üzerinden / via 220 ohm)
5const int BUZZER_PIN = A0;               // aktif buzzer / active buzzer
6const unsigned long OPEN_MS = 3000;      // kilit açık süresi / unlock time
7const unsigned long LOCKOUT_MS = 30000;  // 3 hatadan sonra bekleme / lockout after 3 errors
8const char* PASSWORD = "2580";           // şifreyi değiştir / change the code
9
10const byte ROWS = 4, COLS = 4;
11char keys[ROWS][COLS] = {
12  {'1', '2', '3', 'A'},
13  {'4', '5', '6', 'B'},
14  {'7', '8', '9', 'C'},
15  {'*', '0', '#', 'D'}
16};
17byte rowPins[ROWS] = {9, 8, 7, 6};
18byte colPins[COLS] = {5, 4, 3, 2};
19Keypad keypad = Keypad(makeKeymap(keys), rowPins, colPins, ROWS, COLS);
20
21String input = "";
22int wrongCount = 0;
23bool lockedOut = false;
24unsigned long lockoutStart = 0;
25
26void beep(int ms) {
27  digitalWrite(BUZZER_PIN, HIGH);
28  delay(ms);
29  digitalWrite(BUZZER_PIN, LOW);
30}
31
32void unlock() {
33  digitalWrite(LOCK_PIN, HIGH);   // bobine enerji ver, dil çekilir / energise coil, bolt retracts
34  delay(OPEN_MS);                 // yalnız kısa süre / short time only
35  digitalWrite(LOCK_PIN, LOW);    // yay dili geri iter / spring pushes the bolt back
36}
37
38void setup() {
39  pinMode(LOCK_PIN, OUTPUT);
40  digitalWrite(LOCK_PIN, LOW);    // açılışta kilitli / locked at power-up
41  pinMode(BUZZER_PIN, OUTPUT);
42}
43
44void loop() {
45  char k = keypad.getKey();
46  if (!k) return;
47
48  if (lockedOut) {
49    if (millis() - lockoutStart < LOCKOUT_MS) { beep(300); return; }
50    lockedOut = false;
51  }
52  beep(30);
53
54  if (k == '*') { input = ""; return; }          // temizle / clear
55  if (k == '#') {                                 // onayla / confirm
56    if (input == PASSWORD) {
57      wrongCount = 0;
58      unlock();
59    } else {
60      beep(600);
61      if (++wrongCount >= 3) {                    // kaba kuvvete karşı / against brute force
62        lockedOut = true;
63        lockoutStart = millis();
64        wrongCount = 0;
65      }
66    }
67    input = "";
68    return;
69  }
70  if (input.length() < 8) input += k;            // en fazla 8 hane / max 8 digits
71}
A lock that opens with an RFID card (RC522)
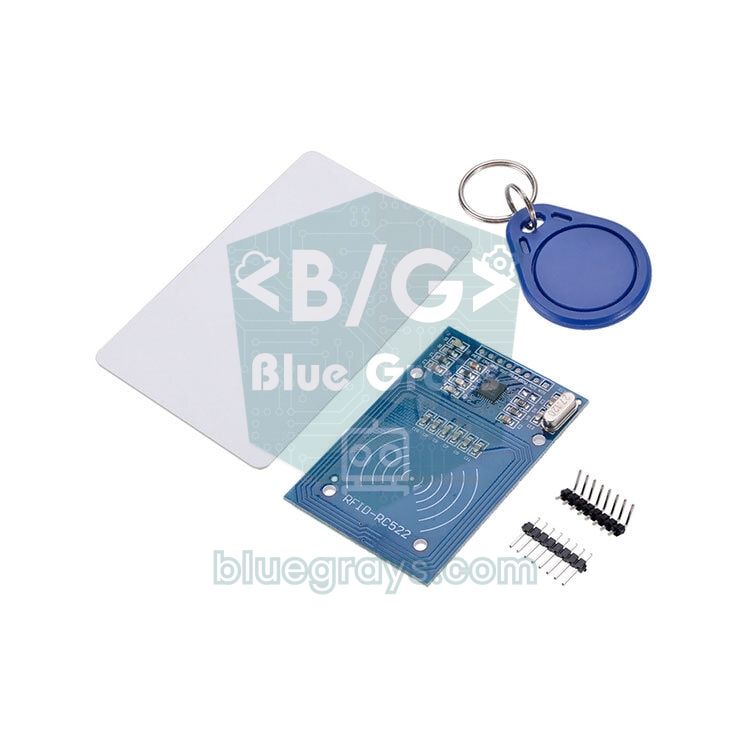
In the second project the lock opens when a registered RFID card is scanned. Wire the RC522 to the Uno as SDA → D10, SCK → D13, MOSI → D11, MISO → D12, RST → D9, 3.3V → 3.3V and GND → GND; since SPI uses D10-D13, the MOSFET gate goes to D6 this time. Install the MFRC522 library, upload the code, scan your card and copy the UID shown in the Serial Monitor into the ALLOWED list. Because card UIDs can be cloned, this method suits cabinets and drawers; on its own it isn't enough where high security is needed, such as an outside door. For details on the RC522, see the RFID RC522 guide.
1// RFID kartla solenoid kilit / RFID card solenoid lock
2#include <SPI.h>
3#include <MFRC522.h>
4
5const int SS_PIN = 10;              // RC522 SDA
6const int RST_PIN = 9;              // RC522 RST
7const int LOCK_PIN = 6;             // MOSFET gate
8const unsigned long OPEN_MS = 3000;
9
10// Yetkili kart UID'leri, Seri Monitör'den oku / authorised UIDs, read them from the Serial Monitor
11const byte ALLOWED[][4] = {
12  {0xDE, 0xAD, 0xBE, 0xEF},
13  {0x12, 0x34, 0x56, 0x78}
14};
15const int ALLOWED_COUNT = sizeof(ALLOWED) / sizeof(ALLOWED[0]);
16
17MFRC522 rfid(SS_PIN, RST_PIN);
18
19bool isAllowed(const byte* uid, byte size) {
20  if (size != 4) return false;
21  for (int i = 0; i < ALLOWED_COUNT; i++) {
22    if (memcmp(uid, ALLOWED[i], 4) == 0) return true;
23  }
24  return false;
25}
26
27void setup() {
28  Serial.begin(9600);
29  pinMode(LOCK_PIN, OUTPUT);
30  digitalWrite(LOCK_PIN, LOW);
31  SPI.begin();
32  rfid.PCD_Init();
33}
34
35void loop() {
36  if (!rfid.PICC_IsNewCardPresent() || !rfid.PICC_ReadCardSerial()) return;
37
38  Serial.print("UID:");
39  for (byte i = 0; i < rfid.uid.size; i++) {
40    Serial.print(rfid.uid.uidByte[i] < 0x10 ? " 0" : " ");
41    Serial.print(rfid.uid.uidByte[i], HEX);
42  }
43  Serial.println();
44
45  if (isAllowed(rfid.uid.uidByte, rfid.uid.size)) {
46    Serial.println("Açıldı / unlocked");
47    digitalWrite(LOCK_PIN, HIGH);
48    delay(OPEN_MS);
49    digitalWrite(LOCK_PIN, LOW);
50  } else {
51    Serial.println("Yetkisiz kart / unknown card");
52  }
53  rfid.PICC_HaltA();               // kartı beklemeye al / halt the card
54}What happens in a power cut? Fail-safe vs fail-secure
The first question to ask when choosing an electric lock: should the door stay open or locked when the power goes out? Fail-secure locks stay locked without power; cabinet-style solenoids work this way, and they're the right choice for safes, drawers and delivery boxes. Fail-safe locks open when the power is cut; the magnetic door locks (electromagnets) in buildings work like this, because people must be able to get out during a fire or blackout. Fitting a fail-secure lock on a door that's an escape route is dangerous and breaks building rules in most places.
| Lock type | On power loss | Good for |
|---|---|---|
| Solenoid cabinet lock | Stays locked (fail-secure) | Cabinets, safes, drawers, boxes |
| Electromagnetic door lock | Opens (fail-safe) | Building entrances, escape routes |
| Electric strike | Either, depending on the model | Added to an existing door lock |
| Motorised lock | Stays in its last position | Smart door locks, battery systems |
If you use a fail-secure lock, plan a backup so you don't lock yourself out: a mechanical spare key, a hidden emergency release button or a battery backup that can keep the lock and Arduino running for a while. For example, a small 12 V lead-acid battery or a 3S lithium pack with a charging circuit is enough for a few hundred openings during an outage.
Opening the solenoid lock from your phone with an ESP32
The ESP32 is the easiest way to open the lock over Wi-Fi. The code below sets up a small web server; when you open the IP address shown in the Serial Monitor in your phone's browser, it asks for a user name and password and then shows a big OPEN button. Pressing it unlocks the lock for 3 seconds and relocks it automatically with millis(), while the server keeps running. One important difference: the ESP32's pins output 3.3 V. An IRLZ44N may not turn fully on at that voltage; use a MOSFET specified to switch at 2.5-4.5 V such as the IRLB8721 or AO3400, or drive the lock with a relay module that triggers at 3.3 V. To power the ESP32 from 12 V, drop it to 5 V with an LM2596 and feed the 5V (VIN) pin.
1// ESP32: telefondan solenoid kilit açma / open the solenoid lock from your phone
2#include <WiFi.h>
3#include <WebServer.h>
4
5const char* WIFI_SSID = "AgAdi";        // Wi-Fi adın / your Wi-Fi name
6const char* WIFI_PASS = "Sifre123";     // Wi-Fi şifren / your Wi-Fi password
7const char* WEB_USER  = "kapi";         // sayfa kullanıcı adı / page user name
8const char* WEB_PASS  = "degistir-beni"; // sayfa şifresi, değiştir / page password, change it
9const int LOCK_PIN = 26;                // MOSFET gate (3,3 V ile tam açılan / fully on at 3.3 V)
10const unsigned long OPEN_MS = 3000;
11
12WebServer server(80);
13bool isOpen = false;
14unsigned long openedAt = 0;
15
16const char PAGE[] = R"html(<!DOCTYPE html><html><head>
17<meta name="viewport" content="width=device-width,initial-scale=1"><title>Kapi</title></head>
18<body style="font-family:sans-serif;text-align:center;margin-top:40px">
19<h2>Solenoid kilit / lock</h2>
20<form method="POST" action="/open"><button style="font-size:28px;padding:20px 40px">AC / OPEN</button></form>
21</body></html>)html";
22
23bool checkAuth() {
24  if (server.authenticate(WEB_USER, WEB_PASS)) return true;
25  server.requestAuthentication();         // tarayıcı şifre sorar / browser asks for a password
26  return false;
27}
28
29void handleRoot() {
30  if (!checkAuth()) return;
31  server.send(200, "text/html", PAGE);
32}
33
34void handleOpen() {
35  if (!checkAuth()) return;
36  if (!isOpen) {
37    digitalWrite(LOCK_PIN, HIGH);         // kilidi aç / unlock
38    isOpen = true;
39    openedAt = millis();
40  }
41  server.sendHeader("Location", "/");
42  server.send(303);                       // ana sayfaya dön / back to the main page
43}
44
45void setup() {
46  pinMode(LOCK_PIN, OUTPUT);
47  digitalWrite(LOCK_PIN, LOW);
48  Serial.begin(115200);
49  WiFi.mode(WIFI_STA);
50  WiFi.begin(WIFI_SSID, WIFI_PASS);
51  while (WiFi.status() != WL_CONNECTED) delay(500);
52  Serial.println(WiFi.localIP());         // bu adresi telefonda aç / open this on your phone
53
54  server.on("/", HTTP_GET, handleRoot);
55  server.on("/open", HTTP_POST, handleOpen);
56  server.begin();
57}
58
59void loop() {
60  server.handleClient();
61  if (isOpen && millis() - openedAt >= OPEN_MS) {   // süre dolunca kilitle / relock when time is up
62    digitalWrite(LOCK_PIN, LOW);
63    isOpen = false;
64  }
65}- The server is only reachable on your home network; to open it from outside, use an intermediary such as a Telegram bot or MQTT instead of opening a port on your router.
- The password the browser asks for travels almost as plain text on the network; that's acceptable at home, but your Wi-Fi password must be strong and you must change WEB_PASS.
- The open request is sent as POST, so the browser preloading the page or reopening it from history can't trigger the lock by itself.
- For more on the web page and showing live status, see ESP32 web server and WebSocket.
Common mistakes and how to fix them
| Symptom | Cause | Fix |
|---|---|---|
| The lock clicks but doesn't open | Not enough adapter current or the voltage sags | Use a 12 V 2 A supply and a 470 µF capacitor |
| Arduino resets when the lock opens | No flyback diode or grounds not shared | Fit the diode and join grounds at one point |
| The MOSFET gets hot | Not logic level (e.g. IRF520) or gate resistor too large | Use an IRLZ44N, or IRLB8721/AO3400 on an ESP32 |
| The lock opens briefly at power-up | The gate is floating | Add 10 kΩ between gate and GND |
| The lock never closes, always open | MOSFET shorted (often from running without a diode) | Replace the MOSFET and add the diode |
| The coil gets very hot | It stays energised too long | Limit the open time or lower the holding power with PWM |
With a MOSFET, a diode and a few lines of code, a solenoid lock can be one of your first projects that physically opens and closes something in the real world. In the BlueGrays app you'll find projects such as RFID authentication, a keypad and LCD code lock, a smart electronic safe and an ESP32 RFID door lock, each with circuit diagrams and code step by step, ready for the solenoid driver circuit from this article.
Frequently asked questions
Can a solenoid lock be connected directly to an Arduino?
No. A 12 V solenoid lock draws 0.5-1 A, while an Arduino pin supplies at most 20-40 mA at 5 V. Power the lock from a separate 12 V supply through a logic-level MOSFET (such as an IRLZ44N) or a relay module. Don't forget the flyback diode across the coil.
How many amps does a solenoid lock draw?
The 12 V cabinet-style locks used in hobby projects usually draw 0.5-1 A, most often 0.6-0.8 A. You can measure the coil resistance and calculate it with I = V / R; a 16 Ω coil draws 0.75 A at 12 V. Pick a power supply rated for at least twice that.
Which MOSFET should I use for a solenoid lock?
On 5 V boards like the Arduino Uno, logic-level MOSFETs such as the IRLZ44N or IRL540N work well. On 3.3 V boards like the ESP32 and Pico, choose models that turn fully on at low voltage, such as the IRLB8721 or AO3400. IRF520 modules aren't recommended because they need a 10 V gate.
Why is a flyback diode needed?
When the current in a coil is cut, the magnetic field collapses and produces a reverse voltage spike of hundreds of volts. That spike damages the MOSFET, resets the Arduino or harms its pin. A diode such as a 1N4007, connected in reverse across the lock, safely absorbs the spike.
Can a solenoid lock be kept open continuously?
Most cheap cabinet locks are designed for intermittent duty and get very hot within minutes when energised continuously. Limit the open time in software to a few seconds. If it must stay open longer, give full power at pull-in and then lower the holding power with PWM.
Does a solenoid lock open when the power goes out?
Cabinet-style solenoid locks are fail-secure, which means they stay locked when the power is cut. Electromagnetic door locks are fail-safe and open when power is lost. Fail-safe locks are preferred on escape-route doors, fail-secure locks on safes and cabinets.
Projects to build after reading this
See all projects
Smart Electronic Safe
A small safe for your valuables that opens with a code. You type your four-digit code on the keypad; if it is right, the servo motor opens the lock, the green light comes on and the screen shows the…
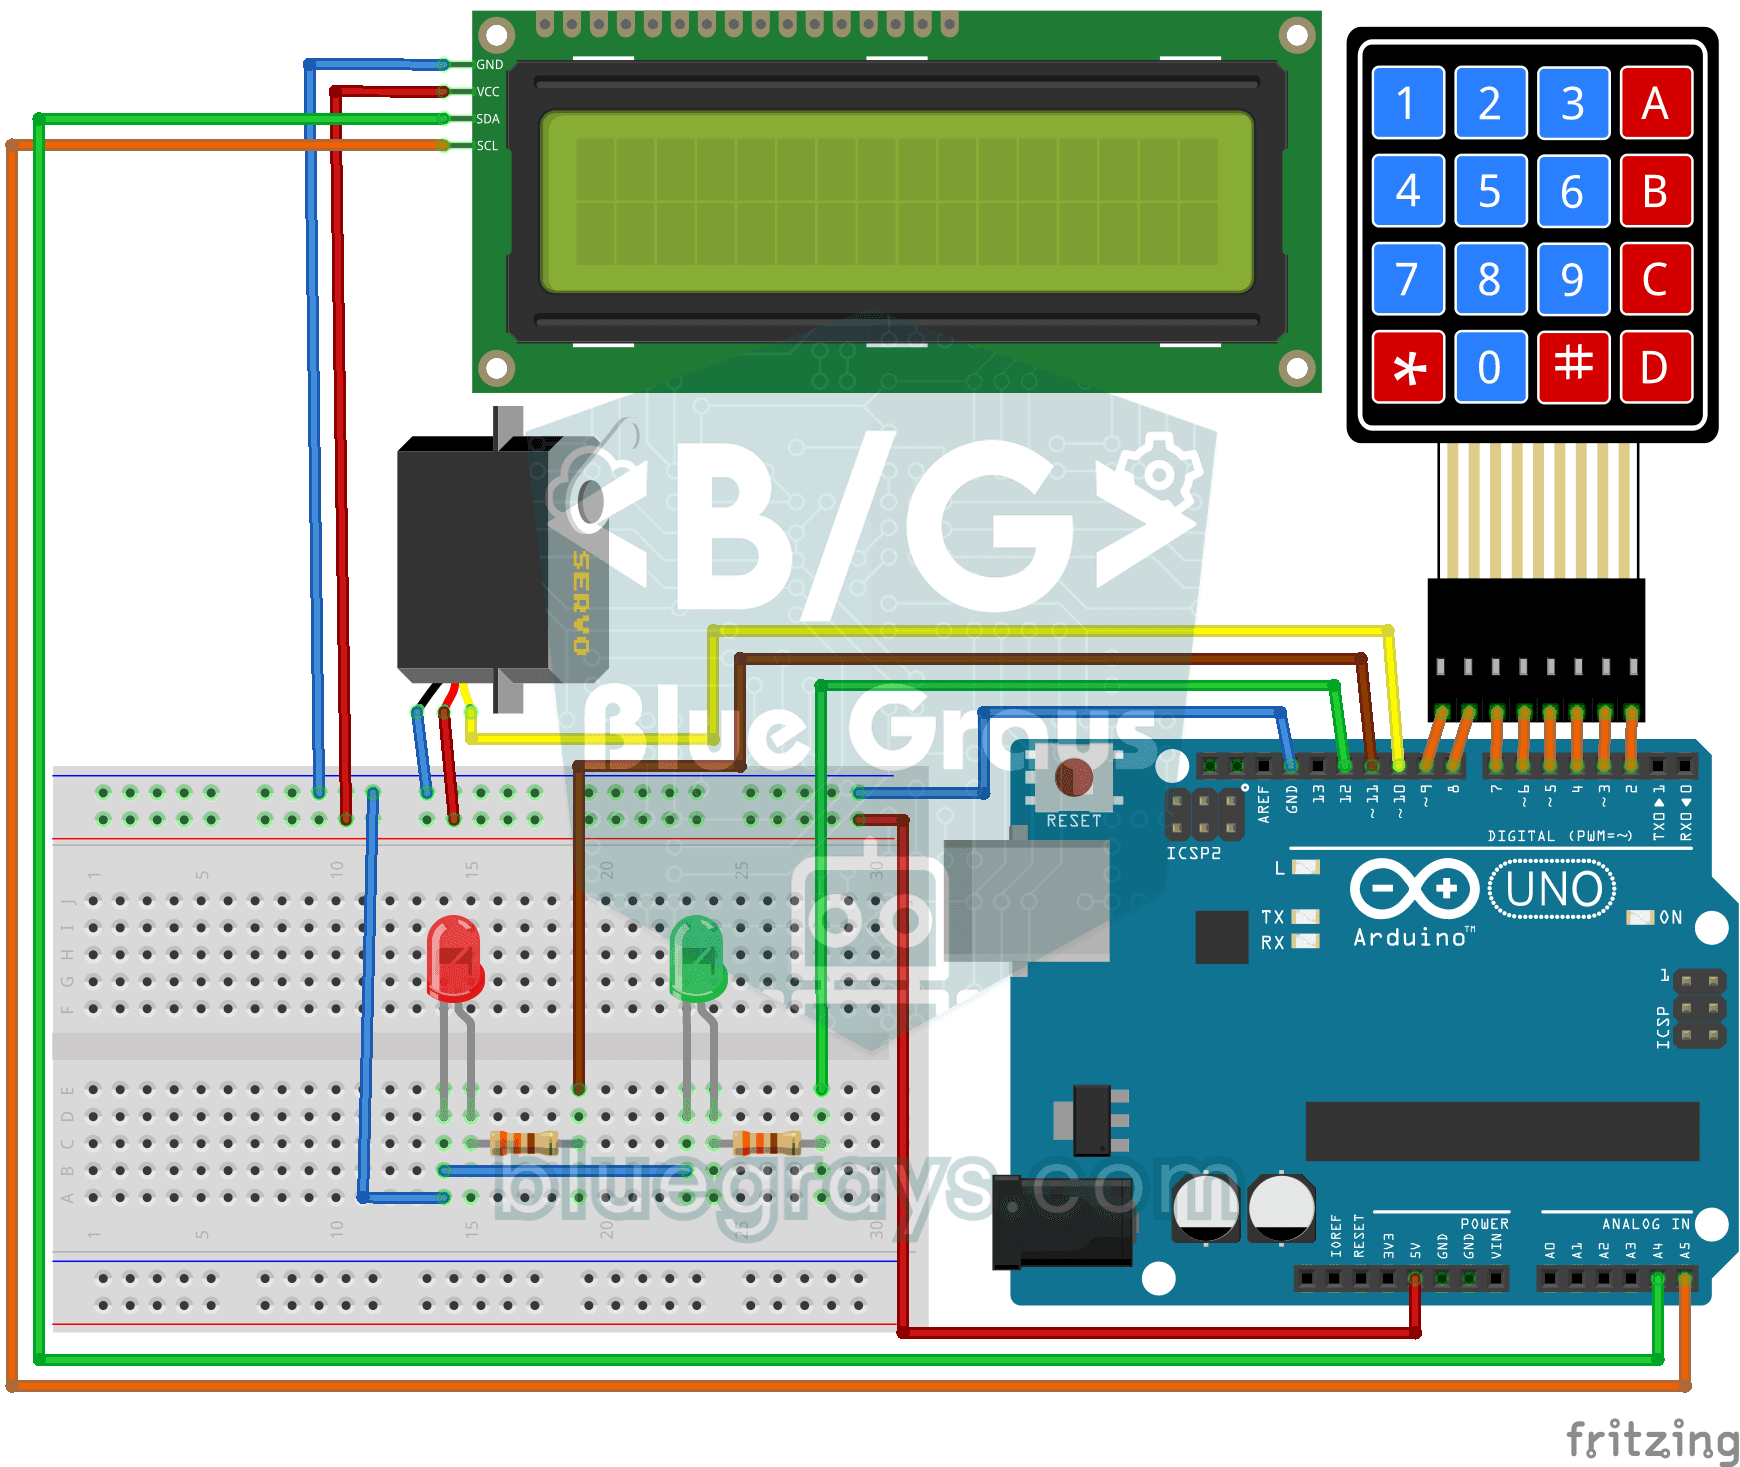
Password Lock with 4x4 Keypad and LCD
A small electronic door lock that keeps out anyone who doesn't know the code. You press the hash key and type the code on the keypad; if it is right, the screen says access granted, the green LED…
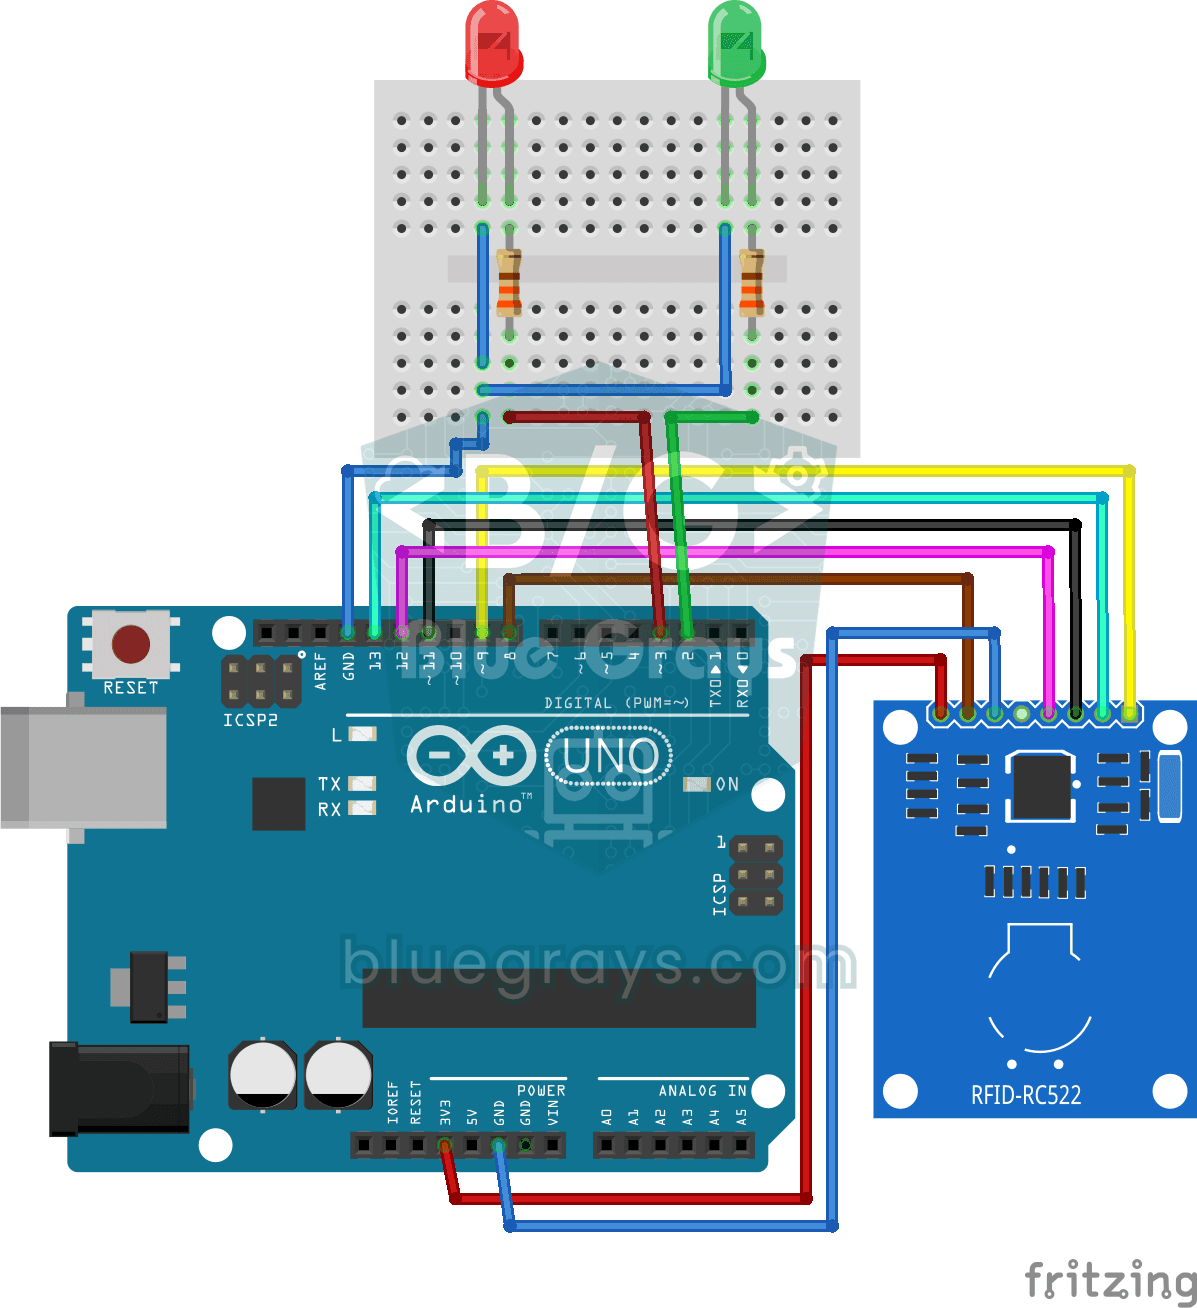
RFID Authentication
Just like the card entry at an apartment door: you hold your card near the RFID reader, and the Arduino compares its number with the one it has saved.
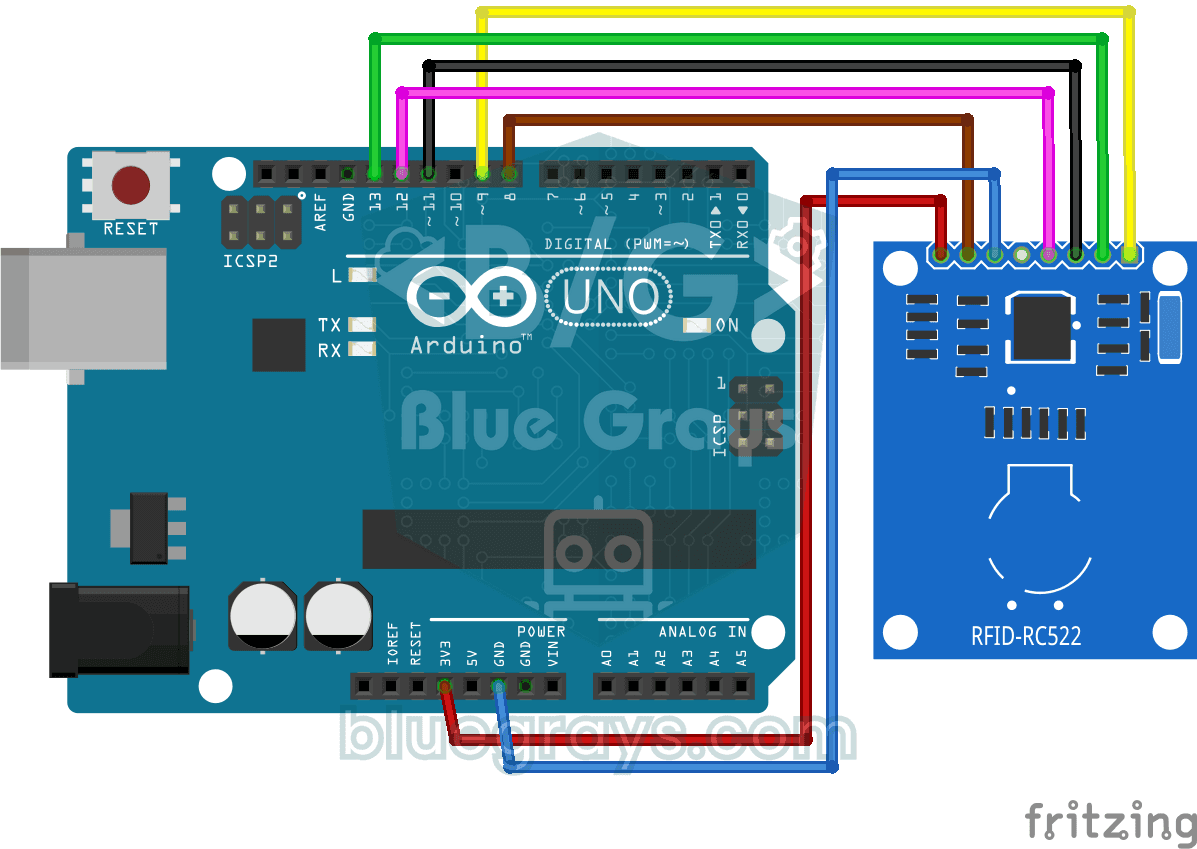
RFID Value Reading
Your building key fob or access card hides a secret ID number, and this project reads it. Hold the card near the RFID reader and the Arduino writes the card's number to your computer screen.

ESP32 RFID Door Lock (RC522 + Servo + OLED + Buzzer + LED)
We build a smart door lock with an ESP32, an RC522 RFID module, an SG90 servo, an SSD1306 OLED display, an active buzzer and 2 LEDs. When a card is scanned, its UID is checked against the authorized cards defined in the code; if it matches, the servo unlocks (green LED + 2 short beeps) and locks again after 5 seconds. An unknown card lights the red LED, gives 3 quick beeps and shows its UID on the OLED.

ESP32 RFID RC522 Card Reader (with LCD)
In this project, we will connect the MFRC522-based RC522 RFID module to the ESP32 via SPI and read the card/tag UID. This forms the basis for applications such as door locks, membership systems, and access control. We will display the read UID on an LCD screen; this version does not compare it with an authorized card list. WARNING: The RC522 operates only at 3.3V; supplying 5V will burn out the module!
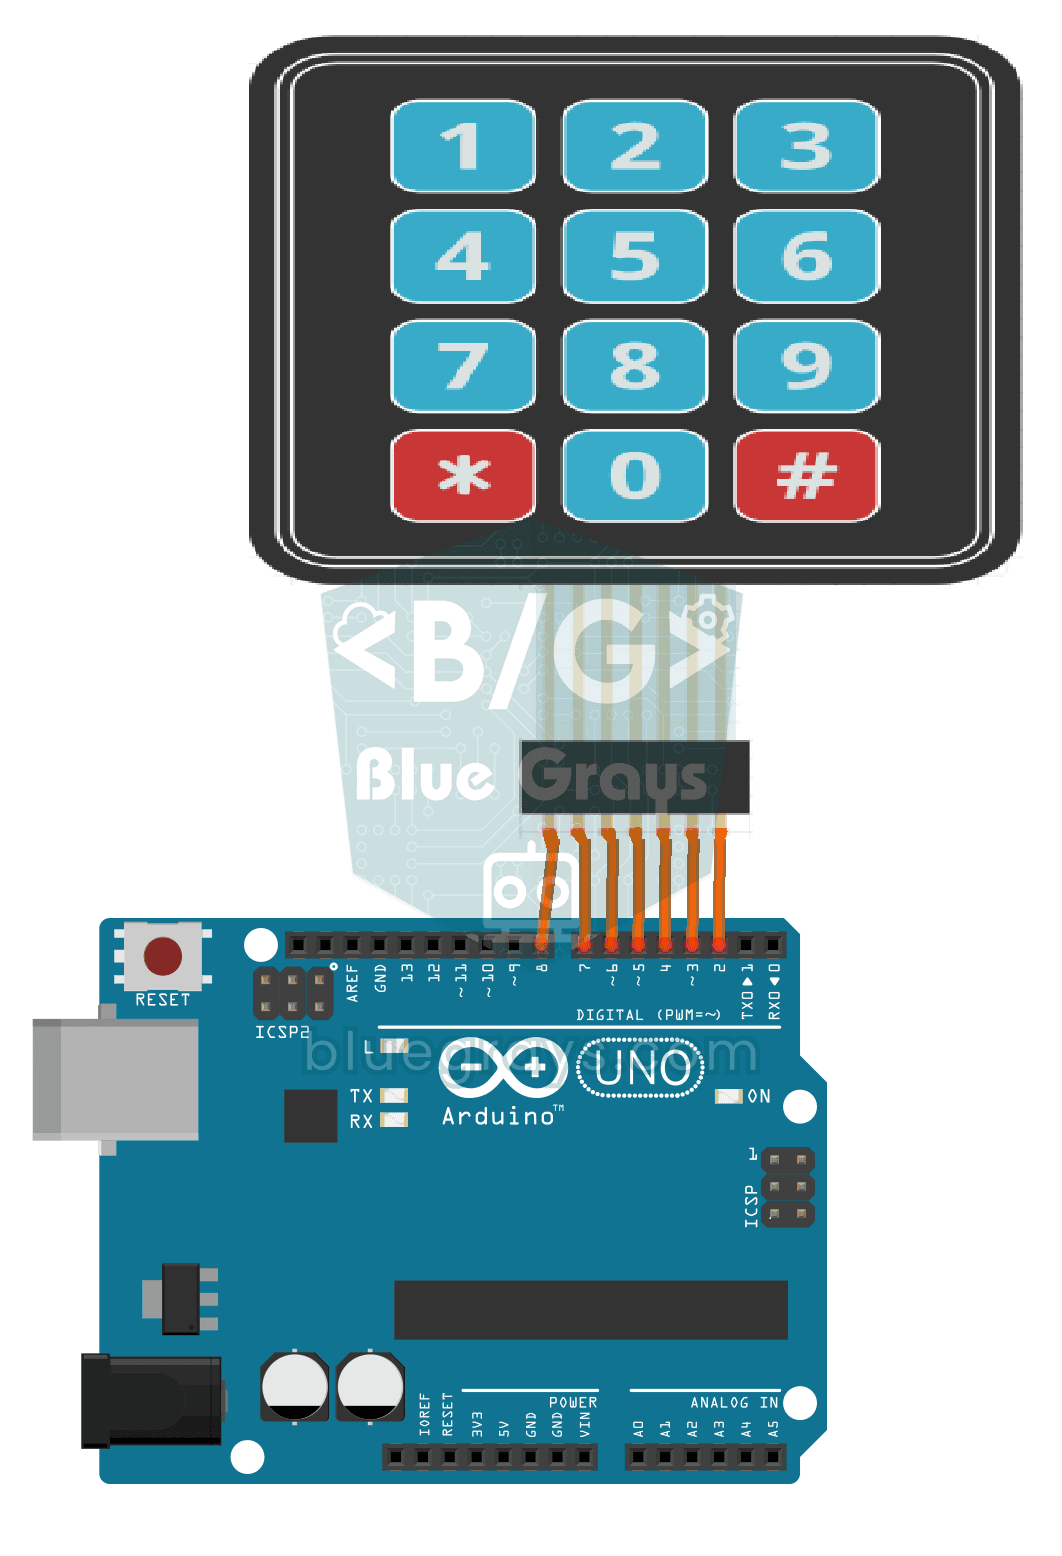
3x4 Keypad Operation
The Arduino instantly knows which key you press on a 12-key keypad that looks like a phone dial pad, and writes it on your computer screen.
Lighting 220V Bulb with Push Button
As long as you hold the button, a real 220-volt bulb stays lit, and it goes out the moment you let go.