
Arduino State Machine: enum, switch-case and millis() Guide
Arduino state machine guide: states with enum and switch-case, transitions, timed states with millis, a traffic light, a menu, a washing machine and Pico code.

An Arduino state machine is a way of writing code where you split your program into separate states and are only ever in one of them at a time. A traffic light is in the "red", "yellow" or "green" state; a washing machine is "filling", "washing" or "spinning". In each state it's clear what to do and under which condition to move to the next state. On Arduino you build this with an enum, a switch-case and millis(). The result is code that runs several jobs at once without delay(), and that's easy to read and extend.
In this guide we'll first look at the ideas of states, transitions and actions, how to draw a state diagram and the simplest two-state machine. Then we'll write a traffic light with a pedestrian button, a settings menu you navigate with two buttons and a washing machine simulation that pauses when the lid opens. You'll also learn how to run several state machines in the same loop(), entry actions, common mistakes and how the same structure is written in MicroPython on the Raspberry Pi Pico.
What is a state machine?
A state machine (finite state machine, FSM) has four parts. States are the limited set of conditions the system can be in. Transitions move from one state to another, and conditions or events decide when that happens: a button press, a sensor value crossing a threshold or a time period running out. Actions are the work done when entering a state or while staying in it: lighting an LED, running a motor, writing to a display. On every pass of loop() the program asks just one question: "Which state am I in, and has the condition to leave it been met?" That way it never waits anywhere, and instead of nested ifs and hundreds of flag variables you get a tidy structure built around a single state variable.
| Concept | Meaning | Traffic light example |
|---|---|---|
| State | The system's current condition | KIRMIZI (red), KIRMIZI_SARI (red-yellow), YESIL (green), SARI (yellow) |
| Transition | Moving from one state to another | From YESIL to SARI |
| Condition or event | What triggers the transition | 10 seconds passed or the pedestrian button was pressed |
| Entry action | Work done once when entering a state | Turn on the green LED, turn off the others |
| In-state action | Work done continuously while in a state | Listen to the pedestrian button |
Why a state machine instead of delay()?
When you write delay(5000), the Arduino does nothing for five seconds: a button press goes unnoticed, sensors aren't read, the display isn't updated. In small programs that do one job this is fine, but the moment you add a second job the code starts to break. A state machine never waits; each state asks "how much time has passed since I entered?" with millis() and, if the time isn't up, returns to loop() straight away. Because loop runs thousands of times a second, other jobs such as buttons, sensors and displays keep running without interruption. We covered the basics of timing with millis() in detail in the Arduino millis vs delay article.
| Feature | Code with delay() | State machine |
|---|---|---|
| Are buttons read while waiting? | No | Yes |
| Several jobs at once | Hard, the code gets messy | Easy, each job in its own machine |
| Adding a new state | You rewrite the whole flow | You add a new case |
| Debugging | Unclear where the program is | Printing the state name to the Serial Monitor is enough |
| Memory | Little | Little (one variable and a timestamp) |
Your first state machine with enum and switch-case
An enum lets you give states names instead of numbers. The line enum Durum { YANIK, SONUK }; (on, off) defines a new type that holds the values 0 and 1 for the compiler but has meaningful names for you. The state variable is of this type, and switch-case runs a separate block for each state. In the example below, the Uno's onboard LED (D13) is on for 200 ms and off for 1.8 seconds. You could do that with delay too, but in this structure loop() never waits, and you can add as many other jobs as you like at the end.
1// En basit durum makinesi: farklı sürelerde yanıp sönen LED
2// Simplest state machine: an LED with different on/off times
3const int LED_PIN = 13;
4
5enum Durum { YANIK, SONUK };            // durumlar / states
6Durum durum = SONUK;
7unsigned long durumBaslangic = 0;        // duruma giriş zamanı / time the state began
8
9void setup() {
10  pinMode(LED_PIN, OUTPUT);
11}
12
13void loop() {
14  unsigned long gecen = millis() - durumBaslangic;   // durumda geçen süre / time in state
15
16  switch (durum) {
17    case YANIK:
18      if (gecen >= 200) {                // 200 ms yandıktan sonra / after 200 ms on
19        digitalWrite(LED_PIN, LOW);
20        durum = SONUK;
21        durumBaslangic = millis();
22      }
23      break;
24    case SONUK:
25      if (gecen >= 1800) {               // 1,8 sn söndükten sonra / after 1.8 s off
26        digitalWrite(LED_PIN, HIGH);
27        durum = YANIK;
28        durumBaslangic = millis();
29      }
30      break;
31  }
32  // loop asla beklemez; buraya başka işler eklenebilir
33  // loop never blocks; other tasks can be added here
34}Drawing a state diagram
Drawing the state machine on paper before writing code removes most bugs before you even start. In the diagram each state is a circle or rounded box and each transition is an arrow. On the arrow you write the transition's condition and, if needed, its action after a slash, like "10 s / turn on yellow". You show the initial state with a short arrow coming from nowhere. When the diagram is done, ask these questions for each state: Is there a way out of this state? If two conditions are true at the same time, which comes first? What happens on an unexpected event (the lid opening, a sensor error)? Turning the diagram into a table makes writing the code an almost mechanical job.
- List all the states of the system and give each one a short, upper-case name.
- Pick the initial state; the Arduino will be in this state when it powers up or resets.
- Write the exit conditions for each state: time, button, sensor or another event.
- Add the target state of each transition and any action to perform during it.
- Decide the entry action of each state: which outputs will be on and which off?
- Note separately the common rules that apply in every state (emergency stop, lid opening).
- Turn the diagram into a transition table like the one below and write each row as an if inside a case.
| State | Condition | Next state | Entry action |
|---|---|---|---|
| KIRMIZI | 5 s passed | KIRMIZI_SARI | Red on, pedestrian request cleared |
| KIRMIZI_SARI | 1.5 s passed | YESIL | Red and yellow on |
| YESIL | 10 s passed, or 4 s if there's a request | SARI | Green on |
| SARI | 2 s passed | KIRMIZI | Yellow on |
Example 1: traffic light with a pedestrian button
The classic traffic light sequence is red, red-yellow, green and yellow. Let's add a pedestrian button: if a pedestrian presses it while the light is green, the green is cut short, provided it has been on for at least 4 seconds, and the light moves to yellow. Written with delay, this behaviour is almost impossible, because you can't read the button while waiting on green. In a state machine the button is read on every pass of loop and the request is stored in a variable. If you've never built the basic traffic light circuit, take a look at the Arduino traffic light article first.
| Part | Arduino Uno pin | Note |
|---|---|---|
| Red LED | D8 | With a 220 Ω resistor, short leg to GND |
| Yellow LED | D9 | With a 220 Ω resistor |
| Green LED | D10 | With a 220 Ω resistor (PWM-capable pin) |
| Buzzer | D11 | Washing machine example only |
| Button 1 | D2 | Other leg to GND, INPUT_PULLUP |
| Button 2 | D3 | Other leg to GND, INPUT_PULLUP |
1// Yaya butonlu trafik lambası durum makinesi / traffic light with pedestrian button
2const int KIRMIZI_LED = 8, SARI_LED = 9, YESIL_LED = 10, YAYA_BUTON = 2;
3
4enum Durum { KIRMIZI, KIRMIZI_SARI, YESIL, SARI };
5Durum durum = KIRMIZI;
6unsigned long durumBaslangic = 0;
7bool yayaIstegi = false;
8
9void lambalar(bool k, bool s, bool y) {
10  digitalWrite(KIRMIZI_LED, k);
11  digitalWrite(SARI_LED, s);
12  digitalWrite(YESIL_LED, y);
13}
14
15// Durum değiştir + giriş eylemi / change state + entry action
16void durumDegistir(Durum yeni) {
17  durum = yeni;
18  durumBaslangic = millis();
19  switch (yeni) {
20    case KIRMIZI:      lambalar(1, 0, 0); yayaIstegi = false; break;  // yayalar geçer / pedestrians cross
21    case KIRMIZI_SARI: lambalar(1, 1, 0); break;
22    case YESIL:        lambalar(0, 0, 1); break;
23    case SARI:         lambalar(0, 1, 0); break;
24  }
25}
26
27void setup() {
28  pinMode(KIRMIZI_LED, OUTPUT);
29  pinMode(SARI_LED, OUTPUT);
30  pinMode(YESIL_LED, OUTPUT);
31  pinMode(YAYA_BUTON, INPUT_PULLUP);
32  durumDegistir(KIRMIZI);
33}
34
35void loop() {
36  if (digitalRead(YAYA_BUTON) == LOW) yayaIstegi = true;   // isteği hatırla / remember the request
37
38  unsigned long gecen = millis() - durumBaslangic;
39  switch (durum) {
40    case KIRMIZI:
41      if (gecen >= 5000) durumDegistir(KIRMIZI_SARI);
42      break;
43    case KIRMIZI_SARI:
44      if (gecen >= 1500) durumDegistir(YESIL);
45      break;
46    case YESIL:
47      // En az 4 sn yeşil; yaya isterse kısalır, yoksa 10 sn
48      // At least 4 s green; shortened on request, otherwise 10 s
49      if ((yayaIstegi && gecen >= 4000) || gecen >= 10000) durumDegistir(SARI);
50      break;
51    case SARI:
52      if (gecen >= 2000) durumDegistir(KIRMIZI);
53      break;
54  }
55}
The most important part of this code is the durumDegistir() (change state) function. Three things happen when moving to a state: the state variable is updated, the timestamp is reset and that state's entry action runs once. Making every transition go through this single function eliminates bugs like "I forgot to reset the timer". The pedestrian request is cleared on entering the KIRMIZI state, because pedestrians cross at that point anyway. If you want to calculate the LED resistors, use the LED resistor calculator tool.
Example 2: a two-button settings menu
Menus are the most natural use of a state machine: the page shown on screen is a state, and the buttons trigger the transitions. In the example below the D2 button means "next" or "increase value" and D3 means "OK". In the main menu you move between the brightness and speed options; press OK to enter the settings page, change the value with D2 and leave with OK. At the same time, a second, independent state machine blinks the LED on D10 at the brightness and speed you chose. The LED doesn't stutter for a moment while you browse the menu.
1// İki butonlu menü + bağımsız LED makinesi / two-button menu + independent LED machine
2// D2: ileri / değer artır, D3: tamam, D10: LED (PWM)
3const int ILERI_PIN = 2, TAMAM_PIN = 3, LED_PIN = 10;
4
5enum MenuDurum { MENU_PARLAKLIK, MENU_HIZ, AYAR_PARLAKLIK, AYAR_HIZ };
6MenuDurum menu = MENU_PARLAKLIK;
7int parlaklik = 153;    // 51..255
8int hizMs = 500;        // yanıp sönme yarım periyodu / blink half period
9
10struct Buton {
11  uint8_t pin;
12  bool kararli;               // kararlı seviye / debounced level
13  bool sonOkuma;
14  unsigned long sonDegisim;
15};
16Buton ileri = {ILERI_PIN, HIGH, HIGH, 0};
17Buton tamam = {TAMAM_PIN, HIGH, HIGH, 0};
18
19// Yalnız basma anında bir kez true döner / true once, on the press edge only
20bool basildi(Buton &b) {
21  bool okuma = digitalRead(b.pin);
22  if (okuma != b.sonOkuma) {
23    b.sonOkuma = okuma;
24    b.sonDegisim = millis();
25  }
26  if (millis() - b.sonDegisim > 30 && okuma != b.kararli) {   // 30 ms debounce
27    b.kararli = okuma;
28    return okuma == LOW;
29  }
30  return false;
31}
32
33void menuYaz() {
34  switch (menu) {
35    case MENU_PARLAKLIK: Serial.println(F("> Parlaklik ayari (D3: sec)")); break;
36    case MENU_HIZ:       Serial.println(F("> Hiz ayari (D3: sec)")); break;
37    case AYAR_PARLAKLIK: Serial.print(F("Parlaklik: ")); Serial.println(parlaklik); break;
38    case AYAR_HIZ:       Serial.print(F("Hiz (ms): ")); Serial.println(hizMs); break;
39  }
40}
41
42void menuGuncelle() {                       // 1. durum makinesi / machine 1
43  bool i = basildi(ileri);
44  bool t = basildi(tamam);
45  if (!i && !t) return;
46
47  switch (menu) {
48    case MENU_PARLAKLIK:
49      if (t) menu = AYAR_PARLAKLIK;
50      else menu = MENU_HIZ;
51      break;
52    case MENU_HIZ:
53      if (t) menu = AYAR_HIZ;
54      else menu = MENU_PARLAKLIK;
55      break;
56    case AYAR_PARLAKLIK:
57      if (t) menu = MENU_PARLAKLIK;          // kaydet ve çık / save and exit
58      else parlaklik = (parlaklik >= 255) ? 51 : parlaklik + 51;
59      break;
60    case AYAR_HIZ:
61      if (t) menu = MENU_HIZ;
62      else hizMs = (hizMs >= 1000) ? 100 : hizMs + 100;
63      break;
64  }
65  menuYaz();
66}
67
68void ledGuncelle() {                         // 2. durum makinesi / machine 2
69  static bool yanik = false;
70  static unsigned long son = 0;
71  if (millis() - son >= (unsigned long)hizMs) {
72    son = millis();
73    yanik = !yanik;
74    analogWrite(LED_PIN, yanik ? parlaklik : 0);
75  }
76}
77
78void setup() {
79  Serial.begin(9600);
80  pinMode(ILERI_PIN, INPUT_PULLUP);
81  pinMode(TAMAM_PIN, INPUT_PULLUP);
82  pinMode(LED_PIN, OUTPUT);
83  menuYaz();
84}
85
86void loop() {
87  menuGuncelle();      // ikisi de beklemeden sırayla çalışır
88  ledGuncelle();       // both run in turn without blocking
89}
When reading buttons you need to look at the moment of the press, not the level. If we acted while digitalRead() returned LOW, the menu would advance hundreds of times on one press. The basildi() (pressed) function keeps each button's last stable level, applies a 30 ms debounce and returns true only once, on the change from HIGH to LOW. You'll find the details of button wiring and bounce in the how to wire a button article. To show the menu on an I2C LCD display instead of the Serial Monitor, you only need to change the menuYaz() function; the state machine stays the same.
| State | D2 (next) | D3 (OK) |
|---|---|---|
| MENU_PARLAKLIK | Go to MENU_HIZ | Enter AYAR_PARLAKLIK |
| MENU_HIZ | Go to MENU_PARLAKLIK | Enter AYAR_HIZ |
| AYAR_PARLAKLIK | Increase brightness by 51 (back to 51 after 255) | Save, return to MENU_PARLAKLIK |
| AYAR_HIZ | Increase the time by 100 ms (back to 100 after 1000) | Save, return to MENU_HIZ |
Example 3: a washing machine
Real devices usually follow a program step by step and react to unexpected events. In our washing machine simulation, pressing the start button on D2 makes the machine fill with water, wash, drain, spin and finish with a beep, in that order. The water valve, motor and pump are represented by three LEDs. In the wash state the motor runs for 2 seconds and stops for 2 seconds; that's a small time-based pattern inside the state. Most importantly, if the lid switch on D3 opens, the machine pauses whatever step it's in, and when the lid closes it carries on from where it left off with the remaining time.
1// Çamaşır makinesi durum makinesi (LED'lerle benzetim) / washing machine simulation
2// D8: su vanası, D9: motor, D10: pompa, D11: buzzer, D2: başlat, D3: kapak anahtarı
3const int VANA = 8, MOTOR = 9, POMPA = 10, BUZZER = 11, BASLA = 2, KAPAK = 3;
4
5enum Program { BEKLEME, SU_ALMA, YIKAMA, BOSALTMA, SIKMA, BITTI, DURAKLATILDI };
6const char *const adlar[] = {"BEKLEME", "SU ALMA", "YIKAMA", "BOSALTMA", "SIKMA", "BITTI", "DURAKLATILDI"};
7
8Program durum = BEKLEME;
9Program oncekiDurum = BEKLEME;       // duraklatmadan dönmek için / to resume after pause
10unsigned long durumBaslangic = 0;
11unsigned long kalanGecen = 0;        // duraklatıldığında geçen süre / time spent before pause
12
13const unsigned long SURE_SU = 5000, SURE_YIKAMA = 12000, SURE_BOSALTMA = 4000, SURE_SIKMA = 6000;
14
15void cikislar(bool vana, bool motor, bool pompa) {
16  digitalWrite(VANA, vana);
17  digitalWrite(MOTOR, motor);
18  digitalWrite(POMPA, pompa);
19}
20
21void gir(Program yeni) {                             // giriş eylemleri / entry actions
22  durum = yeni;
23  durumBaslangic = millis();
24  Serial.print(F("Durum: "));
25  Serial.println(adlar[yeni]);
26  switch (yeni) {
27    case BEKLEME:      cikislar(0, 0, 0); break;
28    case SU_ALMA:      cikislar(1, 0, 0); break;
29    case YIKAMA:       cikislar(0, 1, 0); break;
30    case BOSALTMA:     cikislar(0, 0, 1); break;
31    case SIKMA:        cikislar(0, 1, 1); break;
32    case BITTI:        cikislar(0, 0, 0); tone(BUZZER, 2000, 800); break;
33    case DURAKLATILDI: cikislar(0, 0, 0); break;
34  }
35}
36
37bool calisiyor() {
38  return durum == SU_ALMA || durum == YIKAMA || durum == BOSALTMA || durum == SIKMA;
39}
40
41void setup() {
42  Serial.begin(9600);
43  pinMode(VANA, OUTPUT);
44  pinMode(MOTOR, OUTPUT);
45  pinMode(POMPA, OUTPUT);
46  pinMode(BUZZER, OUTPUT);
47  pinMode(BASLA, INPUT_PULLUP);
48  pinMode(KAPAK, INPUT_PULLUP);      // kapak kapalı = LOW / lid closed = LOW
49  gir(BEKLEME);
50}
51
52void loop() {
53  static bool oncekiBasla = HIGH;
54  bool basla = digitalRead(BASLA);
55  bool baslaBasildi = (oncekiBasla == HIGH && basla == LOW);   // basma anı / press edge
56  oncekiBasla = basla;
57  bool kapakAcik = digitalRead(KAPAK) == HIGH;
58
59  // Her çalışma durumu için ortak kural: kapak açılırsa duraklat
60  // Common rule for every running state: pause if the lid opens
61  if (calisiyor() && kapakAcik) {
62    oncekiDurum = durum;
63    kalanGecen = millis() - durumBaslangic;
64    gir(DURAKLATILDI);
65    return;
66  }
67
68  unsigned long gecen = millis() - durumBaslangic;
69  switch (durum) {
70    case BEKLEME:
71      if (baslaBasildi && !kapakAcik) gir(SU_ALMA);
72      break;
73    case SU_ALMA:
74      if (gecen >= SURE_SU) gir(YIKAMA);
75      break;
76    case YIKAMA:
77      digitalWrite(MOTOR, (gecen / 2000) % 2 == 0);  // 2 sn çalış, 2 sn dur / 2 s on, 2 s off
78      if (gecen >= SURE_YIKAMA) gir(BOSALTMA);
79      break;
80    case BOSALTMA:
81      if (gecen >= SURE_BOSALTMA) gir(SIKMA);
82      break;
83    case SIKMA:
84      if (gecen >= SURE_SIKMA) gir(BITTI);
85      break;
86    case BITTI:
87      if (gecen >= 3000) gir(BEKLEME);
88      break;
89    case DURAKLATILDI:
90      if (!kapakAcik) {
91        gir(oncekiDurum);                            // kaldığı yere dön / resume
92        durumBaslangic = millis() - kalanGecen;      // kalan süreyi koru / keep remaining time
93      }
94      break;
95  }
96}
The pause shows two powerful state machine techniques. The first is a common rule: the lid check is done in one place, before the switch, for all running states; it isn't written into every case separately. The second is remembering the previous state: the oncekiDurum variable stores which step was left, and kalanGecen how much time had been spent in it. When the lid closes the machine returns to the same state and the timestamp is moved back by the elapsed time, so the step doesn't start over. In a real device a relay module drives the valve, motor and pump instead of LEDs.
Running several state machines at once
As you saw in the menu example, each independent job can be its own state machine. A good layout is to put each machine in its own function and simply call those functions in turn inside loop(): trafikGuncelle(), butonGuncelle(), ekranGuncelle() and so on. Because no function waits, loop goes round every few microseconds and all the machines appear to run at the same time. The machines talk through shared variables: the menu machine changes hizMs and the LED machine reads it. This is the simplest way to multitask on an Arduino without a real operating system. One machine shouldn't change another's state directly; instead it should leave a request variable, as with the pedestrian request.
- Use one state variable and one timestamp per machine; don't share them between machines.
- Keeping the state variable static inside the function or in a struct for that machine avoids name clashes.
- Let the machine that handles a request (like yayaIstegi) clear it.
- When debugging, print the state name to the Serial Monitor on every state change; you'll see right away where the program gets stuck.
State machines in MicroPython on the Raspberry Pi Pico
MicroPython has no enum; you define states as constant numbers or strings. Thanks to Python dictionaries it's very easy to write the state machine completely table-driven: each state's lights, duration and next state are kept in separate dictionaries, and the loop decides by looking at those tables. To add a new state you add a line to the tables, not to the code. For timing you use time.ticks_ms() and time.ticks_diff(); ticks_diff gives the correct difference even when the counter wraps around. In the code below the LEDs are on GP13 (red), GP12 (yellow) and GP11 (green), and the pedestrian button is on GP4. If you're new to MicroPython, start with the MicroPython basics article.
1# Raspberry Pi Pico MicroPython: tablo tabanlı trafik lambası durum makinesi
2# Table-driven traffic light state machine
3from machine import Pin
4import time
5
6kirmizi = Pin(13, Pin.OUT)
7sari = Pin(12, Pin.OUT)
8yesil = Pin(11, Pin.OUT)
9buton = Pin(4, Pin.IN, Pin.PULL_UP)
10
11KIRMIZI, KIRMIZI_SARI, YESIL, SARI = 0, 1, 2, 3      # durumlar / states
12ADLAR = ("KIRMIZI", "KIRMIZI_SARI", "YESIL", "SARI")
13LAMBALAR = {KIRMIZI: (1, 0, 0), KIRMIZI_SARI: (1, 1, 0), YESIL: (0, 0, 1), SARI: (0, 1, 0)}
14SURE = {KIRMIZI: 5000, KIRMIZI_SARI: 1500, YESIL: 10000, SARI: 2000}
15SONRAKI = {KIRMIZI: KIRMIZI_SARI, KIRMIZI_SARI: YESIL, YESIL: SARI, SARI: KIRMIZI}
16
17durum = KIRMIZI
18baslangic = time.ticks_ms()
19yaya_istegi = False
20
21def gir(yeni):
22    global durum, baslangic, yaya_istegi
23    durum = yeni
24    baslangic = time.ticks_ms()
25    k, s, y = LAMBALAR[yeni]
26    kirmizi.value(k)
27    sari.value(s)
28    yesil.value(y)
29    if yeni == KIRMIZI:
30        yaya_istegi = False          # yayalar geçer / pedestrians cross
31    print("durum:", ADLAR[yeni])
32
33gir(KIRMIZI)
34while True:
35    if buton.value() == 0:
36        yaya_istegi = True
37    gecen = time.ticks_diff(time.ticks_ms(), baslangic)   # taşmaya dayanıklı / overflow safe
38    sure = SURE[durum]
39    if durum == YESIL and yaya_istegi:
40        sure = 4000
41    if gecen >= sure:
42        gir(SONRAKI[durum])
43    time.sleep_ms(10)
Common mistakes and fixes
| Mistake | Symptom | Fix |
|---|---|---|
| delay() inside a state | Buttons and other machines freeze | Check elapsed time with millis() instead of waiting |
| Forgetting break | One state's code also runs the next one's | End every case with break |
| Not resetting the timestamp | The new state ends immediately or never | Do every transition through a single durumDegistir() function |
| Looking at the button level | One press causes several transitions | Catch the moment of the press and debounce |
| Running the entry action over and over inside the state | The Serial Monitor floods, the buzzer beeps non-stop | Move one-off work into the entry action |
| A state with no exit | The program stays in one state forever | Check that at least one arrow leaves every state in the diagram |
| Writing the millis() comparison with addition | Timing breaks after 49.7 days | Always use the millis() - start >= duration form |
Project ideas with state machines
- Code safe: a lock with keypad and servo and the states KILITLI (locked), SIFRE_GIRILIYOR (entering code), ACIK (open) and ALARM; a wrong code sounds the buzzer in the ALARM state.
- Simon memory game: a game that shows an LED sequence to the player and listens to the buttons, with the states GOSTER (show), BEKLE (wait), KONTROL (check) and KAYBETTIN (lost).
- Smart stair light: lighting with the states BOS (idle), YANIYOR (on) and SONUYOR (fading) that turns on when motion is detected and fades slowly when the time is up.
- Reaction test: a game with the states HAZIR (ready), RASTGELE_BEKLE (random wait), OLC (measure) and SONUC (result) that measures reaction time in milliseconds.
- Robot that takes serial commands: a vehicle with the states DUR (stop), ILERI (forward), DON (turn) and ENGEL (obstacle) that reacts to sensors and commands at the same time.
A state machine turns every Arduino project you write into code that's tidier, responds faster and grows more easily. In the BlueGrays app you'll find projects such as a traffic light, controlling an LED with a button, a counter with a 7-segment display, a keypad code lock, the Simon game and a four-mode traffic light with the Raspberry Pi Pico, each with a step-by-step circuit diagram and code; apply the state machine structure from this guide to them.
Frequently asked questions
What is a state machine in Arduino?
A state machine is a code structure that splits the program into a limited number of states and is only ever in one of them. In each state it's clear what to do and under which condition to move to another state. On Arduino it's usually written with enum, switch-case and millis().
How do you use enum in Arduino?
You define it like enum Durum { BEKLE, CALIS, BITTI }; and create a variable with Durum durum = BEKLE;. The compiler turns the names into numbers like 0, 1, 2, but you use meaningful names in the code. The enum definition needs to go at the top of the file, before the functions.
How do you write a state machine with switch-case?
Put the state variable in switch(durum) and write one case block for each state. In each block check that state's exit condition and change the state if it's met. Don't forget to put break at the end of each case.
How do you wait in Arduino without delay?
Store the moment you enter a state in a variable with millis() and check the condition millis() - start >= duration on every pass of loop. If the time isn't up, loop carries on straight away, so other jobs aren't held up. This method also works correctly when millis() overflows.
Can an Arduino do several things at once?
The Arduino Uno has a single core, so it doesn't truly do things at the same time, but with non-blocking state machines it runs them in turn thousands of times a second so they appear simultaneous. Putting each job in its own function and calling them in turn inside loop() is enough.
How do you write a state machine in MicroPython?
MicroPython has no enum, so states are defined as constant numbers. A table-driven structure that keeps each state's duration, outputs and next state in dictionaries is very practical. For timing you use time.ticks_ms() and time.ticks_diff().
Projects to build after reading this
See all projects
Traffic Light
A tiny copy of the traffic light you see on the road every day. Red stays on for two seconds, yellow flashes for a moment, green stays on for two seconds, then it goes back to red through yellow…

Toggle an LED with a Button (On/Off)
Press the button once and the light comes on, press it again and it goes off, just like the light switch in your room.

ESP32 Traffic Light
Real traffic light simulation with 3 LEDs red-yellow-green. Timings close to real traffic logic: red long, yellow short, green long. Classic example of sequential GPIO control.
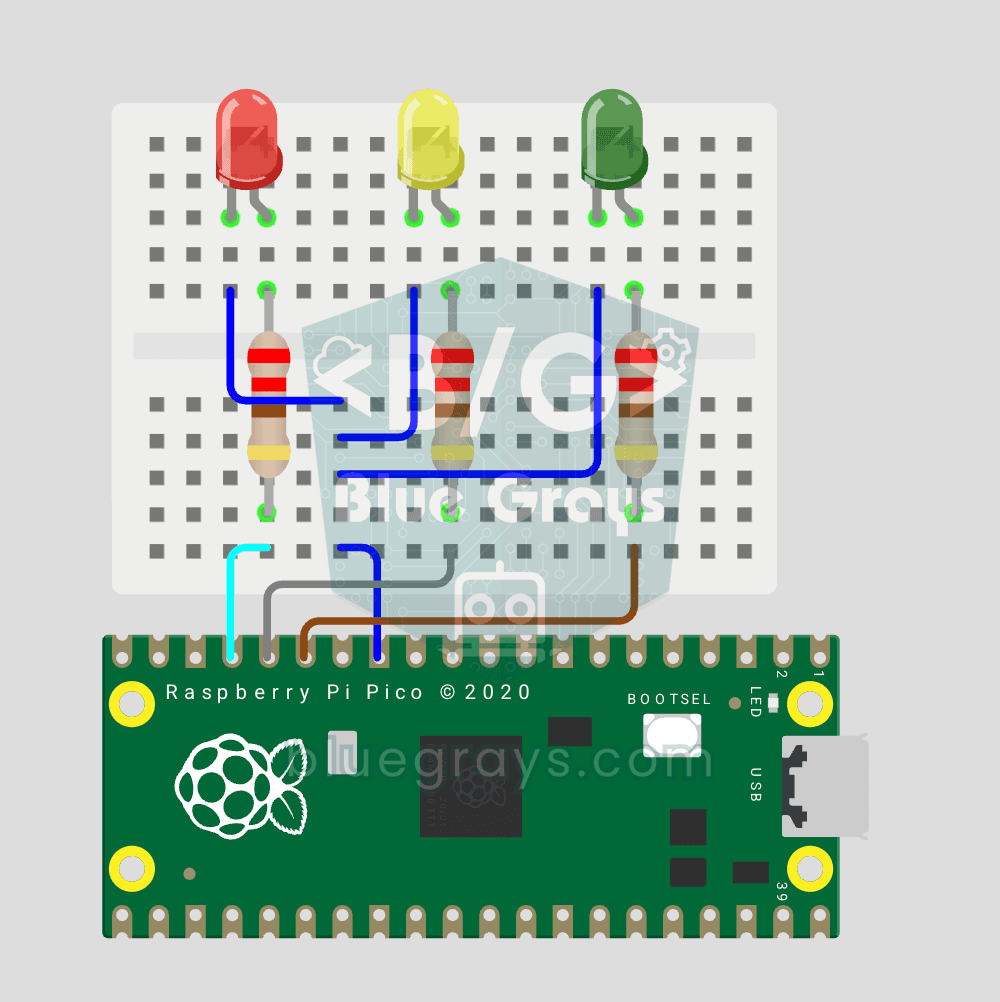
Raspberry Pi Pico Traffic Light Simulator (3 LEDs Sequential)
We recreate real traffic light logic with red, yellow and green LEDs, the first Pico project to move up to 3 LEDs! Green says "go" for 4 seconds, yellow "get ready" for 1.5 seconds, red "stop" for 3 seconds, and red+yellow "set off" for 1 second (the European traffic light pattern). You'll learn to define functions (def all_off()), state machine logic and multi-GPIO synchronization.
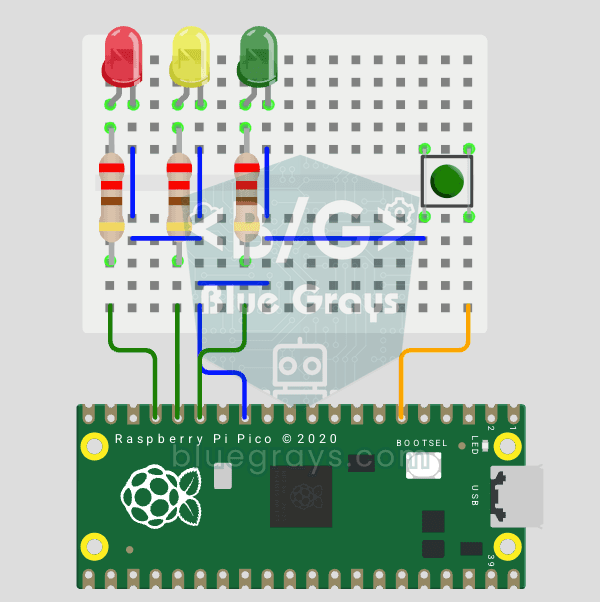
Raspberry Pi Pico Traffic Light with 4-Mode Button Selector (State Machine)
4 traffic light modes with 1 button! Each press switches the mode: Normal cycle (red → yellow → green), Red Only (stop), Flashing Yellow (caution/night mode) and Off (maintenance). You'll learn the state machine (the mode variable decides which behavior runs) and cycling through the modes with (mode + 1) % 4.
Counter with 7-Segment Display and Buttons
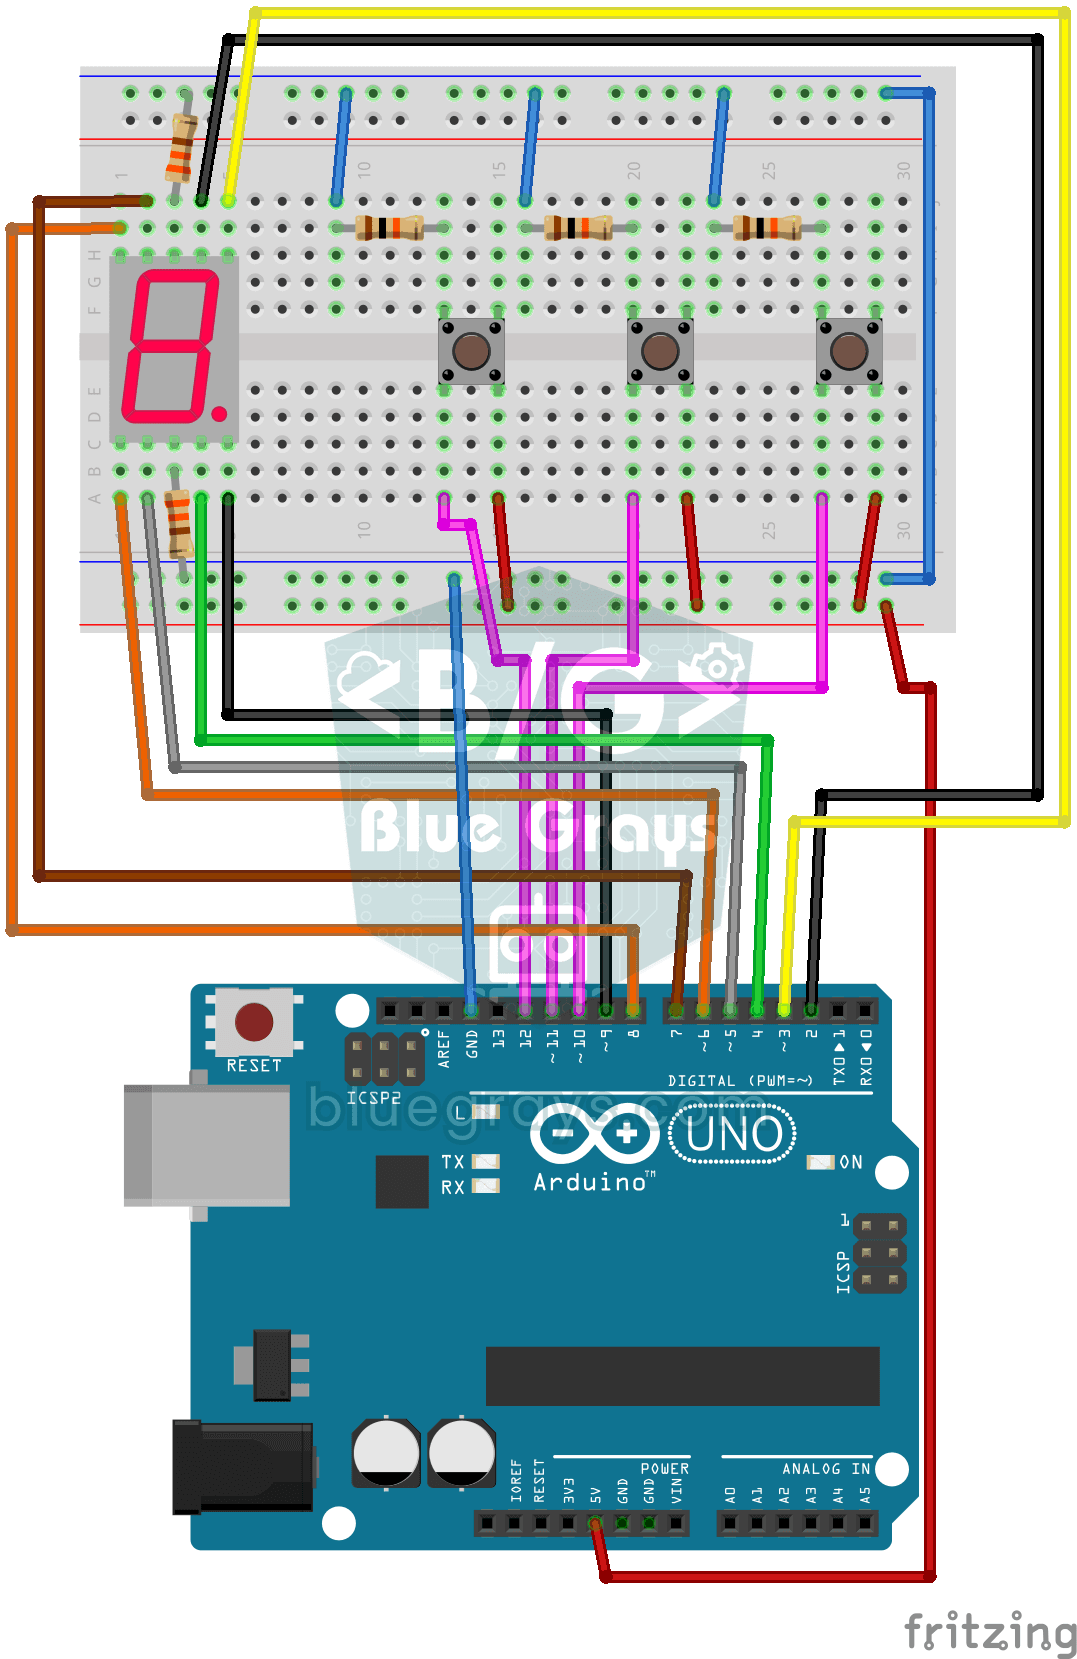
A simple counter with three buttons: press one and the digit on the display goes up by one, press another and it goes down by one, and the third sends it back to zero.
Password Lock with 4x4 Keypad and LCD
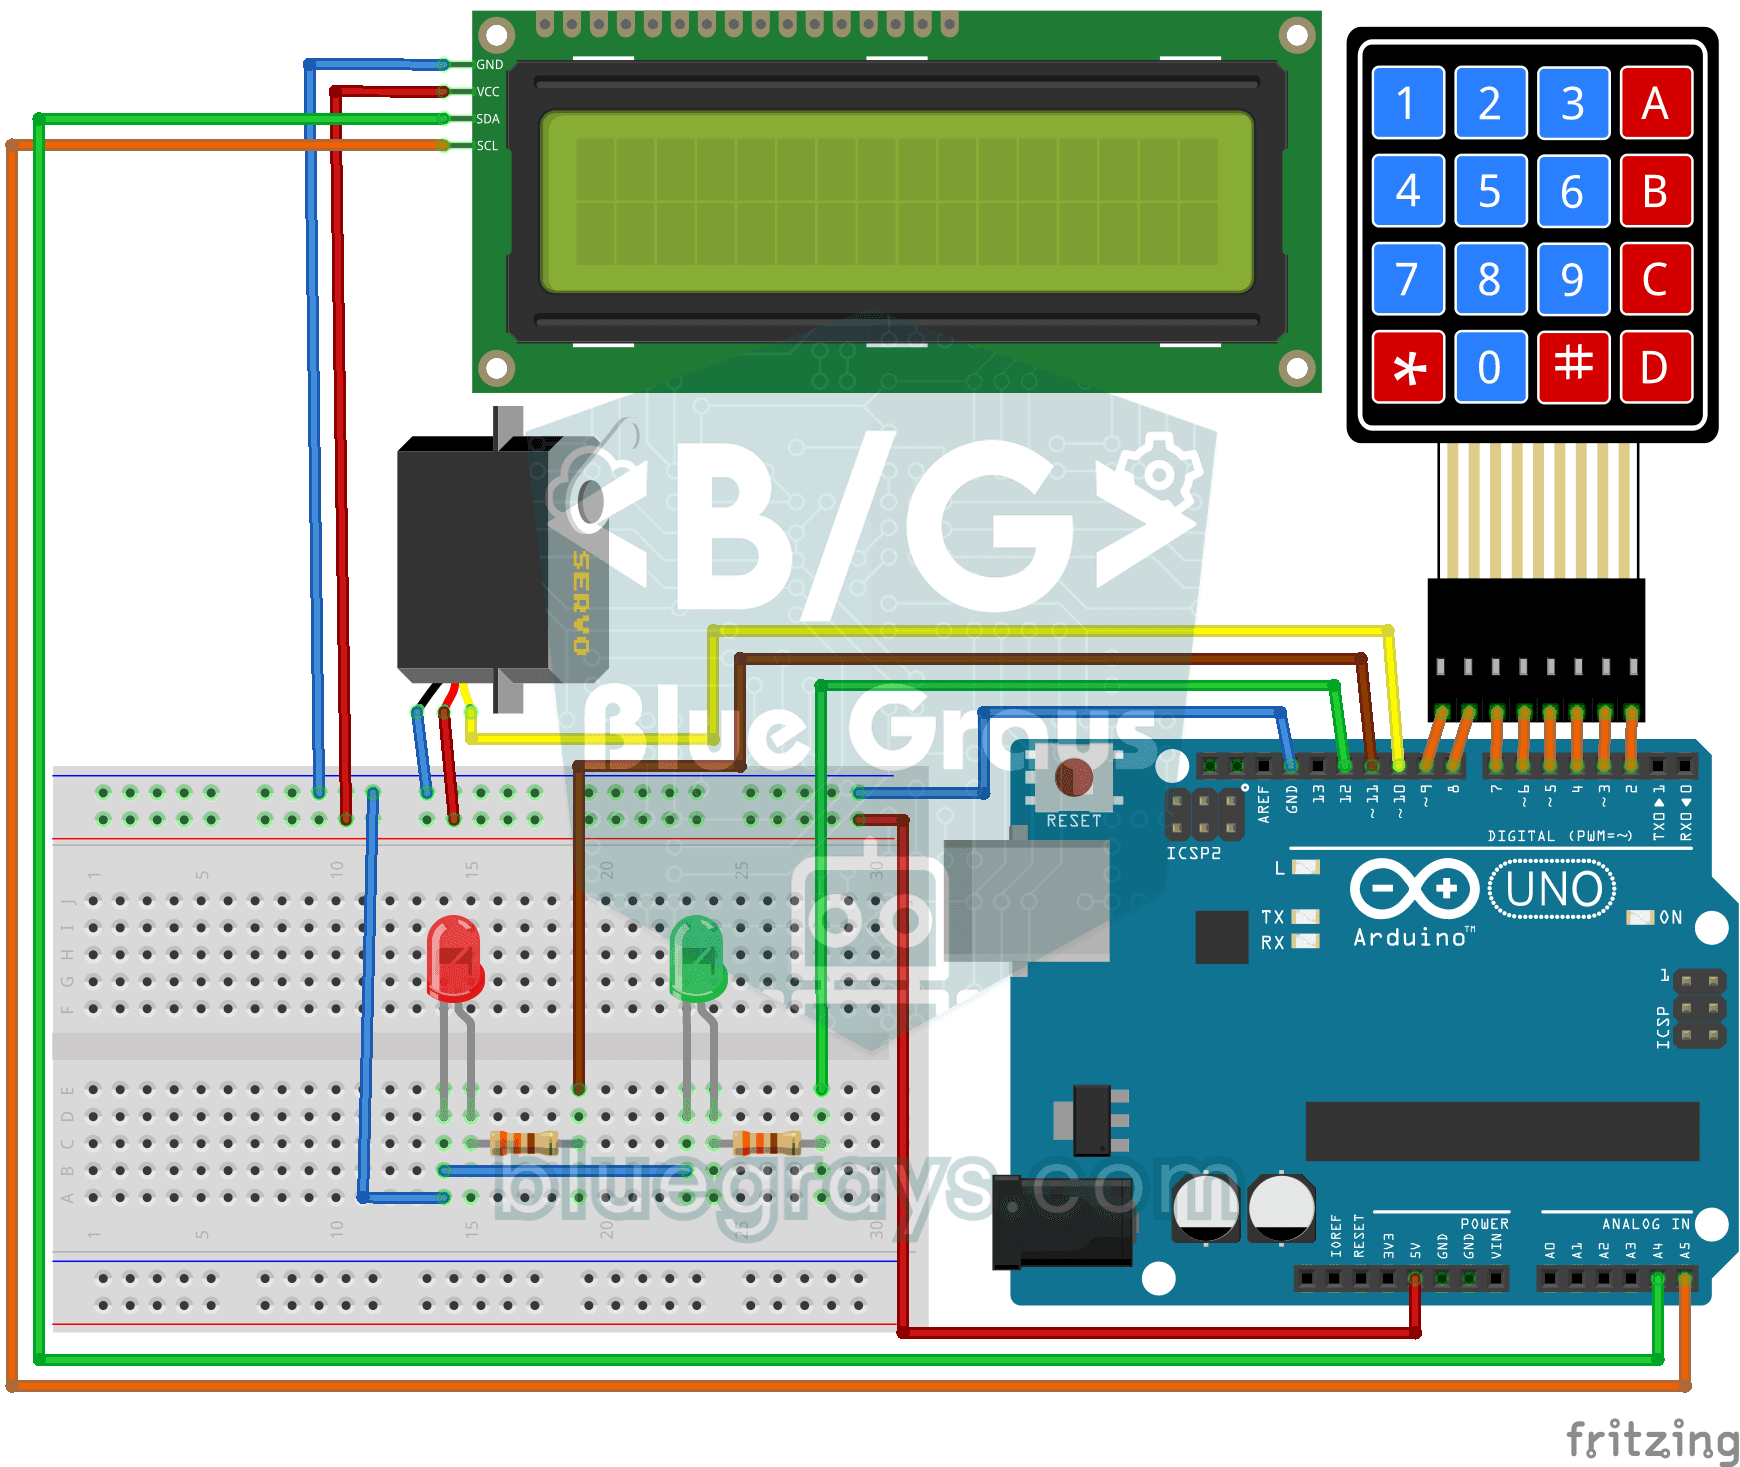
A small electronic door lock that keeps out anyone who doesn't know the code. You press the hash key and type the code on the keypad; if it is right, the screen says access granted, the green LED…

Arduino Memory Game (4 LEDs + 4 Buttons + Buzzer)
Do you trust your memory? Four colored LEDs light up in a sequence, each playing its own note, and you repeat the same order by pressing the buttons.