
LilyPad Arduino: Wearable Electronics with Conductive Thread
LilyPad Arduino wearables: conductive thread, sewable LEDs and sensors, LiPo vs CR2032, avoiding short circuits, washing and a light-up bag code example.

The LilyPad Arduino is a round, thin Arduino board designed to be sewn into fabric. Its pins sit around the edge as petals with holes big enough for a needle. Instead of soldering wires, you connect LEDs, sensors, buttons and batteries by stitching conductive thread around these holes. That lets you build wearable electronics projects such as a light-up costume, a bag that glows in the dark, a cycling jacket with turn signals or a bracelet that blinks with your pulse. Programming is the same as any Arduino; the difference is that the circuit lives on the fabric.
In this guide we'll cover the LilyPad board types, the properties of conductive thread and stitching technique, and sewable LED and sensor modules. We'll look at the difference between a LiPo battery and a CR2032 coin cell, ways to avoid short circuits while sewing and how to wash your garment. Then we'll write a sketch for a light-up bag that turns on in the dark and changes mode with a button, and compare alternatives such as the Gemma, Circuit Playground and ESP32.
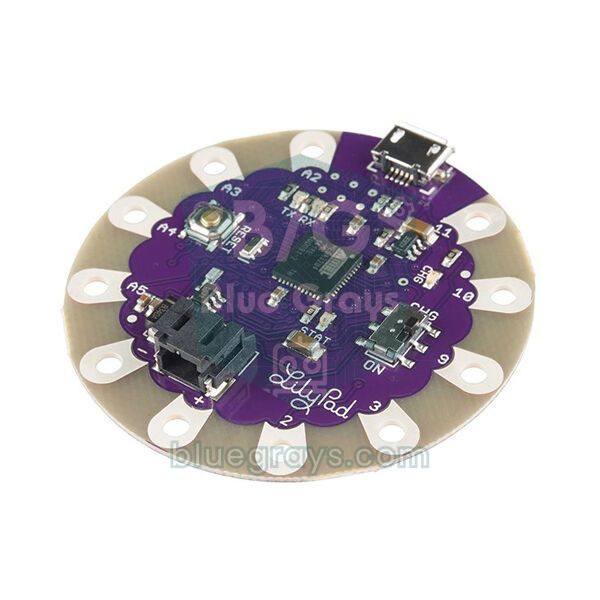
What is the LilyPad Arduino, and what types are there?
LilyPad is the first family of sewable Arduino boards, designed by Leah Buechley at the MIT Media Lab and produced together with SparkFun. The main board is about 50 mm across and very thin, so it doesn't stand out inside a garment. Classic LilyPad boards use the same ATmega328P microcontroller as the Arduino Uno, but it runs at 8 MHz and can be powered from anything between 2.7 and 5.5 V. That means it runs directly from a 3.7 V LiPo battery. Classic boards have no USB socket; to upload code you use a 6-pin USB-TTL (FTDI) converter. The LilyPad Arduino USB, thanks to its ATmega32U4, is programmed directly over a USB cable.
| Board | Microcontroller | Sewable pins | Power and connection | When to choose it |
|---|---|---|---|---|
| LilyPad Arduino 328 (main board) | ATmega328P, 8 MHz | 14 digital (6 PWM), 6 analog | 2.7–5.5 V, programmed via FTDI | Large projects with many LEDs and sensors |
| LilyPad Arduino Simple | ATmega328P, 8 MHz | 9 pins: 5, 6, 9, 10, 11 and A2–A5 | JST LiPo socket, charging circuit and on/off switch | Beginners and most battery projects |
| LilyPad Arduino USB | ATmega32U4, 8 MHz | 9 pins (4 PWM, 4 analog) | Micro USB, JST battery socket, 3.3 V | If you want to upload code without FTDI |
| LilyTiny / LilyTwinkle | ATtiny85 | 4 pins | Preprogrammed, simple effects | Small jobs that just light a few LEDs |
Conductive thread and stitching technique
Conductive thread is usually made of stainless steel fibres or silver-plated nylon and is threaded through a needle and sewn like ordinary thread. Its biggest difference from wire is its resistance: a thin stainless steel thread has roughly 40–100 Ω per metre. On short signal lines that doesn't matter, but LEDs at the end of a long power line glow dimmer. So keep the plus (+) and minus (−) lines as short as possible, and if needed sew the same path twice to halve the resistance. Stainless steel thread survives washing; silver-plated thread conducts better but can tarnish over time.
| Feature | Stainless steel thread | Silver-plated thread | Ordinary wire |
|---|---|---|---|
| Resistance | Roughly 40–100 Ω/m | Lower, depends on thickness | Very low (milliohms) |
| Washing | Durable | Can tarnish over time | Stiff in fabric |
| Ease of sewing | A little stiff, knots easily | Soft, easy to sew | Can't be sewn, needs soldering |
| Best for | Most wearable projects | Lines that need high conductivity | Connections off the fabric |
- Draw your circuit on paper first, then on the fabric with tailor's chalk; mark the plus and minus lines in different colours.
- Lay the parts on the fabric; turn them so the plus petals face one side and the minus petals the other.
- Cut about 60–80 cm of thread; longer pieces tangle. Thread the needle and knot the end.
- Sew tightly 3–4 times around the hole in the board's petal; a loose loop lets the connection come undone.
- Move to the next part with short, even running stitches and sew 3–4 loops around its petal too.
- Tie two knots on the back of the fabric, cut the thread leaving 2–3 mm and seal the knot with clear nail polish or fabric glue.
- After finishing each line, check both ends with the multimeter's continuity mode; also check there's no continuity between neighbouring lines.
Sewable LEDs, sensors and other modules
The LilyPad family includes dozens of small modules designed to be connected with conductive thread. LilyPad LED boards already have a current-limiting resistor, so you don't need to sew one in; sew one petal to an Arduino pin and the other to the minus line. If you use an ordinary LED, you can curl its legs into loops and sew them, but don't forget a series resistor; find its value with the LED resistor calculator. Addressable LilyPad Pixel boards are WS2812-based and light up in any colour in a chain on a single signal line; we explained how they work in the WS2812B NeoPixel LED article.
| Module | Connection | Use |
|---|---|---|
| LilyPad LED | + petal: digital or PWM pin, − petal: minus line | Light patterns, indicators (resistor built in) |
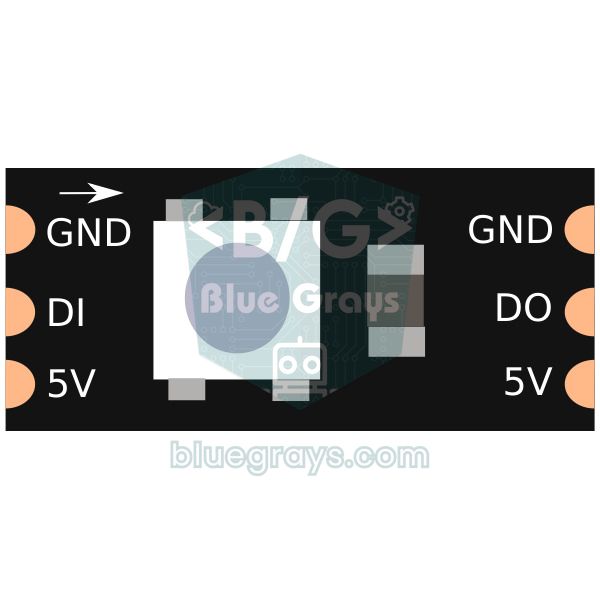
| LilyPad Pixel (WS2812) | +, −, data in and data out | Colourful, chainable effects |
| LilyPad light sensor | S: analog pin (A2), +, − | Turning on automatically in the dark |
| LilyPad temperature sensor | S: analog pin, +, − | Body or ambient temperature |
| LilyPad accelerometer | X, Y, Z: analog pins, +, − | Detecting motion and gestures |
| LilyPad button and slide switch | One petal to a pin, the other to minus (INPUT_PULLUP) | Changing modes, on/off |
| LilyPad buzzer and vibe board | Pin and minus | Sound and haptic feedback |
| LilyPad coin cell battery holder | + and −, with a switch | Simple circuits with a few LEDs |
Power: LiPo battery or CR2032?
In wearable projects the battery decides how long the project runs and how heavy it is. A CR2032 coin cell gives 3 V, is light and holds about 225 mAh, but it can only deliver a few milliamps continuously. A LilyPad board alone draws about 5 mA and each LED 5–10 mA, so in a circuit with an Arduino and a few LEDs the coin cell's voltage collapses quickly and the board resets. So use a CR2032 only in simple circuits with a few LEDs and no Arduino. For projects with an Arduino, a 3.7 V LiPo battery is the best choice: it's 4.2 V when full, around 3.0 V when empty, and fits the LilyPad's 2.7–5.5 V operating range perfectly.
| Battery | Voltage | Capacity | Suits | Watch out |
|---|---|---|---|---|
| CR2032 coin cell | 3 V | About 225 mAh | Simple circuit with 1–3 LEDs and no Arduino | Voltage collapses at high current |
| 2 × AAA battery holder | 3 V | About 1000 mAh | Short projects that don't need charging | Heavy and bulky |
| LiPo 3.7 V (110–1000 mAh) | 3.7 V (4.2 V full) | Depends on choice | LED and sensor projects with a LilyPad Arduino | Don't bend or pierce; choose one with a protection circuit |
| USB power bank | 5 V | Thousands of mAh | Costumes and stage outfits that stay lit for a long time | Some switch off at low current |
Estimating run time is easy: the board draws 5 mA, five LEDs at an average of 7 mA draw 35 mA, about 40 mA in total. A 500 mAh LiPo runs this circuit for about 500 / 40 = 12.5 hours; in practice, at 80 percent efficiency, about 10 hours is realistic. For a detailed calculation, use the battery life calculator tool and the what does mAh mean article. If your LilyPad Simple has no charging circuit or you use another board, you can charge the LiPo safely with a TP4056 charging module.
Uploading code to the LilyPad
- In the Arduino IDE choose LilyPad Arduino under Tools > Board (LilyPad Arduino USB for the USB version).
- On the classic board choose ATmega328P in the Processor menu; older boards may have an ATmega168.
- Plug the 6-pin FTDI or USB-TTL converter into the 6-pin header on the board; line up the BLK or GND mark on the board with the converter's GND pin.
- Select the right port and press Upload; the converter's DTR line resets the board automatically during upload.
- On the LilyPad Arduino USB a micro USB cable is enough; if the port doesn't show up, reset the board and try uploading right away.
Project: a light-up bag that glows in the dark
Our first project is a bag that turns on by itself when it gets dark. We sew five LilyPad LEDs on the front of the bag, a light sensor on the edge and a button on the inside. While the surroundings are bright, the LEDs stay off; when the light sensor value falls below the threshold, the LEDs light up according to the selected mode. Each button press changes the mode: off, steady, breathing and chasing light. The code doesn't use delay() and does its timing with millis(), so the button responds at any moment. For details of this method, see the Arduino millis vs delay article.
| Part | LilyPad Simple pin | Other end |
|---|---|---|
| LilyPad LED 1–5 | 5, 6, 9, 10, 11 | Each LED's − petal to the shared minus line |
| LilyPad light sensor | S → A2 | + to the plus line, − to the minus line |
| LilyPad button | One petal to A5 | Other petal to the minus line |
| LiPo battery | JST socket | In a pocket or small pouch |
1// LilyPad Arduino ışıklı çanta: karanlıkta yanar, butonla mod değişir
2// LilyPad light-up bag: lights up in the dark, button changes the mode
3// LED'ler: 5, 6, 9, 10, 11 (PWM)  Işık sensörü: A2  Buton: A5
4const uint8_t ledler[] = {5, 6, 9, 10, 11};
5const uint8_t LED_SAYISI = sizeof(ledler);
6const uint8_t ISIK_PIN = A2;
7const uint8_t BUTON_PIN = A5;
8const int KARANLIK_ESIK = 300;     // 0-1023; kendi ortamında ölç / measure in your own room
9
10uint8_t mod = 1;                   // 0 kapalı, 1 sabit, 2 nefes, 3 yürüyen / off, steady, breathe, chase
11bool oncekiButon = HIGH;
12unsigned long sonBasma = 0;
13
14void hepsi(uint8_t deger) {
15  for (uint8_t i = 0; i < LED_SAYISI; i++) analogWrite(ledler[i], deger);
16}
17
18void setup() {
19  for (uint8_t i = 0; i < LED_SAYISI; i++) pinMode(ledler[i], OUTPUT);
20  pinMode(BUTON_PIN, INPUT_PULLUP);   // buton A5 ile eksi (-) arasında / button between A5 and minus
21}
22
23void loop() {
24  bool buton = digitalRead(BUTON_PIN);
25  if (oncekiButon == HIGH && buton == LOW && millis() - sonBasma > 200) {
26    mod = (mod + 1) % 4;              // sonraki mod / next mode
27    sonBasma = millis();
28  }
29  oncekiButon = buton;
30
31  bool karanlik = analogRead(ISIK_PIN) < KARANLIK_ESIK;
32  if (mod == 0 || !karanlik) {        // kapalı ya da aydınlık / off or bright
33    hepsi(0);
34    return;
35  }
36
37  unsigned long t = millis();
38  if (mod == 1) {
39    hepsi(150);                       // tam parlaklık değil, pil dostu / not full brightness, saves battery
40  } else if (mod == 2) {
41    unsigned int faz = t % 3000;      // 3 sn'lik nefes / 3-second breathing
42    uint8_t p = faz < 1500 ? faz * 255UL / 1500 : (3000 - faz) * 255UL / 1500;
43    hepsi(p);
44  } else {
45    uint8_t aktif = (t / 150) % LED_SAYISI;   // her 150 ms'de bir sonraki LED / next LED every 150 ms
46    for (uint8_t i = 0; i < LED_SAYISI; i++) analogWrite(ledler[i], i == aktif ? 255 : 0);
47  }
48}
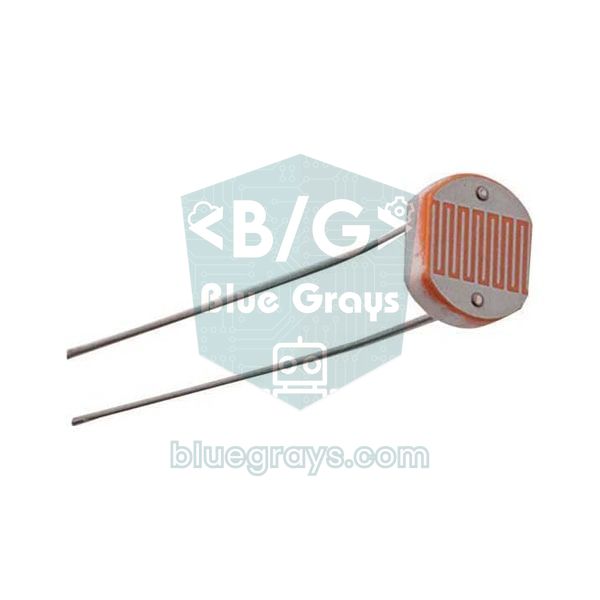
The KARANLIK_ESIK (dark threshold) value in the code depends on the surroundings. First take readings with a short sketch that prints the sensor value to the Serial Monitor in a bright room and a dim corridor, then put the threshold between them. We explained the basics of light sensors in the LDR light sensor article; the LilyPad light sensor also gives a lower value in the dark. In breathing mode the brightness rises from zero to 255 and back every 3 seconds. Not running the LEDs at full brightness in any mode noticeably extends battery life.
Avoiding short circuits while sewing
- Plan the plus and minus lines along two separate edges of the fabric; leave at least 5 mm between them.
- Cut knot tails to 2–3 mm and seal them with clear nail polish or fabric glue; loose fibres can touch a neighbouring line.
- If lines must cross, run one on the back of the fabric, or put a layer of fabric or felt at the crossing point.
- On stretchy fabrics (leggings, T-shirts) lines move closer as the stitches stretch; leave wider gaps on such fabric and sew a felt strip between lines if possible.
- Before connecting the battery, measure between plus and minus with a multimeter; a value near zero means a short.
- If the board or battery gets warm while the circuit is running, remove the battery at once and check the lines.
Washing and care
LilyPad boards and conductive thread are designed to survive water, but you need to follow the right method. Always remove the battery before washing; a circuit that gets wet while powered is damaged instantly. Wash the garment gently by hand in lukewarm water with a mild detergent; the spin cycle of a washing machine and the heat of a tumble dryer loosen stitches and stress the boards. After washing, lay the garment flat and let it dry completely on its own; don't connect the battery while there's still moisture inside, which usually takes about a day. The easiest approach is to attach the board and battery pouch to the fabric with conductive snaps, so you can remove the electronics before washing.
Alternatives: Gemma, Circuit Playground and ESP32
The LilyPad isn't the only option. Adafruit's Gemma M0 is 28 mm across with only three pins, but it has a powerful 48 MHz processor and an RGB LED on the board; it's ideal for a small badge or earring. The Circuit Playground Express is a 50 mm sewable board with 10 addressable LEDs, light and temperature sensors, an accelerometer, a microphone, a speaker and two buttons on board; you can make a light-up costume without adding any parts. If you want Bluetooth, there's the Circuit Playground Bluefruit. For Wi-Fi control from a phone or an internet connection you can use small ESP32 boards (such as the XIAO ESP32-C3); they aren't designed for sewing, so you solder the board to a small piece of perfboard and sew the perfboard to the fabric.
| Board | Processor | Highlight | Programming | Suits |
|---|---|---|---|---|
| LilyPad Arduino Simple | ATmega328P, 8 MHz | 9 sewable pins, LiPo charging | Arduino IDE (FTDI) | General wearable projects |
| Gemma M0 | ATSAMD21, 48 MHz | 28 mm, 3 pins, built-in RGB LED | CircuitPython, Arduino IDE | Badges, earrings, small accessories |
| Circuit Playground Express | ATSAMD21, 48 MHz | 10 LEDs, sensors, speaker, buttons | MakeCode, CircuitPython, Arduino IDE | Costumes without extra parts, education |
| Circuit Playground Bluefruit | nRF52840 | Bluetooth LE | CircuitPython, Arduino IDE | Garments controlled from a phone |
| XIAO ESP32-C3 (on perfboard) | ESP32-C3, 160 MHz | Wi-Fi and BLE, very small | Arduino IDE, MicroPython | Internet-connected wearables |
If you use CircuitPython on the Circuit Playground Express, you write the code in Python and the board shows up on your computer like a USB drive; you just save the file. In the example below the board lights up in the dark, changes colour with button A and gives a short white flash when shaken. The code uses the adafruit_circuitplayground library, which comes ready with the board's CircuitPython install.
1# Circuit Playground Express (CircuitPython): karanlıkta yanan, sallanınca parlayan kostüm
2# Costume that lights up in the dark and sparkles when shaken
3import time
4from adafruit_circuitplayground import cp
5
6cp.pixels.brightness = 0.2            # pil tasarrufu / save battery
7renkler = [(255, 0, 60), (0, 120, 255), (255, 140, 0)]
8renk = 0
9
10while True:
11    if cp.button_a:                   # A butonu renk değiştirir / button A changes colour
12        renk = (renk + 1) % len(renkler)
13        time.sleep(0.3)
14    if cp.light < 30:                 # karanlık / dark
15        if cp.shake(shake_threshold=20):
16            cp.pixels.fill((255, 255, 255))   # sallanınca beyaz parıltı / white flash on shake
17            time.sleep(0.1)
18        cp.pixels.fill(renkler[renk])
19    else:
20        cp.pixels.fill((0, 0, 0))
21    time.sleep(0.05)
Wearable project ideas
- Cycling jacket with turn signals: two buttons sewn on the sleeves and LED arrows on the back to show left and right turns.
- Light-up costume: a stage or Halloween costume with chasing and breathing effects; use addressable LEDs for many colours.
- Smart wristband: a band that counts steps or movement with an accelerometer and buzzes with a vibe board when you reach your goal.
- Temperature-alert beanie: a winter hat whose LED colour changes when the temperature sensor detects cold.
- Sound-reactive T-shirt: a party shirt that lights up to the beat of the music using a board with a microphone.
The LilyPad Arduino is a fun platform that brings electronics to a new audience by combining it with handicrafts. To try your circuit before sewing it into fabric, you can build the LED blink, chasing LED, Knight Rider, LDR night light, RGB LED and WS2812B projects in the BlueGrays app step by step with circuit diagrams and code, then move the working code to the LilyPad and sew it onto your garment.
Frequently asked questions
What is the LilyPad Arduino?
The LilyPad Arduino is a round, thin Arduino board designed to be sewn into fabric. Its pins are large-holed petals a needle can pass through, and parts are connected with conductive thread. It's used in wearable electronics projects such as light-up costumes, bags and bracelets.
How do you program a LilyPad Arduino?
Classic LilyPad boards are programmed with a 6-pin FTDI or USB-TTL converter. In the Arduino IDE you choose LilyPad Arduino as the board and ATmega328P as the processor. The LilyPad Arduino USB is programmed directly with a micro USB cable.
What is conductive thread and how much resistance does it have?
Conductive thread is a conductor made of stainless steel or silver-plated fibres that you sew like ordinary thread. Thin stainless steel threads have roughly 40–100 Ω per metre. That's why power lines should be kept short and, if needed, sewn twice.
What battery does the LilyPad Arduino use?
The LilyPad Arduino runs on 2.7–5.5 V, so a 3.7 V LiPo battery is the best choice. A CR2032 coin cell is only suitable for simple circuits with a few LEDs and no Arduino, because its voltage drops at higher current. A USB power bank also works for costumes that need to run for a long time.
Is the LilyPad Arduino washable?
LilyPad boards and stainless steel thread are designed to survive hand washing. Always remove the battery before washing, wash by hand with a mild detergent and don't reconnect the circuit until it's completely dry. The safest way is to attach the board with snaps and remove it before washing.
What board can I use instead of a LilyPad?
The Adafruit Gemma M0 is a good alternative for small accessories, and the Circuit Playground Express for costumes without extra parts, since its sensors and 10 LEDs are built in. If you need Wi-Fi or Bluetooth, use the Circuit Playground Bluefruit or a small ESP32 board.
Projects to build after reading this
See all projects
LED Blink
The very first hello of electronics: switching a single LED on and off. The Arduino turns the LED on and off at short intervals, so the light blinks quickly.

Two LEDs Blinking Alternately
Two LEDs blink quickly in turn: when one lights up the other goes off, as if they were tossing a ball back and forth.

LED Chaser
Lights that switch on one after another, as if they were running. The Arduino lights six LEDs one at a time; each glows for a brief moment and goes out, so the light walks from start to end and then…

Knight Rider LED Effect
The classic scanner light: a dot of light slides from one end of six LEDs to the other and then comes back.

Measuring Light Intensity with an LDR
Want to see how bright your room is as a number? The LDR, a small part that reacts to light, measures the light around it, and the Arduino writes the value to your computer screen every half second.

Night Light with Ldr
A little night light that turns on by itself when it gets dark and goes off when morning comes.
Using an RGB LED
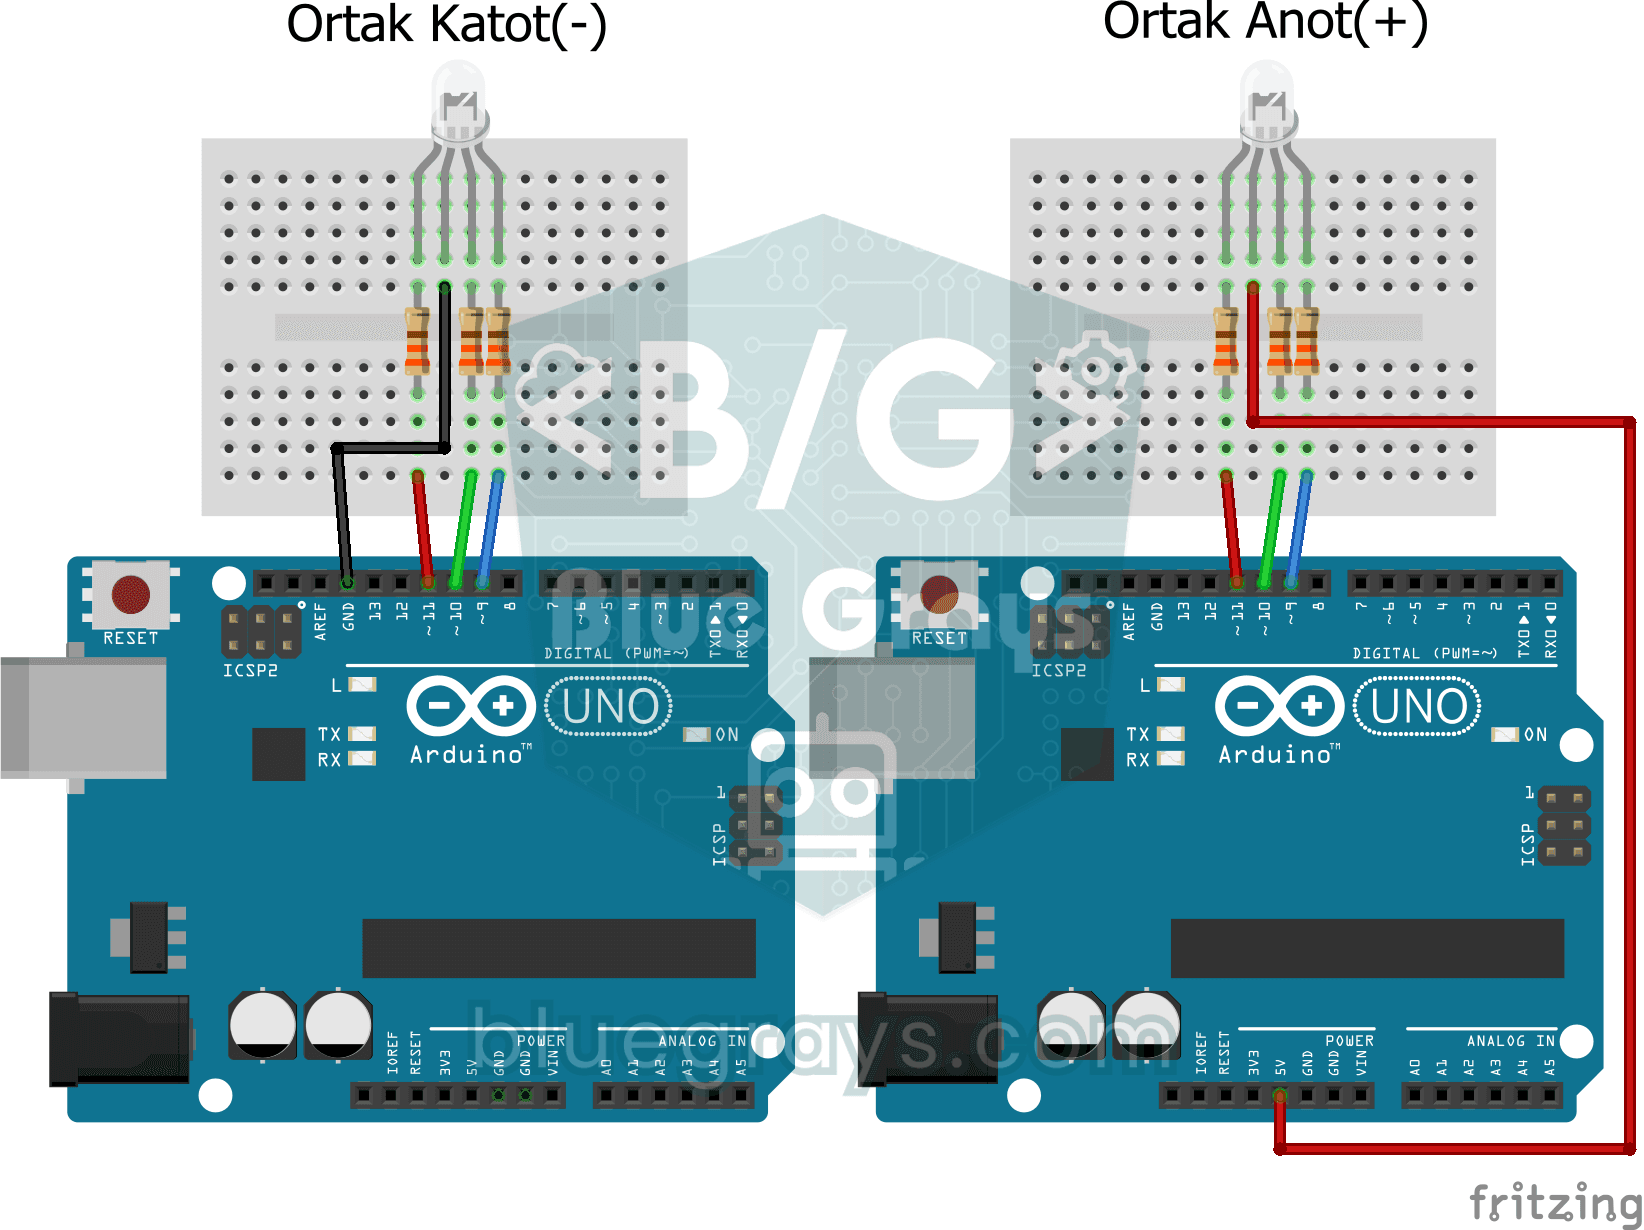
Three colours hide inside a single LED: the RGB LED lights up red, then green, then blue, each colour on for half a second and off for half a second, before the cycle starts again.
Using a WS2812B LED Strip
Meet a smart LED strip where you can colour every single light on its own. The Arduino first lights the first five LEDs red, a second later turns the other five blue, then switches them all off and…