
Raspberry Pi Pico Not Detected? Fix RPI-RP2, Thonny and COM Port
Raspberry Pi Pico not detected? No RPI-RP2 drive, Thonny can't find the device, no COM port or a stuck main.py: fix it step by step with BOOTSEL and flash_nuke.

The fastest fix when your Raspberry Pi Pico is not detected is this: hold down the white BOOTSEL button on the board, plug the Pico into the computer with a data cable, then release the button. If a USB drive called RPI-RP2 shows up, your board is fine; you only need to load MicroPython or your own program onto it again. If that drive doesn't appear either, the problem is almost always the cable, the USB port or a hub. A dead Pico is the least likely explanation.
In this guide you'll learn the two different ways a Pico shows up on a computer and which symptom points to which mode, a five-minute checklist, a symptom-cause-fix table, Thonny's "Couldn't find the device" and "Device is busy" errors, how to get out of a stuck main.py, how to wipe the flash completely with flash_nuke.uf2, and a safe boot script so it never locks up again. Everything here applies to the Pico, Pico W, Pico 2 and Pico 2 W.
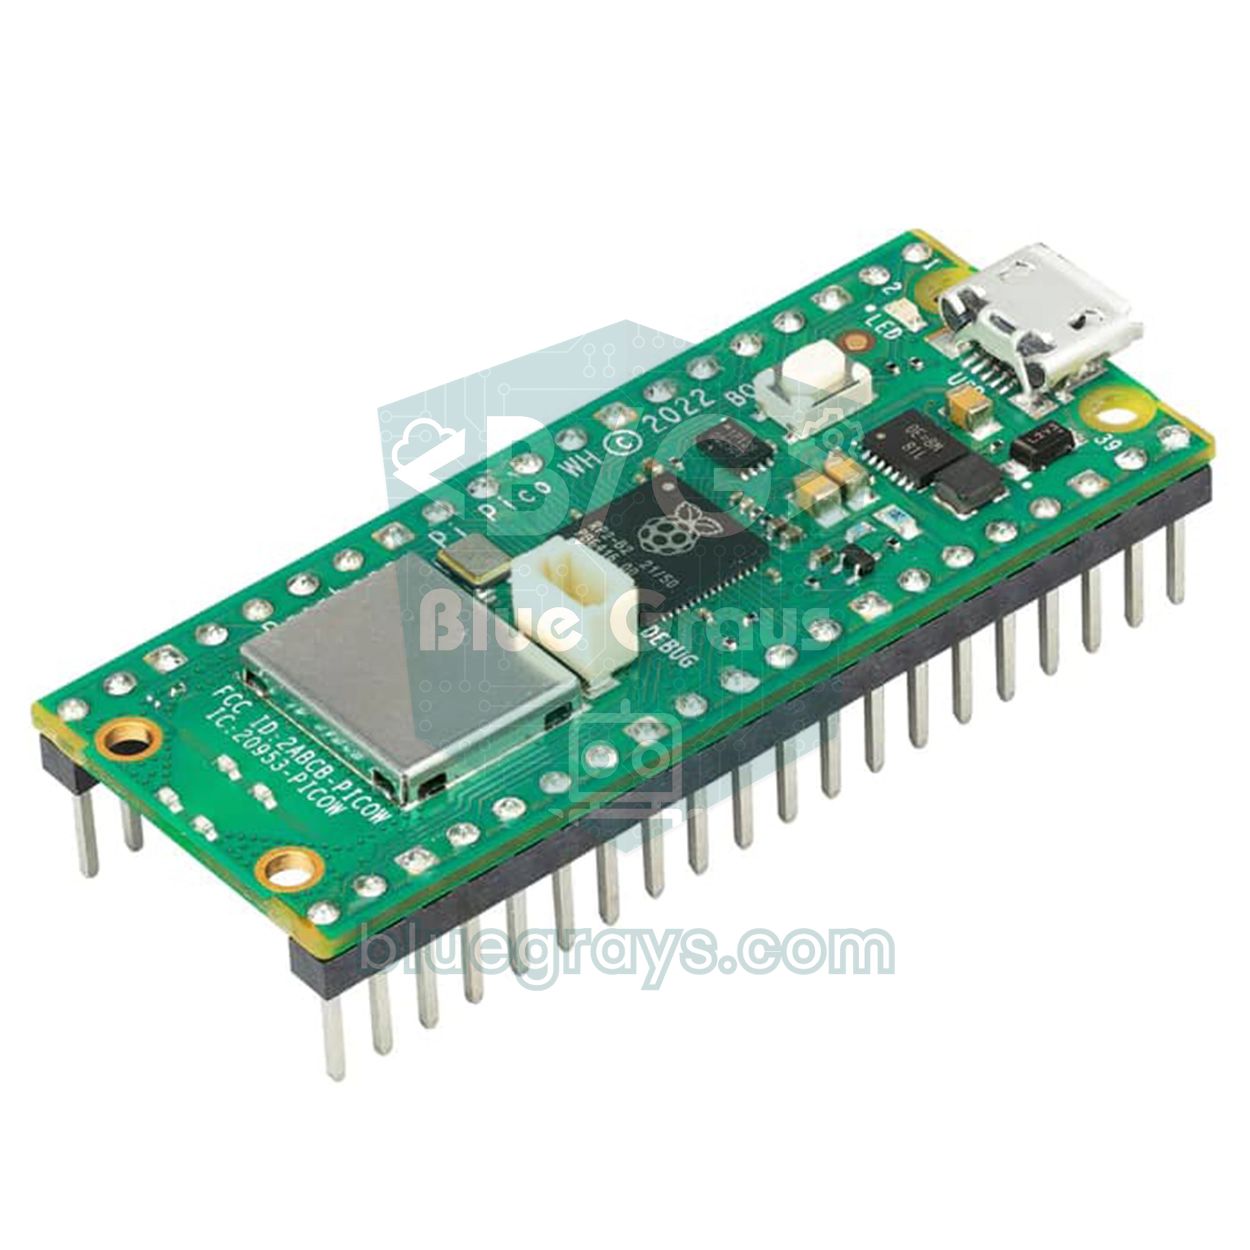
How does a Pico show up on a computer? Two different modes
The RP2040 chip inside the Pico (RP2350 on the Pico 2) has a built-in bootloader stored in ROM that can't be erased. If the board is powered while BOOTSEL is held, the chip runs this bootloader and presents itself to the computer as a USB drive; this is called BOOTSEL mode. A .uf2 file you drag onto that drive gets written to flash and the board restarts. On a normal boot, what the computer sees depends on the program in flash: with MicroPython installed, the Pico appears as a USB serial port and Thonny talks to it through that port. If the flash is empty, or the C program in it doesn't use USB, the computer sees nothing at all, and that's not a fault. One more thing to know: the Pico has no power LED. The on-board LED only lights up when a program turns it on, so a dark Pico is not necessarily a dead Pico.
| State | How you get there | Windows | macOS | Linux |
|---|---|---|---|---|
| BOOTSEL mode | Plugged in while holding BOOTSEL | RPI-RP2 drive (RP2350 on the Pico 2) | RPI-RP2 disk on the desktop | RPI-RP2 under /media |
| MicroPython running | Plugged in normally | USB Serial Device (COMx) | /dev/cu.usbmodem… | /dev/ttyACM0 |
| Arduino sketch running | Plugged in normally | COM port (if the sketch uses Serial) | /dev/cu.usbmodem… | /dev/ttyACM0 |
| Empty flash or a C program without USB | Plugged in normally | Nothing appears | Nothing appears | Nothing appears |
Five-minute quick checklist
- Remove the Pico from the breadboard and from any connected modules; leave only the USB cable.
- Swap the cable: use a micro-USB cable you know carries data, for example one you've used to transfer files to a phone.
- Use a port on the computer itself, not a hub, keyboard or monitor port; on a desktop, try the rear-panel ports.
- Plug it in while holding BOOTSEL and release after a second. If RPI-RP2 appears, the board and the cable are fine.
- Drag the MicroPython .uf2 file for your board onto RPI-RP2; the drive disappears and the Pico comes back as a serial port.
- In Thonny, choose MicroPython (Raspberry Pi Pico) and the right port from the interpreter menu in the bottom-right corner.
- If it still doesn't work, find your symptom in the table below.
Symptom, cause and fix table
| Symptom | Likely cause | Fix |
|---|---|---|
| Nothing happens even with BOOTSEL held, no connect sound | Charge-only cable, broken cable or a weak hub | Use a data cable and plug straight into a computer port |
| RPI-RP2 appears but there's no COM port | MicroPython isn't installed (empty board or a C program) | Copy the MicroPython .uf2 file to RPI-RP2 |
| Thonny: "Couldn't find the device automatically" | Wrong interpreter or port, Pico in BOOTSEL mode or no MicroPython | Set the interpreter to MicroPython (Raspberry Pi Pico) and pick the port manually |
| Thonny: "Device is busy or does not respond" | main.py is stuck in a loop or blocks Ctrl+C | Press Stop several times; if that fails, delete main.py with mpremote |
| "could not open port … Access is denied" | Another program holds the port (Arduino IDE, a second Thonny) | Close other serial monitors and programs |
| The Pico connects and disconnects, the sounds keep repeating | main.py keeps resetting the board or putting it to sleep | Enter BOOTSEL, wipe with flash_nuke.uf2 and reinstall MicroPython |
| The UF2 copies but RPI-RP2 comes right back | A UF2 for a different board (e.g. a Pico file on a Pico 2) | The Pico, Pico W, Pico 2 and Pico 2 W have separate files; download the right one |
| On Linux the port is there but you get a permission error | Your user isn't in the dialout group | Run sudo usermod -a -G dialout $USER, then log out and back in |
| Nothing appears on a Mac | The accessory connection prompt wasn't allowed, or the USB-C adapter doesn't carry data | Accept the "Allow accessory to connect" prompt and try another adapter |
| The board gets hot and doesn't show up in any mode | A short circuit or 5 V on a GPIO; the chip may be damaged | Measure the 3V3 pin; if it still heats with everything disconnected, replace the board |
Testing the USB cable and hub
The number one reason a Pico isn't recognized is the cable. Many micro-USB cables that come with phone chargers carry only two power wires and have no data lines (D+ and D−) at all. With a cable like that the Pico gets power, and may even run its program, but the computer will never see it. The easiest way to be sure a cable carries data is to check that you can transfer files from the computer to a phone with it. Next come USB hubs and extension cables: unpowered hubs, ports on monitors or keyboards and front-panel ports cause trouble now and then. On Macs, some USB-C to micro-USB adapters are charge-only. Plugging a short, good-quality data cable straight into a port on the computer itself solves many problems before they start.
Recovering with BOOTSEL and reinstalling MicroPython
- Unplug the Pico from USB.
- Hold down BOOTSEL and plug the cable in; release the button after a second.
- A drive called RPI-RP2 (RP2350 on the Pico 2) opens on the computer, containing INDEX.HTM and INFO_UF2.TXT.
- Download the .uf2 file for your board from Raspberry Pi's MicroPython page: the Pico, Pico W, Pico 2 and Pico 2 W each have a different file.
- Drag the .uf2 file onto the RPI-RP2 drive. When copying finishes, the drive disappears on its own; that's normal, the board has restarted.
- Within a few seconds the Pico shows up as a serial port. Open Thonny, select the interpreter and look for the >>> prompt in the Shell at the bottom.
If you'd rather not download files, Thonny can do it for you: with the Pico in BOOTSEL mode, go to Tools > Options > Interpreter, click Install or update MicroPython, pick your board variant and install. If the Pico is already running MicroPython, you don't even need to reach for BOOTSEL: typing import machine; machine.bootloader() in the Shell switches the board straight into RPI-RP2 mode. If you reset the board a lot, wire the RUN pin (physical pin 30) to GND through a push button; holding BOOTSEL and tapping that button does the same job as unplugging and replugging the cable. If you're setting up a Pico for the first time, you'll find every step in What is the Raspberry Pi Pico.
Thonny "Couldn't find the device" error
Thonny's full message reads: "Couldn't find the device automatically. Check the connection (making sure the device is not in bootloader mode)…" The note in brackets matters: Thonny can't talk to a Pico in BOOTSEL mode, because in that mode the board is a USB drive, not a serial port. When you see this error, first check whether the Pico shows up as RPI-RP2 or as a serial port. If there is a serial port, click the interpreter name in the bottom-right corner of the window, use Configure interpreter to set it to MicroPython (Raspberry Pi Pico) and, instead of auto-detect, pick the Pico's port from the list (COMx on Windows, usbmodem on macOS). If the interpreter is still set to "Local Python 3", your code runs on your computer rather than on the Pico and the machine module can't be found. If you get a port-busy warning, close the Arduino IDE serial monitor or a second Thonny window using the same port; only one program can open a serial port at a time.
Stuck main.py: "Device is busy" and a disappearing Pico
At startup MicroPython automatically runs the main.py file on the Pico. If the program in that file is in an endless loop, the Ctrl+C that Thonny sends when connecting usually stops it. In some cases it can't, and you get "Device is busy or does not respond". Typical causes: Ctrl+C has been disabled with micropython.kbd_intr(-1), the program reads from sys.stdin and keeps the USB serial line busy, machine.lightsleep(), deepsleep() or machine.reset() is called at startup so the USB connection keeps dropping, or overclocking and buggy interrupt code restart the board every second. In the last two cases the Pico appears and disappears on the computer.
- In Thonny, press the Stop/Restart backend button (Ctrl+F2) several times in a row; if the program pauses for a moment, >>> appears in the Shell. Immediately open main.py and rename or delete it.
- If that fails, close Thonny and use mpremote from the command line (pip install mpremote): mpremote cp :main.py main_backup.py backs the file up to your computer and mpremote rm :main.py deletes it from the board. mpremote interrupts the program by itself when it connects.
- If even that doesn't help, enter RPI-RP2 mode with BOOTSEL and copy the MicroPython .uf2 file again. Your files usually stay in place, but so does main.py, so this step alone may not be enough.
- As a last resort, wipe the flash completely with flash_nuke.uf2 and install MicroPython from scratch.
Wiping everything: flash_nuke.uf2
flash_nuke.uf2 is a small program provided in Raspberry Pi's official Pico documentation. When you copy it to the RPI-RP2 drive, it clears the Pico's entire flash memory (2 MB on the Pico, 4 MB on the Pico 2) and the board goes back to BOOTSEL mode. This erases MicroPython, main.py and every file in the file system; the Pico is left blank, as it came from the factory. So try to rescue your files first. The wipe takes a few seconds, and when the RPI-RP2 drive opens again you start a clean install by copying the MicroPython .uf2 file. If you're using a Pico 2, make sure the erase file you downloaded supports the RP2350. flash_nuke doesn't fix hardware: if the RPI-RP2 drive never appears with BOOTSEL, the problem isn't software but the cable, the port or the board itself.
Never get stuck again: a safe boot script
The best recovery is never getting stuck. A simple habit takes care of that: put your real code in a file called program.py and use main.py only as a short launcher that imports it. The main.py below waits two seconds at startup, so Thonny can always interrupt it. It also skips the program entirely if GP15 is tied to GND. If the board ever locks up, just connect GP15 to GND (physical pin 18) with a jumper wire and plug it in again. We cover file management on the Pico in detail in MicroPython basics.
1# main.py — güvenli açılış / safe boot
2from machine import Pin
3import time
4
5safe = Pin(15, Pin.IN, Pin.PULL_UP)   # GP15'i GND'ye bağlarsan program çalışmaz / tie GP15 to GND to skip the program
6time.sleep(2)                         # Thonny'nin araya girebilmesi için süre / time for Thonny to interrupt
7
8if safe.value() == 0:
9    print("Guvenli mod: program atlandi / safe mode: program skipped")
10else:
11    import program                    # asıl kodun program.py içinde / your real code lives in program.py
Confirming it works: test code
Once your Pico is recognized again, run the code below in Thonny. It prints the MicroPython version, the board name, the CPU speed and the space left on the file system, then blinks the on-board LED ten times. Seeing "Pico W" or "Pico 2" in the board name also confirms you loaded the right UF2 file.
1import sys, os, machine, time
2from machine import Pin
3
4print(sys.implementation)             # MicroPython sürümü / MicroPython version
5print(os.uname().machine)             # kart adı (Pico, Pico W, Pico 2) / board name
6print(machine.freq() // 1000000, "MHz")
7print(os.statvfs("/")[0] * os.statvfs("/")[3] // 1024, "KB bos / available")   # dosya sistemindeki boş alan / available filesystem space
8
9led = Pin("LED", Pin.OUT)             # kart LED'i (Pico ve Pico W) / on-board LED (Pico and Pico W)
10for _ in range(10):
11    led.toggle()
12    time.sleep(0.2)
13print("Test tamam / test done")
If you program the Pico with the Arduino IDE (Earle Philhower's arduino-pico core), the rules are a little different. On the first upload to a blank Pico there is no serial port; plug the board in with BOOTSEL held so that UF2 Board appears under Tools > Port. After the first upload, every sketch that uses Serial opens a serial port and later uploads work without BOOTSEL. If your sketch crashes, the port disappears too; then plug it in with BOOTSEL again and upload. For similar problems on Arduino boards, see Arduino code won't upload.
1// Arduino IDE ile Pico testi (arduino-pico çekirdeği) / Pico test with the Arduino IDE (arduino-pico core)
2void setup() {
3  pinMode(LED_BUILTIN, OUTPUT);
4  Serial.begin(115200);                 // USB seri portu açar / opens the USB serial port
5}
6
7void loop() {
8  digitalWrite(LED_BUILTIN, !digitalRead(LED_BUILTIN));   // LED'i değiştir / toggle the LED
9  Serial.println("Pico calisiyor / Pico is running");
10  delay(500);
11}
Fixes for Windows, macOS and Linux
- Windows: Windows 10 and 11 need no driver; a Pico running MicroPython shows up in Device Manager under Ports as "USB Serial Device (COMx)". In BOOTSEL mode it's normal to see an "RP2 Boot" device with a yellow exclamation mark; that interface is only needed by picotool. An "Unknown USB Device (Device Descriptor Request Failed)" warning points to a cable, port or hardware problem.
- macOS: On Apple silicon laptops, plugging in a new USB device brings up an "Allow accessory to connect?" prompt; if you don't allow it, the board won't appear. The "Disk Not Ejected Properly" warning after copying a UF2 is normal. The serial port shows up in Terminal with ls /dev/cu.usbmodem*.
- Linux: The Pico appears as /dev/ttyACM0. If you get a permission error, add your user to the dialout group (sudo usermod -a -G dialout $USER) and log out and back in. On some distributions ModemManager mistakes new ACM devices for modems and keeps them busy for a few seconds; stopping that service while you work with the Pico fixes it.
- Chromebooks and tablets: On devices where Thonny doesn't run, browser-based MicroPython editors can connect to the Pico over Web Serial; the same data cable rule applies here too.
Hardware fault? Final checks
If none of the cable, port, BOOTSEL and flash_nuke attempts work, look at the hardware. The micro-USB socket's solder joints are weak, and the socket can rip off the board if the cable is forced sideways; inspect its pins with a magnifier. Take the board completely off the breadboard and try it with USB only; a wire that accidentally shorts 3V3 to GND, or 5 V applied to a GPIO, can stop the Pico from showing up on the computer. If the RP2040 chip gets too hot to touch, or there's no voltage on the 3V3 pin, the board is most likely damaged. Finally, try the board on another computer; if RPI-RP2 still doesn't appear in BOOTSEL mode there, buying a new Pico is cheaper and faster than spending hours on it.
The best thing about the Raspberry Pi Pico is that its bootloader lives in ROM that can't be erased: as long as the BOOTSEL button works, you can always set the board up from scratch. With a solid data cable, the right UF2 file and the two-second safe boot habit, you'll rarely face these problems again. Once your board is recognized, you can try Pico projects in the BlueGrays app such as blinking the on-board LED, a traffic light, LED control with a button and a PWM breathing effect, with circuit diagrams and MicroPython code step by step.
Frequently asked questions
Why is my Raspberry Pi Pico not showing up on my computer?
The most common cause is a charge-only cable without data lines, followed by hubs and extension cables. If the board has no MicroPython or USB-enabled program, the Pico shows nothing on a normal boot. Plugging it in with BOOTSEL held and checking whether the RPI-RP2 drive appears tells you right away whether the problem is the cable or the software.
What does the BOOTSEL button on the Pico do?
When the Pico is powered with BOOTSEL held, it runs the bootloader in ROM and shows up on the computer as a USB drive called RPI-RP2. A .uf2 file copied to that drive is written to flash. Because the bootloader can't be erased, this method rescues the board in almost every situation.
Why can't Thonny find my Raspberry Pi Pico?
Usually the interpreter isn't set to MicroPython (Raspberry Pi Pico), the Pico is in BOOTSEL mode, or MicroPython isn't installed on the board. Thonny also can't connect if another program holds the port. Picking the right interpreter and port manually from the menu in the bottom-right corner fixes it most of the time.
What does flash_nuke.uf2 do, and will I lose my files?
flash_nuke.uf2 clears the Pico's entire flash memory, so MicroPython, main.py and all your saved files are erased. The board then returns to BOOTSEL mode and you can install MicroPython cleanly. If you have important files, try backing them up with mpremote or Thonny first.
Why is there no power light on my Pico?
The Raspberry Pi Pico has no power LED; the only LED on the board is turned on by a program. So a dark Pico doesn't mean it's broken. To check whether it's getting power, measure 3.3 V on the 3V3 pin with a multimeter.
Do I need to install a driver for the Raspberry Pi Pico?
On Windows 10 and 11, macOS and Linux no driver is needed; the Pico is recognized as both a USB drive and a USB serial port with standard drivers. Only older Windows versions may need an extra driver for the serial port. On Linux, your user needs to be in the dialout group to access the serial port.
Projects to build after reading this
See all projects
Raspberry Pi Pico Onboard LED Blink (Pico and Pico W)
The opening project of the Raspberry Pi Pico series! We blink the Pico's green built-in LED to confirm the board works, the classic "Hello World" first experiment. No external parts needed, just the Pico and a USB cable. The code is written in MicroPython, the language officially supported by the Raspberry Pi Foundation.
Raspberry Pi Pico: Controlling an External LED (Breadboard)
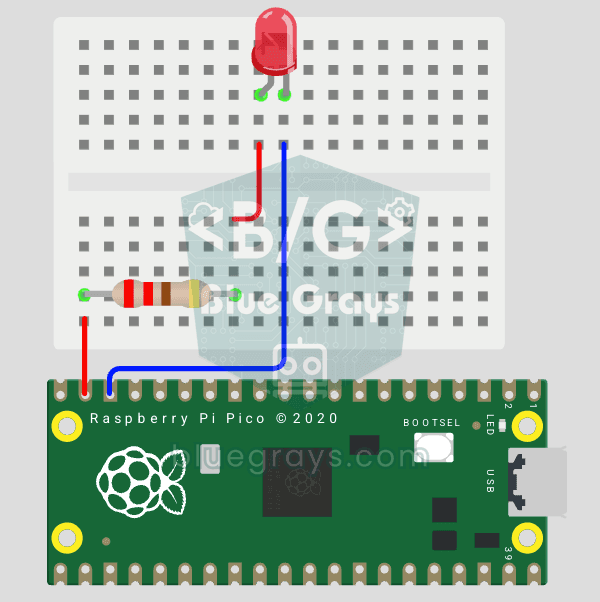
The next step after the Pico's built-in LED: connect an external LED on a breadboard and control it through pin GP14. You'll learn how to use any of the Pico's GPIO pins as an output, the LED's polarity (long leg = anode/+, short leg = cathode/–) and why a current-limiting resistor (220Ω) is a must. Without the resistor, too much current flows through the LED and it can burn out.
Raspberry Pi Pico Alternating Two LEDs (Blink-Flip Pattern)
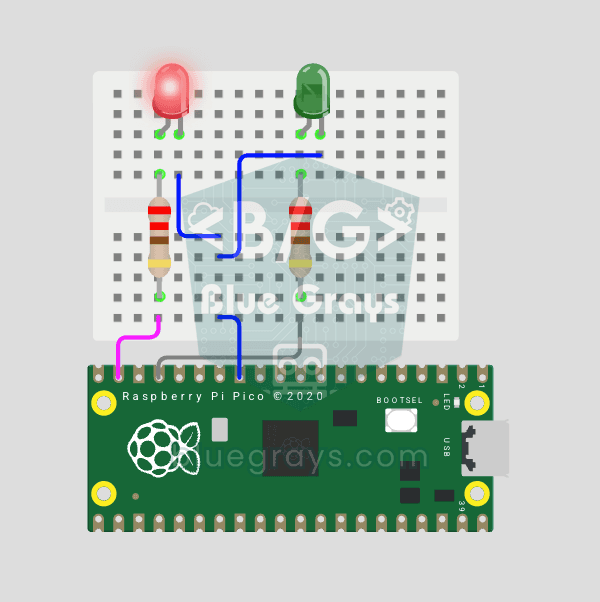
The next step after the Pico's single LED: the classic flip-flop animation, with two LEDs blinking in turn. One LED turns off as the other turns on, the most basic example of handling multiple GPIOs. Two LEDs of different colors (red on GP14, green on GP13) swap every 500 ms. With MicroPython's Pin.toggle() method, the code stays short and readable.
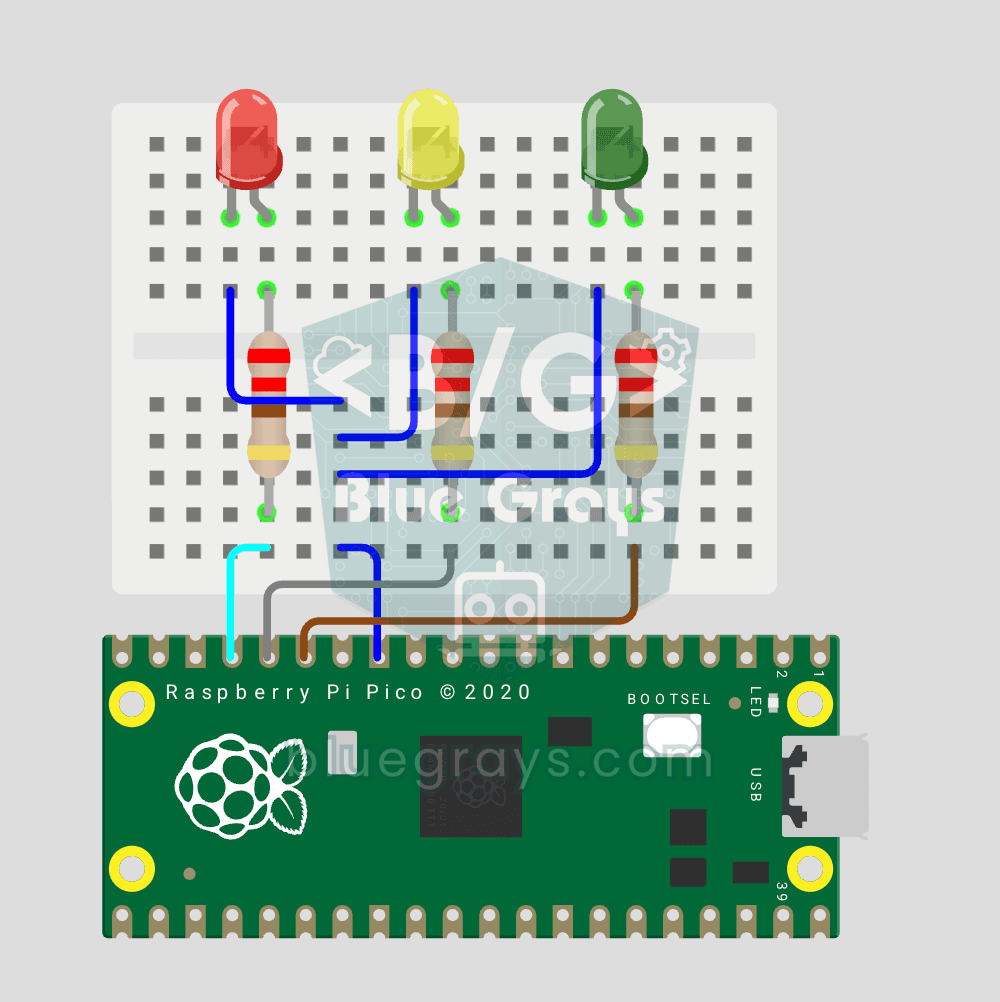
Raspberry Pi Pico Traffic Light Simulator (3 LEDs Sequential)
We recreate real traffic light logic with red, yellow and green LEDs, the first Pico project to move up to 3 LEDs! Green says "go" for 4 seconds, yellow "get ready" for 1.5 seconds, red "stop" for 3 seconds, and red+yellow "set off" for 1 second (the European traffic light pattern). You'll learn to define functions (def all_off()), state machine logic and multi-GPIO synchronization.
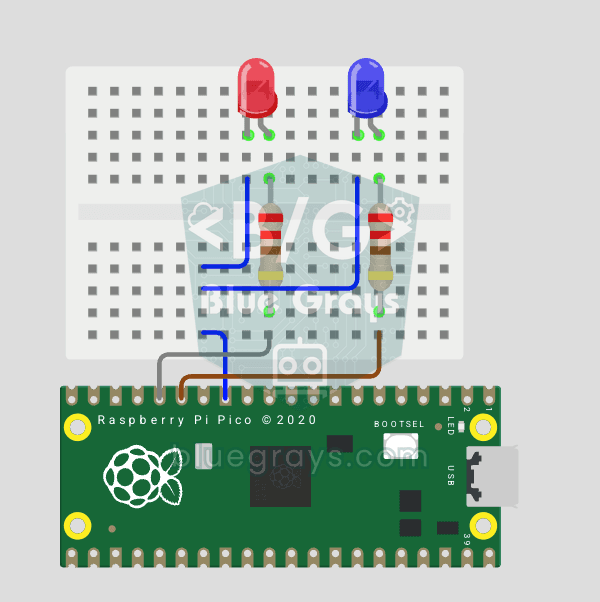
Raspberry Pi Pico Police Strobe Light Effect (Red + Blue)
We simulate a police car's light bar with a Raspberry Pi Pico in its simplest form! The red and blue LEDs take turns (flip-flop): while red is on, blue is off, and they swap every 0.3 seconds, forever. The code writes the two steps directly in a single while True loop; the speed is set with the WAIT_MS constant.
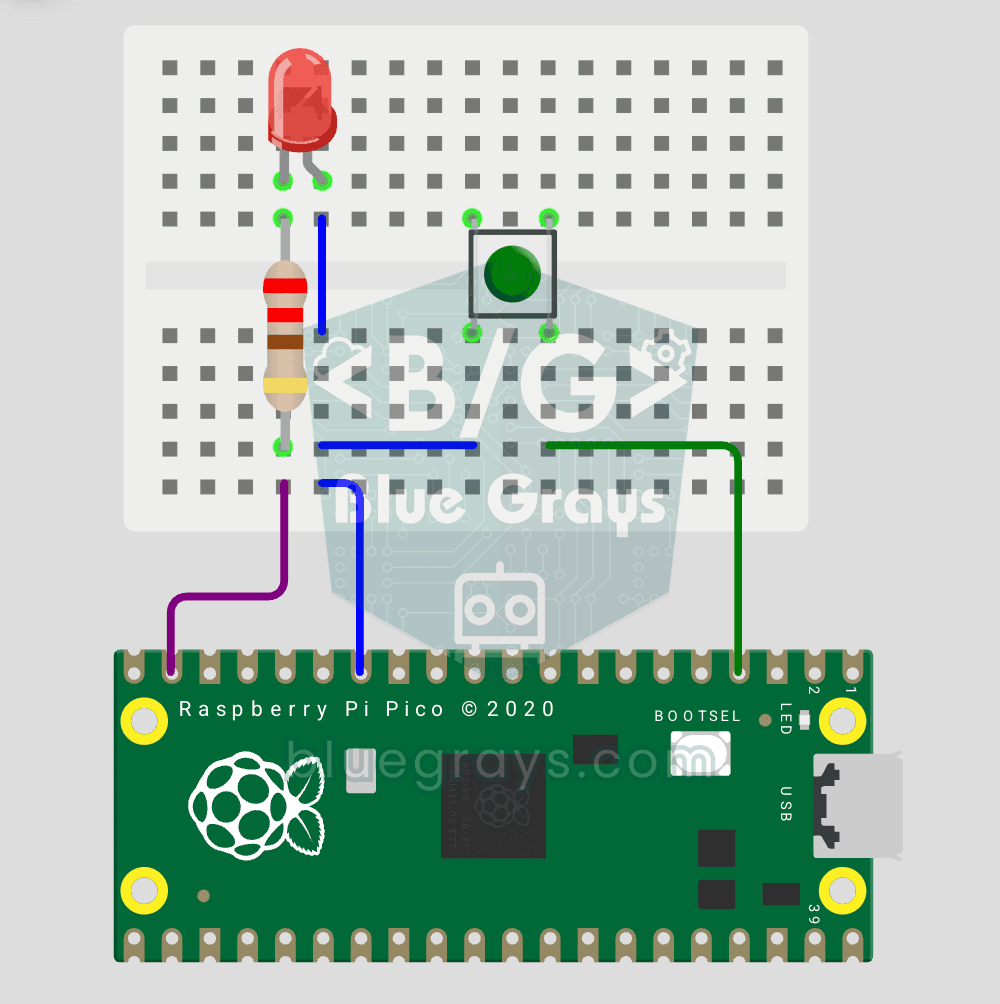
Raspberry Pi Pico Button Controlled LED (Push)
First input project with Pico — button read! LED lights while button is pressed, off when released. This is the big step after LED animations: signal input from the world to Pico. Learn Pin.IN (input mode), Pin.PULL_UP (internal pull-up resistor — standard for buttons), button.value() reading. GP14 LED, GP2 button (internal PULL_UP). Pressed = LOW (0), released = HIGH (1) — reverse logic seems confusing at first but is industry standard.
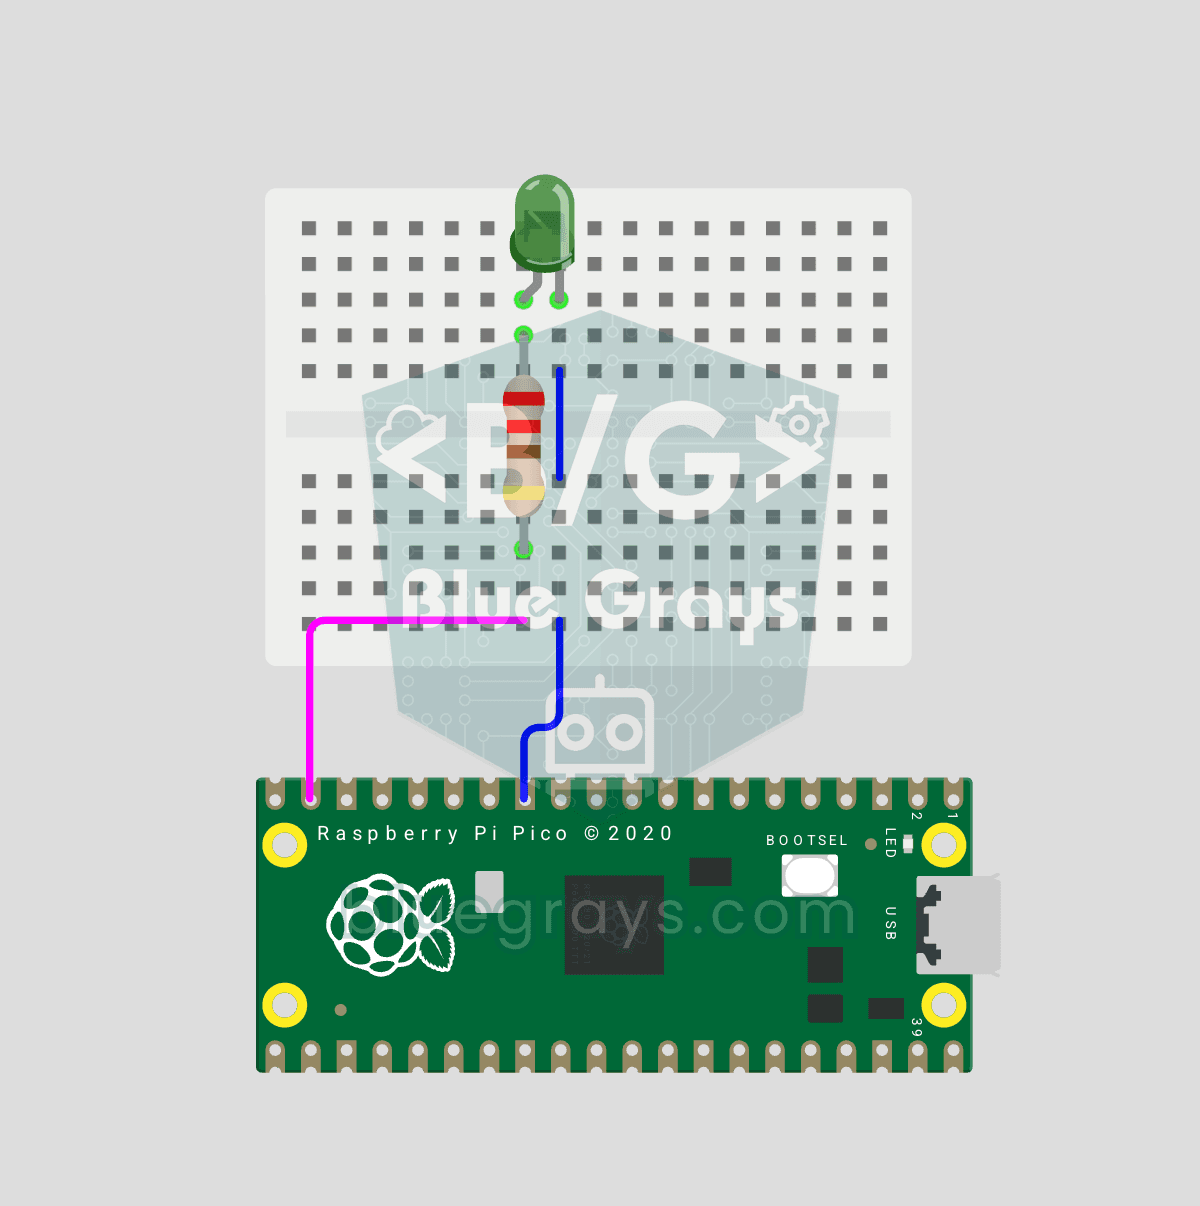
Raspberry Pi Pico PWM LED Fade (Breathing Effect)
The LED doesn't just blink anymore, it breathes! With the Raspberry Pi Pico's PWM (Pulse Width Modulation), the LED's brightness slowly rises and then slowly fades, a calm "breathing" effect like a sleeping laptop's light. You'll learn the machine.PWM class, the 16-bit brightness value from 0–65535 with duty_u16() and the PWM frequency.
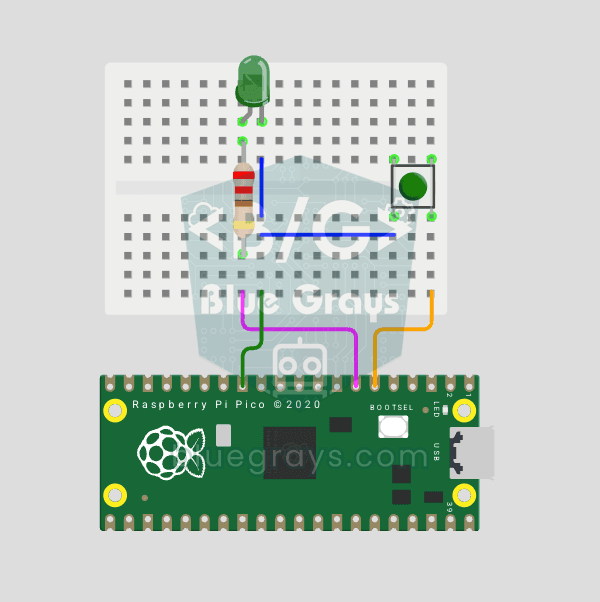
Raspberry Pi Pico Button Debounce: IRQ vs Software Polling
If one press of a button made your code count 3-4 times, the culprit is contact bounce: the button's metal contacts open and close many times within microseconds as they touch! In this project we count the same button in 2 different ways and compare them side by side in Serial: RAW polling (catches the bounce and miscounts) and IRQ + software debounce (counts correctly).