
SW-420 Vibration Sensor Arduino: Shock Detection and Alarm
SW-420 vibration sensor Arduino: how it works, sensitivity, counting pulses and timing shocks, burglar alarm, earthquake limits vs MPU6050 and ESP32 Telegram.
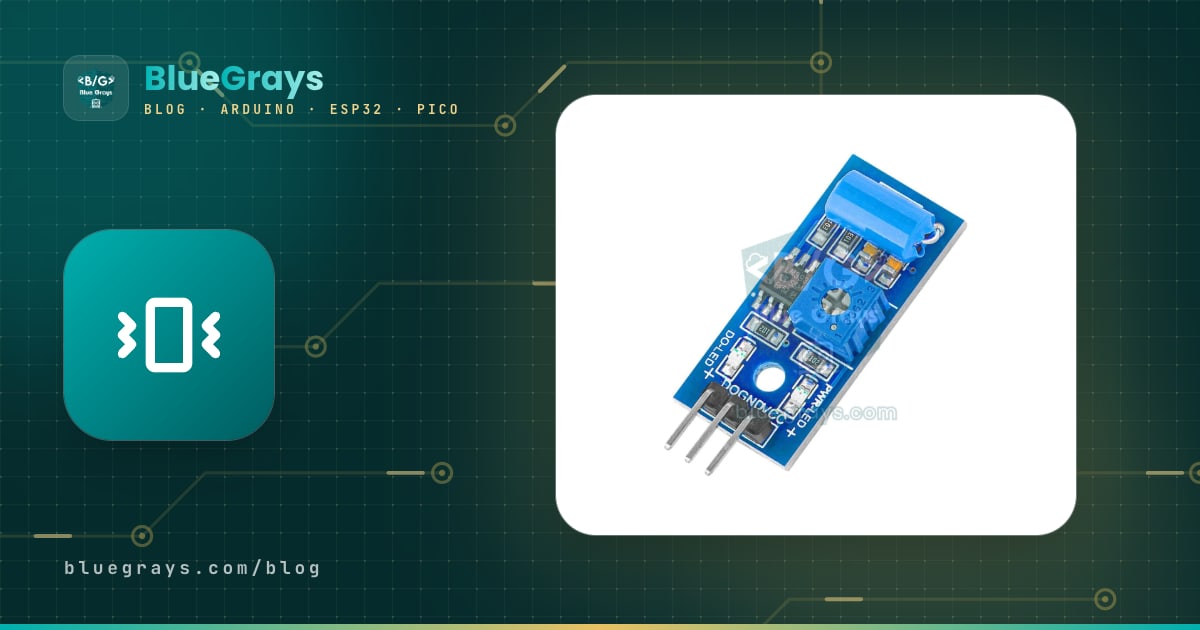
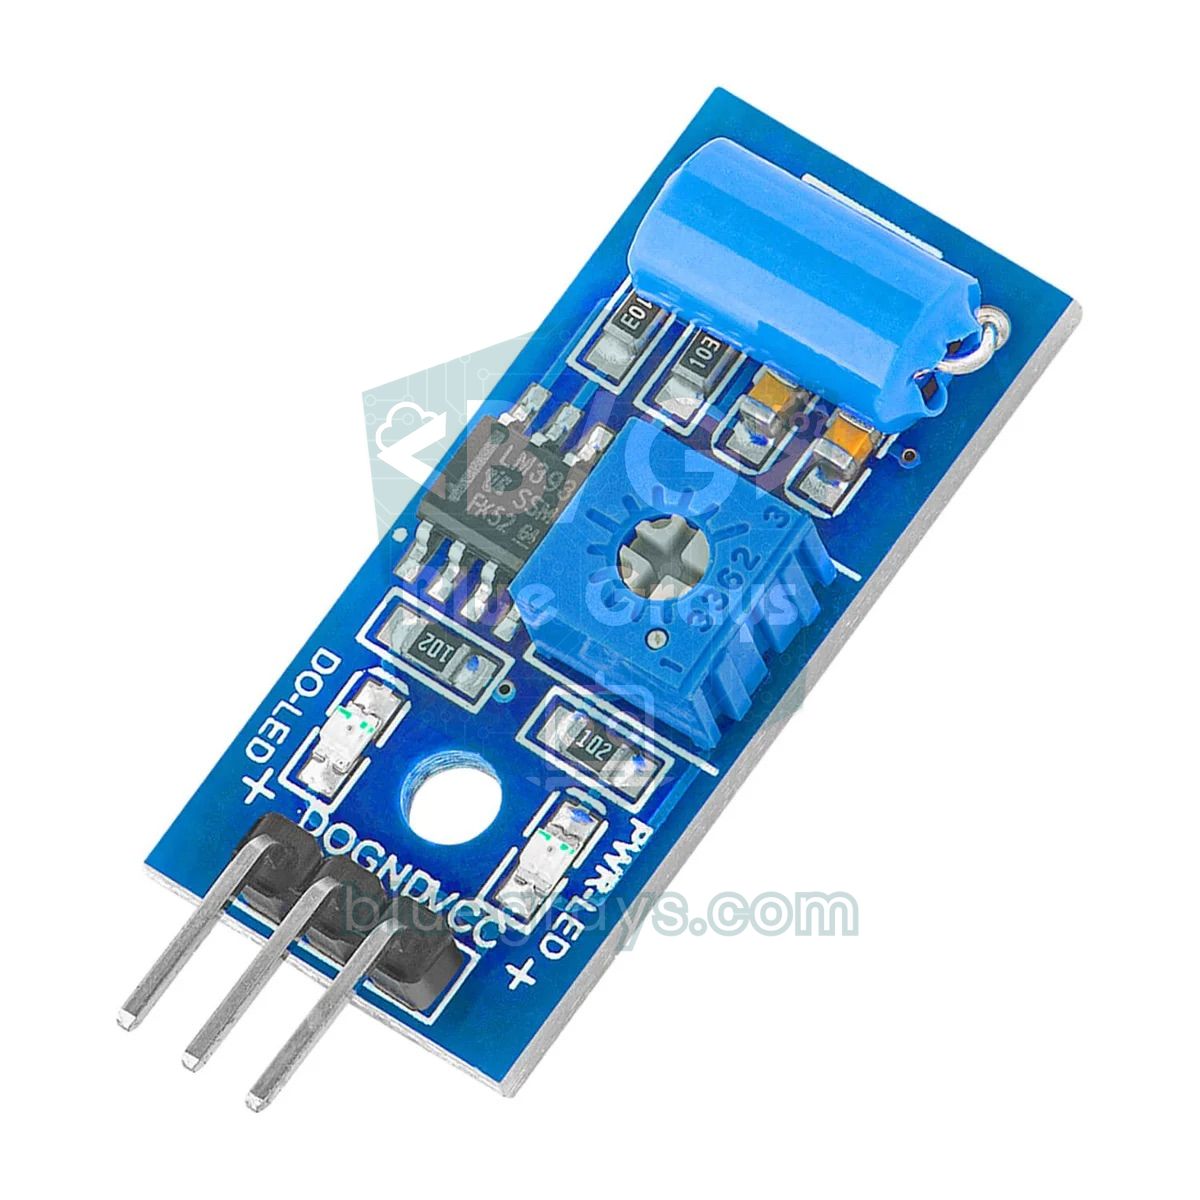
In Arduino vibration sensor projects, the part people use most is the cheap and simple SW-420 module. With a single digital pin it tells you that a surface has been shaken, someone has knocked on a door, a drawer has been opened or a machine has started running. The module carries a spring vibration switch, an LM393 comparator chip and a small potentiometer that sets the sensitivity. It's easy to use, but on the first try most people run into the same two problems: the sensor misses some vibrations and sometimes raises an alarm for no reason at all.
In this guide you'll learn how the spring contact inside the SW-420 works, why its output arrives as short pulses and how to set the sensitivity correctly. Then we'll count the pulses with an interrupt, measure how long and how strong a shock is, and build a burglar alarm that cuts down false alarms. We'll also talk about why the earthquake alarm idea isn't as simple as it sounds and what an MPU6050 accelerometer adds to the job. Finally, we'll send a Telegram message to your phone with an ESP32 when vibration is detected and write MicroPython code for the Raspberry Pi Pico.
What is the SW-420 vibration sensor and how does it work?
The module's real sensing element is a normally closed (NC) vibration switch inside a small cylindrical metal case. Inside the case there's a spring and a conductive part; when the sensor is still, they touch and the contact is closed. When the sensor is shaken, the spring swings and the contact opens and closes in very short bursts, each lasting less than a millisecond. The switch itself is non-directional, so it reacts to vibration from any direction. The LM393 on the module compares the voltage produced by this switch with a threshold set by the potentiometer and produces a clean digital output (DO). On most modules DO is LOW while the sensor is still and HIGH during vibration, and the signal LED on the board goes out or flickers with the vibration; on some clone boards the logic can be inverted, so test your own module with the Serial Monitor first.
| Feature | Value |
|---|---|
| Sensing element | SW-420, normally closed spring vibration switch |
| Supply | 3.3–5 V |
| Output | Digital (DO), through an LM393 comparator |
| Sensitivity adjustment | Potentiometer on the board |
| Direction | Non-directional, responds to vibration from any side |
| Output signal | Bursts of short pulses during the vibration |
| Pins | VCC, GND, DO |
| Board size | About 32 × 14 mm, one M3 mounting hole |
SW-420 Arduino wiring
| Module pin | Arduino Uno | ESP32 | Raspberry Pi Pico |
|---|---|---|---|
| VCC | 5V | 3V3 | 3V3(OUT) |
| GND | GND | GND | GND |
| DO | D2 (interrupt pin INT0) | GPIO 27 | GP15 |
Sensitivity: how do you set the potentiometer?
The potentiometer sets the comparator's threshold. If it's too sensitive, the sensor picks up a glass being put on the table, a lorry driving past or even the vibration of its own buzzer; if it's too coarse, it only reacts to a hard knock. For the right setting, screw the module to the surface you'll use it on and watch the board's signal LED. Turn the potentiometer to the point where the LED stays steady at rest but reacts when you tap the surface lightly with a finger; then reduce the sensitivity a tiny bit to leave a safety margin. This setting depends on the surface material: the same setting can be very sensitive on a wooden table and deaf on a concrete wall.
First test: detecting vibration and catching short pulses
A beginner's first code usually reads the pin with digitalRead() in loop() and lights an LED when it sees HIGH. That works for a hard knock, but with light vibrations nothing happens most of the time, because the SW-420's output may stay HIGH for only a few hundred microseconds, and if loop() is busy with Serial.print() or delay() at that moment, the pulse is missed. The solution is to catch the pulse with an interrupt and note the time until the next one. The code below records the time of each pulse and keeps the LED on for 1 second after the last pulse, so your eye can see even a very brief vibration.
1const byte VIB_PIN = 2;                  // SW-420 DO (INT0)
2const byte LED_PIN = 13;                 // dahili LED / onboard LED
3const unsigned long HOLD_MS = 1000;      // son darbeden sonra LED süresi / LED time after the last pulse
4
5volatile unsigned long lastPulseMs = 0;
6volatile bool pulseSeen = false;
7
8void onVibration() {                     // her darbede çalışır / runs on every pulse
9  lastPulseMs = millis();
10  pulseSeen = true;
11}
12
13void setup() {
14  pinMode(VIB_PIN, INPUT);
15  pinMode(LED_PIN, OUTPUT);
16  attachInterrupt(digitalPinToInterrupt(VIB_PIN), onVibration, RISING);   // LOW → HIGH geçişi / LOW to HIGH edge
17  Serial.begin(9600);
18}
19
20void loop() {
21  noInterrupts();
22  unsigned long last = lastPulseMs;
23  bool seen = pulseSeen;
24  pulseSeen = false;
25  interrupts();
26
27  if (seen) Serial.println(F("Titresim / vibration"));
28  digitalWrite(LED_PIN, (last > 0 && millis() - last < HOLD_MS) ? HIGH : LOW);
29}
The interrupt runs on every edge where the pin goes from LOW to HIGH; on the Uno only D2 and D3 provide this kind of external interrupt. If your module's logic is inverted, write FALLING instead of RISING; since the pulse bursts consist of both rising and falling edges, the count doesn't change. The interrupt function is kept as short as possible and doesn't use Serial; printing is done in loop(). Briefly disabling interrupts while reading the variables in loop() stops a multi-byte variable from changing mid-read and being read corrupted.
Counting pulses and timing: how long and how strong was the shock?
The SW-420 doesn't measure acceleration, but the number of pulses it produces gives a good idea of how strong a shock is: a light tap produces a few pulses, a slammed door dozens and a drill's vibration hundreds per second. The code below counts the pulses with an interrupt and groups them into events: the first pulse starts an event, and if no new pulse arrives for 500 ms the event ends. At the end of each event it prints the duration, the total pulse count and the pulse density per second. This lets you build a "fingerprint" of the events in your own environment and base your alarm threshold on measurement, not guesswork.
1const byte VIB_PIN = 2;                   // SW-420 DO (INT0)
2const unsigned long QUIET_MS = 500;       // bu kadar sessizlik olayı bitirir / this much silence ends an event
3
4volatile unsigned long pulseCount = 0;
5volatile unsigned long lastPulseMs = 0;
6
7bool inEvent = false;
8unsigned long eventStart = 0;
9unsigned long eventStartCount = 0;
10
11void onVibration() {
12  pulseCount++;
13  lastPulseMs = millis();
14}
15
16void setup() {
17  pinMode(VIB_PIN, INPUT);
18  attachInterrupt(digitalPinToInterrupt(VIB_PIN), onVibration, RISING);
19  Serial.begin(9600);
20  Serial.println(F("Sure(ms)  Darbe/pulses  Darbe/sn  (pulses/s)"));
21}
22
23void loop() {
24  noInterrupts();
25  unsigned long count = pulseCount;
26  unsigned long last = lastPulseMs;
27  interrupts();
28
29  if (!inEvent && count != eventStartCount) {      // yeni olay başladı / a new event started
30    inEvent = true;
31    eventStart = last;
32  }
33  if (inEvent && millis() - last > QUIET_MS) {     // olay bitti / the event is over
34    unsigned long duration = last - eventStart;
35    unsigned long pulses = count - eventStartCount;
36    float density = duration > 0 ? pulses * 1000.0 / duration : pulses;
37    Serial.print(duration);
38    Serial.print(F("        "));
39    Serial.print(pulses);
40    Serial.print(F("           "));
41    Serial.println(density, 0);
42    eventStartCount = count;
43    inEvent = false;
44  }
45}
Run the code, then tap the table in different ways, open a drawer, close the door and note the numbers you get. For a single short tap the duration is often close to zero and the pulse count is in single digits; a long vibration makes both the duration and the pulse count grow. Using these two values together is much more powerful than a plain "vibration yes or no": for example, on a sensor mounted in a safe, a rule like "an event lasting at least 300 ms with at least 20 pulses" can filter out the footsteps of someone walking past and still catch someone forcing the safe.
A burglar alarm with the SW-420 and cutting false alarms
An SW-420 fitted to a window pane, a bicycle, a drawer or a safe can be the heart of a simple burglar alarm. What separates a good alarm from a bad one is less about detection and more about how it filters out false alarms. The code below does this in three layers: after arming it allows a 10-second exit delay, it triggers not on a single knock but when it sees at least 5 pulses within 1 second, and it ignores new pulses for the 15 seconds the siren sounds. The alarm is armed and disarmed with the button on D4, the active buzzer is on D8 and the status LED on D13. For a more complete system, see the Arduino alarm system guide.
1const byte VIB_PIN = 2;                       // SW-420 DO (INT0)
2const byte BUTTON_PIN = 4;                    // kur / kapat butonu, D4 ile GND arası / arm-disarm button
3const byte BUZZER_PIN = 8;                    // aktif buzzer / active buzzer
4const byte LED_PIN = 13;                      // durum LED'i / status LED
5const unsigned int MIN_PULSES = 5;            // pencerede gereken darbe / pulses needed in the window
6const unsigned long WINDOW_MS = 1000;         // sayım penceresi / counting window
7const unsigned long EXIT_DELAY_MS = 10000;    // kurduktan sonra çıkış süresi / exit delay after arming
8const unsigned long ALARM_MS = 15000;         // siren süresi / siren duration
9
10enum AlarmState { DISARMED, ARMING, ARMED, ALARM };
11AlarmState state = DISARMED;
12
13volatile unsigned int pulses = 0;
14unsigned long stateTime = 0;
15unsigned long windowStart = 0;
16unsigned long lastPress = 0;
17bool lastButton = HIGH;
18
19void onVibration() {
20  pulses++;
21}
22
23void setState(AlarmState s) {
24  state = s;
25  stateTime = millis();
26  digitalWrite(BUZZER_PIN, LOW);
27  noInterrupts();
28  pulses = 0;                                 // eski darbeleri sil / discard old pulses
29  interrupts();
30  windowStart = millis();
31}
32
33void setup() {
34  pinMode(VIB_PIN, INPUT);
35  pinMode(BUTTON_PIN, INPUT_PULLUP);
36  pinMode(BUZZER_PIN, OUTPUT);
37  pinMode(LED_PIN, OUTPUT);
38  attachInterrupt(digitalPinToInterrupt(VIB_PIN), onVibration, RISING);
39  Serial.begin(9600);
40}
41
42void loop() {
43  bool button = digitalRead(BUTTON_PIN);
44  if (button == LOW && lastButton == HIGH && millis() - lastPress > 200) {
45    lastPress = millis();
46    setState(state == DISARMED ? ARMING : DISARMED);
47    Serial.println(state == ARMING ? F("Kuruluyor / arming") : F("Kapatildi / disarmed"));
48  }
49  lastButton = button;
50
51  if (millis() - windowStart >= WINDOW_MS) {  // her saniye darbe sayısına bak / check the pulse count every second
52    noInterrupts();
53    unsigned int n = pulses;
54    pulses = 0;
55    interrupts();
56    windowStart = millis();
57    if (state == ARMED && n >= MIN_PULSES) {
58      setState(ALARM);
59      Serial.print(F("ALARM! darbe / pulses: "));
60      Serial.println(n);
61    }
62  }
63
64  switch (state) {
65    case DISARMED:
66      digitalWrite(LED_PIN, LOW);
67      break;
68    case ARMING:                              // hızlı yanıp sönme: çıkış süresi / fast blink: exit delay
69      digitalWrite(LED_PIN, (millis() / 250) % 2);
70      if (millis() - stateTime >= EXIT_DELAY_MS) setState(ARMED);
71      break;
72    case ARMED:
73      digitalWrite(LED_PIN, HIGH);
74      break;
75    case ALARM:                               // kesik kesik siren / intermittent siren
76      digitalWrite(BUZZER_PIN, (millis() / 300) % 2);
77      if (millis() - stateTime >= ALARM_MS) setState(ARMED);
78      break;
79  }
80}
There's a lot you can do beyond the code to cut false alarms:
- Solid mounting: Fix the module to the surface with an M3 screw or a hard adhesive; a loose, wobbling board vibrates by itself.
- Move the buzzer away: If the siren is mounted on the same board or in the same box as the sensor, its own vibration can retrigger the alarm.
- Set the sensitivity in place: Adjust the potentiometer on the surface where the sensor will finally sit, not on your desk.
- Keep cables short and fixed: Long cables swinging in the air pick up noise; if needed, put 100 nF between DO and GND.
- Use two sensors: In an important spot, requiring two sensors to trigger together within a short time greatly reduces false alarms.
- Confirm with another sensor: Combining vibration with a PIR motion sensor or a door sensor increases reliability.
Can you build an earthquake alarm with the SW-420? Limits and the MPU6050
An earthquake alarm is one of the most popular vibration sensor project ideas, and it's an educational project; but it's important to know its limits. The SW-420 only says "something shook": it can't measure the shock's acceleration, direction or frequency. So it reacts the same way to a slammed door, a passing lorry, a washing machine on its spin cycle or a real earthquake. More importantly, a single sensor only detects shaking once the shaking has reached where it is. Official earthquake early warning systems combine measurements from many stations close to the epicentre and deliver the warning to distant areas before the shaking arrives; an Arduino at home can't replace that and shouldn't be used as a life-safety device.
If you want to make an earthquake project more meaningful, move up to the MPU6050 accelerometer and gyroscope module. The MPU6050 measures acceleration on three axes with 16-bit resolution and selectable ranges from ±2 g to ±16 g. This lets you calculate the peak ground acceleration (PGA) of a shake, tell a slammed door from a long ground motion by looking at how many seconds the acceleration lasts and its frequency, and log the data to study later. Using both sensors together also makes sense: the SW-420 waits using very little power and wakes the microcontroller at the first vibration, while the MPU6050 does the detailed measurement.
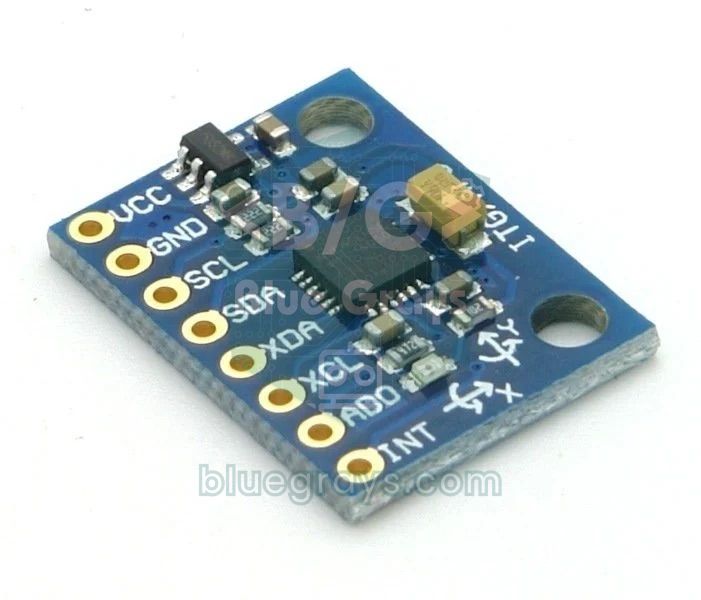
| Feature | SW-420 | MPU6050 |
|---|---|---|
| What does it measure? | Vibration present or not | Acceleration and rotation rate on 3 axes |
| Output | Digital pulses (DO) | I2C, 16-bit digital data |
| Sensitivity | Potentiometer, coarse | In software, ±2 g to ±16 g |
| Direction | None | Yes (X, Y, Z) |
| Earthquake project | Only a "something shook" alert | Peak acceleration, duration and frequency analysis |
| Code | A few lines, no library | Needs a library and filtering |
| Price | Very cheap | Cheap |
Telegram notification from an ESP32 when vibration is detected
With an ESP32, a vibration sensor can tell your phone when something happens to a safe, a bicycle or a machine while you're away from home. For this you need to create a bot with BotFather in Telegram, get the token and your own chat ID, and install the UniversalTelegramBot and ArduinoJson libraries in the Arduino IDE; we explain these steps in detail in the ESP32 Telegram bot guide. The code below counts pulses with an interrupt, sends a message when it sees at least 5 pulses in 1 second and waits at least 60 seconds between two messages so your phone doesn't fill up with dozens of notifications a minute. Because the ESP32 has two cores, the counter is protected with a portMUX lock.
1#include <WiFi.h>
2#include <WiFiClientSecure.h>
3#include <UniversalTelegramBot.h>
4#include <ArduinoJson.h>
5
6const char* WIFI_SSID = "AgAdi";               // Wi-Fi adın (2,4 GHz) / your Wi-Fi name (2.4 GHz)
7const char* WIFI_PASS = "Sifre123";            // Wi-Fi şifren / your Wi-Fi password
8#define BOT_TOKEN "1234567890:AAExxxxxxxxxxxxxxxxxxxxxxxxxxxxxxxx"   // BotFather'ın verdiği token / token from BotFather
9#define CHAT_ID   "123456789"                  // kendi Telegram ID'n / your own Telegram ID
10
11const int VIB_PIN = 27;                        // SW-420 DO (modül 3V3 ile) / module powered from 3V3
12const unsigned long MIN_PULSES = 5;            // 1 sn'de gereken darbe / pulses needed in 1 s
13const unsigned long WINDOW_MS = 1000;
14const unsigned long COOLDOWN_MS = 60000;       // iki mesaj arası en az 60 sn / at least 60 s between messages
15
16volatile unsigned long pulseCount = 0;
17portMUX_TYPE mux = portMUX_INITIALIZER_UNLOCKED;
18unsigned long windowStart = 0;
19unsigned long lastAlert = 0;
20bool alertSent = false;
21
22WiFiClientSecure client;
23UniversalTelegramBot bot(BOT_TOKEN, client);
24
25void IRAM_ATTR onVibration() {                 // kesme fonksiyonu RAM'de / interrupt handler in RAM
26  portENTER_CRITICAL_ISR(&mux);
27  pulseCount++;
28  portEXIT_CRITICAL_ISR(&mux);
29}
30
31void setup() {
32  Serial.begin(115200);
33  pinMode(VIB_PIN, INPUT);
34  attachInterrupt(digitalPinToInterrupt(VIB_PIN), onVibration, RISING);
35
36  WiFi.mode(WIFI_STA);
37  WiFi.begin(WIFI_SSID, WIFI_PASS);
38  while (WiFi.status() != WL_CONNECTED) {
39    delay(500);
40    Serial.print(".");
41  }
42  Serial.println();
43  client.setCACert(TELEGRAM_CERTIFICATE_ROOT); // api.telegram.org kök sertifikası / root certificate
44  bot.sendMessage(CHAT_ID, "Titreşim alarmı hazır / vibration alarm ready", "");
45  windowStart = millis();
46}
47
48void loop() {
49  if (millis() - windowStart < WINDOW_MS) return;
50  windowStart = millis();
51
52  portENTER_CRITICAL(&mux);                    // sayacı güvenle oku ve sıfırla / read and reset safely
53  unsigned long n = pulseCount;
54  pulseCount = 0;
55  portEXIT_CRITICAL(&mux);
56
57  if (n >= MIN_PULSES && (!alertSent || millis() - lastAlert >= COOLDOWN_MS)) {
58    lastAlert = millis();
59    alertSent = true;
60    String msg = "Titreşim algılandı / vibration detected: " + String(n) + " darbe / pulses";
61    Serial.println(msg);
62    if (!bot.sendMessage(CHAT_ID, msg, "")) {
63      Serial.println("Mesaj gonderilemedi / message failed");
64    }
65  }
66}
Sending a message to Telegram can take 1–2 seconds; the loop waits during that time, but because the interrupt keeps running, incoming pulses pile up in the counter and aren't lost. If you want to run the sensor on batteries, put the ESP32 into deep sleep and make the SW-420's DO pin a wake-up source with esp_sleep_enable_ext0_wakeup(); the ESP32 then wakes only on vibration, sends the message and goes back to sleep. In that case, pick one of the RTC GPIOs as the wake-up pin; GPIO 27 is in that group.
SW-420 with the Raspberry Pi Pico (MicroPython)
On the Pico, power the module from the 3V3(OUT) pin and connect DO to GP15. The code below uses the same event logic as the Arduino version: it counts pulses with an interrupt, lights the board's built-in LED at the first pulse and, after 500 ms of silence, prints the event's duration and pulse count. The name Pin("LED") selects the built-in LED on both the Pico and the Pico W.
1from machine import Pin, disable_irq, enable_irq
2import time
3
4vib = Pin(15, Pin.IN)                  # SW-420 DO (modül 3V3 ile) / module powered from 3V3
5led = Pin("LED", Pin.OUT)              # dahili LED / onboard LED
6QUIET_MS = 500                         # olayı bitiren sessizlik / silence that ends an event
7
8pulses = 0
9def on_vibration(pin):
10    global pulses
11    pulses += 1
12
13vib.irq(trigger=Pin.IRQ_RISING, handler=on_vibration)
14
15event_start = None
16event_pulses = 0
17last_pulse = 0
18while True:
19    state = disable_irq()              # sayacı güvenle oku / read the counter safely
20    n = pulses
21    pulses = 0
22    enable_irq(state)
23
24    now = time.ticks_ms()
25    if n:
26        if event_start is None:        # yeni olay / new event
27            event_start = now
28            event_pulses = 0
29            led.on()
30        event_pulses += n
31        last_pulse = now
32    elif event_start is not None and time.ticks_diff(now, last_pulse) > QUIET_MS:
33        duration = time.ticks_diff(last_pulse, event_start)
34        print("Titresim / vibration: %d ms, %d darbe / pulses" % (duration, event_pulses))
35        event_start = None
36        led.off()
37    time.sleep_ms(20)
Project ideas with a vibration sensor
- Bicycle and motorbike alarm: A small box that sounds when the parked vehicle is shaken and notifies your phone via an ESP32.
- Washing machine done alert: A sensor that sends a "wash finished" message when the vibration has stopped for 5 minutes.
- Secret knock detector: A lock that opens when someone knocks in a certain rhythm; it works by comparing the times between shock events.
- Machine run-time counter: A counter that logs how many hours a day a compressor, pump or 3D printer runs.
- Electronic safe: Protection that raises the alarm when the safe is forced, working alongside a code lock; combine it with the keypad code lock guide.
- Game and interactive table: A drum or reaction game that makes light and sound when you hit the table.
Common mistakes and how to fix them
| Symptom | Likely cause | Fix |
|---|---|---|
| Light vibrations aren't detected | Pulses are read with digitalRead() in loop() and missed | Use an interrupt with attachInterrupt() |
| The sensor keeps triggering | Sensitivity too high or the board is loose | Set the potentiometer in place and screw the board down |
| The alarm restarts by itself | The buzzer's vibration reaches the sensor | Mount the buzzer away from the sensor on a separate surface |
| The logic works backwards | DO output is inverted on a clone module | Test with the Serial Monitor and use FALLING if needed |
| ESP32 pin damaged or unstable | Module powered from 5 V, so DO gave 5 V | Power the module from 3.3 V |
| Dozens of messages arrive on the phone | No waiting time between notifications | Use a cooldown of at least 60 seconds in the code |
The SW-420 is the cheapest and easiest way to know that a surface has been shaken; its real power appears when you catch and count the pulses with an interrupt and read the results together with duration and density. Set the sensitivity in place, filter out false alarms in software and move to the MPU6050 when you need the strength or direction of the shake. In the BlueGrays app you'll find the Buzzer, Motion Detector and ESP32 Motion Alarm System with Telegram projects, together with the Smart Electronic Safe, with step-by-step circuit diagrams and code.
Frequently asked questions
How does a vibration sensor work?
Vibration sensors like the SW-420 contain a spring and a conductive part inside a metal case. When the sensor is still the contact is closed; when it's shaken, the spring swings and the contact opens and closes in very short bursts. The LM393 comparator on the module turns this change into a clean digital signal based on a threshold set with the potentiometer.
How do you adjust the SW-420 sensitivity?
The potentiometer on the module changes the comparator's threshold. Fix the sensor to the surface you'll use it on, turn the potentiometer to the point where the signal LED stays steady at rest but reacts to a light tap, then reduce the sensitivity a little to leave a safety margin. Because the setting depends on the surface material, do it in place, not on your desk.
Why does the SW-420 miss some vibrations?
During vibration, the SW-420's output produces only very short pulses. If your code reads the pin with digitalRead() in loop() and is busy with delay() or Serial.print() at that moment, the pulse is missed. The fix is to use an interrupt with attachInterrupt() and count the pulses in the interrupt function.
Can you build an earthquake detector with a vibration sensor?
You can build a simple shake alarm for learning, but the SW-420 only detects that vibration is present; it can't measure its strength or direction and can't tell events like a slammed door from an earthquake. A single sensor only notices shaking once it reaches the sensor. For more meaningful measurements use an accelerometer like the MPU6050, and never treat such projects as a replacement for official early warning systems.
Can the SW-420 be used with an ESP32?
Yes. Power the module from the ESP32's 3V3 pin and connect the DO output to a digital pin such as GPIO 27. If you power the module from 5 V, the DO output is 5 V too and can damage the ESP32's pin. On the ESP32, declare the interrupt function with IRAM_ATTR and protect the shared counter with a portMUX lock.
What is the difference between the SW-420 and the SW-18010P?
Both are spring vibration switches, but their contact arrangement differs. The SW-420 is normally closed, meaning the contact is closed at rest and opens with vibration. Normally open types like the SW-18010P are open at rest and close briefly with vibration. When you use them as modules, checking the output level with the Serial Monitor is enough.
Projects to build after reading this
See all projects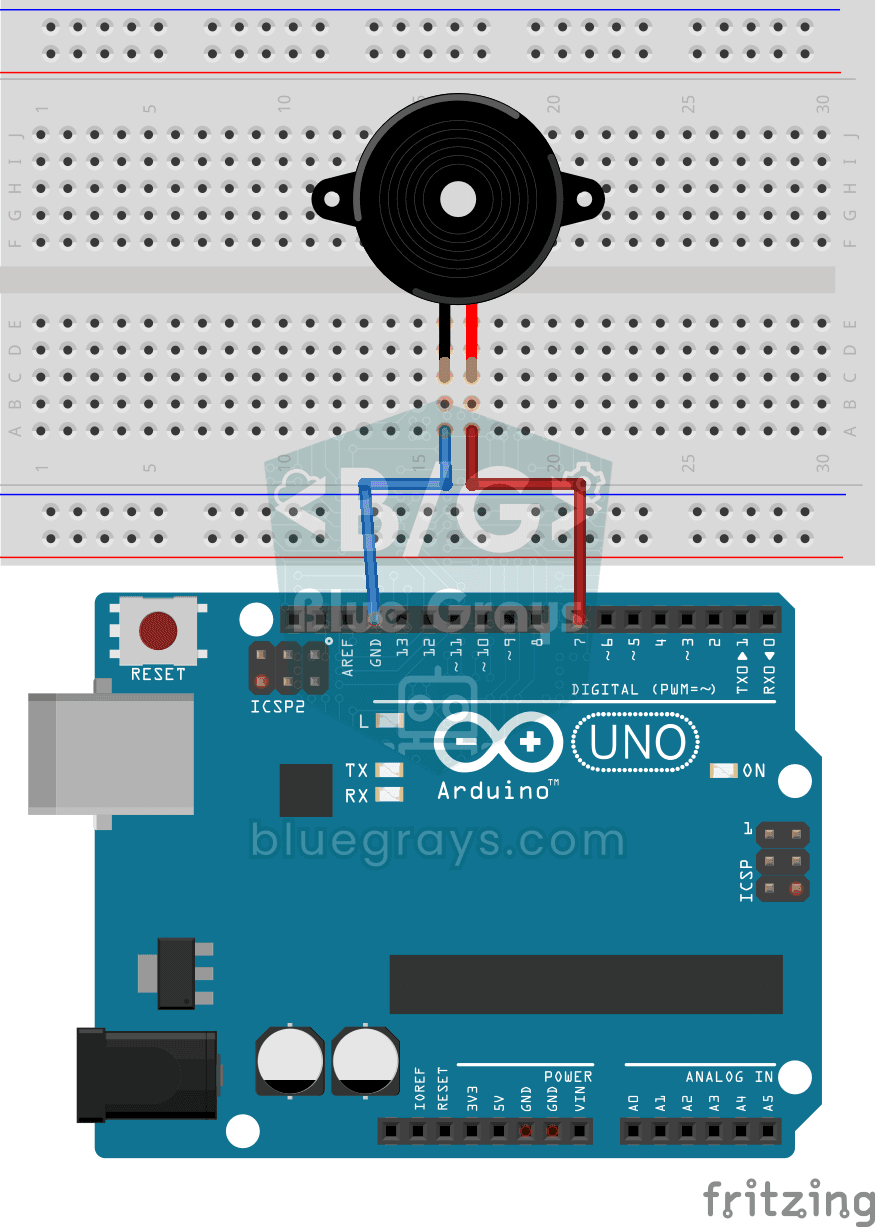
Using a Buzzer
Ever wondered how a doorbell or an alarm makes its sound? The Arduino makes a small buzzer beep at short intervals: beep, pause, beep, pause. You see how sound is made with electricity and take the fi

LED Control with a Push Button (Push)
Just like a doorbell: the light stays on as long as you press, and goes off when you let go. The Arduino keeps listening to the button; while it's pressed the LED is on, and the moment you lift your f
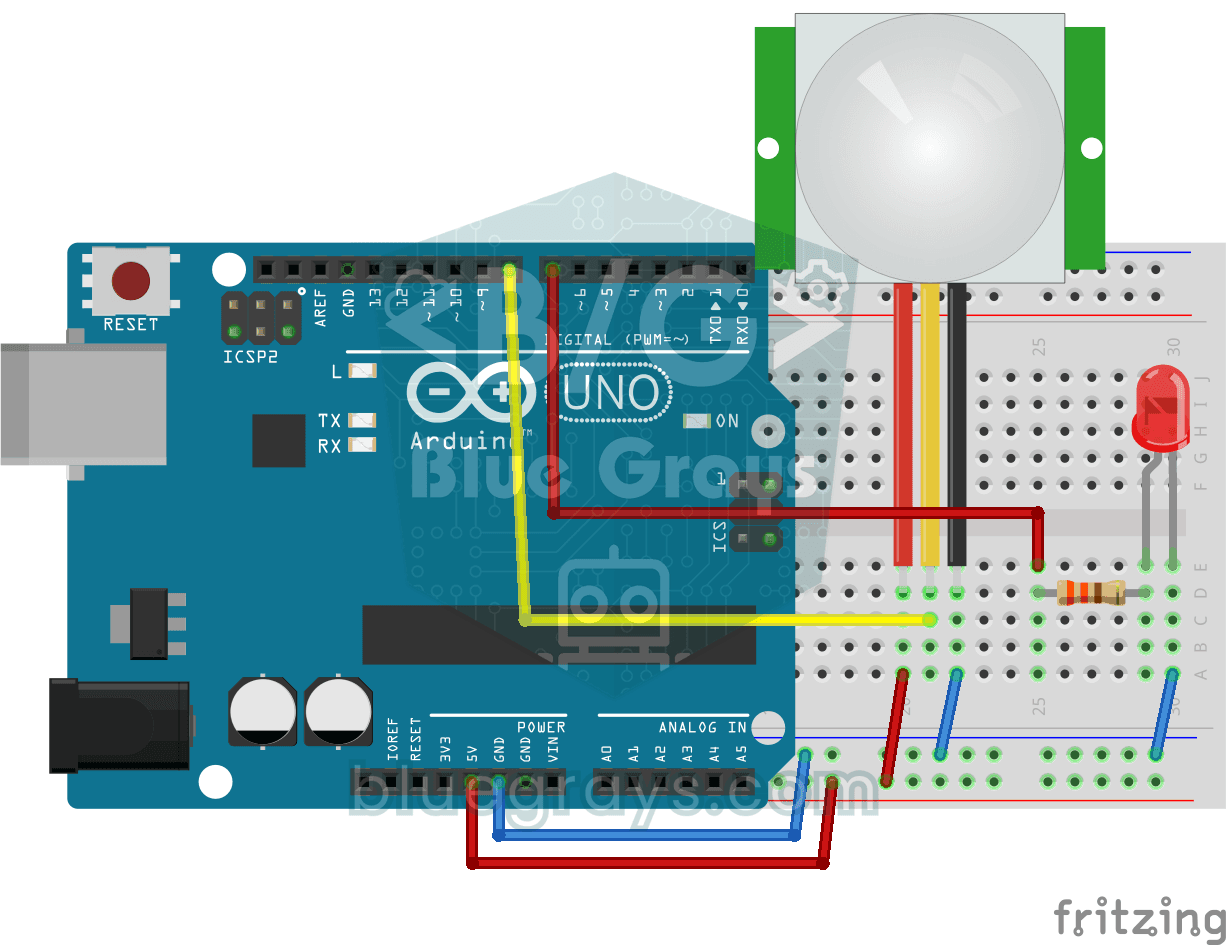
Motion Detector with Motion Sensor
A simple guard that tells you when someone walks into the room. The motion sensor picks up the warmth given off by the human body, and the Arduino keeps the LED on as long as there is movement and tur
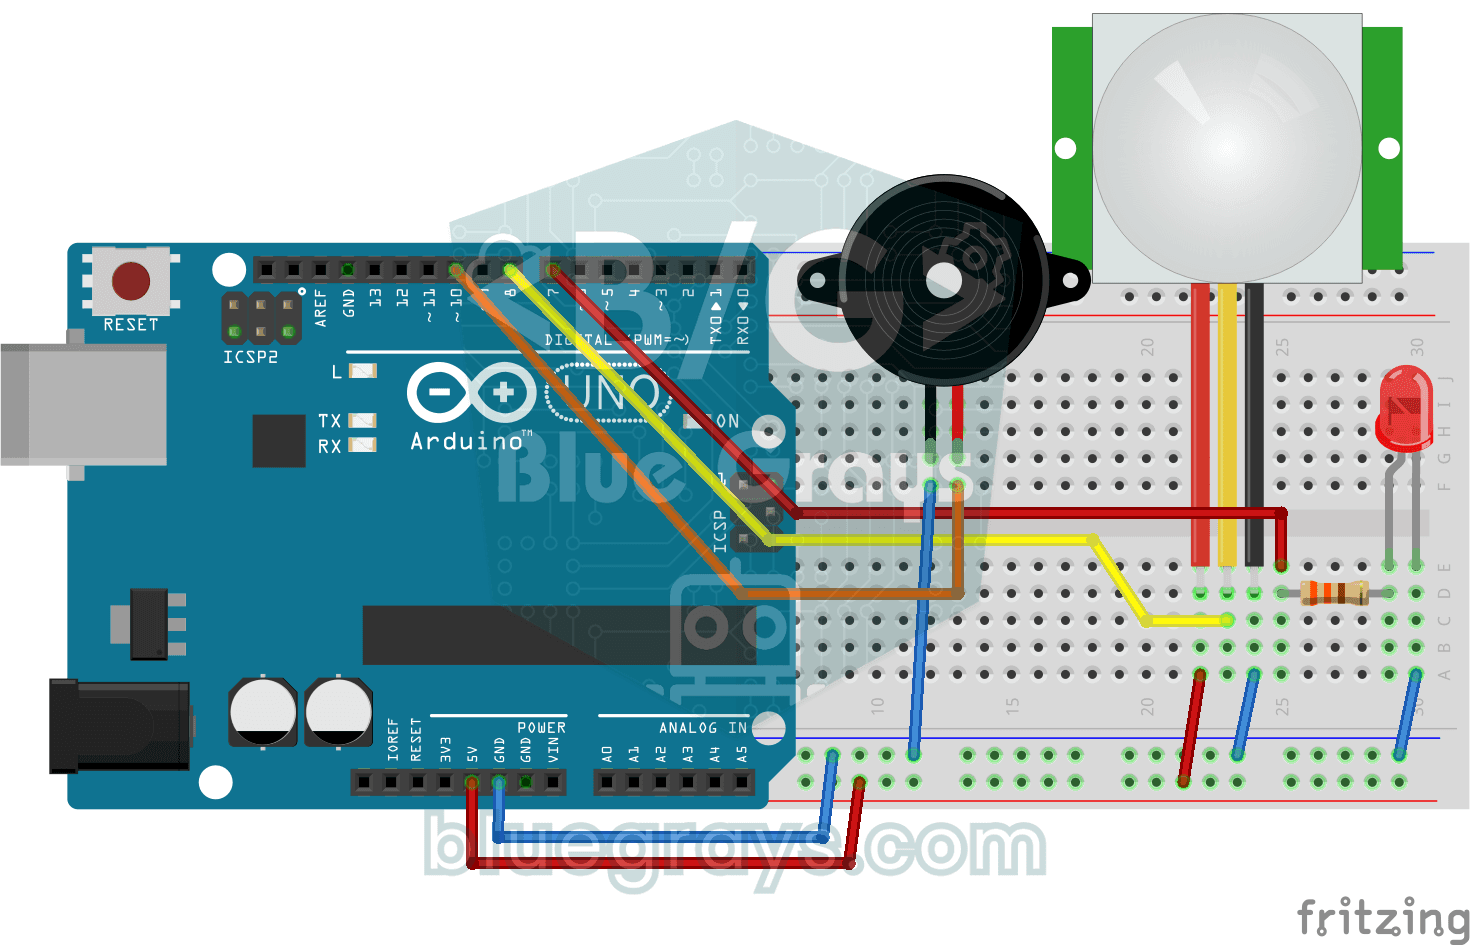
Doorbell and Light with Motion Sensor
When someone comes up to your door, you know before they even ring. As soon as the motion sensor spots someone, the LED lights up and the buzzer plays a three-note chime from high to low; when the tun
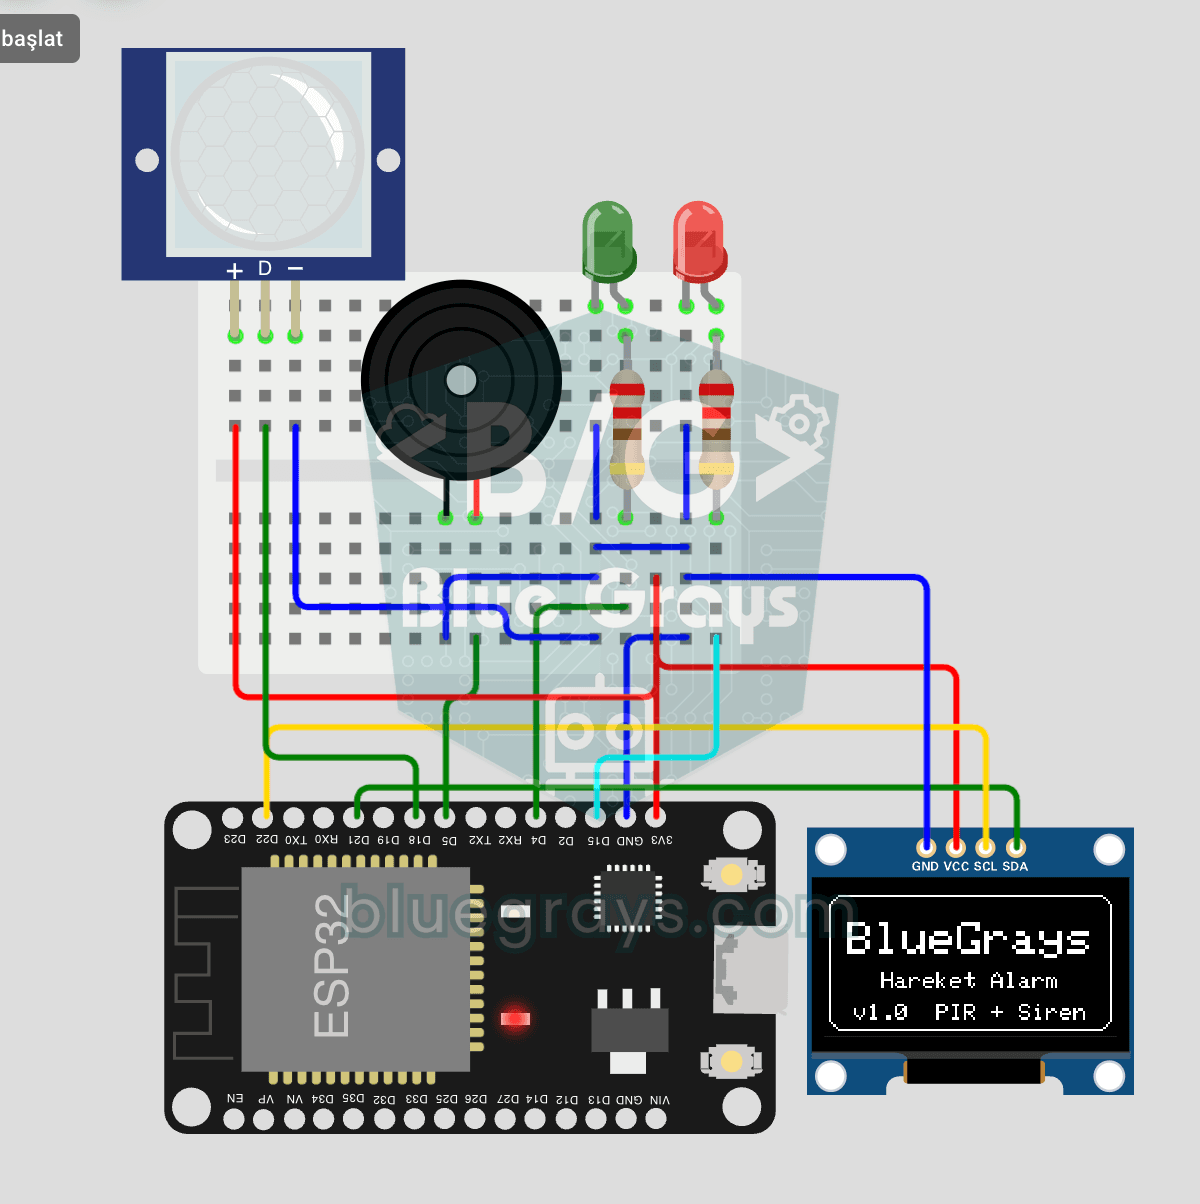
ESP32 Motion Alarm System (PIR + Buzzer + LED + Telegram)
A smart security alarm system that activates the buzzer and LED when the PIR sensor detects motion, while simultaneously sending an instant notification to the owner via Telegram. It includes a 30-second cooldown to limit the frequency of repeated alarms; this mechanism does not validate PIR detections or eliminate false triggers. Suitable for home security, garage monitoring, warehouses, or workrooms. With ESP32-CAM, photo notifications can be added; with the classic ESP32 DevKit V1, text notif

Smart Electronic Safe
A small safe for your valuables that opens with a code. You type your four-digit code on the keypad; if it is right, the servo motor opens the lock, the green light comes on and the screen shows the s
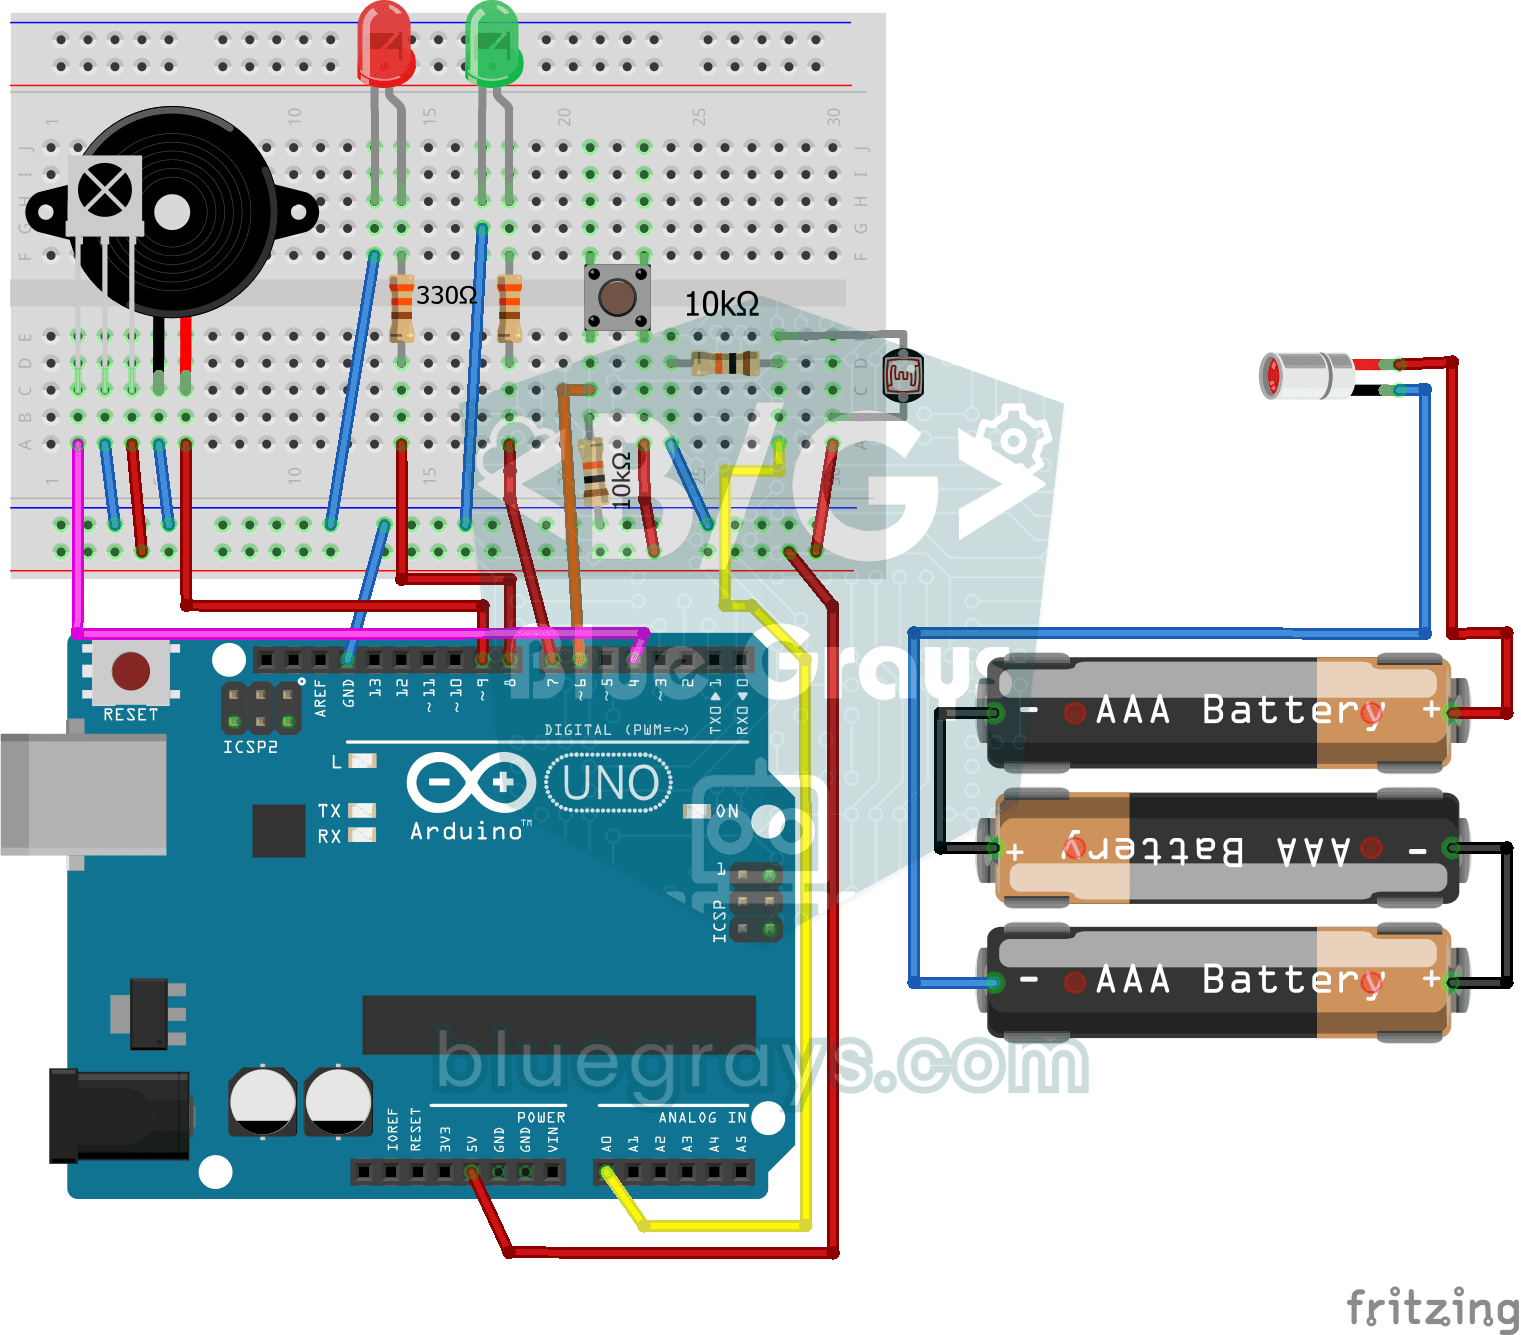
Laser Security System
Just like the laser heist scenes in films: a laser beam shines on a light sensor, and the moment someone steps in and breaks the beam, the red LED lights up and the buzzer starts sounding. The alarm d