
Arduino String Tutorial: char Array, substring and toInt
How do you use Arduino String? Concatenation, indexOf, substring, toInt, parsing serial commands, char arrays, F() macro and heap fragmentation on the Uno.
Arduino String is a ready-made class that lets you keep text in a single variable, join it and split it apart. When you want to split a command like "LED,1" coming from the serial port, print a sensor value as "Temperature: 24 C", or recognise a message arriving over Bluetooth, it's the first tool you reach for. There are two ways to work with text in Arduino: the easy-to-use String object and the lower-level char array inherited from C. Both do the same job, but they use memory very differently.
In this post you'll first see the most common String operations, such as concatenation, indexOf, substring and toInt, with real output. Then we'll write a parser that takes commands from the serial port, switches an LED on and off and sets its brightness with PWM. After that we'll look at why String can cause trouble over time in the Arduino Uno's 2 KB of RAM, covering heap fragmentation and the F() macro. In the last sections you'll learn how the same parser is written with a char array, on the ESP32, and in MicroPython on the Raspberry Pi Pico.
What is String in Arduino, and how is it different from a char array?
String (with a capital S) is a class defined in the Arduino core. It keeps its text in a memory region called the heap and grows that space itself as the text gets longer. That's what makes joining with +, comparing with == and converting to a number with a single call possible. A char array, on the other hand, is a fixed block of bytes whose size you decide up front. The end of the text is always marked with an invisible '\0' (null) character, so the 5-letter word "Hello" needs an array of at least 6 bytes: char name[6] = "Hello";. With a char array you use C functions such as strcat and strcmp for joining and comparing; the == operator compares the memory addresses of two arrays, not their contents. This difference is one of the points where beginners get stuck most often.
| Feature | String | char array |
|---|---|---|
| Ease of use | Very easy: +, ==, substring() | Harder: strcat(), strcmp(), strtok() |
| Where it lives in memory | Heap, dynamic | Fixed; global area or stack |
| Size | Grows by itself | Set in advance |
| Overflow risk | None, but if memory runs out the operation fails silently | Yes; you do the bounds checking |
| Fragmentation risk | Yes (especially on the Uno) | No |
| Best for | ESP32, Pico, short and infrequent text | Always-on projects on the Uno and Nano |
Memory by platform and test connections
| Feature | Arduino Uno | ESP32 | Raspberry Pi Pico |
|---|---|---|---|
| RAM | 2 KB SRAM | 520 KB SRAM | 264 KB SRAM |
| Program memory | 32 KB flash | 4 MB external flash (on most boards) | 2 MB external flash |
| Test LED pin | D9 (PWM) + 220 Ω | GPIO 4 + 220 Ω | GP15 + 220 Ω |
| Serial speed (in the examples) | 9600 baud | 115200 baud | USB (Thonny shell) |
| F() macro | Saves RAM | No effect, exists for compatibility | Not available (MicroPython) |
| Text type | String and char[] | String and char[] | str (Python) |
Basic String operations: concatenation, indexOf, substring, toInt
To add text to a String you use += or concat(). indexOf() tells you at which position the character or word you're looking for sits; counting starts at 0 and it returns -1 if nothing is found. substring(start, end) copies a piece of the text: the start position is included and the end position is excluded, so substring(8, 12) takes the characters at positions 8, 9, 10 and 11. toInt() converts the digits at the start of the text into a long number. If you upload the code below and open the Serial Monitor at 9600 baud, you can compare the output of each line with the value in its comment.
1void setup() {
2  Serial.begin(9600);
3
4  String ad = "Blue";
5  ad += "Grays";                                  // birleştirme / concatenation
6  String mesaj = "Merhaba " + ad;                 // "Merhaba BlueGrays"
7  int sicaklik = 24;
8  String satir = String("Sicaklik: ") + sicaklik + " C";  // sayı eklemek / appending a number
9
10  Serial.println(mesaj);                          // Merhaba BlueGrays
11  Serial.println(satir);                          // Sicaklik: 24 C
12  Serial.println(mesaj.length());                 // 17
13  Serial.println(mesaj.indexOf(' '));             // 7
14  Serial.println(mesaj.indexOf("Grays"));         // 12
15  Serial.println(mesaj.substring(8));             // BlueGrays
16  Serial.println(mesaj.substring(8, 12));         // Blue
17  mesaj.toUpperCase();                            // yerinde değiştirir / modifies in place
18  Serial.println(mesaj);                          // MERHABA BLUEGRAYS
19
20  String sayiMetni = "1250";
21  long n = sayiMetni.toInt() + 1;                 // 1251
22  Serial.println(n);
23  float f = String("3.75").toFloat();             // 3.75
24  Serial.println(f, 2);
25  Serial.println(String(255, HEX));               // ff
26}
27
28void loop() {
29}| Function | What it does | Example (s = "LED,128") |
|---|---|---|
| s.length() | Returns the number of characters | 7 |
| s.indexOf(',') | Position of the first match, -1 if none | 3 |
| s.substring(0, 3) | From 0 up to position 3 (3 excluded) | "LED" |
| s.substring(4) | From position 4 to the end | "128" |
| s.substring(4).toInt() | Converts to a number (long); 0 if invalid | 128 |
| s.startsWith("LED") | Does it start with this text? | true |
| s.equalsIgnoreCase("led,128") | Compares ignoring upper and lower case | true |
| s.charAt(0) | Returns a single character | 'L' |
| s.trim() | Removes leading and trailing spaces, \r and \n (in place) | Unchanged (no whitespace) |
| s.c_str() | Returns a pointer that can be read like a char array | strcmp(s.c_str(), "LED,128") == 0 |
| String(3.14159, 2) | Converts a decimal number to text with the given digits | "3.14" |
| s.replace(",", ";") | Replaces a piece in place | s is now "LED;128" |
Parsing serial commands step by step
- Connect the LED's long leg (anode) to the Uno's D9 pin through a 220 Ω resistor and the short leg to GND. D9 supports PWM, so brightness can be adjusted too.
- Decide on the command format: COMMAND,VALUE. For example LED,1 turns the LED on, LED,0 turns it off, and PWM,128 gives roughly half brightness.
- Read a line from the serial port up to the Enter character ('\n') and clean up invisible characters with trim().
- Find the comma with indexOf(','); use substring() to split what comes before it as the command and what comes after it as the value.
- Convert the value to a number with toInt(), convert the command to upper case with toUpperCase() and compare it, then do the matching action.
- Print a short reply to the Serial Monitor after every command so you can see right away whether the command was understood.
1const int LED_PIN = 9;          // PWM destekli pin / PWM capable pin
2
3void setup() {
4  Serial.begin(9600);
5  Serial.setTimeout(50);        // satır bekleme süresi (ms) / line wait timeout (ms)
6  pinMode(LED_PIN, OUTPUT);
7  Serial.println(F("Komutlar / Commands: LED,1  LED,0  PWM,0-255"));
8}
9
10void loop() {
11  if (Serial.available() > 0) {
12    String satir = Serial.readStringUntil('\n');  // Enter'a kadar oku / read until Enter
13    satir.trim();                                // CR ve boşlukları sil / remove CR and spaces
14    if (satir.length() == 0) return;
15
16    String komut = satir;
17    String deger = "";
18    int virgul = satir.indexOf(',');
19    if (virgul >= 0) {
20      komut = satir.substring(0, virgul);        // virgülden önce / before the comma
21      deger = satir.substring(virgul + 1);       // virgülden sonra / after the comma
22    }
23    komut.toUpperCase();
24    long sayi = deger.toInt();                   // geçersizse 0 / 0 if invalid
25
26    if (komut == "LED") {
27      digitalWrite(LED_PIN, sayi ? HIGH : LOW);
28      Serial.print(F("LED -> "));
29      Serial.println(sayi ? "ACIK / ON" : "KAPALI / OFF");
30    } else if (komut == "PWM") {
31      sayi = constrain(sayi, 0, 255);            // 0-255 arasında tut / keep in 0-255
32      analogWrite(LED_PIN, (int)sayi);
33      Serial.print(F("PWM -> "));
34      Serial.println(sayi);
35    } else {
36      Serial.print(F("Bilinmeyen komut / Unknown command: "));
37      Serial.println(komut);
38    }
39  }
40}
The Serial.setTimeout(50) line is important: by default readStringUntil() waits 1000 ms for the next character, so if no line ending arrives the program freezes for a second. At 9600 baud one character arrives in about 1 ms, so 50 ms is more than enough. If the command contains no comma, indexOf() returns -1; in that case we treat the whole line as the command and the value stays empty. Applying toInt() to an empty String gives 0. There's a trap here: toInt() also returns 0 for invalid text, so "PWM,abc" and "PWM,0" look the same to the code. In a real project it's a good habit to check with isDigit() that the first character of the value is a digit. constrain() keeps the PWM value from going outside the 0–255 range.
Memory fragmentation: why can String lock up an Uno?
Every time a String grows and the current space isn't enough, it asks the heap for a larger new block, moves the text there and frees the old block. Freed blocks can't always be reused; over time the heap turns into a slice of Swiss cheese with small holes in it. Even if there are 300 bytes free in total, a 50-byte String can't be created if the largest contiguous piece is 40 bytes. This is called heap fragmentation. In the Arduino Uno's 2 KB of RAM the heap grows upward while the stack used by function calls grows downward; when the two collide, variables get corrupted, strange characters appear in the Serial Monitor, or the board resets by itself. The sneakier part is that when no space can be found, the String operation fails without an error: after a concatenation the text is left half-complete or empty. Because these problems usually appear after the program has been running for hours, you don't notice them in short tests at your desk.
- Reserve space with reserve(): For a String whose length you can estimate, write line.reserve(64); in setup(); as long as the text stays within that limit, it doesn't ask for new space.
- Use global or static: Strings that are recreated on every pass of loop() keep churning the heap; reusing a single global String is safer.
- Pass by reference: Define function parameters as void print(const String &text); passing a String by value creates a new copy on every call.
- Break up long chains: Expressions like a + b + c + d create temporary objects; adding step by step with += uses less temporary memory.
- Print directly: If you only want to display the text, use consecutive Serial.print() calls instead of joining it; that way no String is created at all.
- Don't use it in interrupts: Don't create Strings in functions called through attachInterrupt(); memory allocation isn't safe inside an interrupt.
Saving RAM on the Uno with the F() macro
On AVR boards (Uno, Nano, Mega) every constant text you write in your code is copied from flash to RAM when the program starts. Just ten 40-character menu strings use 400 bytes, a fifth of the Uno's RAM. The F("...") macro leaves the text in flash, and Serial.print() or lcd.print() reads it from there. The rule is simple: wrap every constant text you print to the Serial Monitor or a display in F(). F() only works with the print family and places that support it, like appending to a String; you can't pass it directly to C functions such as strcmp(). The code below also shows the classic way to measure free RAM on AVR boards; you can compare this value before and after using F().
1// Yalnız AVR kartlar (Uno, Nano, Mega) / AVR boards only (Uno, Nano, Mega)
2extern int __heap_start, *__brkval;
3
4int bosRam() {
5  int v;
6  return (int)&v - (__brkval == 0 ? (int)&__heap_start : (int)__brkval);
7}
8
9void setup() {
10  Serial.begin(9600);
11  Serial.println("Bu metin RAM'e kopyalanir / This text is copied to RAM");
12  Serial.println(F("Bu metin flash'ta kalir / This text stays in flash"));
13
14  String s;
15  s.reserve(40);                 // tek seferde 40 bayt / 40 bytes at once
16  s += F("Sicaklik: ");          // F() String'e de eklenebilir / F() works with String too
17  s += 24;
18  Serial.println(s);
19
20  Serial.print(F("Bos RAM / Free RAM: "));
21  Serial.println(bosRam());
22}
23
24void loop() {
25}
Safe command parsing with a char array
In projects where the board will run for days without interruption, especially on the Uno and Nano, collecting commands in a fixed-size char array is the most robust way. The code below writes incoming characters one by one into a 32-byte buffer, terminates the line with '\0' when '\n' arrives, and splits it at the comma with strtok(). When the buffer is full, extra characters are silently discarded, so there's no overflow. Because the code never waits with delay() or a timeout, other jobs in loop(), like reading sensors or driving motors, keep running without interruption. The only difference is that the comparison is case-sensitive: you must type commands in upper case.
1const int LED_PIN = 9;
2const byte MAX_UZUNLUK = 32;          // en fazla 31 karakter + '\0' / max 31 chars + '\0'
3char tampon[MAX_UZUNLUK];
4byte konum = 0;
5
6void komutIsle(char *satir) {
7  char *komut = strtok(satir, ",");   // ilk parça / first token
8  char *deger = strtok(NULL, ",");    // ikinci parça / second token
9  if (komut == NULL) return;
10  int sayi = (deger != NULL) ? atoi(deger) : 0;
11
12  if (strcmp(komut, "LED") == 0) {
13    digitalWrite(LED_PIN, sayi ? HIGH : LOW);
14  } else if (strcmp(komut, "PWM") == 0) {
15    sayi = constrain(sayi, 0, 255);
16    analogWrite(LED_PIN, sayi);
17  } else {
18    Serial.print(F("Bilinmeyen / Unknown: "));
19    Serial.println(komut);
20    return;
21  }
22  char cevap[40];
23  snprintf(cevap, sizeof(cevap), "OK %s=%d", komut, sayi);   // taşma korumalı / overflow safe
24  Serial.println(cevap);
25}
26
27void setup() {
28  Serial.begin(9600);
29  pinMode(LED_PIN, OUTPUT);
30}
31
32void loop() {
33  while (Serial.available() > 0) {
34    char c = Serial.read();
35    if (c == '\r') continue;              // CR karakterini atla / skip CR
36    if (c == '\n') {                      // satır bitti / line complete
37      tampon[konum] = '\0';
38      if (konum > 0) komutIsle(tampon);
39      konum = 0;
40    } else if (konum < MAX_UZUNLUK - 1) {
41      tampon[konum++] = c;                // yer varsa ekle / append if there is room
42    }
43  }
44}| Function | What it does | Example |
|---|---|---|
| strlen(s) | Returns the number of characters, excluding '\0' | strlen("LED") → 3 |
| strncpy(dest, src, n) | Copies at most n characters | strncpy(buf, "PWM", sizeof(buf) - 1) |
| strcat(dest, src) | Appends to the end (dest must have room) | strcat(buf, ",128") |
| strcmp(a, b) | Returns 0 if the texts are equal | strcmp(cmd, "LED") == 0 |
| strchr(s, c) | Returns the address of the character, NULL if none | strchr(s, ',') |
| strtok(s, ",") | Splits the text at a delimiter (modifies the original) | strtok(NULL, ",") for the next piece |
| atoi / atol / atof | Converts text to an int, long or double number | atoi("128") → 128 |
| snprintf(buf, size, ...) | Builds formatted text, protected against overflow | snprintf(buf, sizeof(buf), "%d", 42) |
| dtostrf(number, width, digits, buf) | Converts a float to text (%f doesn't work on AVR) | dtostrf(3.14159, 4, 2, buf) → "3.14" |
String on the ESP32: why is it easier, and what to watch for?
The ESP32 has 520 KB of SRAM, about 260 times the Uno's. That makes String much easier to use in text-heavy jobs like web servers, JSON or MQTT messages, and the String parser above runs unchanged on the ESP32 if you set LED_PIN to 4 and the baud rate to 115200. The String in the ESP32 core stores short texts directly inside the object without going to the heap, which reduces fragmentation for small labels. Constant text is already read from flash, so F() changes nothing here and only keeps the code compatible with AVR. Still, building large Strings on every request in a web server that stays on for months can lead to fragmentation. To monitor it, ESP.getFreeHeap() gives the total free memory and ESP.getMaxAllocHeap() gives the largest contiguous block that can be allocated; if the gap between the two keeps growing over time, fragmentation has begun.
1String satir;                     // global, tekrar kullanılır / global, reused
2
3void setup() {
4  Serial.begin(115200);
5  satir.reserve(96);              // önceden yer ayır / pre-allocate
6  Serial.printf("Bos heap: %u bayt\n", (unsigned int)ESP.getFreeHeap());
7}
8
9void loop() {
10  static unsigned long son = 0;
11  if (millis() - son >= 2000) {
12    son = millis();
13    int ham = analogRead(34);     // GPIO 34: yalnız giriş, ADC1 / input only, ADC1
14    satir = "t=";
15    satir += millis() / 1000;
16    satir += " s, adc=";
17    satir += ham;
18    satir += ", heap=";
19    satir += (unsigned long)ESP.getFreeHeap();       // toplam boş / total free
20    satir += ", blok=";
21    satir += (unsigned long)ESP.getMaxAllocHeap();   // en büyük blok / largest block
22    Serial.println(satir);
23  }
24}
Text handling on the Raspberry Pi Pico with MicroPython
In MicroPython text is the str type and, as in Python, it's immutable; every operation produces a new string, and the garbage collector cleans up the unused ones. Since the Pico has 264 KB of RAM, jobs like command parsing don't strain the board at all. The equivalent of String's indexOf is find(), of substring is slicing (line[0:3]), of toInt is int(), and of trim is strip(). The most useful one is split(","), which breaks the text into pieces in a single line. On invalid text int() raises a ValueError instead of returning 0; this is safer than the ambiguity of Arduino's toInt(), but you need to catch the error with try/except. Connect the LED to GP15 through a 220 Ω resistor, run the code in Thonny and type the commands into the Shell window. If you program the Pico with the Arduino IDE, String and char arrays work the same way; the only difference is that RAM is plentiful.
1import sys
2from machine import Pin, PWM
3
4led = PWM(Pin(15))                          # GP15 + 220 ohm direnç / resistor
5led.freq(1000)
6
7print("Komutlar / Commands: LED,1  LED,0  PWM,0-255")
8
9while True:
10    satir = sys.stdin.readline().strip()    # Enter'a kadar bekler / waits for Enter
11    if not satir:
12        continue
13    parcalar = satir.split(",")             # "PWM,128" -> ["PWM", "128"]
14    komut = parcalar[0].upper()
15    try:
16        deger = int(parcalar[1]) if len(parcalar) > 1 else 0
17    except ValueError:                      # sayı değil / not a number
18        print("Gecersiz sayi / Invalid number:", parcalar[1])
19        continue
20    if komut == "LED":
21        led.duty_u16(65535 if deger else 0)
22        print("LED ->", "ACIK / ON" if deger else "KAPALI / OFF")
23    elif komut == "PWM":
24        deger = max(0, min(255, deger))     # 0-255 arasında tut / keep in 0-255
25        led.duty_u16(deger * 257)           # 0-255 -> 0-65535
26        print("PWM ->", deger)
27    else:
28        print("Bilinmeyen komut / Unknown command:", komut)
Project ideas with String and serial communication
- Control over Bluetooth: Handle commands like "LED,1" or "SERVO,90" coming from a phone through an HC-05 Bluetooth module with the same parser.
- Python control panel: Send commands from a Python script on your computer and read measurements back from the Arduino; details in Arduino Python serial communication.
- Messaging between two Arduinos: With UART serial communication one board sends a measurement and the other parses the "T,24" line and shows it on a display.
- Scrolling message on an LCD: Scroll text typed in the serial port with substring() and show it on an I2C LCD display.
- Make settings permanent: Save a threshold received with a command like "THRESH,500" to EEPROM so the setting isn't lost when the board restarts.
- Log data to Excel: Send sensor values as comma-separated lines and export them to Excel.
Common mistakes and how to fix them
| Symptom | Cause | Fix |
|---|---|---|
| Command is never detected | Line ending set to No line ending, or '\r' left at the end of the text | Select Newline, use trim() |
| 1-second delay on every command | readStringUntil() is waiting for the default 1000 ms timeout | Serial.setTimeout(50) or read character by character |
| "PWM,abc" turns the LED off | toInt() returns 0 for invalid text | Check the first character with isDigit() |
| == is always false with char arrays | == compares addresses, not contents | Use strcmp(a, b) == 0 |
| Meaningless characters at the end of the text | '\0' is missing from the char array or the array is too small | Make the array text length + 1 and end it with '\0' |
| Freezes or resets after hours | Heap fragmentation or running out of RAM on the Uno | Use reserve(), F() and char arrays |
| snprintf prints "?" instead of a float | %f support is disabled on AVR | Convert with dtostrf() |
| length() is too large for text with accented letters | Letters like ş, ğ, ı take 2 bytes in UTF-8 | Calculate by byte count or use ASCII |
Once you understand the difference between String and a char array, you can safely process any command from the serial port, any Bluetooth message or any sensor line. To get to know the Serial Monitor better, see Arduino Serial Monitor, and for the general logic of arrays, see Arduino arrays. In the BlueGrays app you can put what you learned here into practice right away with projects like lighting an LED from your phone over Bluetooth, serial communication between two Arduinos and printing messages on an LCD, complete with step-by-step circuit diagrams and code.
Frequently asked questions
Should I use String or a char array in Arduino?
In short test sketches, on the ESP32 and on the Pico, String is quick and readable. In a project that must run for days on a board with 2 KB of RAM like the Arduino Uno or Nano, a fixed-size char array is safer because it completely avoids heap fragmentation. You can also mix the two: String's c_str() function lets you read it like a char array.
How do I convert a String to an int in Arduino?
On a String object you use text.toInt(); the result is a long and the digits at the start of the text are read. If the text contains no number it returns 0, so to tell a real 0 from bad input, check the first character with isDigit(). With a char array, atoi(), atol() or strtol(), which offers error checking, do the same job.
How do I convert a number to a String in Arduino?
The easiest way is to write String(number); String(255, HEX) produces hexadecimal text and String(3.14159, 2) produces text with two decimal places. You can also append directly to an existing String with s += number. For a char array you use snprintf() or itoa(); on AVR boards you need dtostrf() for float numbers.
What does the Arduino F() macro do?
F() stops the constant text you pass to commands like Serial.print() from being copied to RAM and has it read from flash instead. Since the Arduino Uno has only 2 KB of RAM, it saves hundreds of bytes with long menu and warning texts. On the ESP32 and Pico constant text already stays in flash, so F() makes no difference and exists only for compatibility.
How does Arduino read text from the serial port?
The shortest way is to read up to the Enter character with Serial.readStringUntil('\n'); then you should clean up '\r' and spaces with trim(). Since this function waits 1 second by default, it's a good idea to shorten the time with Serial.setTimeout(). If the program must never wait, read characters one by one with Serial.read(), collect them in a char array and process the line when '\n' arrives.
How do I compare two Strings in Arduino?
On String objects the == operator or equals() compares the contents; if you don't want case to matter, use equalsIgnoreCase(). With char arrays == only compares memory addresses and gives wrong results, so you must write strcmp(a, b) == 0 instead. Don't forget to remove the '\r' at the end of the text with trim() before comparing.
Projects to build after reading this
See all projects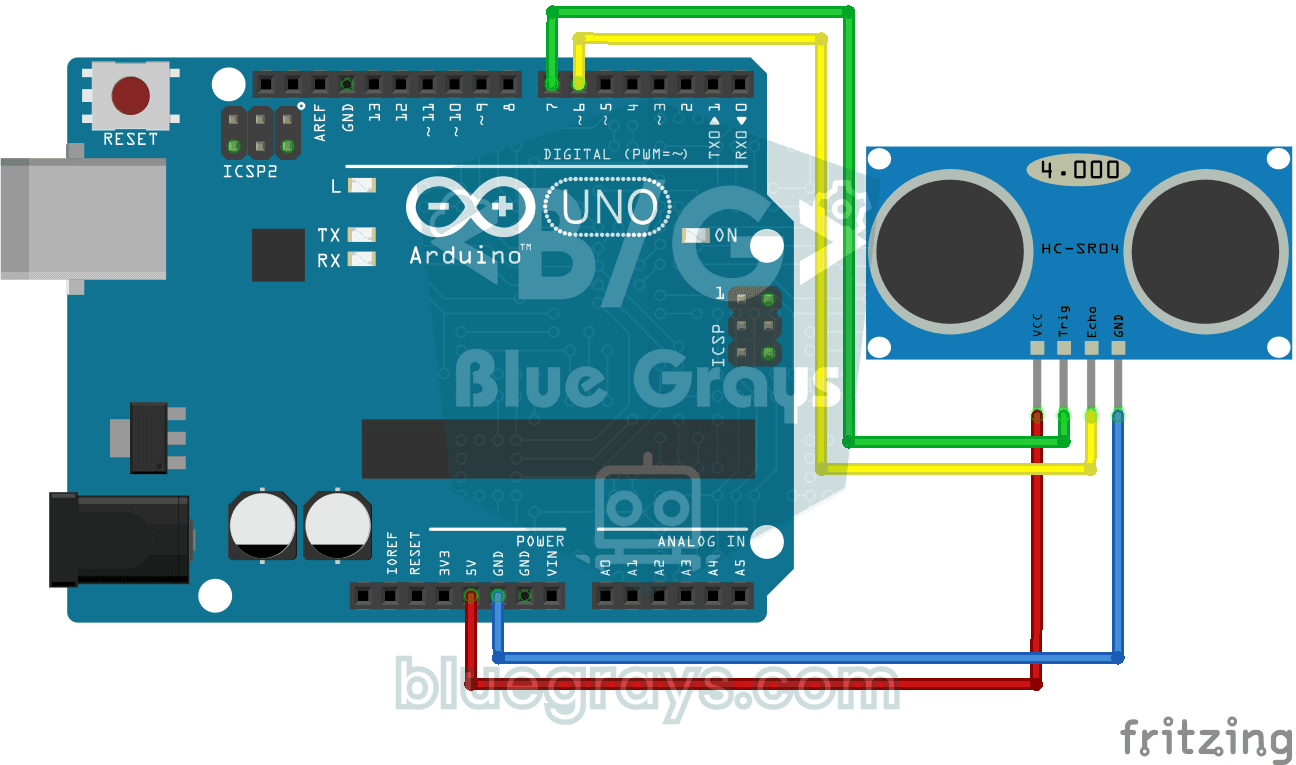
HC-SR04 Distance Measurement (Serial Display)
The HC-SR04 sensor works just like a bat finding its way in the dark: it sends out a sound you cannot hear, listens for the echo and measures how far away the object in front of it is.
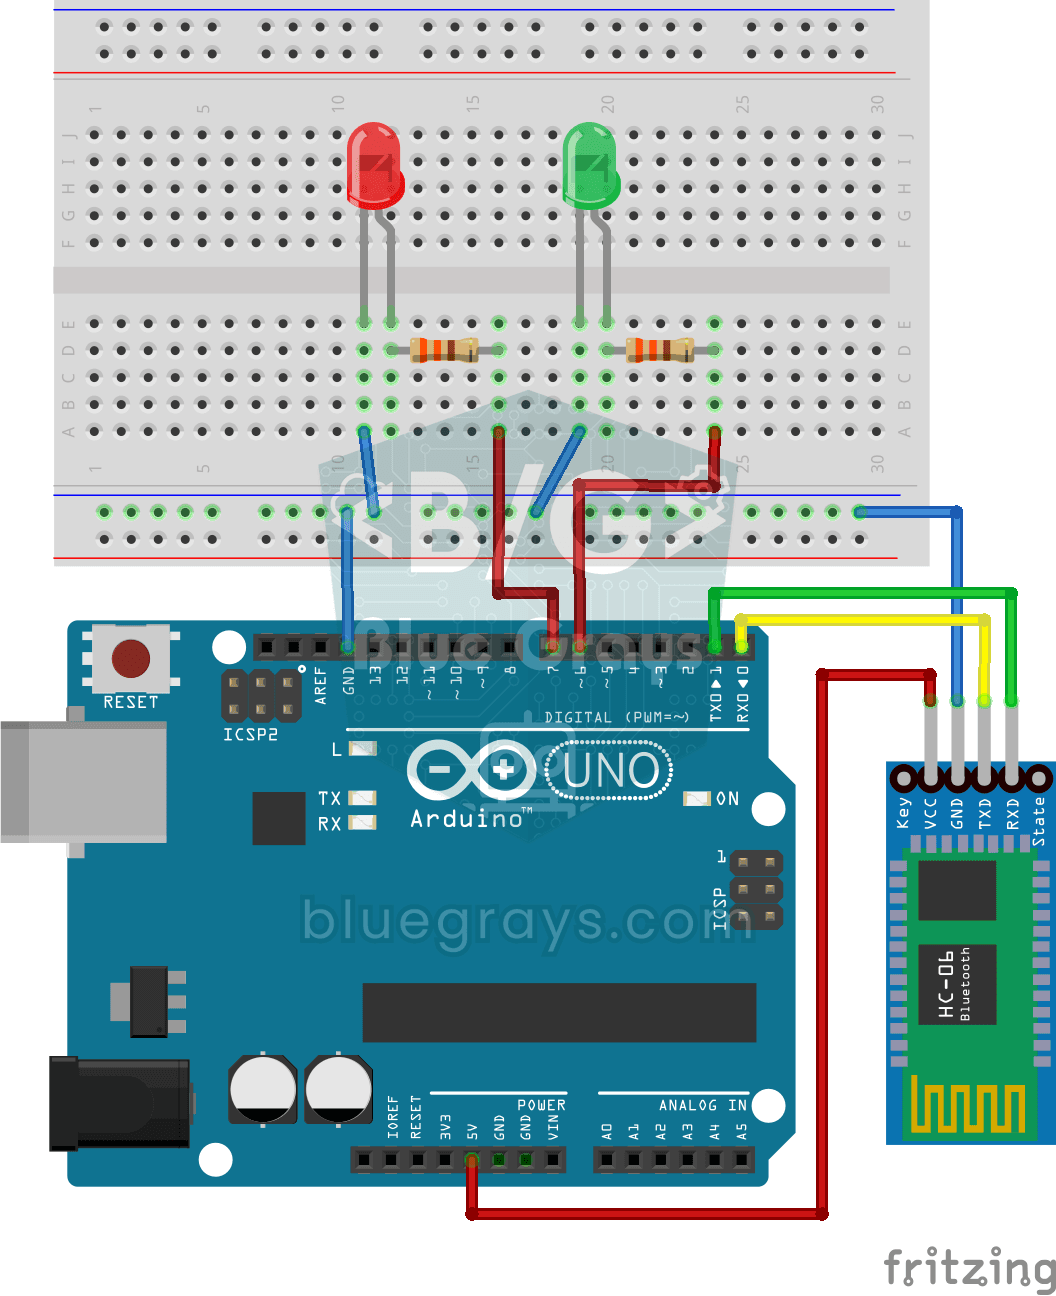
Control an LED from Your Phone via Bluetooth
A small rehearsal for switching the lights in your room on and off from your phone.
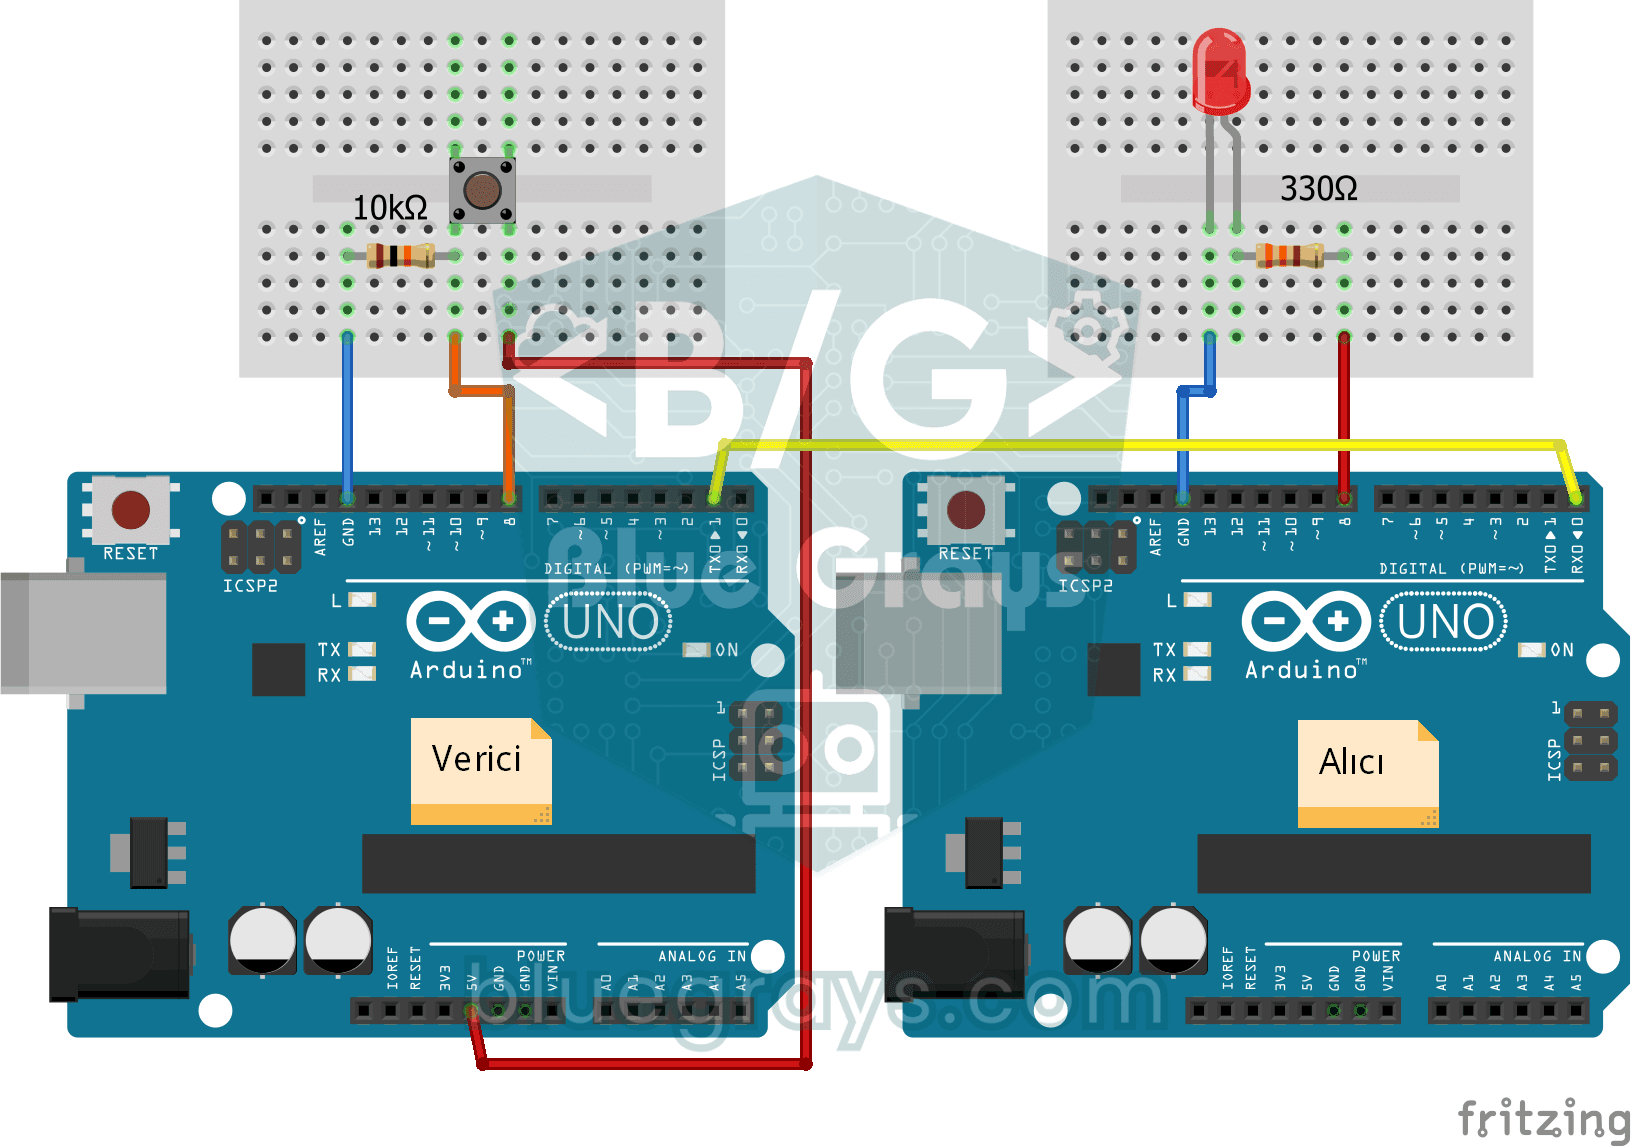
One-Way Communication Between 2 Arduinos
You get two Arduinos talking over a single wire: press the button on one and the LED on the other lights up, press it again and it goes off.
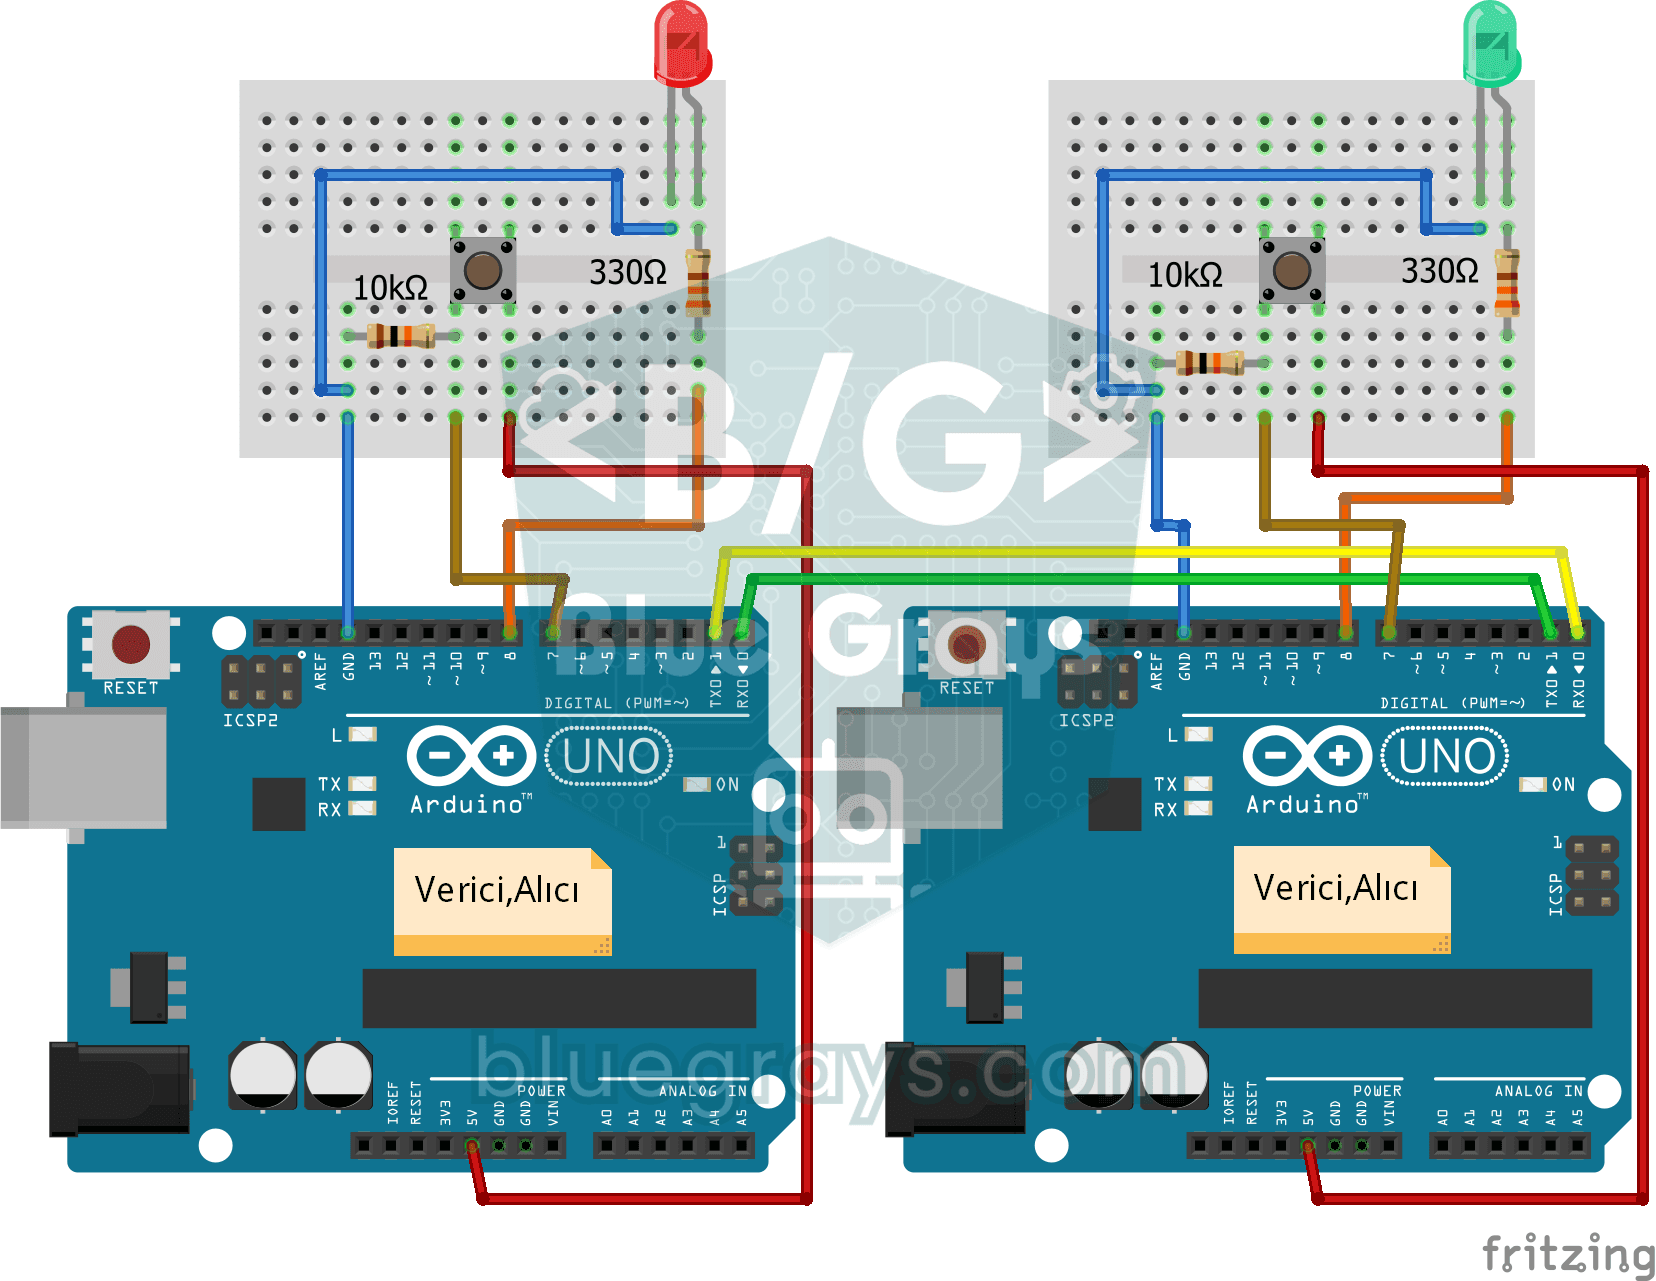
Two-Way Communication Between 2 Arduinos
Two Arduinos are wired together and talk to each other: press the button on one and the light on the other comes on, press it again and it goes off.
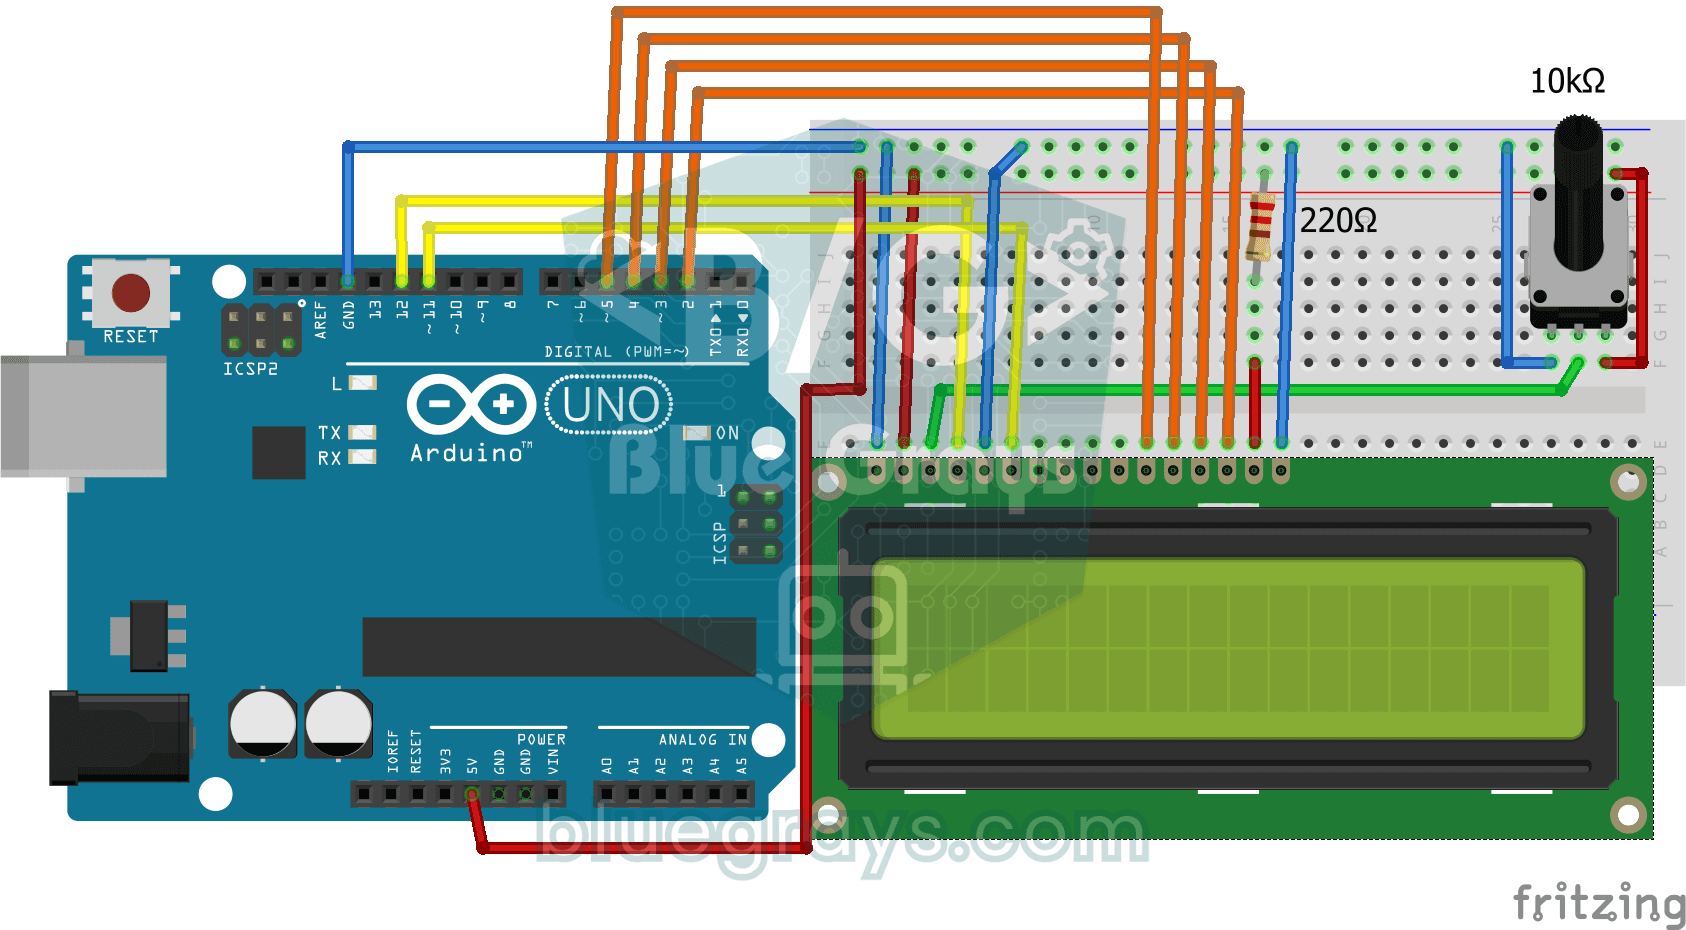
Print Message on 2x16 LCD Screen
Your first step to writing text on a screen. The two-line LCD screen first shows a waiting message, then writes a greeting on the top line and types a word letter by letter on the bottom line like a…
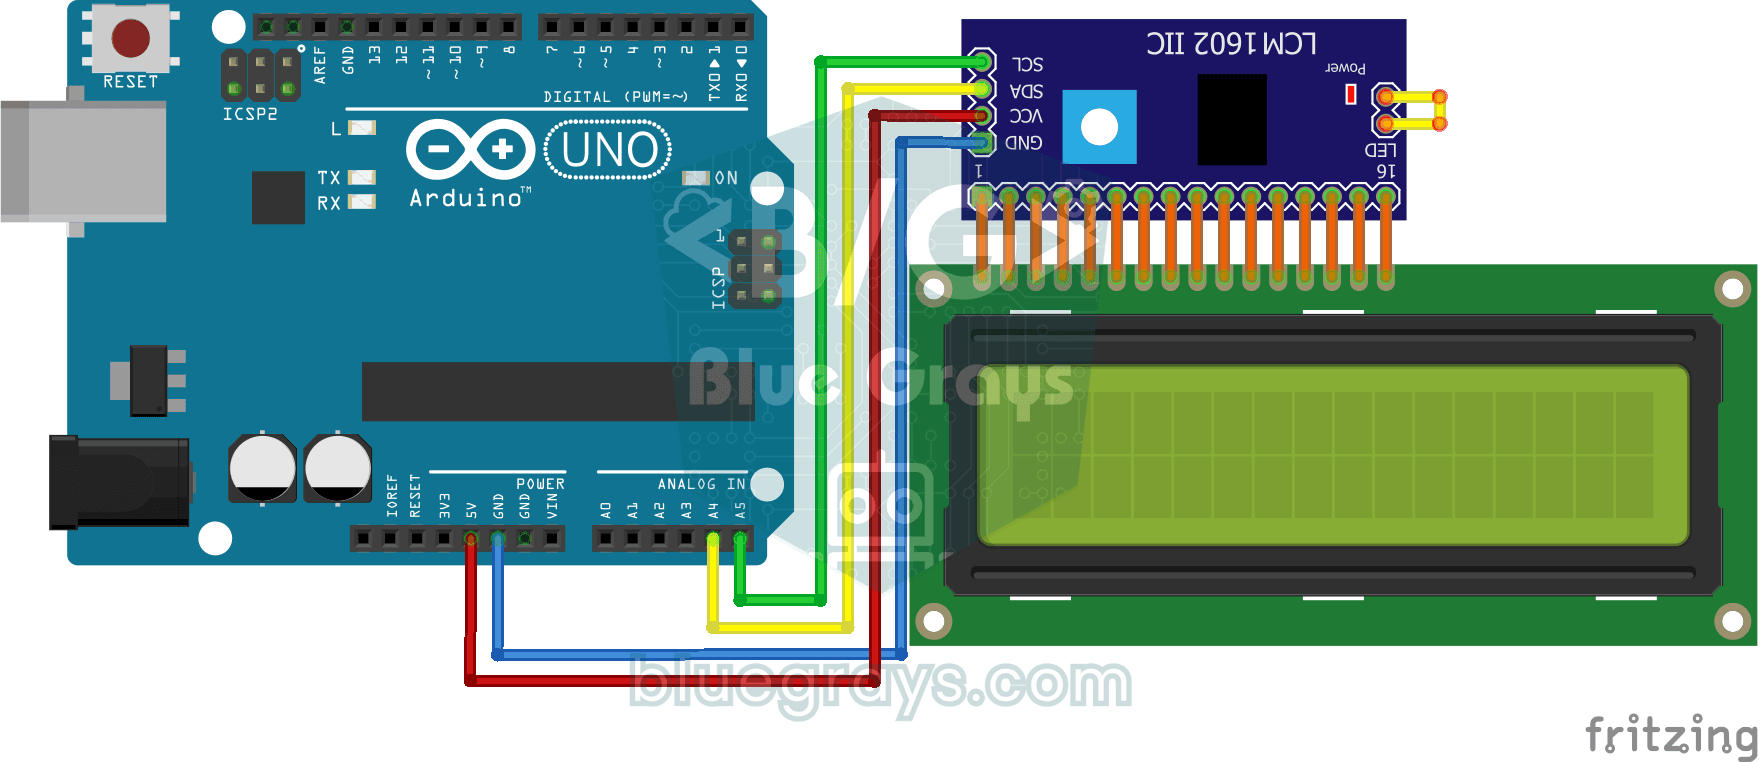
Using LCD Screen with I2C
Give your Arduino its own screen and make it write its first message. The two-line LCD screen hooks up with just a few wires; a greeting appears on the top line, then a second message on the bottom…
Python Developer Keyboard
If you are tired of typing the same patterns over and over while coding, this little keyboard is made for you.

Bluetooth Controlled Car with L298N
Turn your phone into a remote and drive your own robot car. The Arduino receives commands from a remote-control app on your phone through a Bluetooth module and spins the wheels with a motor driver…