
Arduino Python Serial Communication: pyserial, CSV and Live Plots
Arduino Python serial communication with pyserial: install it, find the port, log sensor data to CSV, send commands and draw live plots with matplotlib.
Arduino Python serial communication means a Python program running on your computer exchanging data with an Arduino over the USB cable. The Arduino measures a sensor and writes the result to the serial port; Python reads those lines with the pyserial library, saves them to a CSV file, plots them, or makes a decision and sends a command back to the Arduino. That way you combine the Arduino's precise hardware control with Python's power for data processing, graphs, AI and automation. You don't need any extra module either: the USB cable you upload sketches with is enough.
In this guide you'll learn step by step how to install pyserial, find the Arduino's port automatically, log sensor data with timestamps to a CSV file, send LED and PWM commands from Python to the Arduino and draw a live plot with matplotlib. After that we'll cover choosing a data format and line ending, the two most confusing problems (the port busy error and the board resetting when the port opens), and how doing the same job in MicroPython on a Raspberry Pi Pico differs. The examples are written for the Arduino Uno; you'll see the changes needed for the ESP32 and Pico separately.

How does Arduino talk to Python?
The USB-to-serial chip on the Arduino Uno (an ATmega16U2 on genuine boards, usually a CH340 on clones) shows up on your computer as a virtual serial port: COM3, COM4 and so on in Windows; /dev/cu.usbmodem… or /dev/cu.usbserial-… on macOS; /dev/ttyACM0 or /dev/ttyUSB0 on Linux. Every character the Arduino writes with Serial.print() flows to the computer through this port as bytes; on the Python side, pyserial opens the port like a file, reads from it and writes to it. One important distinction: the Arduino Uno does not run Python code. The board runs Arduino code written in C++, the computer runs Python, and the two only talk over the serial line. For both sides to speak the same language, these settings must match:
| Setting | Arduino side | Python side | Watch out |
|---|---|---|---|
| Port | Created automatically over USB | serial.Serial("COM3", ...) | The port name depends on the operating system |
| Speed (baud) | Serial.begin(115200) | serial.Serial(port, 115200) | If they differ, you get garbage characters |
| Frame | 8 data bits, no parity, 1 stop bit (8N1) | pyserial's default is also 8N1 | You rarely need to change it |
| Line ending | Serial.println() appends \r\n | readline() reads until it sees \n | Don't forget to add \n when sending from Python |
| Timeout | Serial.setTimeout(), default 1000 ms | timeout=1 (seconds) | With timeout=None, readline() waits forever |
Installing pyserial (Windows, macOS, Linux)
- Make sure Python 3 is installed. On Windows, tick the Add python.exe to PATH box on the first screen of the installer from the official Python website; on macOS and Linux, Python 3 usually comes preinstalled.
- Open a terminal (Command Prompt or PowerShell on Windows) and type python -m pip install pyserial. If Windows doesn't recognise the python command, try py -m pip install pyserial; on macOS and Linux the command may be python3 -m pip install pyserial.
- Check the installation: python -c "import serial; print(serial.__version__)" should print a version number such as 3.5.
- The live plot section also needs matplotlib: python -m pip install matplotlib.
- On Linux, add your user to the dialout group so you can open the port: sudo usermod -a -G dialout $USER, then log out and back in. If pip shows an externally-managed-environment error on Raspberry Pi OS or recent Ubuntu releases, use sudo apt install python3-serial or create a virtual environment with python3 -m venv and run pip inside it.
Which port is the Arduino on? Finding the port with Python
The easiest way is to look at the Tools > Port menu in the Arduino IDE, but Python can list the ports itself. Type python -m serial.tools.list_ports -v in a terminal and you'll see the name, description and hardware ID (VID:PID) of every port. If you can't tell which line is the Arduino, unplug the board, run the command again and note the port that disappeared. On macOS the same board appears as both /dev/tty… and /dev/cu…; use the one starting with cu in Python.
| USB chip | Where you'll find it | VID:PID | Name shown in Windows | Linux port name |
|---|---|---|---|---|
| ATmega16U2 | Genuine Uno R3, Mega 2560 | 2341:0043 (Uno) | Arduino Uno (COMx) | /dev/ttyACM0 |
| CH340 | Clone Uno, Nano and Mega boards | 1A86:7523 | USB-SERIAL CH340 (COMx) | /dev/ttyUSB0 |
| CP2102 | ESP32 DevKit, NodeMCU | 10C4:EA60 | Silicon Labs CP210x USB to UART Bridge (COMx) | /dev/ttyUSB0 |
| FT232R | Older Nanos, FTDI cables | 0403:6001 | USB Serial Port (COMx) | /dev/ttyUSB0 |
| RP2040 (built-in USB) | Raspberry Pi Pico running MicroPython | 2E8A:0005 | USB Serial Device (COMx) | /dev/ttyACM0 |
The function below lists every port and, if it recognises a board by its VID, returns that board's port name. Save the code as port_bul.py and you can write from port_bul import port_bul and PORT = port_bul() in your other scripts instead of editing the port name by hand every time.
1import serial.tools.list_ports
2
3# Bilinen USB yongalarının üretici kimlikleri (VID) / Vendor IDs of common USB chips
4BILINEN = {
5    0x2341: "Arduino (orijinal / genuine)",
6    0x2A03: "Arduino (orijinal / genuine)",
7    0x1A86: "CH340 (klon / clone)",
8    0x10C4: "CP210x (ESP32, NodeMCU)",
9    0x0403: "FTDI",
10    0x2E8A: "Raspberry Pi Pico",
11}
12
13
14def port_bul():
15    portlar = sorted(serial.tools.list_ports.comports())
16    for p in portlar:
17        print(p.device, "|", p.description, "|", p.hwid)   # tüm portları listele / list every port
18    for p in portlar:
19        if p.vid in BILINEN:
20            print("Bulundu / found:", p.device, "->", BILINEN[p.vid])
21            return p.device
22    return None
23
24
25if __name__ == "__main__":
26    if port_bul() is None:
27        print("Kart yok: kabloyu ve surucuyu kontrol et / no board: check cable and driver")
Sending data from the Arduino: the first sketch
The examples use a potentiometer connected to pin A0: the middle pin goes to A0, one outer pin to 5V and the other to GND. Instead of a potentiometer you can also wire an LDR with a 10 kΩ resistor as a voltage divider. The sketch takes a reading every 200 ms and sends the result as a single line in the time,value format:
1// A0 değerini "millis,deger" CSV satırı olarak gönderir / Sends the A0 reading as a "millis,value" CSV line
2const int SENSOR_PIN = A0;            // potansiyometrenin orta ucu / potentiometer wiper
3const unsigned long ARALIK = 200;     // gönderim aralığı, ms / send interval, ms
4unsigned long sonGonderim = 0;
5
6void setup() {
7  Serial.begin(115200);               // Python'daki hızla aynı olmalı / must match the baud rate in Python
8}
9
10void loop() {
11  if (millis() - sonGonderim >= ARALIK) {   // delay() olmadan zamanlama / timing without delay()
12    sonGonderim = millis();
13    int deger = analogRead(SENSOR_PIN);     // 0-1023
14    Serial.print(sonGonderim);              // zaman damgası / timestamp
15    Serial.print(',');                      // ayırıcı / separator
16    Serial.println(deger);                  // sonuna \r\n ekler / appends \r\n
17  }
18}
Using millis() instead of delay() makes it easier to add reading commands from Python to the same loop later; see millis vs delay for details. After uploading, open the Serial Monitor at 115200 baud and you'll see lines like 2573,512 scrolling by. This is only a check: always close the Serial Monitor before running the Python script, otherwise the port will be busy. If you're new to the Serial Monitor, the Arduino Serial Monitor guide will help.
Reading Arduino data with Python and saving it to CSV
1import csv
2import time
3from datetime import datetime
4
5import serial
6
7PORT = "COM3"     # macOS: /dev/cu.usbmodem14101, Linux: /dev/ttyACM0
8BAUD = 115200     # Arduino'daki Serial.begin ile aynı / same as Serial.begin on the Arduino
9
10with serial.Serial(PORT, BAUD, timeout=1) as ser, \
11        open("olcumler.csv", "w", newline="", encoding="utf-8") as dosya:
12    time.sleep(2)               # Uno port açılınca resetlenir / the Uno resets when the port opens
13    ser.reset_input_buffer()    # yarım kalmış eski veriyi at / drop stale, partial data
14    yazici = csv.writer(dosya)
15    yazici.writerow(["tarih", "zaman_ms", "deger", "volt"])   # başlık satırı / header row
16    print("Kayit basladi, durdurmak icin Ctrl+C / logging, press Ctrl+C to stop")
17    try:
18        while True:
19            satir = ser.readline().decode("utf-8", errors="ignore").strip()
20            parcalar = satir.split(",")
21            if len(parcalar) != 2:
22                continue                    # boş ya da beklenmeyen satır / empty or unexpected line
23            try:
24                zaman_ms, deger = int(parcalar[0]), int(parcalar[1])
25            except ValueError:
26                continue                    # bozuk satır / corrupted line
27            volt = deger * 5.0 / 1023       # Uno ADC: 0-1023 -> 0-5 V
28            yazici.writerow([datetime.now().isoformat(timespec="seconds"),
29                             zaman_ms, deger, round(volt, 3)])
30            dosya.flush()                   # satırı hemen diske yaz / write the row to disk now
31            print(zaman_ms, deger, f"{volt:.2f} V")
32    except KeyboardInterrupt:
33        print("Durduruldu / stopped")
This script opens the port with timeout=1: readline() waits at most 1 second for a line ending, returns an empty bytes object if nothing arrives, and the loop never hangs. The incoming data is of type bytes; decode() turns it into text, strip() removes the trailing \r\n, and split(",") splits the line into columns. The time.sleep(2) and reset_input_buffer() after opening the port throw away the half lines that arrive while the Uno restarts; you'll see why below. Opening the file with newline="" prevents blank rows on Windows, and flush() keeps the readings saved so far on disk even if the program closes suddenly. Press Ctrl+C in the terminal to stop logging.
Sending commands from Python to the Arduino
Communication works both ways. The Arduino sketch below waits for commands arriving line by line: LED ON and LED OFF switch the built-in LED, PWM 128 sets the brightness of an LED on pin 9, and READ sends back the value on A0. Every command gets a short reply, so Python knows the command was really processed. You can find the right resistor for the LED on pin 9 with the LED resistor calculator; What is PWM? explains how PWM works.
1// Python'dan gelen satır komutlarını işler / Handles line-based commands from Python
2const int LED_PIN = LED_BUILTIN;      // Uno'da pin 13 / pin 13 on the Uno
3const int PWM_PIN = 9;                // 220 ohm dirençli LED / LED with a 220 ohm resistor
4
5void setup() {
6  pinMode(LED_PIN, OUTPUT);
7  pinMode(PWM_PIN, OUTPUT);
8  Serial.begin(115200);
9  Serial.setTimeout(50);              // readStringUntil en fazla 50 ms bekler / waits at most 50 ms
10  Serial.println("HAZIR");            // Python bu satırı bekler / Python waits for this line
11}
12
13void loop() {
14  if (Serial.available() > 0) {
15    String komut = Serial.readStringUntil('\n');   // satır sonuna kadar oku / read up to the newline
16    komut.trim();                                  // \r ve boşlukları sil / strip \r and spaces
17
18    if (komut == "LED ON") {
19      digitalWrite(LED_PIN, HIGH);
20      Serial.println("OK LED ON");
21    } else if (komut == "LED OFF") {
22      digitalWrite(LED_PIN, LOW);
23      Serial.println("OK LED OFF");
24    } else if (komut.startsWith("PWM ")) {
25      int deger = komut.substring(4).toInt();     // "PWM 128" -> 128
26      deger = constrain(deger, 0, 255);           // 0-255 aralığında tut / keep it within 0-255
27      analogWrite(PWM_PIN, deger);
28      Serial.print("OK PWM ");
29      Serial.println(deger);
30    } else if (komut == "READ") {
31      Serial.println(analogRead(A0));              // A0 ölçümünü gönder / send the A0 reading
32    } else if (komut.length() > 0) {
33      Serial.print("ERR ");                        // bilinmeyen komut / unknown command
34      Serial.println(komut);
35    }
36  }
37}1import time
2
3import serial
4
5
6def komut_gonder(ser, komut):
7 ser.write((komut + "\n").encode("ascii")) # satır sonu şart / the newline is required
8 return ser.readline().decode("ascii", errors="ignore").strip() # cevabı bekle / wait for the reply
9
10
11with serial.Serial("COM3", 115200, timeout=2) as ser:
12 bitis = time.time() + 3 # en fazla 3 sn bekle / wait at most 3 s
13 while time.time() < bitis:
14 if ser.readline().strip() == b"HAZIR": # Arduino açıldı / the Arduino is up
15 break
16 print(komut_gonder(ser, "LED ON")) # OK LED ON
17 time.sleep(1)
18 print(komut_gonder(ser, "PWM 128")) # OK PWM 128
19 print("A0 =", komut_gonder(ser, "READ")) # A0 = 512
20 print(komut_gonder(ser, "LED OFF")) # OK LED OFFThe most common mistake on the Python side is leaving the \n off the end of a command: when readStringUntil('\n') can't find the line ending, the Arduino waits for the time set with Serial.setTimeout() and only then processes the command. In this sketch that time is 50 ms; with the default 1000 ms every command would be delayed by a second. write() only accepts bytes, so you need to convert the text with encode() or by putting a b in front of it (b"LED ON\n"). The script first waits up to 3 seconds for the HAZIR (ready) line: because the Uno restarts when the port opens, a command sent immediately goes to the bootloader and is lost. Reading the reply after each command, a request and response pattern, keeps both sides in sync and stops the buffers from filling up; the Uno's receive buffer is only 64 bytes.
Data format and line endings: which should you choose?
The serial line only gives you a stream of bytes; it's up to you to mark where one reading ends and the next begins. The most robust way is to write each reading on its own line and end every line with \n. Which format you use inside the line depends on the size of your project:
| Format | Example line | Pros | Cons |
|---|---|---|---|
| Single value | 512 | Simplest format; the Arduino Serial Plotter plots it directly | With several values it's unclear which is which |
| CSV | 2573,512,23.5 | Short; Excel and pandas read it directly | The column order must stay the same on both sides |
| Key:value | temp:23.5,hum:41 | Readable; the Serial Plotter shows the labels | Longer and a bit more work to parse |
| JSON | {"t":23.5,"h":41} | Decoded in one line with json.loads() in Python | Longest format; strains the Uno's limited RAM |
| Binary | 2 bytes: 0x02 0x00 | Fastest and shortest option | Not human-readable; needs the struct module and a start byte |
Line endings are another frequent source of confusion. Serial.println() adds two characters to the end of every line: carriage return (\r, CR) and line feed (\n, LF). Python's readline() only waits for \n, so a \r is left at the end of the line; strip() removes both. The line ending list in the Arduino IDE Serial Monitor offers No Line Ending, New Line, Carriage Return and Both NL & CR; when you test the Arduino sketch in the Serial Monitor before using Python, choose New Line so the same character is sent as from Python. For decimal numbers, give the number of digits as in Serial.print(temperature, 1); on the Uno, sprintf doesn't support the floating-point format (%f), so trying to print decimals with sprintf produces a question mark instead of the number.
| Baud rate | Bytes per second (8N1) | 12-byte lines per second | When to use it |
|---|---|---|---|
| 9600 | 960 | 80 | Slow sensors, long cables, older example sketches |
| 57600 | 5,760 | 480 | Medium-speed measurements |
| 115200 | 11,520 | 960 | Live plots, the ESP32 and most new projects |
On the serial line each byte travels as 10 bits including the start and stop bits, so 115200 baud means roughly 11,520 bytes per second. For a 12-byte line made of 25730,1023 plus the line ending (\r\n), there's room for up to 960 lines per second. If the speed differs between the two sides, garbage characters flow down the line and Python raises a UnicodeDecodeError. Between 5 and 20 readings per second is more than enough for the human eye and for most sensors; sending far more often than needed slows the plot down and bloats the file.
Drawing a live plot with matplotlib
1from collections import deque
2
3import matplotlib.pyplot as plt
4import serial
5from matplotlib.animation import FuncAnimation
6
7ser = serial.Serial("COM3", 115200, timeout=0.1)
8N = 200                                          # ekrandaki ölçüm sayısı / readings on screen
9veri = deque([0] * N, maxlen=N)                  # eskiler kendiliğinden düşer / old values drop out
10
11fig, ax = plt.subplots()
12cizgi, = ax.plot(range(N), list(veri))
13ax.set_ylim(0, 1023)                             # Uno ADC aralığı / Uno ADC range
14ax.set_xlabel("Ornek / sample")
15ax.set_ylabel("A0")
16
17
18def guncelle(_):
19    while ser.in_waiting:                        # biriken bütün satırları oku / read every queued line
20        parca = ser.readline().decode("utf-8", errors="ignore").strip().split(",")
21        if len(parca) == 2 and parca[1].isdigit():
22            veri.append(int(parca[1]))
23    cizgi.set_ydata(list(veri))
24    return (cizgi,)
25
26
27ani = FuncAnimation(fig, guncelle, interval=50, blit=True, cache_frame_data=False)   # ani silinmemeli / keep ani
28plt.show()
29ser.close()
The plot is built on a deque that holds the last 200 readings: each new value is added on the right and the oldest one drops off the left automatically. FuncAnimation calls the guncelle (update) function every 50 ms. The while ser.in_waiting loop inside the function matters: the Arduino currently sends 5 lines per second, but once you raise the rate, reading only one line per frame makes the plot fall behind real time; this loop reads every queued line and keeps the plot up to date. Don't delete the ani variable: if no variable refers to the animation object, Python garbage-collects it and the window freezes. Use set_ylim(0, 4095) for the ESP32 and set_ylim(0, 65535) for the Pico. If you only want a quick look, the Serial Plotter in the Arduino IDE does the job; Python's advantage is that you can save the plot, combine several sources and process the data at the same time.
The port busy error and the auto-reset problem
A serial port can only be opened by one program at a time. If the Arduino IDE's Serial Monitor or Serial Plotter is open while your Python script runs, another Python script holds the port, or software that scans ports, such as 3D printer programs, runs in the background, you'll get could not open port 'COM3': PermissionError(13, 'Access is denied.', None, 5) on Windows and Resource busy or Device or resource busy on macOS and Linux. It works the other way too: while a Python script keeps the port open, the Arduino IDE can't upload code. That's why you should use the with serial.Serial(...) as ser: construct in your scripts; the port closes automatically when the block ends or an error occurs. Make it a habit to stop the script with Ctrl+C before uploading.
The second problem is sneakier: on the Arduino Uno, Nano and Mega, the DTR line of the USB chip is connected to the processor's RESET pin through a 100 nF capacitor. This circuit exists so the IDE can restart the board automatically when uploading, but every time pyserial opens the port DTR changes as well and the board resets. The board first waits a second or two in the bootloader, then runs your sketch from the beginning. Commands you send during that time are lost, and you may miss the first lines the Arduino prints in setup(). The fix is to wait with time.sleep(2) after opening the port or, more robustly, to wait for the Arduino to send a line such as HAZIR; the command example above does exactly that. Open the port once at the start of the program and keep it open until the end: a loop that opens and closes the port for every reading resets the board over and over.
If you want to prevent the reset completely, there are two ways. In software: create the port closed with ser = serial.Serial(), set ser.port and ser.baudrate, write ser.dtr = False and then call ser.open(). This usually works on Windows; on Linux and macOS the operating system may still toggle DTR when the port opens. In hardware: put a 10 µF capacitor between the Uno's RESET and GND pins, with the positive leg on RESET. Boards with built-in USB such as the Leonardo, Micro and Raspberry Pi Pico don't restart when the port opens; on these boards, lines your code prints before Python connects may be lost, so it's safer to send important messages when a command arrives.
Python serial communication with the ESP32
All of the Python code here works with the ESP32 too; you only need to change a few things on the Arduino side. For the analog input, use one of the ADC1 pins (e.g. GPIO 34). The ESP32's ADC is 12-bit and maps 0–3.3 V to 0–4095, so calculate the voltage in Python with deger * 3.3 / 4095. When it boots, the ESP32 prints its own startup messages at 115200 baud, such as rst:0x1 (POWERON_RESET),boot:0x13; the scripts above skip lines that can't be converted to numbers, so these messages cause no trouble. Depending on the board's auto-reset circuit and the operating system, the ESP32 may also restart when the port opens, so the wait and the HAZIR line help here as well. The USB chip is usually a CP2102 or a CH340. If you'd rather avoid the cable, the ESP32 can send the same data over Wi-Fi; see the ESP32 WebSocket and ESP32 Google Sheets guides. If it's your first ESP32, read What is the ESP32? first.
Raspberry Pi Pico and MicroPython: what's the difference?
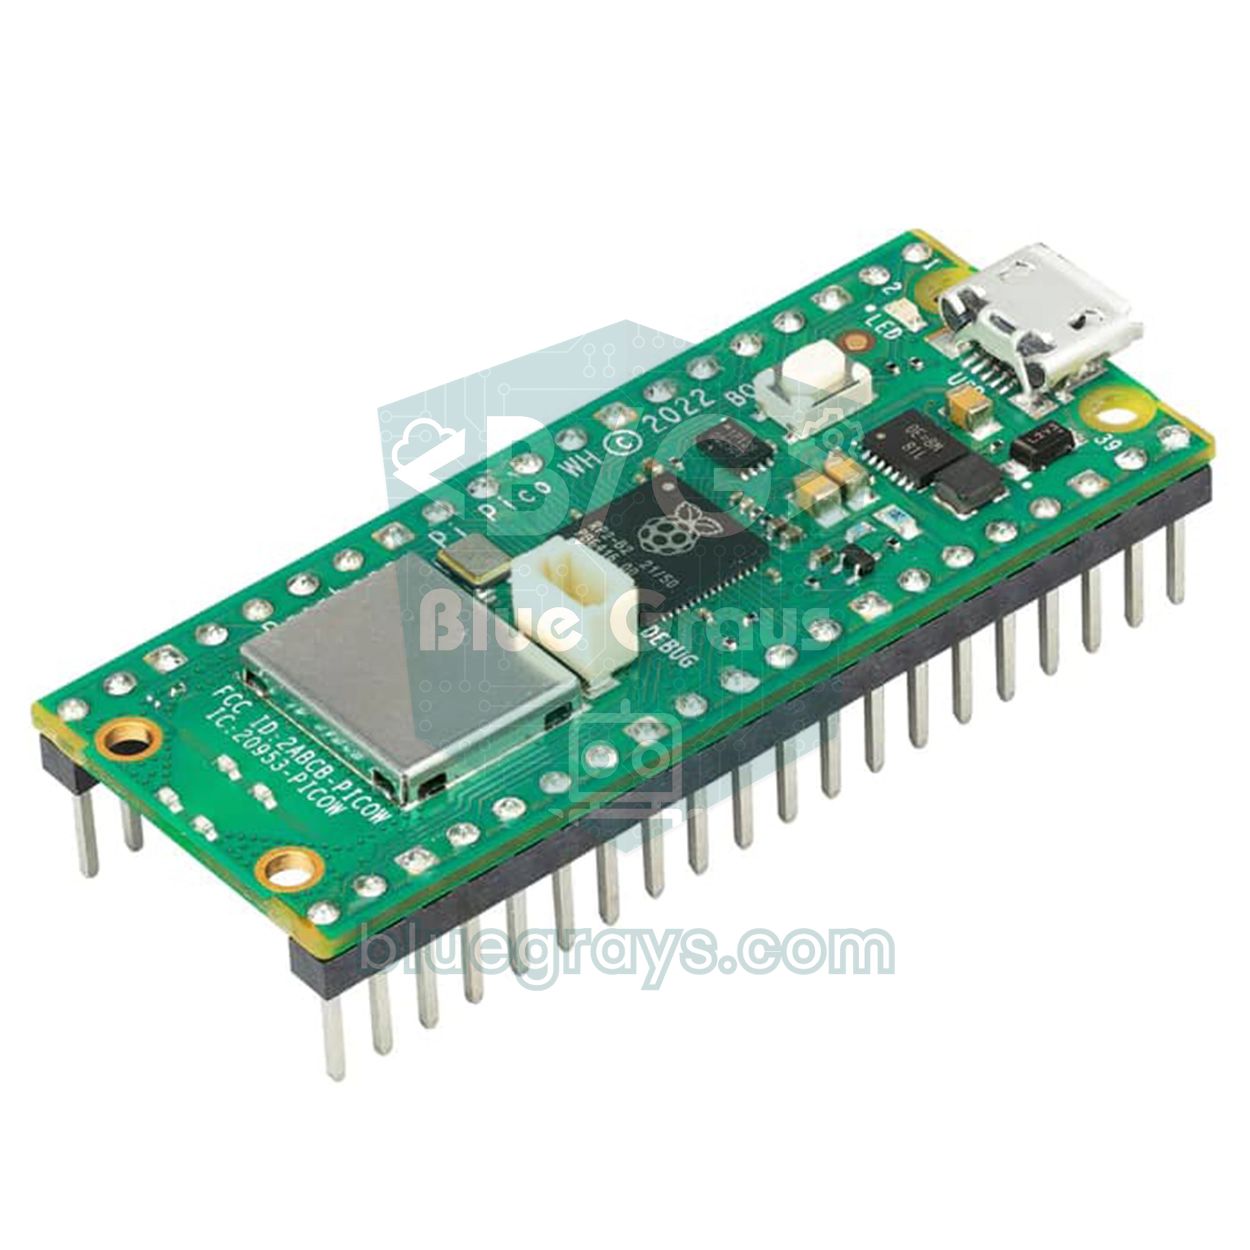
Another way to bring Python and hardware together is to run Python directly on the board. The Raspberry Pi Pico can be programmed in MicroPython: reading sensors, driving LEDs and timing are all done inside the Pico with Python syntax. However, MicroPython is a slimmed-down version of desktop Python; matplotlib, pandas and OpenCV don't run on the Pico. So if you want to log data, draw plots or process it with AI, you connect the Pico to Python on your computer as well. The pyserial code in this article works with the Pico too; you only need to adapt the port name, the value range and the way command replies are read, as explained below.
| Feature | Arduino + Python on the PC | Pico + MicroPython (standalone) | Pico + Python on the PC |
|---|---|---|---|
| Where does Python run? | Only on the computer; the board runs C++ | Inside the Pico | On both sides: MicroPython on the Pico, Python on the computer |
| Is a computer needed? | Yes, the data is processed on the computer | No, it runs from USB power or a battery | Yes |
| Available libraries | pyserial, matplotlib, pandas, numpy, OpenCV | Limited modules such as machine and time | Every library on the computer |
| Baud rate | Important, must match on both sides | No serial port used | Irrelevant, data flows at USB speed |
| Reset when the port opens | Yes on the Uno, Nano and Mega | None | No |
| When to choose it | You already have an Arduino and need ready-made libraries | Simple standalone devices | You want one language (Python) on both sides |
The MicroPython code below is the Pico version of the Arduino example above: it reads the potentiometer on GP26 every 200 ms, sends the result in the same time,value format and accepts the same LED commands. Here, the equivalent of the Arduino's Serial is print() and sys.stdin; thanks to select.poll(), the measurement loop keeps running while it waits for commands.
1# Pico'ya main.py adıyla kaydet / save it on the Pico as main.py
2import sys
3import select
4import time
5from machine import ADC, Pin
6
7led = Pin("LED", Pin.OUT)          # Pico ve Pico W dahili LED / onboard LED on Pico and Pico W
8pot = ADC(26)                      # GP26 = ADC0, potansiyometre orta ucu / potentiometer wiper
9okuyucu = select.poll()
10okuyucu.register(sys.stdin, select.POLLIN)   # USB'den veri gelince haber ver / notify when USB data arrives
11
12son = time.ticks_ms()
13while True:
14    if okuyucu.poll(0):                       # bekleyen komut var mı? / is a command waiting?
15        komut = sys.stdin.readline().strip()
16        if komut == "LED ON":
17            led.on()
18            print("OK LED ON")
19        elif komut == "LED OFF":
20            led.off()
21            print("OK LED OFF")
22    if time.ticks_diff(time.ticks_ms(), son) >= 200:   # 200 ms'de bir ölçüm / one reading every 200 ms
23        son = time.ticks_ms()
24        print("{},{}".format(son, pot.read_u16()))     # zaman,değer (0-65535) / time,value (0-65535)
Save the code to the Pico as main.py with Thonny, then close Thonny and unplug and replug the Pico's USB cable: Thonny uses the Pico's serial port itself, so your Python script can't open the port while it's connected, and it also stops the running program when it connects; after the restart, main.py runs automatically. The baud rate doesn't matter on the Pico's USB port; whatever value you put in Python, the data flows at USB speed. read_u16() returns values from 0 to 65535, so calculate the voltage with deger * 3.3 / 65535. Because the Pico sends measurement lines non-stop, readline() in the command script above may return a measurement instead of the reply; with the Pico, keep reading until you get a line starting with OK. This example has no HAZIR line and no PWM or READ commands; add them to the Pico code if you need them. Be careful if you send binary data from the computer: the byte 0x03 means Ctrl+C in MicroPython and stops your program; you can disable this with micropython.kbd_intr(-1). If you're new to the Pico, What is the Raspberry Pi Pico? and MicroPython basics are a good start.
Project ideas with Arduino and Python
- Temperature and humidity logger: write the readings from a DHT11 to CSV once a minute and plot a week of your room's climate in Excel or with pandas.
- Lamp control from your computer: drive a relay module with ON and OFF commands sent from Python, and combine it with a timer or voice commands.
- Live distance plot: plot the distance measured by an HC-SR04 with matplotlib. If you rotate the sensor with a servo, the same method lets you draw a radar screen too.
- PC status display: have Python read CPU and memory usage with the psutil library and send it to the Arduino, which shows it on an OLED display.
- Face-tracking camera: OpenCV finds the position of a face in the image, Python converts it to an angle and sends it, and the Arduino turns the camera with a servo motor.
- Your own shortcut keyboard: let buttons on the Arduino send a line when pressed, and have Python read it and open a program or run a shortcut on the computer.
Common mistakes and how to fix them
| Error or symptom | Cause | Fix |
|---|---|---|
| ModuleNotFoundError: No module named 'serial' | pyserial isn't installed for the Python interpreter running the script; VS Code or Thonny may be using a different Python | Run python -m pip install pyserial with the same interpreter and select the right interpreter in your editor |
| AttributeError: module 'serial' has no attribute 'Serial' | The wrong serial package is installed or your file is named serial.py | pip uninstall serial and pip install pyserial; rename your file |
| could not open port 'COM3': PermissionError(13, 'Access is denied.', None, 5) | The port is open in another program: Serial Monitor, Serial Plotter or a second script | Close the other program; use the with construct in your script |
| could not open port 'COM5': FileNotFoundError(2, 'The system cannot find the file specified.', None, 2) | Wrong port name or the board isn't plugged in | Find the right name with python -m serial.tools.list_ports -v |
| [Errno 13] Permission denied: '/dev/ttyACM0' | Your Linux user has no permission to access the serial port | sudo usermod -a -G dialout $USER, then log out and back in |
| Garbage characters or UnicodeDecodeError | Different baud rates, or noise during startup | Use the same speed on both sides; add decode(errors="ignore") and reset_input_buffer() |
| readline() always returns b'' | The Arduino sends no line ending (print instead of println), wrong port, or the board is still booting | Use println, check the port and speed, increase the timeout |
| ValueError: invalid literal for int() with base 10 | A partial, empty or unexpected line was converted to a number | Wrap the conversion in try/except and check the number of columns |
| The first commands are ignored | The Uno reset when the port opened and the command went to the bootloader | Wait for the HAZIR line or wait 2 seconds after opening the port |
| The plot lags behind real time | Only one line is read per frame, so data piles up in the buffer | Read every line with the in_waiting loop and send less often |
| Code won't upload while the script is running | Python is holding the port | Stop the script with Ctrl+C, then upload |
Getting Arduino and Python to talk over the serial port is the quickest way to turn a simple sensor project into a system that logs data, draws plots and can be controlled from your computer. First read a single value and print it, then save it to CSV, and add commands and plots last; at every step make sure the baud rate and line ending match on both sides. In the BlueGrays app you'll find step-by-step projects with circuit diagrams and code for measuring light with an LDR, temperature and humidity with a DHT11, distance with an HC-SR04 and for serial communication between two Arduinos, so you can quickly build the data source you'll read with Python.
Frequently asked questions
Can Arduino be programmed in Python?
Python doesn't run inside an Arduino Uno, Nano or Mega; these boards are programmed in the C++-based Arduino language in the Arduino IDE. Python runs on the computer and talks to the board over the serial port with pyserial; you can also upload the StandardFirmata example and control the pins directly from Python with a library such as pyFirmata2. If you want Python to run on the board itself, choose a Raspberry Pi Pico or an ESP32, which support MicroPython.
How do I install pyserial?
Run python -m pip install pyserial in a terminal and write import serial in your code. The package is called pyserial but the module you import is called serial; pip install serial installs a completely different package and leads to an AttributeError. On Linux you also need to add your user to the dialout group.
How do I find which COM port my Arduino is on?
Look at Tools > Port in the Arduino IDE or run python -m serial.tools.list_ports -v in a terminal. On Windows, the Ports (COM & LPT) section in Device Manager also shows the port. If you're not sure, unplug the board and list the ports again; the one that disappears belongs to the Arduino.
How do I send data from Python to Arduino?
Open the port with serial.Serial and send bytes such as ser.write(b"LED ON\n"); don't forget to convert text with encode() and add a line ending. On the Arduino side, check for incoming data with Serial.available() and read the line with Serial.readStringUntil('\n'). Because the Uno resets when the port opens, wait about 2 seconds before sending the first command.
Can I use the Arduino Serial Monitor and Python at the same time?
No, a serial port can only be opened by one program at a time; the second program gets an Access is denied or Resource busy error. You can process the incoming data in Python and print it to the screen at the same time. If you need two separate channels, connect a second USB-TTL converter to the Arduino and create a second serial port with SoftwareSerial.
Why does my Arduino reset when Python opens the port?
On the Uno, Nano and Mega, the USB chip's DTR line is connected to the RESET pin through a capacitor, so the board restarts every time the port opens; this circuit is needed so the IDE can upload code. Wait 2 seconds after opening the port, or wait for a line from the Arduino saying it's ready. To prevent the reset completely you can fit a 10 µF capacitor between RESET and GND, but you have to remove it before uploading.
Projects to build after reading this
See all projects
Measuring Light Intensity with an LDR
Want to see how bright your room is as a number? The LDR, a small part that reacts to light, measures the light around it, and the Arduino writes the value to your computer screen every half second. C

HC-SR04 Distance Measurement (Serial Display)
The HC-SR04 sensor works just like a bat finding its way in the dark: it sends out a sound you cannot hear, listens for the echo and measures how far away the object in front of it is. The Arduino wri

Temperature and Humidity with DHT11
How warm is your room, and is the air humid or dry? The DHT11 sensor measures temperature and humidity, and the Arduino writes the values on a two-line LCD screen, refreshing every couple of seconds.

Reading Light Intensity with the ESP32 LDR Module
Real-time monitoring of the LDR module's raw ADC value and relative light percentage calculated from dark and light reference values in the Serial Monitor. This percentage is not a lux measurement. Teaches the module’s calibration logic. It is ideal to complete this before Project 10, as it is used to determine the threshold value.
One-Way Communication Between 2 Arduinos
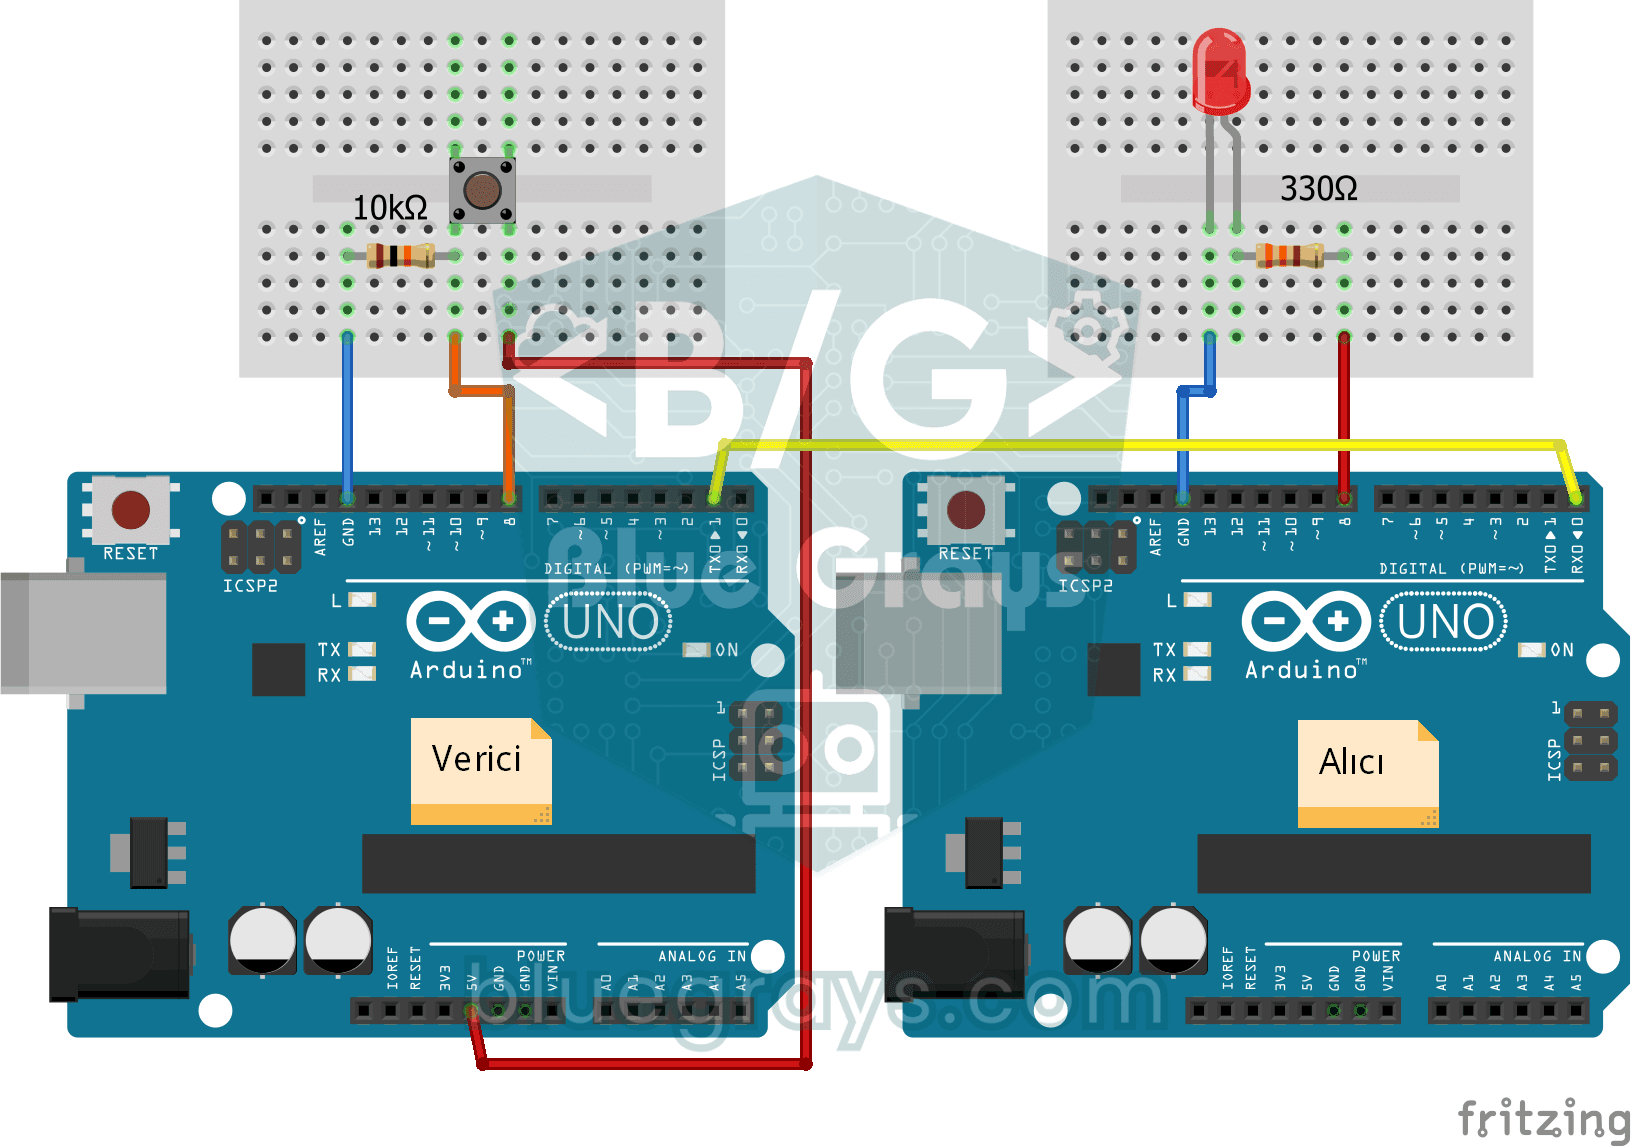
You get two Arduinos talking over a single wire: press the button on one and the LED on the other lights up, press it again and it goes off. The sending board reports the button press with a short mes
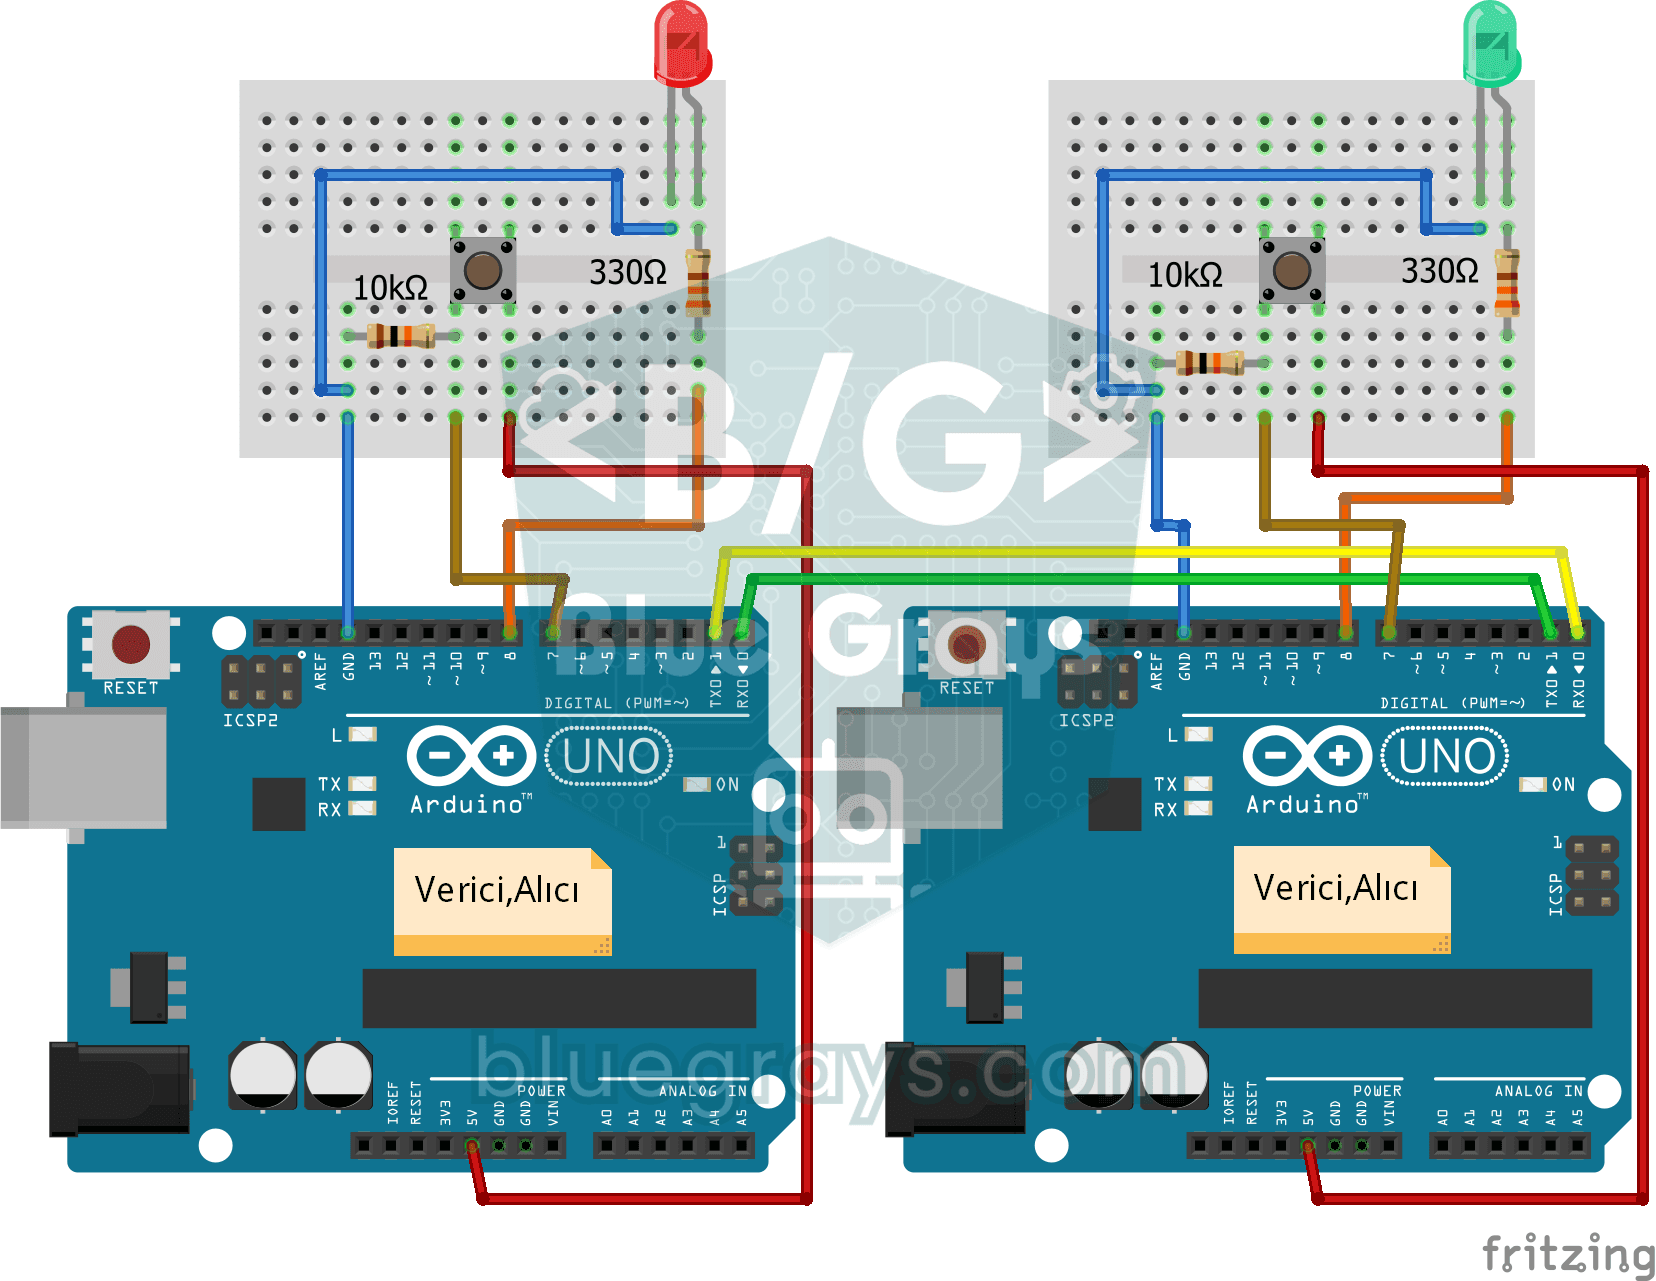
Two-Way Communication Between 2 Arduinos
Two Arduinos are wired together and talk to each other: press the button on one and the light on the other comes on, press it again and it goes off. Both boards run the same program, so each one both
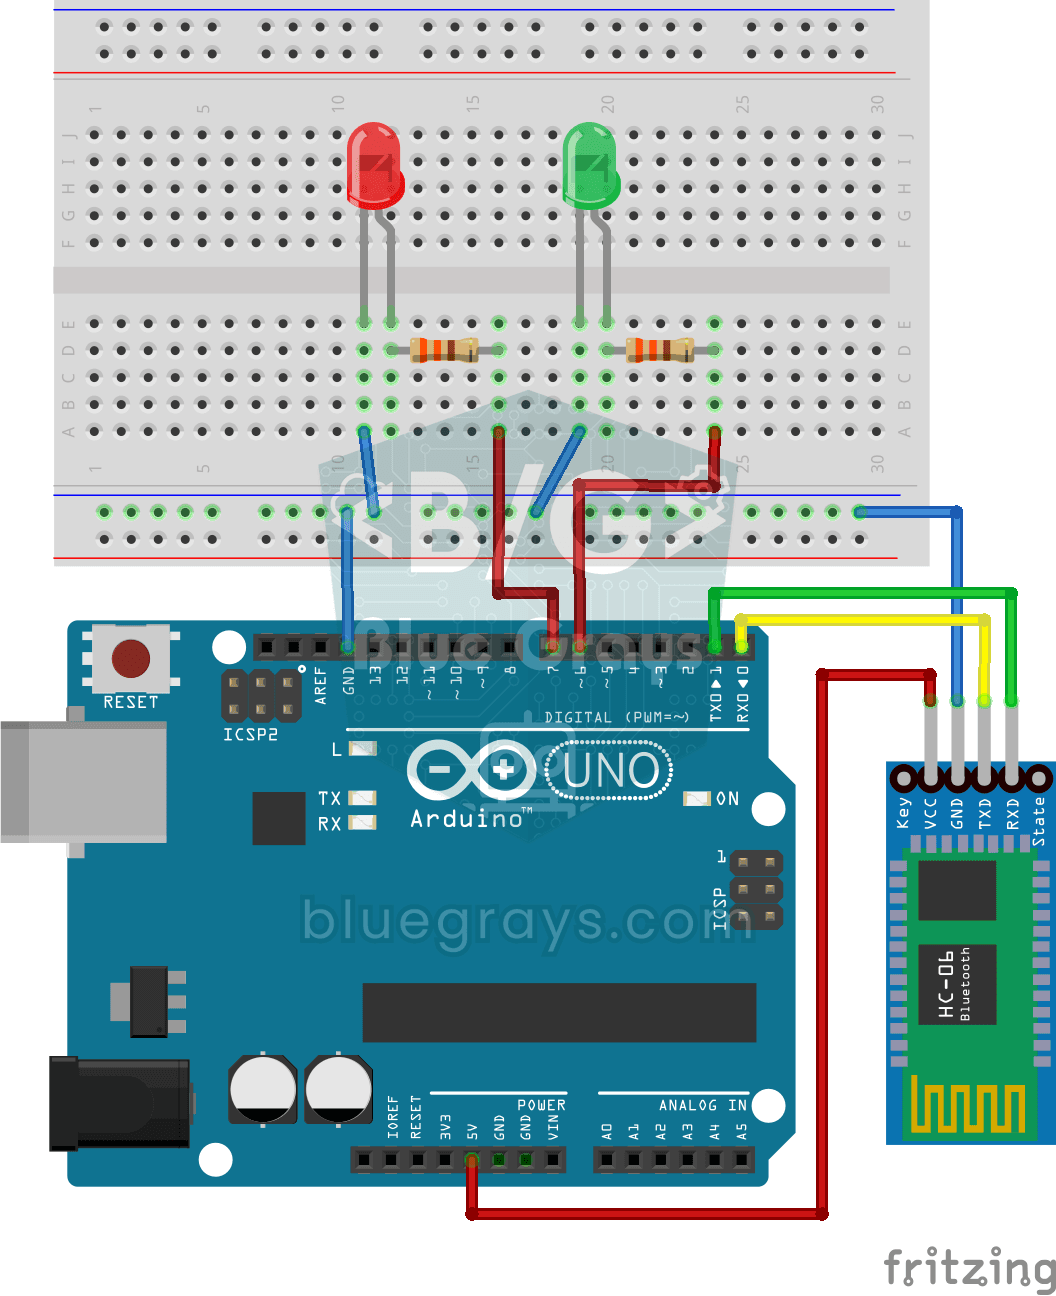
Control an LED from Your Phone via Bluetooth
A small rehearsal for switching the lights in your room on and off from your phone. The Bluetooth module passes the letters sent from your phone to the Arduino; one letter turns on the red LED, anothe
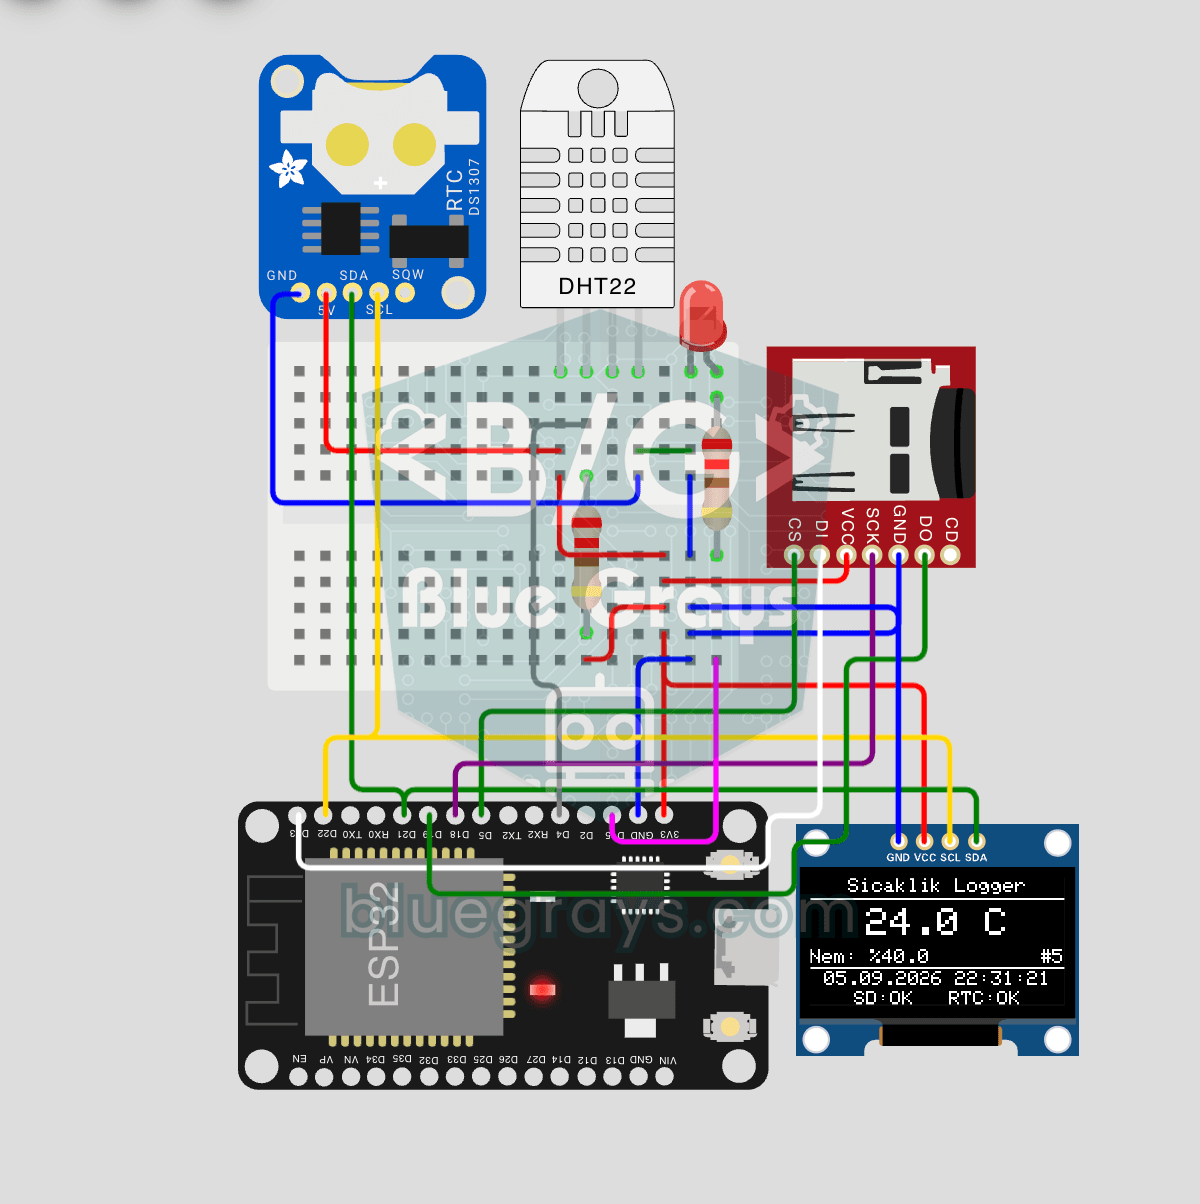
ESP32 Temperature Data Logger (DHT22 + DS1307 RTC + microSD + OLED)
Build a timestamped temperature logger with ESP32! Read DHT22 temperature/humidity every minute, get real-world time from DS1307 RTC, and log to microSD card as CSV. The OLED displays live temperature (large font), humidity percentage, timestamp, and log counter. The /temp_log.csv file on the SD card opens in Excel, Google Sheets, or Python pandas for analysis — perfect for greenhouse monitoring, home/room temperature tracking, laboratory data collection, food storage conditions, or beehiv