
Arduino EEPROM Tutorial: Read, Write, Update, Put and Get
Arduino EEPROM explained: 1024 bytes on the Uno, read, write, update, put and get, the 100,000-write limit, saving counters and passwords, ESP32 Preferences.
The Arduino EEPROM is a small permanent memory that keeps its contents even when the board loses power. The ATmega328P on the Arduino Uno, Nano and Pro Mini has 1024 bytes of EEPROM, and you access it with the EEPROM.read(), EEPROM.write(), EEPROM.update(), EEPROM.put() and EEPROM.get() commands of the EEPROM library that ships with the Arduino IDE. The RAM that holds your variables is wiped on every restart, but a setting, counter or password you write to EEPROM is still there when the board powers up again.
In this guide you'll see how EEPROM works, how much of it each board has, how the commands differ and the question everyone asks: what the roughly 100,000-write lifetime really means in practice. Then we'll build, step by step, a counter that remembers its value through power cuts, a settings structure that stores a password and options in one go, and a ring buffer that multiplies the write life by 16. In the last sections you'll learn how to do the same job on the ESP32, which has no real EEPROM, with the Preferences library, and on the Raspberry Pi Pico with the MicroPython file system.

What is EEPROM and how does it work?
EEPROM stands for Electrically Erasable Programmable Read-Only Memory. Each memory cell stores information as an electric charge trapped inside an insulated gate, and that charge stays put when the power goes off. Think of the Uno's EEPROM as a cabinet with 1024 drawers: every drawer has an address from 0 to 1023 and holds exactly 1 byte, a number between 0 and 255. A cell that has never been written reads 255 (0xFF). Reading is almost instant and unlimited; writing takes about 3.3 ms per byte and wears the cell a little. The ATmega328P datasheet specifies at least 100,000 write/erase cycles per EEPROM cell and 100 years of data retention at 25 °C.
| Feature | Flash (program memory) | SRAM | EEPROM |
|---|---|---|---|
| Size on the Uno | 32 KB (0.5 KB for the bootloader) | 2 KB | 1 KB (1024 bytes) |
| What's stored? | The sketch you uploaded | Variables, arrays | Settings, counters, high scores |
| When power is lost | Kept | Erased | Kept |
| Writable while the sketch runs? | Normally no (read only via PROGMEM) | Yes, unlimited | Yes, with the EEPROM library |
| Write endurance | About 10,000 | Unlimited | About 100,000 per cell |
| Write speed | Only when uploading | One clock cycle | About 3.3 ms per byte |
In short, SRAM is a whiteboard and EEPROM is a notebook. You can write on and wipe the whiteboard as often as you like, but everything is gone when the lights go out; what you write in the notebook stays, but you can't erase and rewrite the same page forever. That makes EEPROM ideal for information that is small and changes rarely: calibration values, user settings, brightness or volume, a game's high score, a door code, registered RFID cards or the last state of a lamp. For large, frequently written data such as a temperature log that records every second, an SD card module is the better choice. If you're wondering why the RAM fills up so quickly, read Arduino out of memory.
How much EEPROM does each board have?
| Board | Processor | EEPROM | Note |
|---|---|---|---|
| Arduino Uno R3, Nano, Pro Mini | ATmega328P | 1024 bytes | Real EEPROM |
| Arduino Mega 2560 | ATmega2560 | 4096 bytes | Real EEPROM |
| Arduino Leonardo, Micro | ATmega32U4 | 1024 bytes | Real EEPROM |
| Arduino Nano Every | ATmega4809 | 256 bytes | Real EEPROM, but small |
| Arduino Uno R4 Minima, WiFi | Renesas RA4M1 | 8 KB | Data flash; the EEPROM library works with the same commands |
| ESP32 | ESP32 (Xtensa) | None | NVS partition in flash; Preferences recommended |
| ESP8266 (NodeMCU, Wemos D1) | ESP8266 | None | Emulated in flash; needs EEPROM.begin() and commit() |
| Raspberry Pi Pico | RP2040 | None | A file in MicroPython, emulated EEPROM in flash with the Arduino core |
If your code will move between boards, don't hard-code the EEPROM size; EEPROM.length() returns the board's real EEPROM size (1024 on the Uno, 4096 on the Mega), so the same clear or dump code works everywhere. For the Uno's other memory and pin details see Arduino Uno pins, and for choosing a board read Which Arduino should I buy?.
EEPROM commands: read, write, update, put and get
The EEPROM library comes with the board package, so there's nothing to install; just add the line #include <EEPROM.h> at the top of your sketch. Addresses start at 0 and end at 1023 on the Uno. The table below sums up what each command does and whether it wears the cells:
| Command | What it does | Size | Wear |
|---|---|---|---|
| EEPROM.read(address) | Reads one byte (0–255) | 1 byte | None, reading is free |
| EEPROM.write(address, value) | Rewrites the byte on every call | 1 byte | Uses a cycle on every call |
| EEPROM.update(address, value) | Reads first, writes only if the value differs | 1 byte | Only when the value changes |
| EEPROM.put(address, data) | Writes an int, float, array or struct byte by byte; uses update internally | sizeof(data) | Only the bytes that changed |
| EEPROM.get(address, variable) | Reads back what put wrote, as the same type | sizeof(variable) | None |
| EEPROM[address] | Array-style access; reading is free, assigning with = behaves like write | 1 byte | Every assignment |
| EEPROM.length() | Returns the total EEPROM size | - | None |
First sketch: writing to and reading from EEPROM
1#include <EEPROM.h>
2
3void setup() {
4  Serial.begin(9600);
5  Serial.print(F("EEPROM boyutu / size: "));
6  Serial.println(EEPROM.length());            // Uno'da 1024 / 1024 on the Uno
7
8  byte first = EEPROM.read(0);                // 0. adresi oku / read address 0
9  Serial.print(F("Adres 0 / address 0: "));
10  Serial.println(first);                      // ilk seferde 255 / 255 the first time
11
12  EEPROM.update(0, 42);                       // farklıysa yazar / writes only if different
13  EEPROM.write(1, 7);                         // her seferinde yazar / writes every time
14
15  int number = 300;
16  EEPROM.put(10, number);                     // int = 2 bayt: 10 ve 11 / int = 2 bytes: 10 and 11
17  float temperature = 23.75;
18  EEPROM.put(12, temperature);                // float = 4 bayt: 12-15 / float = 4 bytes: 12-15
19
20  int readNumber;
21  float readTemperature;
22  EEPROM.get(10, readNumber);                 // put ile aynı tür / same type as put
23  EEPROM.get(12, readTemperature);
24  Serial.println(readNumber);                 // 300
25  Serial.println(readTemperature);            // 23.75
26
27  EEPROM.update(20, 300);                     // HATA: yalnız alt bayt (44) kalır / BUG: only the low byte (44) is kept
28  Serial.println(EEPROM.read(20));            // 44
29}
30
31void loop() {}
Upload the sketch and open the Serial Monitor at 9600 baud. On the first run address 0 reads 255, because that cell has never been written. Now press the board's reset button or unplug and replug the USB cable: this time it reads 42. That's the proof that EEPROM keeps its data. The write() line for address 1, on the other hand, rewrites the cell on every boot even though the value is always 7; with update() it would have written only the first time. The value 300 on the last line shows the trap from the warning above, and 44 appears on screen. If the Compiler warnings setting in Preferences is anything other than None, the compiler flags this line with large integer implicitly truncated to unsigned type.
When you use put() and get() you need to know how many bytes each piece of data takes; otherwise you'll write two variables on top of each other and corrupt one. In the example the int occupies addresses 10 and 11, so the float starts at address 12. Here are the data type sizes on the Uno:
| Data type | Size on the Uno | Range | Example use |
|---|---|---|---|
| byte, bool, char | 1 byte | 0–255, true/false or one character | On/off state, mode selection |
| int | 2 bytes | −32,768 to 32,767 | Calibration offset |
| unsigned int, uint16_t | 2 bytes | 0–65,535 | Game high score |
| long, unsigned long | 4 bytes | About ±2.1 billion or 0–4.29 billion | Long-running counter |
| float | 4 bytes | 6–7 digits of precision | Sensor calibration factor |
| char array[10] | 10 bytes | 9 characters plus the terminator | Password, device name |
EEPROM write endurance: what does the 100,000 limit mean?
100,000 writes sounds like a lot, but a badly structured sketch can burn through it in minutes. The formula for lifetime is simple: lifetime = 100,000 ÷ how often you write to the same cell. The key point is that the limit applies to each cell separately, not to the EEPROM as a whole; if you keep writing to the same address, only that cell wears out. Reading has no effect on lifetime at all. The table shows how long a cell lasts when the same address is written at different rates:
| How often the same address is written | Approximate lifetime |
|---|---|
| write() in loop() with no delay (about 300 times a second) | 5–6 minutes |
| Every second | About 28 hours |
| Every minute | About 69 days |
| Every 10 minutes | About 1.9 years |
| Once an hour | About 11 years |
| 10 times a day | About 27 years |
100,000 is the minimum the manufacturer guarantees; many chips last much longer, but don't design your project around that. A worn cell doesn't die suddenly; it starts failing to hold the value you wrote and some bits flip on their own. If that happens you can move the data to another address, because the other cells aren't affected. Ways to extend the lifetime:
- Use update() and put(): Both read the cell before writing and don't write at all if the value is the same.
- Write only on change: Save a setting when the user actually changes it, not on every pass through loop().
- Delay the save: If a value changes in quick succession, write it once a few seconds after the last change; millis() makes this easy.
- Write on events: Save the high score when the game ends and menu settings when the user leaves the menu.
- Spread the writes: Write a frequently changing counter to several addresses in turn instead of one (see the ring buffer example below).
- Use external memory if needed: For very frequent saves choose an external EEPROM rated for 1 million cycles, FRAM or an SD card.
Example 1: a counter that survives power cuts
In the first example we'll build a counter that goes up every time a button is pressed and carries on where it left off after the board is switched off and on. Connect one leg of the button to D2 and the other to GND; we use the internal pull-up resistor, so no extra resistor is needed (details in How to connect a button to Arduino, pin locations in the Pinout tool). The trick is that the sketch doesn't save the counter on every press but 5 seconds after the last press. So even if someone presses the button 20 times in a row, the EEPROM is written only once.
1#include <EEPROM.h>
2
3const byte BUTTON_PIN = 2;                     // buton D2 ile GND arasında / button between D2 and GND
4const int  COUNT_ADDR = 0;                     // sayaç 0-3. baytlarda / counter in bytes 0-3
5const unsigned long SAVE_DELAY = 5000;         // son basıştan 5 sn sonra yaz / write 5 s after the last press
6
7unsigned long count = 0;
8bool dirty = false;                            // kaydedilmemiş değişiklik / unsaved change
9unsigned long lastPress = 0;
10unsigned long lastChange = 0;
11bool lastReading = HIGH;
12bool stableState = HIGH;
13
14void setup() {
15  Serial.begin(9600);
16  pinMode(BUTTON_PIN, INPUT_PULLUP);
17  EEPROM.get(COUNT_ADDR, count);
18  if (count == 0xFFFFFFFF) count = 0;          // boş EEPROM / blank EEPROM
19  Serial.print(F("Kayitli sayac / stored count: "));
20  Serial.println(count);
21}
22
23void loop() {
24  bool reading = digitalRead(BUTTON_PIN);
25  if (reading != lastReading) {                // pin değişti, sayacı başlat / pin changed, restart timer
26    lastChange = millis();
27    lastReading = reading;
28  }
29  if (millis() - lastChange > 30 && reading != stableState) {   // 30 ms sabit kaldı / stable for 30 ms
30    stableState = reading;
31    if (stableState == LOW) {                  // yeni basış / new press
32      count++;
33      dirty = true;
34      lastPress = millis();
35      Serial.println(count);
36    }
37  }
38
39  if (dirty && millis() - lastPress > SAVE_DELAY) {   // sessiz dönemden sonra yaz / write after a quiet period
40    EEPROM.put(COUNT_ADDR, count);
41    dirty = false;
42    Serial.println(F("EEPROM'a yazildi / saved to EEPROM"));
43  }
44}
The dirty variable means there's a change in RAM that hasn't been saved yet. The counter is an unsigned long, so it takes 4 bytes (addresses 0–3) and can count more than 4 billion presses. In a blank EEPROM those four bytes are 0xFF, so the first boot reads 4,294,967,295; when the code sees that value it starts the counter from zero. Because put() only writes the bytes that changed, usually only the lowest byte wears as the counter goes up. If power is cut within the 5 seconds before a save, the last presses are lost; that's a small price for protecting the EEPROM.
Example 2: storing settings and a password in a struct
Rather than writing several settings to individual addresses, it's tidier and safer to gather them in a struct and save them with a single put(). In this example we store the LED brightness and a 4–6 character password. The first two fields of the structure are essential: magic (a magic number) tells us whether this sketch's settings have really been written to EEPROM, and version stops old, incompatible data from being read after you add a new field to the structure later. If either doesn't match, the sketch writes the default settings.
1#include <EEPROM.h>
2
3const uint16_t MAGIC = 0xB6A1;                 // "ayar yazıldı" işareti / "settings written" marker
4const byte VERSION = 1;                        // yapı değişince artır / bump when the struct changes
5const int  SETTINGS_ADDR = 0;
6const byte LED_PIN = 9;                        // PWM pini / PWM pin
7
8struct Settings {
9  uint16_t magic;
10  byte version;
11  char password[7];                            // en çok 6 karakter + '\0' / up to 6 chars + '\0'
12  byte brightness;                             // LED parlaklığı 0-255 / LED brightness 0-255
13};
14
15Settings cfg;
16
17void writeDefaults() {
18  cfg.magic = MAGIC;
19  cfg.version = VERSION;
20  strcpy(cfg.password, "1234");
21  cfg.brightness = 128;
22  EEPROM.put(SETTINGS_ADDR, cfg);
23}
24
25void setup() {
26  Serial.begin(9600);
27  pinMode(LED_PIN, OUTPUT);
28  EEPROM.get(SETTINGS_ADDR, cfg);
29  if (cfg.magic != MAGIC || cfg.version != VERSION) {   // ilk açılış ya da eski yapı / first boot or old layout
30    writeDefaults();
31    Serial.println(F("Varsayilan ayarlar yazildi / defaults written"));
32  }
33  analogWrite(LED_PIN, cfg.brightness);
34  Serial.print(F("Ayar boyutu / settings size: "));
35  Serial.println(sizeof(Settings));            // Uno'da 11 bayt / 11 bytes on the Uno
36  Serial.println(F("Komutlar / commands: b0-255   p<eski>,<yeni>   ?"));
37}
38
39void loop() {
40  if (!Serial.available()) return;
41  String line = Serial.readStringUntil('\n');
42  line.trim();
43
44  if (line.startsWith("b")) {                  // örnek / example: b200
45    cfg.brightness = constrain(line.substring(1).toInt(), 0, 255);
46    analogWrite(LED_PIN, cfg.brightness);
47    EEPROM.put(SETTINGS_ADDR, cfg);            // yalnız değişen bayt yazılır / only the changed byte is written
48    Serial.println(F("Parlaklik kaydedildi / brightness saved"));
49  } else if (line.startsWith("p")) {           // örnek / example: p1234,5678
50    int comma = line.indexOf(',');
51    if (comma < 0) {
52      Serial.println(F("Bicim / format: p1234,5678"));
53      return;
54    }
55    String oldPw = line.substring(1, comma);
56    String newPw = line.substring(comma + 1);
57    if (oldPw != cfg.password) {
58      Serial.println(F("Eski sifre yanlis / wrong old password"));
59    } else if (newPw.length() < 4 || newPw.length() > 6) {
60      Serial.println(F("Yeni sifre 4-6 karakter olmali / new password must be 4-6 chars"));
61    } else {
62      newPw.toCharArray(cfg.password, sizeof(cfg.password));
63      EEPROM.put(SETTINGS_ADDR, cfg);
64      Serial.println(F("Sifre degisti / password changed"));
65    }
66  } else if (line == "?") {
67    Serial.print(F("Parlaklik / brightness: "));
68    Serial.println(cfg.brightness);
69  }
70}
Connect the LED to D9 through an LED resistor (220 ohms is fine); D9 is a PWM pin. Open the Serial Monitor at 9600 baud, set the line ending to New Line and try these commands: b200 sets the brightness to 200, p1234,5678 changes the password from 1234 to 5678, and ? shows the current brightness. When you switch the board off and on again, the LED comes back at the same brightness and the new password still works. The struct takes 11 bytes on the Uno; since put() only writes the bytes that changed, changing the brightness wears a single cell. You can adapt the same structure for a keypad code lock or store the 4-byte IDs of authorised cards in an array with the RFID RC522. If serial commands are new to you, read Arduino Serial Monitor.
Multiplying the write life: a ring buffer (wear leveling)
Writing a frequently updated counter to the same address wears that single cell out fast. With a ring buffer you write the value to different slots in turn: one save goes to one slot, the next save to the next slot, and after the last slot you wrap around to the start. Each slot is written only once every 16 saves, so the lifetime grows 16 times, to about 1.6 million saves. At startup all slots are read to find the latest value; since the counter only ever goes up, the largest value is the newest.
1#include <EEPROM.h>
2
3const int  RING_START = 100;                   // halka 100. adresten başlar / ring starts at address 100
4const byte SLOTS = 16;                         // 16 yuva x 4 bayt = 64 bayt / 16 slots x 4 bytes = 64 bytes
5
6uint32_t counter = 0;
7byte slot = 0;
8
9void loadCounter() {
10  for (byte i = 0; i < SLOTS; i++) {
11    uint32_t v;
12    EEPROM.get(RING_START + i * 4, v);
13    if (v != 0xFFFFFFFF && v >= counter) {     // en büyük değer en yenisidir / the largest value is the newest
14      counter = v;
15      slot = i;
16    }
17  }
18}
19
20void saveCounter() {
21  slot = (slot + 1) % SLOTS;                   // her kayıtta sıradaki yuva / next slot on every save
22  EEPROM.put(RING_START + slot * 4, counter);
23}
24
25void setup() {
26  Serial.begin(9600);
27  loadCounter();
28  counter++;                                   // örnek: her açılışı say / example: count every boot
29  saveCounter();
30  Serial.print(F("Acilis sayisi / boot count: "));
31  Serial.println(counter);
32  Serial.print(F("Kullanilan yuva / slot used: "));
33  Serial.println(slot);
34}
35
36void loop() {}
The example increments the counter on every boot; you can replace that with a button, a sensor event or an hour meter. More slots means proportionally more lifetime: 64 slots take 256 bytes and last about 6.4 million saves. If the board has been used with other sketches, old data may be left in the ring area, so clear the EEPROM with the code below before first use. In more advanced projects you can also add a CRC checksum, as in Arduino's own eeprom_crc example, to catch corrupted data.
How do you reset the EEPROM? Does uploading erase it?
A normal upload over the USB cable writes only the program memory; the data in EEPROM is kept. So when you upload a new project, the previous project's settings remain in EEPROM and the new code may read values it doesn't expect. On the Uno the EEPROM is erased only when you use an ISP programmer with Sketch > Upload Using Programmer or Tools > Burn Bootloader; these operations erase the whole chip, and the EESAVE bit that protects the EEPROM is off in the Uno's fuse settings. To clear the EEPROM yourself, upload this sketch once:
1#include <EEPROM.h>
2
3void setup() {
4  for (uint16_t i = 0; i < EEPROM.length(); i++) {
5    EEPROM.update(i, 255);                     // fabrika durumu 0xFF / factory state 0xFF
6  }
7  pinMode(LED_BUILTIN, OUTPUT);
8  digitalWrite(LED_BUILTIN, HIGH);             // LED yandı: bitti / LED on: done
9}
10
11void loop() {}
The Arduino IDE's File > Examples > EEPROM > eeprom_clear example writes 0 to every cell; we return the cells to their factory state of 255 instead. That way, code that checks a magic number or 0xFF recognises the EEPROM as blank again. Because we use update(), cells that are already 255 aren't written at all. Writing all 1024 cells on the Uno takes about 3.4 seconds at most; when the built-in LED lights up, it's done. Then upload your real sketch.
EEPROM on the ESP32: the Preferences library
The ESP32 has no real EEPROM. Permanent data lives in the NVS (Non-Volatile Storage) partition of the external flash memory; in the default partition table this area is 20 KB. Espressif's recommended approach is the Preferences library that ships with the ESP32 board package. Preferences stores data by namespace and key names instead of addresses, so you never have to remember which address the counter was at. NVS writes each new value to the next free entry on the page and marks the old one as erased, so wear leveling happens automatically. Namespace and key names can be at most 15 characters long and are case-sensitive. If you're new to the ESP32, start with What is the ESP32.
1#include <Preferences.h>
2
3Preferences prefs;
4
5void setup() {
6  Serial.begin(115200);
7  prefs.begin("bluegrays", false);             // ad alanı; false = okuma + yazma / namespace; false = read + write
8
9  uint32_t boots = prefs.getUInt("boots", 0);  // anahtar yoksa 0 / 0 if the key is missing
10  boots++;
11  prefs.putUInt("boots", boots);
12
13  if (!prefs.isKey("ssid")) {                  // ilk açılış / first boot
14    prefs.putString("ssid", "EvAgi");          // örnek değer / example value
15  }
16  String ssid = prefs.getString("ssid", "");   // kayıtlı Wi-Fi adı / stored Wi-Fi name
17  int brightness = prefs.getInt("bright", 128);   // yoksa 128 / 128 if missing
18
19  Serial.print("Acilis / boot: ");
20  Serial.println(boots);
21  Serial.print("SSID: ");
22  Serial.println(ssid);
23  Serial.print("Parlaklik / brightness: ");
24  Serial.println(brightness);
25  Serial.print("Bos kayit yeri / free entries: ");
26  Serial.println(prefs.freeEntries());
27  prefs.end();                                 // ad alanını kapat / close the namespace
28}
29
30void loop() {}| Command | What it does |
|---|---|
| prefs.begin("name", false) | Opens the namespace; false means read and write, true means read-only |
| putUInt, putInt, putFloat, putBool, putString, putBytes | Saves the value under a key name |
| getUInt("key", default) | Reads the value; returns the default if the key doesn't exist |
| isKey("key") | Checks whether the key exists |
| remove("key") | Deletes a single key |
| clear() | Deletes every key in the open namespace |
| freeEntries() | Returns the number of free entries left in NVS |
| end() | Closes the namespace |
You must read a value back with the same type you wrote it with: if you write with putUInt and read with getInt, you get the default value. There's also a reason we call isKey() before getString(): if Core Debug Level in the Tools menu is set to Error or higher, reading a text key that doesn't exist prints nvs_get_str len fail: ssid NOT_FOUND to the Serial Monitor; it's harmless but confusing. Re-uploading over USB doesn't erase NVS, but if Erase All Flash Before Sketch Upload is set to Enabled, every upload wipes all entries. Storing Wi-Fi details with Preferences is common; if you'd rather enter the network name and password from your phone, ESP32 WiFiManager works too, and the ESP32 keeps its Wi-Fi settings in the same NVS area. For short-lived values that must survive waking from deep sleep, RTC memory is a better fit because it doesn't wear the flash at all; see ESP32 deep sleep.
When you port old Arduino code to the ESP32, the EEPROM library also works, with two differences: before using it you must tell it how many bytes you need with EEPROM.begin(size), and after making changes you must call EEPROM.commit(). put() and write() only change the copy in RAM; without commit() nothing reaches the flash. On the ESP32 this library runs as a single data blob inside NVS and Espressif considers it deprecated; every byte of a newly created area is 0xFF. The same code also compiles for the ESP8266, where the size can be at most 4096 bytes and every commit() erases and rewrites a 4 KB flash sector, so call commit sparingly.
1#include <EEPROM.h>
2
3void setup() {
4  Serial.begin(115200);
5  EEPROM.begin(64);                            // kullanılacak bayt sayısı / number of bytes to use
6  uint32_t boots;
7  EEPROM.get(0, boots);
8  if (boots == 0xFFFFFFFF) boots = 0;          // yeni alan 0xFF dolu / a fresh area is 0xFF
9  boots++;
10  EEPROM.put(0, boots);                        // yalnız RAM'deki kopyayı değiştirir / changes only the RAM copy
11  EEPROM.commit();                             // flaşa şimdi yazılır / written to flash now
12  Serial.println(boots);
13  EEPROM.end();
14}
15
16void loop() {}
Permanent data on the Raspberry Pi Pico: the MicroPython file system
The Raspberry Pi Pico's RP2040 chip has no EEPROM either; the board carries 2 MB of flash memory. MicroPython reserves about 1.4 MB of that flash for a LittleFS file system (less on the Pico W because of the Wi-Fi firmware). So on the Pico, the equivalent of EEPROM is writing your settings to a small file. LittleFS spreads writes across different flash blocks, so it does its own wear leveling, and the file system isn't corrupted even if power fails during a write. The code below stores settings as JSON, counts every boot and saves the counter each time a button wired between GP15 and GND is pressed.
1import json, os, time
2from machine import Pin
3
4FILE = "settings.json"
5DEFAULTS = {"boots": 0, "count": 0, "password": "1234"}
6
7def load():
8    try:
9        with open(FILE) as f:
10            data = json.load(f)
11    except (OSError, ValueError):            # dosya yok ya da bozuk / file missing or corrupt
12        data = {}
13    for key, value in DEFAULTS.items():      # eksik anahtarları tamamla / fill in missing keys
14        data.setdefault(key, value)
15    return data
16
17def save(data):
18    with open(FILE + ".tmp", "w") as f:      # önce geçici dosyaya yaz / write a temp file first
19        json.dump(data, f)
20    os.rename(FILE + ".tmp", FILE)           # sonra eskisinin yerine koy / then replace the old one
21
22settings = load()
23settings["boots"] += 1
24save(settings)
25print("Acilis / boot:", settings["boots"], "Sayac / count:", settings["count"])
26
27button = Pin(15, Pin.IN, Pin.PULL_UP)        # buton GP15 ile GND arasında / button between GP15 and GND
28
29while True:
30    if button.value() == 0:                  # basıldı / pressed
31        time.sleep_ms(30)                    # sıçramayı bekle / let the bounce settle
32        if button.value() == 0:
33            settings["count"] += 1
34            save(settings)                   # seyrek olay, her basışta yaz / rare event, save on each press
35            print("Sayac / count:", settings["count"])
36            while button.value() == 0:       # bırakılmasını bekle / wait for release
37                time.sleep_ms(10)
38            time.sleep_ms(30)                # bırakma sıçraması / release bounce
39    time.sleep_ms(10)
Instead of overwriting the file directly, we first write to a temporary .tmp file and then use os.rename() to put it in place of the old one, so the old settings file stays intact even if a write is interrupted. If the file is missing or its contents are corrupt, load() falls back to the defaults, and when you add a new setting to the program later, setdefault() fills in the missing key automatically. If you program the Pico with the Arduino IDE, you can also use the EEPROM library in Earle Philhower's Arduino-Pico core: EEPROM.begin(256) opens an area of 256–4096 bytes and EEPROM.commit() saves your changes. This emulated EEPROM lives in the last 4 KB sector of the flash and every commit() erases and rewrites that sector; the flash is rated for about 100,000 erase cycles per sector, so commit sparingly. If you're just starting with the Pico, What is the Raspberry Pi Pico and MicroPython basics are good places to begin.
More permanent memory: external EEPROM, FRAM and SD cards
If 1 KB isn't enough or you need to save very often, you can add external memory. I2C EEPROM chips such as the AT24C256 offer 32 KB and about 1 million write cycles, and connect with just the SDA and SCL wires (What is I2C). A little-known detail: many DS3231 RTC clock modules on the market already carry a 4 KB AT24C32 EEPROM, usually reachable at I2C address 0x57. For jobs that save many times a second, FRAM modules rated for about a trillion (10^12) write cycles are a better fit, and for large data logs an SD card module that stores data as files.
Project ideas with EEPROM
- A lamp that remembers its last state: When the power comes back, return the lamp on a relay to the state it was in before the outage.
- A safe with a changeable code: Write the new code entered on a keypad to EEPROM so the code can change without re-uploading the sketch.
- Card-operated door lock: Store the IDs of authorised cards scanned with the RFID RC522 and add new cards with a master card.
- Permanent high score: Keep the best score in Simon, T-Rex or Snake; example code is in Arduino game projects.
- A robot arm that records moves: Record servo angles pose by pose and play them back; the code in Arduino robot arm does this with EEPROM.update().
- A scale that remembers its calibration: Save the calibration factor you found with the HX711 load cell as a float with put().
- Reset counter: Count how many times the board restarts to diagnose power problems; the method is in Arduino keeps resetting.
Common mistakes and how to fix them
| Symptom | Cause | Fix |
|---|---|---|
| The first boot reads 255, -1, 65535 or nan | The EEPROM has never been written; blank cells are 0xFF | Write defaults when a magic number or 0xFF check fails |
| Wrote 300, read 44 | write() and read() carry only 1 byte | Use put() and get() for multi-byte data |
| Two values corrupt each other | The addresses overlap; an int takes 2 bytes, a float 4 | Make an address map and calculate addresses with sizeof |
| Text turns into garbage after a restart | A String object was written with put() | Store the text as a char array |
| New code reads the old project's settings | A normal upload doesn't erase EEPROM | Use a magic number and a version field, or clear the EEPROM |
| Settings disappeared after uploading | Uploading with a programmer on the Uno, the Erase All Flash option on the ESP32 | Upload normally over USB, set the ESP32 option to Disabled |
| Values aren't saved on the ESP32 | EEPROM.begin() or EEPROM.commit() is missing | Add both, or switch to Preferences |
| Preferences always returns the default | Reading with a different type, a name longer than 15 characters or a different namespace | Match put and get types, keep names short |
| nvs_open failed: NOT_FOUND error | A namespace that was never created was opened read-only (true) | Open the namespace with false first and write a value |
| Values become corrupt after a while | Constant writes in loop() or a supply dip during a write | Use update() and delayed saves, add a ring buffer and a CRC |
EEPROM is the easiest way to give your Arduino projects a memory: with a few lines of code you protect your device's settings, counters and passwords against power cuts. The only thing to watch is write endurance; as long as you use update() and put() and don't write unnecessarily, the Uno's EEPROM will work flawlessly for years. In the BlueGrays app you'll find projects you can extend with EEPROM, such as the 4x4 keypad password app, the smart electronic safe, RFID authentication and the Simon and T-Rex games, each with circuit diagrams and step-by-step code.
Frequently asked questions
How many times can you write to the Arduino EEPROM?
The ATmega328P datasheet specifies at least 100,000 write/erase cycles for each EEPROM cell. The limit is per cell, and reading doesn't affect it at all. Writing the same address once a second wears the cell out in about 28 hours; if you use update() and write only when the value changes, the EEPROM lasts for years.
Does uploading a new sketch erase the Arduino EEPROM?
No. A normal upload over USB writes only the program memory and the data in EEPROM is kept. On the Uno the EEPROM is erased only when you upload with an ISP programmer or burn the bootloader. Use a magic number check so a new project doesn't pick up old settings.
What is the difference between EEPROM.write and EEPROM.update?
write() rewrites the value to the cell on every call and uses up a write cycle each time. update() reads the cell first and doesn't write at all if the value is the same. The result is identical, but update() protects the EEPROM's lifetime; put() uses the same method internally.
How do I clear the Arduino EEPROM?
Write 255 (or 0) to every address with a for loop that runs up to EEPROM.length(); the eeprom_clear example in the Arduino IDE writes 0 out of the box. Clearing all 1024 bytes on the Uno takes about 3.4 seconds. When it's done, don't leave the clear sketch on the board; upload your real program.
Does the ESP32 have EEPROM?
The ESP32 has no real EEPROM; permanent data is kept in the NVS partition of the flash memory. The Preferences library is recommended for new projects. The EEPROM library still works for old code, but you must call EEPROM.begin(size) first and EEPROM.commit() after every change.
How do I save an int, a float or text to EEPROM?
Write multi-byte data such as int, long, float and structs with EEPROM.put(address, variable) and read it with EEPROM.get(address, variable). An int takes 2 bytes and a float 4, so choose the next address accordingly. Store text as a fixed-size char array, not as a String.
Projects to build after reading this
See all projects
Toggle an LED with a Button (On/Off)
Press the button once and the light comes on, press it again and it goes off, just like the light switch in your room. The Arduino notices every press and flips the LED to the opposite state, waiting
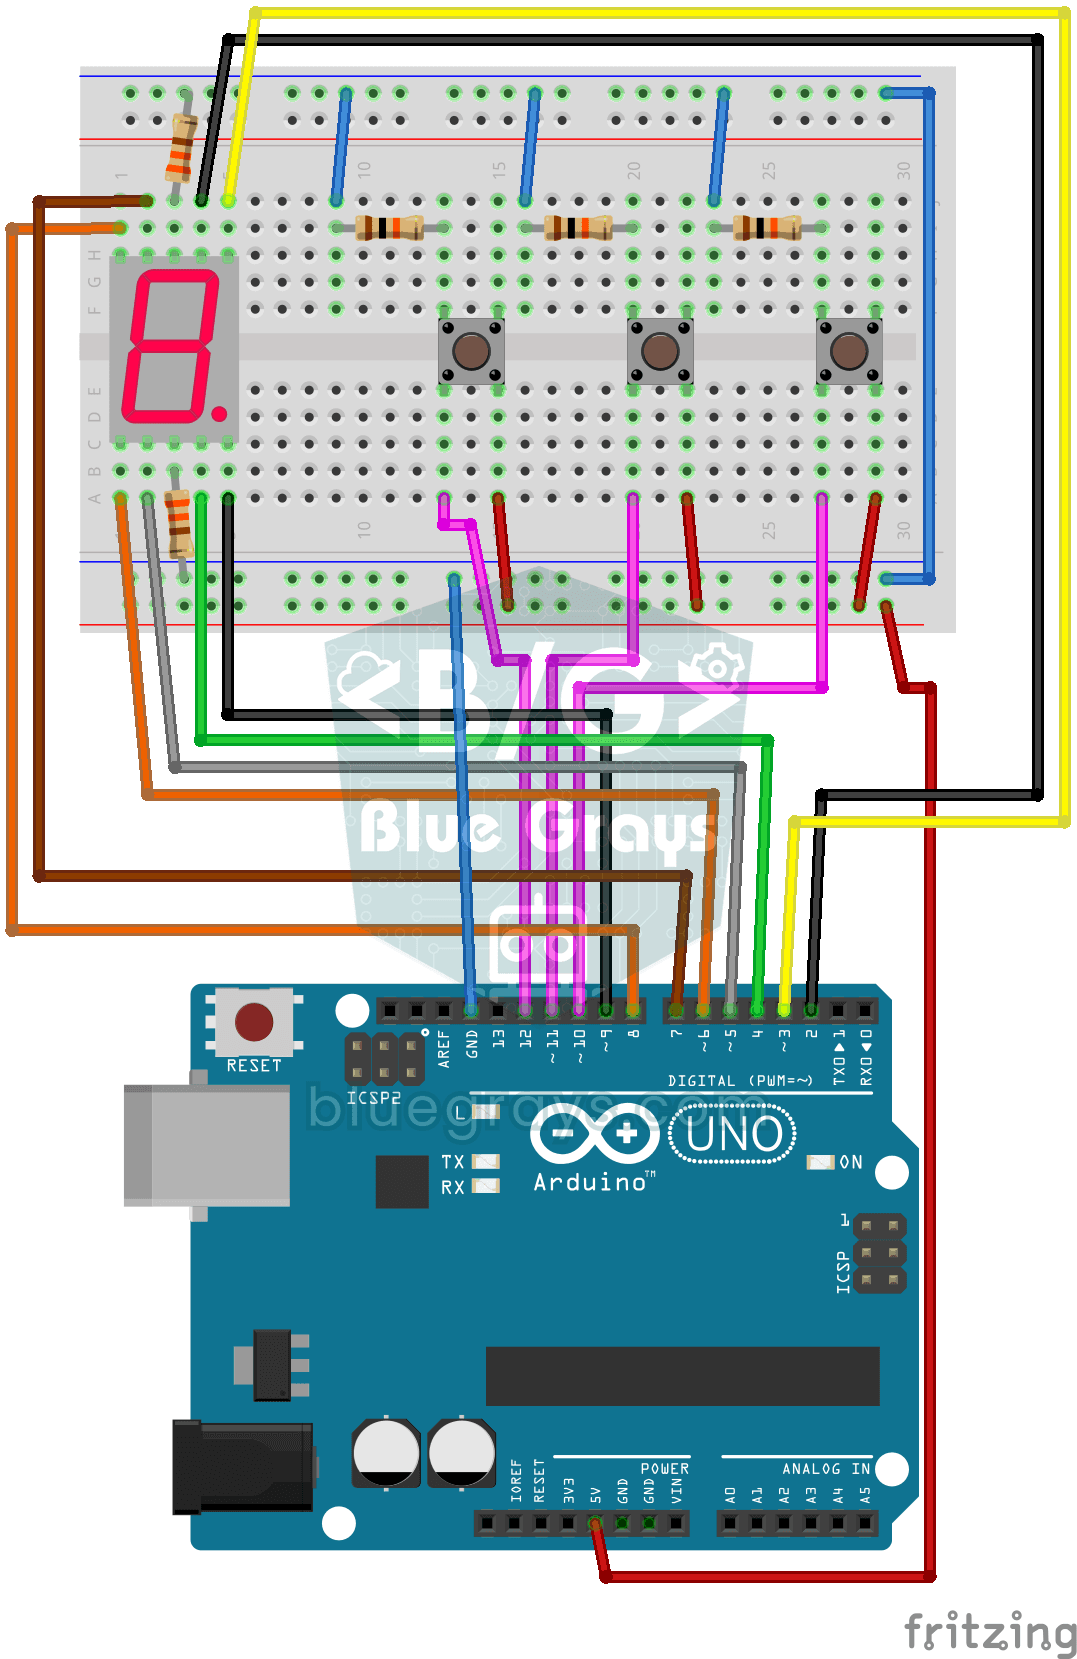
Counter with 7-Segment Display and Buttons
A simple counter with three buttons: press one and the digit on the display goes up by one, press another and it goes down by one, and the third sends it back to zero. The single-digit 7-segment displ
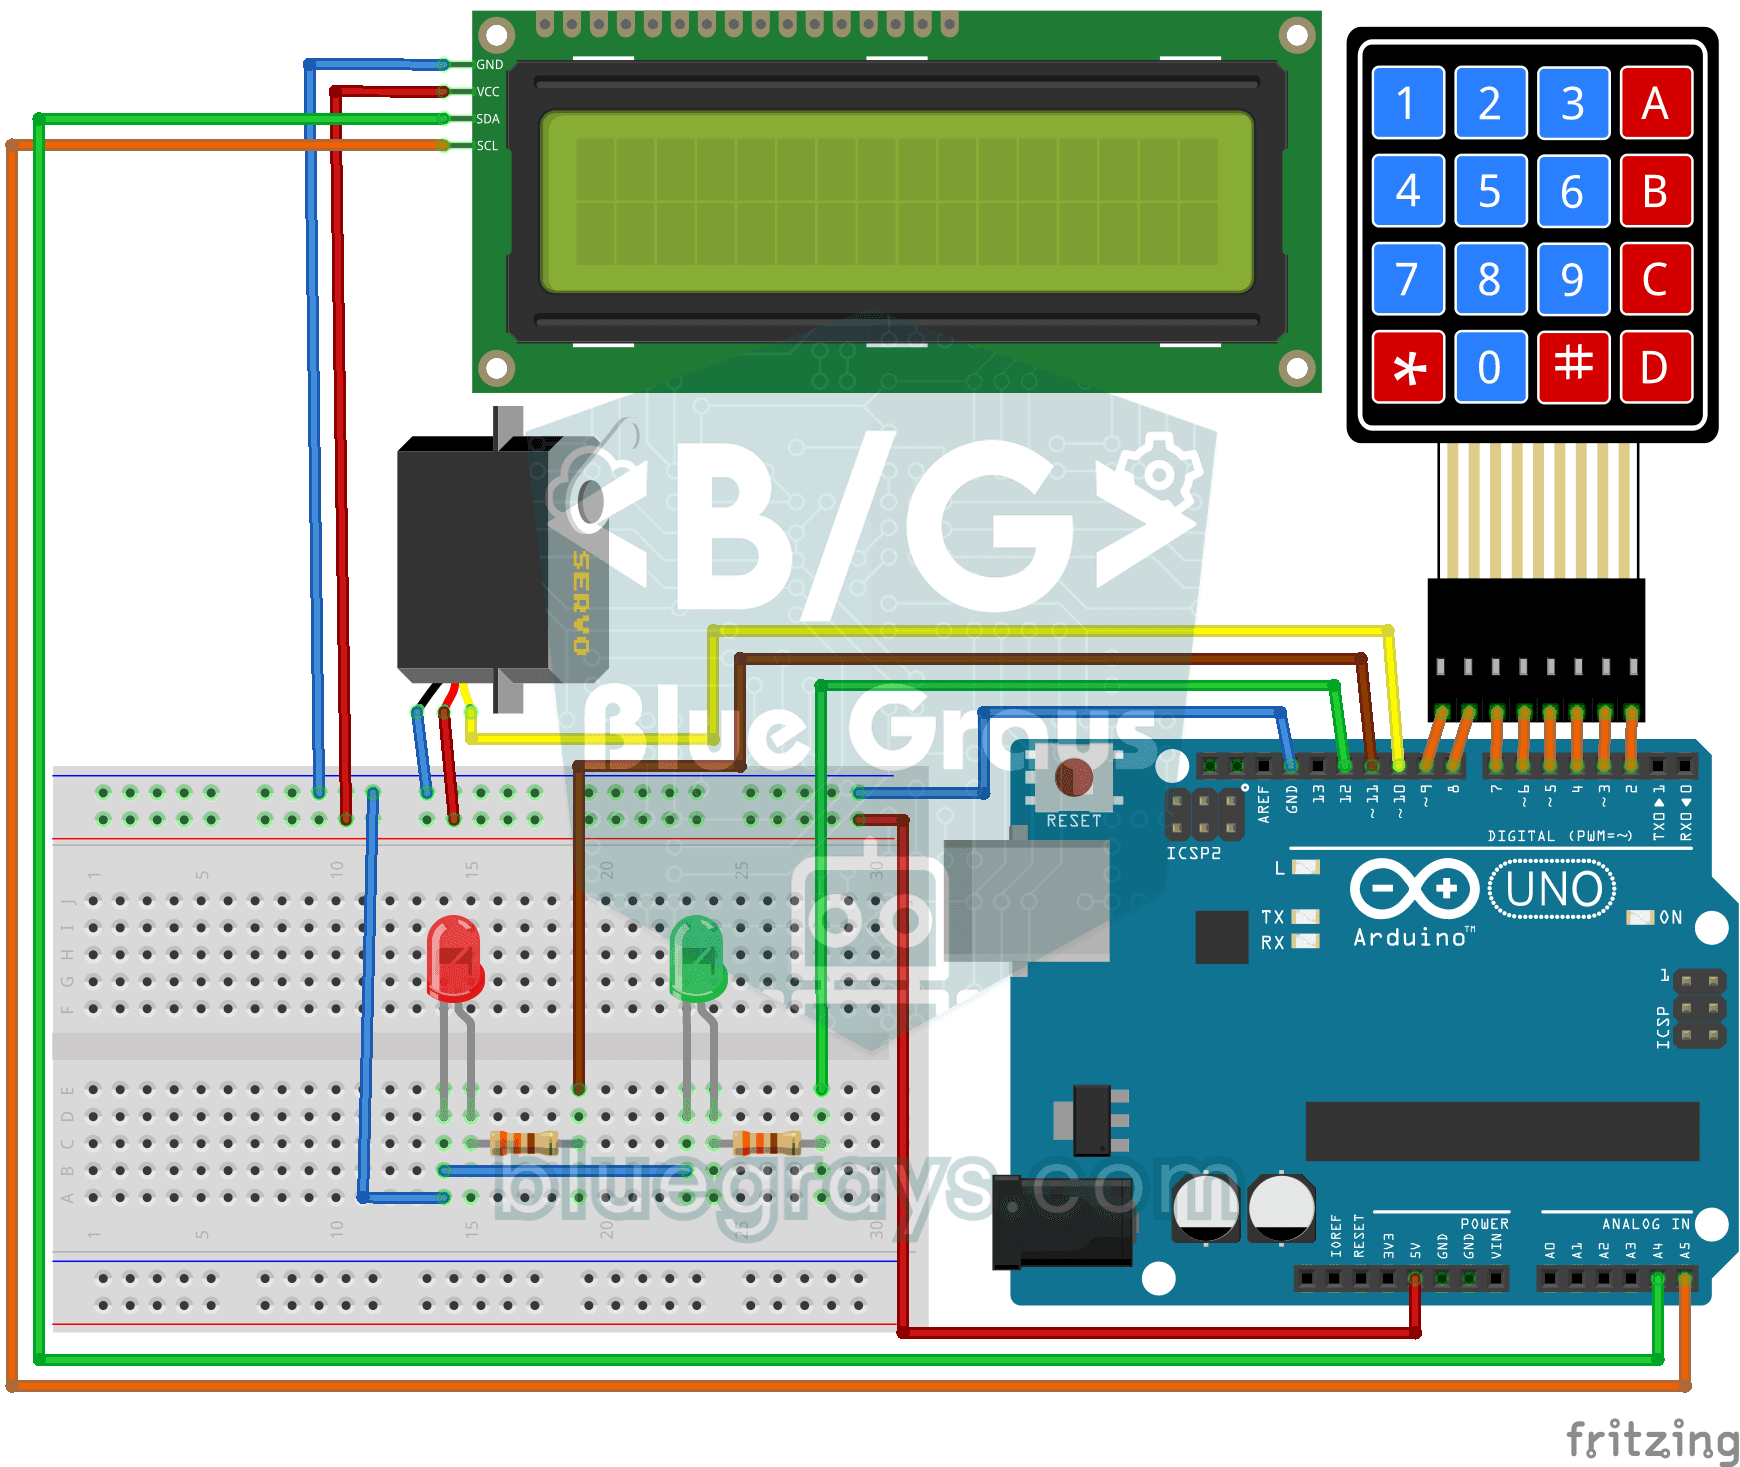
Password Lock with 4x4 Keypad and LCD
A small electronic door lock that keeps out anyone who doesn't know the code. You press the hash key and type the code on the keypad; if it is right, the screen says access granted, the green LED ligh

Smart Electronic Safe
A small safe for your valuables that opens with a code. You type your four-digit code on the keypad; if it is right, the servo motor opens the lock, the green light comes on and the screen shows the s
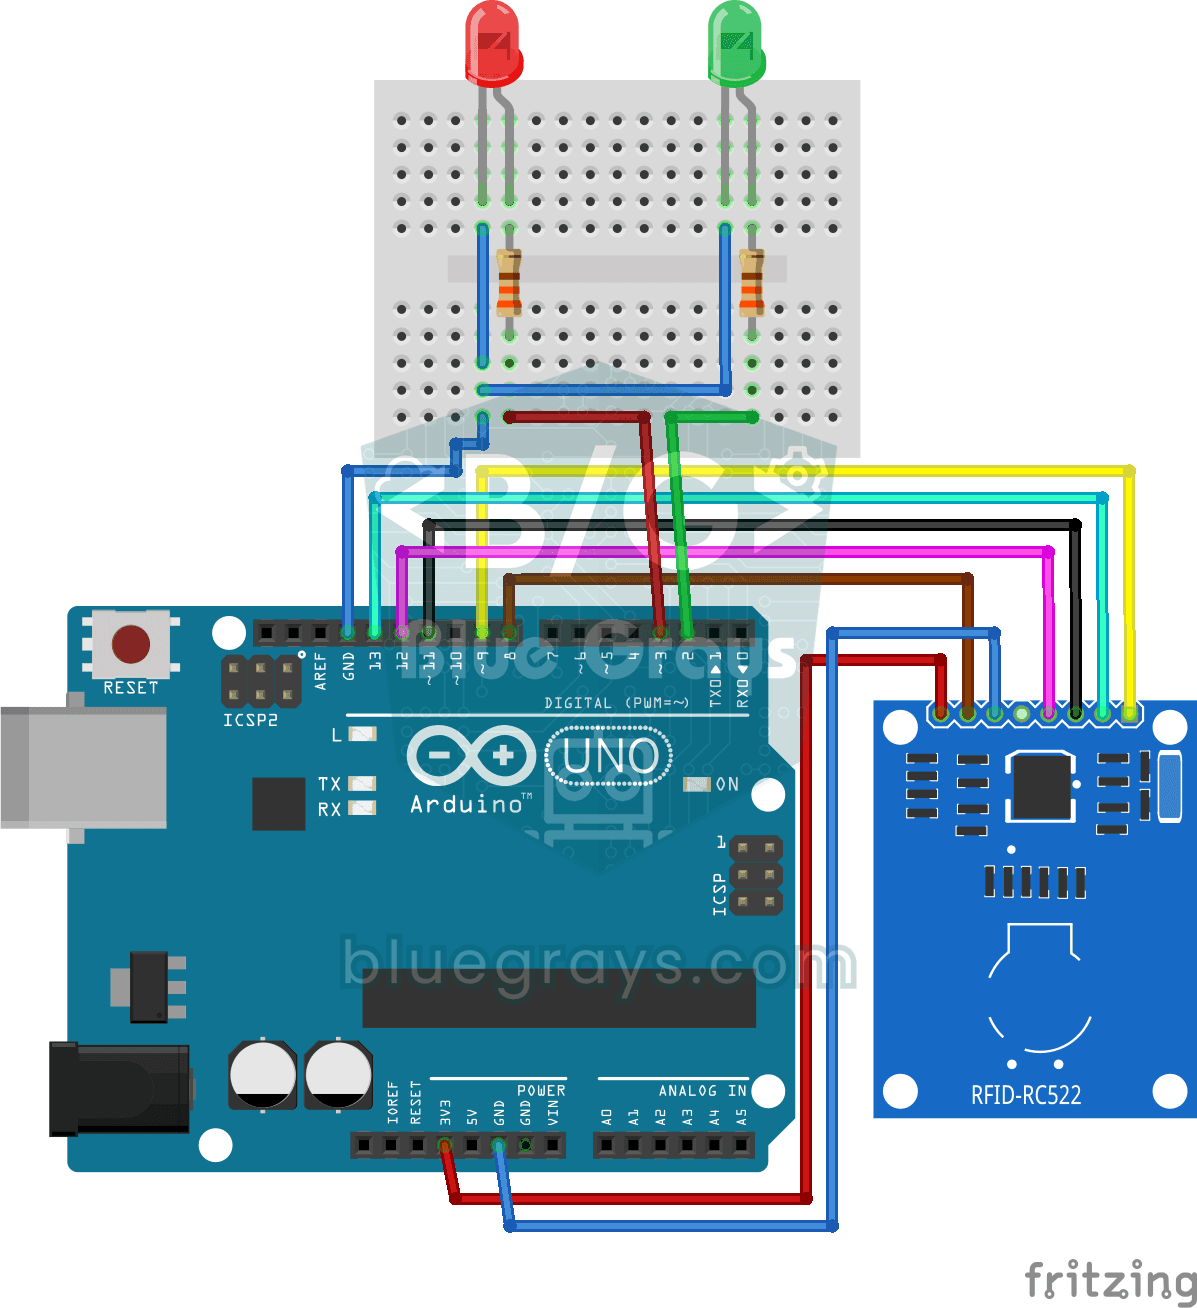
RFID Authentication
Just like the card entry at an apartment door: you hold your card near the RFID reader, and the Arduino compares its number with the one it has saved. The right card lights the green LED for three sec

Arduino Memory Game (4 LEDs + 4 Buttons + Buzzer)
Do you trust your memory? Four colored LEDs light up in a sequence, each playing its own note, and you repeat the same order by pressing the buttons. Every correct round adds a new color to the sequen

OLED T-Rex Run: Arduino Dinosaur Game
The dinosaur game that pops up when your internet goes down, now on your desk: the dinosaur runs across the small OLED screen, cacti come at you, and you jump with a single button. Your score climbs l

ESP32 Deep Sleep — Battery Saving (OLED + RTC RAM Counter)
The ESP32's Deep Sleep mode reduces current consumption to ~10 µA by shutting down the CPU and most peripherals, making it critical for battery-powered IoT devices. In this project, we use three different wake-up sources: a timer (15 seconds), an external pin (EXT0 — button GPIO 33), and touch (T0/GPIO 4). Variables marked with RTC_DATA_ATTR are preserved during deep sleep—the boot counter, timer wake counter, and button wake counter are continuously tracked. On each wake-up, the SSD1306 OLED