
How to Start a Robotics Club: From First Meeting to Showcase
How to start a robotics club: a setup checklist, a 60-minute first meeting, club roles, a 14-week calendar, progress board and a 3-minute showcase pitch.
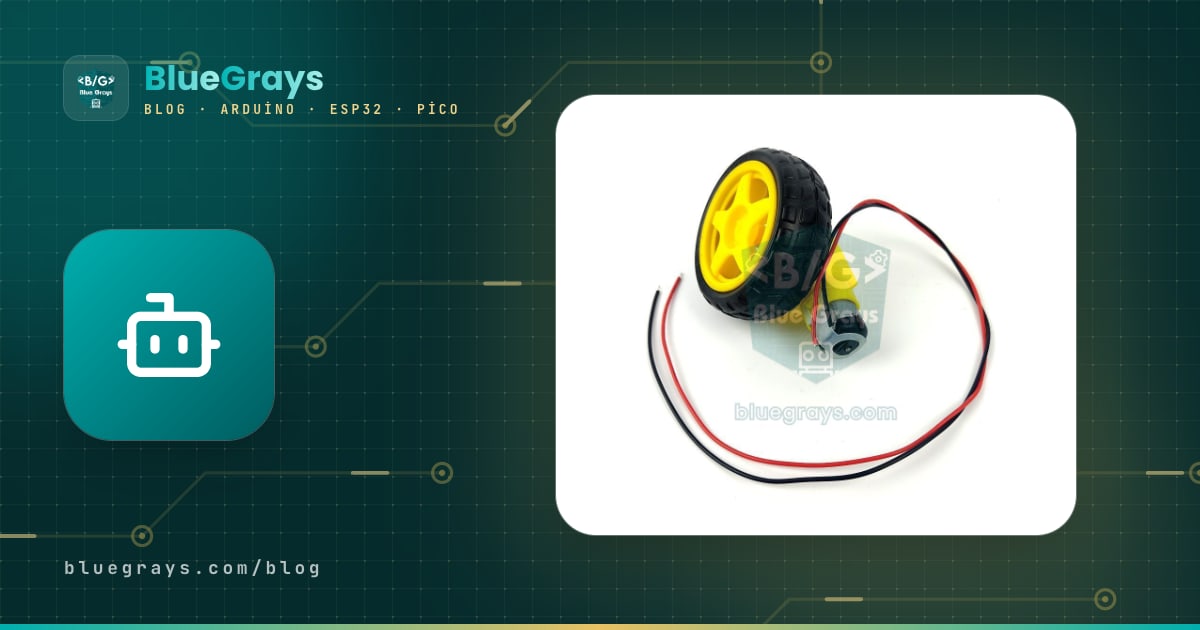
The short answer to how to start a robotics club is this: first lay the groundwork with a faculty advisor, a fixed room and time, numbered kits and approval from your school leadership; then recruit members with a working robot; spend the first four weeks of the term on free foundation projects and the rest on team projects, and close the term with a showcase. So there are four stages: preparation, promotion and membership, the in-term project cycle, and the showcase. What keeps a club alive isn't the amount of equipment but how clear the structure is. When every meeting has a flow, every member has a role, every team has a weekly goal and there's a product to show at the end of term, the club starts running itself.
This post covers the organisation of the club: a preparation checklist, budget items, a 60-minute first meeting, club roles, a 14-week term calendar, team project management, the showcase and handing the club over to next year. If you're looking for the content, meaning which circuit to build in which week, the 8-week block coding robotics plan does that job. For building the robots themselves, see the posts on the robot car, the obstacle avoiding robot and the line follower robot. The examples are hypothetical: say you're starting a club at a middle school with 16–20 members that meets once a week for 60 minutes.
The 4 stages of starting a robotics club
- Preparation (3–4 weeks before term starts): Settle the faculty advisor, the meeting room and time, the number of kits, the storage system and school permissions. The output of this stage is a one-page club plan: purpose, day and time, capacity and the date of the end-of-term showcase.
- Promotion and membership (weeks 1–3): A short promotion, a first meeting built around a working robot and two trial meetings. Membership is confirmed at the end of week 3; students who drop in and out sort themselves out during this time.
- In-term project cycle (weeks 4–13): First, weeks where everyone builds the same free projects to learn the basics, then a cycle in which teams of 3–4 pick their own project and work towards weekly goals: set a goal, build, test, document, update the board.
- Showcase (week 14): Each team shows its working project at a table, gives a 3-minute pitch and is assessed with a rubric. The showcase is the finish line of the term and just as much the promotion for next year.
Preparation checklist: before the club opens
Everything you do in the preparation stage has one goal: at the first meeting, students should get something working within 10 minutes. If the Arduino IDE isn't installed on the computers, the kits haven't been counted or the room is given to another activity at the last minute, the first impression is lost and fewer students come back for the second meeting. Put the list below on paper and write a date and an owner next to each item; once the list is done, everything the club needs for its first term is ready.
- Faculty advisor: The person responsible for the club inside the school. They don't need to be an electronics expert; someone who comes to meetings regularly, keeps the keys to the kits and the room and talks to school leadership is enough. If possible, have a second teacher as backup advisor so the club doesn't stop during illness or exam periods.
- Room and time: A room with enough sockets, tables that can be grouped and a lockable cabinet; a fixed 60-minute slot once a week. Meetings straight after the last lesson boost attendance at most schools. Book the room for the whole term at the start of term.
- Kits and storage: One Arduino Uno kit per team of 3–4, numbered boxes and a spare parts box. We covered the kit list, cabinet layout and colour code in detail in the post on setting up a school Arduino lab; the club can run on the same system.
- Computers and software: One computer per team with the Arduino IDE and board drivers installed, and numbered USB cables. If software installation at your school is handled by IT, send them the install list two weeks ahead.
- School permissions: Depending on your school's rules for clubs and extracurricular activities: approval from leadership, a club file or an application form; if you meet outside lesson time, a letter to parents and a consent form; and a separate line on the consent form for the showcase and photos. The procedure varies from school to school, so ask the office first.
- Safety rules: In the first weeks every circuit is powered over USB, meaning 5 V; batteries and adapters are used only under the advisor's supervision, in the motorised robot stage. Read the rule list together at the first meeting and put it up on the wall.
- Club plan: One page: purpose, meeting day and time, capacity, advisor, term calendar and showcase date. This page feeds the office, the parents and the promotion poster.
When you prepare the budget, list the items before you start researching prices. The table below has no figures, because prices change with supplier and time, but it shows which item is needed when and which can wait. The first term really needs the first four rows. Robot chassis and motor drivers only have to arrive before team projects start, that is before week 5; showcase materials can be bought towards the end of term. If the school budget isn't enough, attach this table to the back of your one-page club plan when you approach the parent-teacher association, local businesses or project grants.
| Item | What for? | When is it needed? | Priority |
|---|---|---|---|
| Team kits (board, breadboard, wires, LEDs, resistors, buttons, sensors) | Foundation weeks and all team projects | Before week 1 | Essential |
| Numbered storage boxes and a lockable cabinet | Preventing lost parts, fast hand-out at the start of meetings | Before week 1 | Essential |
| Spare parts box | Burnt LEDs, broken wires, lost resistors | Before week 1 | Essential |
| USB cables and extension leads | Connecting every team to a computer | Before week 1 | Essential |
| Robot chassis, geared motor and wheel set, motor driver | Team projects that move | Before week 5 | Depends on team projects |
| Battery holders and rechargeable batteries | Robots that move without a cable | Before week 5 | Depends on team projects |
| Consumables (wires, resistors, LEDs, tape, labels) | Whatever runs out during the term | Mid-term | Essential |
| Showcase materials (A4 project card prints, card, tablecloths, tape) | Showcase tables and robot track | Week 12 | Optional |
| BlueGrays Premium codes (educator package) | Letting everyone open the Premium team projects on their own phone | End of week 4 | Optional |
Promotion and membership: who, how many and how?
The most effective promotion tool isn't a poster, it's a working robot. Running a robot that turns away when it sees an obstacle in the corridor for 10 minutes at break draws far more interest than announcements in every classroom. Keep the poster to three facts: what you'll do ("We build robots and electronics projects, no experience needed"), when you meet and where the first meeting is. Your number of kits sets the capacity: with 6 kits you can take 18 members in teams of 3, or at most 24 in teams of 4; in teams bigger than four someone always ends up watching. If you get too many sign-ups, use a draw or a waiting list, but keep the first two meetings open to everyone. These two meetings are trial weeks: students see what the club is, and you see who will really stay. Confirm membership at the end of week 3 and collect a short member form: name, class, whether they've coded before, area of interest (robots, sound, light, measuring) and parental consent. The interest column will come in handy when you form teams in week 5.
The first meeting: a 60-minute flow
| Minute | Part | What the advisor does | What students do |
|---|---|---|---|
| 0–5 | Welcome | Greets students at the door, puts a team number card on each table | Sit at a table, write their name on a name tag |
| 5–15 | Introductions and club purpose | Presents the club plan: term calendar, showcase date, rules | Each student says their name and one robot they'd like to build in one sentence |
| 15–22 | Working demo | Runs a robot or a circuit that beeps based on distance, shows the "sense, decide, act" trio | Hold a hand in front of the sensor and guess what triggers what |
| 22–45 | Mini project | Has students open the project on their phones, walks between tables, goes to teams that are stuck | LED Blink: build the circuit, upload the code, change the delay; those who finish move on to Traffic Light |
| 45–55 | Choosing roles | Introduces the club roles, asks for volunteers for the trial period | Pick a temporary role or draw one |
| 55–60 | Wrap-up | Announces next week, has kits counted | Count and return the box, fill in the interest form |
This flow has two critical moments. The first is the demo: if you don't have a moving robot, that's fine. Adding a buzzer to the distance sensor in HC-SR04 Distance Measurement (Serial Display) or playing a warning tone with Using a Buzzer has the same effect. What students need to see is a sensor detecting something, the code making a decision and an output responding. The second is the mini project: everyone should leave the first meeting having made something work with their own hands. LED Blink and Traffic Light are completely free on BlueGrays, blocks included; students can open the project on their phones and follow the steps in Let's build it together mode in order: prepare the parts, build the circuit, upload the code, test it. That way, instead of explaining to 6 teams at once, you go to the table that's stuck. Always keep the last five minutes for counting: the club's first habit should be the box going back into the cabinet complete.
Club roles: give everyone a job
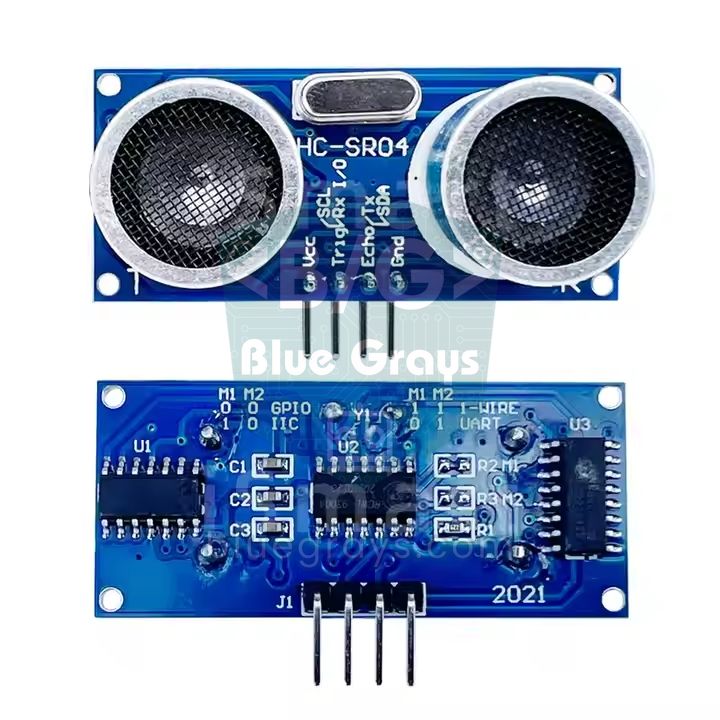
Roles aren't there to build a hierarchy but to spread the advisor's load and give every member a place in the club. In a club with 16–20 members, an advisor who counts kits alone, takes photos, helps teams and also plans the showcase is worn out within a few weeks. The roles below are club-level; inside each team there are also builder, coder and reader roles, which rotate every meeting. Keep the club roles temporary during the trial weeks, choose again among permanent members at the end of week 4 and keep them fixed for the rest of the term. The peer mentor role matters most: a student who was in the club last year, or who finished the foundation weeks quickly, goes to a stuck team before the advisor does. That shortens the queue in front of you and helps the mentor consolidate what they've learned by explaining it.
| Role | Responsibility | Weekly work | How many? |
|---|---|---|---|
| President / coordinator | Follows the meeting flow, makes announcements, prepares the agenda with the advisor | 10-minute agenda chat before the meeting, next week's announcement at the end | 1 (+1 deputy) |
| Equipment manager | Keeps the in and out count of the boxes, the spare box and the missing parts list | Hand-out at the start, count at the end; reports missing parts to the advisor in writing | 2 |
| Documenter | Keeps photos, short videos and meeting notes, collects the documentation templates | 5–6 photos without faces and a one-paragraph note every meeting | 1–2 |
| Peer mentor | Gives first help to stuck teams, supports new members in the foundation weeks | Walks between tables during the meeting, brings what they can't solve to the advisor | 2–3 |
| Board keeper | Updates the weekly progress board, flags late teams to the president | Collects each team's status at the end of the meeting and writes it on the board | 1 |
| Showcase and communications lead | Prepares the poster, showcase invitation, table plan and school announcements | Busy at the start of term and in the last 4 weeks, light in between | 1–2 |
| Team leader | Reports the team's weekly goal to the board, keeps track of role rotation inside the team | States the goal at the start and the status at the end of each meeting | 1 per team |
A 14-week term calendar
The calendar has four blocks. In the first four weeks everyone builds the same free projects and learns the basics; these are also the trial weeks, and nobody needs Premium. Between weeks 5 and 10, teams of 3–4 choose and build their own projects. Weeks 11–13 are showcase preparation: testing, improving, documenting and rehearsing the pitch. Week 14 is the showcase. For the foundation weeks you can take the content of each meeting from the weeks of the block coding plan; the projects in the table follow the same order as that plan.
| Week | Focus | In the meeting | Output of the week |
|---|---|---|---|
| 1 | First meeting | Introductions, demo, LED Blink, temporary roles | Everyone got an LED working |
| 2 | Basics: output and timing | Traffic Light; reading blocks and code side by side | A traffic light with changed timings |
| 3 | Basics: input and conditions | LED Control with a Push Button (Push), Night Light with Ldr; member form, membership confirmed | Final member list |
| 4 | Basics: sensors and sound | HC-SR04 Distance Measurement (Serial Display), Using a Buzzer; mini contest: most accurate distance reading | Permanent roles chosen |
| 5 | Forming teams and choosing projects | Teams of 3–4 by interest, Project Finder, project card | Each team's project card and parts list |
| 6 | Plan and first circuit | Parts check, first half of the circuit, first goal on the board | One part of the project works |
| 7–9 | Build weeks | Weekly goal, building, testing, notes in the documentation template | At least one "Done" on the board every week |
| 10 | Prototype day | Each team shows in 2 minutes what works and what doesn't | Scope decision for the last four weeks |
| 11 | Testing and improving | Bug list, cable management, battery and chassis sturdiness | A project that works 3 times in a row |
| 12 | Documentation and poster | Documentation template completed, A4 project card written | Print-ready project card |
| 13 | Pitch rehearsal and logistics | 3-minute pitch rehearsal, table plan, sharing a Tutorial post in the Forum | Timed rehearsal, showcase checklist |
| 14 | Showcase | Showcase, assessment, end-of-term wrap-up | Assessment forms, notes for the handover file |
Choosing team projects: balancing ambition and time
When teams form in week 5, most students want the biggest robot. Your job isn't to crush that wish but to fit it into six build weeks. Starting project selection with the Project Finder in BlueGrays makes this easier: the team answers three questions (what they want to make, which board they have and how much experience they have), and the app suggests the best match, other matches and a free warm-up project that uses the same parts. We explained how it works in which Arduino project should I do next; teams aiming for a competition or fair can also browse these science fair project ideas. For teams that want a robot, the natural order is: get to know the sensor with HC-SR04 Distance Measurement (Serial Display), try movement with Using a Servo Motor, then move on to a full robot such as Obstacle Avoidance Robot or Bluetooth Controlled Car with L298N. There are strong non-robot options too: projects such as Parking Sensor with HC-SR04 or Arduino Touchless Trash Can (HC-SR04 + SG90 Servo + LED) draw a lot of attention at a showcase with fewer parts. Have each team pick two candidates and compare them against these criteria:
- Time: The project should be doable in 6 build weeks at 60 minutes a week and leave the team at least two weeks for testing and fixing.
- Parts: Does the club have all the parts, or will they arrive by week 6? A project with missing parts spends its first two weeks waiting.
- Works in stages: The project should work piece by piece. Let the robot car first just spin its wheels, then measure distance, and only then combine the two; that way there's something to show on prototype day in week 10.
- Role split: The project needs enough circuit, code and documentation work for everyone; don't pick a project where all the work lands on one person.
- Showcase value: A visitor should understand what the project does in 30 seconds and be able to try something: hold a hand to the sensor, press a button, steer from a phone.
- Backup plan: If the main project doesn't work by week 10, define a smaller version that can still be shown; for example, a distance-sensor warning circuit instead of the robot.
Weekly progress board and documentation template
The easiest way to follow 6 teams at once is a single board everyone can see. You can keep it on paper (a chart on the wall, one row per team and sticky notes) or in an online spreadsheet your school already uses; what matters is that it gets checked at the start and end of every meeting. At the start, the team leader writes the week's goal in one sentence; at the end, the board keeper updates the status. Status takes only three values: To do, Doing, Done. The most valuable column is Blocker, because it shows what the advisor needs to solve before the next meeting: a missing part, a faulty sensor, a line of code nobody understands. Next to the board, each team should also have a documentation template; this single page, filled in through the term, is the source for both the showcase project card and the Tutorial post you'll share in the Forum. Below is a sample board from week 8, followed by the fields of the template.
| Team | Project | This week's goal | Status | Blocker | Next week |
|---|---|---|---|---|---|
| T1 | Obstacle avoiding robot | Stop and turn back when distance drops below 20 cm | Doing | Left motor turns slowly | Check motor wiring and batteries |
| T2 | Parking sensor | Buzzer beeps faster as distance shrinks | Done | None | Add an LED bar |
| T3 | Touchless trash can | Servo holds the lid open for 2 seconds | Doing | Servo jitters | Check the power supply with the advisor |
| T4 | Bluetooth controlled car | Forward and back commands from a phone | To do | Bluetooth module hasn't arrived | Finish the motor test until the module arrives |
| T5 | Smart night light | Set the light threshold by measuring in the classroom | Done | None | Enclosure design and poster |
| T6 | Mini traffic junction | Two traffic lights and a pedestrian button | Doing | Pressing the button mixes up both lights | Read the code line by line with a mentor |
- Project name and one-sentence goal: Something like "A robot that stops and turns when an obstacle appears"; no jargon.
- Parts list: Every part with its quantity; value and colour for resistors and LEDs.
- Connections: Which part is connected to which pin, wire colours and a clear photo of the circuit taken from above.
- How it works: Three sentences in the order sense, decide, act, plus the line in the code where the decision is made.
- Bug log: Date, symptom, fix tried, result. The best story to tell at the showcase usually comes from here.
- Weekly photo: One photo per build week, with no faces, school name or personal information.
- Next step: What would you add with more time? This line goes into next year's list of project ideas.
BlueGrays Premium in the club: everyone on the same project with an educator package
All the projects in the foundation weeks are free on BlueGrays; all 60 free projects (20 per platform) have the circuit diagram, parts list, code, blocks and Understand the code open. Team projects, however, bring in Premium projects such as the robot car, parking sensor and servo projects. The tidiest way to let every member open the same project page on their own phone is an educator package; in the app it's called Educator Packages. The advisor buys a package once from Profile > Educator Packages with their own App Store or Google Play account, the codes land in My Codes and each code gives one member Premium. Packages don't renew automatically, members don't need to add a card, and unused codes never expire. Because clubs have a lot of members coming and going, a yearly package is usually the better fit: each code in a yearly package has 6 transfers, in a monthly package 1. We worked through the monthly versus yearly choice in detail in monthly or yearly educator package; here are the practical rules for a club:
- Hand out codes after the trial weeks. Since the first four weeks run on free projects, give codes at the end of week 4 to students whose membership is confirmed. The period starts on the day a code is redeemed; a code handed out too early stays with a student who leaves the club.
- Count packages by permanent members. Say you have 16 permanent members: 2 yearly packages of 10 codes give you 20 codes; 16 for members, 1 for your own account and 3 spare for students who join during the year. In the 10-code package the cost per student is about 20% lower than in the 5-code package; you'll see the current price for your country on the Educator Packages screen.
- Transfer the code of a member who leaves. For a member who leaves mid-term, you cancel the code with Transfer in My Codes, a new code is created with the remaining time and you give it to the new member. The previous member's Premium ends at that moment; let them know beforehand.
- Be transparent. The name, username, email and profile photo of the member who redeems a code are shared with the advisor who gave it, so you can see who used which code. Tell members and parents this before you hand out codes.
- Ask about store subscriptions. A member with an active Premium subscription through the App Store or Google Play can't redeem a code; give it to them once their subscription ends, and the code waits in the meantime.
- Know what isn't there. The app has no dashboard that shows members' project progress to the advisor, and no assignments. You follow team status on the progress board, and finished projects through the member showing the I made it mark on the project page plus the documentation template.
The advisor's projects, and from showcase to the Forum
If the club has a project of its own (a soil moisture alarm for the school garden, say, or a racing robot the club has been improving for years), the advisor can share it in BlueGrays through Learn > Forum > New Post in the Tutorial category: add photos of the circuit (up to 5 images), paste the code with Add code and attach the ready-made projects or components it uses. The post is published in the language you use the app in; it isn't translated automatically and doesn't appear in the project list, but you can send its link to the club's group with Share. You pass on ready-made projects the same way, with Share on the project page; members save them with Favorite and open them from Workshop > Favorites. We covered this route in detail in teaching with your own Arduino project. The same route makes a good goal for the showcase: if you share a few of the best-documented projects of the term as Tutorial posts in the Forum from the advisor account in week 13, teams see that what they built can guide other users too. The goal, connections, how-it-works and parts list sections of the documentation template already make up the text of the post.
Showcase day: table layout, a 3-minute pitch, assessment
Split the showcase space into three zones. Table zone: One table per team, an A4 project card at the front (project name, one-sentence goal, parts list and a simple "how it works" diagram), an extension lead behind; projects that don't move go along the wall. Track zone: A 2 × 2 metre area marked on the floor with tape for moving robots, a few cardboard boxes as obstacles and, if there's a line follower, a course of black tape. Pit table: Spare batteries, spare wires, a computer and a peer mentor; a project that breaks gets fixed here instead of leaving the showcase. Keep at least one team member at every table while the others take turns visiting other tables. State on the card what visitors may touch ("Hold your hand in front of the sensor") and make sure no cables hang off the tables. Each team prepares its pitch with the 3-minute template below; it's repeated as visitors change and timed when the judges arrive.
| Time | Part | What is said or shown? | Who speaks? |
|---|---|---|---|
| 0:00–0:20 | Hook | The small problem the project solves: "What if the light came on by itself when you walk down a dark corridor?" | Team leader |
| 0:20–0:50 | Live demo | The project runs and a visitor is invited to try something | Coder |
| 0:50–1:40 | How does it work? | Sense, decide, act: which sensor, which decision in the code, which output | Builder |
| 1:40–2:20 | Bug story | A problem from the bug log and how it was solved | Reader |
| 2:20–2:45 | Next step | The feature you'd add with more time | Team leader |
| 2:45–3:00 | Questions | "Is there anything you'd like to ask?" | Whole team |
You don't have to turn assessment into a competition; the point is to make what each team learned visible. Form a panel of the advisor, another teacher from the school and a peer mentor; each judge spends 5 minutes at each table: 3 minutes of pitch, 2 minutes of questions. For scoring you can use the 6-criterion table from the Arduino project rubric post: circuit building, code and changes, understanding and explaining, debugging process, documentation and presentation, organisation and teamwork. If the club isn't graded, use the rubric for feedback and write each team two strengths and one suggestion. Instead of a single first place, a few small awards such as "most instructive bug story", "clearest pitch" and "tidiest wiring" also make visible the effort of a team whose project doesn't fully work. Put out a one-question card for visitors: "Which project would you most like to try?" Those cards tell you which project to feature when you promote the club next year.
Motivation and continuity: carrying the club into next year
- Mentor system: Pair each new member with a mentor for the first four weeks. The mentor can be a second-year member or someone who finished the foundation weeks quickly. Next year this year's members become mentors, so the club doesn't start from zero every year.
- Small, frequent wins: Mention every "Done" on the board in one sentence at the end of the meeting. A team that sees nothing work for six weeks loses motivation, which is why choosing a project that works in stages matters.
- Curiosity outside meetings: Members who want to can move forward with a few minutes of Daily questions in BlueGrays each day and ask about what they're stuck on in the Forum. None of this is compulsory; it opens a door for curious members.
- Interim goals: Prototype day in week 10 gives teams a real deadline before the showcase. If your school has a small chance to show off, such as a parents' evening or a science week, add it to the calendar.
- Handover file: At the end of term, put together a folder: member list and roles (in line with your school's data protection rules), inventory count and missing parts list, the teams' documentation templates and bug logs, how the 14-week calendar actually went, what worked and what didn't, next year's mentor candidates and project ideas. If the club used an educator package, also note the unused codes in My Codes; they don't expire, so they carry over to next year.
- Year-two plan: New members start again with the foundation weeks; second-year members become mentors and move on to harder projects such as wireless control, projects with displays or Wi-Fi with the ESP32.
Starting a robotics club takes some effort in the first year; from the second year on, the roles, the calendar and the handover file carry most of the work. You don't need a big budget or an expert team to begin: a room, a few numbered kits, a one-page plan and a working robot at the first meeting are enough. If you'd like to look at the free projects for the foundation weeks and the step-by-step circuit diagrams and code for team projects, you can start from Discover › Projects in the BlueGrays app.
Frequently asked questions
How do you start a robotics club at school?
Start by preparing with a faculty advisor, a fixed room and time, one kit per team and approval from school leadership. Then promote the club with a working robot and confirm membership after two trial meetings. Plan the term with foundation projects in the first four weeks and team projects after that, and close it with a showcase.
How many students do you need for a robotics club?
Your number of kits sets the capacity; plan one kit per team of 3–4. With 6 kits, 18–24 members can work comfortably. In teams bigger than four some students end up watching, so if you get too many sign-ups a waiting list or a second group works better.
What do you do at the first robotics club meeting?
A 60-minute first meeting should include introductions, the club's purpose and calendar, a short demo with a working robot and a mini project everyone builds with their own hands. A project that takes 20 minutes, such as blinking an LED, is enough. Introduce the roles in the last ten minutes and finish by counting the kits.
How much does it cost to start a robotics club?
The amount depends on the number of kits and your supplier, so list the items first: team kits, storage boxes, spare parts and USB cables, then robot chassis and motors, consumables and showcase materials. The first four items are essential; robot parts can come before team projects and showcase materials at the end of term. If the school budget isn't enough, you can ask for support with a one-page club plan.
What projects can a robotics club do?
The first weeks cover basic projects such as LEDs, a traffic light, buttons, a light sensor, a buzzer and a distance sensor. For team projects, pick ones that fit into 6 weeks, such as an obstacle avoiding robot, a Bluetooth controlled car, a parking sensor or a servo-driven automatic lid. Whether a project can work in stages is an important selection criterion.
How can a robotics club use BlueGrays?
The foundation-week projects are free in the app, blocks and code included. For the Premium team projects, the advisor can buy codes from Educator Packages and hand them out to members; each code in a yearly package has 6 transfers, so the remaining time of a member who leaves can move to a new member. The advisor can also share the club's own projects as Tutorial posts in Learn > Forum.
Projects to build after reading this
See all projects
LED Blink
The very first hello of electronics: switching a single LED on and off. The Arduino turns the LED on and off at short intervals, so the light blinks quickly. You see in the simplest way how the board

Traffic Light
A tiny copy of the traffic light you see on the road every day. Red stays on for two seconds, yellow flashes for a moment, green stays on for two seconds, then it goes back to red through yellow again

LED Control with a Push Button (Push)
Just like a doorbell: the light stays on as long as you press, and goes off when you let go. The Arduino keeps listening to the button; while it's pressed the LED is on, and the moment you lift your f

Night Light with Ldr
A little night light that turns on by itself when it gets dark and goes off when morning comes. A light sensor measures how bright the room is, and the Arduino switches the LED on when it is dark enou

HC-SR04 Distance Measurement (Serial Display)
The HC-SR04 sensor works just like a bat finding its way in the dark: it sends out a sound you cannot hear, listens for the echo and measures how far away the object in front of it is. The Arduino wri
Using a Servo Motor
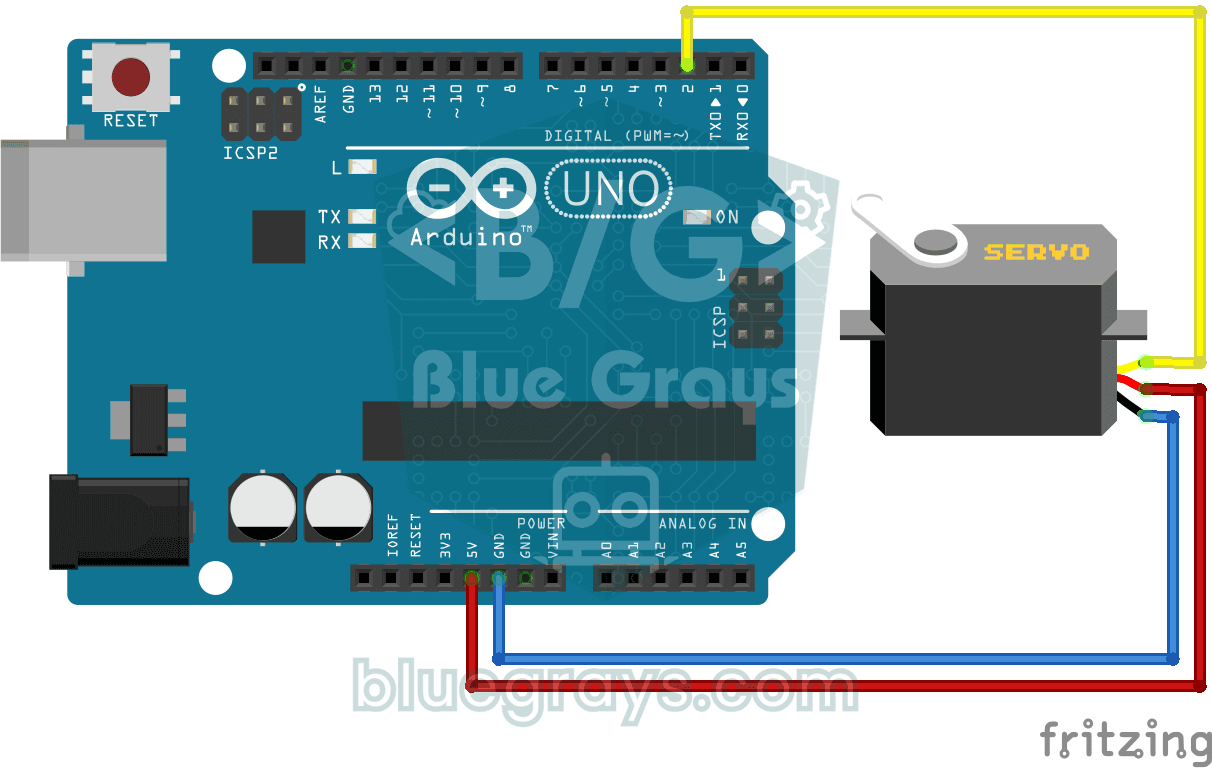
The arm of a small servo motor turns to three positions in turn: all the way to the start, right to the middle and all the way to the end, waiting two seconds at each stop. The Arduino tells the motor

Obstacle Avoidance Robot
How about building a smart vehicle that finds its own way? The Obstacle Avoidance Robot constantly scans its surroundings thanks to the ultrasonic sensor in front of it. When it encounters an obstacle

Bluetooth Controlled Car with L298N
Turn your phone into a remote and drive your own robot car. The Arduino receives commands from a remote-control app on your phone through a Bluetooth module and spins the wheels with a motor driver; t