
NeoPixel Matrix Arduino: 8x8 and 16x16 WS2812B LED Panel Guide
NeoPixel matrix Arduino guide: serpentine layout on 8x8 and 16x16 WS2812B panels, the XY function, scrolling text, animations, current limits, ESP32 and Pico code.
A NeoPixel matrix is one of the most eye-catching displays you can build with Arduino. It's made of 8x8 (64 LEDs) or 16x16 (256 LEDs) addressable WS2812B RGB LEDs arranged on a panel, and you set the colour of every pixel individually over a single data wire. It's ideal for scrolling text, icons, small games, audio spectrum displays and decorative animations. In this guide you'll learn step by step the serpentine layout inside the panel, the function that converts an x-y coordinate to an LED number, scrolling text and animations.
Working with a matrix takes a bit more care than a single NeoPixel strip. 256 LEDs can draw more than 15 amps at full brightness, the Arduino Uno's 2 KB of RAM fills up quickly on large panels, and the 3.3 V output of the ESP32 and Pico can cause trouble on some panels. That's why, alongside the code, we'll also cover current calculation, brightness limiting and memory planning. If you don't know the basics of the WS2812B yet, check out the WS2812B NeoPixel LED post first.
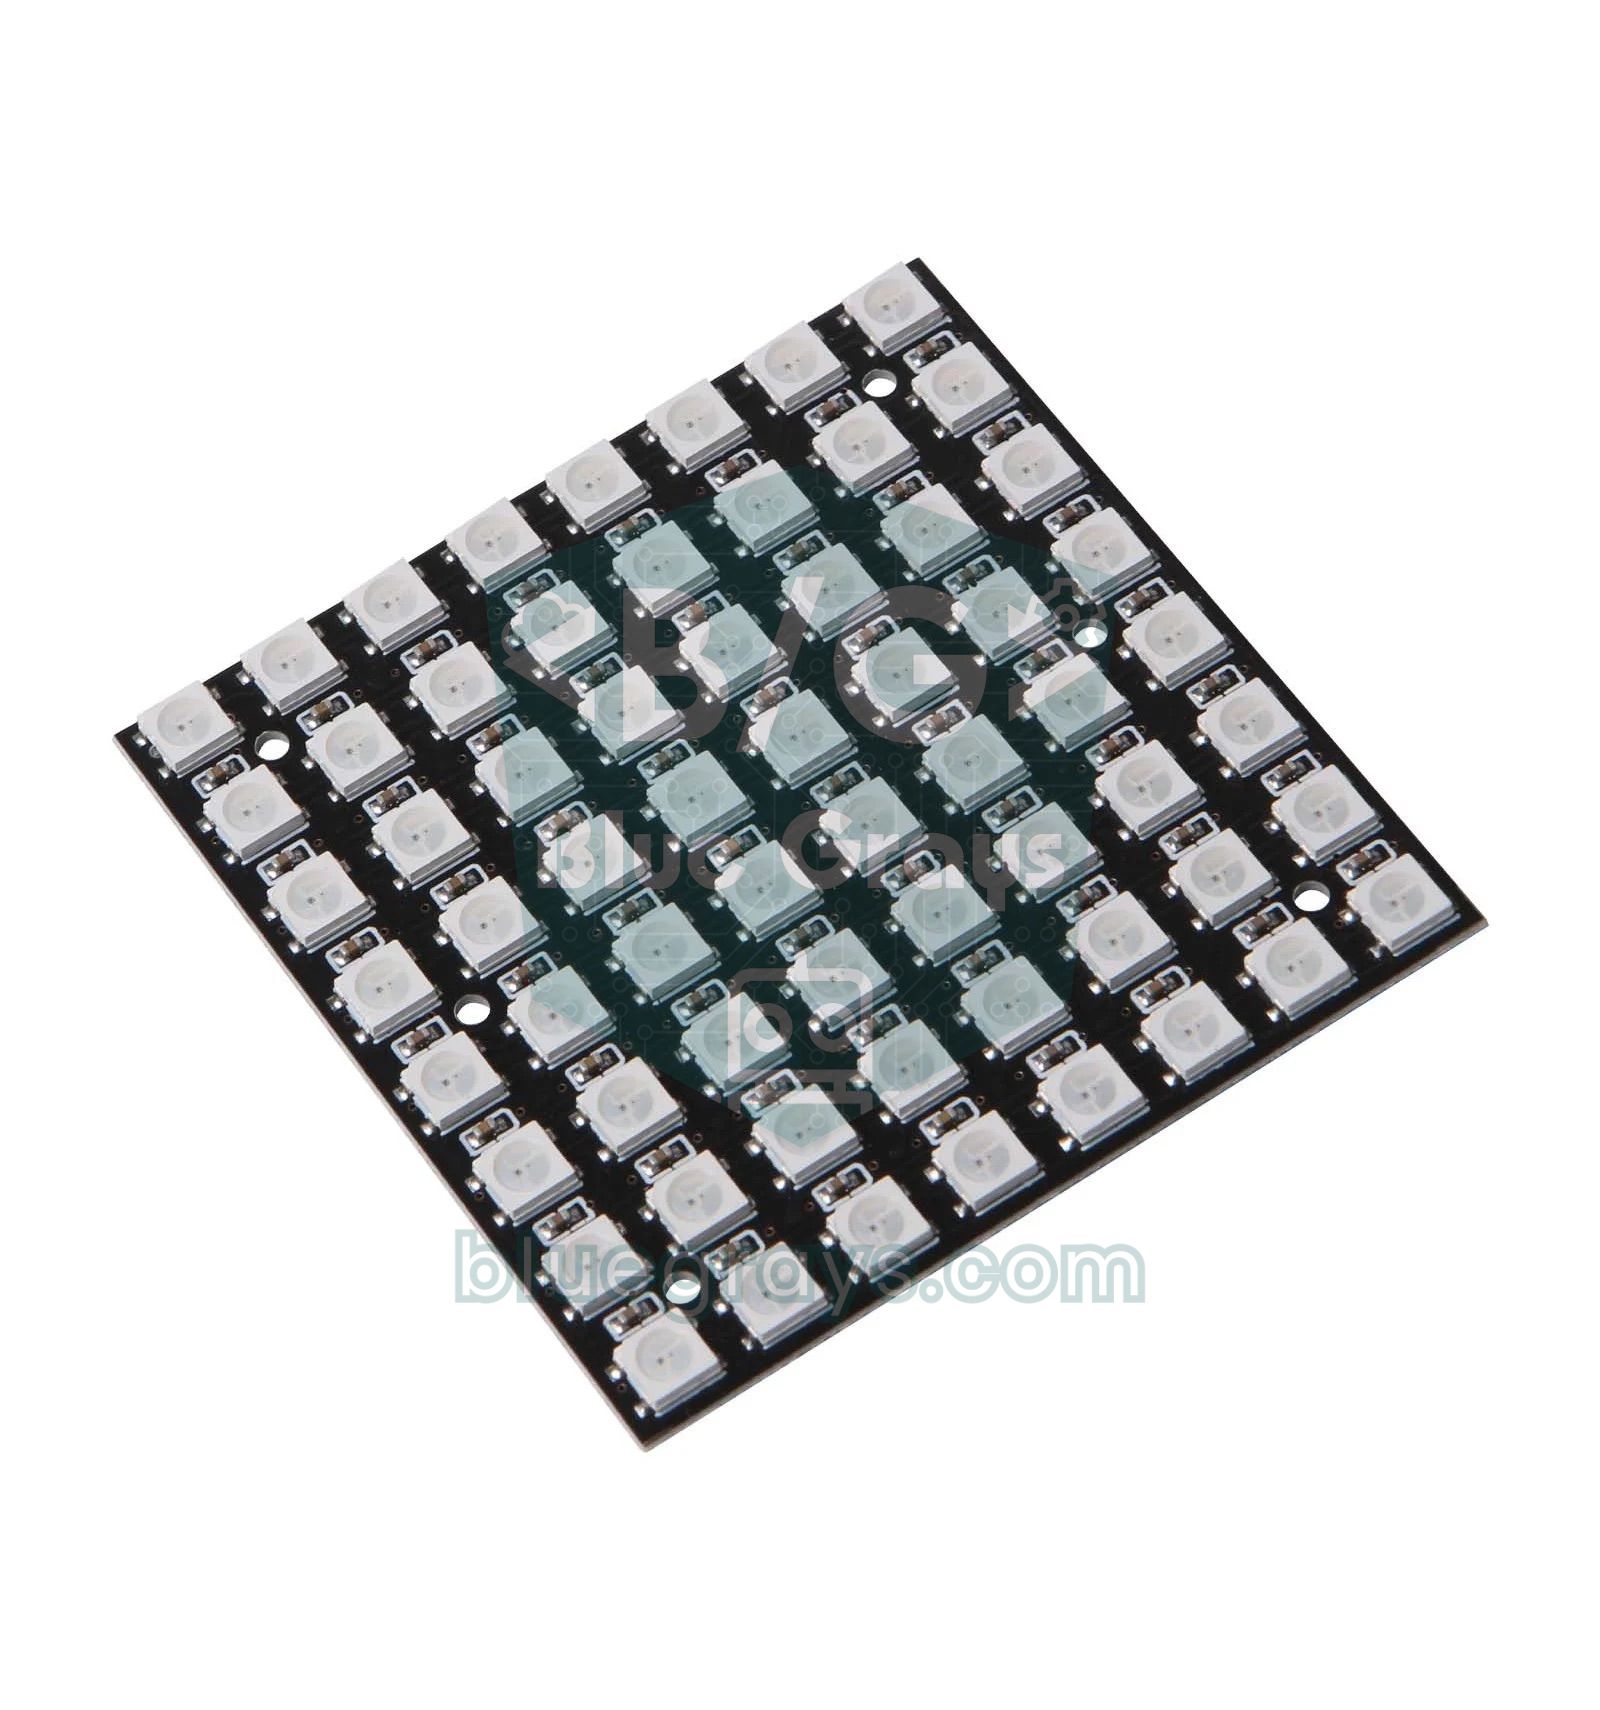
What is a NeoPixel LED matrix and how does it work?
Inside every WS2812B LED, next to the red, green and blue chips, there's a small driver IC. The microcontroller sends 24 bits of colour data per LED over the data line at 800 kHz; the bit order is green, red, blue (GRB). The first LED takes the first 24 bits for itself and passes the rest on to the next one through its DOUT pin, and the chain continues like this. A matrix panel works the same way: 64 or 256 LEDs are really one long strip folded into a square. Sending data to one LED takes about 30 microseconds, so updating a 256-LED panel once takes about 7.7 ms, which means smooth animation at more than 100 frames per second.
| Feature | 8x8 matrix | 16x16 matrix |
|---|---|---|
| Number of LEDs | 64 | 256 |
| Common size | About 65–80 mm | About 160 mm (flexible panel) |
| Supply | 5 V | 5 V |
| Peak current at full white | About 3.8 A | About 15.4 A |
| With all LEDs off | About 40–65 mA | About 150–260 mA |
| RAM needed (3 bytes/LED) | 192 bytes | 768 bytes |
| Time to update the whole panel | About 2 ms | About 7.7 ms |
| Data line | Single pin (DIN), 800 kHz | Single pin (DIN), 800 kHz |
Serpentine pixel layout and the XY coordinate function
In code you want to think of a pixel as an (x, y) coordinate, but LEDs are addressed by a single index starting from 0. On almost all flexible panels and on 16x16 models the LEDs are laid out in a zigzag (serpentine) order: the first row runs left to right, the second row runs right to left, and the third goes left to right again. This layout makes manufacturing easier because the end of each row connects to the start of the next by the shortest path. In the table below you can see the LED numbers in the first four rows of an 8x8 serpentine panel:
| Row | x=0 | x=1 | x=2 | x=3 | x=4 | x=5 | x=6 | x=7 |
|---|---|---|---|---|---|---|---|---|
| y=0 | 0 | 1 | 2 | 3 | 4 | 5 | 6 | 7 |
| y=1 | 15 | 14 | 13 | 12 | 11 | 10 | 9 | 8 |
| y=2 | 16 | 17 | 18 | 19 | 20 | 21 | 22 | 23 |
| y=3 | 31 | 30 | 29 | 28 | 27 | 26 | 25 | 24 |
The formula follows directly: on even rows index = y × W + x, and on odd rows index = y × W + (W − 1 − x), where W is the panel width. For example, on an 8x8 panel the point (2, 1) is LED number 1 × 8 + (7 − 2) = 13. Be careful: on some rigid-PCB 8x8 boards all rows run in the same direction (a straight or progressive layout); in that case the formula is simply y × W + x. On some panels the LEDs snake along columns instead of rows, which means x and y need to be swapped. The surest way to find out which type you have is to run a test sketch that lights the LEDs one by one and watch how the light travels.
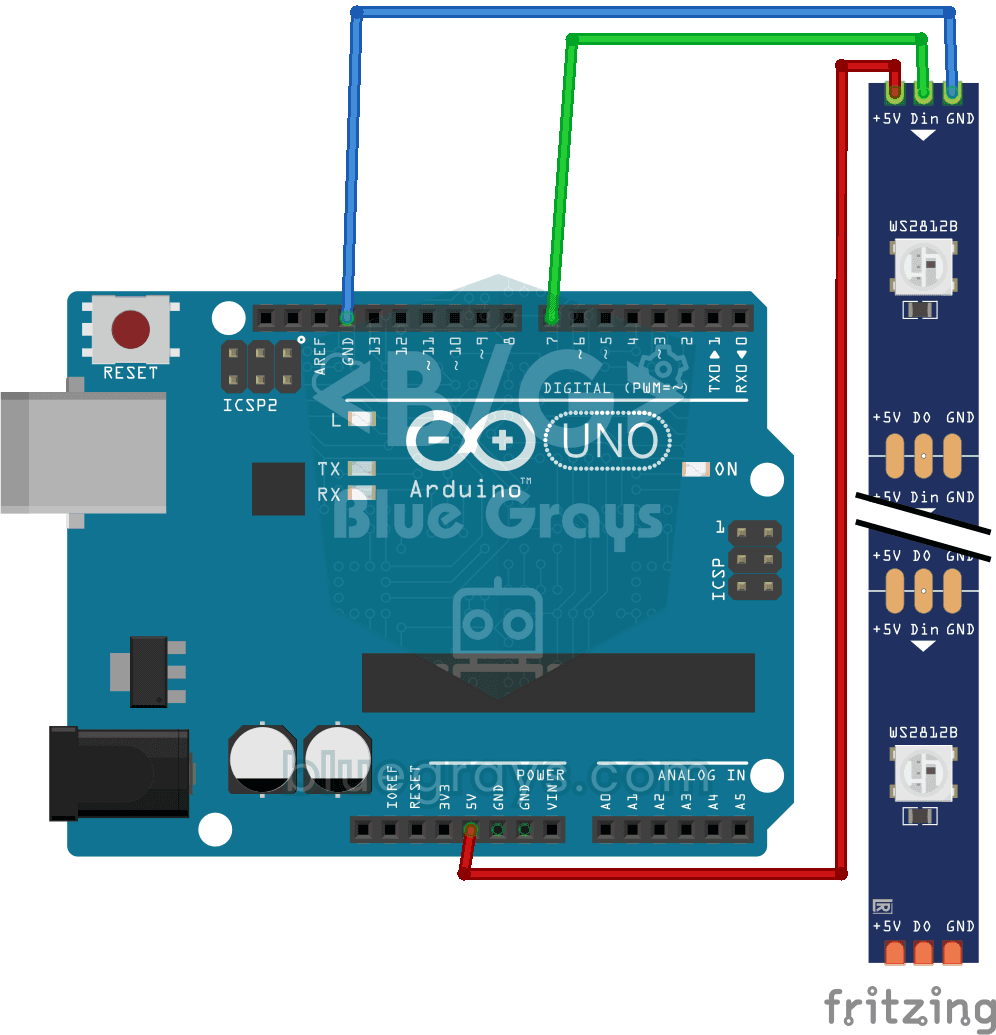
NeoPixel matrix wiring: Arduino Uno, ESP32 and Pico
| Matrix pin | Arduino Uno | ESP32 | Raspberry Pi Pico |
|---|---|---|---|
| 5V (VCC) | + of the external 5 V supply (5V pin for a small test) | + of the external 5 V supply | External 5 V supply or VBUS (8x8 only, low brightness) |
| GND | GND + – of the supply (common) | GND + – of the supply (common) | GND + – of the supply (common) |
| DIN | D6 (via a 330 Ω resistor) | GPIO 16 (via a 330 Ω resistor) | GP2 (via a 330 Ω resistor) |
| DOUT | DIN of the next panel (daisy chain) | DIN of the next panel | DIN of the next panel |
For a robust circuit, add three small parts: a 300–500 Ω resistor in series with the data line (it protects the first LED's input from voltage spikes), a 1000 µF electrolytic capacitor across the panel's 5V and GND (it smooths the current surge when the supply is first switched on), and a level shifter on 3.3 V boards if needed. At a 5 V supply the WS2812B wants to see at least about 3.5 V (70% of the supply voltage) on its data input; the 3.3 V output of the ESP32 and Pico works on most panels but is below that limit. If you see flickering or random colours, use a buffer IC such as the 74AHCT125; you'll find the details in the logic level converter post.
Step-by-step first matrix program (Arduino Uno)
- Open the Library Manager in the Arduino IDE and install the Adafruit NeoPixel library.
- Wire the panel as in the table: DIN to D6 through a 330 Ω resistor, GND to the Arduino GND, 5V to the supply.
- Set W and H in the code to match your panel's size; for a 16x16 panel make both 16.
- Keep the brightness low on the first try; setBrightness(30) brings an 8x8 panel's current down to a level USB can handle.
- Upload the code; you should see a diagonal scrolling rainbow. If the colours look broken row by row, your panel's layout is different, so adjust the xyIndex function accordingly.
1#include <Adafruit_NeoPixel.h>
2
3#define PIN_DATA 6                 // DIN pini (330 ohm ile) / DIN pin (via 330 ohm)
4#define W 8                        // panel genişliği / panel width
5#define H 8                        // panel yüksekliği / panel height
6#define NUM_LEDS (W * H)
7
8Adafruit_NeoPixel strip(NUM_LEDS, PIN_DATA, NEO_GRB + NEO_KHZ800);
9
10// (x, y) koordinatını LED numarasına çevirir (zikzak) / converts (x, y) to LED index (serpentine)
11uint16_t xyIndex(uint8_t x, uint8_t y) {
12  if (y & 1) {
13    return y * W + (W - 1 - x);    // tek satırlar sağdan sola / odd rows run right to left
14  }
15  return y * W + x;                // çift satırlar soldan sağa / even rows run left to right
16}
17
18void setup() {
19  strip.begin();
20  strip.setBrightness(30);         // 0-255, düşük tut / keep it low
21  strip.clear();
22  strip.show();
23}
24
25void loop() {
26  static uint16_t hueBase = 0;
27  for (uint8_t y = 0; y < H; y++) {
28    for (uint8_t x = 0; x < W; x++) {
29      uint16_t hue = hueBase + (x + y) * 4096U;   // çapraz gökkuşağı / diagonal rainbow
30      strip.setPixelColor(xyIndex(x, y), strip.gamma32(strip.ColorHSV(hue)));
31    }
32  }
33  strip.show();                    // tamponu panele gönder / push the buffer to the panel
34  hueBase += 256;                  // renkleri kaydır / shift the colors
35  delay(20);
36}
The heart of the code is the xyIndex() function: by flipping x on odd rows it hides the serpentine layout, so in the rest of the code you only think in coordinates. ColorHSV() converts a hue value between 0 and 65535 on the colour wheel to RGB; because the hue shifts as the x + y sum grows, you get diagonal colour bands. gamma32() corrects for how the eye perceives brightness and makes colour transitions look more natural. Finally, no change reaches the panel until you call show(); writing all the pixels to memory first and sending them in one go is the secret of a smooth image.
Scrolling text: with Adafruit NeoMatrix
You don't have to fiddle with pixels one by one to draw letters and icons. The Adafruit NeoMatrix library turns your NeoPixel panel into an Adafruit GFX-compatible display, so the functions you use on OLED displays, such as print(), drawLine(), fillRect() and drawBitmap(), work on the matrix too. When you install Adafruit NeoMatrix from the Library Manager, install the Adafruit GFX and Adafruit NeoPixel dependencies as well. The flags in the constructor describe the panel's physical layout: NEO_MATRIX_TOP + NEO_MATRIX_LEFT says the first LED is in the top-left corner, NEO_MATRIX_ROWS says the LEDs run along rows, and NEO_MATRIX_ZIGZAG says the rows zigzag; on a straight-layout board just write NEO_MATRIX_PROGRESSIVE instead of ZIGZAG. The default 5×7 font fits an 8-row panel perfectly, and each character is 6 pixels wide including its spacing. A nine-letter text is 54 pixels long; the textWidth constant calculates this automatically, and when x drops below that value the text re-enters from the right and changes colour.
1#include <Adafruit_GFX.h>
2#include <Adafruit_NeoMatrix.h>
3#include <Adafruit_NeoPixel.h>
4
5#define PIN_DATA 6
6
7// 8x8 panel, ilk LED sol üstte, zikzak satırlar / 8x8 panel, first LED top-left, zigzag rows
8Adafruit_NeoMatrix matrix(8, 8, PIN_DATA,
9  NEO_MATRIX_TOP + NEO_MATRIX_LEFT + NEO_MATRIX_ROWS + NEO_MATRIX_ZIGZAG,
10  NEO_GRB + NEO_KHZ800);
11
12const char text[] = "BlueGrays";
13const int textWidth = (sizeof(text) - 1) * 6;   // karakter başına 6 piksel / 6 pixels per character
14int x = 8;                                      // yazı sağ kenardan başlar / text starts at the right edge
15uint8_t colorStep = 0;
16
17void setup() {
18  matrix.begin();
19  matrix.setTextWrap(false);       // satır kaydırma kapalı / no line wrap
20  matrix.setBrightness(40);
21  matrix.setTextColor(matrix.Color(255, 0, 0));
22}
23
24void loop() {
25  matrix.fillScreen(0);
26  matrix.setCursor(x, 0);
27  matrix.print(text);
28  if (--x < -textWidth) {          // yazı panelden tamamen çıktı / text fully left the panel
29    x = matrix.width();
30    colorStep = (colorStep + 1) % 3;
31    if (colorStep == 0) matrix.setTextColor(matrix.Color(255, 0, 0));
32    if (colorStep == 1) matrix.setTextColor(matrix.Color(0, 255, 0));
33    if (colorStep == 2) matrix.setTextColor(matrix.Color(0, 0, 255));
34  }
35  matrix.show();
36  delay(80);                       // kayma hızı / scroll speed
37}
Memory limits on the Arduino Uno
The Arduino Uno's ATmega328P has only 2048 bytes of RAM, and every LED needs a 3-byte colour buffer. An 8x8 panel fits easily at 192 bytes, while a 16x16 panel takes 768 bytes, more than a third of the RAM on its own. The sneaky part is this: Adafruit NeoPixel allocates this buffer while the program is running, so it isn't included in the global variable usage shown at the end of compilation. Even if the build reports 70% usage, memory can run out once the panel buffer is added; the board then freezes or you see meaningless colours. Also, on AVR boards interrupts are disabled while show() runs; with 256 LEDs this takes about 7.7 ms, during which millis() can fall behind and data coming in over Serial can be lost. For large panels, an Arduino Mega with 8 KB of RAM or an ESP32 with hundreds of kilobytes is a far more comfortable choice.
| Panel | Number of LEDs | Colour buffer | Share of Uno RAM | Suitable for Uno? |
|---|---|---|---|---|
| 8x8 | 64 | 192 bytes | 9% | Comfortable |
| 8x32 | 256 | 768 bytes | 37.5% | With careful use |
| 16x16 | 256 | 768 bytes | 37.5% | With careful use |
| 2 × 16x16 | 512 | 1536 bytes | 75% | Hard in practice |
| 32x32 | 1024 | 3072 bytes | 150% | Not possible (use an ESP32) |
Current consumption and brightness limiting
Each colour channel of a WS2812B draws about 20 mA at full brightness; when all three are lit, that is white, it comes to 60 mA per LED. For a rough calculation you can use the formula I ≈ number of LEDs × 60 mA × (brightness / 255). A 16x16 panel at full white draws 256 × 60 = 15,360 mA, more than 15 A; this strains both power supplies and the panel's thin copper tracks. The good news is that a matrix is very bright: indoors, a brightness of 20–50 out of 255 already looks clear enough to catch the eye. In real animations not all LEDs are white at the same time, so the average current is much lower than the calculated figure, but you still need to choose the supply for the worst case or limit the current in software.
| Panel (full white) | Brightness 32 (12.5%) | Brightness 64 (25%) | Brightness 255 (100%) | Recommended supply |
|---|---|---|---|---|
| 8x8 (64 LEDs) | About 0.48 A | About 0.96 A | About 3.8 A | 5 V 2–4 A |
| 16x16 (256 LEDs) | About 1.9 A | About 3.9 A | About 15.4 A | 5 V 4–10 A + software limiting |
On a 16x16 panel, if you feed the current from only one end, the LEDs in the far corner see a voltage drop and white looks yellowish or reddish. To prevent this, feed 5V and GND from both the input and output ends of the panel using wires of at least 0.75 mm² cross-section; this is called power injection. On the software side, the setMaxPowerInVoltsAndMilliamps(5, 2000) function of the FastLED library calculates the estimated current every frame and automatically lowers the brightness if the limit would be exceeded. If you run on batteries, you can check how long the circuit will last with the battery life calculator, and for details on choosing a supply see the Arduino power supply post.
16x16 matrix animation with the ESP32 (FastLED)
With its large RAM and 240 MHz processor, the ESP32 is a much more comfortable choice for big panels; because it generates the NeoPixel signal with its RMT hardware unit, it doesn't keep the processor too busy either. The code below uses FastLED to draw two coloured dots gliding with trails on a 16x16 panel. beatsin8() produces a coordinate that oscillates sinusoidally over time, while fadeToBlackBy() dims all pixels a little every frame to create the tail effect. Just install the latest version of FastLED from the Library Manager; current versions support both the 2.x and 3.x releases of the ESP32 Arduino core.
1#include <FastLED.h>
2
3#define DATA_PIN 16                // DIN -> GPIO 16 (330 ohm ile) / DIN -> GPIO 16 (via 330 ohm)
4#define W 16
5#define H 16
6#define NUM_LEDS (W * H)
7
8CRGB leds[NUM_LEDS];
9
10// Zikzak dizilim için koordinat dönüşümü / coordinate mapping for serpentine layout
11uint16_t xyIndex(uint8_t x, uint8_t y) {
12  return (y & 1) ? (y * W + (W - 1 - x)) : (y * W + x);
13}
14
15void setup() {
16  FastLED.addLeds<WS2812B, DATA_PIN, GRB>(leds, NUM_LEDS);
17  FastLED.setBrightness(60);                       // genel parlaklık / global brightness
18  FastLED.setMaxPowerInVoltsAndMilliamps(5, 2000); // 5 V, en fazla 2 A / 5 V, max 2 A
19  FastLED.clear(true);
20}
21
22void loop() {
23  static uint8_t hue = 0;
24  fadeToBlackBy(leds, NUM_LEDS, 30);               // iz efekti / trail effect
25
26  uint8_t px1 = beatsin8(13, 0, W - 1);            // sinüs salınımlı koordinatlar / sine-wave coordinates
27  uint8_t py1 = beatsin8(17, 0, H - 1);
28  uint8_t px2 = beatsin8(11, 0, W - 1, 0, 64);
29  uint8_t py2 = beatsin8(7, 0, H - 1, 0, 128);
30
31  leds[xyIndex(px1, py1)] = CHSV(hue, 255, 255);
32  leds[xyIndex(px2, py2)] = CHSV(hue + 128, 255, 255);
33
34  FastLED.show();
35  hue++;
36  delay(16);                                       // yaklaşık 60 kare/sn / about 60 fps
37}
NeoPixel matrix with the Raspberry Pi Pico and MicroPython
MicroPython on the Pico comes with the neopixel module built in, so you don't need to copy any extra files. The module generates the signal timing itself; you just assign colours with np[i] = (r, g, b) and send them to the panel with write(). Because MicroPython has no setBrightness function like the Adafruit library, you limit brightness yourself by multiplying the colour values by a factor. The example below slowly fades a heart icon in and out on an 8x8 panel; the icon is drawn from a bitmap array where each row is one byte and the leftmost bit corresponds to column x = 0.
1from machine import Pin
2from neopixel import NeoPixel
3import time
4
5W, H = 8, 8
6np = NeoPixel(Pin(2), W * H)       # DIN -> GP2 (330 ohm ile) / DIN -> GP2 (via 330 ohm)
7BRIGHTNESS = 0.1                   # %10 parlaklık / 10% brightness
8
9HEART = [
10    0b01100110,
11    0b11111111,
12    0b11111111,
13    0b11111111,
14    0b01111110,
15    0b00111100,
16    0b00011000,
17    0b00000000,
18]
19
20def xy_index(x, y):
21    # zikzak dizilim / serpentine layout
22    if y % 2:
23        return y * W + (W - 1 - x)
24    return y * W + x
25
26def draw_bitmap(rows, color):
27    r, g, b = color
28    c = (int(r * BRIGHTNESS), int(g * BRIGHTNESS), int(b * BRIGHTNESS))
29    for y in range(H):
30        for x in range(W):
31            on = rows[y] & (0x80 >> x)     # soldaki bit x=0 / leftmost bit is x=0
32            np[xy_index(x, y)] = c if on else (0, 0, 0)
33    np.write()                     # panele gönder / push to the panel
34
35while True:
36    for level in range(0, 256, 8):         # kalp yavaşça yanar / heart fades in
37        draw_bitmap(HEART, (level, 0, 0))
38        time.sleep_ms(20)
39    for level in range(255, -1, -8):       # ve söner / and fades out
40        draw_bitmap(HEART, (level, 0, 0))
41        time.sleep_ms(20)
NeoPixel matrix project ideas
- Scrolling text sign: scroll messages fetched from the internet, or the time, with an ESP32; for the clock you can use the method in the ESP32 NTP clock post.
- Snake and block games: build a colourful mini game console with a 16x16 panel and a joystick.
- Music-reactive spectrum: show the sound level measured by a microphone as coloured columns; details are in the music-reactive LED post.
- Icon badge: switch between icons such as a smiley, a heart and an arrow on an 8x8 panel with a button.
- Colourful thermometer: draw a bar that fills from blue to red according to the temperature measured by a DHT11.
- Phone control: install WLED on an ESP32 and control the panel over Wi-Fi with ready-made 2D effects.
- Christmas decoration: add a visual panel with snowfall and star animations to your Christmas tree LED project.
Common mistakes and how to fix them
| Symptom | Likely cause | Fix |
|---|---|---|
| No LED lights up | Data is connected to DOUT, GND isn't common, or the pin number is wrong | Check the arrow and feed data into DIN, join the GNDs, check the pin in the code |
| Image broken row by row, text mirrored | The layout isn't serpentine or the start corner is different | Find the first LED with a test sketch, fix xyIndex or the NeoMatrix flags |
| Wrong colours (green instead of red) | Colour order defined wrongly | Use NEO_GRB in Adafruit, GRB in FastLED |
| Randomly flickering pixels | 3.3 V data signal too weak, no series resistor, or a long data wire | Add a level shifter and a 330 Ω resistor, shorten the data wire |
| Board resets on bright scenes | Power supply too weak, voltage collapsing | Lower the brightness, use a strong external supply and a 1000 µF capacitor |
| White looks yellowish in the far corner | Voltage drop along the panel tracks | Inject power from both ends of the panel |
| Uno freezes or shows meaningless colours | Out of RAM | Reduce the LED count, write text with F(), switch to an ESP32 or Mega |
A NeoPixel matrix is the most fun way to give your projects a colourful, moving display with an affordable panel. Start small: first get an 8x8 panel running at low brightness, get the xyIndex function working, then move on to scrolling text and 16x16 animations. If you only need to show single-colour text and numbers, a MAX7219 LED matrix is an alternative that draws less current. In the BlueGrays app you can explore WS2812B police light, Knight Rider and animation projects, and 8x8 and 16x16 matrix snake games, step by step with circuit diagrams and code.
Frequently asked questions
Can I power a NeoPixel matrix from the Arduino's 5V pin?
You can power an 8x8 panel from USB and the 5V pin for short tests at low brightness (something like 20–30 out of 255); the current then stays at a few hundred milliamps. For a 16x16 panel or high brightness, always use an external 5 V adapter and share the GND with the Arduino. Otherwise the board will reset or the USB port could be damaged.
How many amps does a 16x16 WS2812B matrix draw?
Since each LED draws about 60 mA at full white, a 256-LED panel goes above 15 A in the worst case. In real animations the figure is much lower; if you drop the brightness to 32, it's about 1.9 A even at full white. Choose a supply of at least 4 A and set a software current limit with FastLED.
Why does the text look reversed or broken on my LED matrix?
The code is assuming the wrong panel layout. Your panel may be straight rather than serpentine, the first LED may be in a different corner, or the LEDs may run along columns instead of rows. Find the layout with a test that lights the LEDs in sequence, then adjust the xyIndex function or the NeoMatrix flags to match.
How many NeoPixel LEDs can an Arduino Uno drive?
Since each LED uses 3 bytes of RAM, the practical limit on an Uno with 2 KB of RAM is about 300–500 LEDs; the rest of the memory is needed for the code's own variables. A single 16x16 (256 LED) panel works without problems. For two panels or more, an Arduino Mega or ESP32 is more suitable.
Do I need a level shifter for a WS2812B matrix with an ESP32?
At a 5 V supply the WS2812B wants about 3.5 V on its data input; the ESP32's 3.3 V output is slightly below that. Most panels still work, but if you see flickering or random colours, use a level shifter such as the 74AHCT125. A short data wire and a 330 Ω series resistor also improve the signal.
What's the difference between a NeoPixel matrix and a MAX7219 matrix?
In a NeoPixel matrix every pixel is an RGB LED that can be coloured individually and is driven with a single data wire, but current consumption is high. MAX7219 matrices are single-colour, connect with three data wires and draw far less current. MAX7219 suits single-colour scrolling signs, while NeoPixel is better for colour animations and games.
Projects to build after reading this
See all projects
Using a WS2812B LED Strip
Meet a smart LED strip where you can colour every single light on its own. The Arduino first lights the first five LEDs red, a second later turns the other five blue, then switches them all off and st
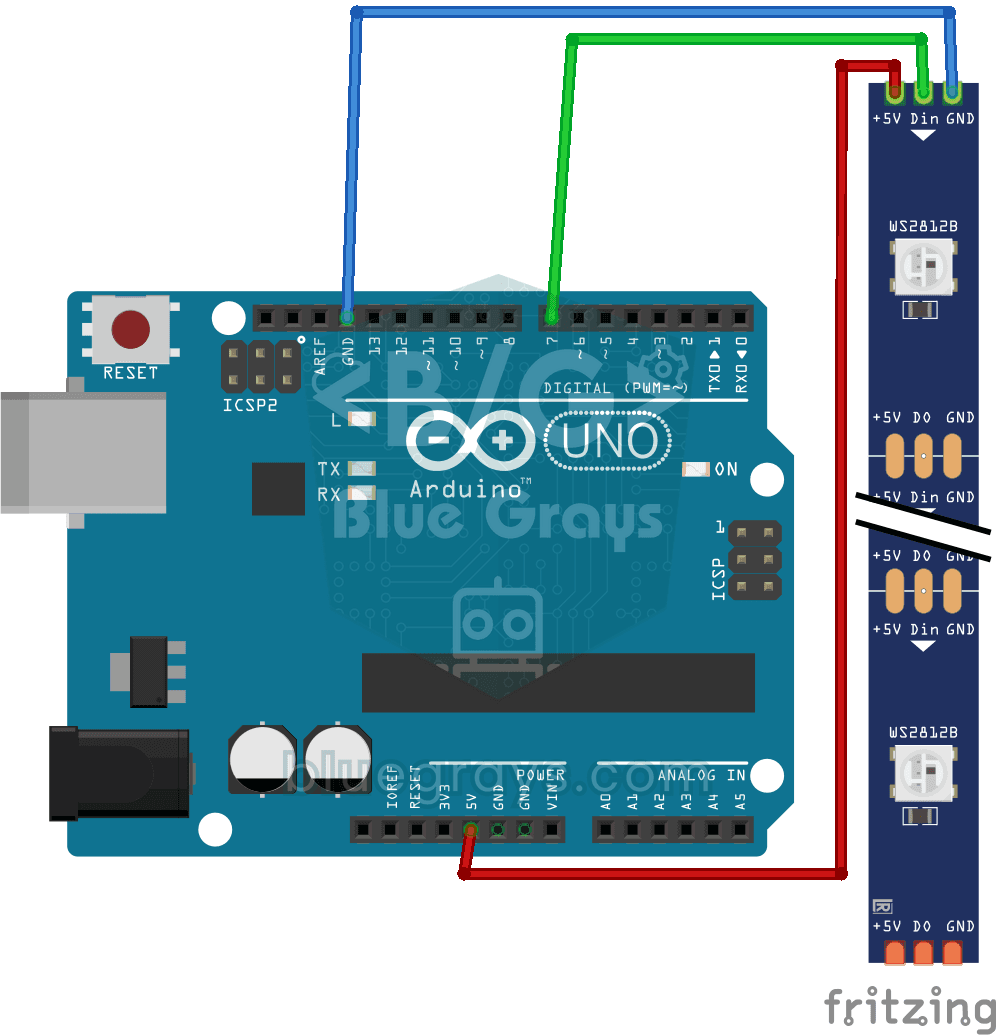
Police Lights with WS2812B
You bring the red and blue lights from the roof of a police car right onto your desk. One half of a ten-LED WS2812B strip flashes red three times in quick succession, then the other half flashes blue
WS2812B Knight Rider Effect
A red dot of light slides from one end of a smart LED strip to the other, then comes back, sweeping back and forth without ever stopping. At each step the Arduino lights just one LED, waits a tenth of

WS2812B Animation 1
On a strip of 56 LEDs, all the colours of the rainbow line up side by side and flow without ever stopping, as if a river of light were gliding along the strip. Each LED glows in a slightly different c

WS2812B Animation 2
Set up a light show in your room that changes colors all by itself. The Arduino keeps colors flowing along a 30-LED strip and switches to a new color set every few seconds: rainbow, purple and green s

Pixel Snake 8x8 Matrix
Build the classic snake game with your own hands and play it. On a colorful 8x8 light matrix, you steer a green snake with a joystick and eat red apples; with every apple the snake grows, speeds up a

Matrix Snake 16x16
The classic snake game, this time on a huge LED display made of 256 lights. You steer the green snake with a joystick and collect red apples; with every apple the snake grows, your score goes up on a

ESP32 WS2812B NeoPixel Strip Control
WS2812B (NeoPixel) addressable LEDs are smart RGB LEDs that can be controlled in a daisy-chain configuration via a single data pin. In this project, we will control an 8-LED WS2812B strip using the Adafruit_NeoPixel library to create a smooth rainbow animation. While the ESP32’s 3.3V logic level works seamlessly with most WS2812B components, we’ll demonstrate a solution using a 470Ω series resistor and a 1000µF capacitor in case of instability. The animation is achieved by shifting the hue value