
TÜBİTAK 2204 vs 4006: Which Program Should You Apply To?
TÜBİTAK 2204 vs 4006: who can apply, timeline, judging criteria, report and poster differences, and which Arduino, ESP32 or Pico project fits each program.

The short answer to the difference between TÜBİTAK 2204 and 4006 is this: 2204 is a research projects competition where a student carries out a scientific study with an advisor teacher and competes for a ranking in front of a jury. 4006 is a science fair with no rankings, which a school organizes in its own hall or garden with TÜBİTAK support. In one you ask a question and produce evidence; in the other you explain and demonstrate what you've learned to visitors. That's why the same Arduino circuit has to be prepared in a completely different way depending on which program it goes to.
This guide is not a project idea list. If you're looking for ideas, check out Arduino project ideas for TÜBİTAK. Here we'll compare the two programs in terms of who can apply, the timeline, judging criteria, and report and poster expectations. Then we'll use example code to show which kinds of Arduino, ESP32 and Raspberry Pi Pico projects stand out in which program. Dates and details are updated in the call text published every year, so use this information as a general map and always leave the final word to the current call.
What is TÜBİTAK 2204 and how does it work?
TÜBİTAK 2204 is the general name for the secondary school student research projects competitions run by the Science Fellowships and Grant Programmes Department (BİDEB). The best known is 2204-A, aimed at high school students. There is 2204-B for middle school students, and there are separate branches for special themes such as polar regions and climate change. Alone or in a small team, and guided by an advisor teacher, you define a research question. Then you set up your method, collect data and present your results in a scientific report. The report first goes through a preliminary evaluation. Successful projects compete at a regional exhibition with a poster and a jury interview, and then at the Turkey final. Projects are accepted in different fields such as physics, chemistry, biology, mathematics, technological design and software. Arduino-based projects mostly fall under physics, technological design or software.
| Branch | Who is it for? | Focus |
|---|---|---|
| 2204-A | High school students | Research projects in all science fields |
| 2204-B | Middle school students | Research projects suited to the age group |
| 2204-C | High school students | Research related to the polar regions |
| 2204-D | High school students | Research on climate change themes |
What is TÜBİTAK 4006 and how does it work?
The TÜBİTAK 4006 Science Fairs Support Programme is not a competition but a support program. The application is made by the school, not the student. The school administration appoints a coordinator teacher and collects the students' project proposals. Then it plans the date, venue and budget of the fair and submits them to TÜBİTAK. If the application is accepted, TÜBİTAK gives the school financial support for materials and exhibition costs. On fair day, students explain their projects at their stands to parents, students from other schools and visitors from the area. Nobody is chosen as first place. The goal is to spark curiosity, take science to the community and give students presentation experience.
The heart of 4006 is interaction. When a visitor comes to the stand, they should be able to understand what you've done within two minutes. If possible, they should press a button, wave a hand in front of the sensor and see the result with their own eyes. That's why the originality expectation in 4006 projects is more flexible than in 2204. Demonstrating a known physical phenomenon in a creative and understandable way is also valuable. The fact that many students from one school can take part also makes it a great first step for those just starting to code.
2204 vs 4006: comparison table
| Criterion | TÜBİTAK 2204 | TÜBİTAK 4006 |
|---|---|---|
| Program type | Research projects competition | Science fair support program |
| Who applies? | The student, together with an advisor teacher | The school (through a coordinator teacher) |
| Level | 2204-A high school, 2204-B middle school | Schools under the Ministry of National Education (scope stated in the call) |
| Team | Individual or small team (number stated in the call) | Many projects and students across the school |
| Goal | Produce original knowledge with the scientific method | Show and explain science, spark curiosity |
| Evaluation | Preliminary evaluation, regional and Turkey final juries | The school's application is evaluated; no rankings at the fair |
| Outcome | Ranking, awards, a chance to join international competitions | Material support, presentation and teamwork experience |
| Originality expectation | Very high | Flexible; creative demonstration is also valued |
| Main document | Scientific project report and poster | Project description, poster and the school's final report |
Timeline: two programs in one school year
| Period (approx.) | TÜBİTAK 2204 | TÜBİTAK 4006 |
|---|---|---|
| September – October | Choosing a topic and research question, literature review | Collecting project proposals at school, preparing the application |
| October – November | Experimental setup, measurements, data collection | The school's application to TÜBİTAK |
| November – December | Writing the report and applying online | Evaluation of the applications |
| January – February | Preliminary evaluation results | Results, buying materials and developing the projects |
| March – April | Regional exhibitions: poster and jury interview | Science fairs at schools |
| May – June | Turkey final | Remaining fairs and the final report |
Judging criteria: what does the jury look at?
The 2204 jury expects you to think like a researcher. The elements that earn the most points are an original question, a method suited to that question, repeatable measurements and an honest interpretation of the data. At the regional exhibition, jury members ask you various questions in front of your poster: "Why did you choose this method?", "How did you calculate your measurement error?", "What would you have done if the result hadn't supported your hypothesis?" In 4006, on the other hand, there is no official scoring. Success is measured by whether visitors understand the topic and by how lively the stand is. Even so, the school must show in its application that the projects are scientifically sound and feasible.
| What matters? | In 2204 | In 4006 |
|---|---|---|
| Originality | The most critical criterion of the project | Encouraged, not required |
| Scientific method | Hypothesis, control group and number of repeats expected | A simple experiment and observation can be enough |
| Data and analysis | Tables, graphs, averages, margin of error | Live demonstration comes first |
| Presentation | Short, clear and aimed at the jury | In language everyone understands, and interactive |
| Written document | Scientific report that follows the format rules | Simple description text and poster |
| Command of questions | Method and limitations are questioned | Satisfying the visitor's curiosity is enough |
Report and poster differences
The most concrete difference between the two programs is in the written document. A 2204 report is the little sibling of a scientific paper and must be written according to the template published with the call. For a detailed explanation, see the writing a TÜBİTAK project report guide. A typical 2204 report consists of the following sections:
- Abstract and keywords: States the problem, the method and the main result in a few sentences.
- Introduction and aim: Explains the importance of the topic, what is known in the literature and the research problem.
- Method: Describes the materials, circuit, calibration and measurement steps clearly enough for someone else to repeat them.
- Results: Presents the measurement results with tables and graphs, without adding interpretation.
- Conclusion and discussion: Discusses whether the hypothesis was supported, the limitations and the sources of error.
- Recommendations and references: Explains how the work could be developed and lists the sources you used.
In 4006, the written work expected from the student is much lighter. A short proposal is enough at the application stage: project name, aim, materials to be used and estimated cost. At the fair, there is a poster on the stand explaining the project, written in large type and rich in visuals. Plain language is preferred here instead of academic language. The poster should answer these questions: "What does this setup do, how does it work, and where do you meet it in everyday life?" A 2204 poster, on the other hand, is a summary of the report. It consists of aim, method, findings with graphs, and conclusion sections; the circuit diagram and the data graph take the most visible place. After the fair, the school sends TÜBİTAK a final report containing photos of the event and the expenses. The tips in the science fair project presentation article will also help you strengthen your stand presentation.
Arduino project for 2204: a research question, not a device
The most common mistake in 2204 is thinking that Arduino is the project itself. For the jury, "I built a smart irrigation system with Arduino" is not research but a product presentation. The same hardware becomes research if it turns into a question like this: "How much less water do basil plants watered by a soil moisture threshold use compared to those watered at fixed times, and is the growth difference statistically significant?" Here, Arduino is a laboratory instrument that takes measurements and records data. Even in the technological design field, the jury wants to see two things: that the prototype answers a need, and that its performance is proven by measurement.
- Turn an observation into a question and make it measurable. For example, instead of "Which insulates better?", ask "How many degrees does the same volume of hot water cool in 30 minutes?"
- Write down the independent variable (insulation material), the dependent variable (temperature drop) and what you'll keep constant (amount of water, starting temperature, room temperature).
- Choose your sensor and learn its accuracy. For example, for the DS18B20 the manufacturer gives ±0.5 °C accuracy between -10 and +85 °C.
- Calibrate: put two sensors in the same water, measure the difference between them and correct for this difference in the results.
- Repeat the measurements at least three times. Save the data as CSV, then calculate the average and standard deviation.
- Draw the graphs, compare your hypothesis with the result and state the sources of error clearly.
| DS18B20 pin | Arduino Uno | ESP32 | Raspberry Pi Pico |
|---|---|---|---|
| GND (black) | GND | GND | GND |
| VDD (red) | 5V | 3V3 | 3V3 (pin 36) |
| DATA (yellow) | D2 | GPIO 4 | GP16 |
| Pull-up resistor | 4.7 kΩ between DATA and 5V | 4.7 kΩ between DATA and 3V3 | 4.7 kΩ between DATA and 3V3 |
1#include <OneWire.h>
2#include <DallasTemperature.h>
3
4const uint8_t ONE_WIRE_PIN = 2;            // DS18B20 DATA pini / DS18B20 DATA pin
5const unsigned long PERIOD_MS = 10000UL;   // ölçüm aralığı 10 s / sampling period 10 s
6
7OneWire oneWire(ONE_WIRE_PIN);
8DallasTemperature sensors(&oneWire);
9
10unsigned long lastSample = 0;
11bool firstSample = true;
12
13void printTemp(float t) {
14  if (t == DEVICE_DISCONNECTED_C) {
15    Serial.print(F("NaN"));                // sensör kopuk / sensor disconnected
16  } else {
17    Serial.print(t, 2);
18  }
19}
20
21void setup() {
22  Serial.begin(9600);
23  sensors.begin();
24  sensors.setResolution(12);               // 0,0625 °C çözünürlük / 0.0625 °C resolution
25  Serial.print(F("# Sensor sayisi / Sensor count: "));
26  Serial.println(sensors.getDeviceCount());
27  Serial.println(F("zaman_s,T1_C,T2_C"));  // CSV başlığı / CSV header
28}
29
30void loop() {
31  unsigned long now = millis();
32  if (firstSample || now - lastSample >= PERIOD_MS) {
33    firstSample = false;
34    lastSample = now;
35    sensors.requestTemperatures();          // tüm sensörlerde ölçümü başlat / start conversion on all sensors
36    float t1 = sensors.getTempCByIndex(0);  // yalıtımlı kap / insulated cup
37    float t2 = sensors.getTempCByIndex(1);  // yalıtımsız kap / uninsulated cup
38    Serial.print(now / 1000UL);
39    Serial.print(',');
40    printTemp(t1);
41    Serial.print(',');
42    printTemp(t2);
43    Serial.println();
44  }
45}
The code reads two DS18B20 sensors on the same OneWire line every 10 seconds. It writes the readings to the Serial Monitor as comma-separated lines with the header zaman_s,T1_C,T2_C. Because it uses millis() instead of delay(), the sampling interval stays regular. If a sensor is disconnected, it prints NaN instead of the fake -127 value, so you can easily filter out the faulty row in the data set. To move this output straight into a spreadsheet, see Transferring data from Arduino to Excel. To smooth noisy measurements, the sensor data filtering article will help. When you set up the rig with one insulated cup and one uninsulated cup, you'll have a real cooling curve to show the jury.
Arduino, ESP32 and Pico project for 4006: a stand that involves the visitor
A good project at a 4006 stand is one the visitor can touch. The visitor presses a button, sees the result with their own eyes and competes with a friend. On the way out, they call over someone coming behind them. The reaction timer below, built with a Raspberry Pi Pico, is a great example of this kind. An LED lights up at a random moment, the visitor presses the button as fast as possible and sees the result in milliseconds. The program also catches anyone who presses early, so no one can cheat.
1from machine import Pin
2import time
3import random
4
5led = Pin(14, Pin.OUT)                 # LED + 220 ohm direnç / LED + 220 ohm resistor
6btn = Pin(15, Pin.IN, Pin.PULL_UP)     # buton GND'ye bağlı / button wired to GND
7best = None                            # en iyi süre / best time
8
9def wait_release():
10    while btn.value() == 0:            # buton bırakılana kadar bekle / wait for release
11        time.sleep_ms(10)
12
13print("Tepki testi / Reaction test")
14while True:
15    led.value(0)
16    print("Hazir ol... / Get ready...")
17    wait_ms = random.randint(1500, 4000)   # rastgele bekleme / random delay
18    start = time.ticks_ms()
19    early = False
20    while time.ticks_diff(time.ticks_ms(), start) < wait_ms:
21        if btn.value() == 0:           # LED yanmadan basıldı / pressed too early
22            early = True
23            break
24    if early:
25        print("Erken bastin! / Too early!")
26        wait_release()
27        time.sleep_ms(1000)
28        continue
29    led.value(1)                       # işaret ver / give the signal
30    t0 = time.ticks_us()
31    while btn.value() == 1:
32        pass
33    rt = time.ticks_diff(time.ticks_us(), t0) // 1000   # ms cinsinden / in ms
34    led.value(0)
35    if best is None or rt < best:
36        best = rt
37    print("Sure / Time:", rt, "ms  En iyi / Best:", best, "ms")
38    wait_release()
39    time.sleep_ms(1500)
In the circuit, the LED connects to GP14 through a 220 Ω resistor; you can check the value with the LED resistor calculator. One leg of the button goes to GP15 and the other to GND. Because the Pico's internal pull-up resistor is enabled, the pin reads 1 when the button isn't pressed and 0 when it is. Showing the results on a large OLED or LCD screen makes the stand far more attractive. If you're using an ESP32, you can combine the same game with Wi-Fi and publish a live scoreboard on a web page. The ESP32 web server and WebSocket article is a good start for this step. The nice part is this: the reaction times collected from hundreds of visitors during the fair can become the raw data of a 2204 project next year. "Is the reaction to a sound alert faster than to a light alert?" is now a measurable question.
Which project type suits which program?
| Project type | Example hardware | Suitability for 2204 | Suitability for 4006 |
|---|---|---|---|
| Measurement and data logging experiment | Arduino + DS18B20, DHT22, BH1750 | Very suitable: good for testing hypotheses | Suitable: if shown with a live graph |
| Comparative experiment | Two-sensor setup, control group | Very suitable: it's the heart of the method | Medium: can take a long time to explain |
| Problem-solving prototype | ESP32 + sensor + relay or servo | Suitable: if supported by performance tests | Very suitable: engaging and tangible |
| Interactive demonstration | Pico + button, LED, buzzer, ultrasonic sensor | Weak: if there's no research question | Very suitable: involves the visitor |
| Model of a known phenomenon | Ohm's law, sound wave, colour mixing with Arduino | Weak: low originality | Very suitable: educational and visual |
| Long-term monitoring | ESP32 + CO2, dust or soil moisture sensor, SD card | Very suitable: produces weeks of data | Suitable: if the collected data is displayed |
| Software and data analysis | Processing sensor data with Python, simple classification | Suitable: in the software field | Medium: needs a live demo on screen |
Decision guide: which program should you apply to?
- If you have a question, go for 2204: A question that starts with "Why?", "How much?" or "Which is more effective?" and whose answer isn't known yet is the seed of a research project.
- If you want to show and explain something, 4006 is a better fit: Bringing to life in front of visitors how light, sound or electricity behaves is the true spirit of 4006.
- If your time is limited: 2204 requires months of data collection and writing. If you only have a few weeks to prepare, a 4006 stand is more realistic.
- If you've just started coding: Spend your first year at 4006 with ready-made modules. The next year, enter 2204 with an original question and what you've learned.
- If your school doesn't organize a 4006: You can talk to a teacher who could be the coordinator and suggest an application to the school administration. For 2204, your school doesn't need to hold a fair.
- If you want to take part in both: Prepare your 4006 stand as a demonstration. Run your 2204 project separately, with its own research question and your own data. Read the rules of both programs separately.
Common mistakes and how to fix them
| Mistake | Why is it a problem? | Fix |
|---|---|---|
| Sending a product presentation to 2204 | With no research question and no data, it can't pass the preliminary evaluation | Position the device as a measuring tool that tests a hypothesis |
| Measuring without calibration | The jury asks about sensor error, and the reliability of the results drops | Take a reference measurement and state the sensor accuracy in the report |
| Running only a single trial | You mistake a chance result for a general rule | Repeat each condition at least three times and give the average and deviation |
| Showing only a screen and code at a 4006 stand | Visitors walk past without understanding what it is | Add a touchable setup and a one-sentence question |
| A wire coming loose on fair day | The demo doesn't work and the stand stays empty | Use a soldered circuit instead of a breadboard, bring spare wires and a spare board |
| Leaving the report to the last week | Format errors and missing sections lose you points | Plan the schedule backwards and show your draft to your advisor early |
| Using copied code and text from the internet | Plagiarism is a reason for disqualification in 2204 | Write the code yourself or clearly cite the source you used |
In short, 2204 is a race to ask a question and answer it with evidence; 4006 is a celebration of sharing what you know. Both give students a lot, as long as you prepare your project the right way for the right program. If you'd like to start measuring with sensors, logging data or building an interactive stand, take a look at the BlueGrays app. There you'll find step-by-step circuit diagrams and code for distance measurement, temperature and humidity, light intensity reading, reaction test and temperature logger projects.
Frequently asked questions
What is the difference between TÜBİTAK 2204 and 4006?
2204 is a competition where a student carries out original research with an advisor teacher and competes for a ranking before a jury. 4006 is a science fair with no rankings, organized by the school with TÜBİTAK support. In short, 2204 focuses on research and competition, while 4006 focuses on demonstration and sharing.
Can a student apply to TÜBİTAK 4006 on their own?
No. The school makes the 4006 application; the school administration appoints a coordinator teacher and brings together the students' project proposals. If your school isn't organizing a fair, you can talk to your teachers and suggest it to the administration.
Can a project shown at 4006 be submitted to 2204?
You can develop the idea and take it to 2204, but 2204 requires a research question, systematic data and a scientific report. Submitting a stand demonstration as it is usually isn't enough. You should also check the rules on projects that have previously taken part in competitions in the current call text each year.
When are TÜBİTAK 2204 applications made?
In recent years, 2204-A applications have generally been accepted in the November–December period. Regional exhibitions have been held in spring and the Turkey final toward the end of the term. Since dates change every year, follow the current call published by TÜBİTAK BİDEB and start collecting data a few months before the application.
Which field does an Arduino project fall under in TÜBİTAK 2204?
It depends on the project's question. If you're measuring a physical phenomenon, physics fits; if you're developing and testing a prototype for a need, the technological design field is more suitable. If the project is software and algorithm heavy, you can choose the software field. The field list is in the call; decide together with your advisor by looking at the project's main contribution.
How are TÜBİTAK 4006 projects evaluated, and are there rankings?
In 4006, no first place or ranking is given among students. TÜBİTAK evaluates the school's application in terms of the project list, fair plan and budget, and provides support if it finds it suitable. The success of the fair is measured by visitor interest, how understandable the projects are and the students' presentation performance.
Projects to build after reading this
See all projects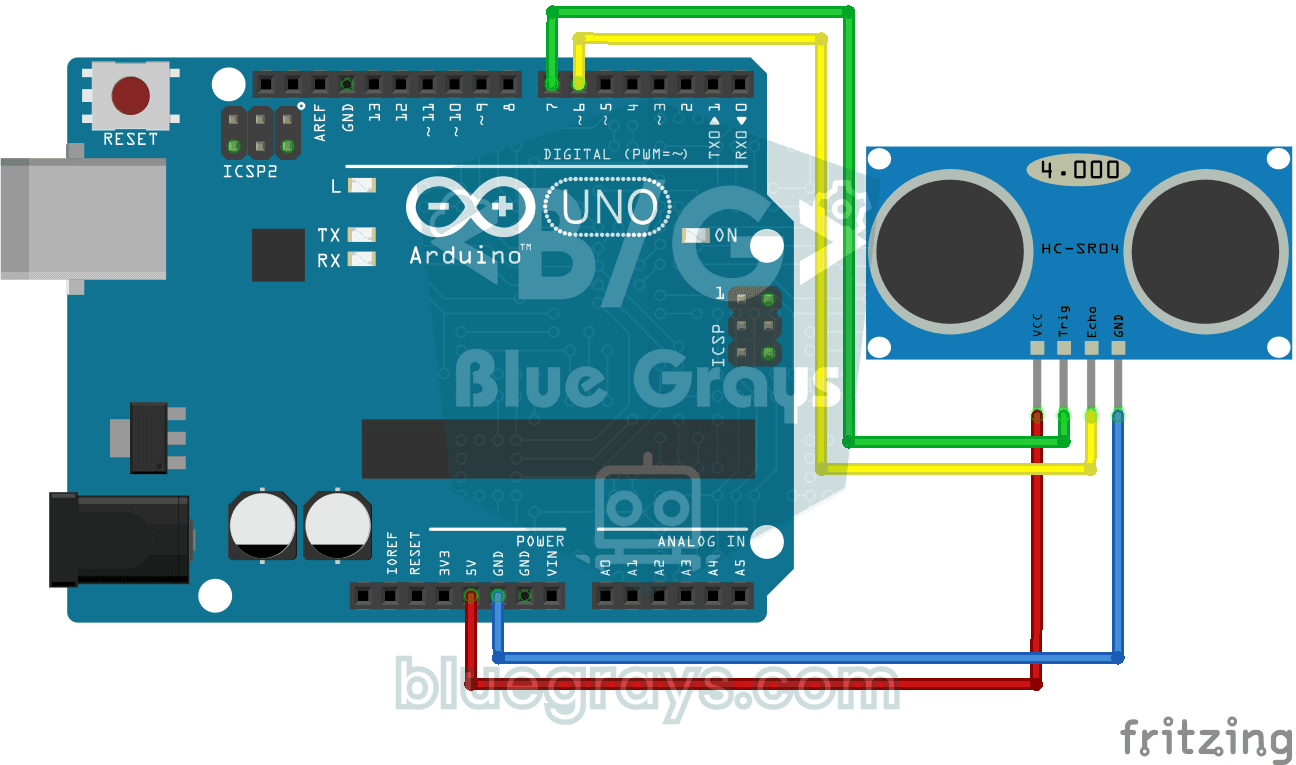
HC-SR04 Distance Measurement (Serial Display)
The HC-SR04 sensor works just like a bat finding its way in the dark: it sends out a sound you cannot hear, listens for the echo and measures how far away the object in front of it is.

Temperature and Humidity with DHT11
How warm is your room, and is the air humid or dry? The DHT11 sensor measures temperature and humidity, and the Arduino writes the values on a two-line LCD screen, refreshing every couple of seconds.

Measuring Light Intensity with an LDR
Want to see how bright your room is as a number? The LDR, a small part that reacts to light, measures the light around it, and the Arduino writes the value to your computer screen every half second.

Reading Light Intensity with the ESP32 LDR Module
Real-time monitoring of the LDR module's raw ADC value and relative light percentage calculated from dark and light reference values in the Serial Monitor. This percentage is not a lux measurement. Teaches the module’s calibration logic. It is ideal to complete this before Project 10, as it is used to determine the threshold value.
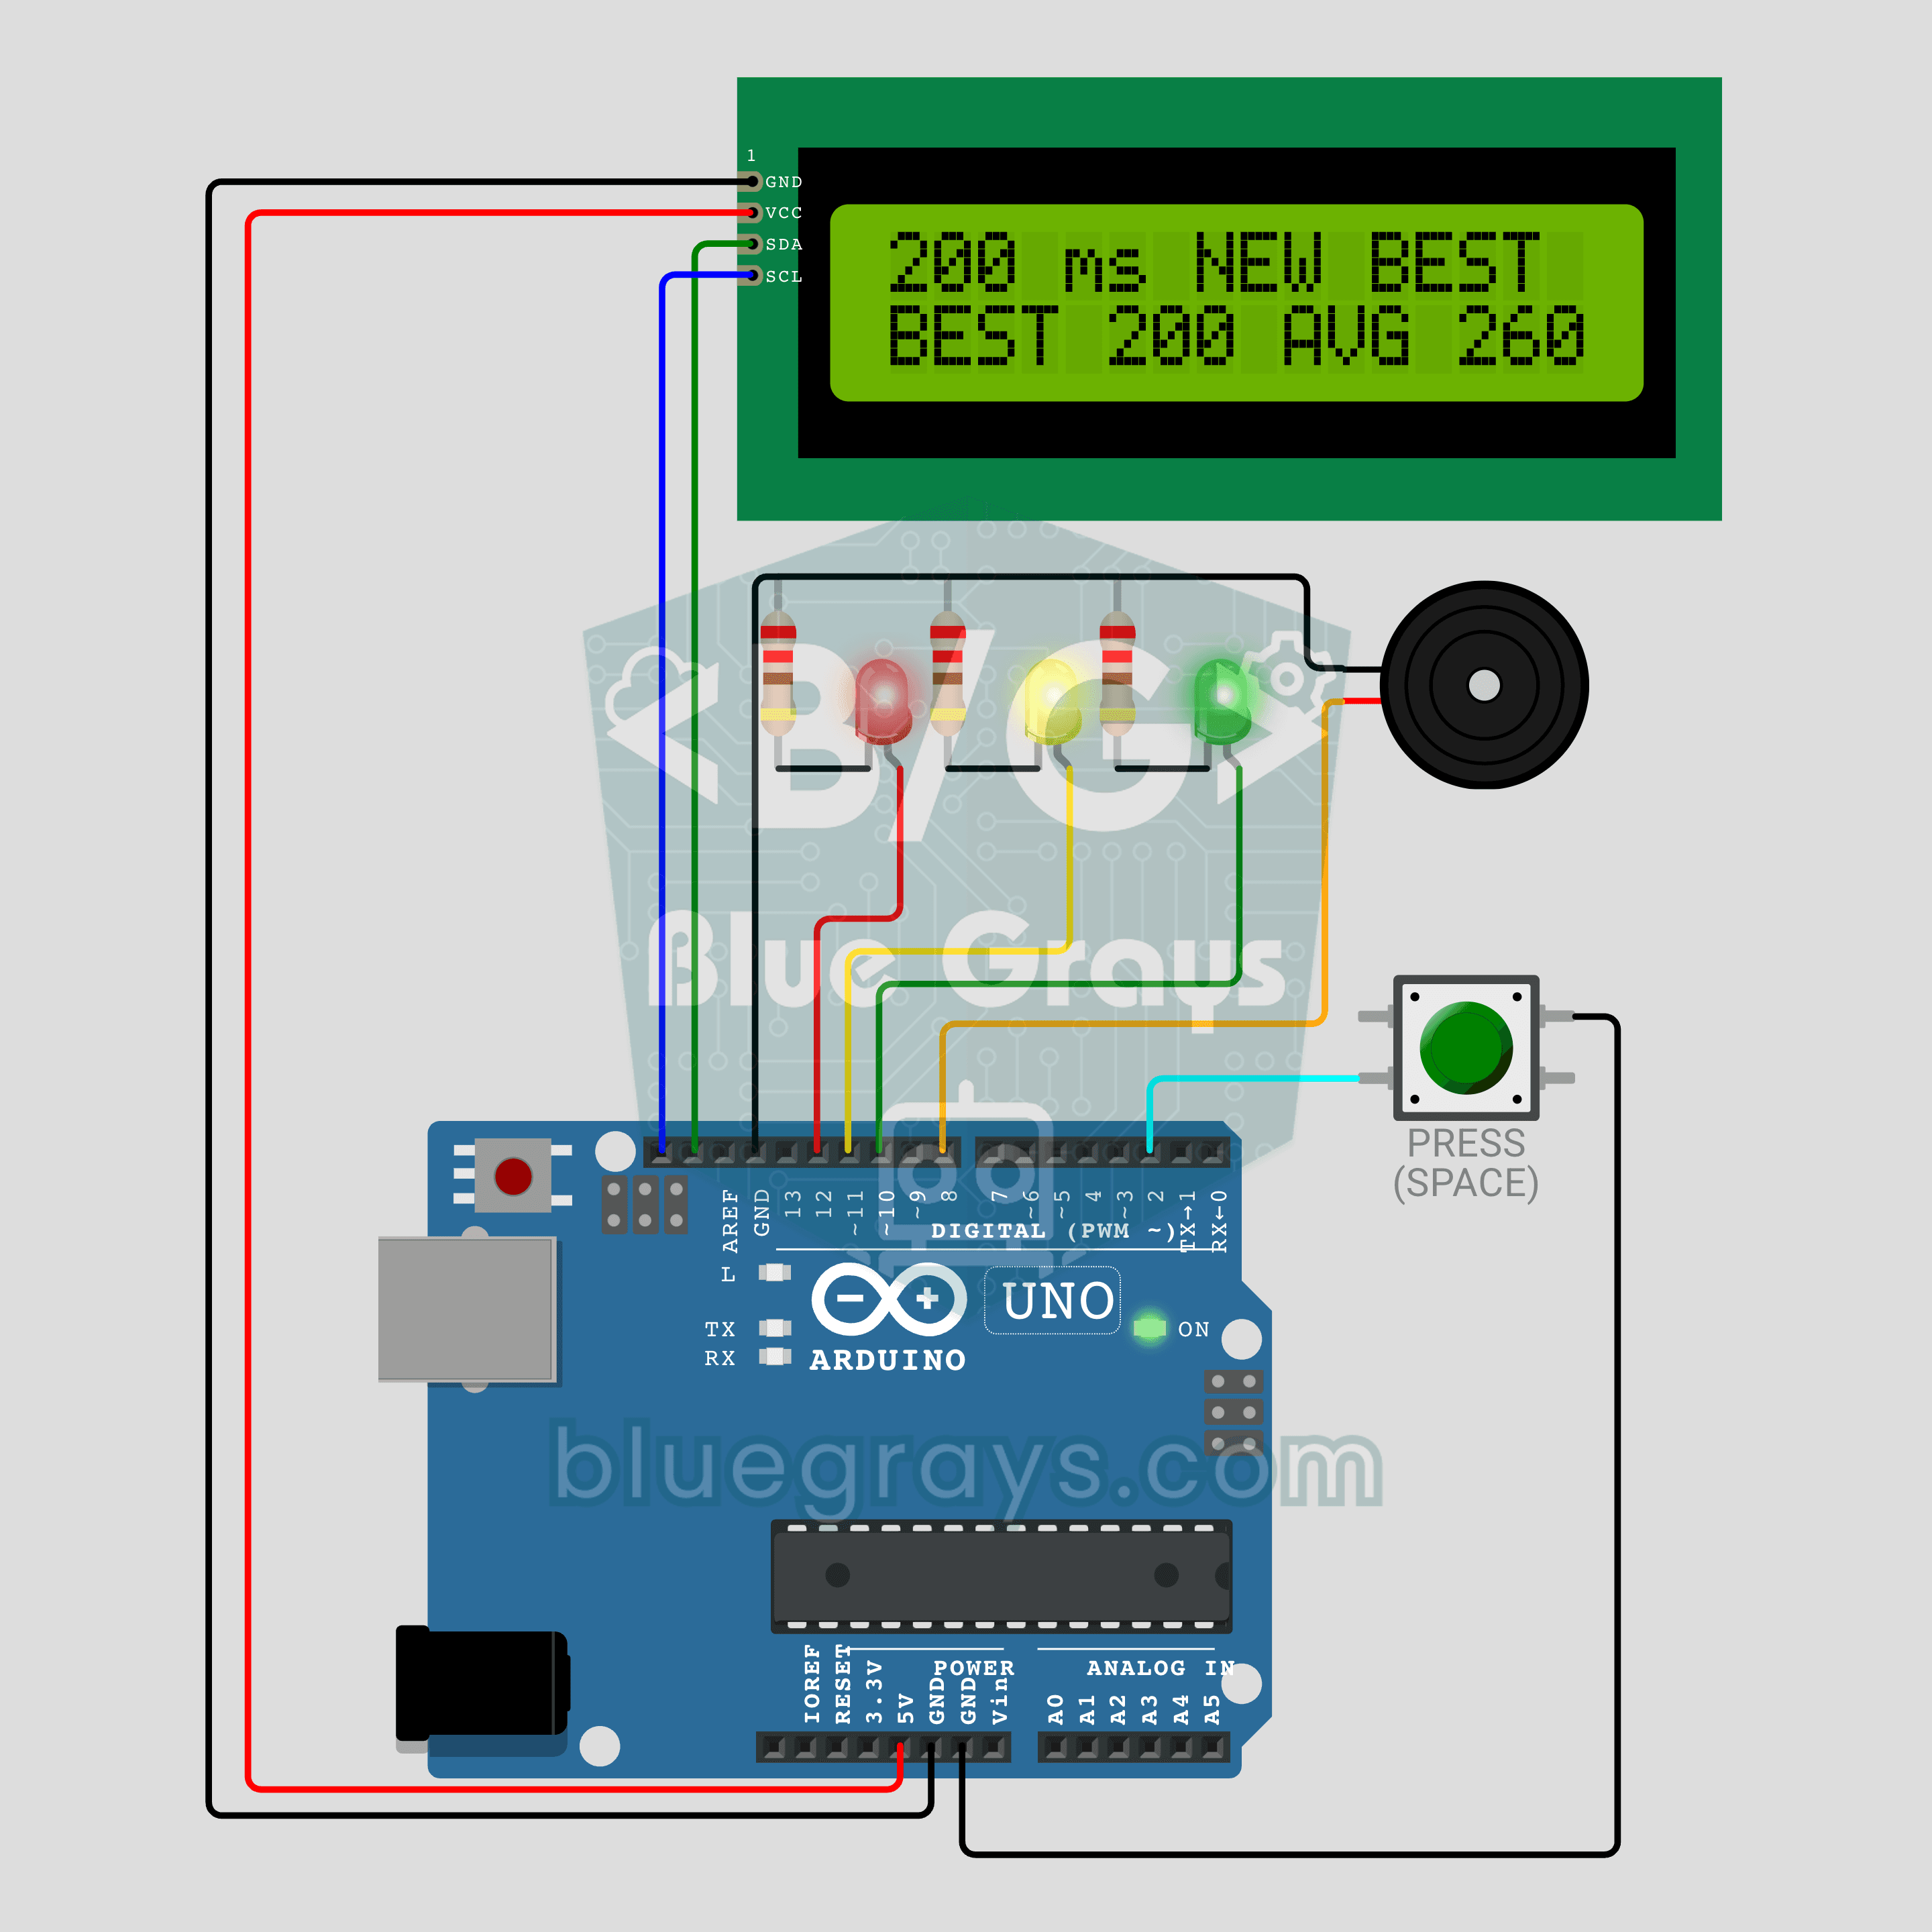
Arduino Reaction Time Test with Sound Cue: Measure Your Reflexes in Milliseconds (LCD + Buzzer + 3 LEDs)
How fast are your reflexes? Press the button: the red LED says get ready, the yellow LED says steady and a random wait of 1.5 to 3.5 seconds begins. The moment the green LED lights up and the buzzer beeps, press again; your reaction time appears on the I2C LCD in milliseconds, with your session best and average below it. Press before green and the screen shows TOO EARLY! with a losing sound. Hold the button for a new player, so everyone races the same wait order.

ESP32 Temperature Data Logger (DHT22 + DS1307 RTC + microSD + OLED)
Build a timed temperature and humidity logger with the ESP32! A DHT22 sensor reads temperature and humidity once a minute, and each reading is saved to a microSD card in CSV format with a real-time stamp from the DS1307 RTC module. The OLED display shows the latest temperature, humidity, timestamp and total number of records live, in large text.

Smart Irrigation Station
A gardener that waters your plants on its own, so they don't dry out while you're on vacation.
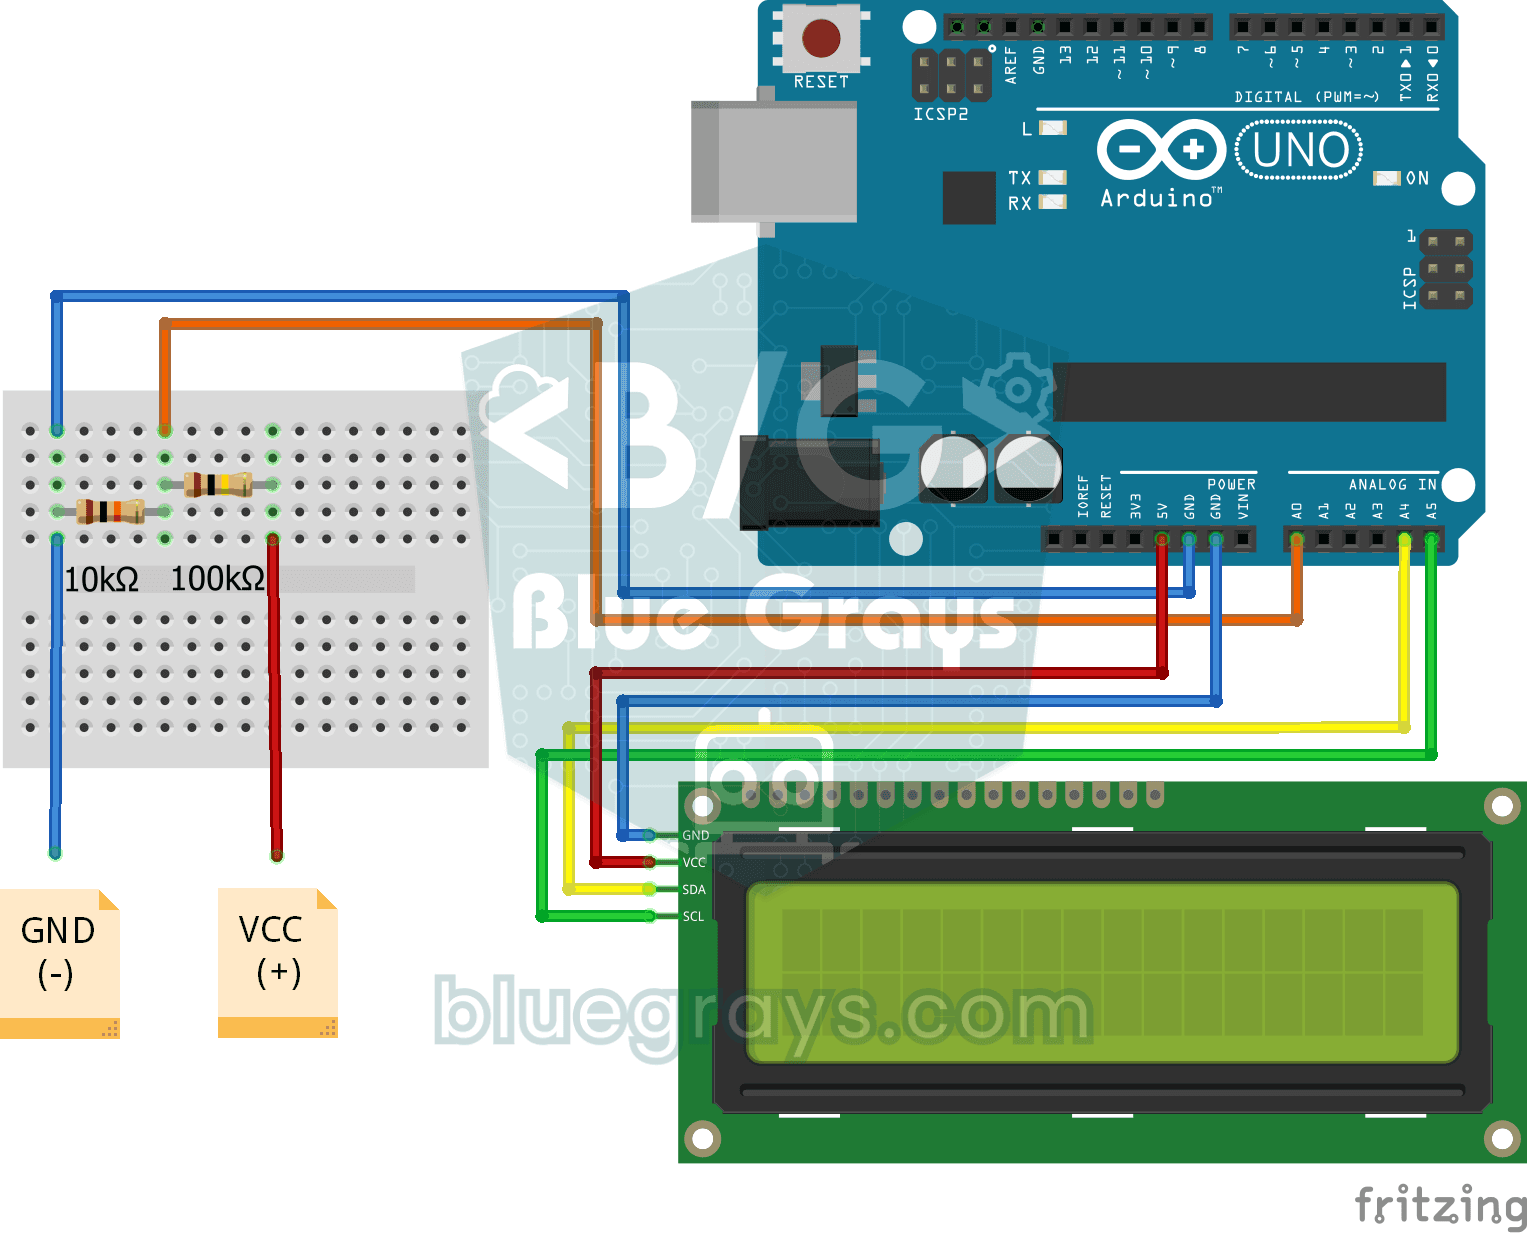
Digital Voltmeter with LCD Display
Find out how much voltage a battery or power adapter gives with a meter you built yourself.