
Science Fair Project Presentation: Arduino Poster, Demo, Q&A
Science fair project presentation guide: poster layout, a rugged demo stand, power and spare parts, answers to judges' questions and a checklist for exhibition day.

A science fair project presentation is the moment when months of work on your Arduino project get squeezed into a few minutes of talking and a single table. Whether you're explaining it to visitors at a TÜBİTAK 4006 science fair or to judges at a 2204 exhibition, three things decide success: a tidy poster, a demo that works all day and clear, honest answers. In this guide we'll prepare all three step by step and build a complete checklist for exhibition morning.
Plenty of good projects score low not because the idea is weak, but because the battery died, a jumper wire popped out or the student got too nervous to explain what they did. We covered idea hunting and report writing in TÜBİTAK Arduino project ideas and writing a TÜBİTAK project report; here we focus on the stage side of things: the presentation and the stand.
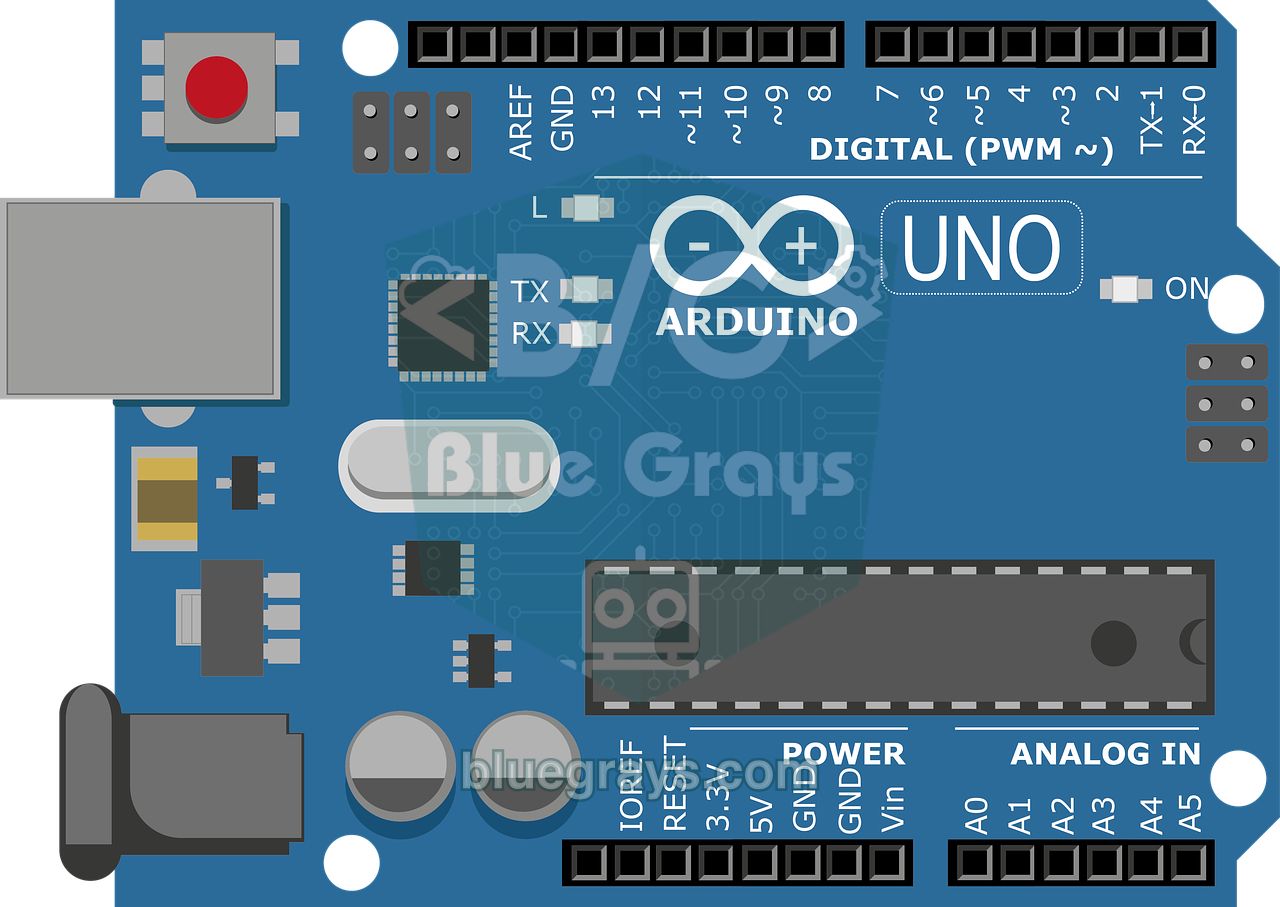
4006 science fair and 2204 exhibition: what do judges look at?
4006 science fairs are held at your school, and the goal is for students to experience the scientific process and explain it to visitors; communication and learning matter more than prizes. 2204 is a competition: your project first passes a preliminary evaluation based on its report, is defended in front of a jury at the regional exhibition and, if successful, goes on to the final exhibition. So at 4006 an understandable, interactive stand matters most, while at 2204 showing the scientific method, the collected data and originality counts for more. You can find the detailed differences in the difference between TÜBİTAK 2204 and 4006.
| Topic | 4006 science fair | 2204 regional exhibition |
|---|---|---|
| Audience | Visitors, parents, students | Jury members (academics and experts) |
| Presentation time | 1–3 minutes per visitor, repeated all day | Usually 5–10 minutes per jury, then questions |
| What stands out | Clear explanation, interaction, showmanship | Problem, method, data, result and originality |
| Poster | Visual-heavy, simple text | Graph and table-heavy, scientific layout |
| Demo | Interactive setup visitors can touch | A setup that measures and proves the result |
Poster layout: a design that explains your project in 30 seconds
When a visitor or judge walks up to your stand they look at your poster for about 30 seconds and want to find the answer to "What does this project do?" So the poster shouldn't be a shrunken report; it should be a summary readable from a distance. 70×100 cm is a common size, but always check the exhibition guidelines. Make the title readable from 2–3 metres (roughly 90–120 pt) and the body text at least 28–32 pt. The reading order should flow left to right and top to bottom, so the eye travels from problem to result on its own. Don't use more than three colours, and prefer dark text on a light background.
| Section | Content | Tip |
|---|---|---|
| Title | Project name and the ID details the guidelines ask for | Short and intriguing; no more than 10 words |
| Problem | The real problem you want to solve | Start with a number or a statistic |
| Aim and hypothesis | What did you try and what did you expect? | A single, measurable sentence |
| Method | Circuit diagram, flowchart, sensors used | Photos and a block diagram, not long paragraphs |
| Findings | Measurement tables and graphs | Always label the axes and units |
| Conclusion and suggestions | Was the hypothesis confirmed? Ideas for improvement | 3–4 bullet points are enough |
| References | The sources you used | Small type at the bottom |
How do you build a working demo stand?
A fair isn't a lab: tables wobble, visitors touch cables, the hall is noisy and crowded, and lighting changes through the day. A breadboard circuit that works perfectly at home can quietly stop in transit when a single wire comes loose. So plan making your demo stand exhibition-proof as a separate task and finish it at least a week ahead.
- Solder the circuit from the breadboard onto perfboard, or at least fix the wires with hot glue; we explained how in permanent circuits on perfboard.
- Mount the Arduino, the power module and the sensors on a thin plywood or rigid foam board with screws or hook-and-loop tape so everything can be carried as one piece.
- Organise the wires by colour code (red for supply, black for GND) and label the ends; when something fails you'll find which wire goes where in seconds.
- Put the part visitors will touch (button, sensor, LED) at the front and the delicate electronics at the back or inside a transparent box.
- Make the sensor thresholds adjustable for the hall's conditions; being able to tune an LDR threshold on site with a potentiometer, for example, is a great convenience.
- Add a demo button: when the jury arrives, you start the scenario yourself instead of waiting for the sensor to trigger on its own.
- Before the exhibition, run the setup for at least 4–6 hours non-stop and watch it; if there's freezing, overheating or battery drop, you'll notice it at home.
Power preparation: mains, battery or power bank?
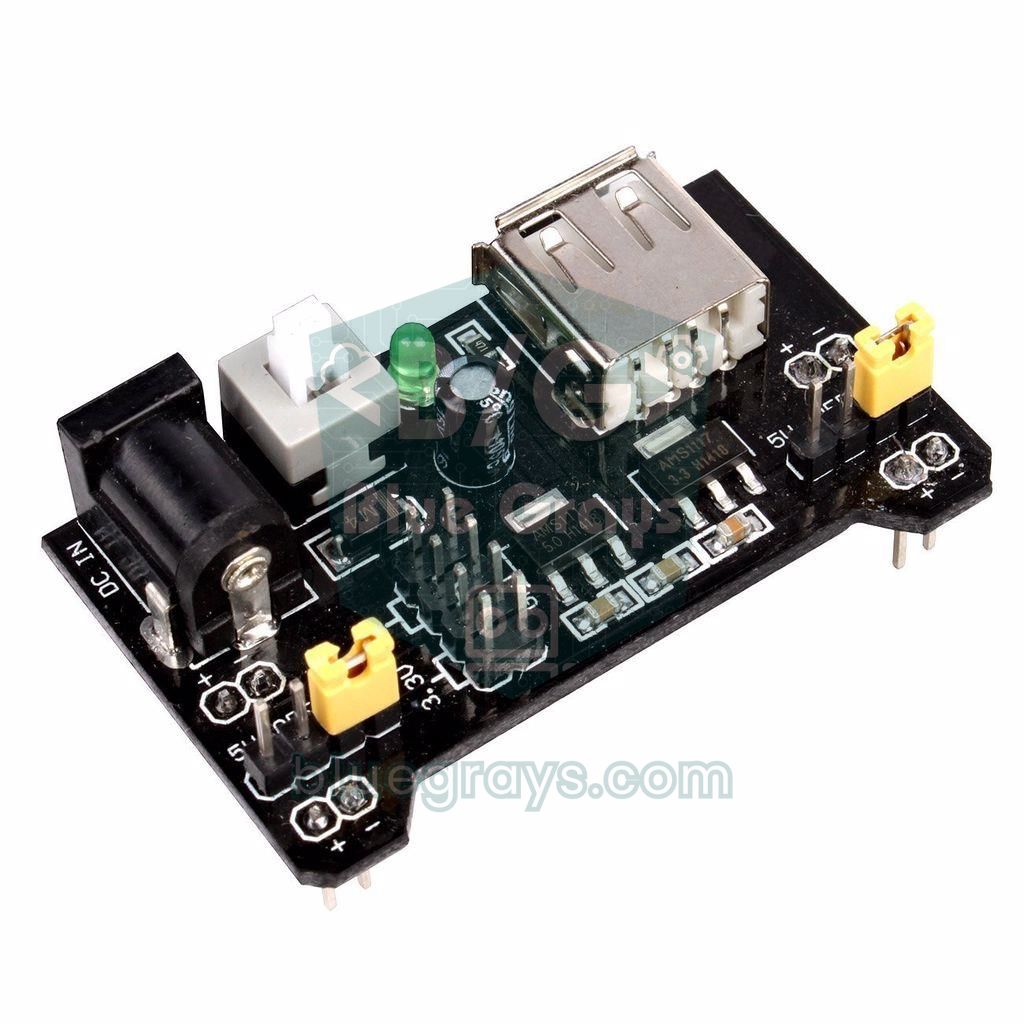
Power is the most common problem on exhibition day. You may not know in advance whether your stand will have a socket, and even if it does it could be metres from your table. So plan two power sources: an adapter and extension cable as the main source, and a battery or power bank as the backup. In projects with motors and servos, power the motors from a separate supply, not the Arduino's 5V pin, and join the GND of all supplies; we explained why in GND and common ground.
| Power source | Advantage | What to watch for |
|---|---|---|
| 9–12 V adapter (DC jack) | Uninterrupted all day, plenty of current | Needs a socket and an extension cable |
| USB power bank (5 V) | Portable, high capacity | May switch itself off if the current drawn is very low |
| 9 V battery | Small and light | Low capacity (about 500 mAh), weakens within a few hours |
| 2×18650 Li-Ion (7.4 V) | High capacity, suits motor projects | Needs a charging module and protection circuit |
| 4×AA batteries (6 V) | Easy to find and replace | Voltage is too low for the Uno's DC jack |
To estimate battery life, measure the circuit's current with a multimeter, divide the capacity by that current and multiply the result by about 0.7 (a margin for efficiency and voltage drop). For example, if an Arduino Uno, a sensor and a few LEDs draw 80 mA in total, a pack of two 2000 mAh 18650 cells lasts about 2000 / 80 × 0.7 ≈ 17 hours. A power bank labelled 10,000 mAh has 3.7 V internal cells, so at a 5 V output it delivers roughly 6000 mAh, which would run the same circuit for more than two days. Instead of doing the maths by hand you can use the battery life calculator. If you'll use a power bank, definitely test at home whether it shuts itself off at low current; some models mistake loads below 50–100 mA for "fully charged" and cut the output.
Fair mode code: an Arduino that doesn't freeze and watches its battery
A program that runs for hours at the exhibition can show problems you never saw in a few minutes of testing at home: a sensor library may hang, or the I2C line may lock up from noise. You can add your own project to the skeleton code below. The program does three things: it blinks the built-in LED like a heartbeat to show it's alive, it uses the watchdog timer to restart the board by itself if it hangs for 2 seconds, and it measures the battery voltage through a voltage divider on A0 and blinks the LED quickly when it's low. For the divider, connect the battery's positive to A0 through a 20 kΩ resistor and A0 to GND through a 10 kΩ resistor; this safely measures voltages up to 15 V. The demo button connects between D2 and GND, and the buzzer to D8. You can check the divider values with the voltage divider calculator.
1#include <avr/wdt.h>
2
3const int STATUS_LED = 13;    // durum LED'i / status LED
4const int DEMO_BTN = 2;       // demo butonu (GND'ye) / demo button (to GND)
5const int BUZZER = 8;         // buzzer / buzzer
6const int BAT_PIN = A0;       // pil bölücü girişi / battery divider input
7const float DIVIDER = 3.0;    // 20k + 10k bölücü oranı / 20k + 10k divider ratio
8const float LOW_BAT = 7.0;    // düşük pil eşiği (V) / low battery threshold (V)
9
10unsigned long lastBlink = 0;
11unsigned long lastCheck = 0;
12bool ledState = false;
13bool lowBattery = false;
14
15float readBattery() {
16  int raw = analogRead(BAT_PIN);
17  return raw * (5.0 / 1023.0) * DIVIDER;   // pil gerilimi / battery voltage
18}
19
20void runDemo() {
21  // jüri için kısa senaryo / short scenario for the jury
22  for (int i = 0; i < 3; i++) {
23    tone(BUZZER, 1000, 150);
24    digitalWrite(STATUS_LED, HIGH);
25    delay(300);
26    digitalWrite(STATUS_LED, LOW);
27    delay(300);
28    wdt_reset();                           // demo sırasında da besle / feed during demo
29  }
30}
31
32void setup() {
33  wdt_disable();                           // önceki durumu temizle / clear previous state
34  pinMode(STATUS_LED, OUTPUT);
35  pinMode(DEMO_BTN, INPUT_PULLUP);
36  pinMode(BUZZER, OUTPUT);
37  Serial.begin(9600);
38  Serial.println(F("Fuar modu basladi / Fair mode started"));
39  wdt_enable(WDTO_2S);                     // 2 sn takılırsa reset / reset if stuck for 2 s
40}
41
42void loop() {
43  wdt_reset();                             // watchdog'u besle / feed the watchdog
44  unsigned long now = millis();
45
46  unsigned long interval = lowBattery ? 150 : 1000;   // düşük pilde hızlı yanıp söner / fast blink on low battery
47  if (now - lastBlink >= interval) {
48    lastBlink = now;
49    ledState = !ledState;
50    digitalWrite(STATUS_LED, ledState ? HIGH : LOW);
51  }
52
53  if (now - lastCheck >= 5000) {           // 5 sn'de bir pil kontrolü / battery check every 5 s
54    lastCheck = now;
55    float v = readBattery();
56    lowBattery = (v < LOW_BAT);
57    Serial.print(F("Pil / Battery: "));
58    Serial.print(v, 2);
59    Serial.println(F(" V"));
60  }
61
62  if (digitalRead(DEMO_BTN) == LOW) {      // demo butonu / demo button
63    delay(30);                             // basit debounce / simple debounce
64    if (digitalRead(DEMO_BTN) == LOW) {
65      runDemo();
66      while (digitalRead(DEMO_BTN) == LOW) {
67        wdt_reset();                       // bırakılana kadar bekle / wait for release
68      }
69      lastBlink = millis();
70    }
71  }
72}| Line / structure | What it does |
|---|---|
| wdt_enable(WDTO_2S) | Starts the watchdog with a 2-second period; if wdt_reset() isn't called within that time, the board restarts |
| wdt_reset() | Feeds the watchdog; it must be called regularly in loop() and inside long loops |
| readBattery() | Converts the A0 reading to volts and multiplies it by the divider ratio (3) |
| LOW_BAT = 7.0 | The Uno's DC jack regulator can't hold 5 V below 7 V; this threshold gives an early warning |
| INPUT_PULLUP | The demo button needs no external resistor; the pin reads LOW when pressed |
| millis() timers | Run the LED and battery check at the same time without using delay() |
The same safety on a Raspberry Pi Pico: MicroPython watchdog
If you built your project with a Raspberry Pi Pico, you can apply the same approach with the machine.WDT class in MicroPython. Save the file to the Pico as main.py so the program starts by itself as soon as the board gets power. On the RP2040 the watchdog can't be stopped once started; that's why the board restarts within a few seconds when you stop the program in Thonny, and it isn't a fault. The demo button connects between GP14 and GND.
1from machine import Pin, WDT
2import time
3
4led = Pin("LED", Pin.OUT)              # dahili LED / onboard LED
5btn = Pin(14, Pin.IN, Pin.PULL_UP)     # demo butonu GP14-GND / demo button GP14-GND
6wdt = WDT(timeout=3000)                # 3 sn beslenmezse reset / reset if not fed for 3 s
7
8def demo():
9    for _ in range(3):                 # jüri için kısa senaryo / short scenario for the jury
10        led.on()
11        time.sleep(0.3)
12        led.off()
13        time.sleep(0.3)
14        wdt.feed()
15
16while True:
17    wdt.feed()                         # watchdog'u besle / feed the watchdog
18    led.toggle()                       # kalp atışı / heartbeat
19    if btn.value() == 0:
20        demo()
21        while btn.value() == 0:        # bırakılana kadar bekle / wait for release
22            wdt.feed()
23            time.sleep(0.02)
24    time.sleep(0.5)
If you're presenting a Wi-Fi project with an ESP32, don't count on the hall's internet; school networks often ask for a login page or slow down in a crowd. Define your phone's hotspot name and password in the code beforehand and build it so that sensor measurement and the local display keep working even if Wi-Fi drops. For connection problems apply the checks in ESP32 won't connect to Wi-Fi, and if the board restarts unexpectedly, read brownout and Guru Meditation.
Spare parts box: what to bring with you
- Spare board: A second Arduino with the same code loaded, or at least a USB cable and a laptop with the code on it.
- Sensor spares: One more of the sensor at the heart of your project; with cheap parts like the HC-SR04, DHT11 or LDR this is easy.
- Cables: A few each of male-male, male-female and female-female jumper wires, and two different USB cables.
- Power: Spare batteries, a fully charged power bank, an adapter and an extension cable at least 3 metres long.
- Small parts: 220 Ω and 10 kΩ resistors, a few LEDs and buttons; you can quickly check their values with the resistor colour code tool.
- Tools: A small screwdriver set, side cutters, insulating tape, hook-and-loop tape, a hot glue gun and, if possible, a multimeter.
- Documents: A printed project report, circuit diagram and code printout; very useful to show when the jury asks for details.
- Proof video: A 1–2 minute video of the project working, downloaded onto your phone; there may be no internet in the hall.
Questions judges often ask and suggested answers
Judges ask questions not to trip you up but to see whether you really did the project yourself and how well you understand it. The questions below come up at almost every stand at both 4006 and 2204 exhibitions; instead of memorising answers, rehearse them out loud once for your own project.
| Question | What they really want to know | Suggested answer |
|---|---|---|
| What's original about your project? | Did you research similar work? | Name 1–2 similar works and the feature that sets yours apart: "Models on the market do X, we added Y." |
| Why did you choose this sensor? | Did you choose the materials deliberately? | State the alternative and your selection criterion: "Because an ultrasonic sensor isn't affected by ambient light like infrared is..." |
| How accurate are your measurements? | Do you know your margin of error? | Show the table comparing with a reference device and give the percentage error. |
| Who wrote the code? | Did you really do the project yourself? | Open part of the code and explain it line by line; honestly say which ready-made libraries you used. |
| How much does it cost? | Is it feasible? | Know the parts list and total cost; add how it could drop in mass production. |
| How would it be used in real life? | Do the problem and solution match? | Describe the user, the place and the usage scenario concretely. |
| Where did you struggle most? | Did you really go through the process? | Tell a real problem and how you solved it; failed attempts are valuable too. |
| How would you improve the project? | Do you have a vision? | Suggest 2–3 concrete improvements: wireless monitoring, a more precise sensor, longer battery life. |
If you get a question you don't know, don't make something up. Saying "I haven't tested that yet, but I could measure it with an experiment like this" leaves a much better impression than a wrong answer given without being sure. Prepare your presentation in two versions, 1 minute and 5 minutes: the short one for the visitor walking down the aisle, the long one for the jury. Follow the same order in both: problem, solution idea, demo, findings, conclusion. Putting the demo in the middle of the talk grabs the audience again just as their attention starts to drop. If you're presenting as a team, share the topics beforehand and don't interrupt each other; the jury expects every member to know the whole project.
Exhibition day checklist
- The evening before, charge all batteries and the power bank, and put the spare batteries in a separate bag.
- Upload the final code to the board and save the uploaded version both on your computer and on a USB stick.
- Run the setup at home one last time for 30 minutes; test the sensor thresholds and the demo button.
- Carry the poster rolled up in a tube so it won't crease; take tape and pins for hanging it.
- Get to the stand at least an hour early; check the socket's location, the lighting and the table layout.
- Do a full demo right after setting up; if there's a problem, fix it before visitors arrive.
- On the table, put the demo setup in the centre, the report and parts list at the side and the poster behind.
- Open the proof video on your phone and set it so the screen won't lock by itself.
- Bring water and a small snack; talking all day is more tiring than you think.
- After each jury visit, quickly check the battery voltage and the wire connections.
- When the exhibition ends, photograph the setup before taking it apart; it will be useful for your report and future competitions.
Common mistakes and how to fix them
| Mistake | Result | Fix |
|---|---|---|
| Going to the exhibition with a breadboard | Wires come out in transport, the demo stops | Solder onto perfboard or fix the wires |
| Relying on a single power source | The project shuts down when the battery dies | Bring an adapter, extension cable and spare battery |
| Filling the poster with text | Nobody reads it and the main idea gets lost | Use graphs, diagrams and short bullet points |
| Fixing the sensor threshold at home | It triggers wrongly in the hall's light and noise | Make the threshold adjustable with a potentiometer or button |
| Memorising the talk word for word | The flow breaks when a question comes | Know the key headings and speak naturally |
| A demo that depends on Wi-Fi | If there's no connection in the hall, the project doesn't work | Set up a phone hotspot or add an offline mode |
| Not showing data | The jury can't see proof of the result | Support the hypothesis with a measurement table and graph |
A good science fair project presentation is made of a reliable demo built on a solid idea, a readable poster and a confident delivery. If you prepare all three in advance, on exhibition day you can simply enjoy your project. If you haven't chosen a project yet or want to strengthen your demo setup, in the BlueGrays app you can browse projects that suit fairs very well, such as a parking sensor, smart irrigation, a flame and gas alarm and an obstacle-avoiding robot, with step-by-step circuit diagrams and code.
Frequently asked questions
How long should a science fair project presentation be?
A short explanation of 1–3 minutes is enough for visitors; most people don't stay at a stand longer than that. At exhibitions with jury evaluation such as 2204, you usually need a 5–10 minute presentation followed by Q&A. Find the exact time in the exhibition guidelines or from your supervising teacher, and rehearse both versions.
What should be on a science fair poster?
The poster should include the project name, the problem you solved, the aim, the method you used (circuit and flow diagrams), the findings and the conclusion. Keep the text short and rely mostly on photos, diagrams and graphs. It's important that the title is readable from a few metres and that the reading order flows naturally from top to bottom.
What questions do judges ask in a project presentation?
The most common are what's original about the project, why you chose the materials, how accurate the measurements are, who wrote the code, the cost and real-life uses. Judges also want to know where you struggled most and how you'd improve the project. Prepare answers for your own project in advance and rehearse them out loud.
What should I do if my project doesn't work during the presentation?
Stay calm, explain the problem briefly and show the working video on your phone; that's why you must download the video beforehand. Then check the wires and battery using the spare parts box, and swap in the spare board if necessary. Judges usually rate a student who diagnoses a problem calmly positively.
What should I power an Arduino with at a science fair?
The most reliable way is a 9–12 V adapter plugged into the DC jack, with an extension cable. Keep a fully charged USB power bank or two 18650 cells as backup; a 9 V battery has low capacity and won't last all day. Remember to power motors and servos from a separate source and join the GNDs.
What's the difference between a 2204 and a 4006 presentation?
4006 is a school fair, and a clear, interactive explanation for visitors stands out. 2204 is a competition; the jury assesses the scientific method, the collected data, the reliability of the results and originality. So in a 2204 presentation, measurement tables, graphs and how the hypothesis was tested are more decisive.
Projects to build after reading this
See all projects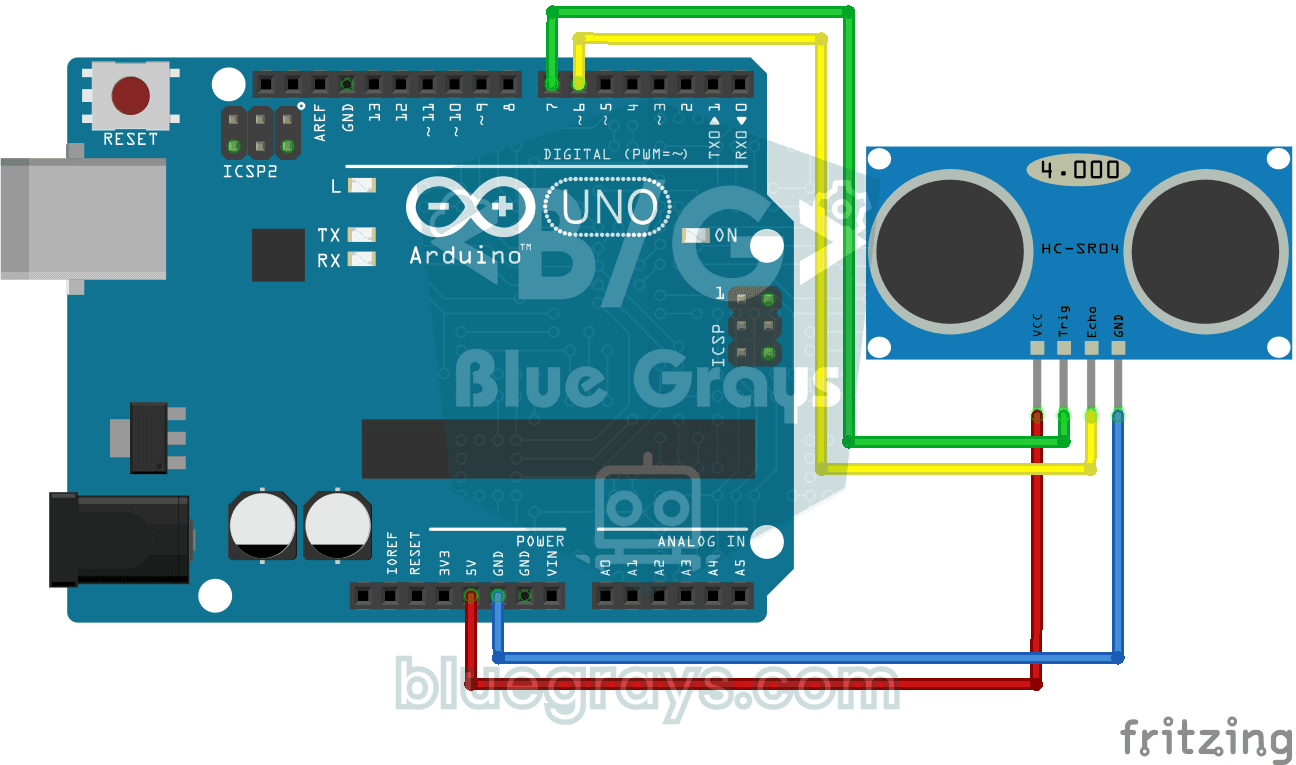
HC-SR04 Distance Measurement (Serial Display)
The HC-SR04 sensor works just like a bat finding its way in the dark: it sends out a sound you cannot hear, listens for the echo and measures how far away the object in front of it is.

Temperature and Humidity with DHT11
How warm is your room, and is the air humid or dry? The DHT11 sensor measures temperature and humidity, and the Arduino writes the values on a two-line LCD screen, refreshing every couple of seconds.
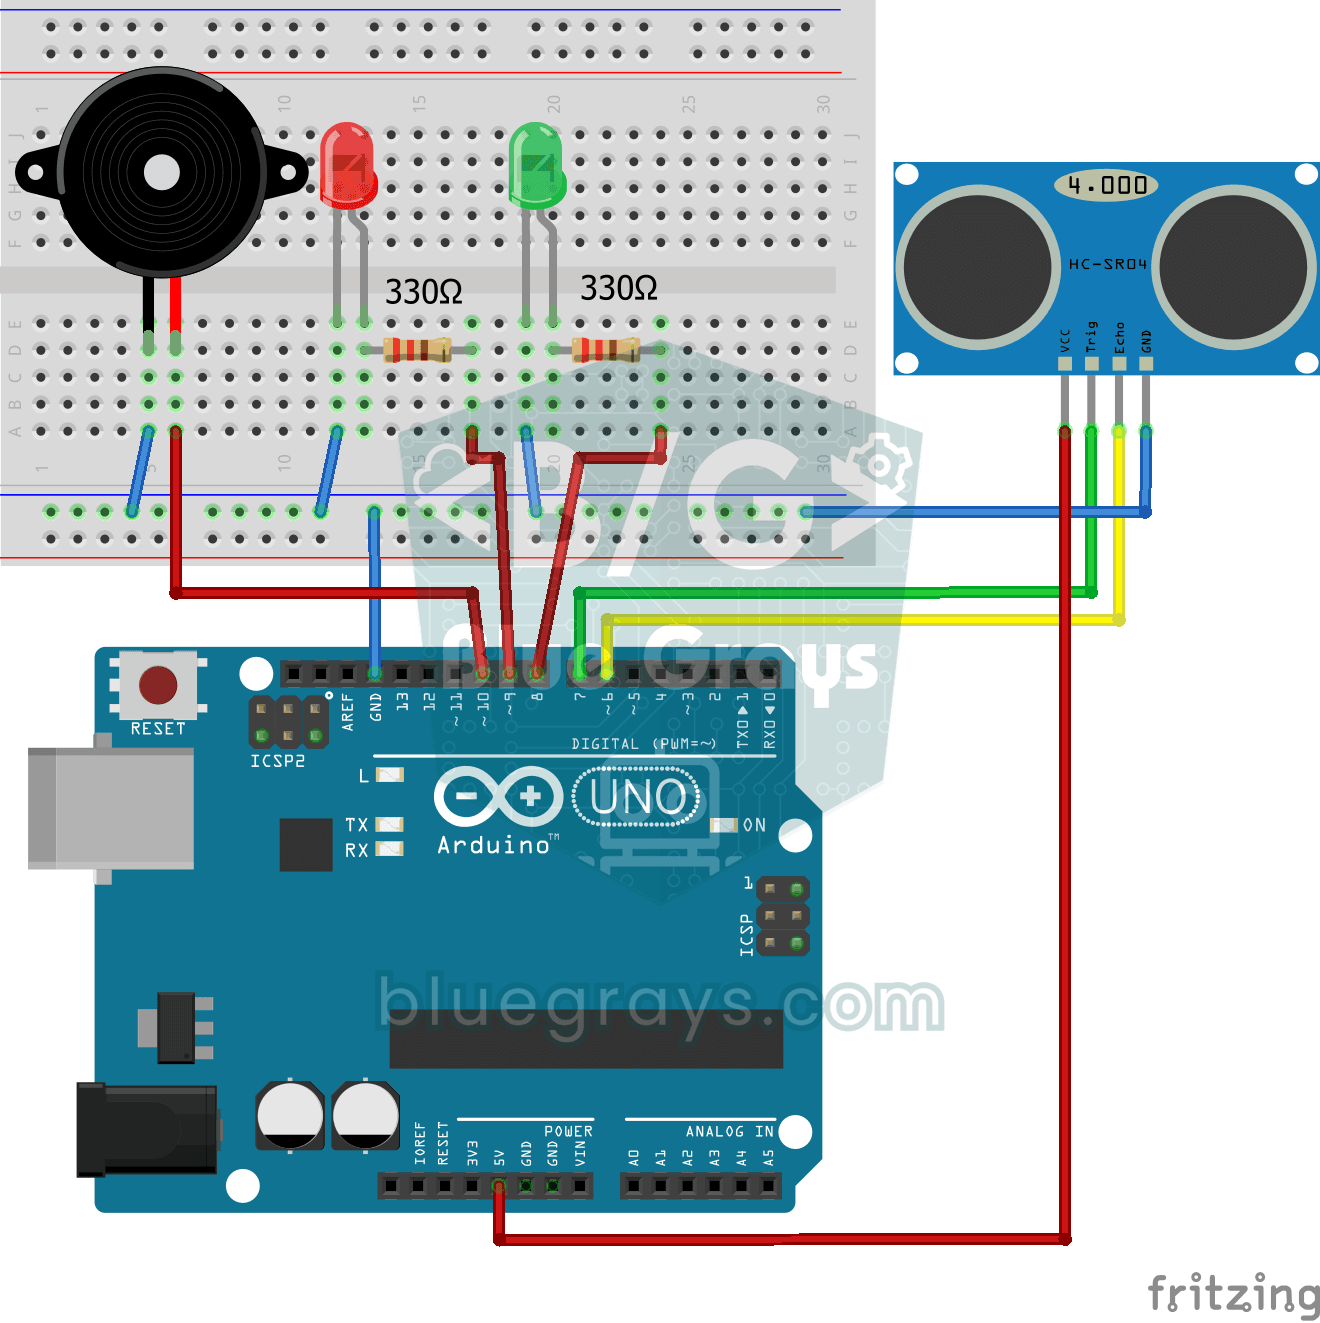
Parking Sensor with HC-SR04
A mini version of a car's parking sensor: the closer something gets, the faster the beeps.

Smart Irrigation Station
A gardener that waters your plants on its own, so they don't dry out while you're on vacation.

Obstacle Avoidance Robot
How about building a smart vehicle that finds its own way? The Obstacle Avoidance Robot constantly scans its surroundings thanks to the ultrasonic sensor in front of it.
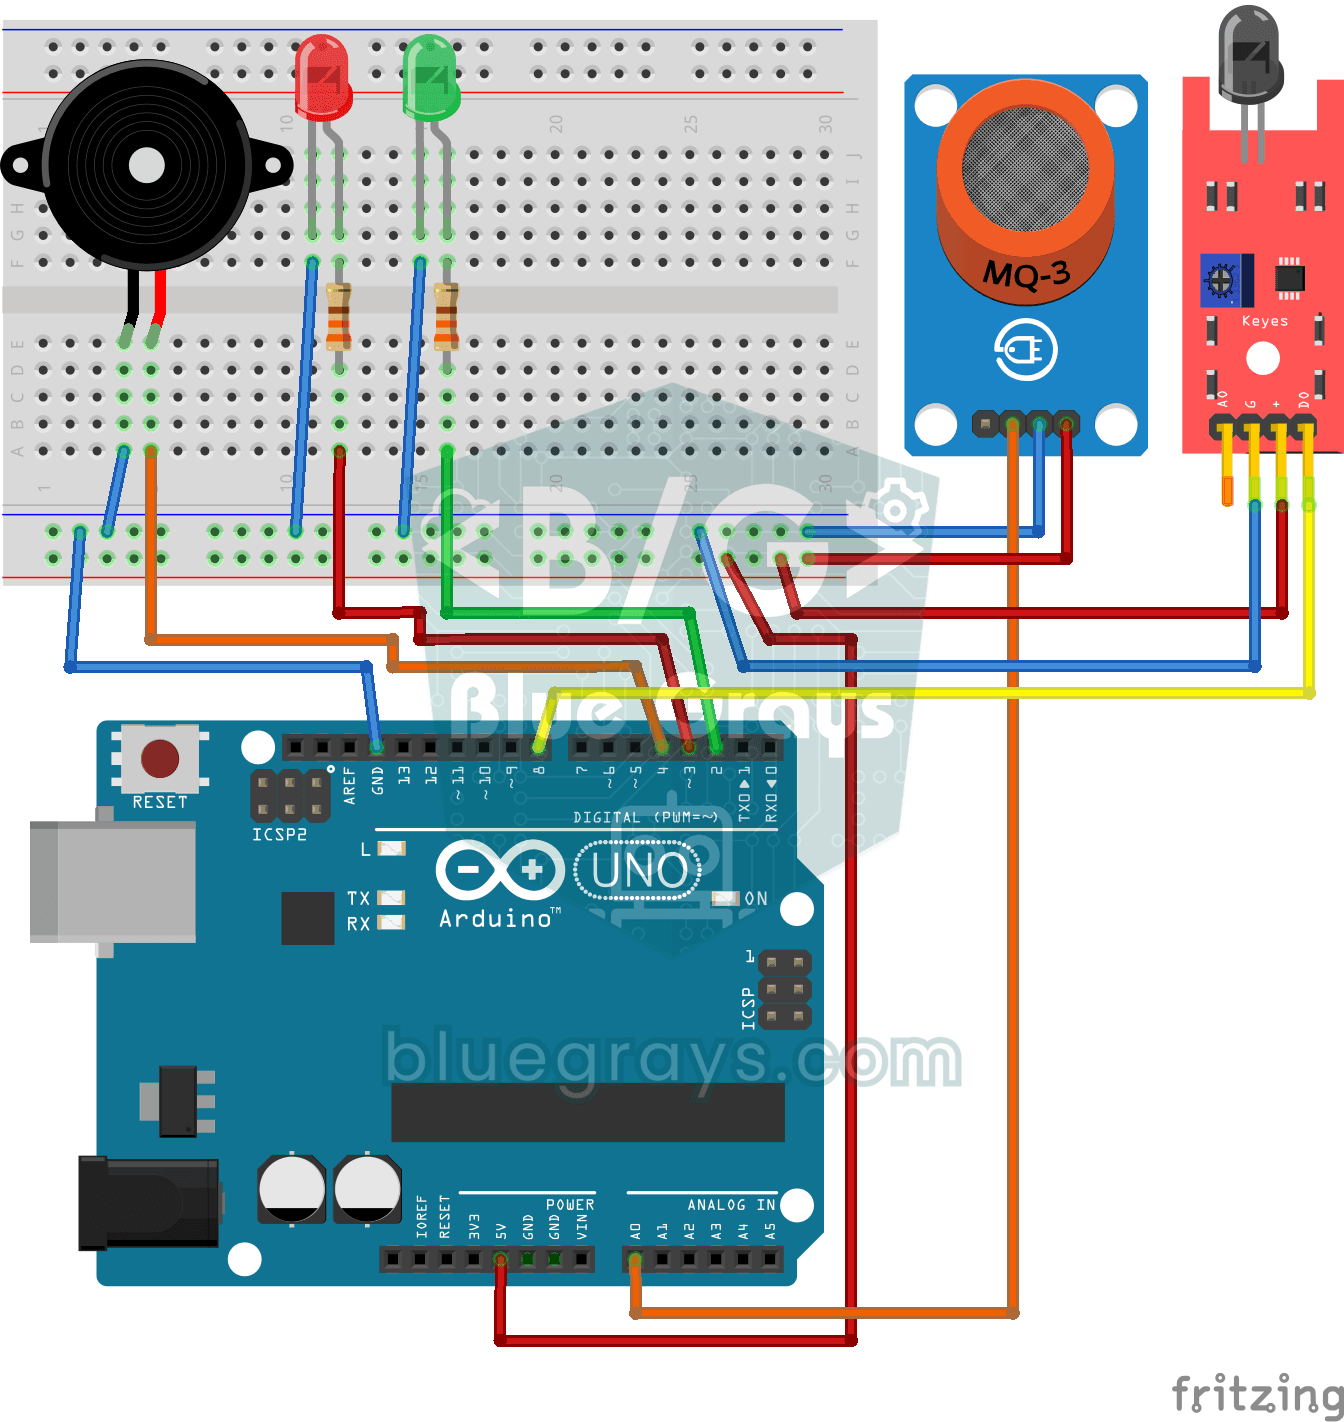
Flame and Gas Sensor Alarm
A little guard that warns you right away when gas leaks or a flame appears somewhere.

ESP32 Smart Lighting (PIR + LDR + Relay + OLED)
With an ESP32, a PIR motion sensor, an LDR light sensor and a relay module, we turn your hallway, bathroom or pantry into smart lighting. If the room is already bright, the light stays off even when there is motion, so it never wastes energy during the day. The light stays on for 30 seconds, and the time extends automatically while motion continues.