
Fingerprint Sensor Arduino Guide: AS608, R307 and Door Lock
How to use a fingerprint sensor with Arduino: AS608/R307 wire colours and power, enroll and match with Adafruit Fingerprint, a relay door lock, ESP32 and fixes.
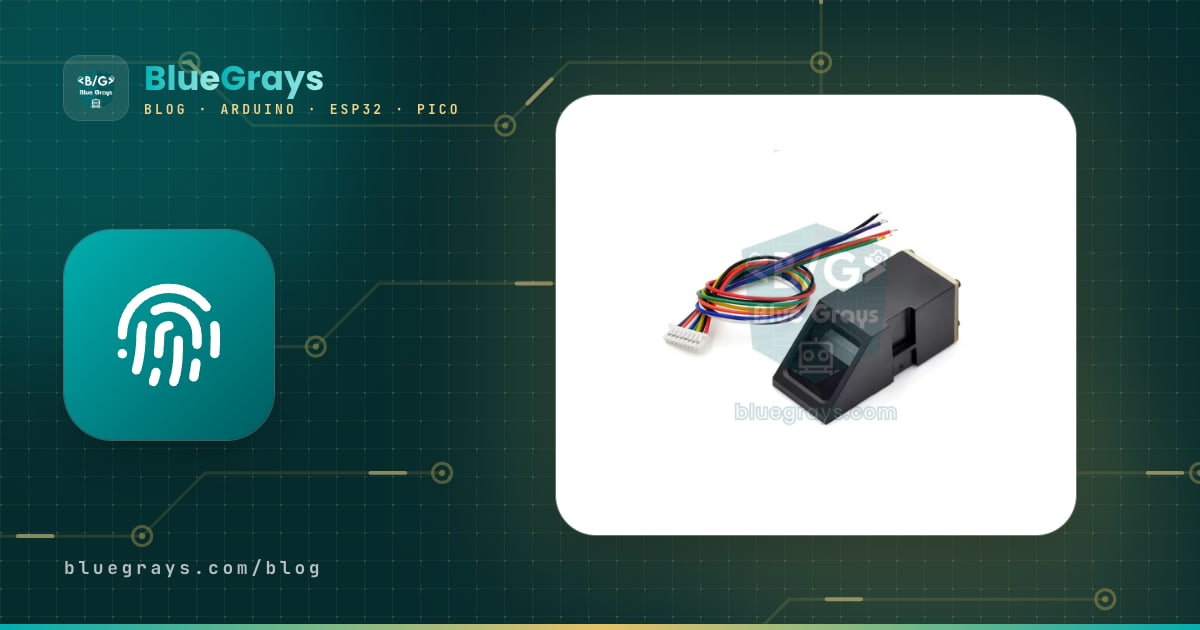
A fingerprint sensor lets an Arduino project ask "who are you?" with a single touch and open a door, drawer or safe when it recognises your finger. The most common models in hobby electronics are optical modules based on the AS608 and R307: they process the finger image internally, store the fingerprints in their own memory and send the Arduino only a short answer such as "matched ID 3". That's why even a small board like the Arduino Uno can easily run a fingerprint lock for hundreds of people.
In this guide you'll learn how the sensor works, how to wire it correctly even though wire colours vary from maker to maker, how to enroll and verify fingerprints with the Adafruit Fingerprint library, and what the ID and confidence score mean. Then you'll build a real door lock with a relay and a 12 V solenoid, do the same job with an ESP32 and a Raspberry Pi Pico, and fix the infamous "Did not find fingerprint sensor" error step by step.
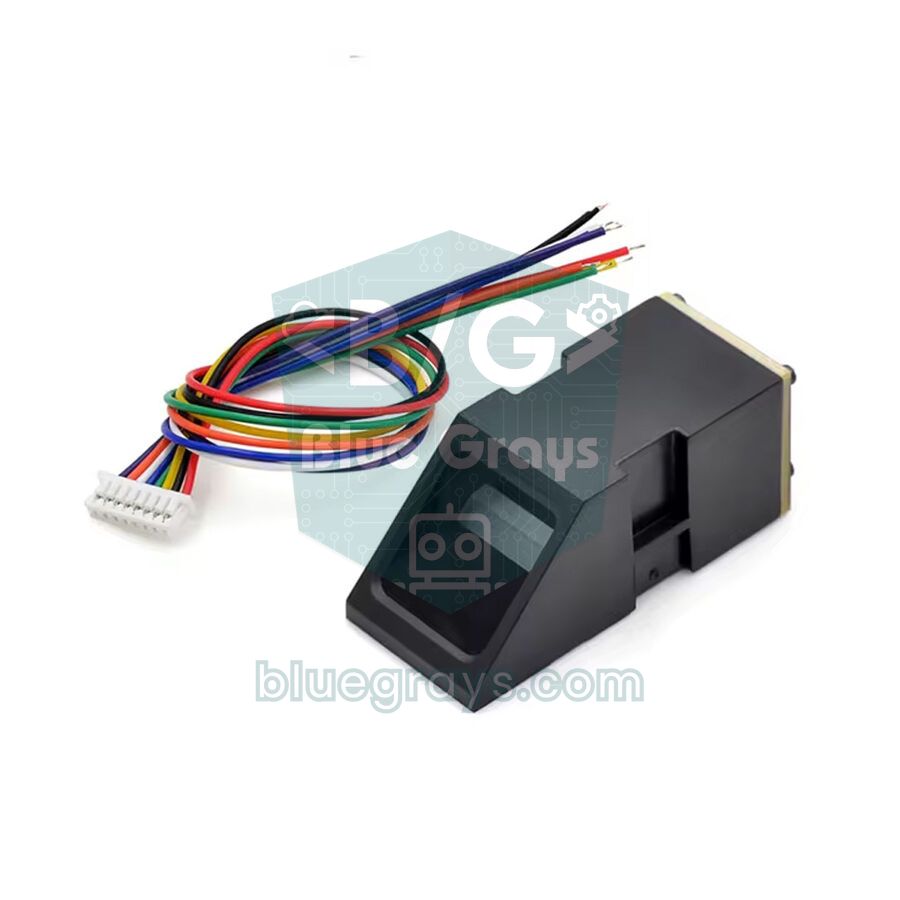
What is a fingerprint sensor and how does it work?
Modules like the AS608 and R307 are optical sensors. When you place your finger on the glass, an LED inside lights up the prism beneath it; the ridges of your fingerprint touch the glass and reflect light differently, while the valleys don't. A tiny camera captures this pattern as a greyscale image at about 500 dpi. The DSP chip in the module extracts the points where ridges end or split (minutiae) and turns them into a character file of a few hundred bytes. Two character files taken from the same finger are combined into a template, and that template is saved in the sensor's own flash memory under an ID number.
During verification the sensor converts the new image into a character file again and compares it with every stored template. This 1:N search usually takes less than a second; at the end the sensor sends back the matching ID and a confidence score showing how strong the match is. The key point: the fingerprint image never reaches the Arduino, all the heavy lifting happens inside the sensor. The Arduino only sends commands over the serial port (UART) and reads short replies.
| Feature | AS608 module | R307 | FPM10A / ZFM-20 |
|---|---|---|---|
| Supply | 3.3 V | 4.2–6 V (usually 5 V) | 3.6–6 V |
| Storage capacity | Usually 300 (162 on some boards) | 1000 | 162 |
| Interface | UART (TTL), 57600 bps by default | UART (TTL), 57600 bps by default | UART (TTL), 57600 bps by default |
| Touch detection pin | Yes (WAK + Vt) | Yes (Touch + 3.3VT) | Not on most |
| Security level | 1–5 | 1–5 | 1–5 |
| False acceptance rate (FAR) | < 0.001% | < 0.001% | < 0.001% |
| Arduino library | Adafruit Fingerprint | Adafruit Fingerprint | Adafruit Fingerprint |
The values in the table can vary by seller and board revision, especially the capacity. The most reliable approach is to run the test sketch below and read the capacity the sensor reports itself. Let's also pin down three terms: the ID is the template's slot number in memory (from 0 to capacity minus one); the security level sets the matching threshold from 1 (most lenient) to 5 (strictest); and the confidence score is the similarity score the sensor returns with every match.
Wire colours and power: which wire goes where?
The most common mistake with fingerprint sensors is assuming the wire colours are standard. The same model can come with red-black-yellow-white wires from one seller and red-black-green-blue from another; even Adafruit lists different colour layouts for different sensor versions. So don't go by colour: check the pin labels on the back of the sensor or next to the connector, and the seller's diagram. AS608 modules usually have 6 pins: V+ (Vi), TX, RX, GND, WAK (Touch) and Vt (3.3VT). For basic use you only need the first four.
| Sensor pin | Function | Arduino Uno | ESP32 | Raspberry Pi Pico |
|---|---|---|---|---|
| V+ / Vi / VCC | Power | 3.3V (AS608) or 5V (R307) | 3V3 (5V/VIN for R307) | 3V3(OUT) (VBUS for R307) |
| GND | Ground | GND | GND | GND |
| TX | Data out of the sensor | D2 (SoftwareSerial RX) | GPIO 16 (RX2) | GP1 (UART0 RX) |
| RX | Data into the sensor | D3 (SoftwareSerial TX) | GPIO 17 (TX2) | GP0 (UART0 TX) |
| WAK / Touch | Finger-detected signal (optional) | D4 | GPIO 27 | GP2 |
| Vt / 3.3VT | Power for the touch circuit (optional) | 3.3V | 3V3 | 3V3(OUT) |
The WAK (or Touch) pin is connected to the sensor's low-power touch detection circuit. With 3.3 V on the Vt pin, it changes level the moment a finger touches the glass; on most modules it goes HIGH, on some it goes LOW, so test it on your own board. In a battery-powered lock you can cut the main supply with a MOSFET, keep only Vt powered, and use the WAK signal to wake the microcontroller from sleep and switch the sensor on only then.
Installing the Adafruit Fingerprint library
- In the Arduino IDE open Tools > Manage Libraries, search for Adafruit Fingerprint Sensor Library and install it. If you've never added a library before, see Adding Libraries to Arduino.
- The library works with every sensor that uses the same command set, such as the AS608, R307, R503, FPM10A and the ZFM series; no code changes needed.
- Under File > Examples you'll find the enroll, fingerprint (verify), delete (delete one record) and emptyDatabase (delete everything) examples.
- On the Uno and Nano the sensor is connected to D2 and D3 with SoftwareSerial, so it doesn't tie up pins 0 and 1, which the USB connection uses. Boards with a second hardware serial port, like the Mega, Leonardo and ESP32, use Serial1 or Serial2.
First test: is the sensor found?
Before enrolling, let's make sure the sensor is talking to the Arduino. The sketch below first looks for the sensor at the default 57600 bps and, if it can't find it, tries the other common baud rates. Once it finds the sensor, it prints the baud rate it answered at, the reported capacity, the security level and the number of stored fingerprints to the Serial Monitor. Don't forget to set the Serial Monitor to 9600 baud; that's independent of the sensor's speed.
1#include <Adafruit_Fingerprint.h>
2#include <SoftwareSerial.h>
3
4SoftwareSerial fpSerial(2, 3);            // D2 = RX (sensör TX), D3 = TX (sensör RX) / D2 = RX (sensor TX), D3 = TX (sensor RX)
5Adafruit_Fingerprint finger(&fpSerial);
6
7const uint32_t rates[] = {57600, 9600, 19200, 38400, 115200};   // denenecek hızlar / baud rates to try
8
9void setup() {
10  Serial.begin(9600);
11  Serial.println(F("Sensor araniyor / searching for sensor..."));
12  bool found = false;
13  for (uint8_t i = 0; i < 5 && !found; i++) {
14    finger.begin(rates[i]);               // 1 sn bekler, portu açar / waits 1 s, opens the port
15    if (finger.verifyPassword()) {        // sensör cevap verdi mi? / did the sensor answer?
16      Serial.print(F("Bulundu / found @ "));
17      Serial.println(rates[i]);
18      found = true;
19    }
20  }
21  if (!found) {
22    Serial.println(F("Did not find fingerprint sensor :("));
23    while (1) delay(1);
24  }
25  finger.getParameters();                 // kapasite ve ayarları oku / read capacity and settings
26  Serial.print(F("Kapasite / capacity: "));
27  Serial.println(finger.capacity);
28  Serial.print(F("Guvenlik / security level: "));
29  Serial.println(finger.security_level);
30  finger.getTemplateCount();              // kayıtlı şablon sayısı / number of stored templates
31  Serial.print(F("Kayitli iz / templates: "));
32  Serial.println(finger.templateCount);
33}
34
35void loop() {
36}
Enrolling a fingerprint step by step
During enrollment the sensor takes two separate images of the same finger, stores them as character files in two buffers (CharBuffer1 and CharBuffer2), merges them into a template and writes the template to the ID you choose. Adafruit's ready-made enroll example asks for an ID between 1 and 127 and keeps it in a one-byte variable. The simplified version below stores the ID in 16 bits and takes the upper limit from the sensor's real capacity, so you can use every slot of a 300- or 1000-print sensor. These are the library steps:
- getImage(): Keeps trying to take an image until a finger is on the glass; returns FINGERPRINT_NOFINGER when there's none.
- image2Tz(1): Converts the first image into a character file and puts it in buffer 1.
- The finger is lifted and the same finger is placed again; image2Tz(2) puts the second image into buffer 2.
- createModel(): Compares and merges the two buffers; returns FINGERPRINT_ENROLLMISMATCH if they don't match.
- storeModel(id): Writes the template permanently to the sensor's flash memory; it survives power loss.
1#include <Adafruit_Fingerprint.h>
2#include <SoftwareSerial.h>
3
4SoftwareSerial fpSerial(2, 3);            // D2 = RX, D3 = TX
5Adafruit_Fingerprint finger(&fpSerial);
6
7void setup() {
8  Serial.begin(9600);
9  finger.begin(57600);
10  if (!finger.verifyPassword()) {
11    Serial.println(F("Did not find fingerprint sensor :("));
12    while (1) delay(1);
13  }
14  finger.getParameters();                 // gerçek kapasiteyi öğren / learn the real capacity
15  Serial.println(F("Kayit modu / enroll mode"));
16}
17
18// Parmak gelene kadar bekle, görüntüyü tampona çevir / wait for a finger, convert the image into a buffer
19bool captureTo(uint8_t slot) {
20  while (finger.getImage() != FINGERPRINT_OK) delay(50);
21  uint8_t p = finger.image2Tz(slot);
22  if (p != FINGERPRINT_OK) {
23    Serial.print(F("Goruntu kotu / bad image, kod / code 0x"));
24    Serial.println(p, HEX);
25    return false;
26  }
27  return true;
28}
29
30void loop() {
31  Serial.print(F("ID gir / enter ID (1-"));
32  Serial.print(finger.capacity - 1);
33  Serial.println(F("):"));
34  while (!Serial.available()) delay(10);
35  uint16_t id = Serial.parseInt();
36  while (Serial.available()) Serial.read();   // satır sonunu temizle / clear the line ending
37  if (id == 0 || id >= finger.capacity) return;
38
39  Serial.println(F("Parmagini koy / place your finger"));
40  if (!captureTo(1)) return;
41  Serial.println(F("Kaldir / remove your finger"));
42  delay(1000);
43  while (finger.getImage() != FINGERPRINT_NOFINGER) delay(50);   // parmak kalkana kadar / until the finger is lifted
44
45  Serial.println(F("Ayni parmagi tekrar koy / place the same finger again"));
46  if (!captureTo(2)) return;
47
48  uint8_t p = finger.createModel();       // iki görüntüyü birleştir / merge the two images
49  if (p == FINGERPRINT_ENROLLMISMATCH) {
50    Serial.println(F("Fingerprints did not match"));
51    return;
52  }
53  if (p != FINGERPRINT_OK) return;
54
55  p = finger.storeModel(id);              // sensörün flash belleğine yaz / write to the sensor's flash
56  if (p == FINGERPRINT_OK) {
57    Serial.print(F("Kaydedildi / stored, ID #"));
58    Serial.println(id);
59  } else {
60    Serial.print(F("Kayit hatasi / store error 0x"));
61    Serial.println(p, HEX);
62  }
63}Verifying a fingerprint: ID and confidence score
To verify, you first take an image with getImage(), convert it with image2Tz(), and then search the stored templates. The library has two search functions: fingerFastSearch() is quick, but the command the library sends only scans the first 163 records (IDs 0–162); fingerSearch() searches the whole capacity read with getParameters(). If you'll use IDs above 162, use fingerSearch() and always call getParameters() in setup(); otherwise the library assumes the default capacity of 64 and searches only the first 64 records.
When the search succeeds, finger.fingerID gives the number of the matching record and finger.confidence gives the confidence score. The sensor already decides whether there's a match based on the security level; the score only tells you how strong the match is. With a well-enrolled finger the score usually lands somewhere between a few dozen and a few hundred. For a stricter lock you can raise the threshold with setSecurityLevel(4) or setSecurityLevel(5), or add your own lower limit in code (for example, reject anything under 50). A higher threshold lowers the chance of accepting the wrong person but raises the chance of rejecting the right one; find the balance by testing with your own fingers.
| Return code | Serial Monitor message | Meaning and fix |
|---|---|---|
| FINGERPRINT_OK (0x00) | Image taken / Stored! | Operation successful. |
| FINGERPRINT_NOFINGER (0x02) | No finger detected | No finger on the glass; keep waiting in the loop. |
| FINGERPRINT_PACKETRECIEVEERR (0x01) | Communication error | No reply packet received; check the wiring, baud rate and power. |
| FINGERPRINT_IMAGEFAIL (0x03) | Imaging error | Couldn't capture an image; place the finger again. |
| FINGERPRINT_IMAGEMESS (0x06) | Image too messy | Blurry image; clean the glass, the finger may be too wet or too dry. |
| FINGERPRINT_FEATUREFAIL (0x07) | Could not find fingerprint features | Not enough detail; centre the finger and press lightly. |
| FINGERPRINT_NOTFOUND (0x09) | Did not find a match | No matching record; the finger isn't enrolled or was enrolled poorly. |
| FINGERPRINT_ENROLLMISMATCH (0x0A) | Fingerprints did not match | The two enrollment images didn't match; repeat the process. |
| FINGERPRINT_BADLOCATION (0x0B) | Could not store in that location | The ID is outside the capacity; read the limit with getParameters(). |
| FINGERPRINT_FLASHERR (0x18) | Error writing to flash | Couldn't write to the sensor's memory; check the power and wiring. |
Fingerprint door lock with a relay and solenoid
Now let's put it all together and build a door lock that opens for 3 seconds for an authorised finger, beeps three times for an unknown one and locks the system for 30 seconds after 5 failed attempts in a row. As the lock we use a 12 V solenoid lock. A solenoid draws 0.5–1 A, so it must never be connected directly to an Arduino pin; put a relay module or a logic-level MOSFET in between. The wiring: the relay module's VCC and GND go to the Arduino's 5V and GND and its IN pin to D8, an active buzzer to D9, the 12 V adapter's positive to the relay's COM terminal, the relay's NO terminal to the solenoid's positive, and the solenoid's negative to the adapter's negative.
A solenoid is a coil, and it produces a high reverse voltage the moment its current is cut. That's why you should connect a 1N4007 diode across the solenoid in reverse; the striped end of the diode goes to the positive side. If you use a MOSFET instead of a relay, choose a logic-level part such as the IRLZ44N and connect the 12 V supply's negative to the Arduino's GND. For details see Driving high currents with a MOSFET, and for the MOSFET's pin order check the Transistor Pinouts tool.
1#include <Adafruit_Fingerprint.h>
2#include <SoftwareSerial.h>
3
4SoftwareSerial fpSerial(2, 3);            // D2 = RX, D3 = TX
5Adafruit_Fingerprint finger(&fpSerial);
6
7const int RELAY_PIN = 8;                  // röle modülü IN / relay module IN
8const int BUZZER_PIN = 9;                 // aktif buzzer / active buzzer
9const uint8_t RELAY_ON = LOW;             // çoğu röle modülü LOW ile çeker / most relay modules switch on LOW
10const uint8_t RELAY_OFF = HIGH;
11const uint16_t MIN_CONFIDENCE = 50;       // ek güven eşiği / extra confidence threshold
12const unsigned long OPEN_MS = 3000;       // kilidin açık kalma süresi / unlock time
13
14uint8_t failCount = 0;
15
16void setup() {
17  digitalWrite(RELAY_PIN, RELAY_OFF);     // açılışta kilitli kalsın / stay locked at power-up
18  pinMode(RELAY_PIN, OUTPUT);
19  pinMode(BUZZER_PIN, OUTPUT);
20  Serial.begin(9600);
21  finger.begin(57600);
22  if (!finger.verifyPassword()) {
23    Serial.println(F("Did not find fingerprint sensor :("));
24    while (1) delay(1);
25  }
26  finger.getParameters();                 // fingerSearch için kapasite / capacity for fingerSearch
27}
28
29// Eşleşen ID; parmak yoksa -1, tanınmadıysa -2 / matching ID; -1 no finger, -2 not recognised
30int readFinger() {
31  if (finger.getImage() != FINGERPRINT_OK) return -1;
32  if (finger.image2Tz(1) != FINGERPRINT_OK) return -2;
33  if (finger.fingerSearch(1) != FINGERPRINT_OK) return -2;
34  if (finger.confidence < MIN_CONFIDENCE) return -2;
35  return finger.fingerID;
36}
37
38void beep(int count, int ms) {
39  for (int i = 0; i < count; i++) {
40    digitalWrite(BUZZER_PIN, HIGH);
41    delay(ms);
42    digitalWrite(BUZZER_PIN, LOW);
43    delay(ms);
44  }
45}
46
47void loop() {
48  int id = readFinger();
49  if (id >= 0) {
50    Serial.print(F("Hos geldin / welcome, ID #"));
51    Serial.print(id);
52    Serial.print(F(", guven / confidence "));
53    Serial.println(finger.confidence);
54    failCount = 0;
55    beep(1, 100);
56    digitalWrite(RELAY_PIN, RELAY_ON);    // kilidi aç / unlock
57    delay(OPEN_MS);
58    digitalWrite(RELAY_PIN, RELAY_OFF);   // yeniden kilitle / lock again
59  } else if (id == -2) {
60    failCount++;
61    Serial.println(F("Yetkisiz / not authorised"));
62    beep(3, 80);
63    if (failCount >= 5) {                 // 5 hatada 30 sn bekle / 30 s lockout after 5 failures
64      Serial.println(F("30 sn kilitli / locked for 30 s"));
65      delay(30000);
66      failCount = 0;
67    }
68    delay(1000);
69  }
70  delay(50);
71}Fingerprint sensor with ESP32: the Serial2 connection
The ESP32 has three hardware serial ports, so you don't need SoftwareSerial; you connect the sensor to UART2 (Serial2). Since the ESP32 runs at 3.3 V, it matches the AS608's signal levels exactly and no voltage divider is needed. The only thing to watch is the pins: in the current Arduino-ESP32 core (3.x) the default Serial2 pins are no longer GPIO 16/17 as in older tutorials, but GPIO 4 (RX) and GPIO 25 (TX). So you should pass the pins explicitly to Serial2.begin(); the library's begin() keeps the pins you set earlier. You can see your board's pin map in the Pinout tool.
1#include <Adafruit_Fingerprint.h>
2
3#define FP_RX 16                          // ESP32 RX2 <- sensör TX / sensor TX
4#define FP_TX 17                          // ESP32 TX2 -> sensör RX / sensor RX
5const int RELAY_PIN = 23;                 // röle modülü IN / relay module IN
6
7Adafruit_Fingerprint finger(&Serial2);
8
9void setup() {
10  Serial.begin(115200);
11  pinMode(RELAY_PIN, OUTPUT);
12  digitalWrite(RELAY_PIN, HIGH);          // LOW tetiklemeli röle kapalı / active-LOW relay off
13  Serial2.begin(57600, SERIAL_8N1, FP_RX, FP_TX);   // pinleri açıkça ver / set the pins explicitly
14  finger.begin(57600);                    // önceki pinleri korur / keeps the pins set above
15  if (!finger.verifyPassword()) {
16    Serial.println("Did not find fingerprint sensor :(");
17    while (true) delay(10);
18  }
19  finger.getParameters();
20  finger.getTemplateCount();
21  Serial.printf("Kapasite / capacity: %u, kayitli / stored: %u\n", finger.capacity, finger.templateCount);
22}
23
24void loop() {
25  if (finger.getImage() == FINGERPRINT_OK && finger.image2Tz(1) == FINGERPRINT_OK) {
26    if (finger.fingerSearch(1) == FINGERPRINT_OK) {
27      Serial.printf("ID #%u, guven / confidence %u\n", finger.fingerID, finger.confidence);
28      digitalWrite(RELAY_PIN, LOW);       // kilidi aç / unlock
29      delay(3000);
30      digitalWrite(RELAY_PIN, HIGH);      // yeniden kilitle / lock again
31    } else {
32      Serial.println("Did not find a match");
33      delay(1000);
34    }
35  }
36  delay(50);
37}
On boards with an ESP32-WROVER module, GPIO 16 and 17 are connected to the PSRAM; on such a board change FP_RX and FP_TX to, for example, 25 and 26. The ESP32-C3 has only two UARTs, so there's no Serial2; you can use the same code with Serial1 and any two pins you like. Thanks to Wi-Fi you can log every entry with a timestamp to a server, or send a notification to your phone with a Telegram bot when an unknown finger is detected.
Fingerprint sensor with Raspberry Pi Pico and MicroPython
There's no official MicroPython version of the Adafruit library, but the sensor's protocol is simple enough to talk to it yourself in a few lines. Every packet starts with the EF 01 start code, followed by a 4-byte address (FF FF FF FF by default), the packet type (01 command, 07 reply), a 2-byte length, the command and its parameters, and finally a 2-byte checksum made of the sum of the type, length and data bytes. The first data byte of the reply is the confirmation code: 00 success, 02 no finger, 09 no match. The code below verifies the sensor, reads the capacity and identifies the finger on the glass with its ID and confidence score. Since the Pico runs at 3.3 V, you can connect the AS608 straight to the 3V3(OUT) pin; if you're new to the Pico, What Is the Raspberry Pi Pico? is a good place to start.
1from machine import UART, Pin
2import time
3
4# GP0 = UART0 TX -> sensör RX, GP1 = UART0 RX <- sensör TX / sensor RX, sensor TX
5uart = UART(0, baudrate=57600, tx=Pin(0), rx=Pin(1), timeout=2000, timeout_char=100)
6HEADER = b'\xEF\x01\xFF\xFF\xFF\xFF'          # başlangıç kodu + adres / start code + address
7
8def command(*data):
9    while uart.any():                          # eski baytları at / drop stale bytes
10        uart.read()
11    length = len(data) + 2                     # veri + 2 bayt sağlama / data + 2-byte checksum
12    body = bytes([0x01, length >> 8, length & 0xFF]) + bytes(data)   # 0x01 = komut paketi / command packet
13    s = sum(body)
14    uart.write(HEADER + body + bytes([(s >> 8) & 0xFF, s & 0xFF]))
15    head = uart.read(9)                        # başlık + tip + uzunluk / header + type + length
16    if not head or len(head) < 9 or head[0] != 0xEF:
17        return None
18    n = (head[7] << 8) | head[8]
19    rest = uart.read(n)
20    if not rest or len(rest) < n:
21        return None
22    return rest[:-2]                           # sağlama hariç veri / data without checksum
23
24def ok(r):
25    return r is not None and r[0] == 0x00      # 0x00 = başarılı / success
26
27time.sleep(1)                                  # sensörün açılmasını bekle / let the sensor boot up
28if not ok(command(0x13, 0, 0, 0, 0)):          # VfyPwd: şifre 0 / password 0
29    print("Did not find fingerprint sensor")
30    while True:
31        time.sleep(1)
32
33p = command(0x0F)                              # ReadSysPara: sistem parametreleri / system parameters
34capacity = (p[5] << 8) | p[6] if ok(p) else 162
35print("Kapasite / capacity:", capacity)
36
37def identify():
38    if not ok(command(0x01)):                  # GenImg: parmak yoksa 0x02 / 0x02 = no finger
39        return None
40    if not ok(command(0x02, 1)):               # Img2Tz: CharBuffer1'e çevir / convert into CharBuffer1
41        return (-1, 0)
42    r = command(0x04, 1, 0, 0, capacity >> 8, capacity & 0xFF)   # Search: tüm kayıtlar / all records
43    if not ok(r):
44        return (-1, 0)                         # 0x09 = eşleşme yok / no match
45    return ((r[1] << 8) | r[2], (r[3] << 8) | r[4])   # (ID, güven / confidence)
46
47while True:
48    res = identify()
49    if res:
50        fid, score = res
51        if fid >= 0:
52            print("ID", fid, "guven / confidence", score)
53        else:
54            print("Eslesme yok / no match")
55        time.sleep(1)
56    time.sleep_ms(100)
The "Did not find fingerprint sensor" error and other common problems
This message means the library didn't get a valid reply from the sensor to its verifyPassword() command; it doesn't mean the sensor is broken. The vast majority of cases come down to wiring, power or the wrong baud rate. Work through the table below from top to bottom:
| Symptom | Likely cause | Fix |
|---|---|---|
| Did not find fingerprint sensor :( | TX and RX wired straight through | The sensor's TX goes to the Arduino's RX (D2) and its RX to TX (D3). Swapping the two data wires does no harm, so try it. |
| Did not find fingerprint sensor :( | Trusting the wire colours | Rewire according to the pin labels on the board or the seller's diagram; confirm GND with a multimeter. |
| Did not find fingerprint sensor :( | Wrong or insufficient power | Give the AS608 3.3 V and the R307 5 V; if the Uno's 3.3V pin isn't enough, use an external regulator and join the grounds. |
| Did not find fingerprint sensor :( | The sensor runs at a different baud rate | Run the baud scan in the first test sketch and put the value it finds into finger.begin(). |
| Did not find fingerprint sensor :( | The sensor's password has been changed | Pass the password to the constructor: Adafruit_Fingerprint finger(&fpSerial, 0x12345678); |
| Sensor not found on a Mega or Leonardo | SoftwareSerial can't receive on every pin | Use Serial1: RX1 19, TX1 18 on the Mega; RX 0, TX 1 on the Leonardo. |
| Sensor not found on an ESP32 | Different Serial2 default pins or a PSRAM conflict | Set the pins explicitly with Serial2.begin(57600, SERIAL_8N1, RX, TX); don't use 16/17 on a WROVER. |
| Frequent "Communication error" | Loose connector, long or thin wires | Keep the wires short, use soldered joints instead of a breadboard and add a 100 µF capacitor on the supply. |
| An enrolled finger is often rejected | Dirty glass, dry or wet finger, enrolled from one angle only | Wipe the glass with a soft cloth, enroll the same finger under two IDs and lower the security level to 2 if needed. |
| The sensor gets warm, the LED never lights up | Reversed power or 5 V on an AS608 | Cut the power immediately and fix the wiring; the sensor may be damaged. |
Waveshare UART fingerprint reader: a quick note
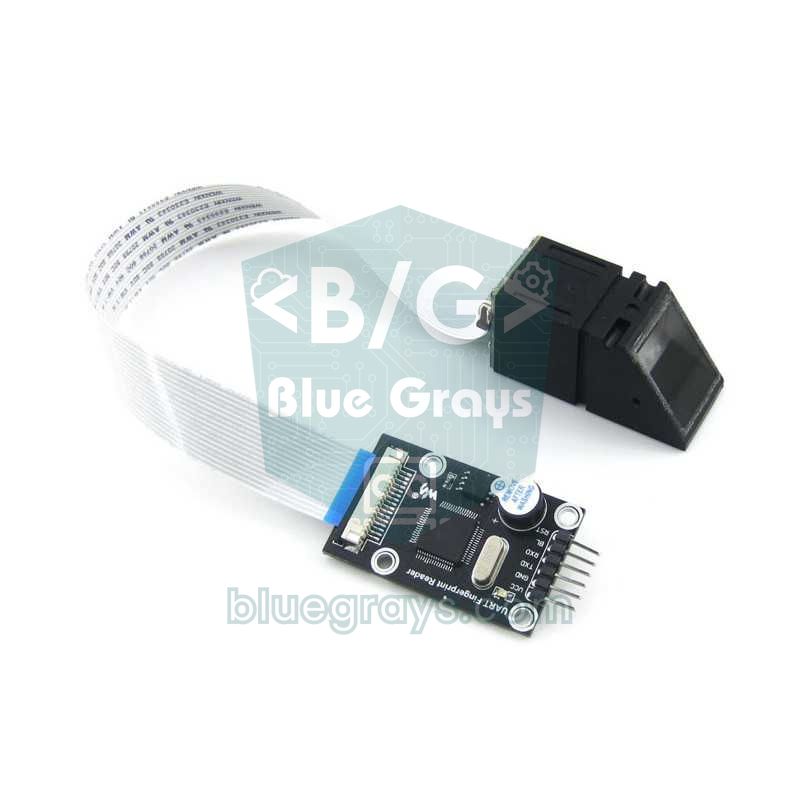
Although it looks similar, Waveshare's UART fingerprint reader speaks a different protocol from the AS608 and R307: commands are 8 bytes long, start and end with 0xF5, and the default speed is 19200 bps. That's why it doesn't work with the Adafruit Fingerprint library; you use the command table and sample code from Waveshare's user manual instead. A finger is scanned three times during enrollment, each user can be given a privilege level from 1 to 3, and a 1:N comparison is done with a single command. The board can be powered from 3.3 V or 5 V; you connect TXD to the microcontroller's RX and RXD to its TX. If you want plenty of ready-made libraries and examples, pick the AS608 or R307; if you don't mind writing your own protocol code, the Waveshare is a good choice.
Fingerprint sensor project ideas
- Fingerprint drawer or safe: A small safe that opens with a servo or solenoid and sounds an alarm on unauthorised attempts. For a servo locking mechanism, see What Is a Servo Motor?
- Two-step door: A more secure entry that asks for a fingerprint first and then a PIN on a keypad.
- Card or finger: Add an RFID RC522 reader to the same lock so people with a card use the card and others use a finger.
- Attendance system: Match each ID with a name for a school or club and log entry times.
- Lock with a display: Show a welcome message and the person's name on an OLED display.
- Together with a home alarm: An Arduino alarm system that is armed and disarmed with a fingerprint.
With a few wires and the right library, a fingerprint sensor adds a real identity layer to your project: test the sensor first, enroll fingers carefully, then build the lock with a relay and solenoid. In the BlueGrays app you'll find security projects such as a smart electronic safe, RFID authentication, an ESP32 RFID door lock and a keypad password app, each with step-by-step circuit diagrams and code, giving you a ready foundation for adding a fingerprint sensor.
Frequently asked questions
How many fingerprints can a fingerprint sensor store?
It depends on the model: AS608 boards usually hold 300 (some 162), the R307 holds 1000, and the FPM10A and ZFM-20 hold 162. To find your own sensor's capacity, call getParameters() and print finger.capacity to the Serial Monitor. Remember that enrolling the same finger under two IDs uses two slots.
Does a fingerprint sensor run on 5V or 3.3V?
Most AS608 boards need 3.3 V, while the R307 runs on 4.2–6 V, usually 5 V. Don't apply power before checking the label on the sensor and the seller's specifications. When you connect the TX output of a 5 V Arduino to the RX of a 3.3 V sensor, a voltage divider is the safest choice.
Are fingerprints stored on the Arduino, and are they lost when the power goes off?
No, the templates are stored in the sensor's own flash memory and are not erased when the power goes off. Even if you swap the Arduino or upload new code, the records stay on the sensor. On the Arduino side you only need to keep track of which ID belongs to whom; you can save that to EEPROM if you like.
How do I fix the "Did not find fingerprint sensor" error?
First make sure TX and RX are crossed: the sensor's TX goes to the Arduino's RX pin (D2 on the Uno). Then check that the supply is the right voltage with enough current and that the grounds are shared. If it still isn't found, the sensor may be using a different baud rate or a password; run a test sketch that tries several baud rates.
What is the difference between the AS608 and the R307?
Both are optical sensors that use the same command set and work with the same code in the Adafruit Fingerprint library. The main differences are power and capacity: AS608 boards usually run on 3.3 V and hold about 300 records, while the R307 runs on 5 V and can hold 1000. Check the pin order on your own model's label before wiring it up.
How do I delete a stored fingerprint?
Use finger.deleteModel(id) to delete a single record and finger.emptyDatabase() to delete them all. The library's delete and emptyDatabase examples do this from the Serial Monitor. You can enroll a new fingerprint to a deleted ID later.
Projects to build after reading this
See all projects
Smart Electronic Safe
A small safe for your valuables that opens with a code. You type your four-digit code on the keypad; if it is right, the servo motor opens the lock, the green light comes on and the screen shows the s

ESP32 RFID Door Lock (RC522 + Servo + OLED + Buzzer + LED)
We’re building a smart door lock using an ESP32, an RC522 RFID module, an SG90 servo motor, an SSD1306 OLED display, an active buzzer, and 2 LEDs. When a card is scanned, its UID is compared to the list of authorized cards stored in the code—if authorized, the servo motor rotates to unlock the door (green LED + 2 short beeps), and the door automatically locks again after 5 seconds. For an unauthorized card, the red LED lights up, a warning is given with 3 rapid beeps, and the captured UID is dis
RFID Authentication
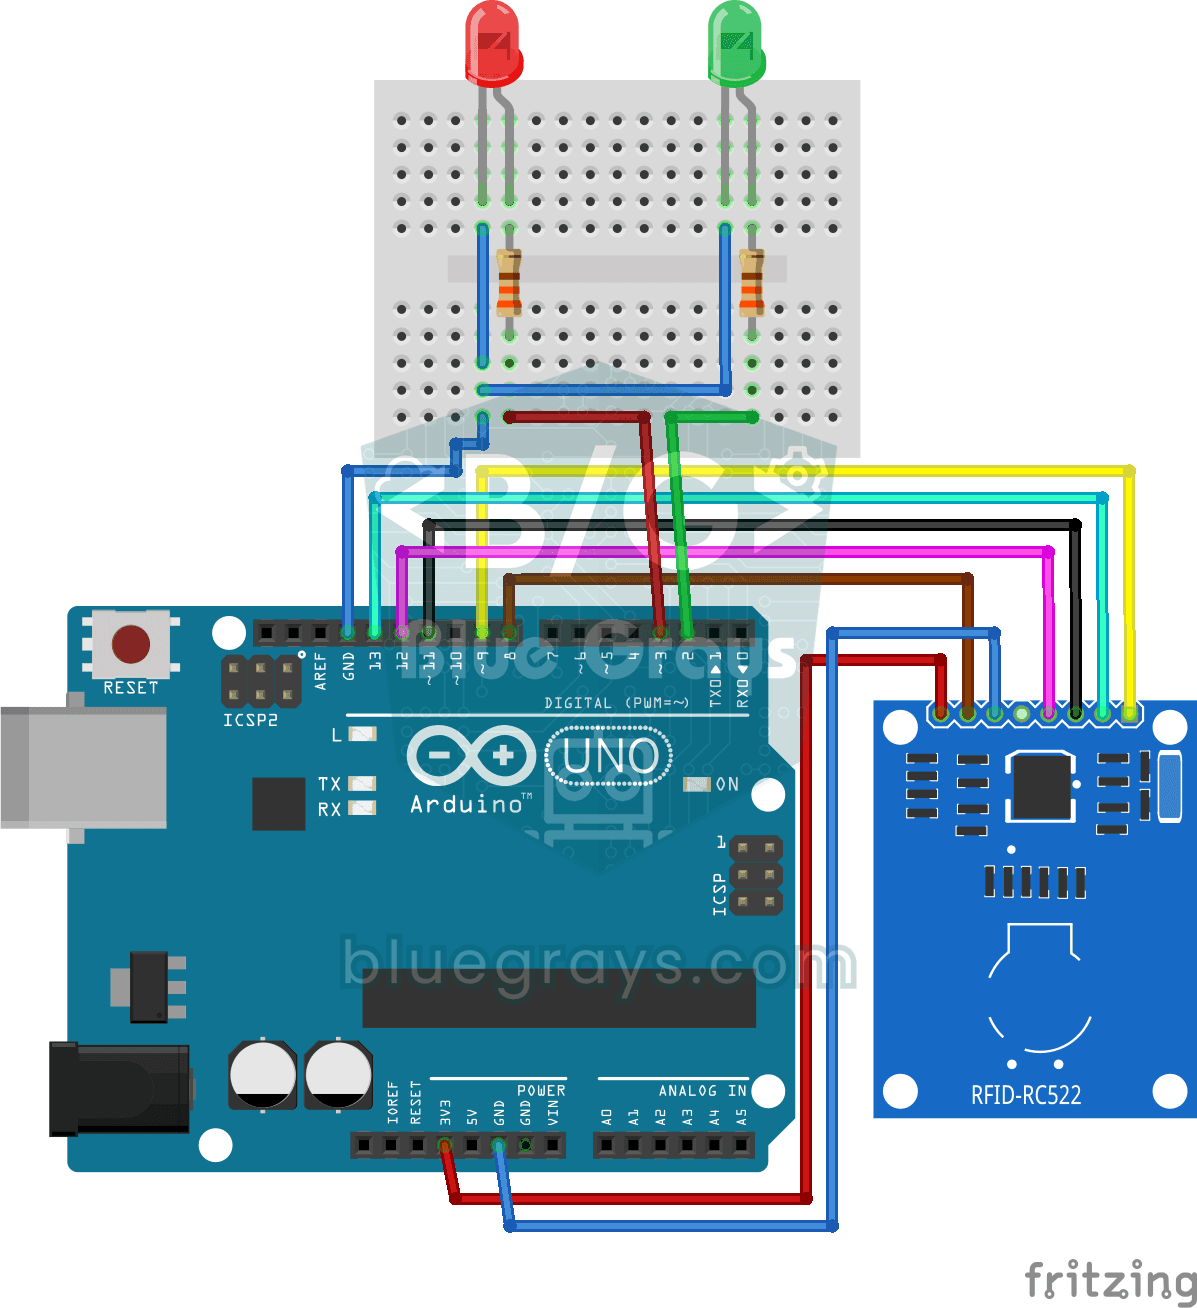
Just like the card entry at an apartment door: you hold your card near the RFID reader, and the Arduino compares its number with the one it has saved. The right card lights the green LED for three sec
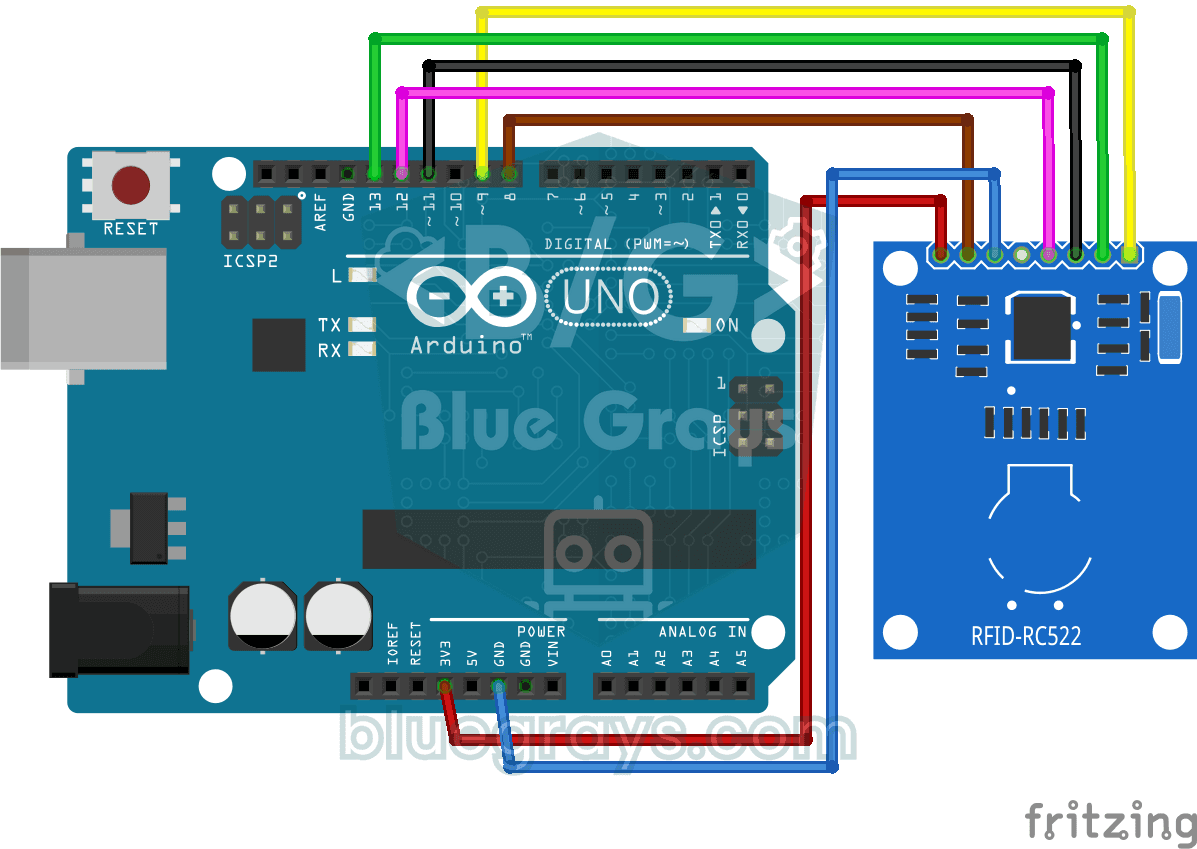
RFID Value Reading
Your building key fob or access card hides a secret ID number, and this project reads it. Hold the card near the RFID reader and the Arduino writes the card's number to your computer screen. The first
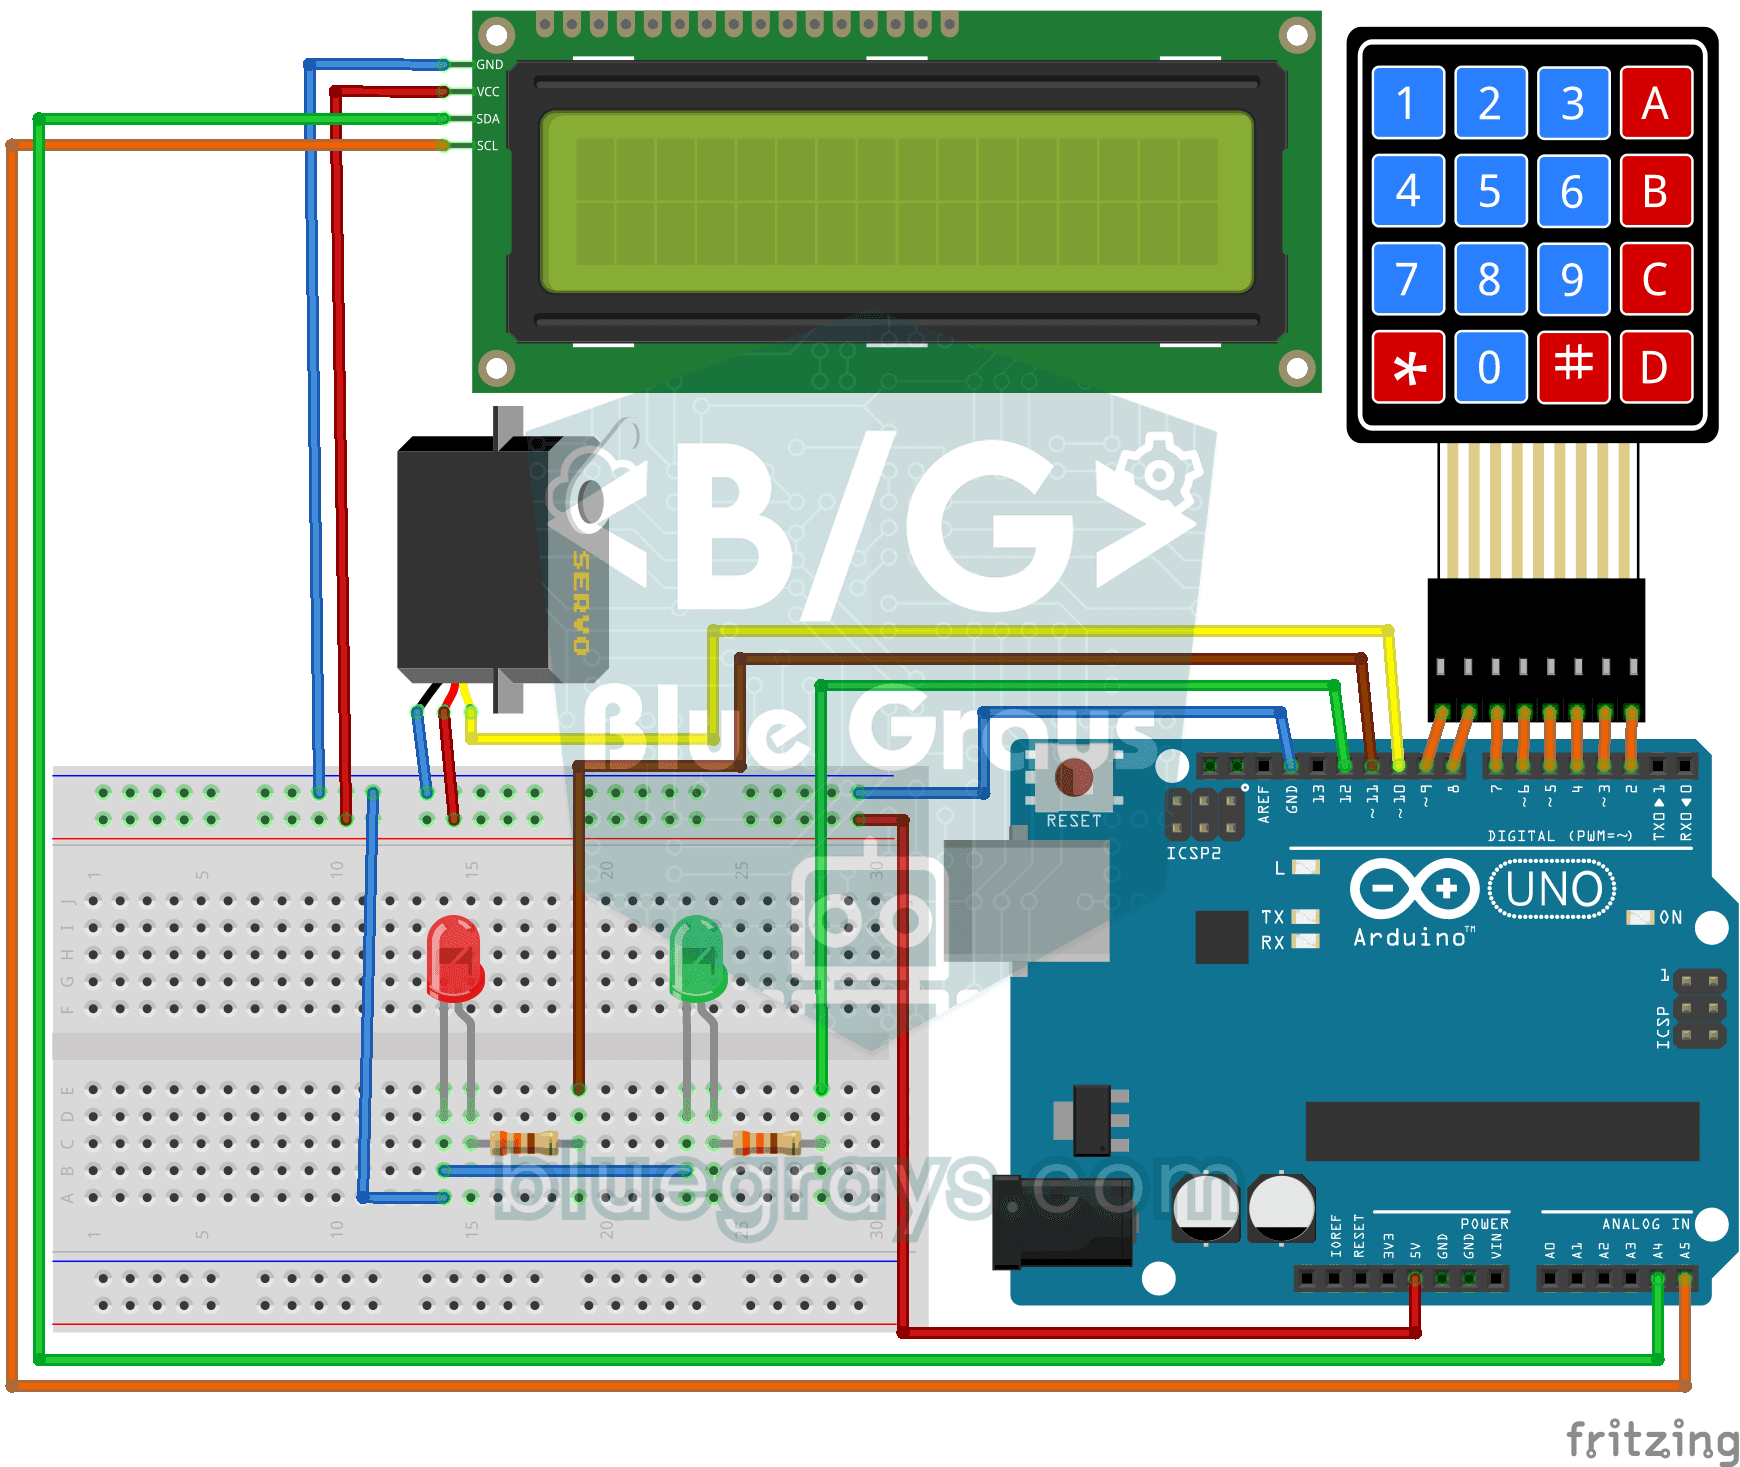
Password Lock with 4x4 Keypad and LCD
A small electronic door lock that keeps out anyone who doesn't know the code. You press the hash key and type the code on the keypad; if it is right, the screen says access granted, the green LED ligh

ESP32 RFID RC522 Card Reader (with LCD)
In this project, we will connect the MFRC522-based RC522 RFID module to the ESP32 via SPI and read the card/tag UID. This forms the basis for applications such as door locks, membership systems, and access control. We will display the read UID on an LCD screen; this version does not compare it with an authorized card list. WARNING: The RC522 operates only at 3.3V; supplying 5V will burn out the module!
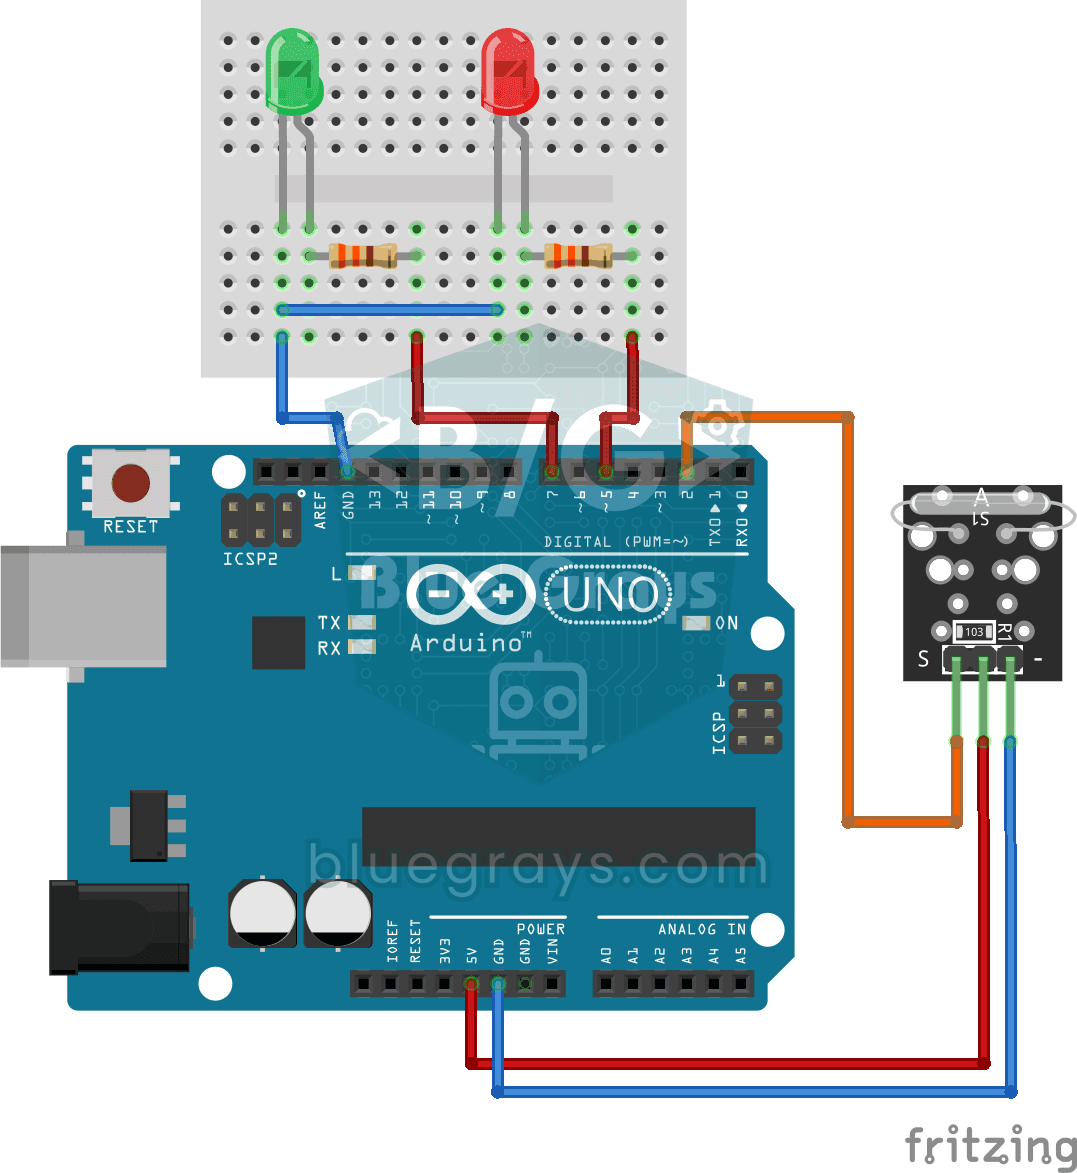
Reed Switch Door Sensor
Tell whether your door is open or closed just by looking at a light. You attach a small magnet to the door and a magnet-sensing switch to the frame; when the door is closed they sit side by side and t
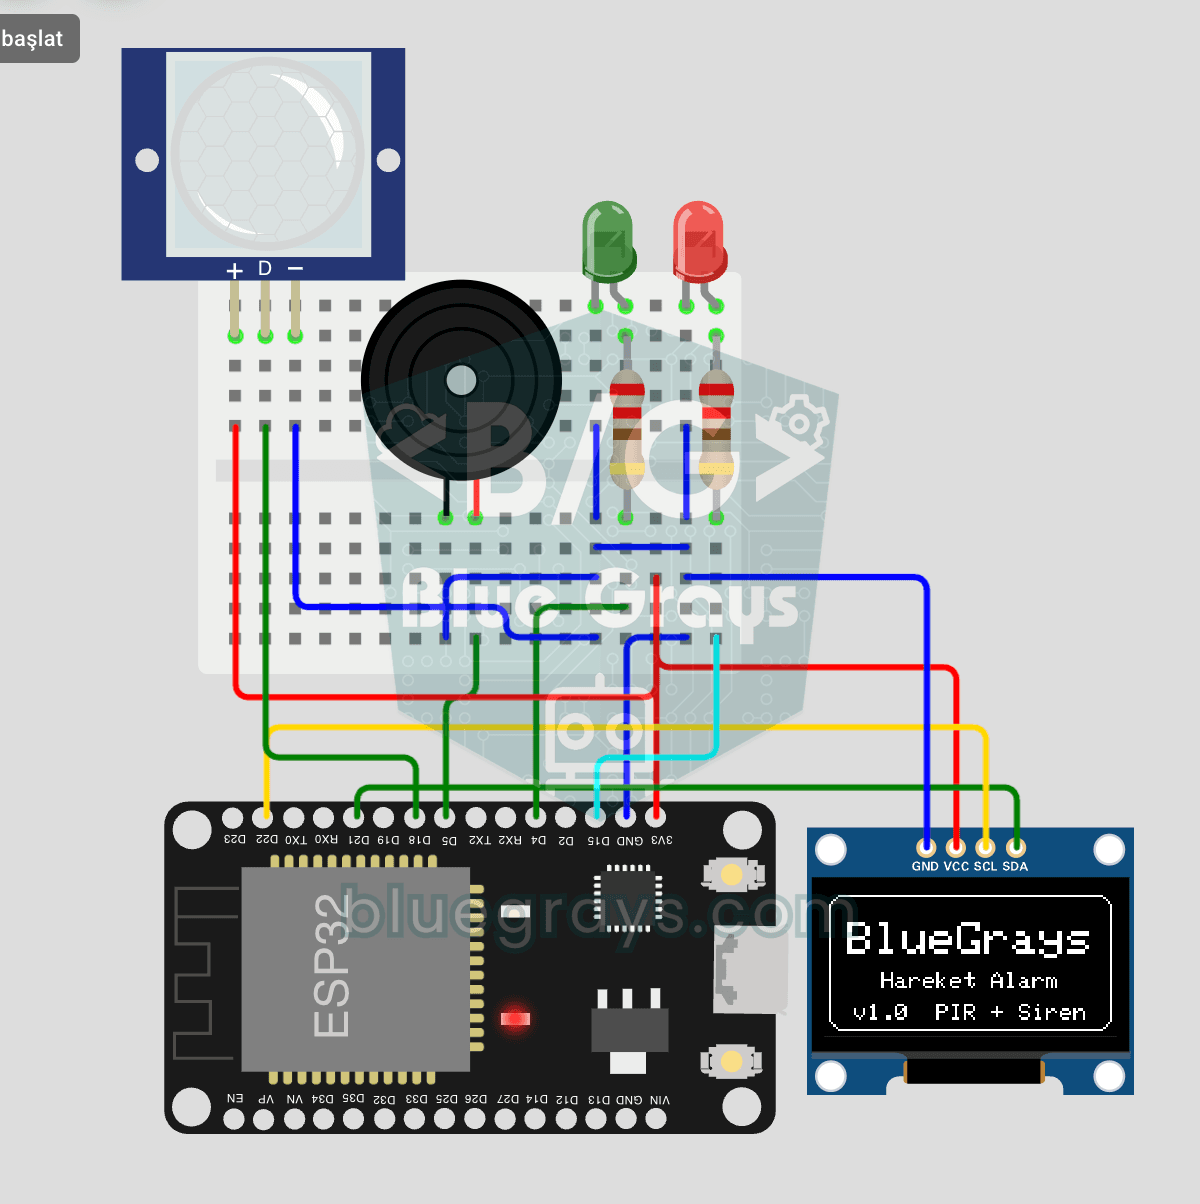
ESP32 Motion Alarm System (PIR + Buzzer + LED + Telegram)
A smart security alarm system that activates the buzzer and LED when the PIR sensor detects motion, while simultaneously sending an instant notification to the owner via Telegram. It includes a 30-second cooldown to limit the frequency of repeated alarms; this mechanism does not validate PIR detections or eliminate false triggers. Suitable for home security, garage monitoring, warehouses, or workrooms. With ESP32-CAM, photo notifications can be added; with the classic ESP32 DevKit V1, text notif