
Connecting Batteries in Series and Parallel: Voltage and Arduino
Series adds voltage, parallel adds capacity. See AA, 9 V and 18650 examples, how to choose a battery holder, and the right battery pack for Arduino, ESP32 and Pico.
Connecting batteries in series means joining the positive end of one to the negative end of the next so the voltages add up: four 1.5 V AA batteries in series give you 6 V, but the capacity stays the same as a single cell. In parallel, all the positives are joined together and all the negatives are joined together; the voltage stays the same, but the capacity and the current you can draw add up. When you want to take your Arduino, ESP32 or Raspberry Pi Pico project off the wall outlet and make it portable, knowing how many of which battery to use and how to connect them decides whether your project runs for hours or only a few minutes.
In this post you'll see with formulas how series and parallel connections change voltage and capacity. We walk step by step through real examples with AA, 9 V and 18650 batteries, why mixing different batteries is dangerous, how to choose the right battery holder and how to find the right combination for your board. At the end there's ready-to-use code that measures battery level with a voltage divider on Arduino, ESP32 and Pico.
What is a series battery connection and how does it work?
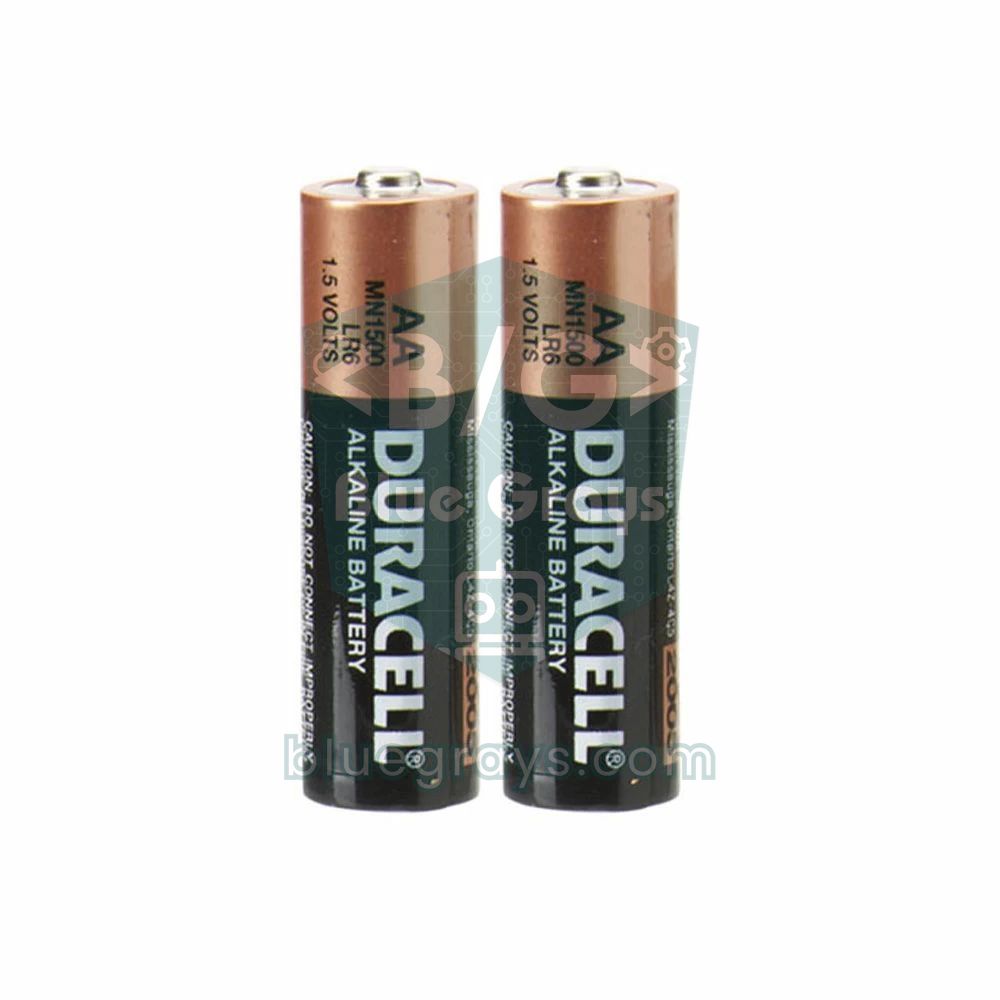
In a series connection you line the batteries up end to end like a chain: the positive of the first goes to the negative of the second, the positive of the second to the negative of the third, and the free first negative and last positive become the ends of the pack. Because the current passes through all the batteries one after another, every cell carries the same current and the voltages add up: V_total = V1 + V2 + … + Vn. Capacity doesn't add up; four 2500 mAh batteries in series still make a 2500 mAh pack, because every cell discharges the same charge at the same time. For example, four alkaline AAs give 4 × 1.5 = 6 V, and two 18650 cells give 2 × 3.7 = 7.4 V. In electronics the number of series cells is written with the letter "S": 2S means two cells in series, 3S means three.
Parallel connection: same voltage, more capacity
In a parallel connection all the positive terminals meet at one point and all the negative terminals at another. The voltage stays the same as a single battery's, but the capacity adds up: C_total = C1 + C2 + … + Cn. Because the load current is shared among the cells, each one is stressed less, the pack lasts longer and it can deliver higher current easily. The number of parallel cells is written with "P"; 2S2P is a pack of four cells in which two series groups are connected in parallel, and with 2500 mAh 18650s it gives 7.4 V and 5000 mAh. To see how much energy a pack really holds, look at watt-hours: E (Wh) = V × Ah. Whether you connect four 1.5 V 2.5 Ah batteries in series (6 V × 2.5 Ah) or in parallel (1.5 V × 10 Ah), the total energy is 15 Wh; the connection changes not the energy but the voltage and current at which that energy is delivered.
| Feature | Series | Parallel | Series-parallel (2S2P) |
|---|---|---|---|
| Connection | Positive to the next battery's negative | Positives together, negatives together | Two series groups connected in parallel |
| Voltage | Adds up (n × V) | Unchanged (V) | 2 × V |
| Capacity (mAh) | Unchanged (C) | Adds up (n × C) | 2 × C |
| Current capability | Same as a single cell | Multiplied by n | Doubled |
| Example with 4 × AA (1.5 V, 2500 mAh) | 6 V, 2500 mAh | 1.5 V, 10,000 mAh | 3 V, 5000 mAh |
| Total energy | 15 Wh | 15 Wh | 15 Wh |
Battery types: AA, 9 V and 18650 compared
| Battery | Nominal voltage | Full / empty voltage | Typical capacity | Rechargeable? |
|---|---|---|---|---|
| AA alkaline | 1.5 V | 1.6 V / 0.9–1.0 V | 2000–2800 mAh | No |
| AA NiMH | 1.2 V | 1.4 V / 1.0 V | 1900–2500 mAh | Yes |
| 9 V alkaline | 9 V | 9.5 V / about 6 V | 400–550 mAh | No |
| 9 V NiMH | 8.4 V | about 9.8 V / 7 V | 170–300 mAh | Yes |
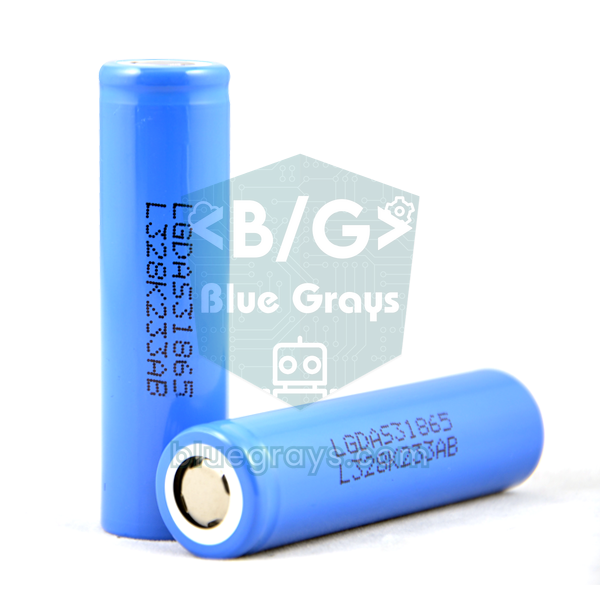
| 18650 Li-ion | 3.6–3.7 V | 4.2 V / 2.5–3.0 V | 2000–3500 mAh | Yes (with a dedicated charging circuit) |
Ready-made examples: which combination gives how many volts?
| Combination | Voltage | Capacity | Where it fits |
|---|---|---|---|
| 2 × AA series | 3 V (NiMH: 2.4 V) | about 2500 mAh | LED circuits, simple 3 V circuits |
| 3 × AA series | 4.5 V | about 2500 mAh | Pico VSYS, Arduino 5V pin (weakens as the batteries drain) |
| 4 × AA NiMH series | 4.8 V | about 2000 mAh | Arduino 5V pin, servo motors |
| 4 × AA alkaline series | 6 V (6.4 V when fresh) | about 2500 mAh | Servo and DC motors; don't connect directly to the Uno's 5V pin |
| 6 × AA series | 9 V | about 2500 mAh | Arduino VIN or DC jack, L298N motor supply |
| 1 × 9 V | 9 V | about 500 mAh | Short Arduino experiments, low-current circuits |
| 1S 18650 | 3.7 V (4.2 V full) | 2000–3500 mAh | ESP32 (via an LDO), Pico VSYS |
| 2S 18650 series | 7.4 V (8.4 V full) | 2000–3500 mAh | Arduino Uno / Nano VIN, robot car |
| 1S2P 18650 | 3.7 V | 4000–7000 mAh | Long-running ESP32 and Pico projects |
The risk of mixing different batteries
In a series pack all the cells carry the same current, so the weakest cell runs out first. The others are still full and keep forcing current through the dead cell, which gets charged in reverse (cell reversal). The result is heating, gas release and, with alkaline batteries, a white, corrosive leak that eats the holder's springs and the board's copper traces. In a parallel connection the danger is different: the cell with the higher voltage pushes current straight into the lower one. Because batteries have very low internal resistance (around 20–50 mΩ for an 18650), even a 0.3 V difference between two cells means an uncontrolled current of several amps, which heats the cells. Mixing new with old, alkaline with NiMH, or 2000 mAh with 3000 mAh cells therefore both wastes capacity and creates a safety risk.
- Same chemistry: Never put alkaline, NiMH and Li-ion cells in the same pack; their voltages and discharge curves are different.
- Same brand, model and capacity: Keep the cells' internal resistances close; the lower-capacity cell always runs out early.
- Same age and charge level: Replace all the batteries in the pack together; swapping just one for a new one unbalances the pack.
- Equalise voltage before paralleling Li-ion cells: Keep the difference between cells under 0.05 V; measure with a multimeter and charge the cells separately if needed.
- Use a BMS on series Li-ion packs: 2S or 3S packs should be used with a balancing protection board (BMS) that guards the cells against overcharge, over-discharge and short circuits.
- Fuse against short circuits: On packs that can deliver high current, a small fuse or polyfuse on the positive line reduces the fire risk considerably.
How do you choose a battery holder?
- The number of slots sets the voltage: Ready-made AA and AAA holders are almost always wired in series internally; choose the voltage you need by the number of slots.
- Models with a switch and a cover: A holder with an on-off switch lets you cut the circuit without removing the batteries; a covered holder keeps the batteries from flying out in moving robots.
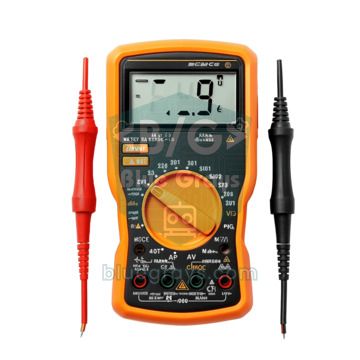
- Check the wiring of 18650 holders: Some dual 18650 holders are wired in series (7.4 V) and some in parallel (3.7 V). Insert the cells and measure the output leads with a multimeter before connecting to the circuit.
- Current capability: The springs and thin wires of cheap holders cause a noticeable voltage drop at a few hundred milliamps. For robots with DC motors, choose holders with thick wires and sturdy springs.
- Clip for a 9 V battery: A 9 V battery connects to the Arduino's power input with a snap clip and an optional DC jack adapter; if the exposed ends of the clip touch each other, the battery is short-circuited.
- Protected cell length: 18650 cells with a protection circuit can reach 67–70 mm and may not fit short holders; check the length your holder accepts before you buy.
The right combination for Arduino, ESP32 and Pico
| Board | Power input | Accepted range | Recommended battery |
|---|---|---|---|
| Arduino Uno / Nano | VIN pin or DC jack (Uno) | 7–12 V recommended | 2S 18650 (7.4 V) or 6 × AA (9 V) |
| Arduino Uno / Nano | 5V pin | Regulated 5 V (5.5 V at most) | 4 × AA NiMH (4.8 V) or a regulated pack |
| ESP32 development board | 5V / VIN pin | 5 V (goes to the on-board 3.3 V regulator) | 1S 18650 + 5 V boost converter or 4 × AA NiMH |
| ESP32 development board | 3V3 pin | 3.0–3.6 V | 1S 18650 + low-dropout (LDO) 3.3 V regulator |
| Raspberry Pi Pico | VSYS pin | 1.8–5.5 V | 1S 18650, 3 × AA alkaline or 3 × AA NiMH |
You can estimate how long a battery will last with this formula: time (hours) = capacity (mAh) / average current (mA) × 0.8. The 0.8 factor is a margin for regulator losses, temperature and the battery not being fully dischargeable. An Arduino Uno on its own draws about 45–50 mA, and reaches 60 mA with a few sensors and LEDs. With a 2500 mAh 2S 18650 pack it runs for 2500 / 60 × 0.8 ≈ 33 hours. The same circuit on a 500 mAh 9 V battery lasts only 500 / 60 × 0.8 ≈ 6.5 hours, and because a 9 V battery's voltage drops quickly under load, the real time is even shorter. An ESP32 with Wi-Fi on draws 80–120 mA on average and up to 250 mA in short peaks; that's why in ESP32 projects an 18650 or a 1S2P pack, used together with deep sleep, can run for days or even weeks. If you don't want to do the calculation by hand, you can use the battery life calculator.
Measuring battery voltage: the voltage divider connection
The easiest way to tell how full a battery is is to measure its voltage. But the 8.4 V of a 2S pack is higher than the 5 V an Arduino analog input can handle, and the 4.2 V of a 1S cell is higher than the 3.3 V limit of the ESP32 and Pico. So you build a voltage divider from two resistors: V_out = V_bat × R2 / (R1 + R2). Two equal resistors cut the voltage exactly in half; 8.4 V becomes 4.2 V and 4.2 V becomes 2.1 V. Because the divider draws current continuously, use 100 kΩ resistors on the ESP32 and Pico to preserve battery life; on the Uno, 10 kΩ is enough for a stable ADC reading and uses only 0.42 mA at 8.4 V. You can adjust the values for your own pack with the voltage divider calculator.
| Connection | Arduino Uno (2S 18650) | ESP32 (1S 18650) | Raspberry Pi Pico (1S 18650) |
|---|---|---|---|
| Battery plus (+) | Top of R1 and VIN | Top of R1 and LDO input | Top of R1 and VSYS |
| R1 – R2 midpoint | A0 | GPIO 34 | GP26 (ADC0) |
| Bottom of R2 | GND | GND | GND |
| Battery minus (−) | GND | GND | GND |
| Resistor values | R1 = R2 = 10 kΩ | R1 = R2 = 100 kΩ | R1 = R2 = 100 kΩ |
| Highest voltage at the pin | 4.2 V | 2.1 V | 2.1 V |
Battery level indicator with Arduino
- Insert two 18650 cells into the dual holder wired in series and confirm with a multimeter that the output is between 7.4 and 8.4 V.
- Connect the holder's positive wire to the Uno's VIN pin (or to a DC jack adapter) and the negative wire to GND.
- Connect two 10 kΩ resistors in series from battery positive to GND; take the point where the two resistors meet to A0.
- You'll use the on-board LED (pin 13) as the low battery warning; no extra part is needed.
- Upload the code, open the Serial Monitor at 9600 baud and compare the voltage on screen with what the multimeter shows.
1const int BAT_PIN = A0;          // bölücü orta noktası / divider midpoint
2const int LED_PIN = 13;          // düşük pil uyarısı / low battery warning
3const float R1 = 10000.0;        // üst direnç / top resistor
4const float R2 = 10000.0;        // alt direnç / bottom resistor
5const float VREF = 5.0;          // ADC referansı / ADC reference
6const float V_EMPTY = 6.4;       // 2S boş (2 x 3,2 V) / 2S empty
7const float V_FULL = 8.4;        // 2S dolu (2 x 4,2 V) / 2S full
8const float V_LOW = 6.8;         // uyarı eşiği / warning threshold
9
10void setup() {
11  Serial.begin(9600);
12  pinMode(LED_PIN, OUTPUT);
13}
14
15void loop() {
16  long sum = 0;
17  for (int i = 0; i < 16; i++) {          // 16 ölçümün ortalaması / average of 16 samples
18    sum += analogRead(BAT_PIN);
19    delay(2);
20  }
21  float raw = sum / 16.0;
22  float vPin = raw * VREF / 1023.0;        // pindeki gerilim / voltage at the pin
23  float vBat = vPin * (R1 + R2) / R2;      // pil gerilimi / battery voltage
24  int pct = (int)((vBat - V_EMPTY) / (V_FULL - V_EMPTY) * 100.0);
25  pct = constrain(pct, 0, 100);            // 0-100 aralığında tut / keep within 0-100
26
27  Serial.print(F("Pil / Battery: "));
28  Serial.print(vBat, 2);
29  Serial.print(F(" V  %"));
30  Serial.println(pct);
31
32  digitalWrite(LED_PIN, vBat < V_LOW ? HIGH : LOW);   // pil zayıfsa LED yanar / LED on when battery is low
33  delay(1000);
34}
To reduce noise, the code takes 16 readings from A0 and averages them. The raw value is in the 0–1023 range; it's multiplied by the 5 V reference and divided by 1023 to get the voltage at the pin, then multiplied by the divider ratio (R1 + R2) / R2 = 2 to get the battery voltage. The percentage calculation treats 6.4 V (3.2 V per cell) as empty and 8.4 V as full. Because the Li-ion discharge curve isn't linear, this percentage is a rough estimate: the cell spends most of its time between 3.6 and 3.9 V and then drops quickly at the end. When the voltage falls below 6.8 V the on-board LED lights up to tell you it's time to charge the battery. Since the measurement uses the board's 5 V rail as the reference, a low rail such as 4.8 V when powered over USB can shift the reading by a few percent; for a more precise result, replace the VREF constant with the real value you measure on the 5V pin.
Battery measurement with ESP32 and Raspberry Pi Pico
A single 18650 cell is the most practical power source for the ESP32 and Pico. On the ESP32, connect the divider midpoint to GPIO 34; this pin is on an ADC1 channel and can be read even when Wi-Fi is on (ADC2 pins conflict with Wi-Fi). The analogReadMilliVolts() function, available in versions 2.x and 3.x of the Arduino core, returns millivolts directly using the board's factory calibration, so you don't have to deal with the non-linear behaviour of the ESP32 ADC. On the Pico you can connect the cell straight to the VSYS pin, because the on-board buck-boost converter turns an input of 1.8–5.5 V into 3.3 V. Connect the divider output to GP26; in MicroPython read_u16() returns a value between 0 and 65535. On a standard Pico, VSYS/3 is already wired internally to GP29 and can be read with ADC(29) without an external resistor; on the Pico W this pin is shared with the wireless chip, so an external divider is safer.
1const int BAT_PIN = 34;          // bölücü orta noktası (ADC1) / divider midpoint (ADC1)
2const float DIVIDER = 2.0;       // (R1 + R2) / R2, 100k + 100k
3const float V_EMPTY = 3.2;       // boş hücre / empty cell
4const float V_FULL = 4.2;        // dolu hücre / full cell
5
6void setup() {
7  Serial.begin(115200);
8  analogReadResolution(12);      // 12 bit çözünürlük / 12-bit resolution
9}
10
11void loop() {
12  uint32_t sum = 0;
13  for (int i = 0; i < 16; i++) {
14    sum += analogReadMilliVolts(BAT_PIN);   // kalibre mV / calibrated mV
15    delay(2);
16  }
17  float vBat = (sum / 16.0) / 1000.0 * DIVIDER;   // pil gerilimi / battery voltage
18  int pct = (int)((vBat - V_EMPTY) / (V_FULL - V_EMPTY) * 100.0);
19  pct = constrain(pct, 0, 100);
20  Serial.printf("Pil / Battery: %.2f V  %%%d\n", vBat, pct);
21  delay(2000);
22}1from machine import ADC
2import time
3
4adc = ADC(26) # GP26 = ADC0, bölücü orta noktası / divider midpoint
5DIVIDER = 2.0 # 100k + 100k bölücü / 100k + 100k divider
6V_EMPTY = 3.2 # boş hücre / empty cell
7V_FULL = 4.2 # dolu hücre / full cell
8
9while True:
10 total = 0
11 for _ in range(16): # 16 ölçümün ortalaması / average of 16 samples
12 total += adc.read_u16()
13 time.sleep_ms(2)
14 v_bat = total / 16 * 3.3 / 65535 * DIVIDER # pil gerilimi / battery voltage
15 pct = (v_bat - V_EMPTY) / (V_FULL - V_EMPTY) * 100
16 pct = max(0, min(100, pct)) # 0-100 aralığında tut / keep within 0-100
17 print("Pil / Battery: {:.2f} V %{:.0f}".format(v_bat, pct))
18 time.sleep(2)Battery-powered project ideas
- Robot car: power both the Arduino and the motor driver from a 2S 18650 pack; details are in the building a robot car post.
- Battery tester: build a measuring device with a voltage divider and an LCD that shows how full batteries are; the Arduino voltmeter post is a good starting point.
- Long-life sensor station: an ESP32 running from a single 18650 can take a measurement, go into deep sleep and keep sending data for weeks.
- Rechargeable torch or night light: build a portable lamp that charges over USB with a 1S 18650, a TP4056 charging module and a few LEDs.
- Portable Pico game console: a Pico powered from VSYS by 3 × AA becomes a pocket game with a small display and a few buttons.
- Low battery alarm: a small warning circuit that sounds a buzzer when the pack voltage drops below a threshold is the cheapest way to protect your rechargeable batteries from over-discharge.
Common mistakes and how to fix them
| Symptom | Likely cause | Fix |
|---|---|---|
| Arduino keeps resetting | A 9 V battery can't supply the motor or servo current | Connect the motors to a separate pack, use a 2S 18650 or 6 × AA, join the GNDs |
| The pack gives half the expected voltage | The holder is wired in parallel or a battery is inserted backwards | Check the direction of each battery, measure the output with a multimeter |
| One of the batteries heats up or leaks | Old and new or different types of batteries were mixed | Replace all the batteries in the pack with new ones of the same type |
| The Uno's regulator gets very hot | More than 12 V is applied to VIN (e.g. two 9 V in series = 18 V) | Stay in the 7–12 V range or use an external buck converter |
| ESP32 shuts down while connecting to Wi-Fi | Weak battery or thin wire; the voltage collapses at the 250 mA peak | Use thick wire and a full cell, add a 470 µF capacitor on the 3V3 line |
| Battery reading fluctuates | High-resistance divider and electrical noise | Take an average, put a 100 nF capacitor between the ADC pin and GND |
| Battery heats up with USB plugged into the Pico | No protection between the battery and VSYS; USB voltage pushes current into the battery | Add a Schottky diode between the battery and VSYS |
In short: if you need voltage, connect batteries in series; if you need run time and current, connect them in parallel; if you need both, build series-parallel packs like 2S2P, and always use batteries of the same type and age. A 2S 18650 for Arduino, and a single 18650 or 3 × AA for ESP32 and Pico, is the most balanced choice for most projects. For more detail on ways to power your board, take a look at the Arduino power supply post. In the BlueGrays app you'll find many projects, from LED circuits to robot cars and battery-saving ESP32 projects, with step-by-step circuit diagrams and code, so you can try your new battery pack in a project right away.
Frequently asked questions
What happens when you connect batteries in series?
In a series connection the battery voltages add up while the capacity stays the same as a single battery's. For example, connecting four 1.5 V 2500 mAh AA batteries in series gives you a 6 V, 2500 mAh pack. Because every battery carries the same current, the batteries must be the same type and charge level.
Does the voltage increase if batteries are connected in parallel?
No, in a parallel connection the voltage stays the same as a single battery's. What increases is the capacity and the current you can draw; two 3.7 V 3000 mAh 18650s in parallel make 3.7 V and 6000 mAh. You need to equalise the voltages of Li-ion cells before connecting them in parallel.
How long does an Arduino run on a 9 V battery?
A standard alkaline 9 V battery has about 500 mAh and can run an Arduino Uno drawing 45–50 mA on its own for 6–8 hours at most. As you add sensors, LEDs or motors, that drops to a few hours. For long-running projects, a 2S 18650 or 6 × AA pack gives much better results.
Can old and new batteries be used together?
They shouldn't be. In a series connection the weak old battery runs out first and is charged in reverse by the others, which causes heating and leakage. Always replace all the batteries in the pack together, with new ones of the same brand and type.
Can I power an Arduino with 4 AA batteries?
Four alkaline AA batteries give 6.4 V when fresh, which is too much for the 5V pin and too little for the VIN input, so it's not the right choice. Four rechargeable NiMH batteries give 4.8 V, so they can be connected to the 5V pin. If you want to use VIN or the DC jack, choose 6 × AA (9 V) or a 2S 18650 (7.4 V).
How do you charge 18650 batteries connected in series?
A 2S pack made of two series 18650s is charged with an 8.4 V 2S charger and a BMS protection board that balances the cells. Single-cell modules like the TP4056 only charge up to 4.2 V, so they're not suitable for a 2S pack. Alternatively, you can take the cells out of the holder and charge them one by one.
Projects to build after reading this
See all projects
LED Blink
The very first hello of electronics: switching a single LED on and off. The Arduino turns the LED on and off at short intervals, so the light blinks quickly.

Traffic Light
A tiny copy of the traffic light you see on the road every day. Red stays on for two seconds, yellow flashes for a moment, green stays on for two seconds, then it goes back to red through yellow…

LED Blink with ESP32
Teaches basic GPIO output usage with ESP32. We achieve a blinking effect by turning an LED on and off from a digital pin. ESP32 version of the classic blink project on Arduino UNO; the basic blink commands in the Arduino environment are the same, but the ESP32's pin layout and 3.3 V GPIO levels differ from those of the Arduino UNO.
Raspberry Pi Pico Onboard LED Blink (Pico and Pico W)
The opening project of the Raspberry Pi Pico series! We blink the Pico's green built-in LED to confirm the board works, the classic "Hello World" first experiment. No external parts needed, just the Pico and a USB cable. The code is written in MicroPython, the language officially supported by the Raspberry Pi Foundation.
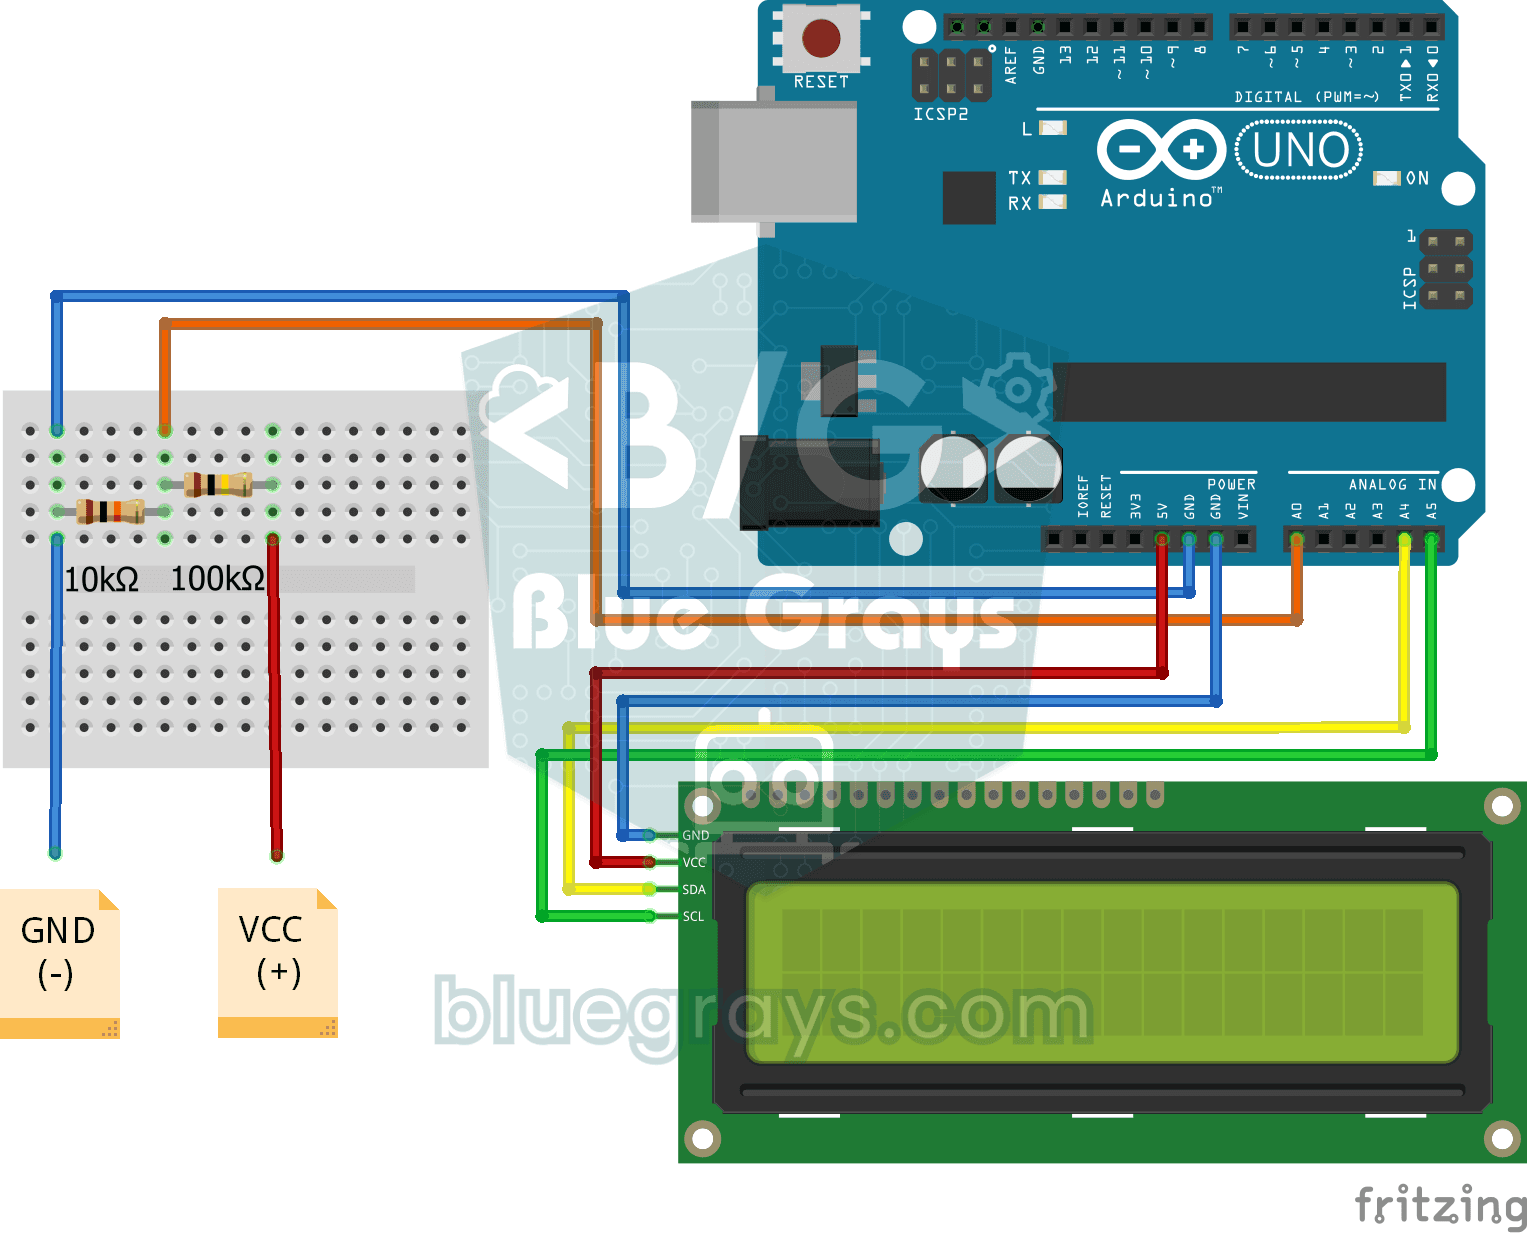
Digital Voltmeter with LCD Display
Find out how much voltage a battery or power adapter gives with a meter you built yourself.

Bluetooth Controlled Car with L298N
Turn your phone into a remote and drive your own robot car. The Arduino receives commands from a remote-control app on your phone through a Bluetooth module and spins the wheels with a motor driver…

Obstacle Avoidance Robot
How about building a smart vehicle that finds its own way? The Obstacle Avoidance Robot constantly scans its surroundings thanks to the ultrasonic sensor in front of it.

ESP32 Deep Sleep — Battery Saving (OLED + RTC RAM Counter)
The ESP32's Deep Sleep mode shuts down the CPU and most peripherals, cutting current draw to about 10µA, which is vital for battery-powered IoT devices. This project uses three wake-up sources: a timer (15 s), an external pin (EXT0, the button on GPIO 33) and a touch pin (T0/GPIO 4). Counters marked with RTC_DATA_ATTR survive deep sleep.