
ESP32 Google Sheets: Log Sensor Data to a Spreadsheet over Wi-Fi
ESP32 Google Sheets tutorial: Apps Script web app, appending rows with doPost, HTTPS requests, timestamps, DHT22 + LDR, live charts, quotas and a secret token.

Connecting an ESP32 to Google Sheets is the easiest way to collect sensor data in a free spreadsheet you can reach from anywhere, without running your own server. Every minute the ESP32 reads temperature, humidity and light, sends them to Google over Wi-Fi, and a new row appears in Google Sheets. Open the sheet on your phone and you'll see the latest reading, its timestamp and a chart that updates by itself. The bridge that makes this possible is a small web app written with Google's free Apps Script service.
In this guide you'll prepare the sheet, write the Apps Script code that checks incoming data and appends a row, publish it as a web app and send data from the ESP32 over HTTPS. Then we'll cover timestamps, multiple sensors and devices, drawing a chart, Google's quota limits, error codes and keeping the web app URL secret. The last section compares it with alternatives such as ThingSpeak. If you're new to the ESP32, have a look at What Is the ESP32? first; you can also see how the ESP32 makes HTTP requests in the weather API example.

How does the ESP32 write data to Google Sheets?
The ESP32 can't write to the sheet directly; Google's Sheets API requires OAuth authentication, which is a hassle for a small microcontroller. Instead, you write an Apps Script project bound to the sheet and publish it as a web app. Google gives you an address of the form script.google.com/macros/s/.../exec. When the ESP32 sends data to that address, the flow looks like this:
- The ESP32 reads the sensors and turns the values into a short JSON text.
- The JSON is sent over HTTPS with a POST request to the web app's /exec address.
- Google passes the request to the doPost(e) function, which runs under your account; the function checks the secret token and adds a row with appendRow().
- Google doesn't answer right away but returns a 302 redirect; the ESP32 requests that new address with GET to get the reply your function produced.
- If the ESP32 sees "ok":true in the reply, the job is done; if not, it waits briefly and tries again.
Step 1: Prepare the Google Sheets file
- Create a new spreadsheet in Google Drive and give it a name such as "ESP32 Log".
- Rename the tab at the bottom to Veri; it must match SHEET_NAME in the code exactly, including upper and lower case (rename both if you prefer another name).
- Type the headers in the first row: Time, Device, Temperature, Humidity, Light. You can pin the header row with View > Freeze.
- Select the unused columns from F to Z and delete them. You'll see why this matters in the quota section.
- Under File > Settings, set the time zone to your region; timestamps are written in that zone.
Step 2: Write doPost and doGet in Apps Script
With the sheet open, choose Extensions > Apps Script; a project bound to the sheet opens. Delete everything in Code.gs, paste the code below and save. Then open Project Settings from the gear icon on the left, add a property called TOKEN under Script properties at the bottom and give it a long value nobody could guess. Keeping the key in the properties instead of the code means it won't leak when you share the code with someone.
1// Google Apps Script - ESP32 veri alıcı / ESP32 data receiver
2const SHEET_NAME = 'Veri';                      // sayfa (sekme) adı / sheet (tab) name
3
4function doPost(e) {
5  try {
6    const data = JSON.parse(e.postData.contents); // ESP32'nin gönderdiği JSON / JSON sent by the ESP32
7    return addRow(data);
8  } catch (err) {
9    return reply({ ok: false, error: 'json: ' + err });
10  }
11}
12
13function doGet(e) {
14  // Tarayıcı testi / browser test: .../exec?token=...&device=test&temp=21.5&hum=40&light=1200
15  return addRow(e.parameter);
16}
17
18function addRow(data) {
19  const token = PropertiesService.getScriptProperties().getProperty('TOKEN');
20  if (!token || data.token !== token) {
21    return reply({ ok: false, error: 'yetkisiz / unauthorized' });
22  }
23  const lock = LockService.getScriptLock();      // aynı anda gelen istekleri sıraya koy / queue simultaneous requests
24  lock.waitLock(10000);
25  try {
26    const sheet = SpreadsheetApp.getActiveSpreadsheet().getSheetByName(SHEET_NAME);
27    sheet.appendRow([
28      new Date(),                                // zaman damgası / timestamp
29      String(data.device || ''),
30      num(data.temp),
31      num(data.hum),
32      num(data.light)
33    ]);
34    return reply({ ok: true, row: sheet.getLastRow() });
35  } catch (err) {
36    return reply({ ok: false, error: String(err) });
37  } finally {
38    lock.releaseLock();
39  }
40}
41
42function num(v) {
43  const n = Number(v);                           // metni sayıya çevir / turn text into a number
44  return isFinite(n) ? n : '';
45}
46
47function reply(obj) {
48  return ContentService.createTextOutput(JSON.stringify(obj))
49    .setMimeType(ContentService.MimeType.JSON);
50}| Part | Purpose |
|---|---|
| doPost(e) | Handles the POST request from the ESP32; the body is in e.postData.contents |
| doGet(e) | Lets you test from a browser or with a simple GET request; values are in e.parameter |
| PropertiesService | Keeps the TOKEN value outside the code, in the project settings |
| LockService | Stops rows from overwriting each other when two devices send at the same time |
| appendRow([...]) | Adds a new row below the last filled row of the sheet |
| ContentService | Returns a small JSON reply such as {"ok":true} to the ESP32 |
Step 3: Deploy it as a web app
- Click Deploy > New deployment at the top right and choose Web app as the type.
- Set "Execute as" to Me and "Who has access" to Anyone; this is required because the ESP32 can't sign in with a Google account.
- Click Deploy; Google asks for permission to access the sheet. Choose your account, open the project through the "Advanced" link and allow access.
- Copy the web app URL ending in /exec shown on the screen; you'll paste it into SCRIPT_URL in the ESP32 code.
Step 4: Wiring the DHT22 and the LDR
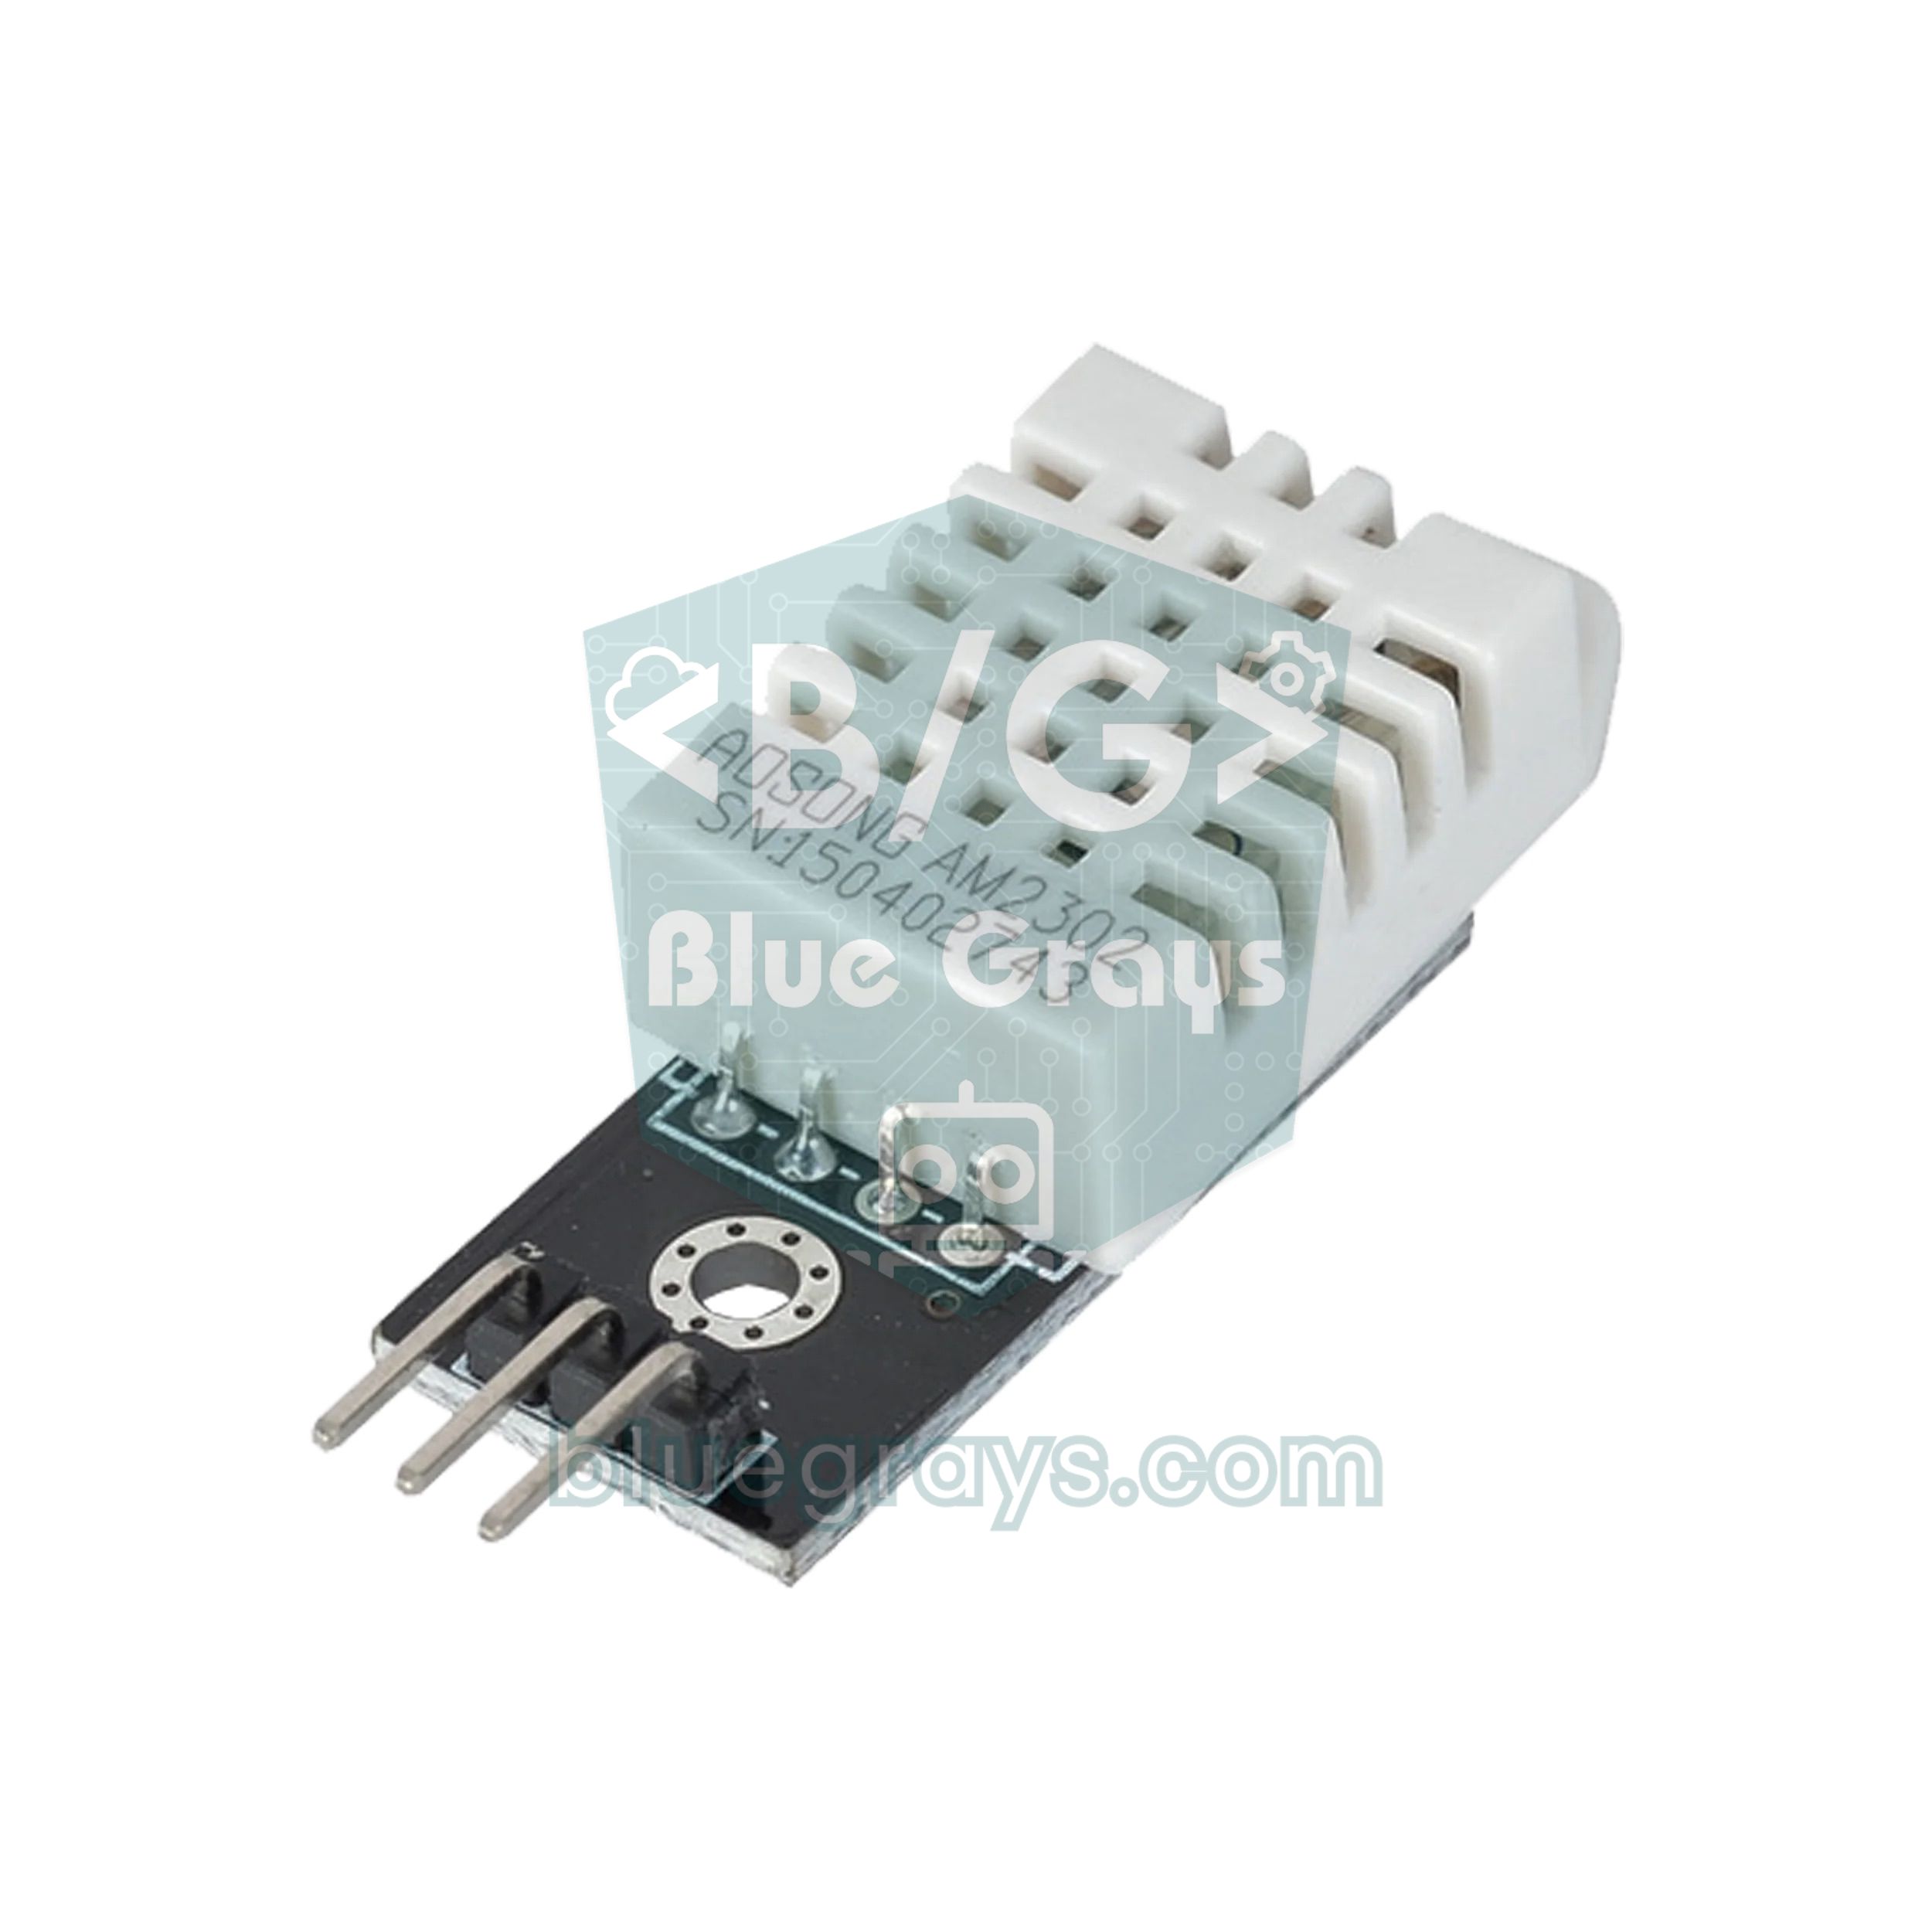
| Part | Connection | ESP32 pin |
|---|---|---|
| DHT22 | VCC | 3V3 |
| DHT22 | DATA (10 kΩ pull-up to 3V3 on a bare sensor) | GPIO 4 |
| DHT22 | GND | GND |
| LDR | One leg to 3V3, the other to GPIO 34 | 3V3 / GPIO 34 |
| 10 kΩ resistor | Between GPIO 34 and GND | GPIO 34 / GND |
The LDR and the 10 kΩ resistor form a voltage divider: as light increases, the LDR's resistance drops and the voltage on GPIO 34 rises. GPIO 34 was chosen on purpose; on the ESP32, ADC2 pins (GPIO 0, 2, 4, 12-15, 25-27) can't take analog readings while Wi-Fi is on, so always connect analog sensors to the ADC1 pins GPIO 32-39. The DHT22 is a digital sensor, so it works fine on GPIO 4. For more on the DHT family, see the DHT11 and DHT22 guide.
Step 5: Sending the HTTPS request from the ESP32
In the Arduino IDE, install the DHT sensor library (Adafruit) from the Library Manager and accept its Adafruit Unified Sensor dependency if asked. The WiFi, WiFiClientSecure and HTTPClient libraries come with the ESP32 package. Replace the Wi-Fi details, the web app URL you copied and the TOKEN value with your own, upload the sketch and open the Serial Monitor at 115200 baud.
1// ESP32 -> Google E-Tablolar veri kaydı / ESP32 -> Google Sheets data logger
2#include <WiFi.h>
3#include <WiFiClientSecure.h>
4#include <HTTPClient.h>
5#include <DHT.h>   // "DHT sensor library" (Adafruit)
6
7const char* WIFI_SSID  = "AgAdi";      // Wi-Fi adın / your Wi-Fi name
8const char* WIFI_PASS  = "Sifre123";   // Wi-Fi şifren / your Wi-Fi password
9const char* SCRIPT_URL = "https://script.google.com/macros/s/BURAYA_DAGITIM_ID/exec"; // web uygulaması / web app
10const char* TOKEN      = "gizli-anahtar-123";  // Komut dosyası özelliğiyle aynı / same as the script property
11const char* DEVICE     = "salon";              // cihaz adı / device name
12
13const int DHT_PIN = 4;                         // DHT22 veri / data
14const int LDR_PIN = 34;                        // LDR bölücü, ADC1 / LDR divider, ADC1
15const unsigned long INTERVAL_MS = 60000;       // dakikada bir satır / one row per minute
16
17DHT dht(DHT_PIN, DHT22);
18unsigned long lastSend = 0;
19bool firstRun = true;
20
21void connectWiFi() {
22  if (WiFi.status() == WL_CONNECTED) return;
23  WiFi.mode(WIFI_STA);
24  WiFi.begin(WIFI_SSID, WIFI_PASS);
25  Serial.print("Wi-Fi");
26  for (int i = 0; i < 40 && WiFi.status() != WL_CONNECTED; i++) {  // en fazla 20 sn / 20 s max
27    delay(500);
28    Serial.print(".");
29  }
30  Serial.println(WiFi.status() == WL_CONNECTED ? " OK" : " HATA / FAIL");
31}
32
33bool sendRow(float temp, float hum, int light) {
34  WiFiClientSecure client;
35  client.setInsecure();                        // sertifika denetimi yok, yazıdaki nota bak / no cert check, see note
36  HTTPClient http;
37  http.setFollowRedirects(HTTPC_STRICT_FOLLOW_REDIRECTS);  // 302 yönlendirmesini GET ile izle / follow 302 with GET
38  http.setTimeout(15000);                      // Apps Script yavaş olabilir / Apps Script can be slow
39  if (!http.begin(client, SCRIPT_URL)) return false;
40  http.addHeader("Content-Type", "application/json");
41
42  char body[160];
43  snprintf(body, sizeof(body),
44           "{\"token\":\"%s\",\"device\":\"%s\",\"temp\":%.1f,\"hum\":%.1f,\"light\":%d}",
45           TOKEN, DEVICE, temp, hum, light);
46
47  int code = http.POST(body);                  // negatif = bağlantı hatası / negative = connection error
48  String reply = http.getString();
49  http.end();
50  Serial.printf("HTTP %d: %s\n", code, reply.c_str());
51  return code == 200 && reply.indexOf("\"ok\":true") >= 0;
52}
53
54void setup() {
55  Serial.begin(115200);
56  dht.begin();
57  connectWiFi();
58}
59
60void loop() {
61  if (!firstRun && millis() - lastSend < INTERVAL_MS) return;
62  firstRun = false;
63  lastSend = millis();
64
65  float t = dht.readTemperature();             // °C
66  float h = dht.readHumidity();                // %
67  int light = analogRead(LDR_PIN);             // 0-4095
68  if (isnan(t) || isnan(h)) {
69    Serial.println("DHT22 okunamadı / read failed");
70    return;
71  }
72
73  connectWiFi();
74  for (int attempt = 1; attempt <= 3; attempt++) {   // 3 deneme / 3 attempts
75    if (sendRow(t, h, light)) break;
76    delay(2000 * attempt);                           // giderek uzayan bekleme / growing back-off
77  }
78}- Without setFollowRedirects(HTTPC_STRICT_FOLLOW_REDIRECTS), the ESP32 stops at Google's 302 reply and never sees the real answer; the row is still added, but you can't confirm success.
- client.setInsecure() encrypts the connection but doesn't verify the server certificate. That's fine for a home project; for stricter security you can add Google's root certificate with setCACert().
- setTimeout(15000) matters; Apps Script sometimes takes 2-5 seconds to reply and the default timeout may not be enough.
- If sending fails, the code retries three times, waiting 2, 4 and 6 seconds; this reduces data loss when the network drops briefly.
- Timing is done with millis(), so the loop never blocks; you can add display updates or button reading to the same loop.
Timestamps, multiple sensors and devices
Writing the timestamp in Apps Script with new Date() is the most practical approach: the ESP32 doesn't need to know the time, and all devices share one clock source. The only drawback is that the stamp shows when the data reached Google, not the moment of measurement; the difference is usually a few seconds. If you buffer readings and send them in batches, get the time on the ESP32 with NTP and add it to the JSON as a ts field. To add a new sensor you only update three places: add the field to the JSON text on the ESP32, add a num(data.new) line to the appendRow array in Apps Script and write its header in the sheet. Several ESP32 boards can write to the same sheet; give each one a different DEVICE name and you can filter rows by that column or open a separate tab per device.
Creating a live chart in Google Sheets
- Select the whole columns A to D by clicking the column letters, not the headers (A:D); that way new rows join the chart automatically.
- Open Insert > Chart and set the type to Line chart in the chart editor.
- Keep the Time column as the X axis and Temperature and Humidity as series; remove the Device column from the series.
- Because the light value runs from 0 to 4095 it flattens the others; show it in a separate chart or on the right axis under Customize > Series.
- Using Publish chart from the three dots at the top right of the chart gives you a link that shows the chart without opening the sheet.
Quotas and limits: how often can you send data?
| Limit | Value | What it means in practice |
|---|---|---|
| Cell count | 10 million cells per spreadsheet | Empty columns count too; delete the ones you don't use |
| Simultaneous executions | About 30 per user | Many devices sending in the same second may get errors |
| Execution time | 6 minutes per call | No problem for appendRow |
| Response time | Usually 1-5 seconds | Not suitable for several readings per second |
| Recommended interval | 1 minute or longer | More than enough for home and greenhouse monitoring |
Let's make the cell limit concrete. One row per minute is 1,440 rows a day. If you keep only 5 columns in the sheet, you use 7,200 cells a day and 10 million cells last about 3.8 years. If you don't delete the default 26 columns of a new sheet, each row counts as 26 cells and the same limit is reached in about 9 months. For long-term logging, starting a new tab every year or moving old data to a separate file also keeps the sheet fast; a sheet with hundreds of thousands of rows opens slowly on a phone.
Error handling: what do the HTTP codes mean?
| In the Serial Monitor | Meaning | What to do |
|---|---|---|
| HTTP 200 + "ok":true | Row added | All good |
| HTTP 200 + unauthorized | TOKEN doesn't match or the property is missing | Compare the code with the Script properties |
| HTTP 302 | The redirect wasn't followed | Add the setFollowRedirects line |
| HTTP 401 / 403 or an HTML sign-in page | Access isn't set to "Anyone" | Edit the deployment and set access to Anyone |
| HTTP 404 | Wrong URL or archived deployment | Copy the current URL ending in /exec |
| Negative code (-1, -11) | No connection or a timeout | Check the Wi-Fi signal and the setTimeout value |
On a device that runs for a long time, network outages are inevitable. For short drops, the three-attempt loop in the code is enough. If you don't want to lose data during outages that last hours, buffer the readings in an array or in a file on the ESP32's flash and send them in order once the connection is back. If you can't connect to Wi-Fi at all, the steps in ESP32 won't connect to Wi-Fi will help you find the cause.
Keeping the web app URL secret
- Because access is set to "Anyone", anyone who knows the URL can add rows; always remove the URL and the key before sharing your code online.
- Never go live without the TOKEN check; requests without the key are rejected without touching the sheet.
- If you put the Wi-Fi password, URL and key in a separate secrets.h file and #include it in the sketch, it's easy to leave that file out when sharing code.
- If the URL leaks, archive the old deployment under Manage deployments, create a new one and change the TOKEN value.
- You don't need to share the sheet with "anyone with the link"; the web app runs under your account, so the sheet can stay private.
ThingSpeak and other alternatives
| Method | Strength | Weakness |
|---|---|---|
| Google Sheets | Free, familiar interface, easy formulas and sharing | Slow replies, not suited to data more often than once a minute |
| ThingSpeak | Ready-made charts, MATLAB analysis, simple HTTP API | At least 15 s between updates on the free plan, 8 fields per channel |
| MQTT + Home Assistant | Instant, two-way, ties into home automation | Needs an always-on server at home |
| Blynk | Ready-made phone interface, notifications | The free plan limits devices and data |
| SD card | No internet needed, very fast logging | You can't reach the data remotely |
Which one should you pick? If you want to edit the data in a sheet, process it with formulas or share it with someone, Google Sheets is unbeatable. If you only want to watch charts, ThingSpeak's ready-made dashboards take less effort. If you already have a home automation system, MQTT and Home Assistant is the most flexible option. If you prefer working in Excel on a computer, see the serial port method in sending Arduino data to Excel, and for places without internet, consider logging to an SD card.
ESP32 Google Sheets project ideas
- Greenhouse log: write temperature, humidity and soil moisture to the sheet every 10 minutes and base watering decisions on the history.
- Battery-powered outdoor station: wake the ESP32 from deep sleep every 15 minutes, send the reading and put it back to sleep.
- Door and motion counter: log every door opening or PIR detection with a timestamp and chart the daily totals.
- Power consumption tracker: send the reading from a current sensor as a one-minute average and calculate kWh with a formula in the sheet.
- Classroom experiment: let several student boards write to the same sheet with different DEVICE names and compare the results together.
Once you can write data to Google Sheets, every ESP32 project suddenly becomes a small IoT device with a measurement history and a chart. In the BlueGrays app you'll find ESP32 projects such as Wi-Fi connection, temperature and humidity with a DHT22, NTP time, weather with HTTPClient and deep sleep, each with circuit diagrams and code, step by step, so you can add the Google Sheets logging from this article on top.
Frequently asked questions
How do I send data from an ESP32 to Google Sheets?
Write a doPost function in a Google Apps Script project bound to the sheet and publish it as a web app. The ESP32 uses WiFiClientSecure and HTTPClient to send an HTTPS POST request with JSON to the web app's /exec URL, and the function adds a new row with appendRow.
Do I need a Google Sheets API key?
With the Apps Script web app method you don't need an API key or OAuth setup. The script runs under your account and writes to the sheet itself. For security, it's enough to add a check for a secret key (TOKEN) that you choose.
Why does the ESP32 get a 302 error from Google Sheets?
The Apps Script web app first answers a POST request with a 302 redirect. HTTPClient on the ESP32 doesn't follow redirects by default, so you see code 302. Adding http.setFollowRedirects(HTTPC_STRICT_FOLLOW_REDIRECTS) lets you receive the real reply.
How often can I send data to Google Sheets?
Each request takes 1-5 seconds and there's a limit on simultaneous executions, so sending once a minute or less often is recommended. A spreadsheet holds up to 10 million cells; one 5-column row per minute lasts about 3.8 years. If you need several readings per second, average them on the ESP32 and send in batches.
I changed the Apps Script code but the ESP32 still gets the old result. Why?
A web app runs the published version, so saving the code isn't enough. Under Deploy > Manage deployments, edit the existing deployment and choose New version. If you create a new deployment instead, the URL changes and you must update it on the ESP32 too.
Is ThingSpeak or Google Sheets better?
If you want ready-made charts and a simple IoT dashboard, ThingSpeak is quicker to set up, but the free plan requires at least 15 seconds between updates and allows 8 fields per channel. If you want to process, edit and share the data with formulas, Google Sheets is more flexible.
Projects to build after reading this
See all projects
ESP32 Wi-Fi STA Connection (with LCD Screen)
In this project, we connect the ESP32 to the home Wi-Fi network in Station (STA) mode in a secure, fault-tolerant manner. We store the SSID and password in a separate secrets.h file to prevent leaking to Git, set up an auto-reconnect mechanism, and display the RSSI signal level and IP address on an I2C LCD screen. The internal LED works as a status indicator. It is a production-grade connection manager.

ESP32 HTTPClient + Weather API (with LCD Screen)
In this project the ESP32 makes a REST API call over the internet to a weather API (wttr.in) using HTTPClient.h. The JSON response is parsed with ArduinoJson v7, and the city, temperature, humidity, weather and wind are shown on an I2C LCD. wttr.in needs no API key; just type the name of any city.

ESP32 DHT22 Temperature and Humidity (with LCD Display)
This project measures ambient temperature and humidity using a DHT22 sensor and displays the data in real time on a 16x2 I2C LCD. Data is read from the sensor using the one-wire protocol via the Adafruit DHT library. This project serves as the foundation for IoT weather stations, smart home automation, or environmental monitoring systems in greenhouses. Communication with the DHT22 is established via the ESP32's GPIO 4 pin.

ESP32 Temperature Data Logger (DHT22 + DS1307 RTC + microSD + OLED)
Build a timed temperature and humidity logger with the ESP32! A DHT22 sensor reads temperature and humidity once a minute, and each reading is saved to a microSD card in CSV format with a real-time stamp from the DS1307 RTC module. The OLED display shows the latest temperature, humidity, timestamp and total number of records live, in large text.

Real-Time Clock from the Internet via ESP32 NTP
The ESP32 connects to Wi-Fi and fetches the real time from NTP (Network Time Protocol) servers with millisecond precision. configTzTime() applies the Turkey time zone (TRT, UTC+3) automatically, and in countries with daylight saving time the DST switch is handled by a POSIX TZ string. The time is printed both to the Serial Monitor and to an optional I2C LCD.

ESP32 Deep Sleep — Battery Saving (OLED + RTC RAM Counter)
The ESP32's Deep Sleep mode shuts down the CPU and most peripherals, cutting current draw to about 10µA, which is vital for battery-powered IoT devices. This project uses three wake-up sources: a timer (15 s), an external pin (EXT0, the button on GPIO 33) and a touch pin (T0/GPIO 4). Counters marked with RTC_DATA_ATTR survive deep sleep.

Reading Light Intensity with the ESP32 LDR Module
Real-time monitoring of the LDR module's raw ADC value and relative light percentage calculated from dark and light reference values in the Serial Monitor. This percentage is not a lux measurement. Teaches the module’s calibration logic. It is ideal to complete this before Project 10, as it is used to determine the threshold value.