
LoRa Arduino Guide: SX1278 Ra-02 Long-Range Wireless with ESP32
LoRa Arduino guide: SX1278 Ra-02 wiring, SF and bandwidth settings, sender and receiver code, ESP32 and Pico, the 3.3 V warning, range tests, LoRa vs LoRaWAN.
LoRa Arduino projects are the most practical way to send data between two boards over kilometres, on very little power and without internet or a SIM card. LoRa (Long Range) is a radio modulation developed by Semtech; with cheap modules such as the SX1278-based Ra-02 at 433 MHz you can reach 1–3 km in a city and up to 10 km in open country. The price is speed: from a few hundred bytes to a few kilobits per second. That's why LoRa isn't for audio or video but is ideal for carrying small readings such as temperature, humidity, water level, door state or GPS position over long distances.
In this guide you'll see step by step how LoRa reaches so far, the SF, BW and CR settings that decide range, the right frequency for your region, wiring the Ra-02 to an Arduino Uno, ESP32 and Raspberry Pi Pico, sender and receiver code with the LoRa library, reading RSSI and SNR, and a real range test. The final sections explain the difference between LoRa and LoRaWAN, The Things Network (TTN), and a field sensor project that runs for months on a battery.
What is LoRa and how does it reach so far?
LoRa uses a technique called chirp spread spectrum (CSS). Each symbol is sent as a "chirp" whose frequency sweeps steadily up through the band; the information is hidden in the frequency at which the chirp starts. When the receiver multiplies the incoming signal by the known chirp shape and adds it up, the noise cancels out while the signal accumulates. This lets LoRa decode signals down to 20 dB below the noise floor. Ordinary 433 MHz ASK modules need the signal to be clearly stronger than the noise, whereas LoRa makes sense of signals that are barely there; that's the secret to going much further with the same output power.
The cost is time: the longer a chirp lasts, the more energy the receiver collects and the greater the range, but the same data is sent more slowly. In LoRa, range, speed and battery life are always tied together. A 20-byte reading takes about 57 milliseconds at the fastest setting and 1.3 seconds at the longest-range one. The table below compares LoRa with the other wireless options in the Arduino world.
| Feature | LoRa (SX1278) | nRF24L01 | 433 MHz ASK | Wi-Fi (ESP32) |
|---|---|---|---|---|
| Typical range | 1–3 km in a city, up to 10 km in the open | 50–100 m (about 1 km with PA+LNA) | 20–100 m | 50–100 m (to the router) |
| Data rate | 0.3–5.5 kbit/s (125 kHz) | 250 kbit/s – 2 Mbit/s | 1–10 kbit/s | Mbit/s range |
| Transmit current | 40–120 mA (depending on power) | 11–12 mA | 10–40 mA | 120–240 mA |
| Sleep current | Below 1 µA | Around 1 µA | None (switched off) | 10 µA (deep sleep) |
| Two-way | Yes | Yes | No (separate transmitter and receiver) | Yes |
| Infrastructure | None needed | None needed | None needed | Router and internet |
LoRa modules: Ra-02, RFM95, E32 and ready-made boards
Most LoRa modules on the market use a chip from Semtech's SX127x family. The SX1276 covers 137–1020 MHz and the SX1278 covers 137–525 MHz, which is why you'll find the SX1278 in 433 MHz modules and the SX1276 in 868/915 MHz modules. Modules fall into two groups: "bare" radios that talk over SPI, and ready-made modules with their own processor that you use like a serial port over UART.
| Module | Chip | Frequency | Interface | Note |
|---|---|---|---|---|
| Ai-Thinker Ra-02 | SX1278 | 433 MHz | SPI | Cheapest and most common; IPEX antenna connector |
| Ai-Thinker Ra-01 | SX1278 | 433 MHz | SPI | Ra-02 variant with a spring antenna |
| HopeRF RFM95W | SX1276 | 868 / 915 MHz | SPI | A popular choice for LoRaWAN and TTN |
| Ebyte E32 / E220 | SX1278 / LLCC68 | 433 / 868 MHz | UART | Has its own processor; works like a serial port without a library |
| TTGO LoRa32, Heltec LoRa 32 | ESP32 + SX1276/78 | 433 / 868 / 915 MHz | On board | ESP32, LoRa and OLED on one board |
| Ra-02 feature | Value |
|---|---|
| Chip | Semtech SX1278 |
| Frequency range | 410–525 MHz (433 MHz is typical) |
| Maximum output power | +18 dBm (about 63 mW) |
| Receiver sensitivity | Down to -141 dBm (at the narrowest bandwidth) |
| Supply | 1.8–3.7 V, typically 3.3 V |
| Current | About 40–120 mA transmitting, about 12 mA listening, below 1 µA asleep |
| Interface | SPI (up to 10 MHz) + DIO0 interrupt pin |
| Antenna | IPEX (U.FL) connector, needs a 433 MHz antenna |
Which frequency: 433 MHz or 868/915 MHz?
LoRa works in licence-free ISM bands, but these bands differ from country to country and each has limits on power and duty cycle. In Europe two bands are used for LoRa: 433.05–434.79 MHz and 863–870 MHz; in North America it's 902–928 MHz. LoRaWAN networks and TTN use 868 MHz in Europe and 915 MHz in the US, while 433 MHz is very common for point-to-point hobby links with cheap Ra-02 modules. Check your region before you buy, because the antenna and chip are tuned for a specific frequency; an 868 MHz module won't work at 433 MHz.
| Region | LoRa frequency | LoRaWAN plan |
|---|---|---|
| Europe, UK, Turkey | 433 MHz and 863–870 MHz | EU868 (EU433 is rare) |
| USA, Canada, Mexico | 902–928 MHz | US915 |
| Brazil, Argentina, Australia | 915–928 MHz | AU915 |
| India | 865–867 MHz | IN865 |
| Japan, Southeast Asia | 920–923 MHz | AS923 |
| China | 470–510 MHz (and 433 MHz) | CN470 |
SF, BW and CR: the three settings that decide range
Three parameters set range and speed in LoRa. The Spreading Factor (SF) chooses how many "chips" each symbol is made of: from SF7 to SF12, each step doubles the symbol time, lets the receiver decode a signal about 2.5 dB weaker, but almost doubles the time on air. The table below is calculated for 125 kHz bandwidth, 4/5 coding and a 20-byte packet; the last column is the minimum wait between two packets to respect a 1% duty cycle.
| SF | Bit rate | 20-byte packet time | Approx. sensitivity | Lowest decodable SNR | Wait at 1% duty cycle |
|---|---|---|---|---|---|
| SF7 | 5.5 kbit/s | 57 ms | -123 dBm | -7.5 dB | 6 s |
| SF8 | 3.1 kbit/s | 103 ms | -126 dBm | -10 dB | 10 s |
| SF9 | 1.8 kbit/s | 185 ms | -129 dBm | -12.5 dB | 18 s |
| SF10 | 977 bit/s | 371 ms | -132 dBm | -15 dB | 37 s |
| SF11 | 537 bit/s | 741 ms | -134 dBm | -17.5 dB | 73 s |
| SF12 | 293 bit/s | 1319 ms | -137 dBm | -20 dB | 131 s |
Bandwidth (BW) is how wide a slice of spectrum the signal occupies: 125 kHz is standard; 250 and 500 kHz double and quadruple the speed but cost 3 and 6 dB of sensitivity, while 62.5 kHz and below increase range but become sensitive to the frequency drift of cheap crystals. Coding Rate (CR) is the error-correction overhead: 4/5 adds 1 correction bit for every 4 bits, 4/8 adds 4; it helps in noisy environments but makes the packet longer. The bit rate formula is Rb = SF × (BW / 2^SF) × 4 / (4 + CR); for SF9, 125 kHz and 4/5 that's 9 × 125000 / 512 × 0.8 ≈ 1758 bit/s.
Ra-02 wiring: Arduino Uno, ESP32 and Pico
Besides the four SPI lines (SCK, MISO, MOSI, NSS), the Ra-02 needs a reset pin and an interrupt pin (DIO0). DIO0 goes HIGH when a transmission finishes or a new packet arrives; the LoRa library uses it as an interrupt. The module's DIO1–DIO5 pins can stay unconnected for the code in this guide. If SPI is new to you, have a look at the What is SPI post first.
| Ra-02 pin | Arduino Uno | ESP32 | Raspberry Pi Pico |
|---|---|---|---|
| 3.3V | External 3.3 V regulator | 3V3 | 3V3 (OUT) |
| GND | GND | GND | GND |
| SCK | D13 (via level shifter) | GPIO 18 | GP18 |
| MISO | D12 (direct) | GPIO 19 | GP16 |
| MOSI | D11 (via level shifter) | GPIO 23 | GP19 |
| NSS | D10 (via level shifter) | GPIO 5 | GP17 |
| RESET | D9 (via level shifter) | GPIO 14 | GP20 |
| DIO0 | D2 (direct, interrupt pin) | GPIO 26 | GP21 |
The antenna matters as much as the wiring. Fit an antenna tuned for 433 MHz to the Ra-02's IPEX connector. Making your own is easy: the wavelength is 300 / 433 = 0.693 metres, and a straight 17.3 cm wire is enough for a quarter-wave antenna (8.6 cm for 868 MHz, 8.2 cm for 915 MHz). Keep the antenna vertical, don't put it inside a metal box, and make sure the antennas on both sides point the same way (both vertical); antennas at right angles to each other lose most of the signal.
Step by step: a sender with the LoRa library
- Open the Library Manager in the Arduino IDE, type LoRa and install the LoRa library by Sandeep Mistry.
- Wire the module as in the table, and never transmit without the antenna fitted.
- Upload the code below to the board that will be the sender; it detects whether it's an ESP32 or an Uno and picks the pins accordingly.
- Open the Serial Monitor at 115200 baud; you should see a "Gonderildi / sent" line every 5 seconds.
- If LoRa.begin() fails, check the wires, the 3.3 V supply and the NSS and RESET pins.
1#include <SPI.h>
2#include <LoRa.h>
3
4#if defined(ESP32)
5const int PIN_SS = 5, PIN_RST = 14, PIN_DIO0 = 26;   // ESP32 (VSPI: SCK 18, MISO 19, MOSI 23)
6#else
7const int PIN_SS = 10, PIN_RST = 9, PIN_DIO0 = 2;    // Uno (SCK 13, MISO 12, MOSI 11) + seviye dönüştürücü / level shifter
8#endif
9
10const long FREKANS = 433E6;      // Ra-02: 433 MHz; RFM95 için 868E6 / 868E6 for an RFM95
11unsigned long sayac = 0;
12
13void setup() {
14  Serial.begin(115200);
15  LoRa.setPins(PIN_SS, PIN_RST, PIN_DIO0);
16  if (!LoRa.begin(FREKANS)) {               // SX1278 bulunamadı / SX1278 not found
17    Serial.println("LoRa baslatilamadi / LoRa init failed");
18    while (true) delay(1000);
19  }
20  LoRa.setSpreadingFactor(9);               // SF9: menzil ile hız dengesi / range vs speed balance
21  LoRa.setSignalBandwidth(125E3);           // 125 kHz bant genişliği / bandwidth
22  LoRa.setCodingRate4(5);                   // hata düzeltme 4/5 / error coding 4/5
23  LoRa.setSyncWord(0xF3);                   // iki tarafta aynı olmalı / must match on both sides
24  LoRa.enableCrc();                         // bozuk paketi ele / drop corrupted packets
25  LoRa.setTxPower(10);                      // 10 dBm (433 MHz bandında yasal sınır) / legal limit on 433 MHz
26  Serial.println("Verici hazir / sender ready");
27}
28
29void loop() {
30  LoRa.beginPacket();
31  LoRa.print("BG #");
32  LoRa.print(sayac);                        // paket numarası / packet number
33  LoRa.endPacket();                         // gönderim bitene kadar bekler / blocks until sent
34  Serial.print("Gonderildi / sent #");
35  Serial.println(sayac);
36  sayac++;
37  delay(5000);                              // havada kalma süresine göre bekle / wait according to airtime
38}
39| Function | What does it do? |
|---|---|
| LoRa.setPins(ss, reset, dio0) | Defines the NSS, RESET and DIO0 pins; call it before begin() |
| LoRa.begin(433E6) | Starts the module and sets the frequency in Hz; returns 0 if the chip isn't found |
| setSpreadingFactor(6–12) | SF setting, default 7 |
| setSignalBandwidth(125E3) | Bandwidth, default 125 kHz |
| setCodingRate4(5–8) | Coding rate 4/5 – 4/8, default 4/5 |
| setSyncWord(0xF3) | Sync word, default 0x12 (LoRaWAN uses 0x34) |
| enableCrc() | Adds a CRC to the packet; off by default in the library |
| setTxPower(2–20) | Output power in dBm, default 17 |
| beginPacket() / print() / endPacket() | Prepares, writes and sends the packet |
Receiver: reading packets, RSSI and SNR
The receiver code checks on every loop with LoRa.parsePacket() whether a new packet has arrived; if so, it returns its size and the content is read byte by byte with LoRa.read(). The code also counts gaps in the packet numbers to calculate the loss rate, which is the basis of the range test we'll do shortly.
1#include <SPI.h>
2#include <LoRa.h>
3
4#if defined(ESP32)
5const int PIN_SS = 5, PIN_RST = 14, PIN_DIO0 = 26;
6#else
7const int PIN_SS = 10, PIN_RST = 9, PIN_DIO0 = 2;
8#endif
9
10long sonNo = -1;                 // son alınan paket numarası / last packet number
11unsigned long alinan = 0, kayip = 0;
12
13void setup() {
14  Serial.begin(115200);
15  LoRa.setPins(PIN_SS, PIN_RST, PIN_DIO0);
16  if (!LoRa.begin(433E6)) {
17    Serial.println("LoRa baslatilamadi / LoRa init failed");
18    while (true) delay(1000);
19  }
20  LoRa.setSpreadingFactor(9);    // verici ile aynı ayarlar / same settings as the sender
21  LoRa.setSignalBandwidth(125E3);
22  LoRa.setCodingRate4(5);
23  LoRa.setSyncWord(0xF3);
24  LoRa.enableCrc();
25  Serial.println("Alici hazir / receiver ready");
26}
27
28void loop() {
29  int boyut = LoRa.parsePacket();           // paket geldi mi? / did a packet arrive?
30  if (boyut == 0) return;
31
32  String mesaj = "";
33  while (LoRa.available()) mesaj += (char)LoRa.read();
34
35  int diyez = mesaj.indexOf('#');           // "BG #123" içinden numara / number from "BG #123"
36  long no = (diyez >= 0) ? mesaj.substring(diyez + 1).toInt() : -1;
37  if (sonNo >= 0 && no > sonNo + 1) kayip += no - sonNo - 1;   // atlanan numaralar kayıp / skipped numbers are lost
38  if (no >= 0) sonNo = no;
39  alinan++;
40
41  Serial.print(mesaj);
42  Serial.print("  RSSI: ");
43  Serial.print(LoRa.packetRssi());          // dBm, -120'ye yaklaştıkça zayıf / weaker towards -120
44  Serial.print(" dBm  SNR: ");
45  Serial.print(LoRa.packetSnr(), 1);        // dB, eksi değerler de çözülebilir / negative values still decode
46  Serial.print(" dB  kayip / lost: ");
47  Serial.print(100.0 * kayip / (alinan + kayip), 1);
48  Serial.println(" %");
49}
50
RSSI (Received Signal Strength Indicator) is the strength of the received signal, a negative number in dBm: -40 dBm is very strong, -120 dBm very weak. SNR (Signal to Noise Ratio) shows how much stronger the signal is than the noise. What makes LoRa special is that SNR can go negative: at SF9, packets are still decoded down to -12.5 dB. To tell whether you're near the edge of your range, look at SNR more than RSSI; in a noisy city the SNR may already be at the limit even with an RSSI of -100 dBm.
| Reading | Value | Meaning |
|---|---|---|
| RSSI | -30 to -70 dBm | Very strong; modules are close |
| RSSI | -70 to -110 dBm | Good, stable link |
| RSSI | -110 to -125 dBm | Weak; consider raising SF |
| SNR | +5 dB and above | Comfortable; you could gain speed with a lower SF |
| SNR | 0 to -10 dB | Normal LoRa operating zone |
| SNR | Near the SF limit (-12 dB at SF9) | About to drop; raise SF or improve the antenna |
LoRa with the ESP32: a bridge to Wi-Fi
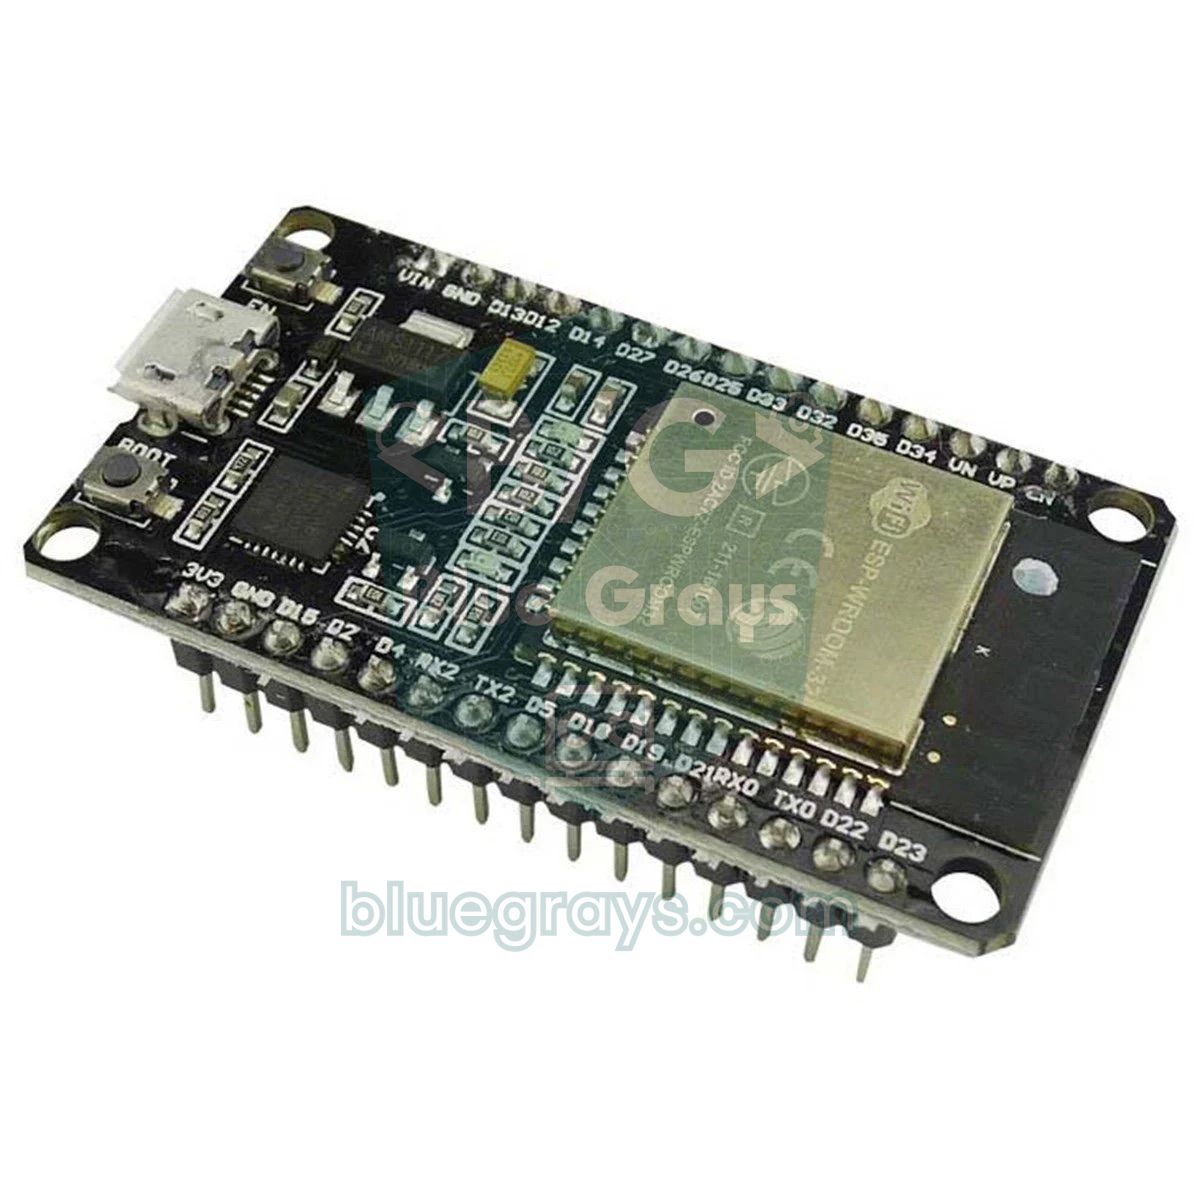
The ESP32 is the easiest board for LoRa: its pins are already 3.3 V, its 3V3 pin can supply the module's current and the VSPI bus (GPIO 18, 19, 23) is used directly. The sender and receiver code above compiles on the ESP32 unchanged; the #if defined(ESP32) line selects NSS = 5, RESET = 14 and DIO0 = 26. We connect DIO0 to GPIO 26 rather than GPIO 2 because GPIO 2 is a strapping pin that affects how the chip boots. The ESP32's real strength is acting as a bridge: it can forward data arriving over LoRa from sensors in the field to a web page, an MQTT server or Telegram over Wi-Fi. Boards like the TTGO LoRa32 and Heltec LoRa 32 come with the ESP32, the LoRa chip and an OLED display on one board; their pin numbers are different, so check the board's schematic.
LoRa with the Raspberry Pi Pico (MicroPython)
On the Pico you connect the Ra-02 to the SPI0 bus (GP16 MISO, GP18 SCK, GP19 MOSI, GP17 NSS). The official micropython-lib repository has a LoRa driver for SX127x chips; you can install it from Thonny's package manager or with mpremote mip install lora-sync lora-sx127x. The driver takes its settings as a dictionary; as long as SF, bandwidth and sync word match the Arduino side, the Pico reads the packets from the Arduino sender above without any trouble. The driver reports SNR as stored in the chip's register, four times the dB value, so the code divides it by 4. Because the Ra-02's antenna is connected to the chip's PA_BOOST output, the tx_ant setting must be "PA_BOOST"; otherwise transmissions will be very weak.
1from machine import Pin, SPI
2from lora import SX1278          # mip: lora-sync + lora-sx127x paketleri / packages
3import time
4
5lora_cfg = {
6    "freq_khz": 433000,          # Ra-02: 433 MHz
7    "sf": 9,                     # Arduino tarafıyla aynı / same as the Arduino side
8    "bw": "125",                 # kHz
9    "coding_rate": 5,            # 4/5
10    "preamble_len": 8,
11    "syncword": 0xF3,
12    "tx_ant": "PA_BOOST",        # Ra-02 anteni PA_BOOST çıkışında / Ra-02 antenna is on PA_BOOST
13    "output_power": 10,          # dBm
14}
15
16spi = SPI(0, baudrate=2_000_000, sck=Pin(18), mosi=Pin(19), miso=Pin(16))
17modem = SX1278(spi=spi, cs=Pin(17), dio0=Pin(21), reset=Pin(20), lora_cfg=lora_cfg)
18
19while True:
20    paket = modem.recv(timeout_ms=10000)       # 10 sn dinle / listen for 10 s
21    if paket and paket.valid_crc:
22        # snr kayıtta 4 katı tutulur / snr is stored as 4x in the register
23        print(bytes(paket), "RSSI:", paket.rssi, "dBm  SNR:", paket.snr / 4, "dB")
24    elif paket:
25        print("CRC hatali paket / bad CRC")
26    else:
27        print("Paket yok / no packet")
28    time.sleep_ms(10)
29
Range test: how many km does LoRa reach?
The only way to know the real range is to test it. Place the sender at a window or on the roof at home, connect the receiver to a laptop or to an ESP32 + OLED powered by a power bank, and note RSSI, SNR and loss rate as you move away. When the loss rate goes above 10% or the SNR gets close to the SF limit, you've reached the end of your practical range. Change only one thing per test (SF, antenna, height) so you can see where the difference comes from. You can measure the straight-line distance between two points with a map app on your phone.
| Environment | Typical range (Ra-02, SF9–SF12, simple antenna) | Deciding factor |
|---|---|---|
| Indoors, inside buildings | A few floors, 100–500 m | Concrete walls and metal |
| Dense city | 1–3 km | Buildings, no line of sight |
| Suburb, village | 3–6 km | Trees and low buildings |
| Open countryside, fields | 5–10 km | Antenna height above ground |
| Hilltop to hilltop line of sight | 15 km and more | Earth's curvature and antenna gain |
- Raise the antenna: nothing increases range more than antenna height. An antenna 5 metres up instead of 1 metre stretches the line of sight many times over.
- Use a proper antenna: the small spring antennas that come with modules are convenient but inefficient; a 17.3 cm quarter-wave wire or an outdoor whip antenna makes a clear difference.
- Raise SF: going from SF9 to SF12 gives about 8 dB of gain, which in open country means roughly more than double the distance.
- Narrow the bandwidth: dropping from 125 kHz to 62.5 kHz gains 3 dB, but crystal drift between the two modules can cause trouble.
- Clear the Fresnel zone: even when the line of sight looks clear, trees or buildings in the ellipse-shaped zone between the two antennas weaken the signal; raising the antennas a little solves this.
- Don't neglect the power supply: the current surge during transmission can pull a weak 3.3 V rail down and reset the module; add a 100 µF capacitor to the supply.
LoRa vs LoRaWAN: what is TTN?
These two terms are often confused. LoRa is only the radio modulation, the physical layer: two modules send packets directly to each other, and you decide who sends what to whom. All the examples in this guide are point-to-point LoRa. LoRaWAN is a network protocol built on top of LoRa: devices (end nodes) send their packets to nearby gateways, the gateways pass them over the internet to a network server, and the data reaches your application from there. LoRaWAN handles device identities, AES-128 encryption, automatic adjustment of frequency and SF (ADR) and duty-cycle rules by itself.
| Feature | LoRa (point-to-point) | LoRaWAN |
|---|---|---|
| Layer | Radio only (physical layer) | Radio + network protocol (MAC) |
| Infrastructure | Two modules are enough | Needs gateways and a network server |
| Encryption | None, you add your own | AES-128, mandatory |
| Arduino library | LoRa (Sandeep Mistry) | MCCI LoRaWAN LMIC, RadioLib |
| Frequency in Europe | 433 or 868 MHz, free choice | EU868 channel plan |
| Best suited for | Your own garden, between two buildings, remote controls | City-wide sensor networks, many devices |
The Things Network (TTN) is a free, community-based LoRaWAN network made up of gateways set up by volunteers. If there's a TTN gateway near you, you can register your device and read its data on the internet without building your own gateway. Free use comes with a fair use policy: about 30 seconds of total transmit time per device per day and at most 10 downlink messages per day. Because TTN in Europe uses EU868 and in the US US915, a 433 MHz Ra-02 isn't suitable for it; for TTN, get an RFM95 for your region or a ready-made LoRaWAN module. If there's no gateway nearby, point-to-point LoRa is much simpler.
Project: a battery-powered field and garden sensor
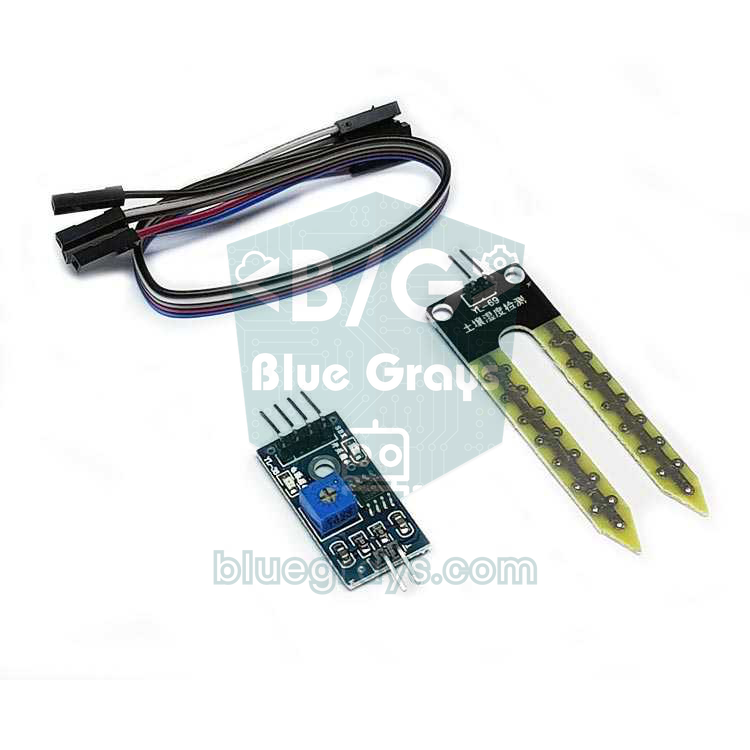
The classic use of LoRa is getting data from a field with no power or Wi-Fi, or from a greenhouse at the far end of the garden. The ESP32 code below measures soil moisture, sends a small packet in the form "T1,42,37" (node ID, packet number, moisture percentage), then puts both the LoRa module and the ESP32 to sleep and wakes up again 10 minutes later. The sensor is powered through GPIO 25 only during the measurement, so it draws no current while asleep, and with resistive sensors electrode corrosion is reduced too. Sensor calibration is covered in the Soil Moisture Sensor post and deep sleep details in the ESP32 Deep Sleep post. The receiver at home can use the receiver code above and split the values at the commas.
1#include <SPI.h>
2#include <LoRa.h>
3
4const int PIN_SS = 5, PIN_RST = 14, PIN_DIO0 = 26;
5const int NEM_PIN = 34;                      // toprak nem sensörü AO (yalnız giriş pini) / soil sensor AO (input-only pin)
6const int SENSOR_GUC = 25;                   // sensörü yalnız ölçerken besle / power the sensor only while measuring
7const int KURU = 3000, ISLAK = 1200;         // kendi sensörünle kalibre et / calibrate with your sensor
8const uint64_t UYKU_US = 10ULL * 60 * 1000000;   // 10 dakika / 10 minutes
9
10RTC_DATA_ATTR uint32_t paketNo = 0;          // derin uykuda korunur / kept during deep sleep
11
12void setup() {
13  pinMode(SENSOR_GUC, OUTPUT);
14  digitalWrite(SENSOR_GUC, HIGH);
15  delay(200);                                // sensör otursun / let the sensor settle
16  int ham = analogRead(NEM_PIN);
17  digitalWrite(SENSOR_GUC, LOW);
18  int nem = constrain(map(ham, KURU, ISLAK, 0, 100), 0, 100);   // % nem / % moisture
19
20  LoRa.setPins(PIN_SS, PIN_RST, PIN_DIO0);
21  if (LoRa.begin(433E6)) {
22    LoRa.setSpreadingFactor(10);             // uzak tarla için daha yüksek SF / higher SF for a distant field
23    LoRa.setSignalBandwidth(125E3);
24    LoRa.setSyncWord(0xF3);
25    LoRa.enableCrc();
26    LoRa.setTxPower(10);
27    LoRa.beginPacket();
28    LoRa.print("T1,");                       // düğüm kimliği / node id
29    LoRa.print(paketNo++);
30    LoRa.print(",");
31    LoRa.print(nem);                         // ör. "T1,42,37" / e.g. "T1,42,37"
32    LoRa.endPacket();
33    LoRa.sleep();                            // SX1278 uykuda 1 uA altı / under 1 uA asleep
34  }
35  esp_sleep_enable_timer_wakeup(UYKU_US);
36  esp_deep_sleep_start();                    // 10 dk sonra setup() baştan başlar / setup() restarts after 10 min
37}
38
39void loop() {}
40
Let's estimate the battery life. Every 10 minutes (600 seconds) the node wakes for about 0.5 seconds and draws about 100 mA on average during that time; asleep, a bare ESP32 module and the Ra-02 together draw around 15 µA. The average current is (0.5 × 100) / 600 + 0.015 ≈ 0.1 mA; a 2000 mAh 18650 cell would in theory last 20,000 hours, more than two years. In reality the battery's self-discharge and regulator losses shorten this. Watch out: ready-made ESP32 DevKit boards can draw several milliamps even asleep because of the USB-serial chip and regulator on them; a sleep current of 5 mA brings the same battery down to 17 days. For long battery life, use a low-quiescent regulator or a bare module. You can run the numbers with your own values in the battery life calculator.
LoRa project ideas
- Remote water tank level: measure how full a distant tank is with a water level sensor and send it home.
- Mailbox notification: detect the mailbox at the garden gate opening with a reed switch and show it on a display indoors.
- Beehive scale: send the hive's weight a few times a day with an HX711 load cell.
- GPS tracker: track a bike or animals kilometres away with a NEO-6M GPS.
- Greenhouse climate monitor: receive greenhouse temperature and humidity over LoRa and raise an alert at home when a threshold is crossed.
- Your own gateway: forward data from several LoRa sensors to Wi-Fi with a single ESP32 and watch it on your phone.
Common mistakes and fixes
| Symptom | Likely cause | Fix |
|---|---|---|
| "LoRa init failed" | Wrong SPI wire, NSS or RESET pin; no power | Check the wiring and the setPins() values, measure the 3.3 V |
| Sender transmits, receiver sees nothing | Different frequency, SF, BW, CR or sync word | Make the settings identical on both sides |
| Module gets hot or doesn't work at all | Powered from 5 V or received 5 V signals | Use a 3.3 V supply and a level shifter; the module may be damaged |
| Board resets when transmitting | The 3.3 V rail can't handle the current surge | Separate regulator and a 100 µF capacitor on the supply |
| Range of a few metres | No antenna or an antenna for the wrong frequency | Fit a 433 MHz antenna; transmitting without one can damage the PA |
| Packets contain garbled characters | CRC off, noisy packets accepted | Call enableCrc() on both sides |
| Some packets never arrive | Packets too frequent, colliding on air | Increase the packet interval according to time on air |
A LoRa module is the cheapest way to take Arduino projects out of the house, into the field, the garden and the building next door: with the right frequency, a suitable SF and a good antenna you can build sensors that run for months on a battery kilometres away. For fast data over shorter distances, the nRF24L01 or ESP-NOW may suit you better. In the BlueGrays app you'll find one-way and two-way communication between two Arduinos, smart watering and ESP32 deep sleep projects with step-by-step circuit diagrams and code, and you can add LoRa on top of them.
Frequently asked questions
What is the range of a LoRa module?
An SX1278 module like the Ra-02 with a simple antenna usually reaches 1–3 km in a city and 5–10 km in open country. With antennas mounted high and a clear line of sight, more than 15 km is possible. Range depends mostly on antenna height, antenna quality and the SF setting.
What is the difference between LoRa and LoRaWAN?
LoRa is only the radio modulation, and two modules send packets directly to each other. LoRaWAN is a network protocol built on LoRa: devices send to gateways, the data reaches a network server over the internet, and encryption and device management are handled by the protocol. LoRa suits your own garden; LoRaWAN suits city-wide networks.
Which LoRa frequency should I use: 433, 868 or 915 MHz?
It depends on your region. Europe uses 433 MHz and 863–870 MHz (EU868 for LoRaWAN), North America uses 902–928 MHz (US915), and other regions have their own plans such as AU915 or AS923. Buy a module and antenna for your band and keep to the local power and duty-cycle limits.
Can I connect a LoRa module to a 5 V Arduino?
Not directly; the SX1278 is a 3.3 V chip and 5 V signals damage it. To use it with an Arduino Uno, put a level shifter on the SCK, MOSI, NSS and RESET lines and power the module from a separate 3.3 V regulator. The ESP32 and Raspberry Pi Pico run at 3.3 V, so they connect directly.
Can LoRa send audio or images?
In practice, no. LoRa's data rate at 125 kHz bandwidth is about 0.3–5.5 kilobits per second, and duty-cycle rules limit how often you can transmit. Even a small photo would take minutes; LoRa is designed for small data such as sensor readings, positions and status messages.
What is the spreading factor (SF) and which value should I use?
SF sets how long each LoRa symbol is transmitted; from SF7 to SF12, each step increases range but halves the data rate and uses more battery. SF9 is a good balance to start with. Raise SF if range isn't enough, drop to SF7 if you need speed at short range; sender and receiver must use the same SF.
Projects to build after reading this
See all projects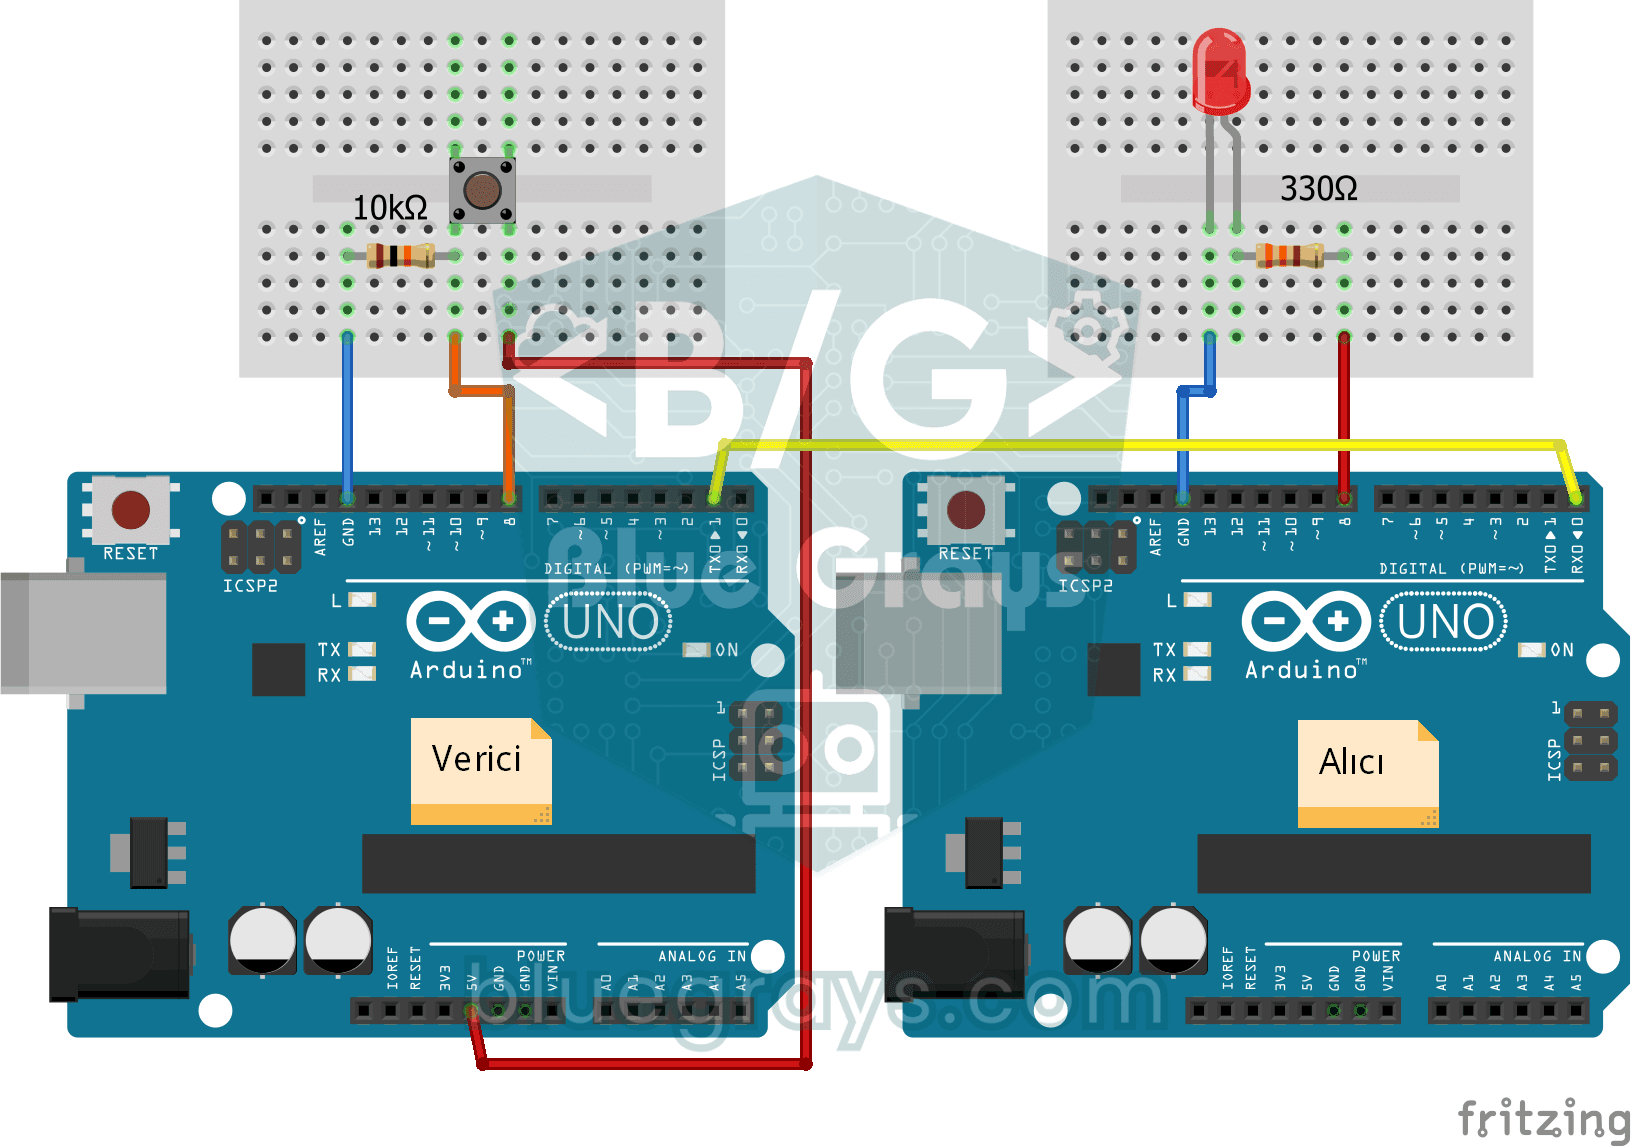
One-Way Communication Between 2 Arduinos
You get two Arduinos talking over a single wire: press the button on one and the LED on the other lights up, press it again and it goes off. The sending board reports the button press with a short mes
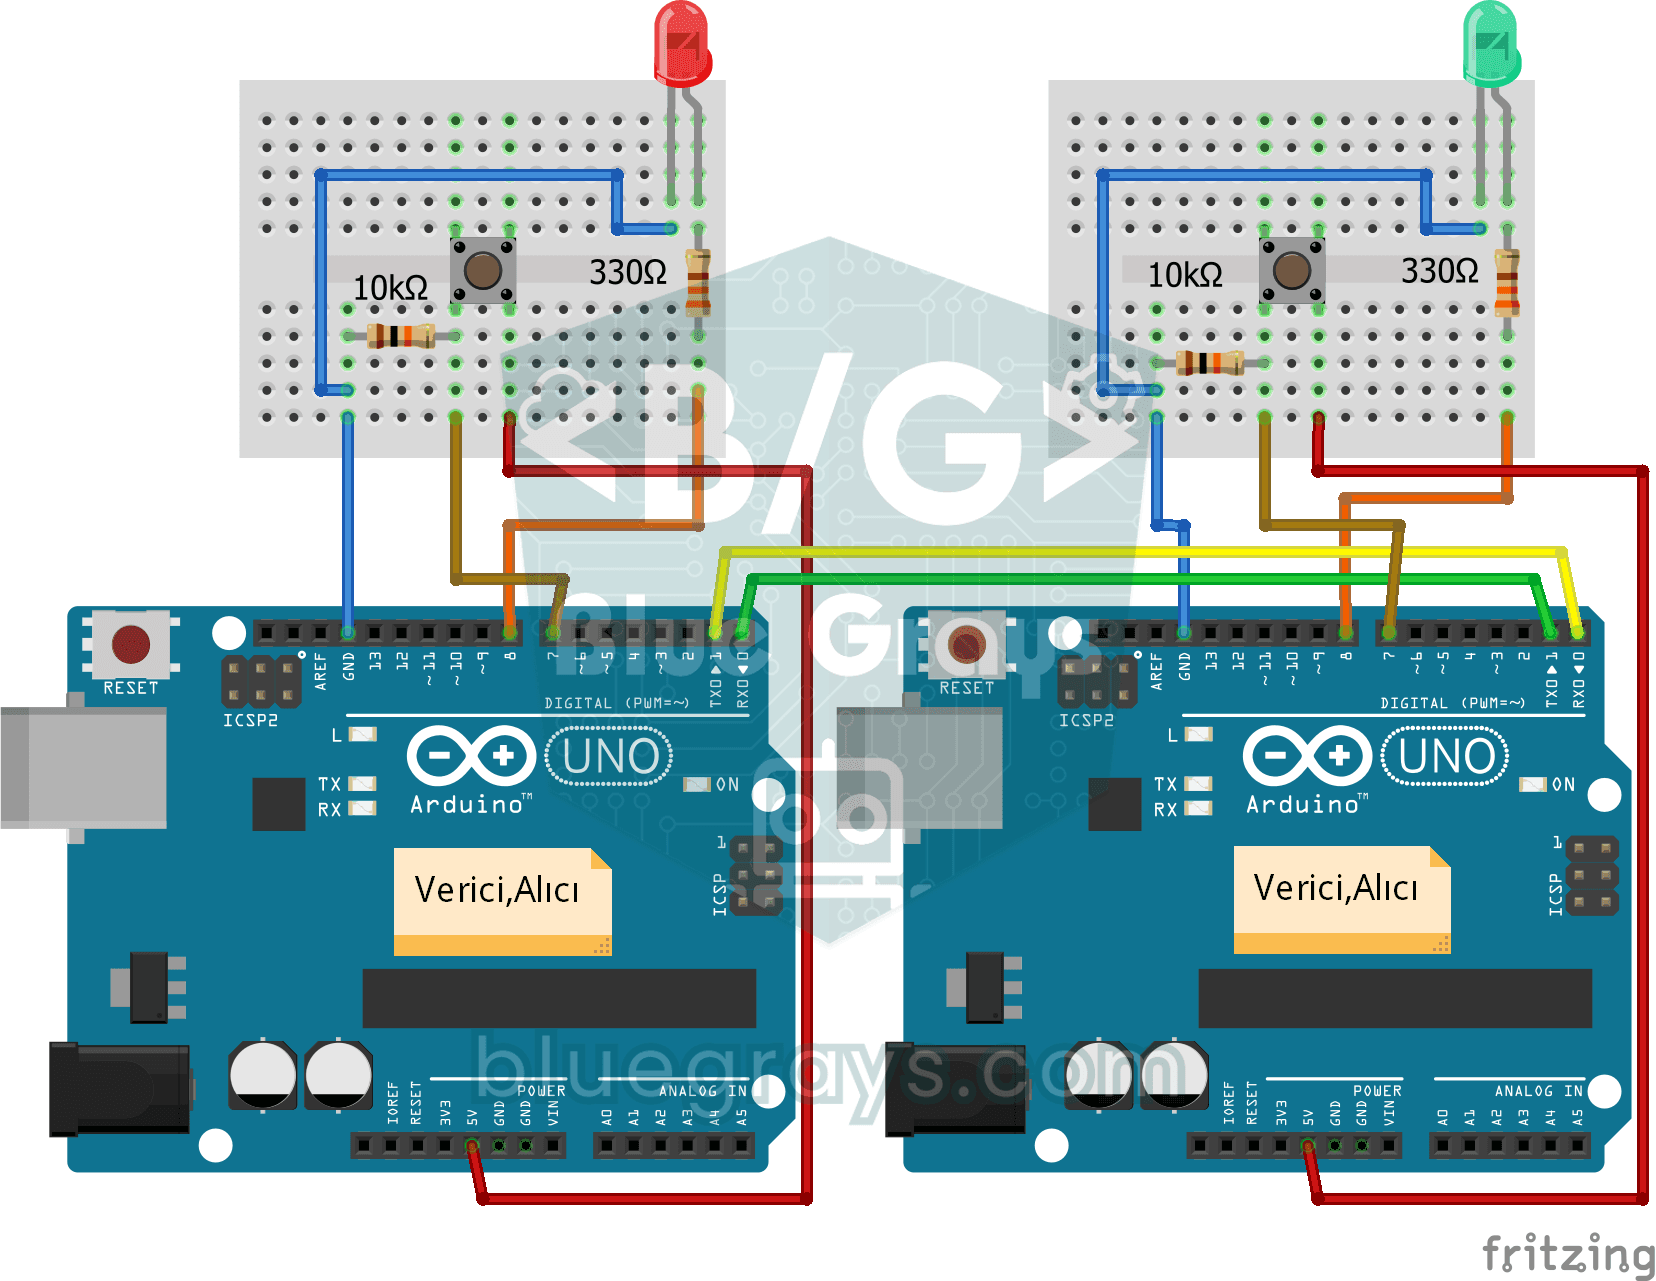
Two-Way Communication Between 2 Arduinos
Two Arduinos are wired together and talk to each other: press the button on one and the light on the other comes on, press it again and it goes off. Both boards run the same program, so each one both

Smart Irrigation Station
A gardener that waters your plants on its own, so they don't dry out while you're on vacation. A soil moisture sensor measures how wet the soil is; when it gets dry, the Arduino runs the water pump fo

ESP32 Deep Sleep — Battery Saving (OLED + RTC RAM Counter)
The ESP32's Deep Sleep mode reduces current consumption to ~10 µA by shutting down the CPU and most peripherals, making it critical for battery-powered IoT devices. In this project, we use three different wake-up sources: a timer (15 seconds), an external pin (EXT0 — button GPIO 33), and touch (T0/GPIO 4). Variables marked with RTC_DATA_ATTR are preserved during deep sleep—the boot counter, timer wake counter, and button wake counter are continuously tracked. On each wake-up, the SSD1306 OLED
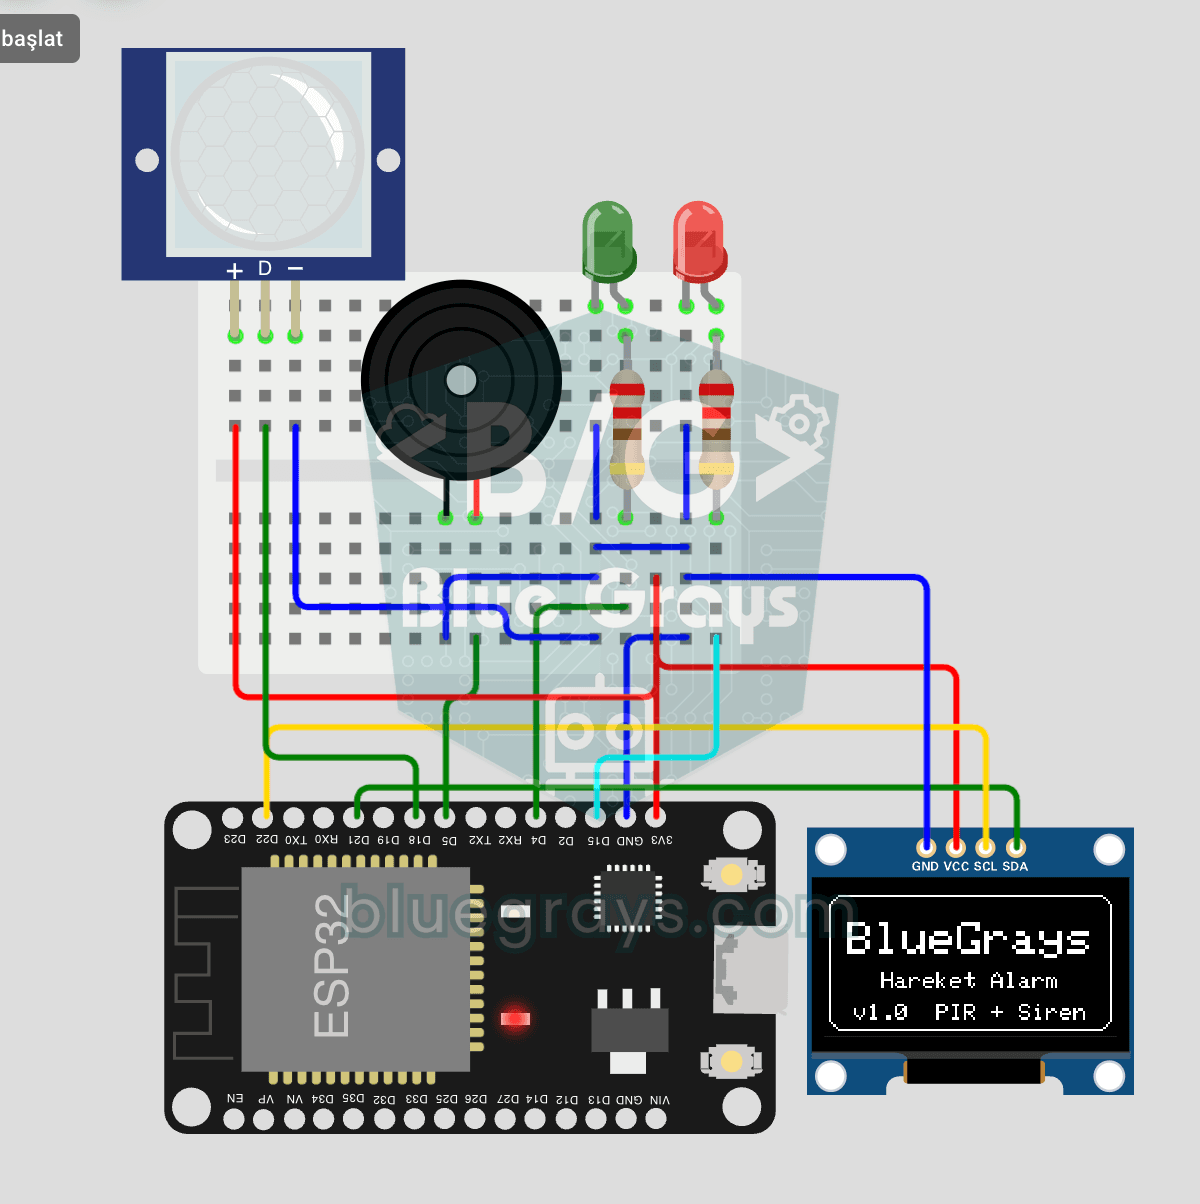
ESP32 Motion Alarm System (PIR + Buzzer + LED + Telegram)
A smart security alarm system that activates the buzzer and LED when the PIR sensor detects motion, while simultaneously sending an instant notification to the owner via Telegram. It includes a 30-second cooldown to limit the frequency of repeated alarms; this mechanism does not validate PIR detections or eliminate false triggers. Suitable for home security, garage monitoring, warehouses, or workrooms. With ESP32-CAM, photo notifications can be added; with the classic ESP32 DevKit V1, text notif
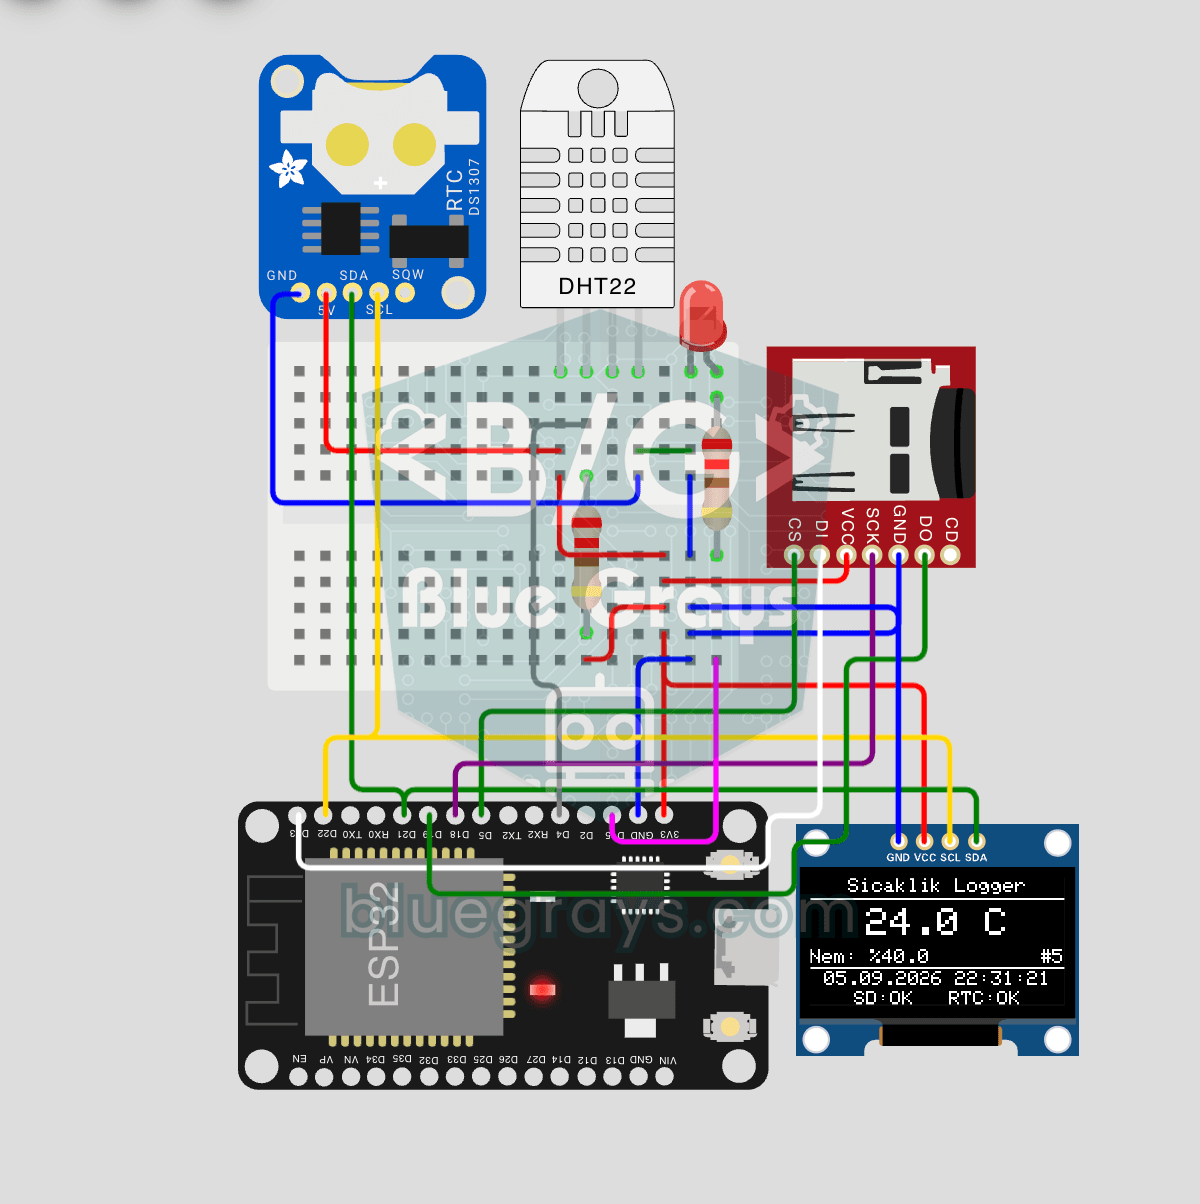
ESP32 Temperature Data Logger (DHT22 + DS1307 RTC + microSD + OLED)
Build a timestamped temperature logger with ESP32! Read DHT22 temperature/humidity every minute, get real-world time from DS1307 RTC, and log to microSD card as CSV. The OLED displays live temperature (large font), humidity percentage, timestamp, and log counter. The /temp_log.csv file on the SD card opens in Excel, Google Sheets, or Python pandas for analysis — perfect for greenhouse monitoring, home/room temperature tracking, laboratory data collection, food storage conditions, or beehiv
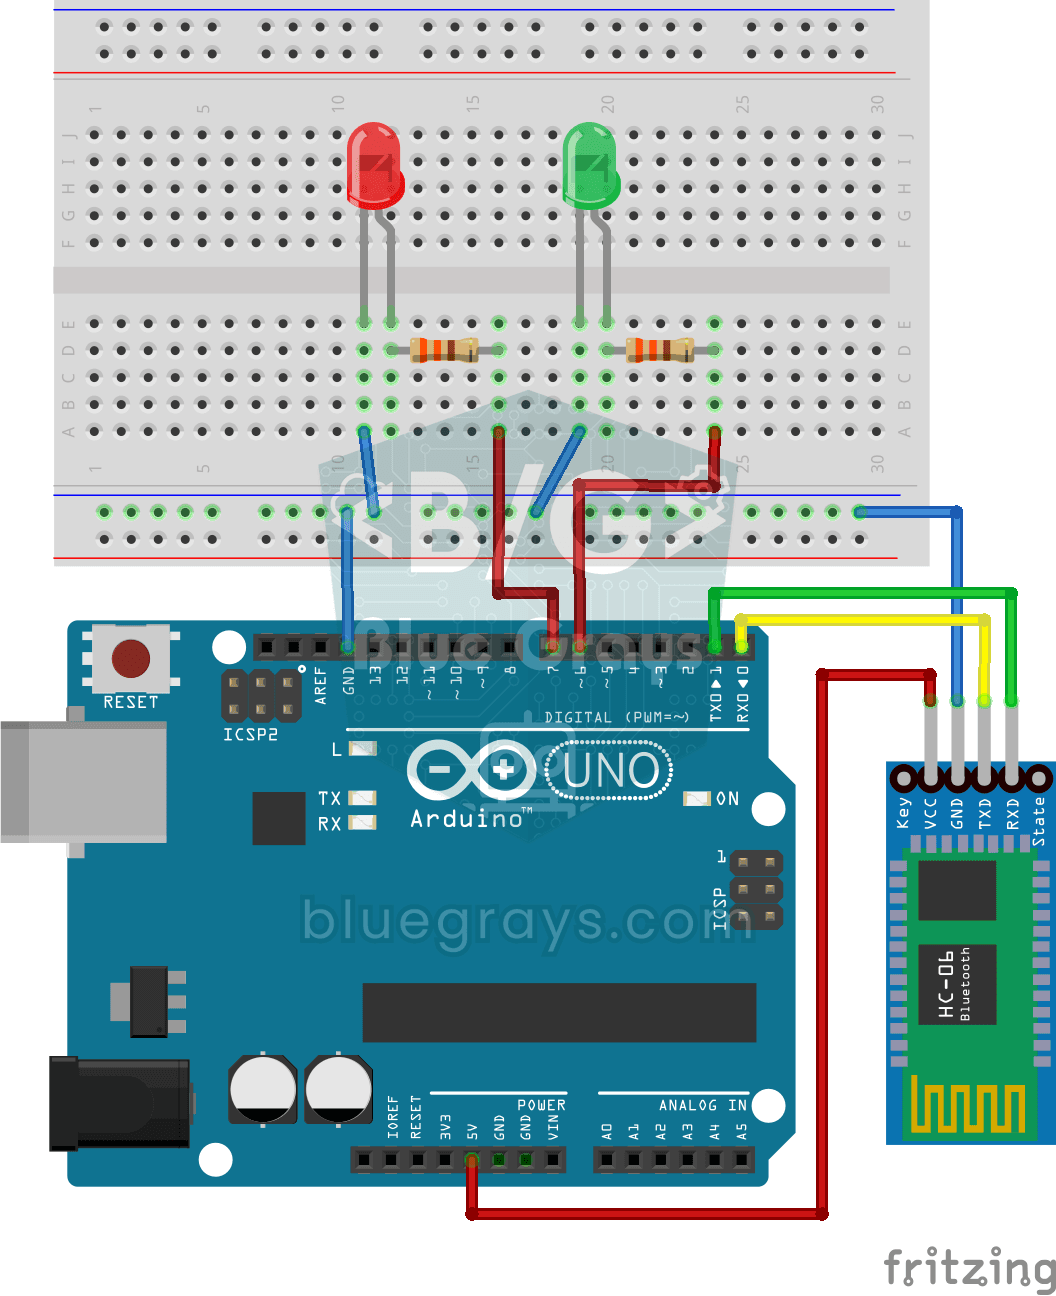
Control an LED from Your Phone via Bluetooth
A small rehearsal for switching the lights in your room on and off from your phone. The Bluetooth module passes the letters sent from your phone to the Arduino; one letter turns on the red LED, anothe