
Automatic Pet Feeder with Arduino: Timed DIY Feeder Build
Build an automatic pet feeder with Arduino: servo-lid hopper, DS1307 RTC timed meals, portion button, ESP32 web panel and Telegram alerts, plus Pico code.

An automatic pet feeder is a small electronic device that dispenses dry food to your cat or dog at the times and in the amounts you choose. To build an Arduino automatic pet feeder you need a food hopper, a servo motor that opens and closes the hopper outlet, an RTC (real-time clock) module that never forgets the time, and two buttons to set the portion. The total cost is a small fraction of a ready-made commercial feeder, and you decide exactly what time and how much food is served.
In this guide we first build the basic version with an Arduino Uno: three meals a day with a DS1307 RTC, a hopper with an SG90 servo lid, one button for instant feeding, another to choose a portion from 1 to 5, and a clock display on an I2C LCD. Then, with the ESP32 version, you'll change meal times from your phone's browser and get a Telegram notification at every meal, and finally you'll see the same logic written with a Raspberry Pi Pico and MicroPython. At the end there are also build tips so the food doesn't jam, your pet can't tip the machine over and the body stays sturdy.
What is an automatic pet feeder and how does it work?
The logic of the system is very simple: the food waits in a hopper on top and flows by gravity toward a narrow outlet below. A lid attached to a servo motor closes the outlet. On every loop the Arduino reads the time from the RTC module; when the time matches one of the meal times in the list, the servo opens the lid briefly, the food drops into the bowl and the lid closes again. The number of times the lid opens sets the portion. Thanks to the coin cell on the RTC module, the time isn't lost even if the power goes out; when the machine gets power again it keeps feeding at the right time. The buttons are used for manual feeding and portion setting, and the buzzer gives a short signal before each meal.
| Part | Purpose | Note |
|---|---|---|
| Arduino Uno (or Nano) | Main controller board | A Nano makes the body smaller |
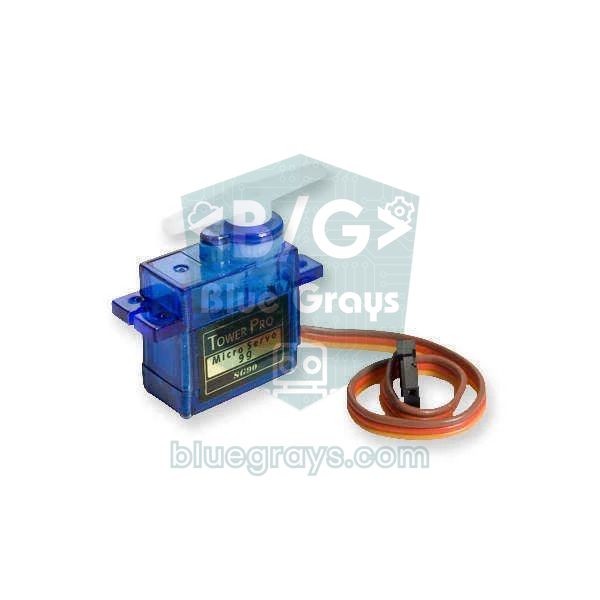
| SG90 servo motor | Opens and closes the lid | MG90S or MG996R for a heavy lid |
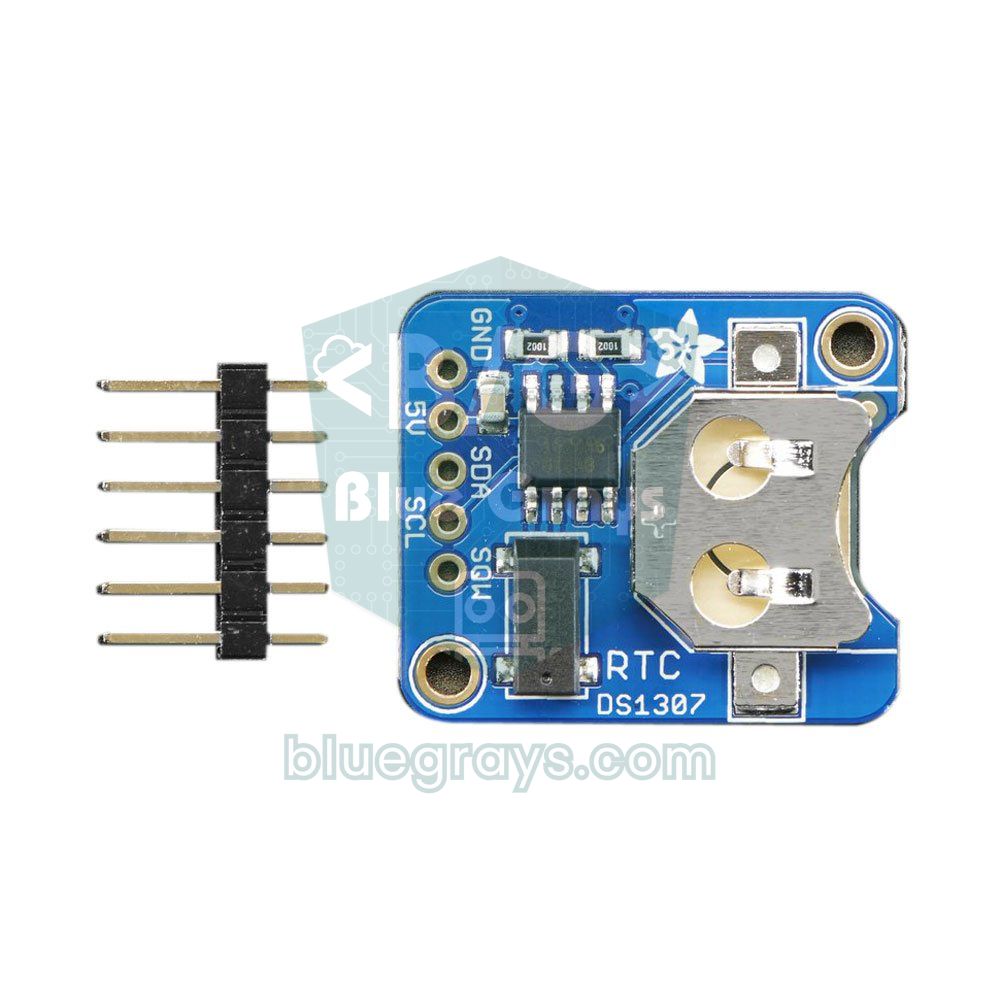
| DS1307 RTC module | Keeps time and date | CR2032 battery keeps the time during outages; needs 5 V |
| 2 push buttons | Manual feeding and portion selection | Internal pull-up is used, no resistor needed |
| Active buzzer | Meal signal | Your pet will get used to the sound over time |
| I2C 16x2 LCD | Shows time and portion | Address is usually 0x27 or 0x3F |
| 5 V 2 A adapter | Powers the servo and board | Don't power the servo from USB |
| Hopper, funnel, body | Holds and guides the food | Plastic bottle, storage container, foam PVC or 3D print |
Choosing a mechanism: lid hopper, auger or rotating drum
The heart of the feeder is the mechanism that releases the food, and this choice affects both the code and the body. The easiest method for beginners is a servo lid hopper: a lid screwed to the end of the servo arm closes the outlet, and when the lid opens the food flows. If you want more precise portions, you can use an auger (screw) or a compartmented rotating drum; these mechanisms carry food by volume, so almost the same amount drops on every turn, but they need 3D printing or more careful mechanical work.
| Mechanism | Motor | Portion consistency | Difficulty |
|---|---|---|---|
| Servo lid hopper | SG90 / MG90S | Medium, varies with kibble size | Easy |
| Auger (screw) | FS90R continuous servo or 28BYJ-48 stepper | High | Medium, needs 3D printing |
| Rotating drum (compartment wheel) | 28BYJ-48 stepper | High, equal to compartment volume | Medium |
| Sliding gate | MG996R servo | Medium | Easy to medium |
Wiring diagram: Arduino Uno, ESP32 and Pico pins
| Part / pin | Arduino Uno | ESP32 | Raspberry Pi Pico |
|---|---|---|---|
| Servo signal (orange) | D9 | GPIO 18 | GP15 |
| Servo VCC (red) | External 5 V | External 5 V | External 5 V |
| Servo GND (brown) | GND (common) | GND (common) | GND (common) |
| Feed button | D2 – GND | GPIO 25 – GND | GP14 – GND |
| Portion button | D3 – GND | GPIO 26 – GND | GP13 – GND |
| Active buzzer (+) | D8 | GPIO 27 | GP16 |
| RTC / LCD SDA | A4 | Not needed (NTP) | GP4 (DS3231) |
| RTC / LCD SCL | A5 | Not needed (NTP) | GP5 (DS3231) |
| RTC VCC | 5V (DS1307) | — | 3V3 (DS3231) |
Step-by-step setup
- In the Arduino IDE Library Manager, install RTClib (Adafruit) and LiquidCrystal I2C (Frank de Brabander); the Servo library comes with the IDE.
- Connect the RTC module and the LCD to the same I2C bus (A4 = SDA, A5 = SCL); they don't conflict because the two modules are at different addresses (0x68 and 0x27).
- Connect the servo signal wire to D9 and the red and brown wires to the external 5 V adapter; join the adapter GND with the Arduino GND.
- Connect one leg of each button to D2 and D3 and the other leg to GND. The code uses INPUT_PULLUP, so no external resistor is needed.
- Insert the CR2032 battery into the RTC and upload the code. If the RTC has never been set, the time is set to the computer time at the moment the code was compiled.
- Before attaching the servo arm, wait for the code to move the servo to 0°, then screw the arm on while the lid is in the closed position. That way the OPEN and CLOSED angles fit your mechanism exactly.
- Put a bowl under the hopper, make a few test runs with the feed button and calibrate the portion by weighing the food that drops.
1#include <Wire.h>
2#include <RTClib.h>
3#include <Servo.h>
4#include <LiquidCrystal_I2C.h>
5
6RTC_DS1307 rtc;
7Servo kapak;
8LiquidCrystal_I2C lcd(0x27, 16, 2);          // adres 0x27 ya da 0x3F / address 0x27 or 0x3F
9
10const int SERVO_PIN   = 9;
11const int FEED_BTN    = 2;                    // elle besleme / manual feed
12const int PORTION_BTN = 3;                    // porsiyon seçimi / portion select
13const int BUZZER_PIN  = 8;                    // aktif buzzer / active buzzer
14const int KAPALI = 0;                         // kapak kapalı açısı / lid closed angle
15const int ACIK   = 80;                        // kapak açık açısı / lid open angle
16
17const byte ogunler[][2] = { {8, 0}, {13, 0}, {19, 30} };   // öğün saatleri / feeding times
18const byte OGUN_SAYISI = sizeof(ogunler) / sizeof(ogunler[0]);
19
20byte porsiyon = 2;                            // 1-5 arası / between 1 and 5
21long sonBesleme = -1;                         // son öğün anahtarı / last feeding key
22bool oncekiBesle = HIGH, oncekiPors = HIGH;
23unsigned long sonEkran = 0;
24
25void bip(int ms) {
26  digitalWrite(BUZZER_PIN, HIGH);
27  delay(ms);
28  digitalWrite(BUZZER_PIN, LOW);
29}
30
31void mamaVer(byte adet) {
32  bip(300);                                   // öğün sinyali / meal signal
33  for (byte i = 0; i < adet; i++) {
34    kapak.write(ACIK);                        // kapağı aç / open the lid
35    delay(400);
36    kapak.write(KAPALI);                      // kapağı kapat / close the lid
37    delay(500);
38  }
39}
40
41void ekranYaz(const DateTime &t) {
42  char satir[17];
43  snprintf(satir, sizeof(satir), "Saat %02d:%02d:%02d", t.hour(), t.minute(), t.second());
44  lcd.setCursor(0, 0);
45  lcd.print(satir);
46  snprintf(satir, sizeof(satir), "Porsiyon: %d   ", porsiyon);
47  lcd.setCursor(0, 1);
48  lcd.print(satir);
49}
50
51void setup() {
52  pinMode(FEED_BTN, INPUT_PULLUP);
53  pinMode(PORTION_BTN, INPUT_PULLUP);
54  pinMode(BUZZER_PIN, OUTPUT);
55  kapak.attach(SERVO_PIN);
56  kapak.write(KAPALI);
57  lcd.init();
58  lcd.backlight();
59  if (!rtc.begin()) {                         // RTC bulunamadı / RTC not found
60    lcd.print("RTC yok!");
61    while (true);
62  }
63  if (!rtc.isrunning()) {                     // saat ayarlı değil / clock not set
64    rtc.adjust(DateTime(F(__DATE__), F(__TIME__)));
65  }
66}
67
68void loop() {
69  DateTime now = rtc.now();
70
71  for (byte i = 0; i < OGUN_SAYISI; i++) {
72    if (now.hour() == ogunler[i][0] && now.minute() == ogunler[i][1]) {
73      long anahtar = (long)now.day() * 1440L + now.hour() * 60 + now.minute();
74      if (anahtar != sonBesleme) {            // bu dakikada verilmediyse / not yet served this minute
75        sonBesleme = anahtar;
76        mamaVer(porsiyon);
77      }
78    }
79  }
80
81  bool b1 = digitalRead(FEED_BTN);
82  if (b1 == LOW && oncekiBesle == HIGH) {     // basıldığı an / moment of press
83    mamaVer(porsiyon);
84  }
85  oncekiBesle = b1;
86
87  bool b2 = digitalRead(PORTION_BTN);
88  if (b2 == LOW && oncekiPors == HIGH) {
89    porsiyon = porsiyon % 5 + 1;              // 1,2,3,4,5,1... / cycles 1 to 5
90    bip(80);
91  }
92  oncekiPors = b2;
93
94  if (millis() - sonEkran >= 1000) {          // ekranı saniyede bir yenile / refresh once per second
95    sonEkran = millis();
96    ekranYaz(now);
97  }
98  delay(20);                                  // basit debounce / simple debounce
99}
How does the code work?
| Section | What it does |
|---|---|
| ogunler[][2] | Stores meal times as hour-minute pairs; you can add more meals by adding new rows. |
| mamaVer(adet) | Sounds the buzzer and opens and closes the lid for 400 ms as many times as the portion count. |
| anahtar / sonBesleme | Makes sure a meal is served only once, even if the loop runs hundreds of times within the same minute. |
| rtc.isrunning() | If the RTC was never set or its battery has died, sets the time to the compile time. |
| oncekiBesle / oncekiPors | Detects the moment a button is pressed (the falling edge), not it being held down. |
| ekranYaz() | Updates the LCD once per second; writing to the screen on every loop causes flicker and slowness. |
The most critical line in the code is the feeding key. The Arduino's loop function runs dozens of times per second; when the clock reads 08:00, the condition is true over and over during that whole minute. If you used a simple match check, the machine would empty the entire hopper within that one minute. So we convert the day, hour and minute into a single number: day × 1440 + hour × 60 + minute. If this number equals that of the last feeding, the meal has already been served. Taking the day into account also ensures that feeding happens again at the same time the next day, even if there's only one meal in the list.
Portion calibration: how many grams of food drop?
With a servo lid hopper, the amount that drops depends on how long the lid stays open, the diameter of the outlet and the size of the kibble. So you need to measure the portion rather than calculate it. Put an empty bowl on a kitchen scale, press the feed button 10 times with the portion set to 1, and divide the total weight by 10; this number is the average grams per lid opening. For example, if 120 g drops in 10 openings, one opening is about 12 g. If your cat needs 60 g a day and gets three meals, each meal needs 20 g; that means setting the portion to 2 (about 24 g) or shortening the open time slightly from 400 ms. Decide the daily amount based on the table on the food packaging and your vet's recommendation.
ESP32 version: web meal times and Telegram notifications
The ESP32 brings two big conveniences to the feeder. First, because it gets the time from the internet (NTP), you don't need an RTC module and the time doesn't drift. Second, because it can run its own web server, you can change meal times and the portion from your phone's browser on the same Wi-Fi network. After every feeding, a "Food served" message arrives on Telegram, so even when you're away from home you know your pet has been fed. To compile the code, install UniversalTelegramBot and the ArduinoJson library it uses from the Library Manager. You can get the bot token from BotFather on Telegram and your chat ID after sending a message to your bot; details are in the ESP32 Telegram Bot post.
1#include <WiFi.h>
2#include <WebServer.h>
3#include <Preferences.h>
4#include <WiFiClientSecure.h>
5#include <UniversalTelegramBot.h>
6#include <time.h>
7
8const char* WIFI_SSID = "WIFI_ADI";        // Wi-Fi adın / your Wi-Fi name
9const char* WIFI_PASS = "WIFI_SIFRESI";    // Wi-Fi şifren / your Wi-Fi password
10#define BOT_TOKEN "123456789:ABCdefGhIJKlmnoPQRstuVWxyz"   // BotFather token'ı / BotFather token
11#define CHAT_ID   "123456789"                              // senin chat ID'n / your chat ID
12
13const int SERVO_PIN   = 18;
14const int SERVO_CH    = 0;                 // yalnız core 2.x için / core 2.x only
15const int FEED_BTN    = 25;
16const int PORTION_BTN = 26;
17const int BUZZER_PIN  = 27;
18const int KAPALI = 0;
19const int ACIK   = 80;
20
21WebServer server(80);
22Preferences prefs;
23WiFiClientSecure secured;
24UniversalTelegramBot bot(BOT_TOKEN, secured);
25
26uint8_t saatH[3] = {8, 13, 19};            // öğün saatleri / feeding hours
27uint8_t saatM[3] = {0, 0, 30};             // öğün dakikaları / feeding minutes
28uint8_t porsiyon = 2;
29long sonBesleme = -1;
30
31void servoYaz(int aci) {
32  uint32_t us = 500 + (uint32_t)aci * 1900 / 180;   // 500-2400 us darbe / pulse
33  uint32_t duty = us * 16383UL / 20000UL;           // 14 bit, 20 ms periyot / period
34#if ESP_ARDUINO_VERSION_MAJOR >= 3
35  ledcWrite(SERVO_PIN, duty);
36#else
37  ledcWrite(SERVO_CH, duty);
38#endif
39}
40
41void bip(int ms) {
42  digitalWrite(BUZZER_PIN, HIGH);
43  delay(ms);
44  digitalWrite(BUZZER_PIN, LOW);
45}
46
47void ayarlariOku() {
48  prefs.begin("mama", false);
49  char k[4];
50  for (int i = 0; i < 3; i++) {
51    snprintf(k, sizeof(k), "h%d", i);
52    saatH[i] = prefs.getUChar(k, saatH[i]);
53    snprintf(k, sizeof(k), "m%d", i);
54    saatM[i] = prefs.getUChar(k, saatM[i]);
55  }
56  porsiyon = prefs.getUChar("p", porsiyon);
57  prefs.end();
58}
59
60void ayarlariYaz() {                        // flash'a kaydet / save to flash
61  prefs.begin("mama", false);
62  char k[4];
63  for (int i = 0; i < 3; i++) {
64    snprintf(k, sizeof(k), "h%d", i);
65    prefs.putUChar(k, saatH[i]);
66    snprintf(k, sizeof(k), "m%d", i);
67    prefs.putUChar(k, saatM[i]);
68  }
69  prefs.putUChar("p", porsiyon);
70  prefs.end();
71}
72
73void mamaVer(uint8_t adet, const char* neden) {
74  bip(300);
75  for (uint8_t i = 0; i < adet; i++) {
76    servoYaz(ACIK);
77    delay(400);
78    servoYaz(KAPALI);
79    delay(500);
80  }
81  if (WiFi.status() == WL_CONNECTED) {      // Telegram bildirimi / Telegram notification
82    String msg = "Mama verildi / Food served: ";
83    msg += adet;
84    msg += " porsiyon (";
85    msg += neden;
86    msg += ")";
87    bot.sendMessage(CHAT_ID, msg, "");
88  }
89}
90
91void sayfaGonder() {                        // ayar sayfası / settings page
92  String h = "<!DOCTYPE html><html><head><meta charset='utf-8'>";
93  h += "<meta name='viewport' content='width=device-width'><title>Mama</title></head><body>";
94  h += "<h2>Mama Makinesi</h2><form action='/kaydet'>";
95  for (int i = 0; i < 3; i++) {
96    char satir[100];
97    snprintf(satir, sizeof(satir), "Öğün %d: <input name='t%d' type='time' value='%02d:%02d'><br>",
98             i + 1, i, saatH[i], saatM[i]);
99    h += satir;
100  }
101  h += "Porsiyon (1-5): <input name='p' type='number' min='1' max='5' value='";
102  h += porsiyon;
103  h += "'><br><button>Kaydet</button></form>";
104  h += "<form action='/besle'><button>Şimdi besle</button></form></body></html>";
105  server.send(200, "text/html", h);
106}
107
108void kaydet() {
109  for (int i = 0; i < 3; i++) {
110    String ad = String("t") + i;
111    if (server.hasArg(ad)) {
112      String v = server.arg(ad);            // "HH:MM" biçimi / format
113      if (v.length() >= 5) {
114        long hh = v.substring(0, 2).toInt();
115        long mm = v.substring(3, 5).toInt();
116        if (hh >= 0 && hh < 24 && mm >= 0 && mm < 60) {
117          saatH[i] = hh;
118          saatM[i] = mm;
119        }
120      }
121    }
122  }
123  if (server.hasArg("p")) {
124    long p = server.arg("p").toInt();
125    if (p < 1) p = 1;
126    if (p > 5) p = 5;
127    porsiyon = p;
128  }
129  ayarlariYaz();
130  server.sendHeader("Location", "/");
131  server.send(303);
132}
133
134void setup() {
135  Serial.begin(115200);
136  pinMode(FEED_BTN, INPUT_PULLUP);
137  pinMode(PORTION_BTN, INPUT_PULLUP);
138  pinMode(BUZZER_PIN, OUTPUT);
139#if ESP_ARDUINO_VERSION_MAJOR >= 3
140  ledcAttach(SERVO_PIN, 50, 14);            // 50 Hz, 14 bit (core 3.x)
141#else
142  ledcSetup(SERVO_CH, 50, 14);              // 50 Hz, 14 bit (core 2.x)
143  ledcAttachPin(SERVO_PIN, SERVO_CH);
144#endif
145  servoYaz(KAPALI);
146  ayarlariOku();
147
148  WiFi.mode(WIFI_STA);
149  WiFi.begin(WIFI_SSID, WIFI_PASS);
150  while (WiFi.status() != WL_CONNECTED) {
151    delay(500);
152    Serial.print(".");
153  }
154  Serial.println();
155  Serial.println(WiFi.localIP());           // tarayıcıda bu adresi aç / open this address in the browser
156
157  configTzTime("<+03>-3", "pool.ntp.org"); // Türkiye UTC+3 / Turkey UTC+3
158  secured.setCACert(TELEGRAM_CERTIFICATE_ROOT);
159
160  server.on("/", sayfaGonder);
161  server.on("/kaydet", kaydet);
162  server.on("/besle", []() {
163    mamaVer(porsiyon, "web");
164    server.sendHeader("Location", "/");
165    server.send(303);
166  });
167  server.begin();
168  bot.sendMessage(CHAT_ID, "Mama makinesi acildi / Feeder online", "");
169}
170
171void loop() {
172  server.handleClient();
173
174  struct tm t;
175  if (getLocalTime(&t, 10)) {               // saat senkronize ise / if time is synced
176    for (int i = 0; i < 3; i++) {
177      if (t.tm_hour == saatH[i] && t.tm_min == saatM[i]) {
178        long anahtar = (long)t.tm_yday * 1440L + t.tm_hour * 60 + t.tm_min;
179        if (anahtar != sonBesleme) {
180          sonBesleme = anahtar;
181          mamaVer(porsiyon, "zamanli / scheduled");
182        }
183      }
184    }
185  }
186
187  static bool oncekiBesle = HIGH, oncekiPors = HIGH;
188  bool b1 = digitalRead(FEED_BTN);
189  if (b1 == LOW && oncekiBesle == HIGH) mamaVer(porsiyon, "buton / button");
190  oncekiBesle = b1;
191
192  bool b2 = digitalRead(PORTION_BTN);
193  if (b2 == LOW && oncekiPors == HIGH) {
194    porsiyon = porsiyon % 5 + 1;
195    ayarlariYaz();
196    bip(80);
197  }
198  oncekiPors = b2;
199  delay(20);
200}
In this code we didn't use a separate servo library; we generate a 50 Hz, 14-bit signal with the ESP32's LEDC hardware PWM unit. A pulse width of 500–2400 microseconds corresponds to 0–180 degrees. Because the LEDC functions changed in version 3.x of the ESP32 Arduino core, the two versions are separated with ESP_ARDUINO_VERSION_MAJOR; the code compiles with both 2.x and 3.x. Meal times and the portion are written to flash memory with Preferences, so they aren't lost when the power goes off and on. Open the ESP32's IP address in the browser (it's printed in the Serial Monitor), choose the times and press Save. The time zone is set to UTC+3 for Turkey; if you're in another country, change the string in the configTzTime line. For NTP details, see the ESP32 NTP clock post.
Pet feeder with Raspberry Pi Pico and MicroPython
The Pico also has a clock unit inside, but it resets when power is lost; so a battery-backed RTC is a must. Since the Pico runs at 3.3 V, use a DS3231 instead of the DS1307: it uses the same 0x68 address and the same time registers, and thanks to its temperature-compensated crystal it drifts only about a minute a year. The code below needs no extra library; it reads the RTC directly over I2C and drives the servo with 50 Hz PWM. To set the time for the first time, just remove the comment mark at the start of the set_time line, run the code once, then comment the line out again.
1from machine import Pin, PWM, I2C
2import time
3
4i2c = I2C(0, sda=Pin(4), scl=Pin(5), freq=100000)
5RTC_ADDR = 0x68                       # DS3231 adresi / DS3231 address
6
7servo = PWM(Pin(15))
8servo.freq(50)                        # servo için 50 Hz / 50 Hz for servo
9buzzer = Pin(16, Pin.OUT)             # aktif buzzer / active buzzer
10btn_feed = Pin(14, Pin.IN, Pin.PULL_UP)
11btn_portion = Pin(13, Pin.IN, Pin.PULL_UP)
12
13SCHEDULE = [(8, 0), (13, 0), (19, 30)]   # öğün saatleri / feeding times
14CLOSED = 0
15OPEN = 80
16portion = 2
17last_key = -1
18
19def bcd2dec(b):
20    return (b >> 4) * 10 + (b & 0x0F)
21
22def dec2bcd(v):
23    return ((v // 10) << 4) | (v % 10)
24
25def set_time(year, month, day, hour, minute, second):
26    # saati bir kez kur / set the clock once
27    data = bytes([dec2bcd(second), dec2bcd(minute), dec2bcd(hour), 1,
28                  dec2bcd(day), dec2bcd(month), dec2bcd(year % 100)])
29    i2c.writeto_mem(RTC_ADDR, 0x00, data)
30
31def read_time():
32    d = i2c.readfrom_mem(RTC_ADDR, 0x00, 7)
33    minute = bcd2dec(d[1] & 0x7F)
34    hour = bcd2dec(d[2] & 0x3F)       # 24 saat modu / 24-hour mode
35    day = bcd2dec(d[4] & 0x3F)
36    return hour, minute, day
37
38def set_angle(angle):
39    us = 500 + angle * 1900 // 180    # 500-2400 us darbe / pulse
40    servo.duty_u16(us * 65535 // 20000)
41
42def beep(ms):
43    buzzer.value(1)
44    time.sleep_ms(ms)
45    buzzer.value(0)
46
47def feed(count):
48    beep(300)                         # öğün sinyali / meal signal
49    for _ in range(count):
50        set_angle(OPEN)
51        time.sleep_ms(400)
52        set_angle(CLOSED)
53        time.sleep_ms(500)
54
55# set_time(2027, 1, 25, 8, 0, 0)     # ilk kurulumda bir kez / once at first setup
56
57set_angle(CLOSED)
58prev_feed = 1
59prev_portion = 1
60
61while True:
62    h, m, day = read_time()
63    for sh, sm in SCHEDULE:
64        if h == sh and m == sm:
65            key = day * 1440 + h * 60 + m
66            if key != last_key:       # bu dakikada verilmediyse / not yet served
67                last_key = key
68                feed(portion)
69
70    f = btn_feed.value()
71    if f == 0 and prev_feed == 1:     # basıldığı an / moment of press
72        feed(portion)
73    prev_feed = f
74
75    p = btn_portion.value()
76    if p == 0 and prev_portion == 1:
77        portion = portion % 5 + 1
78        beep(80)
79        print("Porsiyon / Portion:", portion)
80    prev_portion = p
81
82    time.sleep_ms(50)                 # basit debounce / simple debounce
Build and body tips
- Hopper: A 1.5-litre plastic bottle or a plastic storage container with a lid will do. A lid protects the food from moisture and curious paws; use food-safe plastic for parts that touch the food.
- Floor slope: The hopper floor should slope at least 45 degrees. With flatter floors the food stays in the corners and the last meals come out short.
- Outlet: Dry kibble is usually 8–15 mm; make the outlet 25–35 mm. An outlet that's too narrow causes jams, while one that's too wide lets kibble get crushed as the lid closes.
- Lid: Use a plate of foam PVC, foam board or a 3D print and fix it to the servo arm with an M2 screw. Glue alone loosens over time.
- Sturdy base: Cats and dogs push and try to tip the machine over to reach the food. Make the base wide, add weight underneath or fix the body to the wall.
- Cable safety: Cover the adapter cable with a spiral protector and put the electronics in a closed box; a chewed cable is dangerous for both the animal and the device.
- Permanent circuit: A breadboard can work loose with vibration. Solder the working circuit onto perfboard.
Ideas to improve your pet feeder
- Weighed bowl: Measure the bowl's weight with an HX711 and load cell; don't serve a new portion if the bowl is still full, and feed precisely in grams.
- Empty hopper alert: An XKC-Y25 contactless level sensor sticks to the outside of the hopper and notifies you on Telegram when the food runs low.
- Photo notification: With an ESP32-CAM, send a photo of your pet eating to your phone at every meal.
- Automatic water bowl: Refill the water bowl automatically with a mini water pump and a level sensor.
- Voice call: With a DFPlayer Mini, play a call recorded in your own voice at meal time.
- Saving settings: In the Arduino version, write the portion to EEPROM so it doesn't revert to the default when the power goes out.
Common mistakes and how to fix them
| Problem | Likely cause | Fix |
|---|---|---|
| Arduino resets when the servo moves | Servo is powered from the board's 5V pin | Use an external 5 V 2 A adapter and join the GNDs |
| Hopper empties completely at meal time | Feeding repeats within the same minute | Keep the anahtar / sonBesleme check in the code |
| Clock returns to compile time at every power-up | RTC battery missing or dead | Replace the CR2032 and check the battery holder contacts |
| LCD shows only boxes, no text | Contrast setting or wrong I2C address | Turn the potentiometer on the back, try address 0x3F |
| Food jams in the outlet | Outlet too narrow or floor slope too small | Widen the outlet, increase the slope, add a shake movement to the lid |
| Servo buzzes and jitters when closed | Lid doesn't seat fully, servo keeps correcting | Change the CLOSED angle by a few degrees or use kapak.detach() after the movement |
| ESP32 never feeds | NTP not yet synced or no Wi-Fi | Check the connection in the Serial Monitor; the code is written to wait until the time arrives |
An automatic pet feeder combines basics like servo, RTC, buttons and Wi-Fi in a single real-life project, so it's valuable both as a school project and as a device you'll actually use at home. For servo and RTC details, check out the servo motor and RTC clock module posts. In the BlueGrays app you'll find projects on servo use, clocks with RTC, ESP32 NTP and alarms with Telegram notifications, with step-by-step circuit diagrams and code, so you can try each part of this feeder separately.
Frequently asked questions
Which servo motor should I use for an automatic pet feeder?
An SG90 is enough for a light lid and is the cheapest option. If the lid is heavy, the hopper is large or the food presses on the lid, choose a metal-gear MG90S or MG996R. For auger or rotating-drum mechanisms, a continuous-rotation FS90R servo or a 28BYJ-48 stepper motor is more suitable.
Does the pet feeder forget the time if the power goes out?
Thanks to the CR2032 battery in the RTC module, the time is kept and the machine keeps feeding at the right time when power returns. However, a meal that falls during the outage is skipped. The ESP32 version gets the time from the internet via NTP once it reconnects to Wi-Fi.
How many meals a day can an Arduino pet feeder serve?
You can define as many meals as you like by adding new rows to the ogunler array in the code. The Arduino Uno's memory is more than enough for dozens of meals. The practical limit is your pet's daily needs and the meal schedule your vet recommends.
Can the pet feeder run on a power bank or batteries?
For short periods, yes; a power bank with a 5 V output is the most practical option. An Arduino Uno and LCD together draw about 60–70 mA, so a 10000 mAh power bank lasts roughly 3–4 days. Some power banks switch themselves off at low current, so a 5 V adapter is more reliable for long-term use.
Can I control the ESP32 pet feeder from outside my home?
The web panel in the example works only on the same Wi-Fi network. For remote control, you can add a feature to the Telegram bot that listens for commands such as /feed, or use an MQTT or cloud service such as Blynk. Opening port forwarding on your router isn't recommended for security reasons.
Can an automatic pet feeder be used for wet food?
A servo lid hopper is for dry food only; wet food doesn't flow, builds up on the lid and spoils quickly. For wet food you need designs where each meal waits in a separate compartment and the compartment lid is opened by a servo at the scheduled time, preferably cooled with an ice pack.
Projects to build after reading this
See all projects
Toggle an LED with a Button (On/Off)
Press the button once and the light comes on, press it again and it goes off, just like the light switch in your room.
Using a Servo Motor
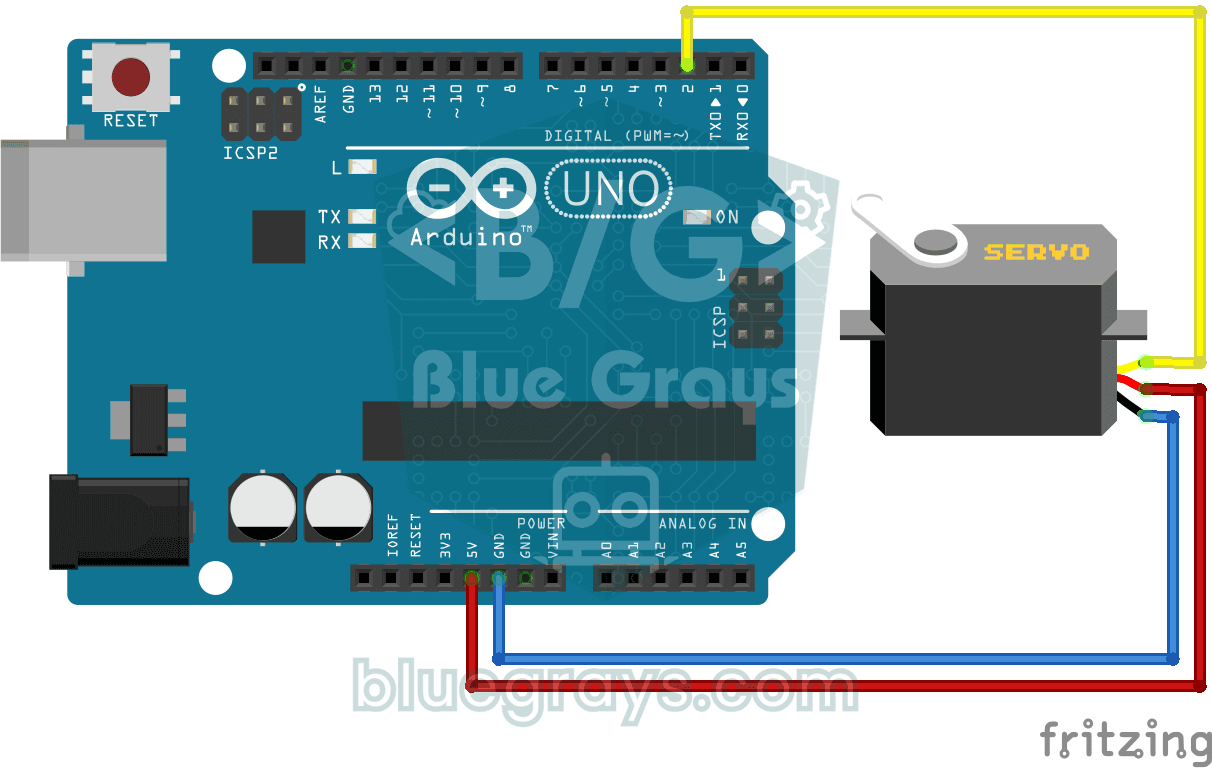
The arm of a small servo motor turns to three positions in turn: all the way to the start, right to the middle and all the way to the end, waiting two seconds at each stop.
DS1302 RTC Clock Module Setup
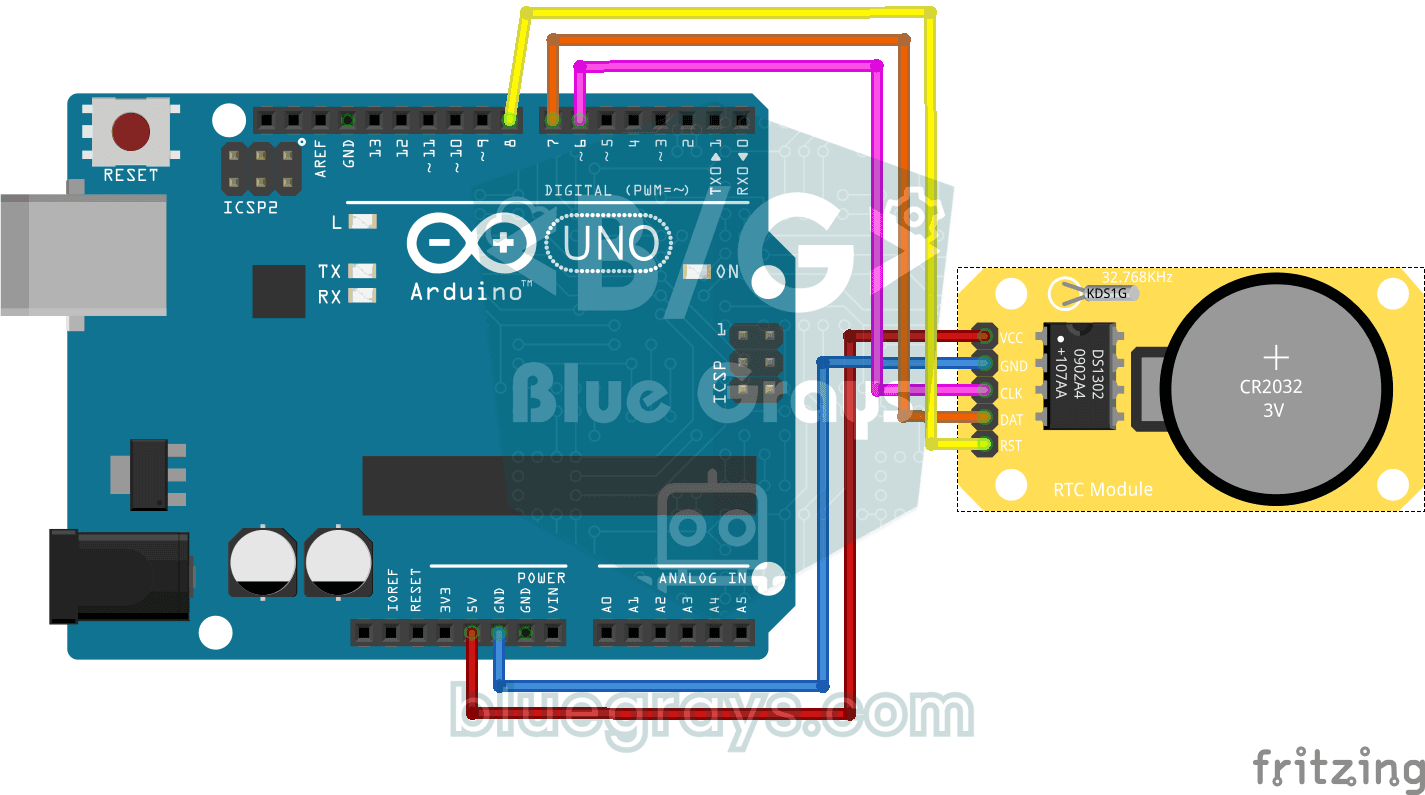
You get a small clock module running that never forgets the time, even when the Arduino is switched off.
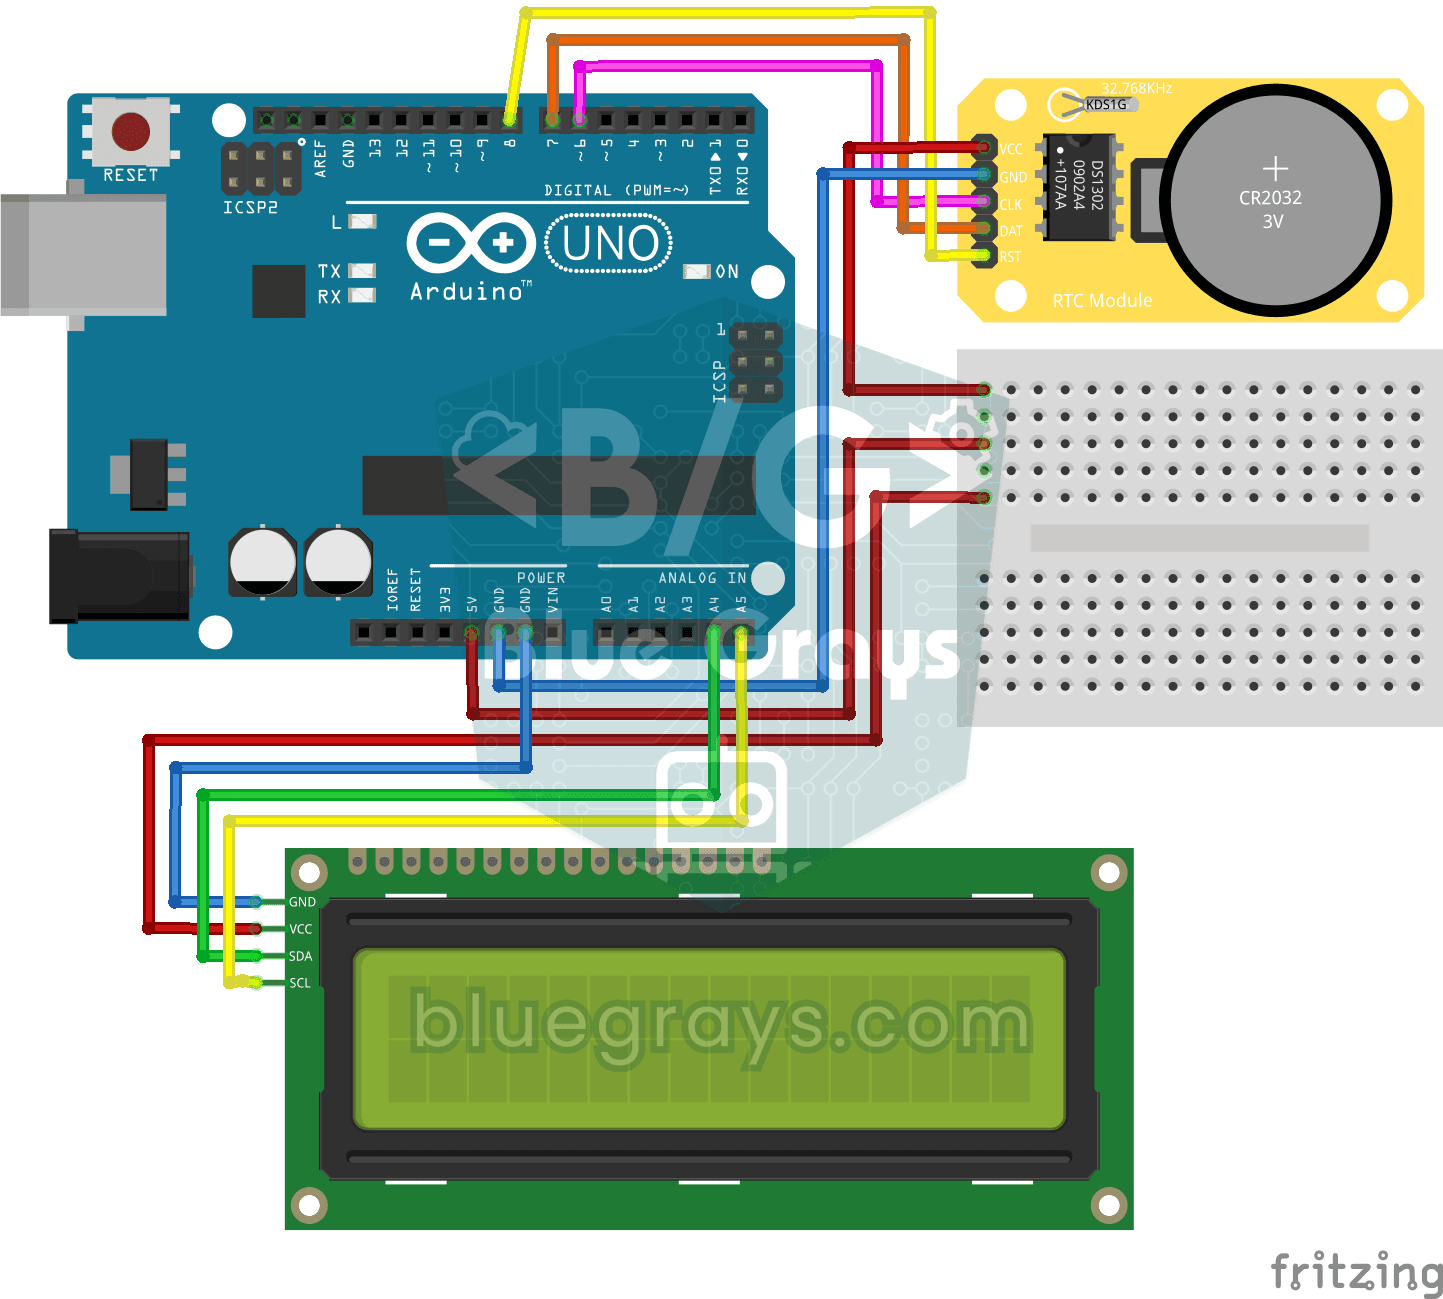
DS1302 RTC Clock with LCD Display
A little desk clock that keeps the time even when the power goes out. The DS1302 clock module keeps time thanks to its own tiny battery; every second the Arduino reads it and writes the time and date…

Digital Clock with ESP32 and DS1307 RTC (I2C + LCD)
In this project, we display the time and date on a 16x2 I2C LCD screen using the DS1307 real-time clock (RTC) module. The DS1307 is a battery-backed RTC that maintains the time even if the ESP32 is powered off. Both modules share the same I2C bus (SDA/SCL), allowing us to learn how to control multiple devices using just two signal wires. Through this project, you will gain practical knowledge of the I2C communication protocol, RTC module operation, and dynamic data display on an LCD screen.

Real-Time Clock from the Internet via ESP32 NTP
The ESP32 connects to Wi-Fi and fetches the real time from NTP (Network Time Protocol) servers with millisecond precision. configTzTime() applies the Turkey time zone (TRT, UTC+3) automatically, and in countries with daylight saving time the DST switch is handled by a POSIX TZ string. The time is printed both to the Serial Monitor and to an optional I2C LCD.
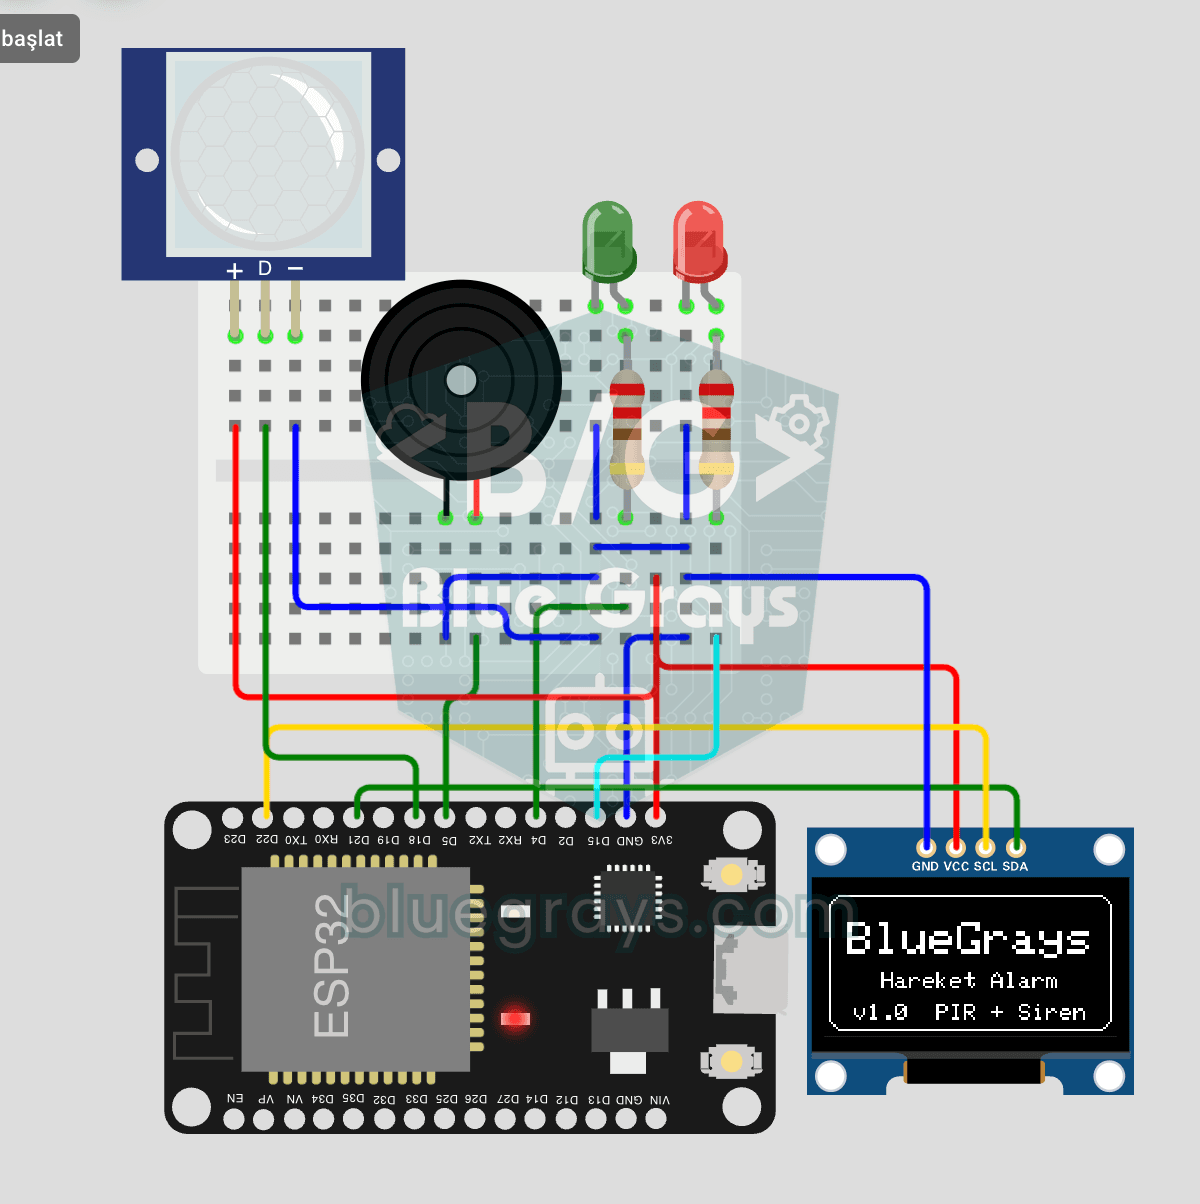
ESP32 Motion Alarm System (PIR + Buzzer + LED + Telegram)
A smart security alarm: when the PIR sensor detects motion, it sounds the buzzer, lights the LED and sends the owner an instant Telegram notification. A 30-second cooldown limits how often the alarm repeats; it does not filter out the PIR sensor's false detections. Use it at home, in a garage, a storeroom or a study.