
ESP32 Universal IR Remote: Learn, Save and Send TV and AC Codes
Build an ESP32 universal IR remote: learn TV and AC codes with IRremoteESP8266, save them and send from your phone. Protocol table, IR LED driver and range.

An ESP32 universal IR remote brings the remotes for your TV, air conditioner, LED strip and stereo together in one device that you control from a web page on your phone. The idea is simple: with an infrared receiver the ESP32 learns the code your original remote sends, saves it to permanent memory and sends the same code through an IR LED whenever you ask. Because the IRremoteESP8266 library recognises more than a hundred protocols, it can decode TV keys as well as the long air-conditioner messages that carry temperature and fan settings.
In this guide you'll first see how infrared remotes work and how the NEC, Sony, Samsung, RC5 and air-conditioner protocols differ. Then you'll learn to drive the IR LED with a transistor, calculate the resistor values and the range, read your remote's codes, save them on the ESP32 and send them from your phone, and finally control an air conditioner by temperature directly, without learning anything. The sketches work with both the 2.x and 3.x versions of the ESP32 core.
How does a universal IR remote work?
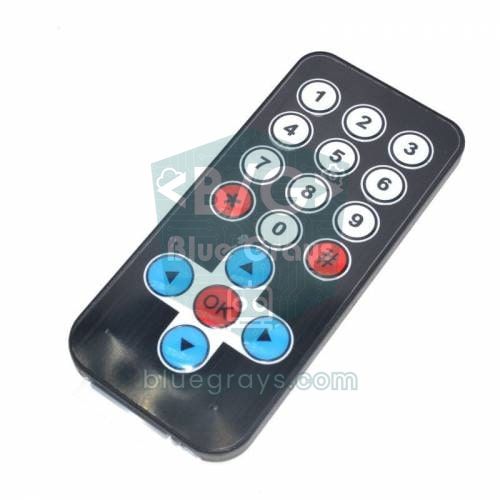
A remote uses an IR LED that emits invisible light at 940 nm. Because the sun and lamps also give off infrared, the remote doesn't keep the LED on; it flashes it 38,000 times a second (a 38 kHz carrier) and carries the information in the length of these bursts. Receiver modules such as the VS1838B or TSOP38238 only respond to that frequency: they strip the carrier and pull their output LOW for each burst. The ESP32 then reads the code by timing the pulses and gaps in microseconds. Sending is the reverse: the ESP32 applies the same timings to the IR LED with a 38 kHz modulation. We covered receiver basics in IR receiver and remote.
| Protocol | Carrier | Length | Used in | Note |
|---|---|---|---|---|
| NEC | 38 kHz | 32 bits | Many TVs, LED strip remotes, the remotes in Arduino kits | Sends a short repeat code while a key is held |
| Samsung | 38 kHz | 32 bits | Samsung TVs | Similar to NEC with a different start pulse |
| Sony SIRC | 40 kHz | 12, 15 or 20 bits | Sony TVs and audio systems | The command must be sent at least 3 times in a row |
| RC5 / RC6 | 36 kHz | 13–20 bits and more | Philips and some European brands | A toggle bit changes with every new press |
| LG | 38 kHz | 28 bits | LG TVs and air conditioners | The library treats it as a separate protocol |
| Air conditioner (Daikin, Mitsubishi, Gree, Midea, Fujitsu, etc.) | Mostly 38 kHz | 24–280 bits | Split air conditioners | Every press sends the full state, including mode, temperature and fan |
The biggest difference in the table is between the TV and the air conditioner. A TV remote sends a key code: "volume up" is always the same 32-bit number, and the TV itself knows its current volume. An AC remote, by contrast, sends the whole state you see on its display: on, cooling, 24 °C, fan auto, swing. A code learnt from an air conditioner is therefore a snapshot of the current setting; when you send it again, the unit switches to exactly that setting. Changing the temperature step by step needs one recording per degree, or you generate the message in code, as you'll see below.
Parts and circuit
- ESP32 development board (ESP32 DevKit, 30 or 38 pins)
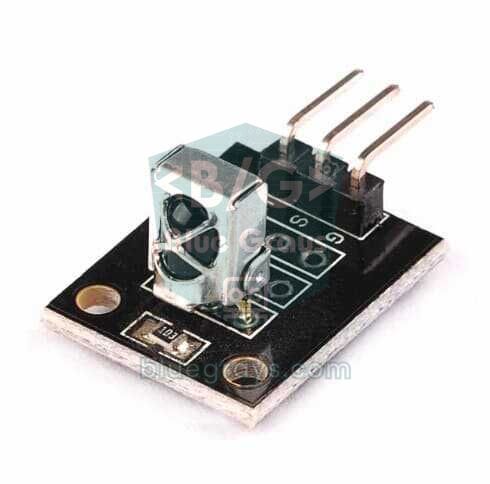
- 38 kHz IR receiver module (VS1838B or TSOP38238)
- 940 nm 5 mm IR LED (a narrow-angle model such as the TSAL6100 increases range)
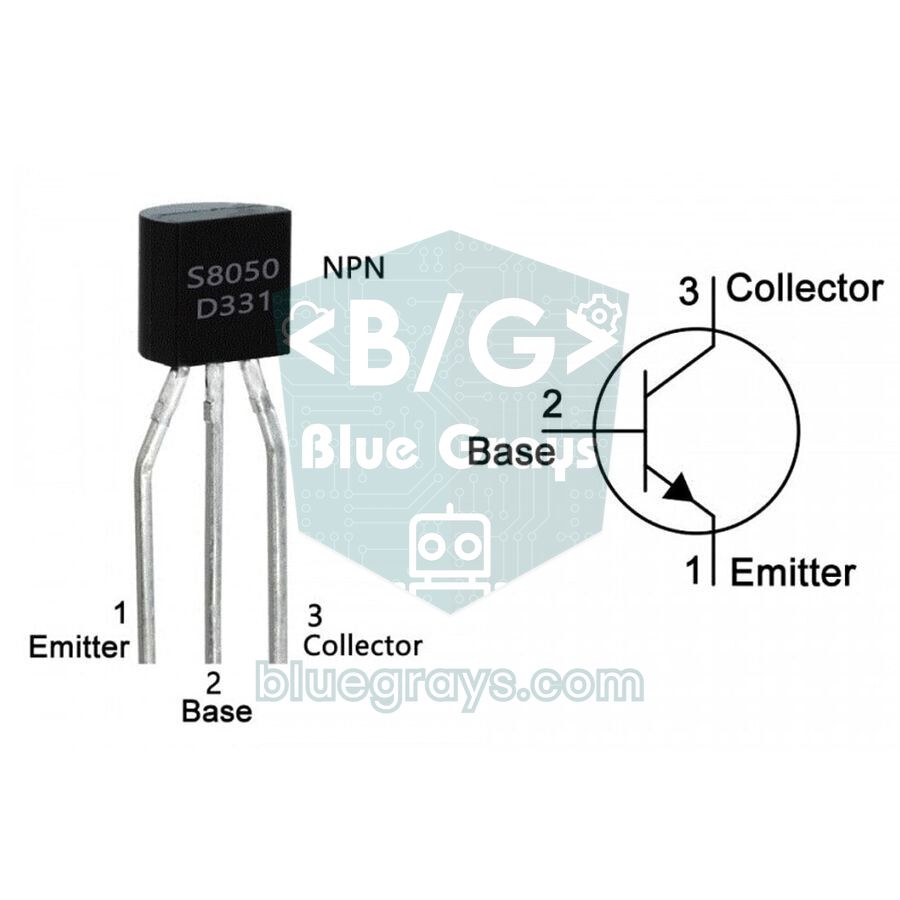
- NPN transistor: 2N2222, BC337 or S8050
- 470 Ω (base) and 33 Ω (LED) resistors, 1/4 W
- 100 µF electrolytic capacitor
- Breadboard, jumper wires and a 5 V USB adapter

| Part and pin | ESP32 connection | Note |
|---|---|---|
| IR receiver OUT | GPIO 15 | The module has its own pull-up resistor |
| IR receiver VCC / GND | 3V3 / GND | Don't use 5 V: the output would rise to 5 V too |
| Transistor base | GPIO 4 through 470 Ω | Base current about 5.5 mA |
| Transistor emitter | GND | — |
| Transistor collector | IR LED cathode (short leg) | — |
| IR LED anode (long leg) | 5V (VIN) through 33 Ω | Pulse current about 100 mA |
| 100 µF capacitor | Between 5V and GND, close to the LED | Handles the current pulses |
IR LED driver transistor: resistor calculation
Here the transistor works as a switch: when GPIO 4 goes HIGH, base current flows, the transistor saturates and the LED current comes from the 5V rail rather than the ESP32. The LED resistor follows from Ohm's law: R = (5 − 1.4 − 0.2) / 0.1 ≈ 34 Ω. Here 1.4 V is the IR LED's forward voltage at 100 mA and 0.2 V is the drop across the saturated transistor; the nearest standard value is 33 Ω. Through the base resistor flows (3.3 − 0.7) / 470 ≈ 5.5 mA, which comfortably saturates the transistor for a 100 mA collector current. The resistor's instantaneous power is 0.1² × 33 ≈ 0.33 W, but the LED is only on half the time at 38 kHz and not continuously during a message, so the average power stays below 0.1 W and a 1/4 W resistor is enough. You can try other values with the LED resistor calculator and the transistor tool.
| LED current | One LED (5 V) | Two LEDs in series (5 V) | Note |
|---|---|---|---|
| 50 mA | 68 Ω | 39 Ω | Short range, low consumption |
| 100 mA | 33 Ω | 22 Ω | Recommended; safe for continuous use |
| 200 mA (pulsed only) | 15 Ω | 8.2 Ω | Longest range; check the LED's pulse current limit |
Range calculation: how far does the remote reach?
Light weakens with the square of the distance: the irradiance at the receiver is E = Ie / d². Ie is the LED's radiant intensity per steradian (mW/sr), listed in its datasheet. The minimum irradiance a TSOP38238-class receiver needs to work (Ee min) is about 0.25 mW/m². Solving for distance gives d = √(Ie / Ee min). A ±10° narrow-angle LED such as the TSAL6100 gives about 130 mW/sr at 100 mA: d = √(130 / 0.25) = √520 ≈ 23 m. That's the theoretical limit with the LED aimed straight at the receiver in a dark room; sunlight, fluorescent lamps and angle mean you should count on about half in practice. Doubling the current only increases the range by √2 ≈ 1.4, so for a large room, a second LED pointed in another direction is often more effective.
| LED current and drive | Radiant intensity (narrow-angle LED) | Theoretical range | Practical range |
|---|---|---|---|
| 20 mA, straight from a GPIO | About 26 mW/sr | About 10 m | 3–5 m |
| 100 mA, transistor and 33 Ω | About 130 mW/sr | About 23 m | 8–12 m |
| 200 mA pulsed, transistor and 15 Ω | About 260 mW/sr | About 32 m | 12–16 m |
| 2 LEDs × 100 mA, different directions | 130 mW/sr each | 23 m per direction | Wide coverage across the room |
Installing the IRremoteESP8266 library
- In the Arduino IDE, install the ESP32 package from the Boards Manager and select ESP32 Dev Module; the setup is covered in What Is the ESP32?.
- In the Library Manager, search for IRremoteESP8266 and install the library by David Conran and team.
- If you're on version 3.x of the ESP32 core, choose library version 2.9.0 or newer; 2.8.6 and earlier fail to compile on core 3.x with a timer error.
- The similarly named IRremote library is a different library; the sketches in this guide are for IRremoteESP8266.
Step 1: reading your remote's keys
The first sketch decodes every signal that reaches the receiver and prints three things to the Serial Monitor: the protocol and code, a readable state line if it's an air conditioner, and finally the raw timings. The capture buffer is set to 1024 entries and the timeout to 50 ms; AC messages contain hundreds of pulses and arrive in several parts, so the default values would cut them short. Upload the code, open the Serial Monitor at 115200 baud, point the remote at the receiver and press a key.
1#include <Arduino.h>
2#include <IRremoteESP8266.h>
3#include <IRrecv.h>
4#include <IRutils.h>
5#include <IRac.h>
6
7const uint16_t RECV_PIN = 15;          // IR alıcı OUT / IR receiver OUT
8const uint16_t CAPTURE_SIZE = 1024;    // klima mesajları uzundur / AC messages are long
9const uint8_t MSG_TIMEOUT = 50;        // klimalar için 50 ms / 50 ms for AC units
10
11IRrecv irrecv(RECV_PIN, CAPTURE_SIZE, MSG_TIMEOUT, true);
12decode_results results;
13
14void setup() {
15  Serial.begin(115200);
16  irrecv.setUnknownThreshold(12);      // çok kısa gürültüyü yok say / ignore very short noise
17  irrecv.enableIRIn();
18  Serial.println(F("Kumandayi aliciya tut ve bir tusa bas / point a remote at the receiver and press a key"));
19}
20
21void loop() {
22  if (irrecv.decode(&results)) {
23    Serial.println(resultToHumanReadableBasic(&results));   // protokol, kod, bit / protocol, code, bits
24    String ac = IRAcUtils::resultAcToString(&results);      // klimaysa durum metni / AC state as text
25    if (ac.length()) Serial.println(ac);
26    Serial.println(resultToSourceCode(&results));            // ham süreler / raw timings
27    Serial.println();
28    irrecv.resume();                                         // sonraki koda hazırlan / ready for the next code
29  }
30}
On an LG TV's power key you'll see a line such as Protocol : NEC, Code : 0x20DF10EF (32 Bits), and on a Samsung TV SAMSUNG 0xE0E040BF. With an AC remote the protocol name will be something like DAIKIN, GREE or COOLIX, followed by a line with the mode, temperature and fan. If you hold a key down, NEC remotes send a short repeat code instead of the real code; that has to be skipped while learning. When the library doesn't recognise a protocol it prints UNKNOWN; such codes can still be saved with their raw timings and sent back exactly as they were.
Step 2: saving codes and sending them from your phone
The actual universal remote is the code below. The ESP32 joins your Wi-Fi network and serves a six-key web page; each row has a Learn button and a Send button. After you press Learn you have 10 seconds to press the key on the original remote; the ESP32 decodes the code and writes it to permanent memory (NVS) with the Preferences library, so the codes survive a power cut. TV codes are stored as protocol, bit count and a 64-bit value, AC codes with all their state bytes and unknown codes with their raw timings. For web server basics, see ESP32 web server.
1#include <WiFi.h>
2#include <WebServer.h>
3#include <Preferences.h>
4#include <IRremoteESP8266.h>
5#include <IRrecv.h>
6#include <IRsend.h>
7#include <IRutils.h>
8
9const char* ssid = "AgAdi";               // Wi-Fi adın / your Wi-Fi name
10const char* password = "Sifre123";       // Wi-Fi şifren / your Wi-Fi password
11const uint16_t RECV_PIN = 15;            // IR alıcı OUT / IR receiver OUT
12const uint16_t SEND_PIN = 4;             // transistör bazı (470 ohm) / transistor base (470 ohm)
13const uint8_t SLOT_COUNT = 6;
14const uint16_t MAX_RAW = 300;            // ham kodda en fazla 300 süre / up to 300 timings in a raw code
15const char* NAMES[SLOT_COUNT] = {"TV Power", "Volume +", "Volume -", "Channel +", "AC 24C", "AC Off"};
16
17struct IrCode {                          // bir tuşun kaydı / one key's record
18  int16_t protocol;                      // decode_type_t, -1 = boş / empty
19  uint16_t bits;
20  uint64_t value;                        // TV gibi kısa kodlar / short codes such as TV keys
21  uint8_t state[kStateSizeMax];          // klimanın tüm durumu / the AC's full state
22  uint16_t rawLen;                       // tanınmayan kodlarda ham uzunluk / raw length for unknown codes
23};
24
25IRrecv irrecv(RECV_PIN, 1024, 50, true);
26IRsend irsend(SEND_PIN);
27WebServer server(80);
28Preferences prefs;
29decode_results results;
30IrCode codes[SLOT_COUNT];
31int learningSlot = -1;                   // öğrenilen tuş, -1 = yok / slot being learned, -1 = none
32unsigned long learnStart = 0;
33String lastInfo = "-";
34
35void slotKey(char* key, char type, uint8_t s) {   // NVS anahtarı: c0, r0 ... / NVS key
36  key[0] = type;
37  key[1] = '0' + s;
38  key[2] = 0;
39}
40
41void storeResult(uint8_t s) {
42  IrCode& c = codes[s];
43  c.protocol = results.decode_type;
44  c.bits = results.bits;
45  c.rawLen = 0;
46  char key[3];
47  if (hasACState(results.decode_type)) {
48    memcpy(c.state, results.state, results.bits / 8);   // klima: durum baytları / AC: state bytes
49  } else {
50    c.value = results.value;                             // TV: tuş kodu / TV: key code
51  }
52  if (results.decode_type == UNKNOWN) {                  // tanınmadı: ham süreleri sakla / unknown: keep raw timings
53    uint16_t* raw = resultToRawArray(&results);
54    uint16_t len = getCorrectedRawLength(&results);
55    if (len > MAX_RAW) len = MAX_RAW;
56    slotKey(key, 'r', s);
57    prefs.putBytes(key, raw, len * sizeof(uint16_t));
58    c.rawLen = len;
59    delete[] raw;                                        // kütüphane new ile ayırır / allocated with new
60  }
61  slotKey(key, 'c', s);
62  prefs.putBytes(key, &c, sizeof(IrCode));               // elektrik kesilse de kalır / survives power loss
63  lastInfo = String(NAMES[s]) + ": " + typeToString(results.decode_type) + " " + String(results.bits) + " bit";
64}
65
66void sendSlot(uint8_t s) {
67  IrCode& c = codes[s];
68  if (c.protocol < 0) return;
69  decode_type_t type = (decode_type_t)c.protocol;
70  irrecv.disableIRIn();                                  // kendi sinyalimizi okumayalım / don't read our own signal
71  if (type == UNKNOWN && c.rawLen > 0) {
72    uint16_t raw[MAX_RAW];
73    char key[3];
74    slotKey(key, 'r', s);
75    size_t n = prefs.getBytes(key, raw, sizeof(raw)) / sizeof(uint16_t);
76    irsend.sendRaw(raw, n, 38);                          // 38 kHz taşıyıcı / 38 kHz carrier
77  } else if (hasACState(type)) {
78    irsend.send(type, c.state, c.bits / 8);              // klima durum mesajı / AC state message
79  } else {
80    irsend.send(type, c.value, c.bits);                  // TV tuş kodu / TV key code
81  }
82  irrecv.enableIRIn();
83  lastInfo = String("Sent: ") + NAMES[s];
84}
85
86void handleRoot() {
87  String html = "<!DOCTYPE html><html><head><meta name='viewport' content='width=device-width,initial-scale=1'>"
88                "<title>IR Remote</title><style>body{font-family:sans-serif;margin:16px}"
89                "button{padding:10px 14px;margin:3px}td{padding:5px}</style></head>"
90                "<body><h2>ESP32 IR Remote</h2><p id='st'>-</p><table>";
91  for (uint8_t i = 0; i < SLOT_COUNT; i++) {
92    html += "<tr><td>" + String(NAMES[i]) + "</td><td>";
93    html += codes[i].protocol < 0 ? String("empty") : typeToString((decode_type_t)codes[i].protocol);
94    html += "</td><td><button onclick='go(\"send\"," + String(i) + ")'>Send</button>";
95    html += "<button onclick='go(\"learn\"," + String(i) + ")'>Learn</button></td></tr>";
96  }
97  html += "</table><script>function go(a,i){fetch('/'+a+'?s='+i)}"
98          "setInterval(()=>fetch('/status').then(r=>r.text()).then(t=>document.getElementById('st').textContent=t),1000)"
99          "</script></body></html>";
100  server.send(200, "text/html", html);
101}
102
103int slotArg() {                                          // ?s= parametresi / the ?s= parameter
104  int s = server.hasArg("s") ? server.arg("s").toInt() : -1;
105  return (s >= 0 && s < SLOT_COUNT) ? s : -1;
106}
107
108void handleSend() {
109  int s = slotArg();
110  if (s >= 0) sendSlot(s);
111  server.send(200, "text/plain", "ok");
112}
113
114void handleLearn() {
115  learningSlot = slotArg();
116  learnStart = millis();
117  if (learningSlot >= 0) lastInfo = String("Press the key for ") + NAMES[learningSlot];
118  server.send(200, "text/plain", "ok");
119}
120
121void setup() {
122  Serial.begin(115200);
123  prefs.begin("irremote", false);
124  for (uint8_t i = 0; i < SLOT_COUNT; i++) {             // kayıtlı kodları yükle / load saved codes
125    char key[3];
126    slotKey(key, 'c', i);
127    if (prefs.getBytes(key, &codes[i], sizeof(IrCode)) != sizeof(IrCode)) codes[i].protocol = -1;
128  }
129  irsend.begin();
130  irrecv.setUnknownThreshold(12);
131  irrecv.enableIRIn();
132  WiFi.begin(ssid, password);
133  while (WiFi.status() != WL_CONNECTED) delay(300);
134  Serial.print(F("IP: "));
135  Serial.println(WiFi.localIP());                        // bu adresi telefonda aç / open this on your phone
136  server.on("/", handleRoot);
137  server.on("/send", handleSend);
138  server.on("/learn", handleLearn);
139  server.on("/status", []() { server.send(200, "text/plain", lastInfo); });
140  server.begin();
141}
142
143void loop() {
144  server.handleClient();
145  if (irrecv.decode(&results)) {
146    if (learningSlot >= 0 && !results.repeat) {          // NEC tekrar kodunu atla / skip NEC repeat codes
147      storeResult(learningSlot);
148      learningSlot = -1;
149    }
150    irrecv.resume();
151  }
152  if (learningSlot >= 0 && millis() - learnStart > 10000) {   // 10 sn içinde kod yoksa vazgeç / give up after 10 s
153    learningSlot = -1;
154    lastInfo = "Timeout";
155  }
156}| Part of the code | What it does |
|---|---|
| IrCode structure | Holds a key's protocol, bit count, TV code or AC state bytes and raw length |
| storeResult() | Copies the received signal into the structure; writes the raw timings of unknown codes under a separate key |
| sendSlot() | Calls sendRaw() for raw codes, send(type, state, bytes) for an AC or send(type, value, bits) for a TV |
| Preferences (NVS) | Stores the keys under c0–c5 and the raw timings under r0–r5 |
| disableIRIn() / enableIRIn() | Switches the receiver off while sending, so the ESP32 doesn't learn its own signal |
| /learn, /send, /status | The addresses called by the page's buttons; the status line refreshes every second |
- Enter your network name and password, upload the code and open the IP address shown in the Serial Monitor on a phone on the same network.
- Press Learn on the TV Power row; the message "Press the key for TV Power" appears at the top of the page.
- Within 10 seconds, point the TV remote at the receiver and press power once; the status line shows something like "TV Power: NEC 32 bit".
- For the AC, first set the original remote to the setting you want (cooling, 24 °C, for example), then press Learn on the AC 24C row and press the remote's power key.
- Reload the page; the protocol names appear in the table. Test your devices with the Send buttons, pointing the IR LED at them.
Air-conditioner remote: setting the temperature without learning
Instead of learning every temperature of your AC, you can generate the message in code. IRremoteESP8266's IRac class builds the messages for dozens of brands, including Daikin, Mitsubishi, Fujitsu, Gree, Midea, Samsung, LG, Toshiba and Panasonic, from a common structure: you fill in the mode, temperature, fan and swing, and sendAc() sends it all in one go. Find your AC's protocol name with the reading sketch from step 1 and put it in the code below. In the Serial Monitor, o switches the AC on and off and + and - change the temperature between 16 and 30 °C.
1#include <Arduino.h>
2#include <IRremoteESP8266.h>
3#include <IRac.h>
4#include <IRutils.h>
5
6const uint16_t SEND_PIN = 4;                   // transistör bazı / transistor base
7IRac ac(SEND_PIN);
8
9void setup() {
10  Serial.begin(115200);
11  ac.next.protocol = decode_type_t::DAIKIN;    // okuma kodunda gördüğün protokol / protocol from the dump sketch
12  ac.next.model = 1;                           // çoğu markada 1 / 1 for most brands
13  ac.next.mode = stdAc::opmode_t::kCool;       // soğutma / cooling
14  ac.next.celsius = true;
15  ac.next.degrees = 24;
16  ac.next.fanspeed = stdAc::fanspeed_t::kAuto;
17  ac.next.swingv = stdAc::swingv_t::kAuto;
18  ac.next.power = false;                       // kapalı başla / start switched off
19  Serial.println(F("o: ac/kapa on/off | +/-: derece / degrees"));
20}
21
22void loop() {
23  if (!Serial.available()) return;
24  char key = Serial.read();
25  if (key == '+' && ac.next.degrees < 30) ac.next.degrees++;
26  else if (key == '-' && ac.next.degrees > 16) ac.next.degrees--;
27  else if (key == 'o') ac.next.power = !ac.next.power;
28  else return;                                 // diğer tuşları yok say / ignore other keys
29  ac.sendAc();                                 // tüm durumu tek mesajda gönder / send the full state in one message
30  Serial.printf("Power %d, %.0f C\n", ac.next.power, ac.next.degrees);
31}
Some brands have more than one model; if the AC doesn't respond, try setting model to 2 or 3. The great advantage of this method is that you can tie the temperature to a sensor: a simple thermostat that switches the AC on above 26 °C and off below 22 °C takes just a few lines. The logic is the same as the hysteresis control in Arduino thermostat. Because the message structure is shared, you only change the protocol line when you change air conditioners.
Project ideas
- Scheduled AC: use NTP time to switch the AC on half an hour before you get home.
- Temperature-driven AC: measure the room with a DHT11 or DHT22 and run the AC automatically with IRac.
- Control from Telegram: switch the AC on while you're out with a message to a Telegram bot.
- Home Assistant integration: add the keys to Home Assistant via MQTT and use them with a voice assistant.
- TV off in an empty room: if a PIR sensor sees no movement for 30 minutes, send the TV its power-off code.
- LED strip remote: learn the 24- or 44-key NEC remotes of RGB strips and change the colours of an RGB LED strip from your phone.
Common mistakes and how to fix them
| Symptom | Likely cause | Fix |
|---|---|---|
| Nothing appears in the Serial Monitor | Wrong receiver pin, receiver not 38 kHz or a loose wire | Check that OUT is on GPIO 15; try the remote from 20–50 cm |
| The AC code arrives cut short or as UNKNOWN | Buffer too small or timeout too short | Raise the buffer to 1024 and the timeout to 50 ms (as in the sketches) |
| The code is learnt but the device doesn't respond | Weak or misaimed LED, or a repeat code was learnt | Check the LED with a camera and learn again with one short press |
| Range of only 1–2 metres | LED driven straight from the GPIO or resistor too large | Supply 100 mA with the transistor and 33 Ω, use a narrow-angle LED |
| A Sony TV doesn't react the first time | The Sony protocol needs repeats | send() adds at least two repeats by itself; learn the key again |
| Timer error when compiling | Old library with ESP32 core 3.x | Update IRremoteESP8266 to version 2.9.0 or newer |
| The AC jumps to a different setting with every send | Codes learnt with different settings are mixed up | Learn each setting on its own row or generate the message with IRac |
| The receiver learns a new code after a send | The ESP32 is reading its own signal | Use disableIRIn() while sending and place the receiver behind the LED |
A universal remote is the cheapest way to make old devices at home smart, combining the ESP32's Wi-Fi with a simple IR circuit. First identify your remotes with the reading sketch, then learn and save the codes, and use IRac to control the AC's temperature directly. In the BlueGrays app you'll find reading remote codes with an IR receiver, controlling an LED and a 220 V lamp with a remote, an ESP32 IR receiver with an LCD and the ESP32 IR Universal Remote with an OLED display, each with step-by-step circuit diagrams and ready-to-use code.
Frequently asked questions
How do I make a universal remote with an ESP32?
Connect a 38 kHz IR receiver and an IR LED driven by a transistor to the ESP32. The IRremoteESP8266 library decodes the remote codes, you save them to permanent memory with Preferences and send them back with the buttons on the web page the ESP32 serves. That lets you control the TV, AC and LED strips from your phone.
Which air conditioner brands does IRremoteESP8266 support?
The library recognises more than a hundred protocols, including Daikin, Mitsubishi, Fujitsu, Gree, Midea, Samsung, LG, Toshiba, Panasonic and Haier. The reading sketch shows which protocol your AC uses. Even if the protocol isn't recognised, the code can be saved with its raw timings and sent back unchanged.
How can I increase the range of an IR LED?
Drive the LED at around 100 mA with an NPN transistor instead of a GPIO, choose a narrow-angle 940 nm LED and point it at the device. Range grows with the square root of the current, so doubling the current only gains about 1.4 times. In large rooms, adding a second LED facing another direction is more effective.
Why does my remote code show up as UNKNOWN?
Either the library doesn't know that protocol or the signal was only partly captured. First raise the capture buffer to 1024 and the timeout to 50 ms and try again. If it's still UNKNOWN, saving the code with its raw timings and sending it with sendRaw() at 38 kHz works with most devices.
Can I power the IR receiver from 5 V on an ESP32?
You shouldn't. Powered from 5 V, the receiver's output also swings to 5 V and can damage the ESP32's 3.3 V input. VS1838B and TSOP38238 modules work perfectly at 3.3 V, so connect VCC to the 3V3 pin.
Are saved IR codes lost when the power goes off?
No. The sketch in this guide writes the learnt keys to the NVS partition of the ESP32's flash memory with the Preferences library and loads them again at start-up. To delete a code, just learn a new one on the same row or call prefs.clear().
Projects to build after reading this
See all projects
ESP32 IR Universal Remote (IR Receiver + Remote Control + 3 LEDs + Buzzer + OLED)
Read a ready-made IR remote with the ESP32 and control your own device! The infrared receiver (NEC protocol, 38kHz) captures the signals of a 20-key remote: keys 1/2/3 toggle three separate LEDs and PWR turns them all off. Press an unknown key and the OLED shows its HEX code, so you can easily add your own remote's buttons to the code.

Remote Control with ESP32 IR Receiver (with LCD Screen)
In this project, we use the TSOP4838 IR receiver module to capture signals from a TV, air conditioner, or any other infrared remote control using the ESP32. With the IRremote v4 library, we display decoded nonzero raw codes on the I2C LCD screen. This example is intended to help identify remote control codes; it does not include turning an LED on or off or adjusting its brightness with the remote. This is a great starting point for converting old remotes into smart home controls.
Reading IR Remote Control Codes
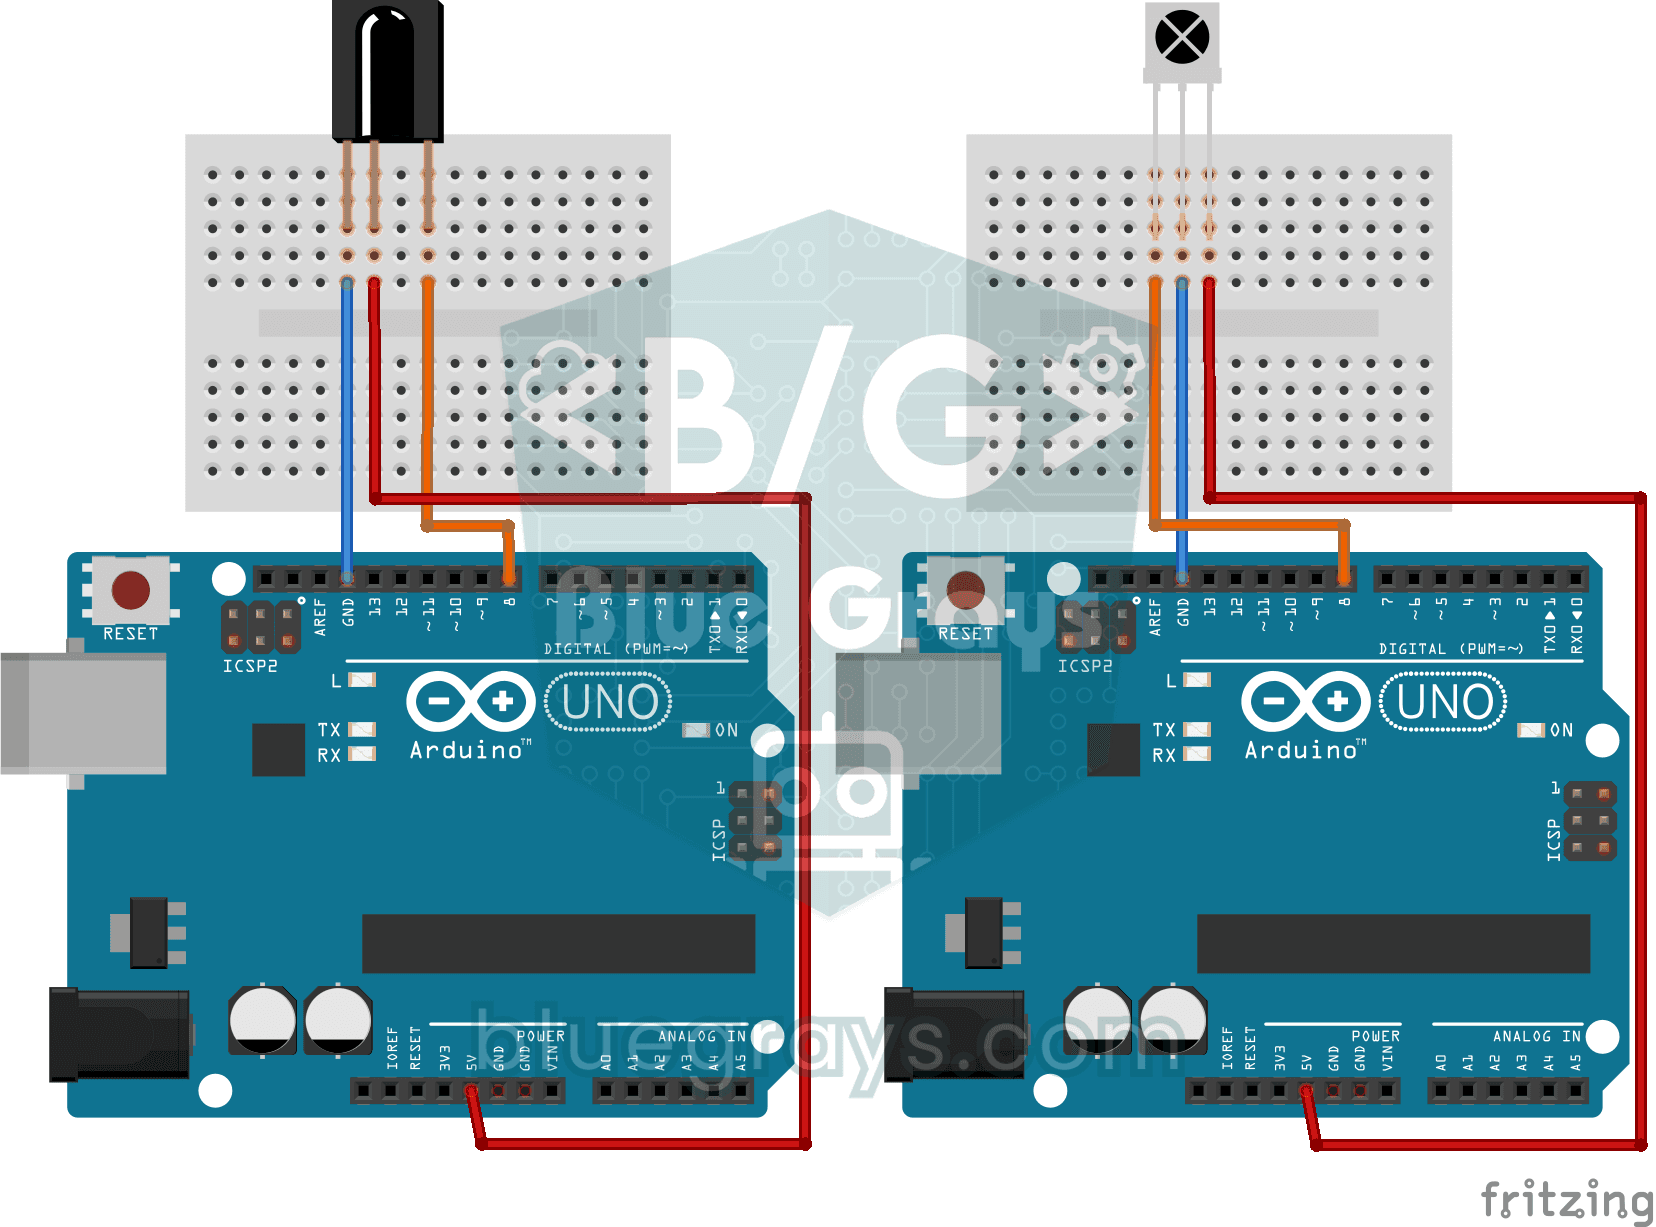
Every button on your TV remote sends a secret code using light you cannot see. The infrared receiver catches that light, and the Arduino writes the code of every button you press on your computer…
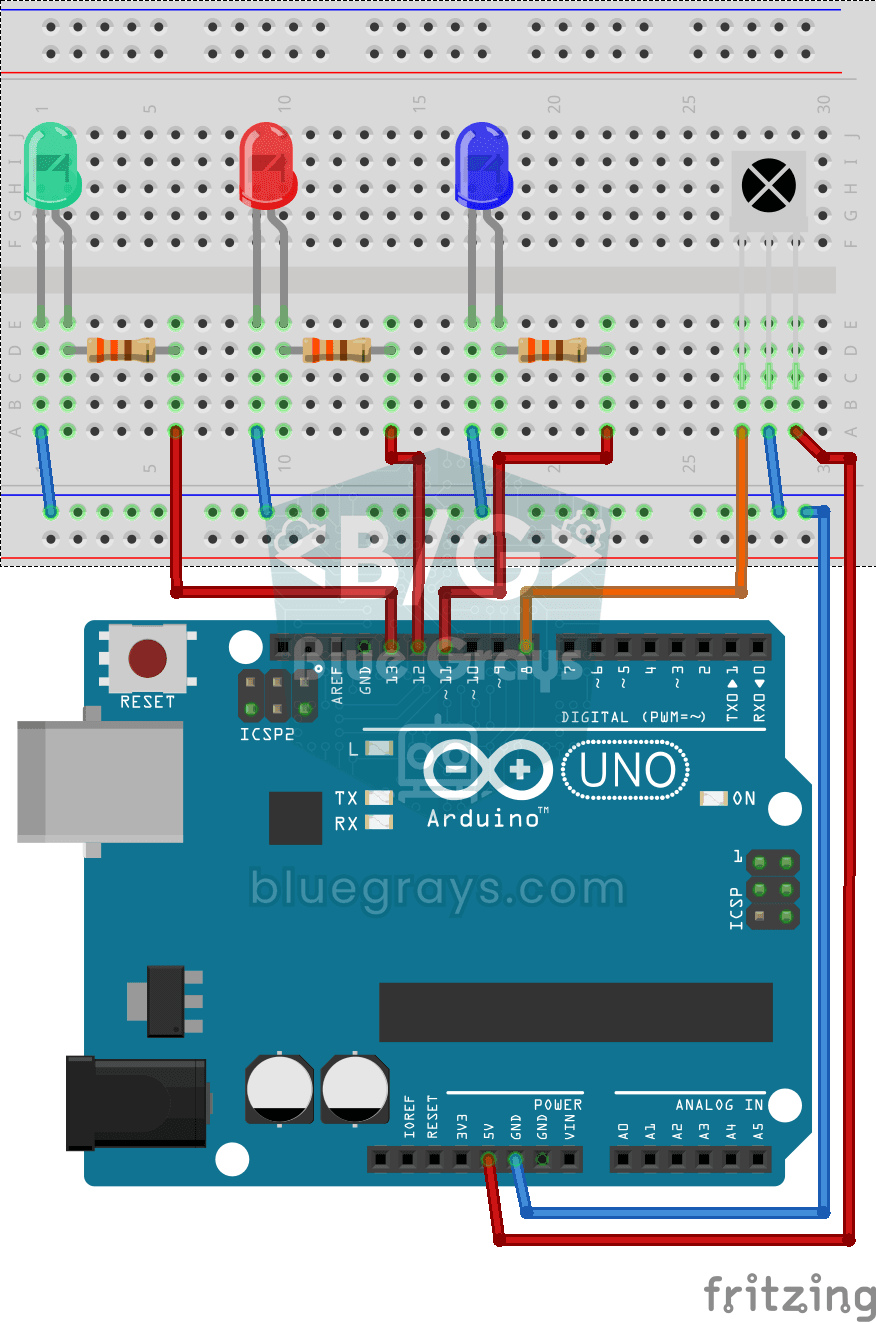
Led On/Off with IR Receiver and Remote Control
Like controlling three separate lamps without leaving your armchair: keys 1, 2 and 3 on the remote turn on the blue, red and green LEDs, and keys 4, 5 and 6 turn them off in the same order.
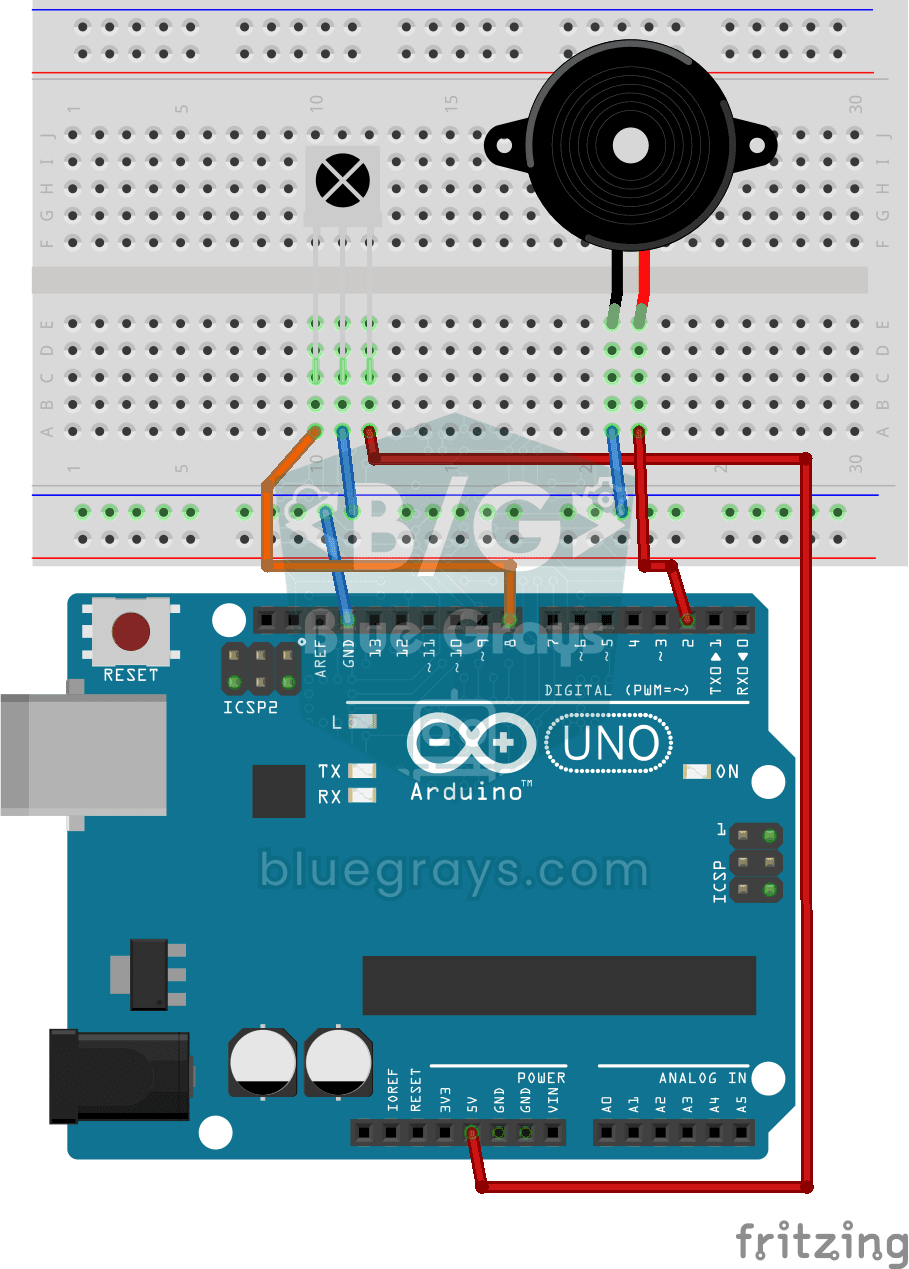
Playing Melodies with an IR Remote and Buzzer
Build a music box that plays tunes with the buttons of a TV remote. An infrared receiver catches the remote's signal; one button plays a lively video game tune through the buzzer, another a familiar…
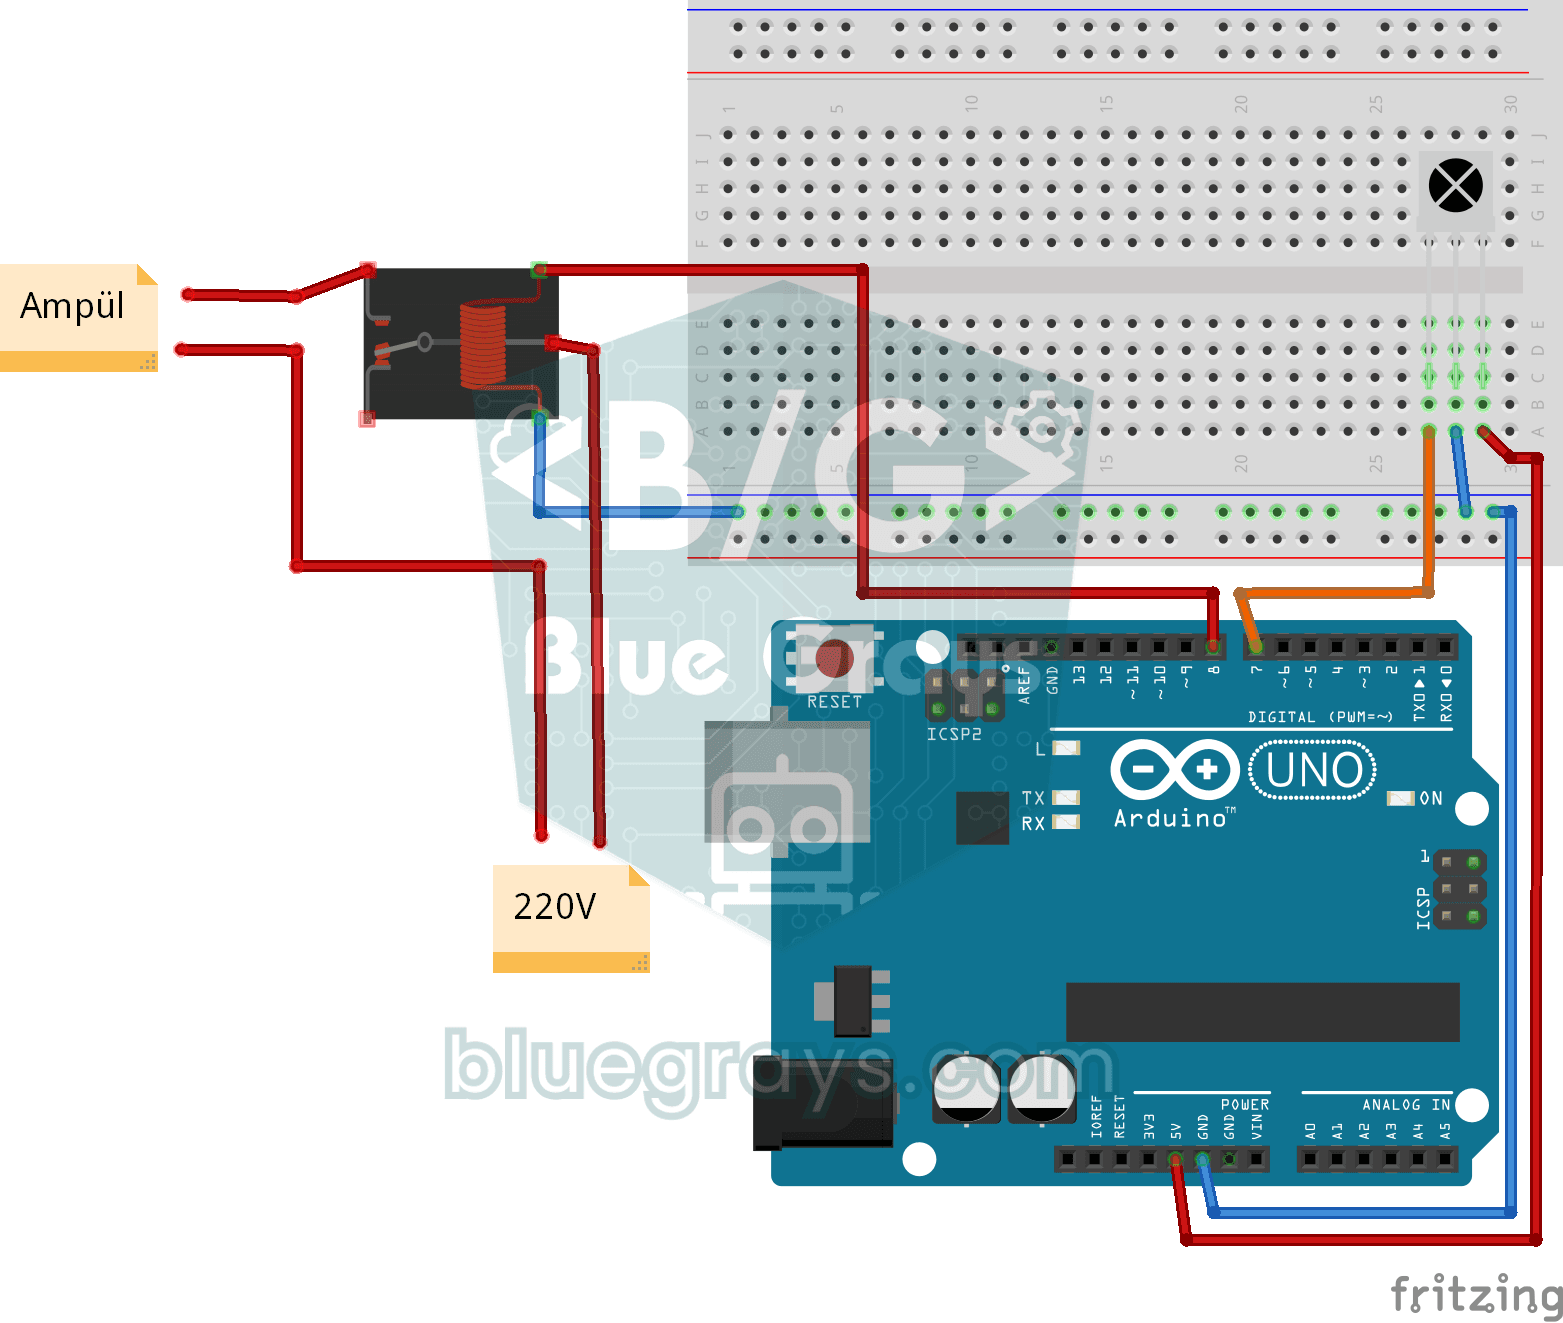
Lighting 220V Bulb with Remote Control
Switch a real light bulb in your home on and off with a TV remote, without getting up from the sofa.

ESP32 Asynchronous Web Server (with IP Display on LCD)
In this project, we’re turning the ESP32 into an asynchronous web server that you can control from your phone or computer on the same Wi-Fi network. Thanks to the ESPAsyncWebServer library, the server can process multiple requests simultaneously (unlike the classic WebServer.h, which blocks on a single request). You’ll be able to open the ESP32’s IP address in a browser and click the ON/OFF buttons (the /on and /off routes) to turn the LED connected to GPIO 5 on and off.

ESP32 Wi-Fi STA Connection (with LCD Screen)
In this project, we connect the ESP32 to the home Wi-Fi network in Station (STA) mode in a secure, fault-tolerant manner. We store the SSID and password in a separate secrets.h file to prevent leaking to Git, set up an auto-reconnect mechanism, and display the RSSI signal level and IP address on an I2C LCD screen. The internal LED works as a status indicator. It is a production-grade connection manager.