
Arduino Thermostat with DS18B20, Relay, Hysteresis and LCD
How do you build an Arduino thermostat? DS18B20 temperature sensing, relay heater control, hysteresis, button setpoint, I2C LCD menu and ESP32 web interface.

An Arduino thermostat is a DIY controller that keeps measuring the temperature of a space or an object and automatically switches a heater (or cooler) on and off. In this guide you'll build a fully working thermostat with a DS18B20 digital temperature sensor, a relay module, three buttons and a 16x2 I2C LCD: you'll set the target temperature with buttons, change the hysteresis band from a menu, and save the settings to EEPROM so they survive a power cut. This exact logic sits at the heart of projects like incubators, aquariums, greenhouses, fermentation cabinets and 3D printer enclosures.
In the second half of the article you'll move the same thermostat to an ESP32 and set the target from your phone's browser, and you'll also see the MicroPython version for the Raspberry Pi Pico. Because controlling a heater is the riskiest part of the job, our examples use a 12 V low-voltage heater. If you want to work with mains voltage (230 V), there's a separate section on what you need to watch out for.
What is a thermostat and how does it work?
A thermostat has three parts: measurement (the sensor), decision (the microcontroller) and action (the relay and heater). The Arduino reads the temperature every second and compares it with the target you set. If the temperature has dropped below the target, it pulls in the relay to power the heater; when the target is reached, it releases the relay. This method is called on-off control, and it's the most common temperature control method, from household boiler thermostats to refrigerators. The heater is either at full power or completely off, with nothing in between. If you want finer control later, you can move on to the PID control article; but for most home projects a well-tuned on-off thermostat is more than enough.
| Part | Role | Note |
|---|---|---|
| Arduino Uno (or Nano) | Measurement, decision and menu | ESP32 and Pico can be used too |
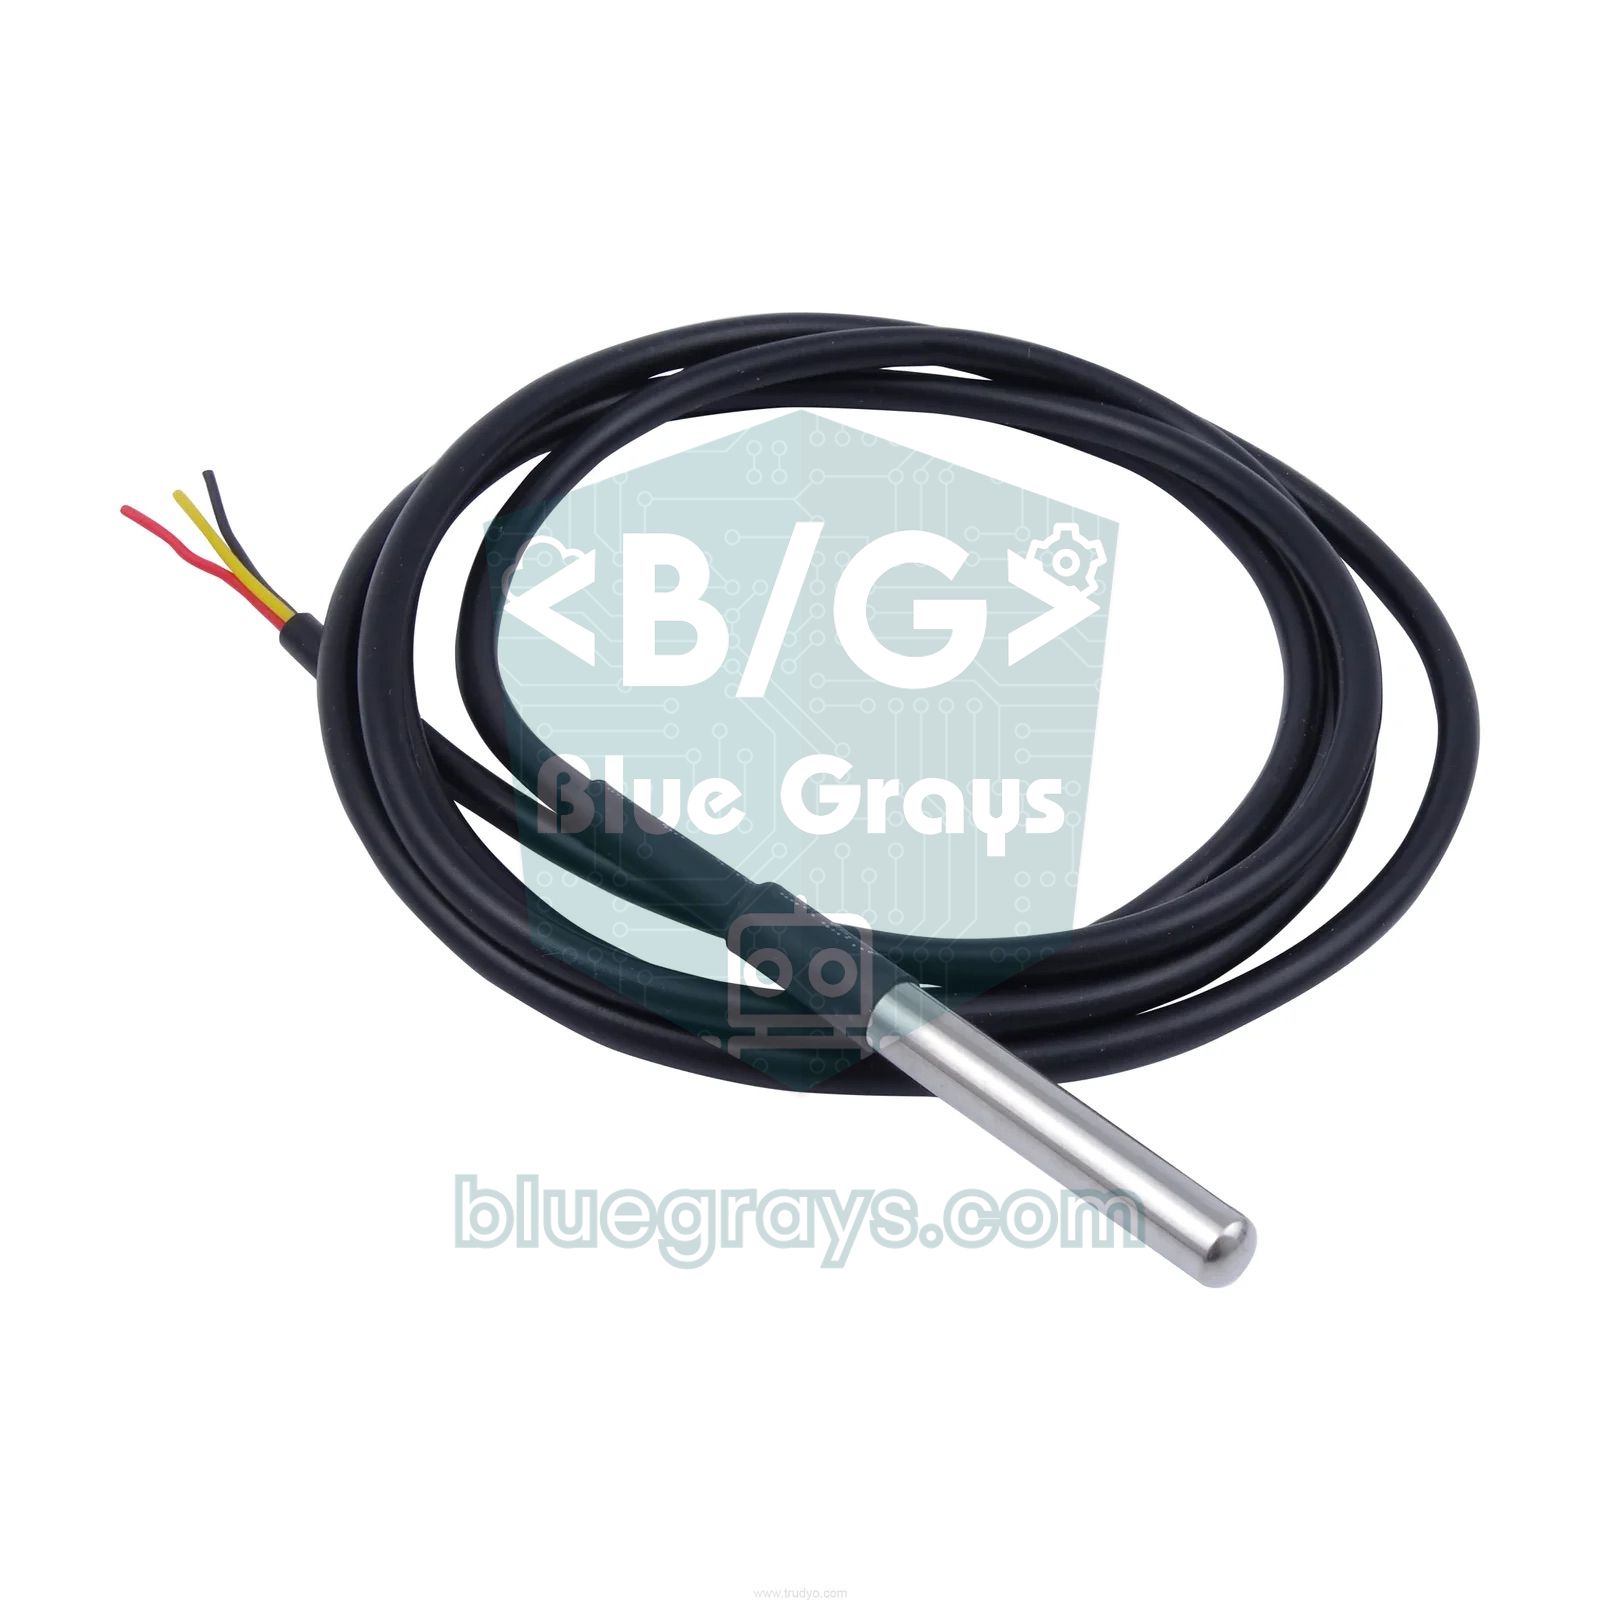
| DS18B20 sensor | Temperature measurement | The waterproof cable version is recommended |
| 4.7 kΩ resistor | Pull-up for the 1-Wire line | Without it the sensor returns −127 °C |
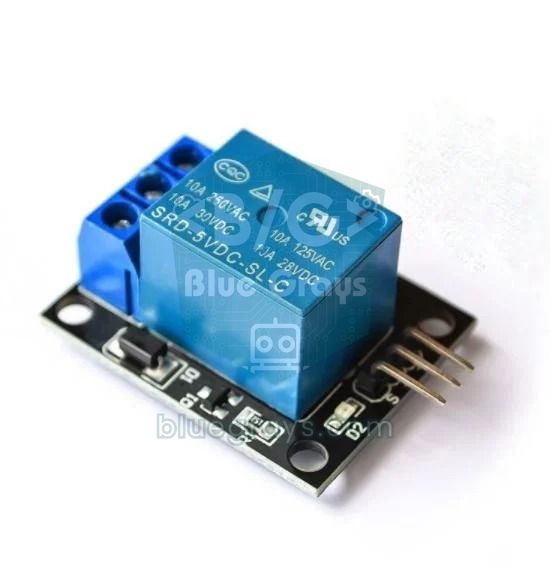
| 1-channel 5 V relay module | Switching the heater on and off | Prefer a module with an optocoupler and diode |
| 16x2 I2C LCD | Shows temperature, target and status | Address is usually 0x27 or 0x3F |
| 3 push buttons | Up, down and menu | Use the internal pull-up, no extra resistor needed |
| 12 V heater and 12 V adapter | Low-voltage heating example | For example a 12 V 10 W heater pad |
What is hysteresis and why does a thermostat need it?
If you write the thermostat as just "turn on below 22 °C, turn off above", then when the temperature hovers right around 22 °C even the smallest fluctuation in the sensor will switch the relay on and off several times a second. The relay chatters, its contacts wear from sparking, and the heater is strained for no reason. The solution is hysteresis: you use two separate thresholds for switching on and off. In this project we split the hysteresis band equally on both sides of the target; with a 22 °C target and 1 °C hysteresis, the heater turns on at 21.5 °C and off at 22.5 °C. In the zone between them, the relay keeps its last state. The formula is simple: turn-on threshold = target − H/2, turn-off threshold = target + H/2.
| Measured temperature | Previous heater state | New state | Explanation |
|---|---|---|---|
| 21.3 °C | Off | On | Below the turn-on threshold (21.5 °C) |
| 21.9 °C | On | On | Inside the band, state is kept |
| 22.6 °C | On | Off | Above the turn-off threshold (22.5 °C) |
| 22.1 °C | Off | Off | Inside the band, still cooling |
| −127 °C or 85 °C | Any | Off | Sensor error, go to the safe state |
Why is the DS18B20 a good choice?
The DS18B20 sends the temperature it measures directly in digital form; unlike analog sensors, cable length or fluctuations in supply voltage don't corrupt the reading. It offers ±0.5 °C accuracy between −10 and +85 °C and 0.0625 °C resolution at 12 bits. The waterproof version with a stainless steel sheath can be submerged directly in an aquarium, soil or a water tank. Since several sensors can share a single data pin, you can later measure indoor and outdoor temperature on the same line. For details see the DS18B20 temperature sensor article, and for a comparison with other options see the temperature sensor comparison.
| Feature | Value |
|---|---|
| Measurement range | −55 °C to +125 °C |
| Accuracy | ±0.5 °C (between −10 and +85 °C) |
| Resolution | 9–12 bits (0.5 °C – 0.0625 °C) |
| Conversion time | Up to 750 ms at 12 bits |
| Supply | 3.0–5.5 V |
| Communication | 1-Wire (single data line, 4.7 kΩ pull-up) |
| Wire colours | Red VDD, black GND, yellow or white DATA |
Arduino thermostat wiring diagram
| Connection | Arduino Uno | ESP32 | Raspberry Pi Pico |
|---|---|---|---|
| DS18B20 DATA (yellow) | D2 | GPIO 4 | GP16 |
| DS18B20 VDD (red) | 5V | 3V3 | 3V3(OUT) |
| DS18B20 GND (black) | GND | GND | GND |
| 4.7 kΩ pull-up | Between DATA and 5V | Between DATA and 3V3 | Between DATA and 3V3 |
| Relay IN | D7 | GPIO 26 | GP15 |
| Relay VCC / GND | 5V / GND | VIN (5 V) / GND | VBUS (5 V) / GND |
| Buttons (up, down, menu) | D3, D4, D5 (other end to GND) | Web interface | Fixed in code |
| I2C LCD SDA / SCL | A4 / A5 | GPIO 21 / 22 (optional) | GP4 / GP5 (optional) |
Controlling the heater safely: a 12 V low-voltage example
You don't need to work with mains voltage while learning. A 12 V silicone heater pad, a power resistor or a small PTC heater lets you try the same thermostat logic without danger. For example, a 12 V 10 W heater draws about 0.83 A by I = P / V and has a resistance of R = V² / P = 14.4 Ω (you can verify it yourself with the Ohm's law calculator). The wiring is: the positive terminal of the 12 V adapter goes to the relay's COM contact, the relay's NO (normally open) contact goes to one end of the heater, and the other end of the heater goes to the adapter's negative terminal. Using NO is important; if the Arduino shuts down or a wire breaks, the relay releases and the heater switches off by itself. Instead of a relay you can also use a logic-level MOSFET (for example the IRLZ44N); it's silent and doesn't wear out, with details in the Using a MOSFET with Arduino article.
- Put the sensor in the right place: If the sensor is stuck to the heater, the thermostat measures the heater, not the environment, and switches off far too early; place the sensor in the middle of the space you want to control.
- Software safety limit: In the code, above MAX_SAFE (40 °C) the heater switches off regardless of the target; adjust this value for your own application.
- Switch off on sensor failure: When the cable breaks, the DS18B20 returns −127 °C; the thermostat must not mistake this for "very cold" and turn the heater fully on. The code releases the relay in this case.
- Hardware backup protection: Software can hang. For a serious heater, use a series thermal fuse (for example 70 °C) or a bimetal thermostat.
- Mind the contact current: The "10 A" printed on the module applies to ideal conditions; for continuous loads don't exceed half of that.
- Separate supply: The heater current must never pass through the Arduino's 5V pin; use its own adapter for the heater. The Arduino power supply article helps with power topics.
Step-by-step setup
- In the Arduino IDE, install the OneWire, DallasTemperature (Miles Burton) and LiquidCrystal I2C (Frank de Brabander) libraries from the Library Manager.
- Connect the DS18B20 to D2 and place the 4.7 kΩ resistor between DATA and 5V.
- Connect the relay module's IN pin to D7 and its VCC and GND pins to the Arduino's 5V and GND pins.
- Connect one end of each button to D3, D4 and D5 and the other end to GND; since the internal pull-up is enabled in the code, no extra resistor is needed.
- Connect the I2C LCD as SDA → A4, SCL → A5. If there's no text on the screen, try the address 0x3F instead of 0x27 or turn the contrast potentiometer on the back.
- Connect the 12 V heater to the adapter through the relay's COM and NO contacts, but first test the code with the heater disconnected.
- Upload the code, warm and cool the sensor with your hand, and watch the relay react correctly at the thresholds.
1#include <Wire.h>
2#include <OneWire.h>
3#include <DallasTemperature.h>
4#include <LiquidCrystal_I2C.h>
5#include <EEPROM.h>
6
7const byte PIN_SENSOR = 2;           // DS18B20 veri / DS18B20 data
8const byte PIN_RELAY  = 7;           // röle IN / relay IN
9const byte buttons[3] = {3, 4, 5};   // yukarı, aşağı, menü / up, down, menu
10const byte RELAY_ON  = LOW;          // çoğu modül aktif LOW / most modules are active LOW
11const byte RELAY_OFF = HIGH;
12
13const float MAX_SAFE = 40.0;                 // güvenlik sınırı / safety limit
14const unsigned long MIN_SWITCH_MS = 10000;   // röle koruması / relay protection
15
16OneWire oneWire(PIN_SENSOR);
17DallasTemperature sensors(&oneWire);
18LiquidCrystal_I2C lcd(0x27, 16, 2);
19
20struct Settings { float target; float hyst; };
21
22float target = 22.0;     // hedef sıcaklık / target temperature
23float hyst = 1.0;        // histerezis bandı / hysteresis band
24float temp = NAN;        // son ölçüm / last reading
25bool heaterOn = false;
26byte menu = 0;           // 0: hedef, 1: histerezis / 0: target, 1: hysteresis
27unsigned long lastConv = 0;
28unsigned long lastSwitch = 0;
29byte lastState[3] = {HIGH, HIGH, HIGH};
30unsigned long lastChange[3] = {0, 0, 0};
31
32void loadSettings() {
33  Settings s;
34  EEPROM.get(0, s);
35  if (s.target >= 5 && s.target <= 35 && s.hyst >= 0.2 && s.hyst <= 5) {   // boş EEPROM'u ele / reject empty EEPROM
36    target = s.target;
37    hyst = s.hyst;
38  }
39}
40
41void saveSettings() {
42  Settings s = {target, hyst};
43  EEPROM.put(0, s);   // yalnız değişen baytları yazar / writes only changed bytes
44}
45
46void setHeater(bool on, bool force) {
47  if (on == heaterOn) return;
48  if (!force && millis() - lastSwitch < MIN_SWITCH_MS) return;
49  heaterOn = on;
50  lastSwitch = millis();
51  digitalWrite(PIN_RELAY, on ? RELAY_ON : RELAY_OFF);
52}
53
54void control() {
55  if (isnan(temp) || temp >= MAX_SAFE) {   // sensör hatası ya da aşırı sıcaklık / sensor fault or overheat
56    setHeater(false, true);
57    return;
58  }
59  if (temp <= target - hyst / 2) setHeater(true, false);        // açma eşiği / turn-on threshold
60  else if (temp >= target + hyst / 2) setHeater(false, false);  // kapama eşiği / turn-off threshold
61}
62
63void drawLcd() {
64  lcd.setCursor(0, 0);
65  lcd.print("T:");
66  if (isnan(temp)) {
67    lcd.print("HATA     ");
68  } else {
69    lcd.print(temp, 1);
70    lcd.print((char)223);          // derece işareti / degree sign
71    lcd.print("C  ");
72  }
73  lcd.setCursor(11, 0);
74  lcd.print(heaterOn ? "ISIT " : "BEKLE");
75  lcd.setCursor(0, 1);
76  lcd.print(menu == 0 ? ">" : " ");
77  lcd.print("H:");
78  lcd.print(target, 1);
79  lcd.print(menu == 1 ? " >" : "  ");
80  lcd.print("d:");
81  lcd.print(hyst, 1);
82  lcd.print("  ");
83}
84
85bool pressed(byte i) {
86  byte s = digitalRead(buttons[i]);
87  if (s != lastState[i] && millis() - lastChange[i] > 50) {   // 50 ms debounce
88    lastChange[i] = millis();
89    lastState[i] = s;
90    return s == LOW;               // yalnız basma anı / only the press moment
91  }
92  return false;
93}
94
95void handleButtons() {
96  bool changed = false;
97  if (pressed(2)) { menu = 1 - menu; changed = true; }   // menü / menu
98  if (pressed(0)) {                                     // yukarı / up
99    if (menu == 0) target += 0.5; else hyst += 0.1;
100    changed = true;
101  }
102  if (pressed(1)) {                                     // aşağı / down
103    if (menu == 0) target -= 0.5; else hyst -= 0.1;
104    changed = true;
105  }
106  if (changed) {
107    if (target < 5) target = 5;
108    if (target > 35) target = 35;
109    if (hyst < 0.2) hyst = 0.2;
110    if (hyst > 5) hyst = 5;
111    saveSettings();
112    control();
113    drawLcd();
114  }
115}
116
117void setup() {
118  digitalWrite(PIN_RELAY, RELAY_OFF);   // açılışta kapalı / off at startup
119  pinMode(PIN_RELAY, OUTPUT);
120  for (byte i = 0; i < 3; i++) pinMode(buttons[i], INPUT_PULLUP);
121  lcd.init();
122  lcd.backlight();
123  loadSettings();
124  sensors.begin();
125  sensors.setResolution(12);
126  sensors.setWaitForConversion(false);  // beklemeden ölç / non-blocking conversion
127  sensors.requestTemperatures();
128  lastConv = millis();
129  lastSwitch = millis() - MIN_SWITCH_MS;
130  drawLcd();
131}
132
133void loop() {
134  if (millis() - lastConv >= 1000) {     // saniyede bir / once per second
135    float t = sensors.getTempCByIndex(0);
136    sensors.requestTemperatures();       // sonraki ölçümü başlat / start next conversion
137    lastConv = millis();
138    temp = (t == DEVICE_DISCONNECTED_C || t == 85.0) ? NAN : t;
139    control();
140    drawLcd();
141  }
142  handleButtons();
143}
How does the code work and how do you use the LCD menu?
| Section | What it does |
|---|---|
| setWaitForConversion(false) | Doesn't make the Arduino wait 750 ms while the sensor measures; buttons and display stay responsive. |
| The 1-second block in loop() | Reads the previous measurement, starts a new one, makes the control decision and updates the display. |
| control() | Switches the heater off on sensor error or overheating; otherwise decides by the hysteresis thresholds. |
| setHeater() | Changes the relay state; leaves at least 10 seconds between switches, except for the safety shut-off. |
| pressed() | Reads the buttons with a 50 ms millis()-based debounce and catches only the press moment. |
| handleButtons() | The menu button toggles between target and hysteresis; the up and down buttons change the selected value and keep it within limits. |
| EEPROM.put / get | Writes the settings to non-volatile memory; if the value read at startup is nonsensical, the defaults are used. |
The top line of the screen shows the current temperature and the heater state (ISIT or BEKLE, meaning heating or standby), and the bottom line shows the target (H) and hysteresis (d) values. The arrow in front of a value shows which one you're editing. Each press of the menu button moves the cursor between target and hysteresis; the up and down buttons change the target in 0.5 °C steps and the hysteresis in 0.1 °C steps. The target is limited to 5–35 °C and the hysteresis to 0.2–5 °C. Every change is written to EEPROM; since EEPROM.put updates only the bytes that changed and EEPROM cells last about 100,000 writes, button adjustments are no problem. You can find out why using millis() instead of delay() matters in millis and delay, and read more about persistent storage in Arduino EEPROM. The minimum switching time is an important detail too: even if you pick a very narrow hysteresis, the relay won't change position more than once every 10 seconds. If you'll be controlling a refrigerator with a compressor, increase this time to 3–5 minutes.
An ESP32 thermostat you can adjust from the web
Thanks to the ESP32's built-in Wi-Fi, you can set the target temperature and hysteresis from your phone's browser without needing buttons. The code below uses the built-in WebServer and Preferences libraries, which compile unchanged on ESP32 Arduino core 2.x and 3.x; apart from OneWire and DallasTemperature you don't need to install any extra libraries. The settings are saved to flash memory with Preferences, so the target value is kept when the ESP32 restarts. If it can't connect to Wi-Fi within 15 seconds, the code stops waiting and the thermostat keeps working anyway; a network connection should never block heating control. If this is your first time with the ESP32, first follow the setup steps in What is the ESP32.
1#include <WiFi.h>
2#include <WebServer.h>
3#include <Preferences.h>
4#include <OneWire.h>
5#include <DallasTemperature.h>
6
7const char* WIFI_SSID = "AgAdi";       // Wi-Fi ağ adı / Wi-Fi network name
8const char* WIFI_PASS = "Sifre123";    // Wi-Fi şifresi / Wi-Fi password
9
10const int PIN_SENSOR = 4;     // DS18B20 veri / DS18B20 data
11const int PIN_RELAY  = 26;    // röle IN / relay IN
12const int RELAY_ON  = LOW;    // aktif LOW modül / active LOW module
13const int RELAY_OFF = HIGH;
14const float MAX_SAFE = 40.0;                 // güvenlik sınırı / safety limit
15const unsigned long MIN_SWITCH_MS = 10000;   // röle koruması / relay protection
16
17OneWire oneWire(PIN_SENSOR);
18DallasTemperature sensors(&oneWire);
19WebServer server(80);
20Preferences prefs;
21
22float target = 22.0;
23float hyst = 1.0;
24float temp = NAN;
25bool heaterOn = false;
26unsigned long lastConv = 0;
27unsigned long lastSwitch = 0;
28
29void setHeater(bool on, bool force) {
30  if (on == heaterOn) return;
31  if (!force && millis() - lastSwitch < MIN_SWITCH_MS) return;
32  heaterOn = on;
33  lastSwitch = millis();
34  digitalWrite(PIN_RELAY, on ? RELAY_ON : RELAY_OFF);
35}
36
37void control() {
38  if (isnan(temp) || temp >= MAX_SAFE) {   // hata ya da aşırı sıcaklık / fault or overheat
39    setHeater(false, true);
40    return;
41  }
42  if (temp <= target - hyst / 2) setHeater(true, false);
43  else if (temp >= target + hyst / 2) setHeater(false, false);
44}
45
46void handleRoot() {
47  String html = "<!DOCTYPE html><html><head><meta charset='utf-8'>";
48  html += "<meta name='viewport' content='width=device-width,initial-scale=1'>";
49  html += "<title>Termostat</title></head><body><h2>ESP32 Termostat</h2><p>Sicaklik: ";
50  if (isnan(temp)) {
51    html += "HATA";
52  } else {
53    html += String(temp, 1);
54    html += " C";
55  }
56  html += "</p><p>Isitici: ";
57  html += heaterOn ? "ACIK" : "KAPALI";
58  html += "</p><form action='/set'>Hedef: <input name='hedef' type='number' step='0.5' min='5' max='35' value='";
59  html += String(target, 1);
60  html += "'><br>Histerezis: <input name='hist' type='number' step='0.1' min='0.2' max='5' value='";
61  html += String(hyst, 1);
62  html += "'><br><button type='submit'>Kaydet</button></form></body></html>";
63  server.send(200, "text/html", html);
64}
65
66void handleSet() {
67  if (server.hasArg("hedef")) {
68    float v = server.arg("hedef").toFloat();
69    if (v >= 5 && v <= 35) target = v;       // sınır kontrolü / range check
70  }
71  if (server.hasArg("hist")) {
72    float v = server.arg("hist").toFloat();
73    if (v >= 0.2 && v <= 5) hyst = v;
74  }
75  prefs.putFloat("hedef", target);           // flash'a kaydet / save to flash
76  prefs.putFloat("hist", hyst);
77  control();
78  server.sendHeader("Location", "/");
79  server.send(303);                          // ana sayfaya dön / redirect to home
80}
81
82void handleJson() {
83  String j = "{\"sicaklik\":";
84  if (isnan(temp)) j += "null";
85  else j += String(temp, 2);
86  j += ",\"hedef\":";
87  j += String(target, 1);
88  j += ",\"histerezis\":";
89  j += String(hyst, 1);
90  j += ",\"isitici\":";
91  j += heaterOn ? "true" : "false";
92  j += "}";
93  server.send(200, "application/json", j);
94}
95
96void setup() {
97  Serial.begin(115200);
98  pinMode(PIN_RELAY, OUTPUT);
99  digitalWrite(PIN_RELAY, RELAY_OFF);        // açılışta kapalı / off at startup
100
101  prefs.begin("termostat", false);
102  target = prefs.getFloat("hedef", 22.0);
103  hyst = prefs.getFloat("hist", 1.0);
104
105  sensors.begin();
106  sensors.setResolution(12);
107  sensors.setWaitForConversion(false);
108  sensors.requestTemperatures();
109  lastConv = millis();
110  lastSwitch = millis() - MIN_SWITCH_MS;
111
112  WiFi.mode(WIFI_STA);
113  WiFi.begin(WIFI_SSID, WIFI_PASS);
114  unsigned long t0 = millis();
115  while (WiFi.status() != WL_CONNECTED && millis() - t0 < 15000) {   // en fazla 15 sn bekle / wait max 15 s
116    delay(500);
117    Serial.print(".");
118  }
119  Serial.println();
120  Serial.print("IP: ");
121  Serial.println(WiFi.localIP());
122
123  server.on("/", handleRoot);
124  server.on("/set", handleSet);
125  server.on("/json", handleJson);
126  server.begin();
127}
128
129void loop() {
130  server.handleClient();
131  if (millis() - lastConv >= 1000) {
132    float t = sensors.getTempCByIndex(0);
133    sensors.requestTemperatures();
134    lastConv = millis();
135    temp = (t == DEVICE_DISCONNECTED_C || t == 85.0) ? NAN : t;
136    control();
137    Serial.printf("T=%.2f H=%.1f d=%.1f %s\n", temp, target, hyst, heaterOn ? "ISIT" : "BEKLE");
138  }
139}
Before uploading the code, change WIFI_SSID and WIFI_PASS to match your own network. When you type the IP address shown in the serial monitor (115200 baud) into your browser, you'll see the temperature, the heater state and the two settings boxes. When you press Kaydet (Save), the form is sent to the /set address, the values pass the range check and are saved, and the page redirects to the main screen. The /json address gives the readings in a machine-readable form; you can use it with Home Assistant or your own app. Because the ESP32's GPIOs are 3.3 V, power the relay module from the VIN (5 V) pin; most optocoupler modules trigger fine with a 3.3 V signal, and if yours doesn't, add an NPN transistor in between. If you want a live-updating interface, see ESP32 web server and WebSocket, and to send notifications to your phone, see ESP32 Telegram bot.
MicroPython thermostat with the Raspberry Pi Pico
The Pico's MicroPython firmware comes with the onewire and ds18x20 modules built in, so you don't need to copy any extra files. The short program below applies the same hysteresis and safety logic; if the sensor isn't found or a read error occurs, it switches the relay off and keeps searching for the sensor again. You can change the target and hysteresis from the constants at the top of the code. If you're new to the Pico, What is the Raspberry Pi Pico walks you through the Thonny setup step by step.
1from machine import Pin
2import onewire, ds18x20, time
3
4HEDEF = 22.0        # hedef sıcaklık / target temperature
5HIST = 1.0          # histerezis bandı / hysteresis band
6MAX_GUVENLI = 40.0  # güvenlik sınırı / safety limit
7ROLE_ACIK = 0       # aktif LOW modül / active LOW module
8ROLE_KAPALI = 1
9
10role = Pin(15, Pin.OUT, value=ROLE_KAPALI)
11ds = ds18x20.DS18X20(onewire.OneWire(Pin(16)))
12roms = ds.scan()
13print("Sensorler / Sensors:", roms)
14isitici = False
15
16def ayarla(ac):
17    global isitici
18    isitici = ac
19    role.value(ROLE_ACIK if ac else ROLE_KAPALI)
20
21while True:
22    t = None
23    if roms:
24        try:
25            ds.convert_temp()
26            time.sleep_ms(750)            # 12 bit dönüşüm süresi / 12-bit conversion time
27            t = ds.read_temp(roms[0])
28        except Exception:
29            t = None
30    else:
31        roms = ds.scan()                  # sensörü yeniden ara / search sensor again
32    if t is None or t == 85.0 or t >= MAX_GUVENLI:
33        ayarla(False)                     # güvenli durum / safe state
34    elif t <= HEDEF - HIST / 2:
35        ayarla(True)
36    elif t >= HEDEF + HIST / 2:
37        ayarla(False)
38    print(t, "ISIT" if isitici else "BEKLE")
39    time.sleep(1)
Arduino thermostat project ideas
- Incubator: Egg incubation with a 37.5 °C target and 0.3 °C hysteresis; add an extra sensor to monitor humidity.
- Aquarium heater control: Keep the water steady at 25 °C with a waterproof DS18B20.
- Smart greenhouse: Combine heating, ventilation and watering on one board; for ideas see the smart greenhouse project article.
- Cooling thermostat: Reverse the logic and run a fan when the temperature rises; details are in Arduino fan control.
- Frost protection: Switch on a heating cable at 3 °C to stop pipes freezing; see frost alarm.
- Fermentation cabinet: A two-way thermostat that both heats and cools with a Peltier; the Peltier module article is a good starting point.
Common mistakes and how to fix them
| Symptom | Likely cause | Fix |
|---|---|---|
| HATA (error) on the screen, reading −127 °C | No pull-up, loose DATA wire or wrong pin | Place the 4.7 kΩ resistor between DATA and VDD, check the wire colours |
| Always reads 85 °C | Reading before the conversion finishes, or insufficient supply | Wait at least 750 ms for conversion, power the sensor in normal mode, not parasitic |
| Heater works backwards | Relay module is active HIGH | Swap the RELAY_ON and RELAY_OFF constants |
| Relay keeps chattering | Hysteresis too narrow or sensor cable picking up noise | Widen the band, route the sensor cable away from power cables |
| Arduino resets when the relay pulls in | Coil and heater current make the supply sag | Use a separate adapter for the heater, connect the GNDs correctly |
| LCD is lit but shows no text | Wrong I2C address or contrast setting | Find the address with an I2C scanner, turn the potentiometer on the back |
| Temperature overshoots the target and rises too high | Heat keeps spreading after the heater switches off | Move the sensor away from the heater, lower the hysteresis or use PID |
You now have a thermostat with hysteresis, a menu and safety features that turns the value you read from a sensor into a real action; with small changes the same structure can be adapted to cooling, humidity or water level control. In the BlueGrays app you can improve your thermostat further by exploring projects such as temperature and humidity measurement with the DHT11, a thermometer with an NTC and LCD, controlling a 220 V bulb with a relay and an ESP32 web server, each with a step-by-step circuit diagram and ready-made code.
Frequently asked questions
How many degrees should the hysteresis be on a thermostat?
It depends on how quickly the environment heats up and cools down. In small, sensitive volumes like an incubator, 0.3–0.5 °C is a good start; in large volumes like a room or water tank, 1–2 °C. If the relay switches too often, widen the band; if the temperature strays too far, narrow it.
Why does the DS18B20 show -127 degrees?
−127 °C is the error value (DEVICE_DISCONNECTED_C) that tells you the library couldn't communicate with the sensor. The most common causes are a missing 4.7 kΩ pull-up resistor, a loose DATA wire or the wrong pin number in the code. The thermostat code in this article switches the heater off for safety when it sees this value.
Can you control a 220V heater with Arduino?
Technically yes; a relay module or SSR can switch a mains-connected load with the Arduino's low-voltage signal. However, 230 V is life-threatening; connections must be made in an insulated enclosure, with a fuse and under the supervision of an experienced person. For high-power heaters, the relay module should drive the load through a contactor rather than directly.
Should I use a relay or an SSR for a thermostat?
For an on-off thermostat that switches a few times an hour, a mechanical relay is cheap and sufficient. If you need very frequent switching, silent operation or time-proportional control with PID, a solid state relay (SSR) is more suitable; however, an SSR gets hot and needs a heatsink. For 12 V DC heaters, a logic-level MOSFET is the easiest solution.
Are Arduino thermostat settings erased when the power goes out?
Variables are kept in RAM, so normally they're lost. The code in this article writes the target and hysteresis to EEPROM and reads them back at startup; the ESP32 version does the same in flash memory with the Preferences library. That way, when power returns the thermostat carries on with the last settings.
Can you make a thermostat with a DHT11?
You can, but the DHT11's ±2 °C accuracy and 1 °C resolution are not enough for a precise thermostat. The DS18B20 offers ±0.5 °C accuracy and 0.0625 °C resolution, and it comes in a waterproof version. If you also need to control humidity, the DHT22 or AHT20 is a better compromise.
Projects to build after reading this
See all projects
Temperature and Humidity with DHT11
How warm is your room, and is the air humid or dry? The DHT11 sensor measures temperature and humidity, and the Arduino writes the values on a two-line LCD screen, refreshing every couple of seconds.
Temperature Measurement with NTC and 2x16 Lcd Display
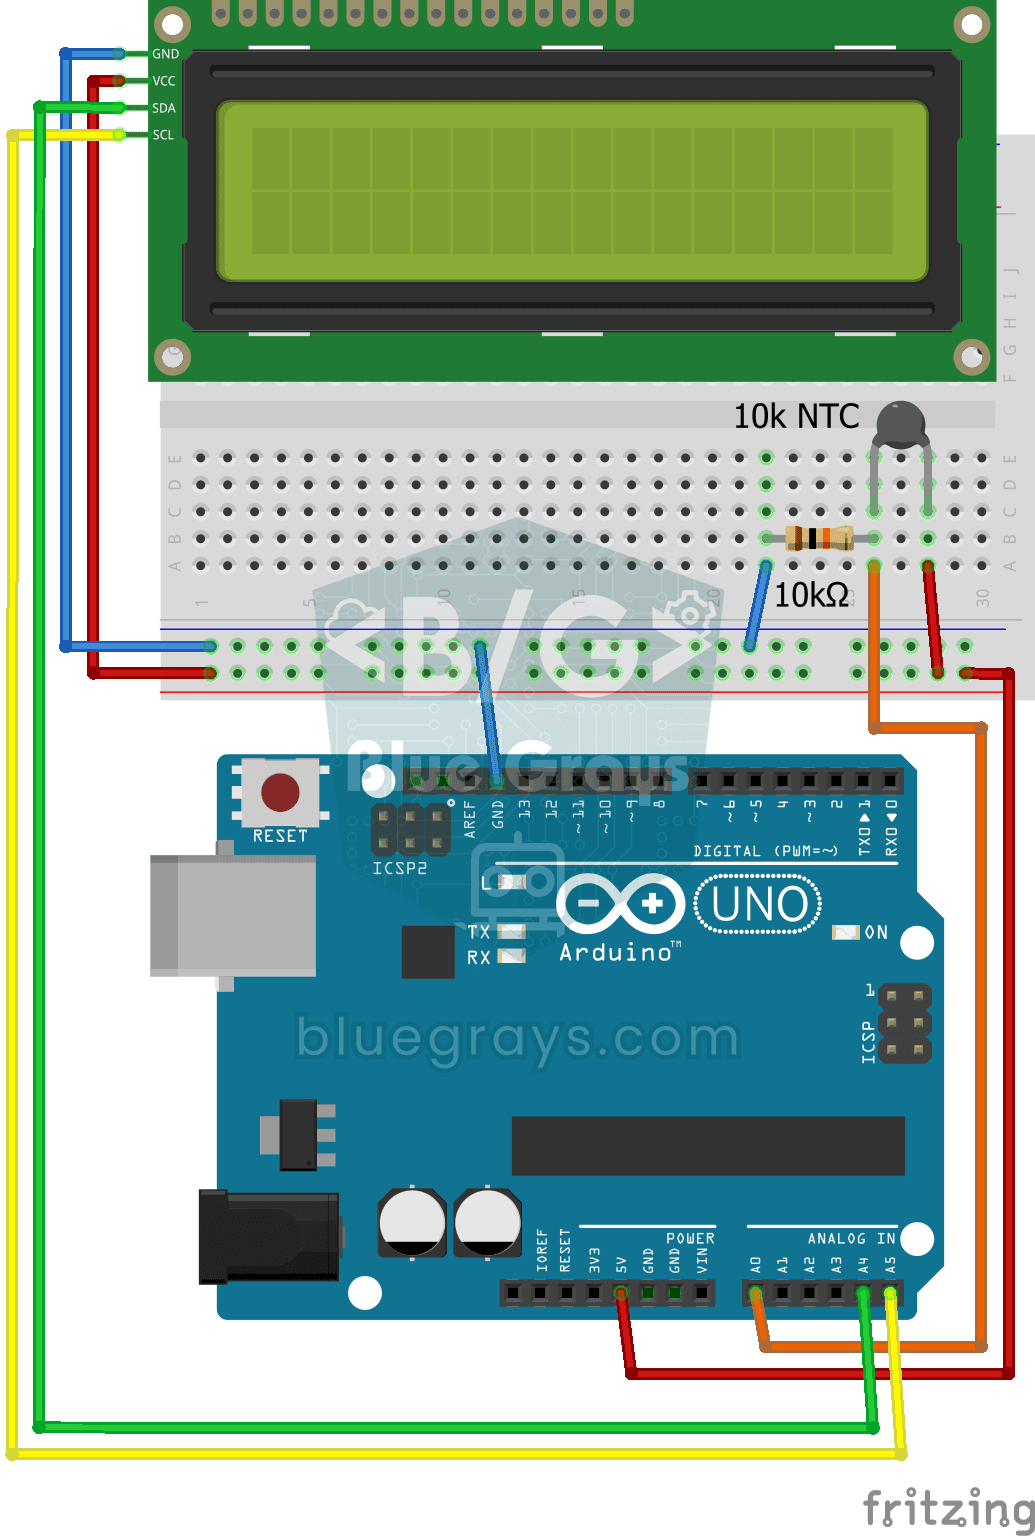
Measure the temperature around you with a sensor that looks like a tiny bead. This part, called an NTC, lets electricity through more easily as it warms up; the Arduino reads that change, turns it…
Using LCD Screen with I2C
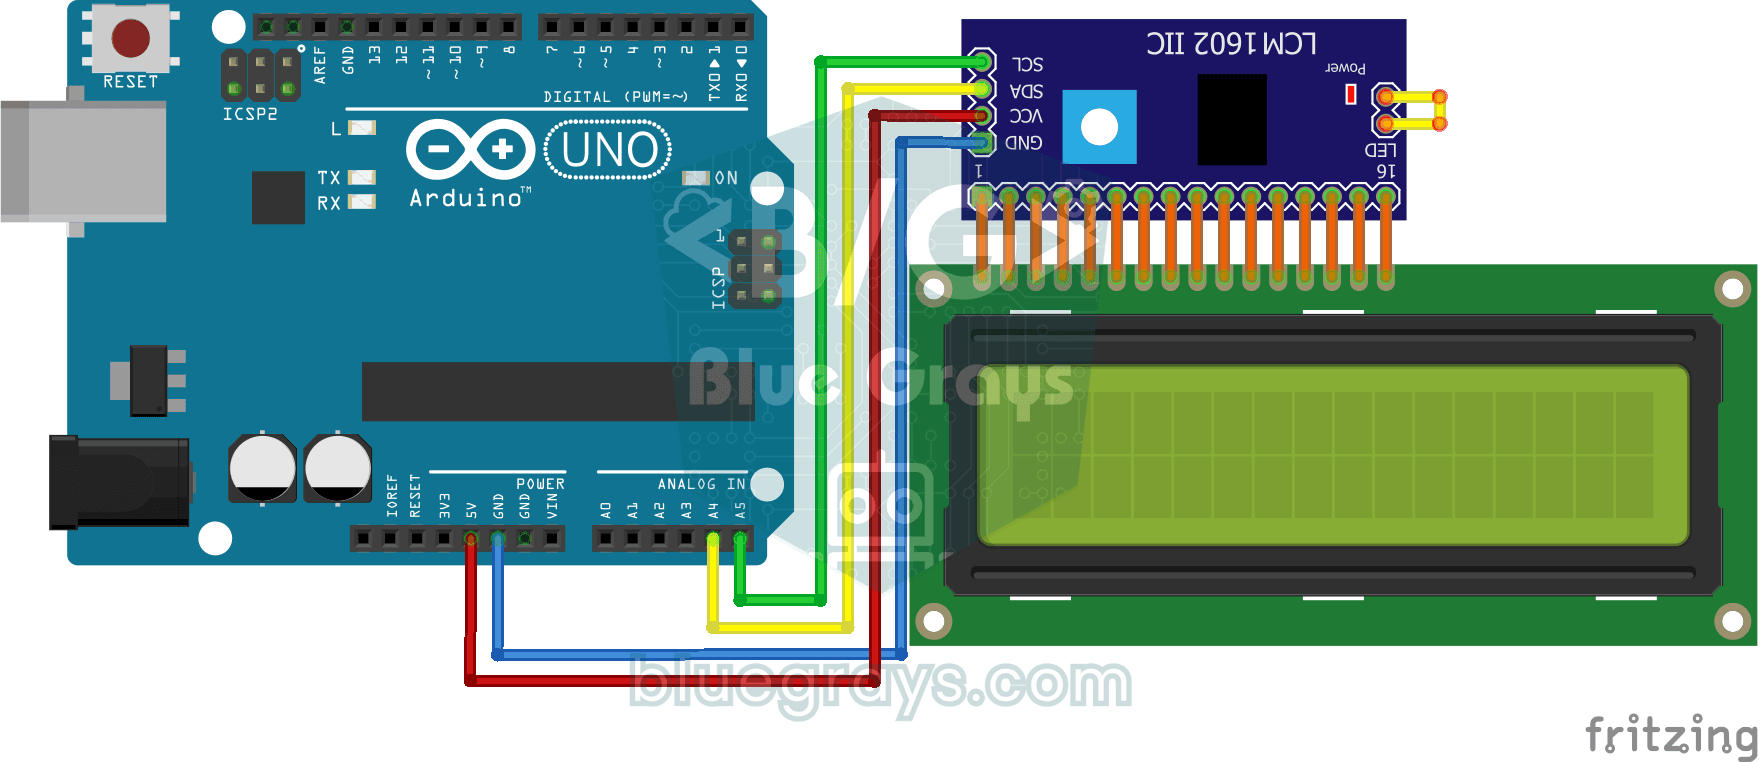
Give your Arduino its own screen and make it write its first message. The two-line LCD screen hooks up with just a few wires; a greeting appears on the top line, then a second message on the bottom…
Lighting 220V Bulb with Push Button
As long as you hold the button, a real 220-volt bulb stays lit, and it goes out the moment you let go.
Lighting 220V Bulb with Button (On-Off)
Want to switch a real household bulb on and off with a tiny button? Each time you press the button, the Arduino flips a relay and the bulb lights up; press again and it goes off.

ESP32 DHT22 Temperature and Humidity (with LCD Display)
This project measures ambient temperature and humidity using a DHT22 sensor and displays the data in real time on a 16x2 I2C LCD. Data is read from the sensor using the one-wire protocol via the Adafruit DHT library. This project serves as the foundation for IoT weather stations, smart home automation, or environmental monitoring systems in greenhouses. Communication with the DHT22 is established via the ESP32's GPIO 4 pin.

ESP32 Asynchronous Web Server (with IP Display on LCD)
In this project, we’re turning the ESP32 into an asynchronous web server that you can control from your phone or computer on the same Wi-Fi network. Thanks to the ESPAsyncWebServer library, the server can process multiple requests simultaneously (unlike the classic WebServer.h, which blocks on a single request). You’ll be able to open the ESP32’s IP address in a browser and click the ON/OFF buttons (the /on and /off routes) to turn the LED connected to GPIO 5 on and off.

ESP32 Temperature Data Logger (DHT22 + DS1307 RTC + microSD + OLED)
Build a timed temperature and humidity logger with the ESP32! A DHT22 sensor reads temperature and humidity once a minute, and each reading is saved to a microSD card in CSV format with a real-time stamp from the DS1307 RTC module. The OLED display shows the latest temperature, humidity, timestamp and total number of records live, in large text.