
nF to µF Conversion: Capacitor Codes and Electronics Units
nF to µF conversion made easy: pF-nF-µF chart, 104 and 2n2 capacitor codes, kΩ, mA, mV and mAh to Wh, plus common unit mistakes in Arduino and ESP32 code.

nF to µF conversion comes down to one rule: 1 µF = 1000 nF and 1 nF = 1000 pF. To go from nF to µF you divide by 1000, and to go from µF to nF you multiply by 1000: 100 nF = 0.1 µF, 4.7 µF = 4700 nF. The 104 printed on a ceramic capacitor means exactly that same 100 nF, or 0.1 µF. Almost every unit conversion in electronics works in these steps of a thousand, so once the prefixes click, resistor, current, voltage and battery maths gets easier too.
In this guide we've put the p, n, µ, m, k and M prefixes into a single table. You'll learn to read capacitor codes (104, 2n2, 474J), the 4K7 and R47 notation on resistors, how to switch between mA and A or mV and V, how to convert battery capacity from mAh to Wh, and the unit shortcuts that let you do Ohm's law in your head. In the last part we'll look at the most common unit mistakes in Arduino, ESP32 and Raspberry Pi Pico code, and how to write them correctly.
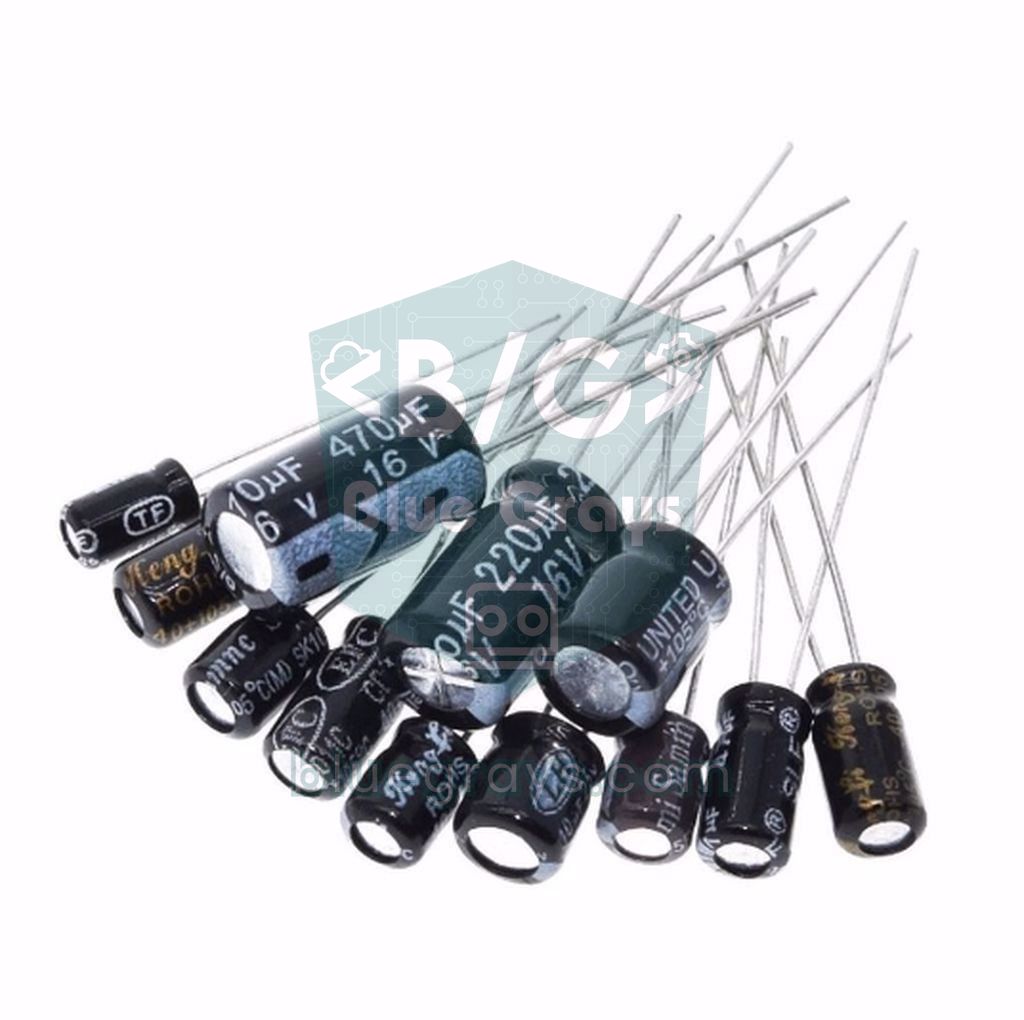
SI prefixes: what do p, n, µ, m, k and M mean?
Values in electronics cover a huge range: a microcontroller's sleep current is a few microamps while a motor draws a few amps, and a capacitor next to a crystal may be 22 picofarads while the one on a power supply output is 2200 microfarads. That's why we use a prefix instead of writing out long strings of zeros. Each prefix multiplies the base unit by a power of 10, and the ones used in electronics are all 1000 times apart. The rules are the same for volts, amps, ohms, farads, henries, watts and hertz.
| Prefix | Symbol | Multiplier | Example in electronics |
|---|---|---|---|
| pico | p | 10⁻¹² (0.000 000 000 001) | 22 pF crystal load capacitor |
| nano | n | 10⁻⁹ (0.000 000 001) | 100 nF decoupling capacitor, 62.5 ns clock period |
| micro | µ (u) | 10⁻⁶ (0.000 001) | 10 µF capacitor, 10 µA sleep current |
| milli | m | 10⁻³ (0.001) | 20 mA LED current, 4.88 mV ADC step |
| (base unit) | - | 1 | 5 V, 1 A, 1 Ω, 1 F |
| kilo | k | 10³ (1000) | 10 kΩ pull-up resistor, 38 kHz IR carrier |
| mega | M | 10⁶ (1 000 000) | 1 MΩ input resistance, 16 MHz clock |
| giga | G | 10⁹ | 2.4 GHz Wi-Fi and Bluetooth |
pF, nF and µF conversion chart
What confuses people most with capacitors is that the same value can be written in three different units. A schematic says 0.1 µF, an online shop says 100 nF, the part itself says 104, and all three are the same capacitor. To convert nF to µF, divide by 1000; to convert pF to nF, divide by 1000 again. Going the other way, multiply by 1000. The chart below lists the most common values together with the codes you'll find printed on them; it's worth printing out and pinning above your bench.
| pF | nF | µF | Code |
|---|---|---|---|
| 10 pF | 0.01 nF | 0.00001 µF | 100 |
| 22 pF | 0.022 nF | 0.000022 µF | 220 |
| 100 pF | 0.1 nF | 0.0001 µF | 101 |
| 1000 pF | 1 nF | 0.001 µF | 102 |
| 2200 pF | 2.2 nF (2n2) | 0.0022 µF | 222 |
| 4700 pF | 4.7 nF (4n7) | 0.0047 µF | 472 |
| 10,000 pF | 10 nF | 0.01 µF | 103 |
| 47,000 pF | 47 nF | 0.047 µF | 473 |
| 100,000 pF | 100 nF | 0.1 µF | 104 |
| 220,000 pF | 220 nF | 0.22 µF | 224 |
| 470,000 pF | 470 nF | 0.47 µF | 474 |
| 1,000,000 pF | 1000 nF | 1 µF | 105 |
| 10,000,000 pF | 10,000 nF | 10 µF | 106 |
Reading capacitor codes: what is 104 in nF?
Small ceramic and film capacitors have no room for the full value, so they carry a three-digit code, and the unit of that code is always picofarads. The first two digits are the value itself and the third digit is the number of zeros to add. For 104 you put four zeros after 10: 100,000 pF, which is 100 nF or 0.1 µF. If you'd rather not decode it in your head, the capacitor code calculator does it in a second; how capacitors actually work is covered in our What Is a Capacitor? guide.
- Write down the first two digits: 47 for 474.
- Add as many zeros as the third digit says: 47 plus 4 zeros gives 470,000 pF.
- Divide by 1000 to get nF: 470,000 pF = 470 nF.
- Divide by 1000 once more to get µF: 470 nF = 0.47 µF.
- Check the letter after the code: J means ±5%, K ±10% and M ±20% tolerance. 474J is a 0.47 µF capacitor with ±5% tolerance.
- A prefix such as 2A or 1H in front of the code is the voltage rating: 1H = 50 V, 2A = 100 V, 2J = 630 V.
| Marking | Meaning | Value |
|---|---|---|
| 2n2 | n stands in for the decimal point | 2.2 nF = 2200 pF |
| 4n7 | n stands in for the decimal point | 4.7 nF = 4700 pF |
| µ1 or u1 | µ stands in for the decimal point | 0.1 µF = 100 nF |
| 4µ7 | µ stands in for the decimal point | 4.7 µF |
| p68 | p stands in for the decimal point | 0.68 pF |
| 109 | Third digit 9 = ×0.1 | 1.0 pF |
| 104Z | Z = +80% / -20% tolerance | 100 nF |
| 35 MFD | Old notation: MFD = microfarad | 35 µF |
Resistor units: Ω, kΩ, MΩ and the 4K7 notation
The base unit for resistors is the ohm (Ω), but most values you'll see in Arduino circuits are in the kilohm range: a 220 Ω LED resistor, a 10 kΩ pull-up, a 1 MΩ high-impedance input. Schematics and parts lists use a letter instead of a decimal point, because a tiny dot can vanish in a printout while a letter can't. R means ohms, K kilohms and M megohms, and wherever the letter sits is the decimal point. To decode the coloured bands on the body, see our resistor colour code guide or the colour code calculator; for codes like 103 and 4701 on SMD parts, read SMD resistor codes.
| Notation | Value | In ohms |
|---|---|---|
| R47 | 0.47 Ω | 0.47 Ω |
| 2R2 | 2.2 Ω | 2.2 Ω |
| 220R | 220 Ω | 220 Ω |
| 1K | 1 kΩ | 1000 Ω |
| 4K7 | 4.7 kΩ | 4700 Ω |
| 47K | 47 kΩ | 47,000 Ω |
| 1M0 | 1 MΩ | 1,000,000 Ω |
| 103 (SMD) | 10 plus 3 zeros | 10,000 Ω = 10 kΩ |
| 4701 (SMD, 4 digits) | 470 plus 1 zero | 4700 Ω = 4.7 kΩ |
The three-digit code works the same way on resistors and inductors, but the base unit changes: picofarads on a capacitor, ohms on an SMD resistor and microhenries on an inductor. So 101 on a capacitor is 100 pF, 101 on an SMD resistor is 100 Ω, and 101 on an inductor is 100 µH. Never interpret a code without knowing what kind of part it's on.
Current and voltage: converting mA to A, µA and mV to V
With current you'll mostly be switching between mA and A: 1 A = 1000 mA and 1 mA = 1000 µA. An LED drawing 20 mA is drawing 0.02 A; the 10 µA an ESP32 draws in deep sleep is 0.01 mA, or 0.00001 A. Voltage uses the same steps: 1 V = 1000 mV. The Arduino Uno's 10-bit ADC splits 5 V into 1024 parts, so each step is 5 / 1024 = 0.00488 V, or 4.88 mV. Sensor datasheets give ratios such as mV per degree (10 mV/°C for the LM35) or mV per amp (185 mV/A for the ACS712-5A), and using those ratios in the right unit decides how accurate your measurement is. Analog reading is covered in detail in What Is an ADC?.
| Situation | Typical value | In base units |
|---|---|---|
| Arduino Uno pin current (recommended / absolute max) | 20 mA / 40 mA | 0.02 A / 0.04 A |
| Red LED operating current | 10-20 mA | 0.01-0.02 A |
| ESP32 during a Wi-Fi transmission | up to 250 mA | 0.25 A |
| ESP32 chip deep sleep current | about 10 µA | 0.00001 A |
| Arduino Uno ADC step (5 V, 10-bit) | 4.88 mV | 0.00488 V |
| ESP32 and Pico ADC step (3.3 V, 12-bit) | about 0.8 mV | 0.0008 V |
| SG90 servo stall current | 650-700 mA | about 0.7 A |
Unit shortcuts for Ohm's law: V, mA and kΩ
You don't have to convert every value to base units before calculating. If you pair the prefixes so they cancel out, the result comes out directly in the right unit. The handiest pairing is this: volts divided by kilohms gives milliamps. Put 5 V across a 10 kΩ pull-up resistor and 5 / 10 = 0.5 mA flows, with no zeros to juggle. By the same logic, milliamps times kilohms gives volts, and volts times milliamps gives milliwatts. It works for capacitor charging time too: kilohms times microfarads gives milliseconds. To brush up on the basics, read Ohm's Law, or use the Ohm's law calculator for a quick answer.
| Formula | Unit pairing | Example |
|---|---|---|
| I = V / R | V / kΩ = mA | 5 V / 10 kΩ = 0.5 mA |
| R = V / I | V / mA = kΩ | (5 V - 2 V) / 20 mA = 0.15 kΩ = 150 Ω |
| V = I × R | mA × kΩ = V | 2 mA × 4.7 kΩ = 9.4 V |
| P = V × I | V × mA = mW | 5 V × 20 mA = 100 mW |
| τ = R × C | kΩ × µF = ms | 10 kΩ × 100 µF = 1000 ms = 1 s |
| τ = R × C | kΩ × nF = µs | 10 kΩ × 100 nF = 1000 µs = 1 ms |
| τ = R × C | MΩ × µF = s | 1 MΩ × 10 µF = 10 s |
mAh and Wh: converting battery capacity
mAh (milliamp-hours) tells you how much current a battery can deliver for how many hours, while Wh (watt-hours) tells you how much energy is really inside it. You need Wh to compare batteries of different voltages, because a 2000 mAh AA cell and a 2000 mAh lithium cell don't hold the same energy. The conversion formula is simple: Wh = mAh × V / 1000. A 2600 mAh, 3.7 V 18650 cell holds 2600 × 3.7 / 1000 = 9.62 Wh. The 100 Wh limit airlines set for power banks in carry-on luggage works out to roughly 27,000 mAh at 3.7 V.
To estimate battery life, divide the capacity by the average current: hours = mAh / mA. In practice you can't use the whole battery and the regulator wastes some energy, so multiplying the result by 0.7-0.8 is more realistic. An ESP32 project drawing 80 mA on average runs for about 2600 / 80 × 0.8 = 26 hours on a 2600 mAh cell. The 10,000 mAh printed on a power bank refers to its 3.7 V cells; once boosted to 5 V at about 85% efficiency, around 10,000 × 3.7 × 0.85 / 5 ≈ 6300 mAh of usable capacity is left. For the detailed maths, read What Does mAh Mean? or try the battery life calculator.
| Battery | Capacity | Voltage | Energy |
|---|---|---|---|
| CR2032 coin cell | 220 mAh | 3 V | 0.66 Wh |
| AA alkaline | about 2500 mAh | 1.5 V | about 3.75 Wh |
| 9 V alkaline | about 500 mAh | 9 V | about 4.5 Wh |
| 1000 mAh LiPo | 1000 mAh | 3.7 V | 3.7 Wh |
| 18650 Li-ion | 2600 mAh | 3.7 V | 9.62 Wh |
| 10,000 mAh power bank | 10,000 mAh | 3.7 V (cell) | 37 Wh |
Time and frequency: ms, µs, Hz, kHz and MHz
Frequency and period are the inverse of each other: T = 1 / f. Since a hertz is one per second, the inverse of kHz comes out in ms and the inverse of MHz in µs. Servo motors are driven at 50 Hz, so a pulse arrives every 1 / 50 = 0.02 s = 20 ms. Most PWM pins on the Arduino Uno run at about 490 Hz with a period of 2.04 ms; pins 5 and 6 run at 980 Hz with a 1.02 ms period (more in What Is PWM?). At a 16 MHz clock, one clock cycle lasts 62.5 ns. Don't mix up Arduino's two time functions either: millis() returns milliseconds, micros() returns microseconds, and delayMicroseconds() is only accurate up to 16,383 µs; for longer waits, use timing with millis.
Speed units rely on the same conversions. For the HC-SR04 distance sensor, the speed of sound is 343 m/s; converted to cm/µs that's 34,300 cm / 1,000,000 µs = 0.0343 cm/µs. Because the sensor reports the echo's round-trip time, distance = time (µs) × 0.0343 / 2, so a 1000 µs echo means 17.15 cm. Once you know where that 0.0343 comes from, you can work out the right factor yourself when you want the result in metres or inches.
Unit mistakes in Arduino code: converting ADC readings to mV and V
Even when the conversion is right on paper, two traps wait in the code. The first is int overflow: on the Arduino Uno an int holds at most 32,767, but 1023 × 5000 is 5,115,000, so the result is garbage. The second is integer division: 4700 / 1000 gives 4, not 4.7, because dividing two integers throws away the fractional part. The fix is to do the multiplication as a long and to write 1000.0 instead of 1000 when you want a decimal result. The sketch below converts the voltage on A0 correctly to mV and V, then calculates the real input voltage of a 10 kΩ and 4.7 kΩ voltage divider.
1// ADC değerini mV ve V'a çevirme / Converting ADC readings to mV and V
2const int SENSOR_PIN = A0;
3const long VREF_MV = 5000;        // Uno referansı 5000 mV / Uno reference 5000 mV
4const float R1_KOHM = 10.0;       // üst direnç 10 kΩ / top resistor 10 kΩ
5const float R2_KOHM = 4.7;        // alt direnç 4,7 kΩ / bottom resistor 4.7 kΩ
6
7void setup() {
8  Serial.begin(9600);
9}
10
11void loop() {
12  int raw = analogRead(SENSOR_PIN);              // 0-1023
13
14  // YANLIŞ: int ile raw * 5000 taşar / WRONG: raw * 5000 overflows an int
15  // int wrongMv = raw * 5000 / 1024;
16
17  long mv = (long)raw * VREF_MV / 1024;          // doğru: long ile mV / correct: mV using long
18  float volts = mv / 1000.0;                     // mV -> V, 1000.0 ondalıklı böler / 1000.0 keeps decimals
19  float vin = volts * (R1_KOHM + R2_KOHM) / R2_KOHM;  // kΩ / kΩ birimsizdir / kΩ over kΩ is unitless
20
21  Serial.print("ham / raw: ");  Serial.print(raw);
22  Serial.print("  mV: ");       Serial.print(mv);
23  Serial.print("  V: ");        Serial.print(volts, 3);
24  Serial.print("  Vin: ");      Serial.println(vin, 2);
25  delay(500);
26}
The (long)raw cast makes the multiplication happen in 32 bits, so nothing overflows. We divided by 1024 because that's the formula in the ATmega328P datasheet; the difference from 1023 is around 0.1 percent. Writing the divider resistors in kΩ is fine, because the units cancel out in the ratio. With this divider, A0 sees at most 5 V while you can measure up to about 15.6 V at the input.
Capacitor code decoder: type 104 into the Serial Monitor
To make decoding second nature, let's write a small tool. The program below reads the three-digit code you type into the Serial Monitor and prints its value in pF, nF and µF. It also handles the special cases where the third digit is 8 or 9 (×0.01 and ×0.1). Just set the Serial Monitor's line ending to "Newline".
1// Kondansatör kodu çözücü / Capacitor code decoder
2// Seri Monitör'e 104, 222, 475 gibi bir kod yaz / Type a code such as 104, 222 or 475
3
4void printValue(float pf) {
5  Serial.print(pf, 1);              Serial.print(F(" pF = "));
6  Serial.print(pf / 1000.0, 3);     Serial.print(F(" nF = "));
7  Serial.print(pf / 1000000.0, 6);  Serial.println(F(" uF"));
8}
9
10void setup() {
11  Serial.begin(9600);
12  Serial.println(F("Kod yaz (or. 104) / Type a code (e.g. 104)"));
13}
14
15void loop() {
16  if (!Serial.available()) return;
17  String code = Serial.readStringUntil('\n');
18  code.trim();
19
20  if (code.length() != 3 || !isDigit(code[0]) || !isDigit(code[1]) || !isDigit(code[2])) {
21    Serial.println(F("3 haneli kod yaz / Enter a 3-digit code"));
22    return;
23  }
24
25  int digits = (code[0] - '0') * 10 + (code[1] - '0');  // ilk iki hane / first two digits
26  int mult = code[2] - '0';                             // üçüncü hane / third digit
27  float pf = digits;
28
29  if (mult == 9) pf *= 0.1;          // 9 = ×0,1 / 9 means ×0.1
30  else if (mult == 8) pf *= 0.01;    // 8 = ×0,01 / 8 means ×0.01
31  else for (int i = 0; i < mult; i++) pf *= 10;  // sıfır ekle / append zeros
32
33  Serial.print(code); Serial.print(F(" -> "));
34  printValue(pf);
35}
Unit conversions on the ESP32 and Raspberry Pi Pico
The ESP32's ADC is 12-bit and returns 0-4095, but the pins run at 3.3 V and the ADC drifts a little differently on every board. That's why it's better to use the core's analogReadMilliVolts() function than to convert the raw value yourself: it uses the calibration burned into the chip at the factory and returns millivolts directly. With the default 11 dB attenuation, the measurable range goes up to about 3.1 V, and the most accurate results are between 0.15 and 2.45 V.
1// ESP32: ham ADC değeri ve kalibrasyonlu mV / raw ADC value and calibrated mV
2const int ADC_PIN = 34;   // yalnız giriş pini, ADC1 / input-only pin, ADC1
3
4void setup() {
5  Serial.begin(115200);
6  analogReadResolution(12);   // 0-4095
7}
8
9void loop() {
10  int raw = analogRead(ADC_PIN);
11  unsigned long mv = analogReadMilliVolts(ADC_PIN);   // fabrika kalibrasyonu / factory calibration
12  float volts = mv / 1000.0;                          // mV -> V
13  Serial.printf("ham/raw: %d  mV: %lu  V: %.3f\n", raw, mv, volts);
14  delay(500);
15}
On the Raspberry Pi Pico, MicroPython's read_u16() scales the value to 0-65535 even though the ADC is 12-bit. So the conversion factor must be 3.3 / 65535, not 3.3 / 4095; using the wrong one makes your result 16 times too large. The real resolution is still 3.3 V / 4096 ≈ 0.8 mV.
1# Pico: ADC değerini mV ve V'a çevirme / converting ADC readings to mV and V
2from machine import ADC
3import time
4
5adc = ADC(26)              # GP26 = ADC0
6CONV = 3.3 / 65535         # read_u16() 0-65535 aralığı / range of read_u16()
7
8while True:
9    raw = adc.read_u16()
10    volts = raw * CONV
11    mv = volts * 1000      # V -> mV
12    print("ham/raw:", raw, " mV:", round(mv), " V:", round(volts, 3))
13    time.sleep(0.5)
Common unit mistakes and how to fix them
- Mixing up m and M: 1 mΩ (milliohm) and 1 MΩ (megohm) are a billion times apart. Lowercase m is milli, uppercase M is mega, so watch the letter size on a schematic.
- Reading 104 as 104 pF: the third digit is the number of zeros, so the value is 100,000 pF. Only two-digit markings such as 22 and 47 are plain picofarads; with three-digit codes even 220 means 22 pF, not 220 pF.
- Comparing mAh across different voltages: convert to Wh when comparing batteries of different voltages, or a 9 V battery will look weaker and an AA cell stronger than they really are.
- Integer division: in Arduino, 3 / 2 is 1. If you need a decimal result, write one of the numbers as a decimal like 3.0, or use float.
- int overflow: products such as analogRead() × 5000 exceed the Uno's 32,767 limit. Cast to (long) before multiplying.
- Confusing W and Wh: W is instantaneous power, while Wh is the energy used when that power runs for an hour. A circuit drawing 2 W runs for 5 hours on a 10 Wh battery, ignoring losses.
- Forgetting resistor power: 1/4 W means 250 mW. A 100 Ω resistor across 12 V dissipates 1.44 W and will cook a standard quarter-watt part, so always do the power calculation.
Once the prefixes and unit shortcuts are second nature, reading datasheets, choosing parts and writing the right factor in your code all get much faster. If you want to put this into practice, the BlueGrays app's LCD digital voltmeter, LDR light level reading, NTC temperature measurement and ESP32 deep sleep projects show step by step, with a circuit diagram and code, how ADC values, currents and battery life are calculated.
Frequently asked questions
What is the value of a 104 capacitor in nF?
A 104 code is read as 10 followed by four zeros: 100,000 pF. That equals 100 nF or 0.1 µF. It's the decoupling capacitor you'll find on the supply line of most Arduino circuits.
How many nF are in 1 µF?
1 µF equals 1000 nF. To convert nF to µF, divide by 1000; for example, 470 nF = 0.47 µF and 22 nF = 0.022 µF.
What does 2n2 mean on a capacitor?
In 2n2, the letter n marks both the unit (nanofarads) and the decimal point, so the value is 2.2 nF, or 2200 pF. The same capacitor can also be marked with the three-digit code 222.
What is the code for a 10 µF capacitor?
10 µF is 10,000,000 pF, which is 10 followed by six zeros, so its three-digit code is 106. Electrolytic capacitors usually skip the code and print 10 µF in plain text, along with the voltage rating.
How do I convert mAh to Wh?
Multiply the mAh value by the battery's nominal voltage and divide by 1000: Wh = mAh × V / 1000. A 3.7 V, 2600 mAh 18650 cell holds about 9.6 Wh of energy.
Is MFD the same as µF?
Yes. MFD is an older notation for microfarads, so a capacitor marked 35 MFD on an air conditioner, fan or motor is 35 µF. The related marking MMFD means picofarads.
Projects to build after reading this
See all projects
Measuring Light Intensity with an LDR
Want to see how bright your room is as a number? The LDR, a small part that reacts to light, measures the light around it, and the Arduino writes the value to your computer screen every half second.

Reading Light Intensity with the ESP32 LDR Module
Real-time monitoring of the LDR module's raw ADC value and relative light percentage calculated from dark and light reference values in the Serial Monitor. This percentage is not a lux measurement. Teaches the module’s calibration logic. It is ideal to complete this before Project 10, as it is used to determine the threshold value.
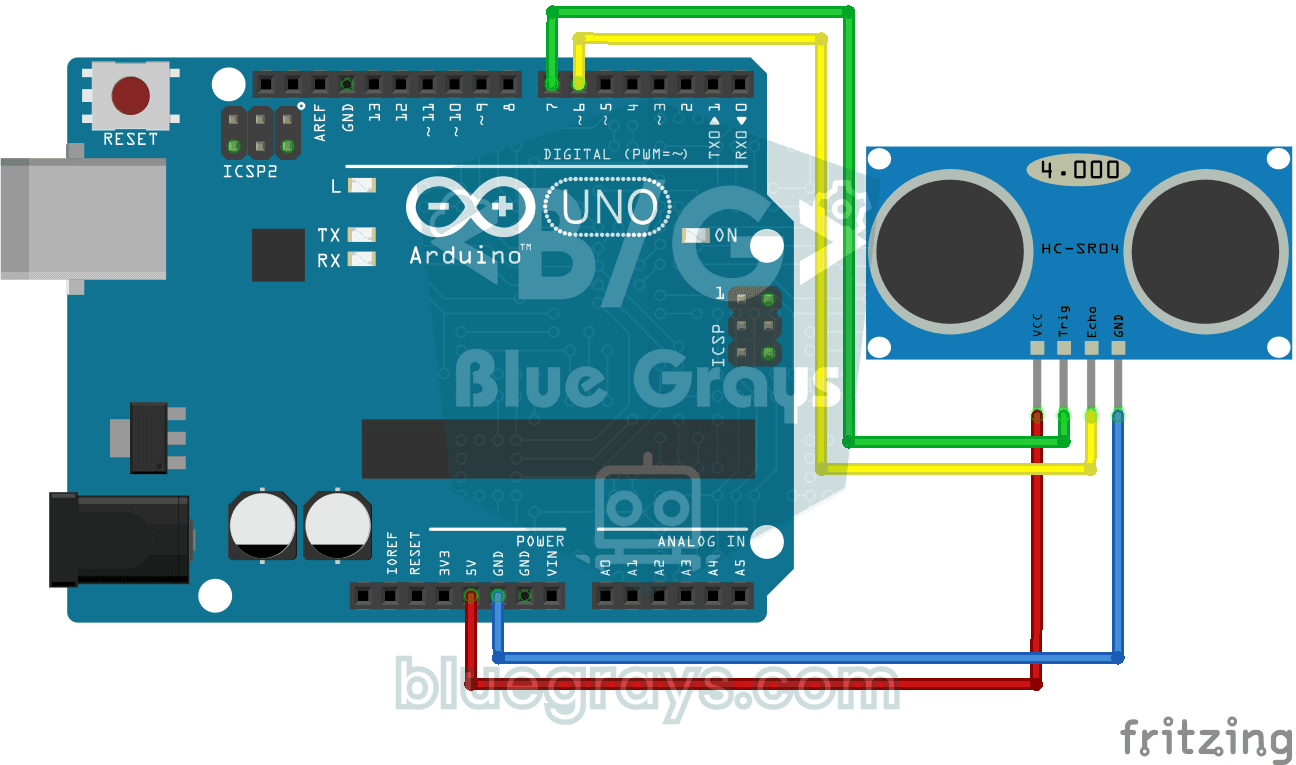
HC-SR04 Distance Measurement (Serial Display)
The HC-SR04 sensor works just like a bat finding its way in the dark: it sends out a sound you cannot hear, listens for the echo and measures how far away the object in front of it is.
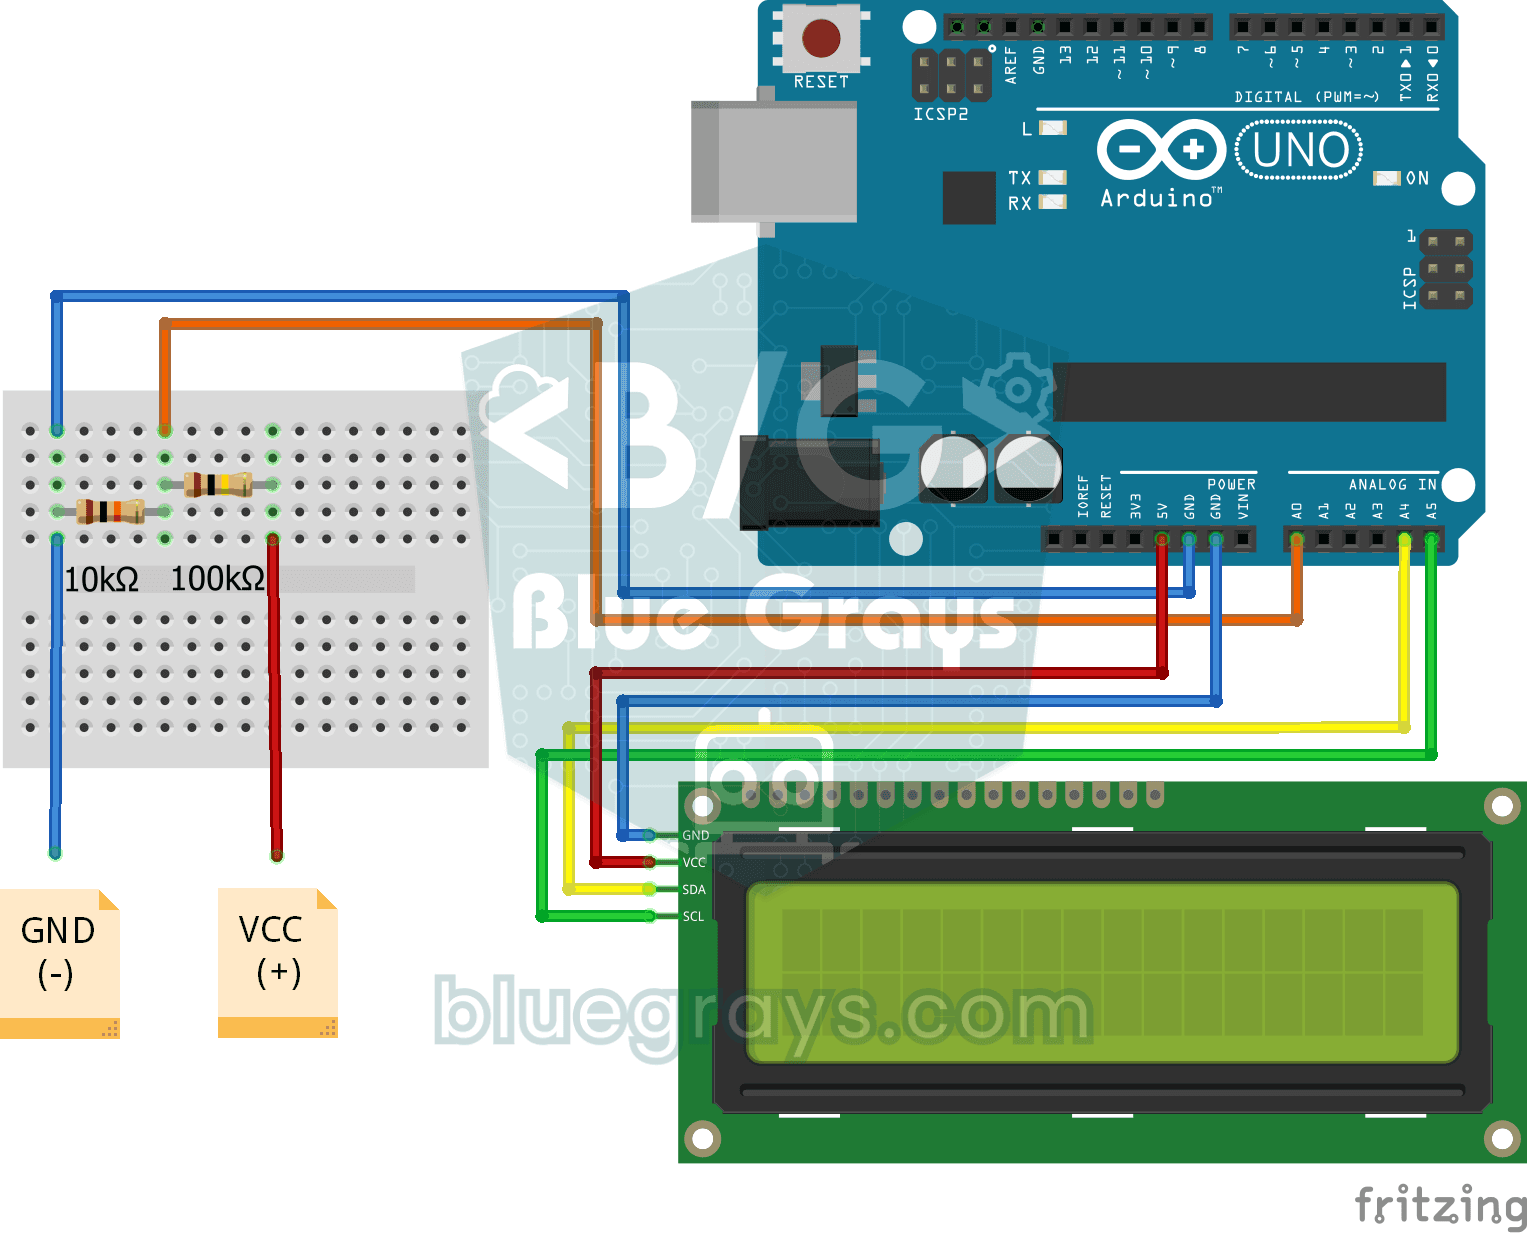
Digital Voltmeter with LCD Display
Find out how much voltage a battery or power adapter gives with a meter you built yourself.
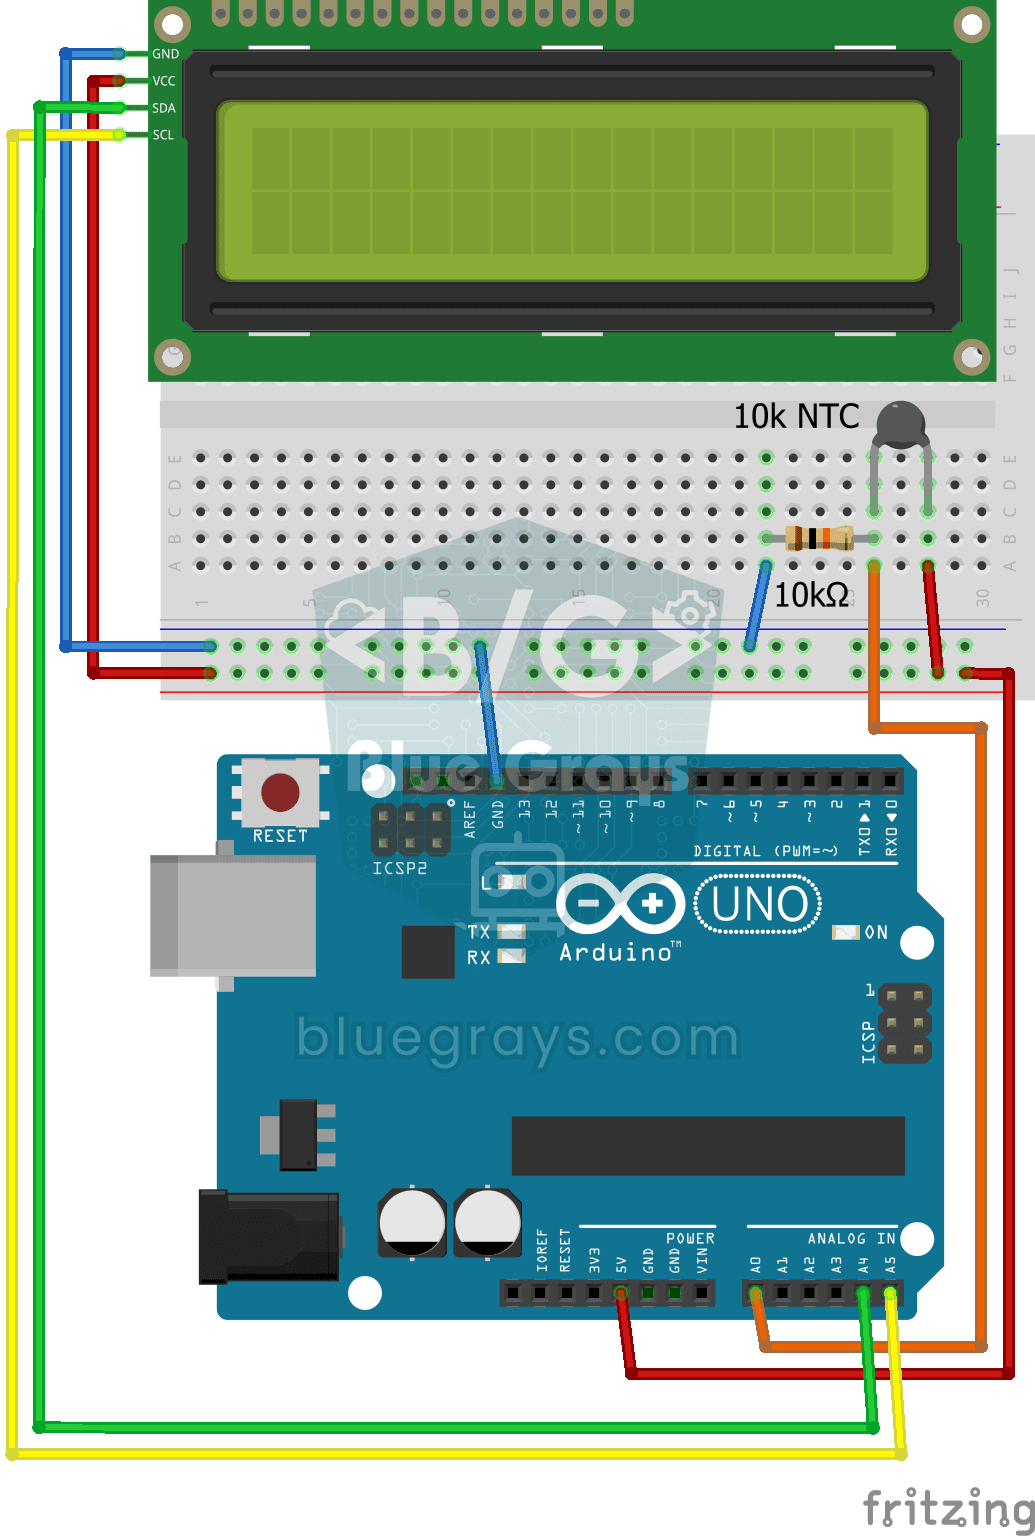
Temperature Measurement with NTC and 2x16 Lcd Display
Measure the temperature around you with a sensor that looks like a tiny bead. This part, called an NTC, lets electricity through more easily as it warms up; the Arduino reads that change, turns it…

ESP32 LED Brightness Control with a Potentiometer (Analog → PWM)
In this project, we control the brightness of an LED analogically using a potentiometer. The ESP32's ADC pin reads the 0-3.3V voltage from the potentiometer, and this value is then converted into a PWM (Pulse Width Modulation) signal and sent to the LED. As a result, as you turn the potentiometer, the LED gradually brightens and dims. With Arduino Core 3.0+, analogWrite() can be used directly; on the ESP32-S2/S3, the ADC resolution is fixed at 12-bit.

ESP32 Deep Sleep — Battery Saving (OLED + RTC RAM Counter)
The ESP32's Deep Sleep mode shuts down the CPU and most peripherals, cutting current draw to about 10µA, which is vital for battery-powered IoT devices. This project uses three wake-up sources: a timer (15 s), an external pin (EXT0, the button on GPIO 33) and a touch pin (T0/GPIO 4). Counters marked with RTC_DATA_ATTR survive deep sleep.
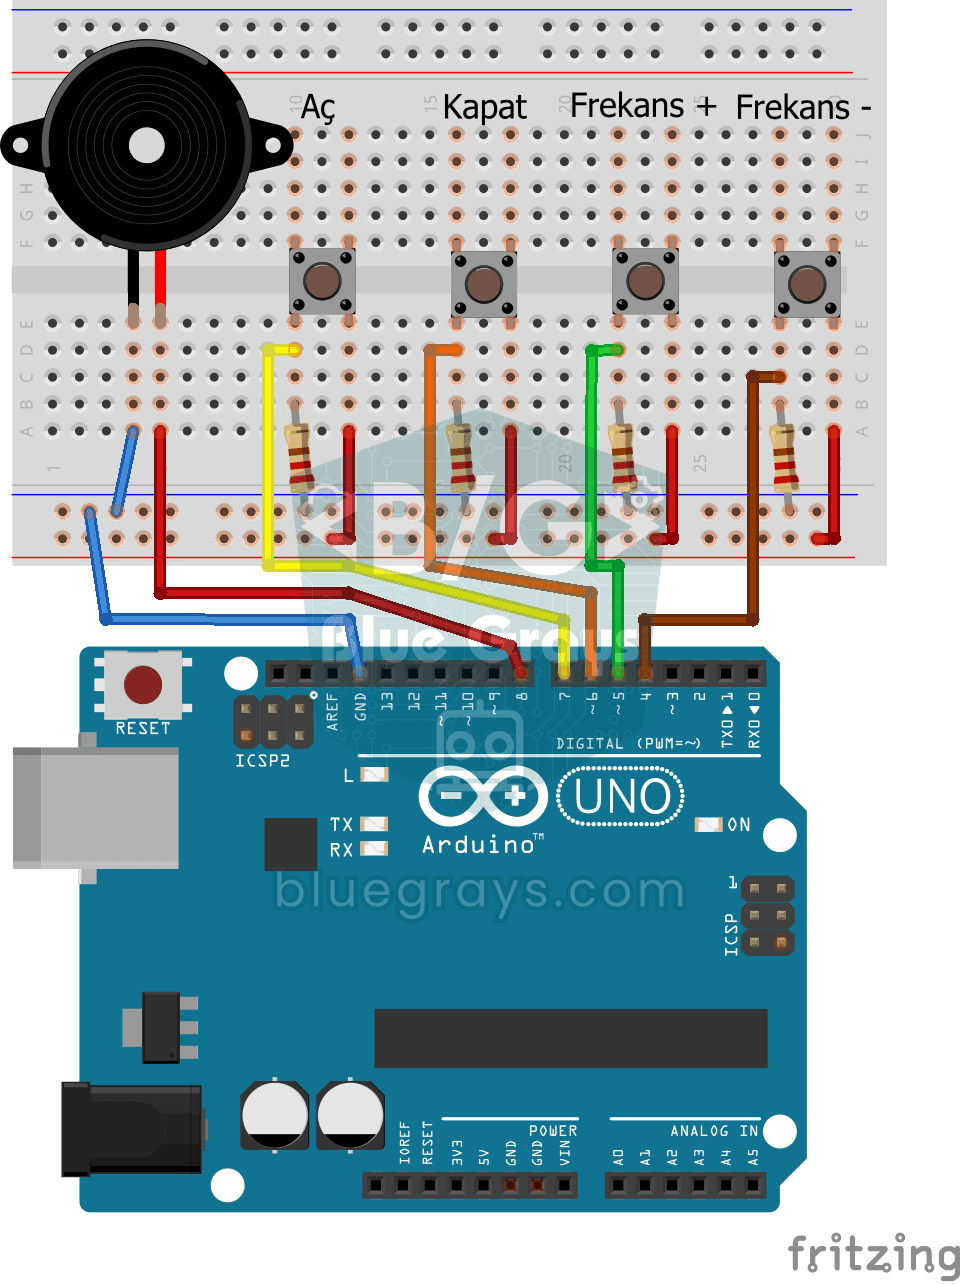
Frequency Setting with Buzzer
You control the sound of a buzzer with four buttons: one starts the sound, one silences it, and the other two make it higher or lower.