
Electrical Power Calculation: P = V × I, Watts, kWh and Examples
Electrical power calculation: the P = V × I formula, watts vs kWh, bill costs, resistor and regulator heating, adapter choice, plus LED strip and motor examples.

Electrical power calculation means finding how much energy a circuit or device uses every second, and the basic formula is very simple: P = V × I, so power (watts) equals voltage (volts) times current (amps). A circuit drawing 2 A at 5 V uses 10 W; a motor drawing 0.5 A at 12 V uses 6 W. This single formula answers many electronics questions: which adapter to buy, whether a resistor will burn out, how many hours a battery will last, and even what your electricity bill will be.
If you build projects with Arduino, ESP32 or Raspberry Pi Pico, knowing how to calculate power saves you from three big headaches: boards that reset on their own because of an undersized adapter, regulators that get hot enough to burn your finger, and smoking resistors. In this post you'll learn the formulas, the units (W, Wh, kWh, mAh), energy use and bill calculation, resistor and regulator heating, adapter selection, and step-by-step example calculations for LED strips and motor projects. Finally, we'll actually measure power with an INA219 sensor on Arduino and Pico.
What is electrical power and how is it calculated?
Power shows how fast energy is used or converted. Its unit is the watt (W), and 1 W means 1 joule of energy per second. If you picture voltage as the pressure of water in a pipe and current as the amount of water flowing through it, power is the work that water does each second: as pressure or flow increases, so does the work. The basic formula is P = V × I; when you substitute V = I × R from Ohm's Law, you get two more handy forms: P = I² × R and P = V² / R. Which one you use depends on the two values you have. You can also do the calculations quickly with the Ohm's Law calculator.
| Formula | When to use it | Example |
|---|---|---|
| P = V × I | When you know voltage and current | 5 V × 2 A = 10 W |
| P = I² × R | When you know current and resistance (resistor heating) | (0.02 A)² × 150 Ω = 0.06 W |
| P = V² / R | When you know voltage and resistance (heating elements) | (12 V)² / 100 Ω = 1.44 W |
| I = P / V | To find the current a device draws from its power | 60 W / 12 V = 5 A |
| E = P × t | Energy used over a given time | 10 W × 3 hours = 30 Wh |
Watts, kWh and mAh: energy use and bill calculation
The most commonly confused topic is the difference between power and energy. Watts are an instantaneous rate; like the speedometer in a car, they answer "how much right now". Watt-hours (Wh) and kilowatt-hours (kWh) are energy; like the odometer, they answer "how much in total". A 100 W device running for 10 hours uses 1000 Wh, or 1 kWh. Your electricity bill is based on kWh used, not on power. The mAh (milliamp-hour) printed on batteries shows the amount of electric charge; to convert it to energy you multiply by voltage: Wh = mAh × V / 1000.
| Unit | What it measures | Equivalent / example |
|---|---|---|
| mW (milliwatt) | Power | 1 W = 1000 mW; an indicator LED is about 40 mW |
| W (watt) | Power | 5 V × 1 A = 5 W |
| kW (kilowatt) | Power | 1 kW = 1000 W; a kettle is about 2 kW |
| Wh (watt-hour) | Energy | 10 W × 1 hour = 10 Wh |
| kWh (kilowatt-hour) | Energy (the unit on your bill) | 1000 W × 1 hour = 1 kWh |
| mAh (milliamp-hour) | Electric charge (battery capacity) | 2500 mAh × 3.7 V = 9.25 Wh |
Three steps are enough to find a device's monthly consumption: multiply the power (W) by the daily running time (hours), multiply the result by 30 days, and divide by 1000 to get kWh. To find the cost on your bill, multiply the kWh by the unit price. For example, a 9 W LED bulb that is on 5 hours a day uses 9 × 5 × 30 = 1350 Wh = 1.35 kWh; assuming a sample unit price of 3 TL/kWh, the monthly cost is about 4 TL. The table below clearly shows how tiny the bill impact of an Arduino running 24/7 is, whereas an LED strip or a kettle makes a big difference. Remember that the adapter itself also wastes a few hundred extra milliwatts through efficiency losses.
| Device | Power | Daily use | Monthly consumption |
|---|---|---|---|
| Arduino Uno (USB, idle) | ≈ 0.25 W | 24 hours | ≈ 0.18 kWh |
| ESP32 (Wi-Fi on, average) | ≈ 0.5 W | 24 hours | ≈ 0.36 kWh |
| 9 W LED bulb | 9 W | 5 hours | 1.35 kWh |
| 5 m 12 V LED strip (5050, 60 LEDs/m) | 72 W | 5 hours | 10.8 kWh |
| Kettle | 2000 W | 10 minutes | 10 kWh |
Why do resistors get hot? Choosing the right wattage
When current flows through a resistor, the power dissipated turns entirely into heat; this is called Joule heating and is calculated with P = I² × R. The standard resistors you use on breadboards can usually handle 1/4 W (0.25 W). For a safe design, it's a good rule to choose a resistor rated at least twice the power you calculate, because as a resistor approaches its limit it gets very hot and its value drifts. Example 1: to drive a red LED (2 V, 20 mA) from 5 V, the resistor is (5 − 2) / 0.02 = 150 Ω; the power in the resistor is 3 V × 0.02 A = 0.06 W, and 1/4 W is plenty. Example 2: if you drive a single white LED (3.2 V) from 12 V, 8.8 V drops across the resistor; with 470 Ω the current is about 18.7 mA and the power rises to 8.8 × 0.0187 ≈ 0.165 W. That is two-thirds of 1/4 W and the resistor gets noticeably warm, so it's smarter to choose 1/2 W or to connect several LEDs in series to reduce the voltage dropped across the resistor. You can find the values in seconds with the LED resistor calculator.
| Resistor rating | Typical look | Recommended max continuous load |
|---|---|---|
| 1/8 W (0.125 W) | Very small, thin body | ≈ 0.06 W |
| 1/4 W (0.25 W) | Standard breadboard resistor | ≈ 0.125 W |
| 1/2 W (0.5 W) | Slightly thicker body | ≈ 0.25 W |
| 1 W – 2 W | Large metal oxide resistor | ≈ 0.5 – 1 W |
| 5 W – 10 W | White ceramic (cement) resistor | ≈ 2.5 – 5 W |
Regulator heating: 7805 and AMS1117 calculation
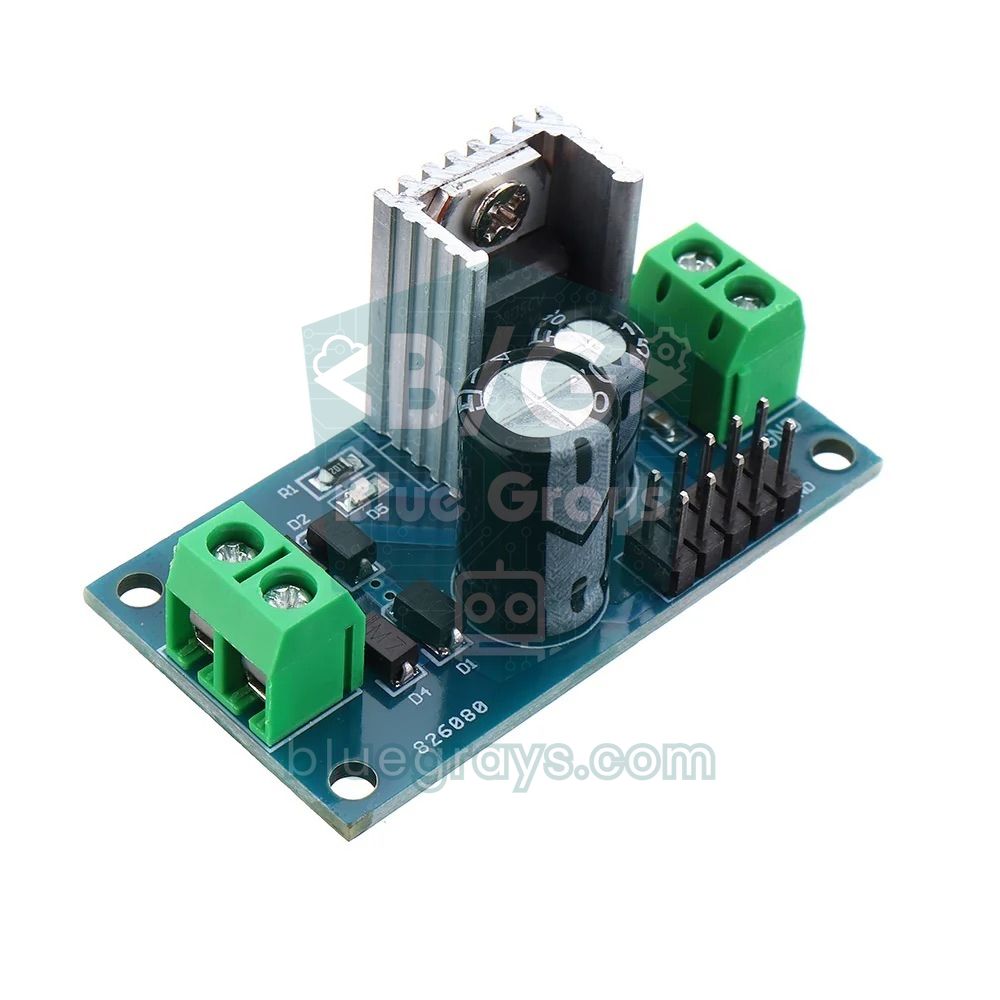
Linear regulators such as the 7805, the AMS1117 and the regulator on an Arduino board burn off excess voltage as heat. The power loss is found with P = (Vin − Vout) × I, and efficiency is roughly Vout / Vin. If you make 5 V from 12 V and draw 500 mA, the regulator produces (12 − 5) × 0.5 = 3.5 W of heat. The thermal resistance of a TO-220 package without a heatsink is about 50–65 °C/W; so 3.5 W adds more than 175 °C above ambient and the regulator shuts down to protect itself. You must either use a big heatsink or lower the input voltage. The most efficient solution is a switching (buck) converter such as the LM2596: at 85–90% efficiency it wastes only 0.3–0.5 W for the same job. For details, see the 7805 Voltage Regulator and LM2596 Buck Converter posts.
| Regulator | Input → Output | Current | Heat loss | Efficiency |
|---|---|---|---|---|
| LM7805 | 9 V → 5 V | 0.3 A | 1.2 W | ≈ 56% |
| LM7805 | 12 V → 5 V | 0.5 A | 3.5 W | ≈ 42% |
| AMS1117-3.3 | 5 V → 3.3 V | 0.3 A | 0.51 W | ≈ 66% |
| LM2596 (buck) | 12 V → 5 V | 2 A | ≈ 1.4 W | ≈ 88% |
Choosing an adapter: how many amps and watts do you need?
- Write down the operating voltage and worst-case current of every part in the project; these values are in datasheets or module descriptions.
- Add up the currents of parts powered from the same voltage. For motors and servos, count the startup and stall current, not the normal current: an SG90 servo can draw up to 650 mA when strained. A 470–1000 µF capacitor placed near the servos reduces voltage dips during sudden current spikes.
- If a regulator sits in between: for a linear regulator the input current equals the output current; for a buck converter, calculate from power: Iin ≈ (Vout × Iout) / (Vin × efficiency).
- Add a 20–30% margin to the total current; adapters run hot and their output voltage sags when they run continuously at their rated limit.
- Choose the voltage exactly as required, and a current equal to or greater than your calculated value. An adapter's current rating is an upper limit; your circuit draws only what it needs, so buying 5 V 3 A instead of 5 V 2 A does no harm. Choosing a higher voltage, however, can burn the circuit.
| Part (5 V) | Qty | Typical current | Total |
|---|---|---|---|
| Arduino Uno | 1 | ≈ 50 mA | 50 mA |
| SG90 servo (moving) | 2 | ≈ 250 mA | 500 mA |
| WS2812B LED (full white) | 30 | 60 mA | 1800 mA |
| HC-SR04 distance sensor | 1 | ≈ 15 mA | 15 mA |
| I2C 16x2 LCD (backlight on) | 1 | ≈ 30 mA | 30 mA |
| Total | ≈ 2.4 A (12 W) → with 25% margin, a 5 V 3 A (15 W) adapter |
Example calculation: LED strips and WS2812B projects
12 V 5050 LED strips are usually rated at 60 LEDs per metre and about 14.4 W/m. For 3 metres of strip you need 14.4 × 3 = 43.2 W; the current is I = 43.2 / 12 = 3.6 A. With a 25% margin this rises to 4.5 A, so a 12 V 5 A (60 W) adapter is suitable. If you'll dim the strip with PWM from an Arduino, a MOSFET goes in between; a logic-level MOSFET such as the IRLZ44N has an on-resistance of about 0.022 Ω at 5 V gate voltage, so the loss is P = I² × R = 3.6² × 0.022 ≈ 0.29 W, meaning no heatsink is needed. On addressable WS2812B LEDs, each LED draws about 60 mA at full white: a 1-metre strip with 144 LEDs per metre means 144 × 0.06 = 8.64 A, or 43 W at 5 V. That much current causes voltage drop in the thin copper of the strip; feed long strips from several points and limit the brightness in software. For details, check out the WS2812B NeoPixel, RGB LED Strip Control and Using a MOSFET with Arduino posts.
Example calculation: motor projects and battery life
Yellow TT gear motors draw about 150–250 mA unloaded at 6 V, but when a wheel jams the current can exceed 1 A. A four-motor robot car draws about 1 A in total during normal driving. An L298N powered from two 18650 cells (7.4 V) drops about 2 V because of its bipolar transistors; the motors therefore see around 5.4 V, and the L298N wastes 2 V × 1 A = 2 W as heat. Nearly a quarter of the 7.4 W drawn from the batteries is lost in the driver; MOSFET-based drivers such as the TB6612FNG reduce this loss considerably. You can roughly estimate battery life with capacity (mAh) / average current (mA) × 0.8: from a 2500 mAh pack, if you draw an average of 1.2 A including the Arduino, you get 2500 / 1200 × 0.8 ≈ 1.7 hours of driving. The battery life calculator does this for you; to continue, see DC Motor Control with the L298N, Motor Driver Comparison and mAh Battery Capacity.
Measuring power with Arduino: the INA219 sensor
Calculating is nice, but you need to measure to see real consumption. You can measure current with a multimeter, but for tracking changing loads and energy that builds up over time, the INA219 module is much more practical. This module measures the small voltage drop across a 0.1 Ω shunt resistor placed in series with the load and reads the load voltage at the same time; over I2C you can measure voltages up to 26 V and, in the default setup, currents up to about 3.2 A. What the code does is exactly the formulas in this post: P = V × I for instantaneous power and E = P × t for total energy. All you need to do is install the Adafruit INA219 library from the Library Manager. For the measurement logic and calibration, see the INA219 Current Sensor post.
| INA219 pin | Arduino Uno | ESP32 | Raspberry Pi Pico |
|---|---|---|---|
| VCC | 5V | 3V3 | 3V3 (pin 36) |
| GND | GND | GND | GND |
| SCL | A5 | GPIO 22 | GP5 |
| SDA | A4 | GPIO 21 | GP4 |
| VIN+ | Positive terminal of the power supply | Positive terminal of the power supply | Positive terminal of the power supply |
| VIN− | Positive terminal of the load | Positive terminal of the load | Positive terminal of the load |
1#include <Wire.h>
2#include <Adafruit_INA219.h>
3
4Adafruit_INA219 ina219;          // varsayılan I2C adresi 0x40 / default I2C address 0x40
5
6float energy_mWh = 0.0;          // biriken enerji / accumulated energy
7unsigned long lastMs = 0;
8
9void setup() {
10  Serial.begin(115200);
11  if (!ina219.begin()) {
12    Serial.println(F("INA219 bulunamadi / INA219 not found"));
13    while (1) { delay(10); }
14  }
15  lastMs = millis();
16}
17
18void loop() {
19  float busV = ina219.getBusVoltage_V();        // yük gerilimi (V) / load voltage (V)
20  float current_mA = ina219.getCurrent_mA();    // akım (mA) / current (mA)
21  float power_mW = busV * current_mA;           // güç: P = V x I / power: P = V x I
22
23  unsigned long now = millis();
24  float dtHours = (now - lastMs) / 3600000.0;   // ms -> saat / ms -> hours
25  lastMs = now;
26  energy_mWh += power_mW * dtHours;             // enerji: E = P x t / energy: E = P x t
27
28  Serial.print(F("V: "));
29  Serial.print(busV, 2);
30  Serial.print(F(" V  I: "));
31  Serial.print(current_mA, 1);
32  Serial.print(F(" mA  P: "));
33  Serial.print(power_mW, 0);
34  Serial.print(F(" mW  E: "));
35  Serial.print(energy_mWh, 2);
36  Serial.println(F(" mWh"));
37
38  delay(1000);
39}
Every second the code reads the load voltage and current and multiplies them to get power in milliwatts. It then converts the time between two measurements to hours with millis(), multiplies by the power and adds the result to the total energy; this way you see in the Serial Monitor how many mWh your device has used so far. The library's getPower_mW() function gives the same result; here we did the multiplication ourselves to show the formula. One important detail: the negative terminal of the supply you're measuring must be connected to the Arduino's GND, otherwise the voltage reading will be meaningless. The shunt is always connected in series with the load; connecting VIN+ and VIN− directly across the two terminals of a battery creates a short circuit.
Power measurement with ESP32 and Raspberry Pi Pico
The Arduino code above runs on the ESP32 without any changes; the Wire library uses GPIO 21 (SDA) and GPIO 22 (SCL) by default. The ESP32 is an interesting board for this kind of measurement because its consumption varies so much: when sending data over Wi-Fi the instantaneous current can exceed 240 mA, the average is around 80–120 mA, and in deep sleep the chip draws only about 10 µA. Sudden current spikes pull the voltage down on a weak USB cable or adapter and cause brownout resets; with the INA219 you can see these spikes and measure how many times deep sleep extends battery life. On the Raspberry Pi Pico, you don't need to install a library; a short MicroPython script that reads the INA219 registers directly is enough:
1from machine import Pin, I2C
2import time
3
4i2c = I2C(0, sda=Pin(4), scl=Pin(5), freq=400000)
5ADDR = 0x40              # INA219 varsayılan adresi / INA219 default address
6R_SHUNT = 0.1            # modüldeki şönt direnci (ohm) / shunt resistor on the module (ohm)
7
8def read_reg(reg):
9    data = i2c.readfrom_mem(ADDR, reg, 2)   # 2 bayt oku / read 2 bytes
10    return (data[0] << 8) | data[1]
11
12energy_wh = 0.0                              # biriken enerji / accumulated energy
13last = time.ticks_ms()
14
15while True:
16    raw = read_reg(0x01)                     # şönt gerilimi yazmacı / shunt voltage register
17    if raw > 32767:                          # işaretli sayıya çevir / convert to signed
18        raw -= 65536
19    shunt_v = raw * 0.00001                  # 1 birim = 10 uV / 1 LSB = 10 uV
20    bus_v = (read_reg(0x02) >> 3) * 0.004    # 1 birim = 4 mV / 1 LSB = 4 mV
21    current_a = shunt_v / R_SHUNT            # Ohm kanunu: I = V / R / Ohm's law: I = V / R
22    power_w = bus_v * current_a              # güç: P = V x I / power: P = V x I
23
24    now = time.ticks_ms()
25    dt_h = time.ticks_diff(now, last) / 3600000   # ms -> saat / ms -> hours
26    last = now
27    energy_wh += power_w * dt_h              # enerji: E = P x t / energy: E = P x t
28
29    print("V: {:.2f} V  I: {:.1f} mA  P: {:.0f} mW  E: {:.4f} Wh".format(
30        bus_v, current_a * 1000, power_w * 1000, energy_wh))
31    time.sleep(1)
Project ideas with power calculation
- USB power meter: show the instantaneous power and total Wh of a phone charger or your Arduino project with an INA219 and an OLED display.
- Battery tester: discharge a battery through a resistive load and measure its capacity in mAh and Wh; use the results to compare 18650 batteries.
- Smart plug meter: track the kWh consumption of a device on the socket with an ESP32 and calculate the monthly cost; use insulated, safe modules for the 220 V side, and see the ESP32 Smart Plug post.
- Desktop power display: add a current sensor to an Arduino voltmeter to build a meter that shows voltage, current and power at the same time.
- Solar panel monitor: measure the power flowing from the panel to the battery and log the Wh produced over the day.
- Battery life experiment: run the same ESP32 code with and without deep sleep, measure the average current and compare battery life.
Common mistakes and how to fix them
| Mistake | Symptom | Fix |
|---|---|---|
| Choosing an adapter with too little current | The board resets randomly, LEDs flicker, the servo jitters | Calculate the total current and add a 20–30% margin |
| Thinking a higher-voltage adapter is "more powerful" | The regulator overheats, parts burn out | Choose the exact voltage and enough current |
| Not calculating a resistor's wattage | The resistor turns black, smells burnt, its value drifts | Calculate with P = I² × R and choose a resistor rated at twice the power |
| Dropping a large voltage with a linear regulator | The 7805 gets very hot and shuts down on thermal protection | Lower the input voltage, use a heatsink or a buck converter |
| Treating mAh as energy | Batteries of different voltages are compared wrongly | Convert with Wh = mAh × V / 1000 |
| Connecting the ammeter in parallel | The multimeter fuse blows, the supply is short-circuited | When measuring current, always connect the meter in series with the load |
Once you've learned P = V × I and its two derived forms, buying an adapter, choosing a resistor, estimating battery life and calculating your bill are based on calculation, not guesswork. If you make it a habit to draw up a small power table in every new project, burned parts and unexplained resets largely disappear. In the BlueGrays app you can explore LED, LED strip, motor and digital voltmeter projects step by step with circuit diagrams and code, and try the calculations you learned here on real circuits.
Frequently asked questions
How do you calculate watts?
Watts are voltage multiplied by current: P = V × I. For example, a device drawing 2 A at 12 V uses 24 W. If you only know current and resistance, use P = I² × R; if you know voltage and resistance, use P = V² / R.
How many watts is 1 kWh?
A kWh is a unit of energy, not power, so it doesn't equal a watt value directly. 1 kWh is the energy used by a 1000 W device running for 1 hour. A 100 W lamp uses 1 kWh in 10 hours, and a 10 W device uses it in 100 hours.
How do you calculate a device's monthly electricity consumption?
Multiply the device's power (W) by its daily running hours and by 30 days, then divide by 1000 to get kWh. For example, a 72 W LED strip on 5 hours a day uses 72 × 5 × 30 / 1000 = 10.8 kWh. Multiply this by the price per kWh to get the monthly cost.
Can an adapter with higher amps damage my device?
Not as long as the voltage is correct. The current rating on an adapter is the maximum it can supply; the circuit draws only as much as it needs. The real danger is choosing too high a voltage or using an adapter whose current is below what you need.
How do you convert amps to watts?
Multiply amps by voltage: W = A × V. A USB adapter giving 3 A at 5 V delivers 15 W, and a resistive device drawing 2 A on 220 V mains uses about 440 W. On AC, the power factor also matters for motor-driven devices, and you can't go from amps to watts without knowing the voltage.
What wattage should a resistor be?
First calculate the power dissipated in the resistor with P = I² × R or P = V × I, then choose a resistor rated at least twice that value. When driving an LED from an Arduino, the power is usually below 0.1 W, so a standard 1/4 W resistor is enough. On circuits of 12 V and above, you may need 1/2 W or larger resistors.
Projects to build after reading this
See all projects
LED Blink
The very first hello of electronics: switching a single LED on and off. The Arduino turns the LED on and off at short intervals, so the light blinks quickly.
Raspberry Pi Pico: Controlling an External LED (Breadboard)
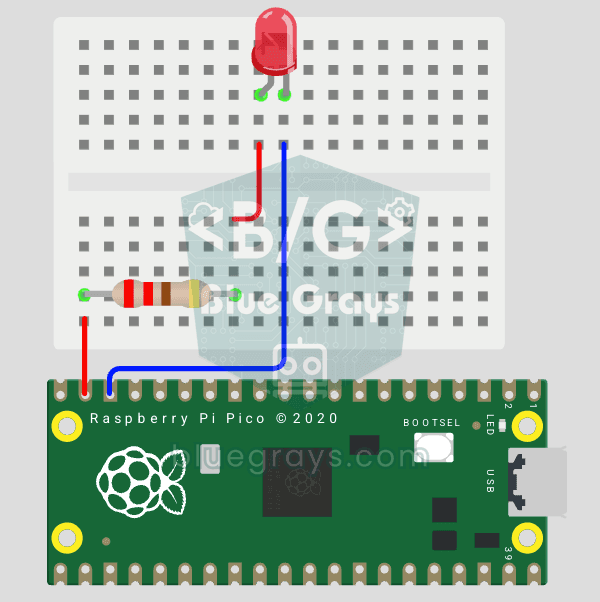
The next step after the Pico's built-in LED: connect an external LED on a breadboard and control it through pin GP14. You'll learn how to use any of the Pico's GPIO pins as an output, the LED's polarity (long leg = anode/+, short leg = cathode/–) and why a current-limiting resistor (220Ω) is a must. Without the resistor, too much current flows through the LED and it can burn out.
Digital Voltmeter with LCD Display
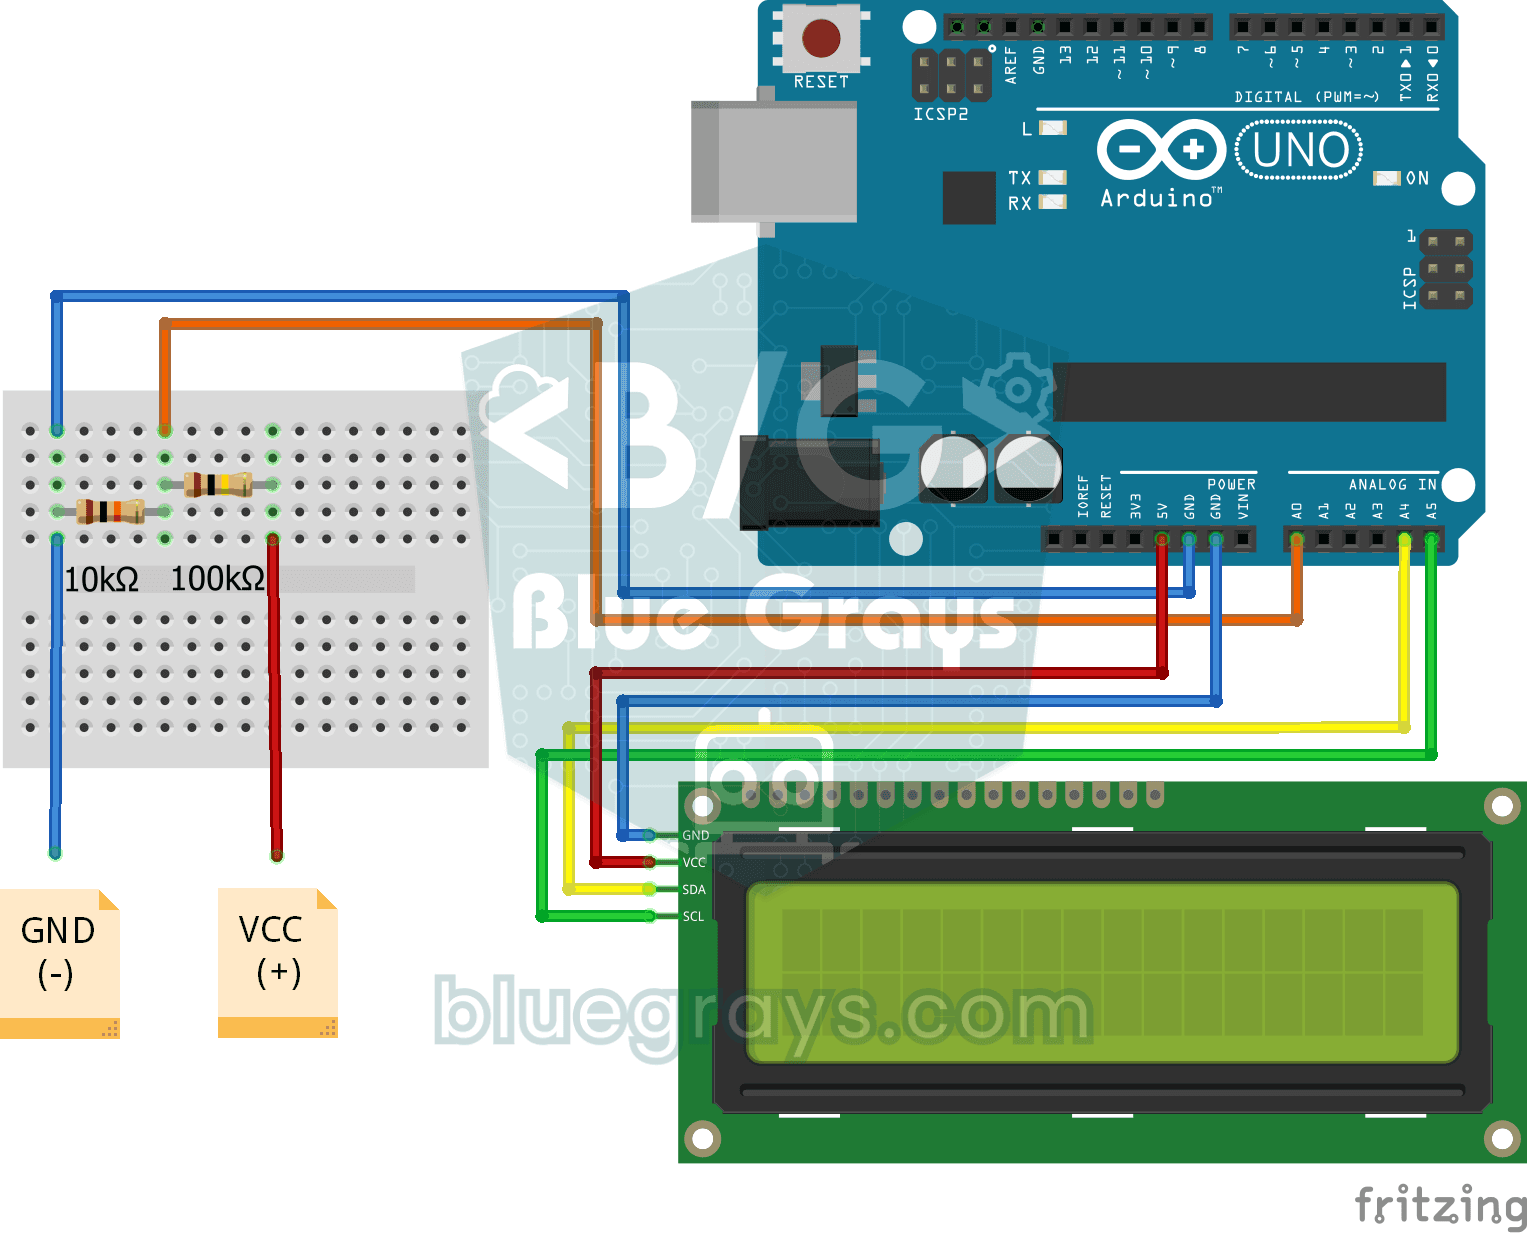
Find out how much voltage a battery or power adapter gives with a meter you built yourself.
Lighting 220V Bulb with Push Button
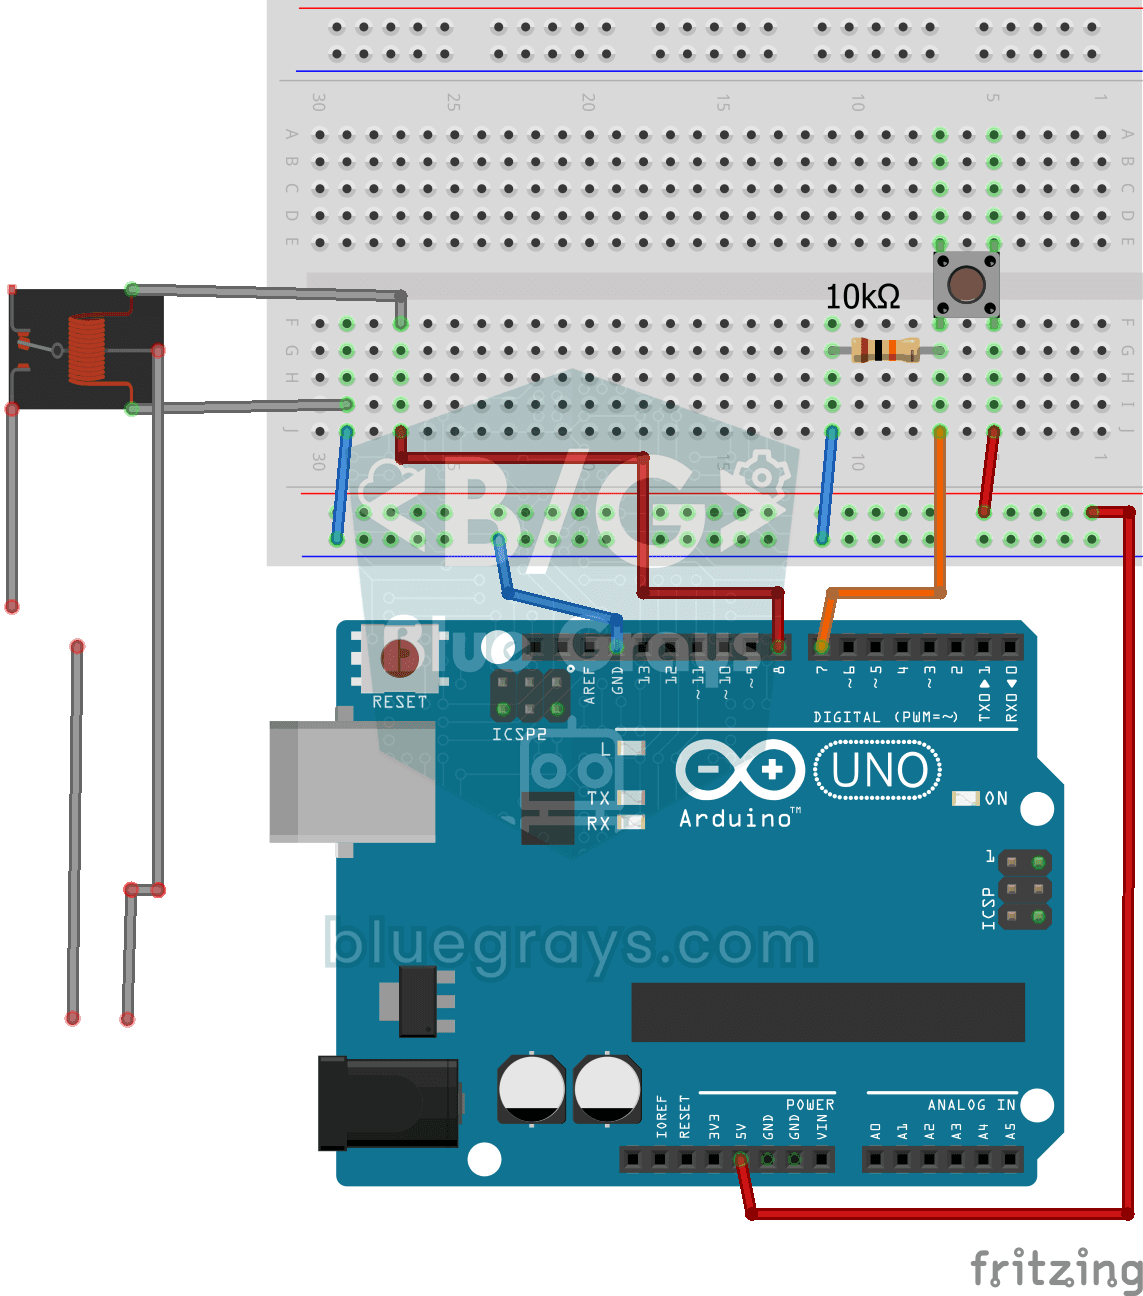
As long as you hold the button, a real 220-volt bulb stays lit, and it goes out the moment you let go.
Using a WS2812B LED Strip
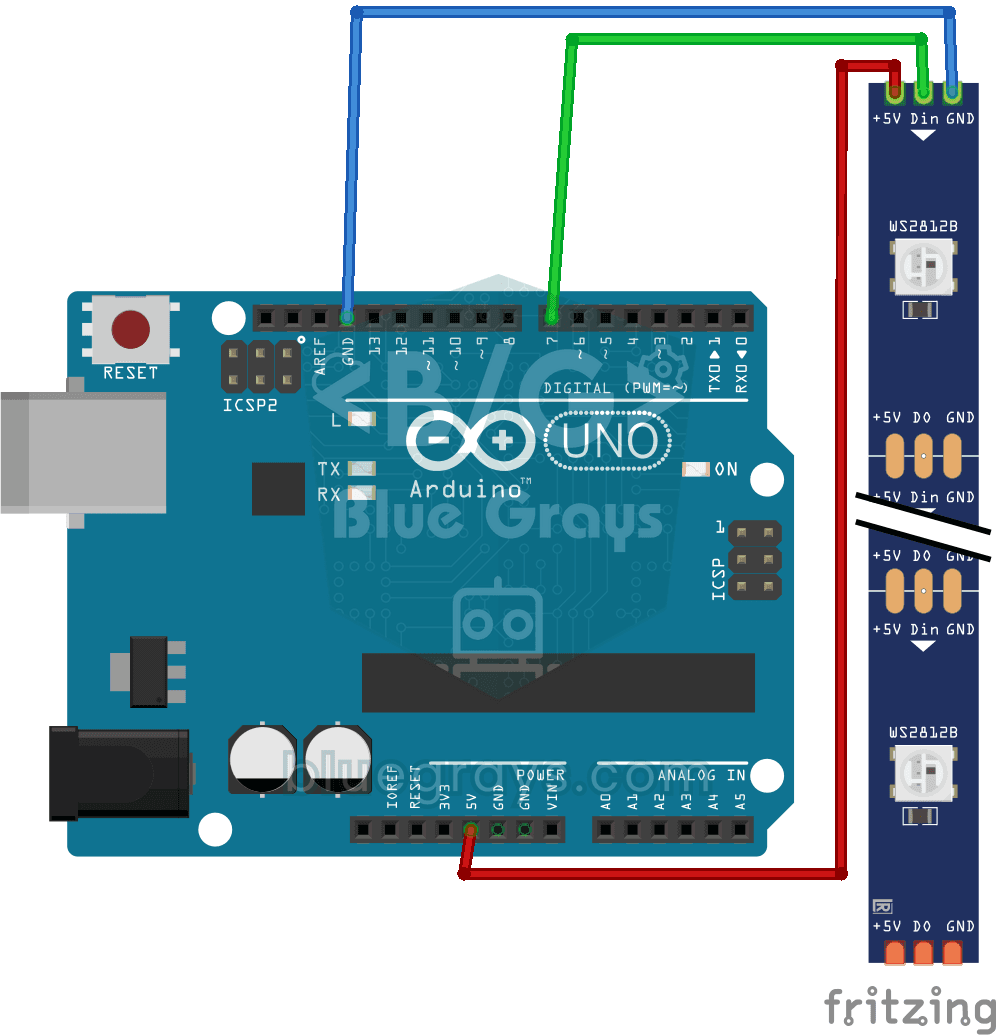
Meet a smart LED strip where you can colour every single light on its own. The Arduino first lights the first five LEDs red, a second later turns the other five blue, then switches them all off and…

ESP32 WS2812B NeoPixel Strip Control
WS2812B (NeoPixel) addressable LEDs are smart RGB LEDs that can be chained and controlled from a single data pin. In this project we drive an 8-LED WS2812B strip with the Adafruit_NeoPixel library and create a smooth rainbow animation. The ESP32's 3.3V logic works with most WS2812B batches; if it gets unstable, we show the fix with a 470Ω series resistor and a 1000µF capacitor. The animation shifts the hue in HSV color space.

Bluetooth Controlled Car with L298N
Turn your phone into a remote and drive your own robot car. The Arduino receives commands from a remote-control app on your phone through a Bluetooth module and spins the wheels with a motor driver…

ESP32 Deep Sleep — Battery Saving (OLED + RTC RAM Counter)
The ESP32's Deep Sleep mode shuts down the CPU and most peripherals, cutting current draw to about 10µA, which is vital for battery-powered IoT devices. This project uses three wake-up sources: a timer (15 s), an external pin (EXT0, the button on GPIO 33) and a touch pin (T0/GPIO 4). Counters marked with RTC_DATA_ATTR survive deep sleep.