
AHT10 Arduino Guide: AHT20 Temperature and Humidity Sensor
Connect the AHT10 and AHT20 to Arduino: I2C 0x38 wiring, AHTX0 library, DHT11/DHT22 comparison, OLED humidity display, plus ESP32 and Pico code.

The AHT10 has become one of the most popular choices for Arduino projects that need to measure temperature and humidity together. Made by Aosong (ASAIR), the AHT10 and its improved successor, the AHT20, connect over I2C with just four wires, measure temperature to about ±0.3 °C and relative humidity to ±2%, and deliver factory-calibrated digital values. In short, it's far more accurate than the DHT11, and cheaper and faster than the DHT22.
In this post you'll see the differences between the AHT10 and AHT20, how to wire them to an Arduino Uno, ESP32 and Raspberry Pi Pico, your first reading with the Adafruit AHTX0 library, and how temperature and humidity are calculated from the raw data the sensor sends. Then you'll learn why indoor humidity drops in winter when the radiators are on, what the ideal humidity range is, and how to calculate the dew point to see whether your windows will fog up. Finally, you'll build a practical indoor humidity display on a small OLED screen.
What are the AHT10 and AHT20, and how do they work?
Inside both sensors there are two separate sensing elements. Humidity is measured with a capacitive element: a thin polymer layer between two electrodes absorbs water vapour from the air. As the humidity rises, the polymer holds more water, its dielectric constant changes, and the element's capacitance increases by a measurable amount. Temperature is measured with a semiconductor sensor on the chip. These two analogue signals are converted to numbers by a 20-bit ADC in a dedicated processor (ASIC) in the same package and corrected with calibration coefficients set at the factory. What reaches your microcontroller is a set of ready, calibrated raw numbers; all you have to do is convert them to degrees Celsius and percent with a simple formula.
The AHT10 and AHT20 look almost identical from the outside, and their measurement ranges and accuracy are the same. The differences are in the details: the AHT20 has a wider supply range (2.0–5.5 V), better long-term stability, sends a CRC byte so you can tell whether the data was corrupted, and uses a different initialisation command (0xE1 on the AHT10, 0xBE on the AHT20). The AHT10 can use 0x38 or 0x39 thanks to an address-select pin, while the AHT20's address is fixed at 0x38. Some AHT10 modules are also known to cause trouble when sharing the I2C bus with other devices; for a new project, the AHT20 is usually the better buy.
| Feature | AHT10 | AHT20 |
|---|---|---|
| Manufacturer | Aosong (ASAIR) | Aosong (ASAIR) |
| Interface and address | I2C, 0x38 (0x39 with the ADR pin) | I2C, fixed 0x38 |
| Chip supply voltage | 1.8–3.6 V | 2.0–5.5 V |
| Temperature range / accuracy | -40…+85 °C / ±0.3 °C | -40…+85 °C / ±0.3 °C |
| Humidity range / accuracy | 0–100% RH / ±2% RH | 0–100% RH / ±2% RH |
| Resolution | 0.01 °C / 0.024% RH | 0.01 °C / 0.024% RH |
| Measurement time | About 75 ms | About 80 ms |
| Sleep current | Under 1 µA | Under 1 µA |
| Initialisation command | 0xE1 0x08 0x00 | 0xBE 0x08 0x00 |
| CRC check | No | Yes (7th byte) |
AHT20 vs DHT11 vs DHT22
In the Arduino world the best-known temperature and humidity sensors are the DHT11 and DHT22. They communicate over a single data line with a timing-sensitive proprietary protocol; the library disables interrupts for a few milliseconds on every read, and the DHT11 can be read once per second, the DHT22 once every two seconds. The AHT20 uses standard I2C: an OLED display, RTC or pressure sensor can share the same two wires, and you don't get missed readings caused by timing errors. RH stands for relative humidity.
| Feature | AHT10 / AHT20 | DHT11 | DHT22 (AM2302) |
|---|---|---|---|
| Communication | I2C (2 wires) | Single-wire proprietary protocol | Single-wire proprietary protocol |
| Temperature range | -40…+85 °C | 0…50 °C | -40…+80 °C |
| Temperature accuracy | ±0.3 °C | ±2 °C | ±0.5 °C |
| Humidity range | 0–100% RH | 20–90% RH | 0–100% RH |
| Humidity accuracy | ±2% RH | ±5% RH | ±2–5% RH |
| Resolution | 0.01 °C / 0.024% RH | 1 °C / 1% RH | 0.1 °C / 0.1% RH |
| Read interval | About 80 ms (2 s recommended) | 1 s | 2 s |
| Other devices on the same bus | Yes (I2C) | No | No |
| Price | Low | Lowest | Medium |
Which should you choose? For a simple project that only checks "hot or cold", the DHT11 is enough. But with a ±5% error you can't tell 40% from 45% humidity, and that difference matters for indoor humidity tracking, greenhouses or incubators. The DHT22 comes close to the AHT20 in accuracy but is more expensive and slower. If you also want to measure pressure, the BME280 is a good alternative; for a detailed comparison see the temperature sensor comparison and BME280 and BMP280 posts.
AHT10 / AHT20 wiring: Uno, ESP32 and Pico
| AHT module pin | Arduino Uno | ESP32 | Raspberry Pi Pico |
|---|---|---|---|
| VIN / VCC | 5V (or 3.3V) | 3V3 | 3V3(OUT), pin 36 |
| GND | GND | GND | GND (e.g. pin 38) |
| SCL | A5 | GPIO 22 | GP5 (pin 7) |
| SDA | A4 | GPIO 21 | GP4 (pin 6) |
Most AHT10 and AHT20 modules on the market come with a small 3.3 V regulator and pull-up resistors for the I2C lines, so they can be connected directly to the Uno's 5 V. On the Uno R3, the SDA and SCL pins are also available on two pins next to AREF; internally they're the same lines as A4 and A5. Another very common board combines the AHT20 with a BMP280: the AHT20 is at 0x38 and the BMP280 is usually at 0x77, so one connection lets you read temperature, humidity and pressure together. What is I2C is a good place to start for the basics.
Step by step: your first reading with Arduino
- Open the Library Manager in the Arduino IDE, search for Adafruit AHTX0 and install it; when it asks about dependencies, choose Install all so that Adafruit BusIO and Adafruit Unified Sensor are installed too.
- Connect the sensor according to the table above: VIN to 5V, GND to GND, SCL to A5, SDA to A4.
- If you're not sure the sensor shows up on the bus, run an I2C scanner sketch first; you should see address 0x38 in the list.
- Upload the code below and open the Serial Monitor at 9600 baud.
- Breathe lightly on the sensor: you'll see the humidity value rise quickly within a few seconds and then slowly return to its old value.
1#include <Wire.h>
2#include <Adafruit_AHTX0.h>
3
4Adafruit_AHTX0 aht;   // AHT10 ve AHT20 için ortak nesne / shared object for AHT10 and AHT20
5
6void setup() {
7  Serial.begin(9600);
8  if (!aht.begin()) {                       // 0x38 adresinde sensörü ara / look for the sensor at 0x38
9    Serial.println(F("AHT sensor bulunamadi / not found"));
10    while (1) delay(10);
11  }
12  Serial.println(F("AHT sensor hazir / ready"));
13}
14
15void loop() {
16  sensors_event_t humidity, temp;
17  aht.getEvent(&humidity, &temp);           // ölçümü başlat ve oku / trigger and read a measurement
18
19  Serial.print(F("Sicaklik / Temp: "));
20  Serial.print(temp.temperature, 1);
21  Serial.print(F(" C   Nem / Humidity: %"));
22  Serial.println(humidity.relative_humidity, 1);
23  delay(2000);                              // kendi kendine ısınmayı önle / avoid self-heating
24}| Line | What it does |
|---|---|
| aht.begin() | Looks for the sensor at address 0x38, resets it and checks the calibration status. Returns false if the sensor isn't found. |
| aht.getEvent(&humidity, &temp) | Sends the measurement command (0xAC), waits for the measurement to finish and reads both values at once. |
| temp.temperature | Temperature in degrees Celsius (float). |
| humidity.relative_humidity | Relative humidity in percent (float). |
| delay(2000) | Waits 2 seconds between measurements; prevents the chip from self-heating. |
From raw data to temperature and humidity: the formulas
Reading the sensor without a library is easy too, because the protocol consists of only a few commands. To start a measurement you write the bytes 0xAC 0x33 0x00 to the sensor; after about 80 ms you read six bytes, the first of which is the status byte. If its most significant bit (bit 7, 0x80) is 1, the sensor is still measuring; if bit 3 (0x08) is 1, the sensor is calibrated. The next five bytes hold the 20-bit humidity (S_RH) and 20-bit temperature (S_T) values side by side. The conversion formulas are: RH = S_RH / 2^20 × 100 and T = S_T / 2^20 × 200 − 50. For example, if the raw humidity value is 471,859, the humidity is 471,859 / 1,048,576 × 100 ≈ 45.0%; if the raw temperature is 372,244, the temperature is 372,244 / 1,048,576 × 200 − 50 ≈ 21.0 °C. The MicroPython code in the Pico section follows exactly these steps.
Tracking indoor humidity in winter: why it matters
Behind winter complaints like a dry throat, static shocks or cracked lips, low humidity is often the cause. The reason is a simple law of physics: the amount of water vapour air can hold rises rapidly with temperature. At 0 °C a cubic metre of air can hold at most about 4.8 grams of water vapour, while at 21 °C that limit rises to about 18.3 grams. Outdoor air at 0 °C and 80% humidity contains about 3.9 g/m³ of water. When that air comes inside and is heated to 21 °C by the radiator, the amount of water in it doesn't change, but the amount it could hold grows about fourfold; the relative humidity falls to 3.9 / 18.3 ≈ 21%. The AHT20's ±2% accuracy lets you see changes like this easily, and whether your humidifier is really working.
| Relative humidity | Condition | What to do |
|---|---|---|
| Below 30% | Very dry: dry throat, eyes and skin, static electricity | Use a humidifier, turn the heating down a little |
| 30–40% | Slightly dry, common in winter | Putting a bowl of water in the room or drying laundry indoors helps |
| 40–60% | Ideal range | Keep it that way |
| 60–70% | Humid: windows start to fog | Ventilate briefly and often |
| Above 70% | High risk of mould and dust mites | Ventilate, and use a dehumidifier if needed |
Another benefit of measuring humidity is that you can calculate the dew point. The dew point is the temperature at which water vapour in the air starts to condense. If a window pane or the inner surface of an exterior wall drops below this temperature, water droplets form there and mould eventually starts. It's calculated with the Magnus formula: γ = ln(RH/100) + 17.62·T / (243.12 + T) and Td = 243.12·γ / (17.62 − γ). For example, if the room is at 21 °C and 60% humidity, the dew point is about 12.9 °C; in winter the inner surface of the glass can easily fall below 10 °C, so the window fogs up. If the humidity in the same room drops to 45%, the dew point falls to 8.6 °C and the risk of fogging drops noticeably. In the ESP32 code we'll show this calculation directly on the display.
Humidity display on an OLED (Arduino Uno)
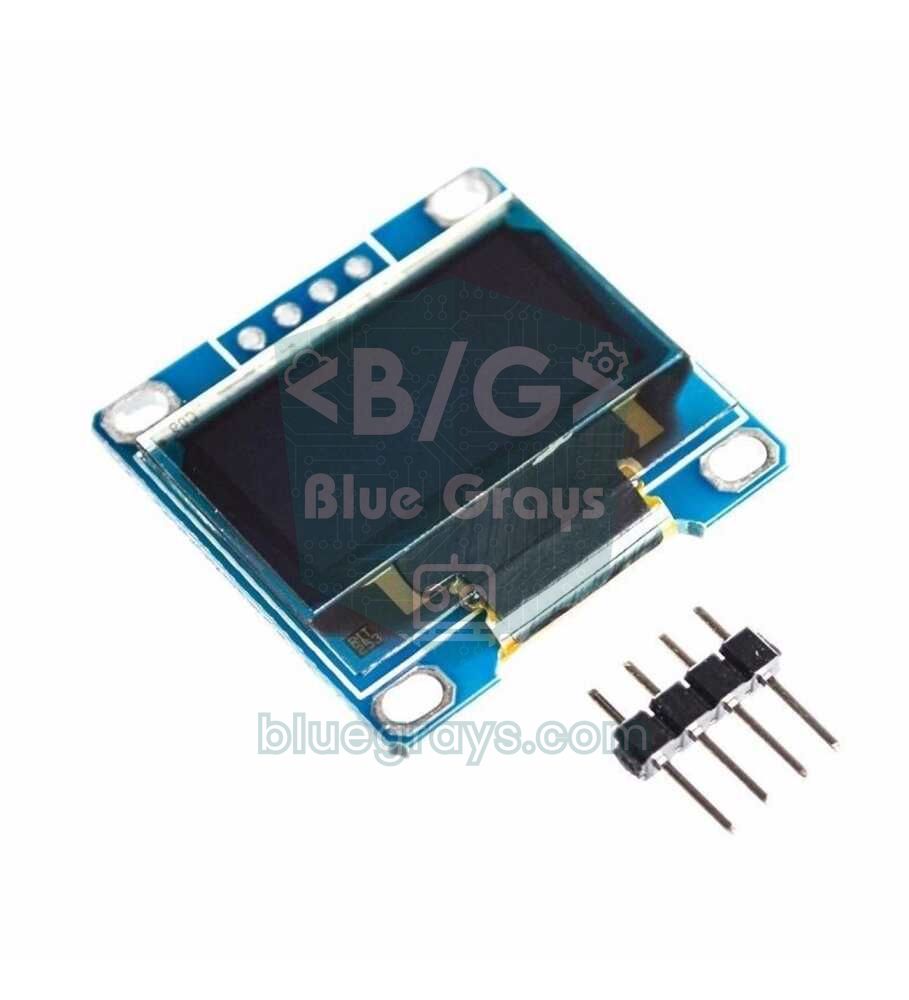
Now let's put what you've learned together: with an Arduino Uno, an AHT20 and a 0.96-inch SSD1306 OLED display, you'll build a humidity display you can put on your desk. Because both modules use I2C, they connect in parallel to the same A4 (SDA) and A5 (SCL) pins; the OLED is at 0x3C and the AHT20 at 0x38, so there's no conflict. For the display's library installation and other details, see Using an OLED Display (SSD1306).
1#include <Wire.h>
2#include <Adafruit_GFX.h>
3#include <Adafruit_SSD1306.h>
4#include <Adafruit_AHTX0.h>
5
6Adafruit_SSD1306 display(128, 64, &Wire, -1);   // 128x64 OLED, reset pini yok / no reset pin
7Adafruit_AHTX0 aht;
8
9void setup() {
10  if (!display.begin(SSD1306_SWITCHCAPVCC, 0x3C)) {   // OLED adresi / OLED address
11    for (;;);                                         // ekran yok / no display
12  }
13  display.setTextColor(SSD1306_WHITE);
14  if (!aht.begin()) {                                 // AHT20 adresi 0x38 / AHT20 address 0x38
15    display.clearDisplay();
16    display.setCursor(0, 0);
17    display.print(F("AHT sensor yok!"));
18    display.display();
19    for (;;);
20  }
21}
22
23void loop() {
24  sensors_event_t humidity, temp;
25  aht.getEvent(&humidity, &temp);
26  float t = temp.temperature;
27  float h = humidity.relative_humidity;
28
29  display.clearDisplay();
30  display.setTextSize(1);
31  display.setCursor(0, 0);
32  display.print(F("Sicaklik: "));
33  display.print(t, 1);
34  display.print(F(" C"));
35
36  display.setTextSize(3);                   // nem büyük puntoyla / humidity in large font
37  display.setCursor(0, 16);
38  display.print(F("%"));
39  display.print(h, 0);
40
41  display.setTextSize(1);
42  display.setCursor(0, 46);
43  if (h < 30)       display.print(F("Hava cok kuru"));      // %30 alti / below 30 %
44  else if (h < 40)  display.print(F("Biraz kuru"));
45  else if (h <= 60) display.print(F("Ideal nem"));
46  else              display.print(F("Nemli: kuf riski"));  // %60 ustu / above 60 %
47
48  display.drawRect(0, 56, 128, 8, SSD1306_WHITE);                    // çubuk çerçevesi / bar frame
49  display.fillRect(2, 58, (int)(h / 100.0 * 124), 4, SSD1306_WHITE);  // nem kadar dolu / filled by humidity
50  display.display();                                                  // tamponu gönder / push the buffer
51  delay(2000);
52}
The code takes a measurement every two seconds; it writes the temperature at the top in small text and the humidity in the middle in text three times larger. The line below tells you whether the air is dry, ideal or humid according to the ranges in the table above, and the bar at the bottom shows the humidity visually. Because the OLED frame buffer uses about 1 KB of the Uno's 2 KB of RAM, we wrote the fixed texts with the F() macro. If you place the sensor a few centimetres away at the end of a wire instead of sticking it right on top of the display and the Arduino, the heat the boards give off won't affect the reading.
AHT20 with the ESP32: dew point and min/max humidity
The same Adafruit libraries work unchanged on the ESP32; the only difference is the I2C pins. On ESP32 DevKit boards the default SDA pin is GPIO 21 and SCL is GPIO 22, and you can specify the pins explicitly with Wire.begin(21, 22). The code below shows humidity and temperature on the OLED, calculates the dew point with the Magnus formula, and also stores the lowest and highest humidity seen since the device was powered on. Because we use millis() instead of delay(), loop() stays free; when you later want to send the data to your phone over Wi-Fi or show it on a web page, you won't have to rewrite the code from scratch. For the Wi-Fi side you can start with What is the ESP32.
1#include <Wire.h>
2#include <math.h>
3#include <Adafruit_GFX.h>
4#include <Adafruit_SSD1306.h>
5#include <Adafruit_AHTX0.h>
6
7#define SDA_PIN 21   // ESP32 I2C SDA
8#define SCL_PIN 22   // ESP32 I2C SCL
9
10Adafruit_SSD1306 display(128, 64, &Wire, -1);
11Adafruit_AHTX0 aht;
12
13float minH = 100.0;
14float maxH = 0.0;
15unsigned long lastRead = 0;
16
17// Magnus formülü ile çiy noktası / dew point with the Magnus formula
18float dewPoint(float t, float h) {
19  const float b = 17.62;
20  const float c = 243.12;
21  if (h < 1.0) h = 1.0;                      // ln(0) hatasını önle / avoid ln(0)
22  float g = log(h / 100.0) + (b * t) / (c + t);
23  return (c * g) / (b - g);
24}
25
26void setup() {
27  Serial.begin(115200);
28  Wire.begin(SDA_PIN, SCL_PIN);              // I2C pinlerini seç / select I2C pins
29  if (!display.begin(SSD1306_SWITCHCAPVCC, 0x3C)) {
30    Serial.println("OLED bulunamadi / OLED not found");
31    for (;;) delay(10);
32  }
33  if (!aht.begin(&Wire)) {
34    Serial.println("AHT bulunamadi / AHT not found");
35    for (;;) delay(10);
36  }
37  display.setTextColor(SSD1306_WHITE);
38}
39
40void loop() {
41  if (millis() - lastRead < 2000) return;    // 2 saniyede bir ölç / measure every 2 s
42  lastRead = millis();
43
44  sensors_event_t humidity, temp;
45  aht.getEvent(&humidity, &temp);
46  float t = temp.temperature;
47  float h = humidity.relative_humidity;
48  if (h < minH) minH = h;
49  if (h > maxH) maxH = h;
50  float td = dewPoint(t, h);
51
52  Serial.printf("T=%.1f C  RH=%.1f %%  Td=%.1f C\n", t, h, td);
53
54  display.clearDisplay();
55  display.setTextSize(1);
56  display.setCursor(0, 0);
57  display.print("Sicaklik: ");
58  display.print(t, 1);
59  display.print(" C");
60
61  display.setTextSize(3);
62  display.setCursor(0, 12);
63  display.print("%");
64  display.print(h, 1);
65
66  display.setTextSize(1);
67  display.setCursor(0, 42);
68  display.print("Ciy noktasi: ");
69  display.print(td, 1);
70  display.print(" C");
71  display.setCursor(0, 54);
72  display.print("Min %");
73  display.print(minH, 0);
74  display.print("  Maks %");
75  display.print(maxH, 0);
76  display.display();
77}
Raspberry Pi Pico and MicroPython with the AHT20
On the Raspberry Pi Pico you don't even need a separate MicroPython library; the protocol is so simple that you can write it yourself in a few lines. The code first waits 40 ms for the sensor's power-up time, checks the calibration bit in the status byte and sends the initialisation command if needed. Then, on every measurement, it sends the 0xAC command, waits 80 ms, reads until the busy bit clears, and calculates the result with the formulas described above. If you use an AHT10, just call aht_init(True). The Pico's I2C0 bus here is on pins GP4 (SDA) and GP5 (SCL); if you want to add an OLED, you can use the ssd1306.py driver with the same i2c object. For MicroPython setup, see What is the Raspberry Pi Pico.
1from machine import Pin, I2C
2import time
3
4ADDR = 0x38                                     # AHT10/AHT20 I2C adresi / I2C address
5i2c = I2C(0, sda=Pin(4), scl=Pin(5), freq=100000)
6print("I2C:", [hex(a) for a in i2c.scan()])     # 0x38 görünmeli / 0x38 should appear
7
8def aht_init(aht10=False):
9    time.sleep_ms(40)                           # açılış süresi / power-up time
10    status = i2c.readfrom(ADDR, 1)[0]
11    if not status & 0x08:                       # kalibre değilse / if not calibrated
12        cmd = 0xE1 if aht10 else 0xBE           # AHT10: 0xE1, AHT20: 0xBE
13        i2c.writeto(ADDR, bytes([cmd, 0x08, 0x00]))
14        time.sleep_ms(10)
15
16def aht_read():
17    i2c.writeto(ADDR, bytes([0xAC, 0x33, 0x00])) # ölçümü başlat / trigger measurement
18    time.sleep_ms(80)
19    d = i2c.readfrom(ADDR, 6)
20    while d[0] & 0x80:                          # meşgulse bekle / wait while busy
21        time.sleep_ms(10)
22        d = i2c.readfrom(ADDR, 6)
23    raw_h = (d[1] << 12) | (d[2] << 4) | (d[3] >> 4)
24    raw_t = ((d[3] & 0x0F) << 16) | (d[4] << 8) | d[5]
25    h = raw_h * 100 / 1048576                   # RH = S_RH / 2^20 * 100
26    t = raw_t * 200 / 1048576 - 50              # T = S_T / 2^20 * 200 - 50
27    return t, h
28
29aht_init()                                      # AHT10 için aht_init(True) / use aht_init(True) for AHT10
30while True:
31    t, h = aht_read()
32    print("Sicaklik: {:.1f} C  Nem: %{:.1f}".format(t, h))
33    time.sleep(2)                               # 2 saniyede bir / every 2 seconds
Project ideas with the AHT20
- Room humidity display: put an AHT20 and a small OLED in each room to see which room is driest in winter.
- Automatic humidifier: when humidity drops below 40%, switch the humidifier on with a relay module and switch it off at 50%.
- Bathroom fan control: run the extractor fan when humidity goes above 70% after a shower; you can use the circuit in Arduino fan control.
- Mini greenhouse and incubator: control temperature and humidity at the same time; the smart greenhouse project is a good starting point.
- Battery-powered data logger: put the ESP32 into deep sleep and measure every 10 minutes; the AHT20 draws less than a microamp in sleep.
- Smart thermostat: measure temperature to ±0.3 °C and switch the boiler on and off with a relay; details are in the Arduino thermostat post.
- Wardrobe and storage humidity alarm: sound a buzzer when humidity goes above 65% and take action before mould forms.
Common mistakes and how to fix them
| Symptom | Likely cause | Fix |
|---|---|---|
| "not found" message, begin() returns false | SDA and SCL swapped, loose wire or wrong supply | Check the wires and look for address 0x38 with an I2C scanner |
| Scanner finds no address at all | The module has no pull-up resistors or GND isn't common | Add 4.7 kΩ pull-ups from SDA and SCL to 3.3 V and join the grounds |
| Temperature reads 2–3 °C too high | The sensor is affected by heat from the Arduino, regulator or display | Move the sensor away from the boards on a wire and add air holes to the enclosure |
| Humidity stays near 100% or never changes | The sensor has been exposed to condensation or its surface is contaminated | Leave it in a dry, warm place for a few hours and don't touch the sensor surface |
| Occasional nonsense values (e.g. -50 °C) | Reading before the measurement finishes, reading too often or noise on the bus | Wait at least 2 s between readings, keep wires short and check the CRC on the AHT20 |
| The AHT10 hangs when used with the OLED | Some AHT10 modules have trouble sharing the I2C bus | Switch to the AHT20 or connect the AHT10 to a separate I2C bus |
Despite its low price, the AHT10, and especially the AHT20, offers more than enough accuracy for indoor climate tracking, and thanks to I2C it's very easy to wire and combine with other modules. If you started earlier with the DHT11, you can move the same project to the AHT20 by changing a few lines and see for yourself how much more stable the readings become. In the BlueGrays app you'll find step-by-step circuit diagrams and code for projects such as DHT11 temperature and humidity measurement, an ESP32 temperature and humidity display with an LCD, an OLED weather display and a temperature logger that records to a microSD card, and you can easily adapt them to use the AHT20.
Frequently asked questions
What is the difference between the AHT10 and AHT20?
Both have the same measurement range and roughly ±0.3 °C, ±2% RH accuracy. The AHT20 offers a wider supply range (2.0–5.5 V), CRC data checking and better long-term stability, and the initialisation commands differ too. For new projects, the AHT20 is the better choice.
What is the AHT20's I2C address?
The AHT20's address is fixed at 0x38 and can't be changed. On the AHT10, the ADR pin lets you choose 0x38 or 0x39. To use two AHT20s you need a second I2C bus or an I2C multiplexer such as the TCA9548A.
Is the AHT20 better than the DHT22?
For most indoor projects the AHT20 is better: its accuracy is as good as or better than the DHT22, it's cheaper, measures faster, and thanks to I2C it shares the same two wires with other modules. The DHT22's advantage is that it can work with long cables; I2C generally works best with short cables under 1 metre.
Can I connect the AHT10 to an Arduino at 5 V?
Modules with an on-board regulator work safely at 5 V; check whether the board has a small three-pin regulator and a VIN label. On bare AHT10 boards without a regulator, the chip's upper limit is 3.6 V, so you must power the module from 3.3 V.
Why does my AHT20 show a high temperature?
The most common reason is that the sensor is affected by heat from the Arduino, voltage regulator or display. Measuring too often also warms the chip slightly. Keep the sensor away from the boards on a wire and measure no more than once every 2 seconds.
What should the ideal humidity be at home?
For indoors, 40–60% relative humidity is generally considered ideal. In winter, heating can push humidity below 30%, which increases dry throat and dry skin. Above 60% you start to get fogged windows and, over time, a risk of mould.
Projects to build after reading this
See all projects
Temperature and Humidity with DHT11
How warm is your room, and is the air humid or dry? The DHT11 sensor measures temperature and humidity, and the Arduino writes the values on a two-line LCD screen, refreshing every couple of seconds.

ESP32 DHT22 Temperature and Humidity (with LCD Display)
This project measures ambient temperature and humidity using a DHT22 sensor and displays the data in real time on a 16x2 I2C LCD. Data is read from the sensor using the one-wire protocol via the Adafruit DHT library. This project serves as the foundation for IoT weather stations, smart home automation, or environmental monitoring systems in greenhouses. Communication with the DHT22 is established via the ESP32's GPIO 4 pin.

ESP32 Temperature Data Logger (DHT22 + DS1307 RTC + microSD + OLED)
Build a timed temperature and humidity logger with the ESP32! A DHT22 sensor reads temperature and humidity once a minute, and each reading is saved to a microSD card in CSV format with a real-time stamp from the DS1307 RTC module. The OLED display shows the latest temperature, humidity, timestamp and total number of records live, in large text.

ESP32 HTTPClient + Weather API (with SSD1306 OLED Display)
In this project the ESP32 makes a REST API call over the internet to a weather API (wttr.in) using HTTPClient.h. Unlike the I2C LCD version, it uses an SSD1306 OLED (128×64) display, with large text and vector icons for a richer look. Seven weather icons (sunny, rainy, snowy and more) are drawn on the fly, with no bitmap files.

ESP32 Deep Sleep — Battery Saving (OLED + RTC RAM Counter)
The ESP32's Deep Sleep mode shuts down the CPU and most peripherals, cutting current draw to about 10µA, which is vital for battery-powered IoT devices. This project uses three wake-up sources: a timer (15 s), an external pin (EXT0, the button on GPIO 33) and a touch pin (T0/GPIO 4). Counters marked with RTC_DATA_ATTR survive deep sleep.
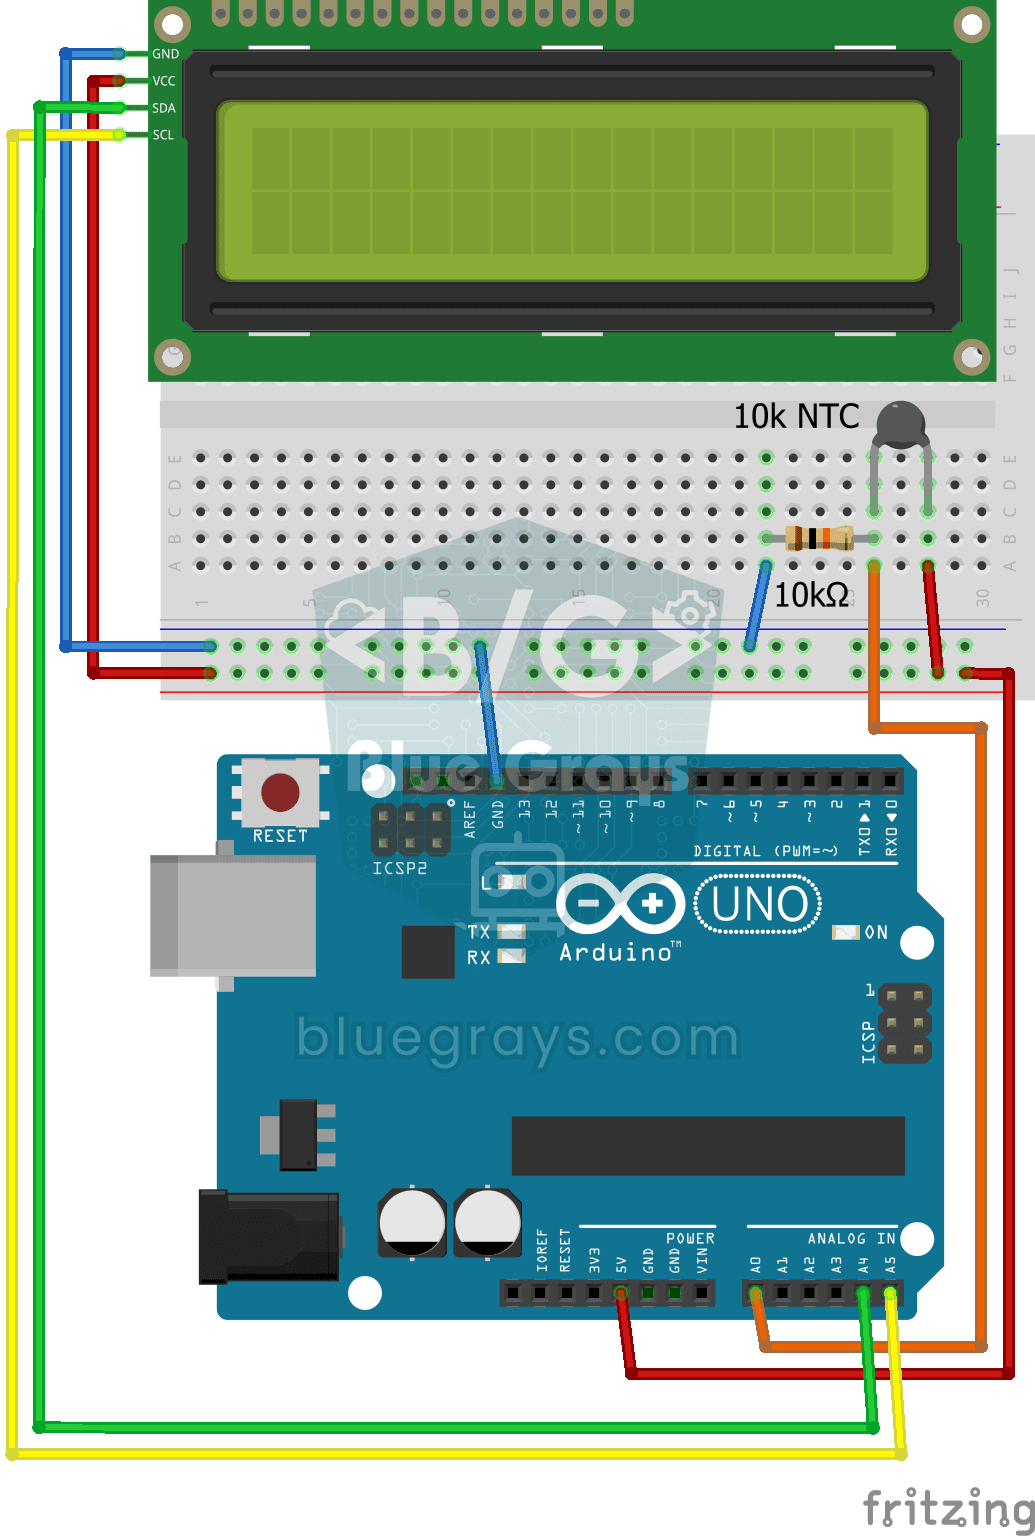
Temperature Measurement with NTC and 2x16 Lcd Display
Measure the temperature around you with a sensor that looks like a tiny bead. This part, called an NTC, lets electricity through more easily as it warms up; the Arduino reads that change, turns it…

Dot Matrix Clock, Calendar and Weather Station (MAX7219, DS1307)
A scrolling-text board for your desk or wall that shows the time, the date and the room's weather in turn.