
Arduino Egg Incubator: DHT22, Relay, Egg Turner and Full Code
Build an Arduino egg incubator: DHT22 temperature and humidity, a relay-driven heater, a servo egg turner, a 21-day counter in EEPROM and ESP32 monitoring.

Building an Arduino egg incubator is one of the most exciting projects you can take on, because it turns temperature and humidity readings into a living result: hold 37.5 °C (99.5 °F) to within a tenth of a degree for 21 days and a chick hatches out of an egg. Store-bought incubators can be expensive or may not offer the settings for the species you want. With an Arduino Uno, a DHT22 sensor, a relay, a heater and a servo you can build your own machine that adjusts for chicken, quail and duck eggs, turns the eggs by itself and counts the days.
In this guide we go step by step through a temperature, humidity and incubation-time table by species, the parts list, choosing a heater, the wiring diagram, the hysteresis that stops the heater from clicking on and off constantly, and a complete Arduino sketch. The code remembers which day it's on from EEPROM after a power cut, and it switches the heater off and sounds an alarm if the sensor fails. In the last sections you'll find remote monitoring with an ESP32, a MicroPython thermostat on the Raspberry Pi Pico and a 21-day incubation calendar.
How does an egg incubator work?
When a hen sits on her eggs she provides four things at once, and an incubator imitates all four. Most homemade incubators are the "forced-air" type: a small fan keeps the air moving, so the temperature is the same in every corner of the box. In still-air incubators (no fan), warm air collects at the top, so you measure at the level of the tops of the eggs and aim about 1 °C (2 °F) higher.
- Temperature: The embryo needs a steady temperature of around 37.5 °C (99.5 °F) to develop. Even a 1 °C deviation lowers the hatch rate, and anything above 39.5 °C (103 °F) can kill the embryo quickly.
- Humidity: Water evaporates through the pores in the shell. If the humidity is too low, the egg loses too much water; if it's too high, the chick struggles to break out.
- Turning: Turning the egg several times a day keeps the embryo from sticking to the shell membrane.
- Ventilation: The growing embryo uses oxygen and produces carbon dioxide, so the box needs a few small air holes.
Temperature, humidity and incubation time by species
| Species | Incubation time | Temperature (forced air) | Humidity: days before lockdown | Humidity: lockdown | Lockdown (turning stops) |
|---|---|---|---|---|---|
| Chicken | 21 days | 37.5 °C (99.5 °F) | 50–55% | 65–75% | Day 18 |
| Quail (Coturnix) | 17–18 days | 37.5 °C (99.5 °F) | 45–55% | 65–75% | Day 14 |
| Duck (Pekin) | 28 days | 37.5 °C (99.5 °F) | 55–60% | 65–75% | Day 25 |
| Turkey | 28 days | 37.5 °C (99.5 °F) | 55–60% | 65–75% | Day 25 |
| Goose | 28–32 days (by breed) | 37.2–37.5 °C (99–99.5 °F) | 55–60% | 70–80% | 3 days before hatch |
| Muscovy duck | 35 days | 37.5 °C (99.5 °F) | 55–60% | 65–75% | Day 32 |
These are the ranges most often recommended in incubation guides; the breed, the age of the eggs and your altitude may call for small adjustments. "Lockdown" is the final stage, starting about three days before the hatch: the eggs are no longer turned, the humidity goes up and the lid stays closed. If you use a still-air incubator, keep 38.3–38.9 °C (101–102 °F) at the level of the tops of the eggs. Always measure the temperature at egg height; there can be a 1–2 °C difference between the top and the bottom of the box.
Parts list
| Part | Job | Note |
|---|---|---|
| Arduino Uno | Control board | A Nano works too; the pins are the same |
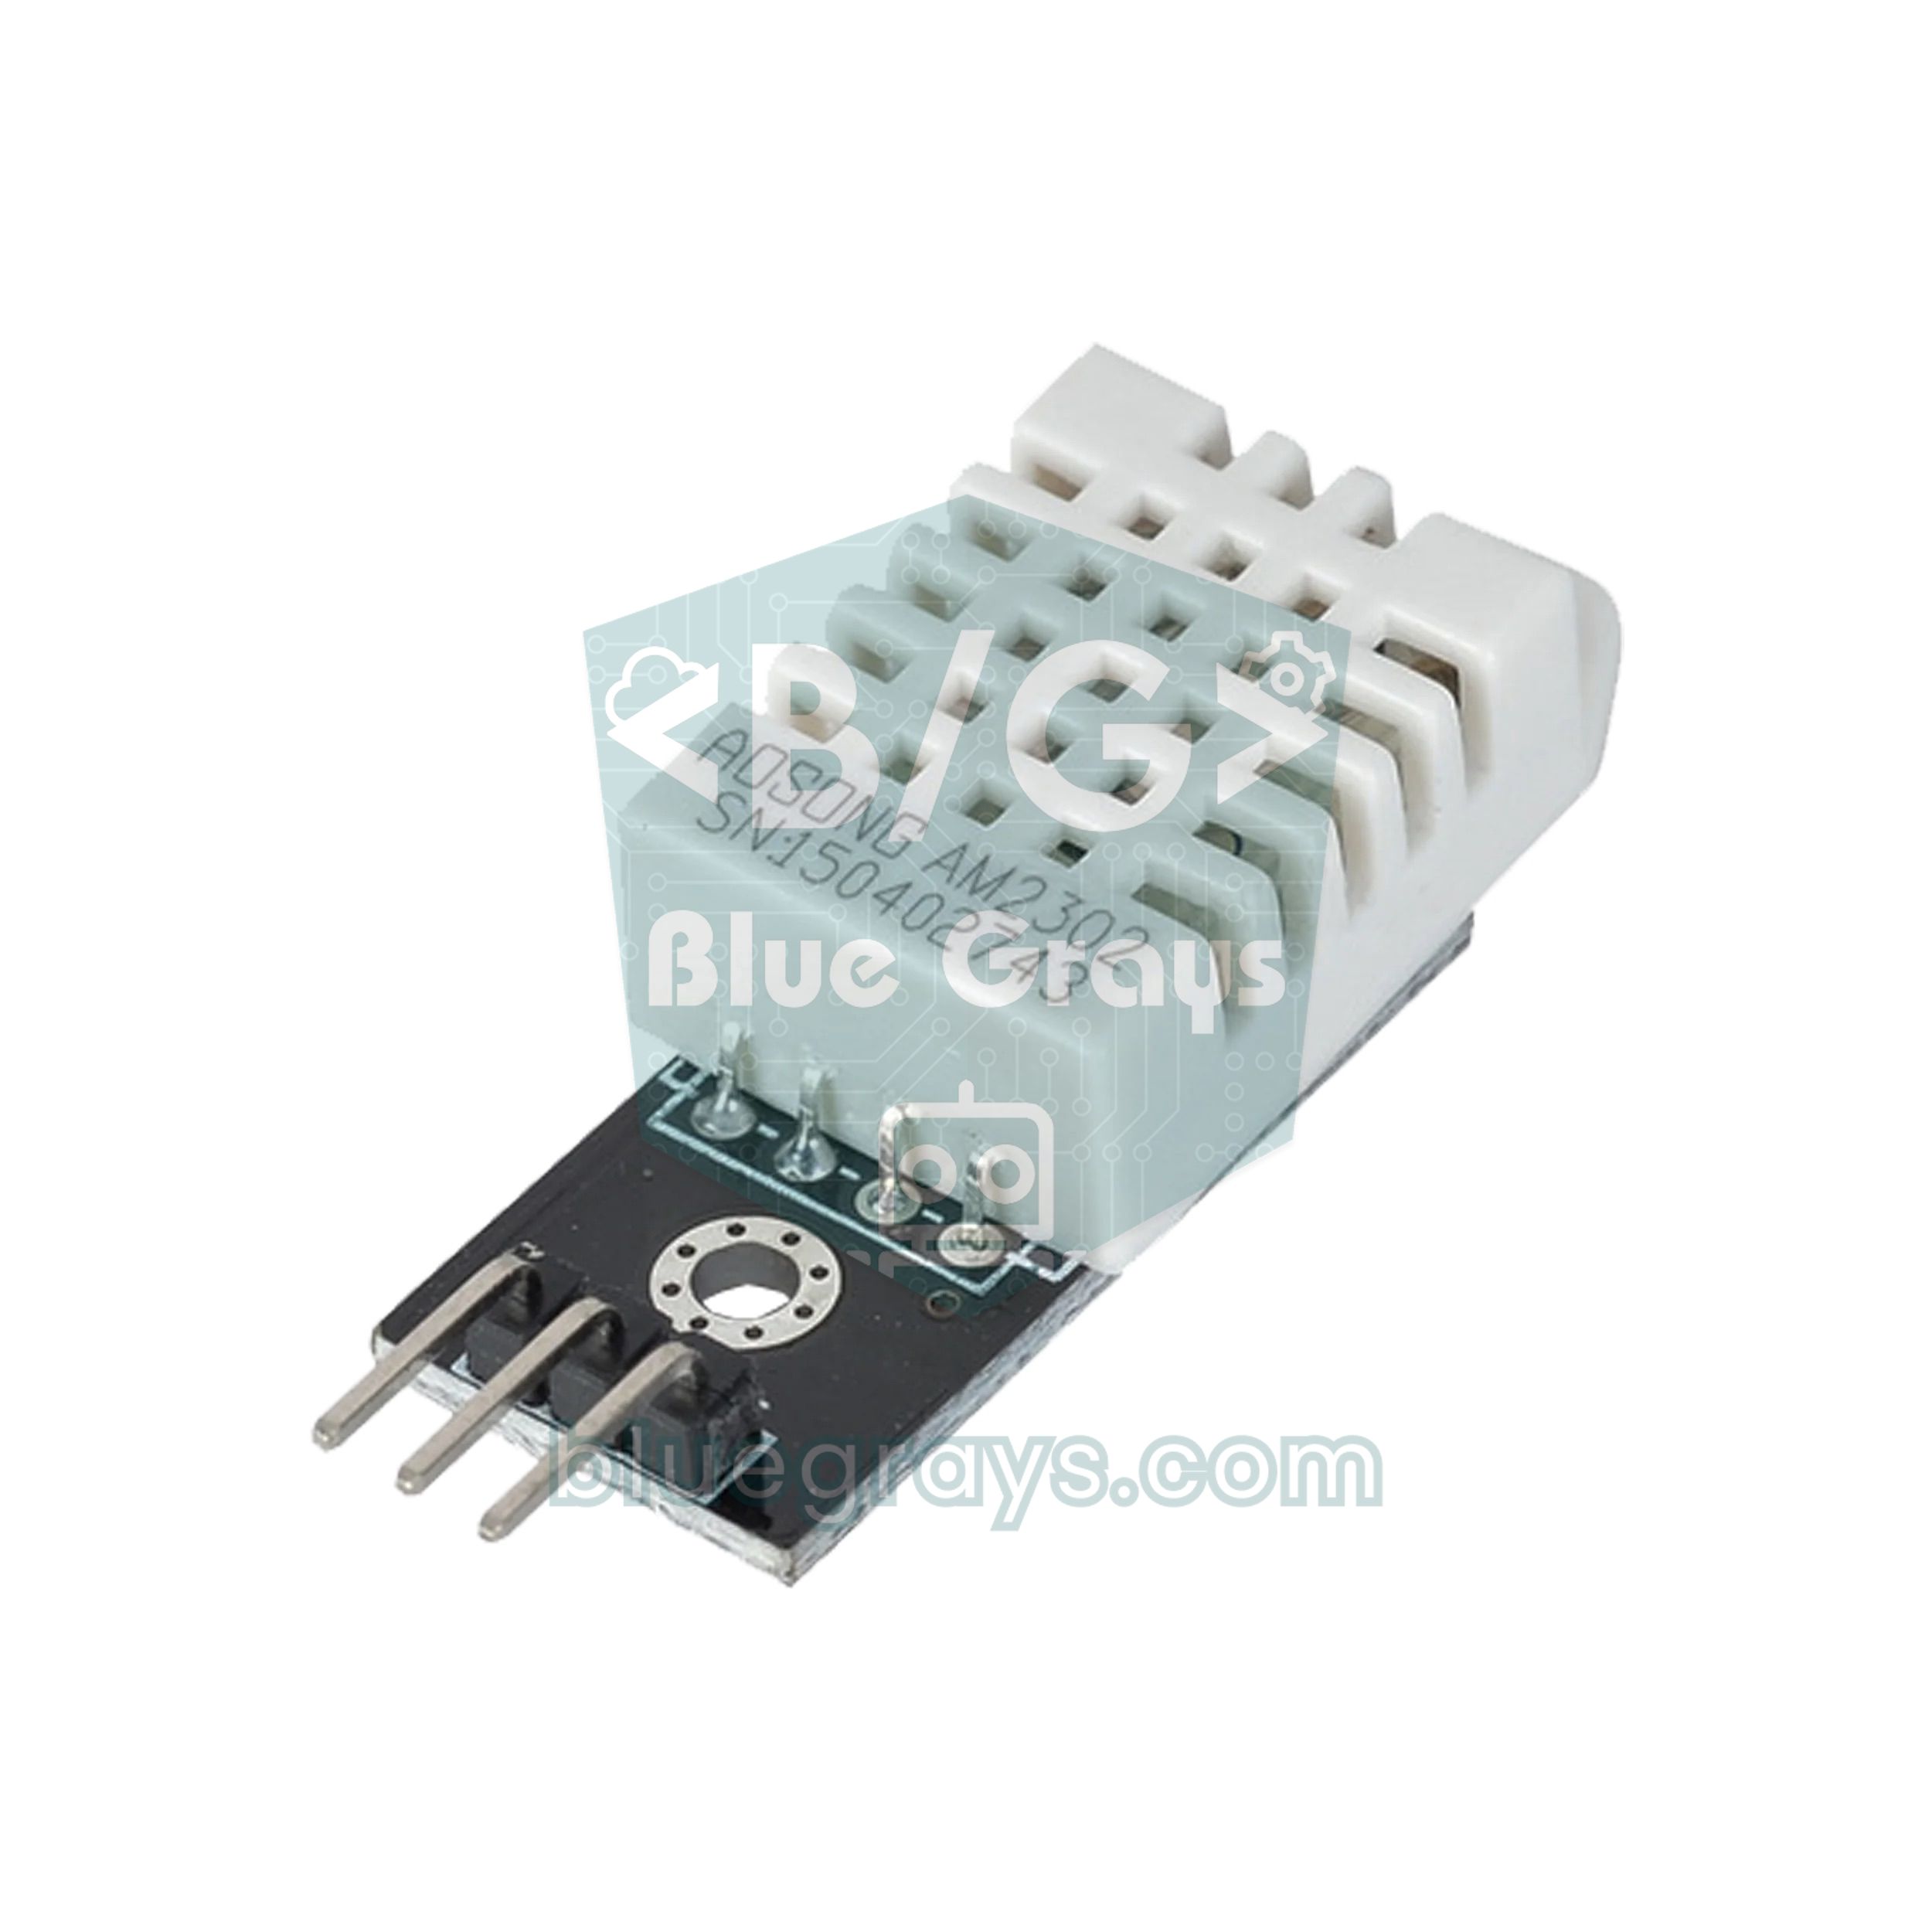
| DHT22 (AM2302) | Measures temperature and humidity | The DHT11's ±2 °C error is too large for incubation |
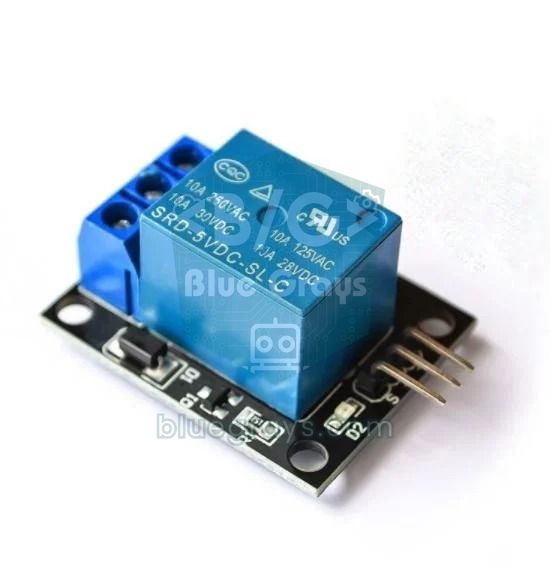
| Relay module (2 channels) | Heater and humidifier | 10 A contacts; a MOSFET also works for a 12 V heater |
| Heater | Heat source | Options in the table below |
| MG996R servo | Tilts the egg tray | An SG90 is enough for a few quail eggs |
| 12 V fan (80 mm) | Moves the air | A PC case fan is ideal; it runs all the time |
| 16x2 I2C LCD | Shows temperature, humidity and day | The address is usually 0x27 |
| Buzzer and push button | Alarm and starting a new hatch | The button goes between D3 and GND |
| Styrofoam cooler or old fridge | Insulated body | Good insulation means steadier temperature and less power |
| Wide water tray | Humidity source | Humidity depends on the water's surface area, not its volume |
| 12 V and 5 V power supplies | Power | Use a separate 5 V 2 A supply for the servo |
Choosing a heater and wiring the relay
| Heater | Voltage and power | Control | Pros and cons |
|---|---|---|---|
| Incandescent bulb | 120–230 V, 25–60 W | Relay module | Cheap and easy to find; mains voltage, gives off light, short life |
| Ceramic heat emitter (reptile type) | 120–230 V, 25–100 W | Relay or SSR | No light and long-lasting; still mains voltage |
| PTC heater (with fan) | 12 V, 50–100 W | Relay or MOSFET | Low voltage and limits its own temperature |
| Heating element or heat pad | 12 V, 20–60 W | MOSFET | Silent; allows proportional control with PWM |
For a styrofoam cooler of about 40 liters (10 gallons), a 20–40 W heater is usually enough; an oversized heater overshoots the target and makes the temperature swing. Work out the current of a 12 V heater with I = P / V: a 50 W PTC heater draws about 4.2 A at 12 V, so you need thick wire and a relay rated for that current, or a logic-level MOSFET. Use the Ohm's Law tool for the math, Using a MOSFET with Arduino for the MOSFET wiring and What Is a Relay Module? for the relay details. If you want to switch the heater very often, a silent solid state relay (SSR) that doesn't wear out is a great choice.
Wiring diagram (Arduino Uno)
| Part | Part pin | Arduino Uno | Note |
|---|---|---|---|
| DHT22 | VCC / DATA / GND | 5V / D2 / GND | On a bare sensor, 10 kΩ between DATA and VCC |
| Heater relay | IN | D7 | Relay VCC to 5V, common GND |
| Humidifier relay | IN | D8 | Optional (ultrasonic mist module) |
| Servo (MG996R) | Signal (orange) | D9 | Red to an external 5 V, brown to GND |
| Buzzer | + | D6 | Other leg to GND |
| Push button | One leg | D3 | Other leg to GND (internal pull-up) |
| 16x2 I2C LCD | SDA / SCL | A4 / A5 | VCC to 5V, GND |
| 12 V fan | + / - | 12 V supply | Not connected to the Arduino; runs all the time |
Hysteresis: why the heater shouldn't keep clicking on and off
If the code simply said "below 37.5, heater on; above it, heater off", the relay would click every two seconds as the reading bounced between 37.4 and 37.6. A mechanical relay's contacts last for roughly 100,000 switching cycles, and control like that would use them up in a few days. With hysteresis, the heater turns on below 37.3 °C and off above 37.7 °C; in between it keeps its previous state. In a well-insulated box that means about 20–30 switches an hour, or 10,000–15,000 over a 21-day hatch, so one relay easily lasts several hatches. You'll find a detailed explanation of hysteresis in Building an Arduino Thermostat.
Arduino egg incubator code
Install DHT sensor library (Adafruit) and LiquidCrystal I2C from the Library Manager; the Servo and EEPROM libraries come with the Arduino IDE. Pick the species with the SPECIES value at the top of the code (0 chicken, 1 quail, 2 duck). To start a new hatch, power up the board while holding down the button on D3, and the counter resets. If you power it up without pressing the button, it carries on from the day it was on.
1// Arduino kuluçka makinesi / Arduino egg incubator
2#include <Wire.h>
3#include <LiquidCrystal_I2C.h>
4#include <DHT.h>
5#include <Servo.h>
6#include <EEPROM.h>
7
8const int DHT_PIN = 2;
9const int BUTTON_PIN = 3;        // açılışta basılı tut: yeni kuluçka / hold at power-on: new hatch
10const int BUZZER_PIN = 6;
11const int HEATER_PIN = 7;        // ısıtıcı rölesi / heater relay
12const int HUMIDIFIER_PIN = 8;    // nemlendirici rölesi (isteğe bağlı) / humidifier relay (optional)
13const int SERVO_PIN = 9;
14const bool RELAY_ACTIVE_LOW = true;   // çoğu röle modülü LOW ile çeker / most relay modules switch on LOW
15
16struct Profile {
17  const char* name;
18  byte days;          // toplam kuluçka süresi / total incubation days
19  byte lockdownDay;   // çevirmenin durduğu gün / day turning stops
20  float temp;         // hedef sıcaklık °C / target temperature °C
21  byte hum;           // ilk dönem nem % / humidity before lockdown
22  byte humLock;       // son günler nem % / humidity during lockdown
23};
24const Profile PROFILES[] = {
25  {"Tavuk/Chicken", 21, 18, 37.5, 50, 70},
26  {"Bildircin/Quail", 17, 14, 37.5, 50, 70},
27  {"Ordek/Duck", 28, 25, 37.5, 55, 75},
28};
29const byte SPECIES = 0;          // 0 tavuk, 1 bıldırcın, 2 ördek / 0 chicken, 1 quail, 2 duck
30
31const float HYST = 0.2;          // histerezis: 37,3'te aç, 37,7'de kapat / hysteresis: on at 37.3, off at 37.7
32const float ALARM_LOW = 36.0;
33const float ALARM_HIGH = 38.5;
34const uint32_t TURN_EVERY_MIN = 120;  // 2 saatte bir çevir / turn every 2 hours
35
36struct SaveData {
37  uint16_t magic;
38  uint32_t minutes;              // geçen dakika / elapsed minutes
39  byte species;
40  byte angle;                    // tepsinin son açısı / last tray angle
41};
42const uint16_t MAGIC = 0xB10E;   // EEPROM'da geçerli kayıt işareti / valid-record marker
43SaveData save;
44
45LiquidCrystal_I2C lcd(0x27, 16, 2);
46DHT dht(DHT_PIN, DHT22);
47Servo tray;
48
49bool heaterOn = false;
50bool humidifierOn = false;
51int trayAngle = 45;
52uint32_t lastTurnMinute = 0;
53unsigned long lastMinuteMs = 0;
54unsigned long lastReadMs = 0;
55
56void setRelay(int pin, bool on) {
57  digitalWrite(pin, (on != RELAY_ACTIVE_LOW) ? HIGH : LOW);
58}
59
60void moveTraySlowly(int target) {   // yumurtaları sarsmadan çevir / turn the eggs without jolting
61  int step = (target > trayAngle) ? 1 : -1;
62  while (trayAngle != target) {
63    trayAngle += step;
64    tray.write(trayAngle);
65    delay(20);
66  }
67}
68
69void setup() {
70  setRelay(HEATER_PIN, false);       // önce kapalı, sonra çıkış / off first, then output
71  setRelay(HUMIDIFIER_PIN, false);
72  pinMode(HEATER_PIN, OUTPUT);
73  pinMode(HUMIDIFIER_PIN, OUTPUT);
74  pinMode(BUZZER_PIN, OUTPUT);
75  pinMode(BUTTON_PIN, INPUT_PULLUP);
76
77  lcd.init();
78  lcd.backlight();
79  dht.begin();
80  EEPROM.get(0, save);
81  bool invalid = save.magic != MAGIC || save.species >= sizeof(PROFILES) / sizeof(PROFILES[0]);
82  if (invalid || digitalRead(BUTTON_PIN) == LOW) {   // ilk açılış ya da buton / first start or button
83    save.magic = MAGIC;
84    save.minutes = 0;
85    save.species = SPECIES;
86    save.angle = 45;
87    EEPROM.put(0, save);
88  }
89  trayAngle = save.angle;            // tepsi kaldığı yerden devam eder / tray resumes where it was
90  tray.attach(SERVO_PIN);
91  tray.write(trayAngle);
92  lastTurnMinute = save.minutes;
93}
94
95void loop() {
96  const Profile& p = PROFILES[save.species];
97  byte day = save.minutes / 1440 + 1;
98
99  if (millis() - lastMinuteMs >= 60000UL) {    // her dakika / every minute
100    lastMinuteMs += 60000UL;
101    save.minutes++;
102    if (save.minutes % 10 == 0) EEPROM.put(0, save);   // 10 dakikada bir kaydet / save every 10 minutes
103  }
104
105  if (day < p.lockdownDay && save.minutes - lastTurnMinute >= TURN_EVERY_MIN) {
106    moveTraySlowly(trayAngle == 45 ? 135 : 45);   // ±45 derece eğ / tilt ±45 degrees
107    lastTurnMinute = save.minutes;
108    save.angle = trayAngle;
109    EEPROM.put(0, save);
110  } else if (day >= p.lockdownDay && trayAngle != 90) {
111    moveTraySlowly(90);                           // son günlerde düz bırak / keep level during lockdown
112    save.angle = trayAngle;
113    EEPROM.put(0, save);
114  }
115
116  if (millis() - lastReadMs < 2000) return;       // DHT22 en fazla 2 sn'de bir okunur / read every 2 s
117  lastReadMs = millis();
118
119  float t = dht.readTemperature();
120  float h = dht.readHumidity();
121  bool sensorOk = !isnan(t) && !isnan(h);
122
123  if (!sensorOk) {
124    heaterOn = false;                             // sensör yoksa ısıtma / no sensor, no heat
125    humidifierOn = false;
126  } else {
127    if (t < p.temp - HYST) heaterOn = true;
128    if (t > p.temp + HYST) heaterOn = false;
129    byte targetHum = (day >= p.lockdownDay) ? p.humLock : p.hum;
130    if (h < targetHum - 3) humidifierOn = true;
131    if (h > targetHum + 3) humidifierOn = false;
132  }
133  setRelay(HEATER_PIN, heaterOn);
134  setRelay(HUMIDIFIER_PIN, humidifierOn);
135
136  bool alarm = !sensorOk || t > ALARM_HIGH || (t < ALARM_LOW && save.minutes > 60);
137  if (alarm) tone(BUZZER_PIN, 2000, 300); else noTone(BUZZER_PIN);
138
139  lcd.setCursor(0, 0);
140  if (sensorOk) {
141    lcd.print(t, 1);
142    lcd.print("C ");
143    lcd.print(h, 0);
144    lcd.print("% ");
145    lcd.print(heaterOn ? "ISI " : "    ");     // ısıtıcı açık / heater on
146  } else {
147    lcd.print("SENSOR HATASI   ");           // sensör hatası / sensor error
148  }
149  lcd.setCursor(0, 1);
150  lcd.print("Gun ");
151  lcd.print(day);
152  lcd.print("/");
153  lcd.print(p.days);
154  lcd.print(day >= p.lockdownDay ? " KILIT  " : " CEVIR  ");   // kilit = çevirme yok / lockdown = no turning
155}
How does the code work?
- Species profiles: For each species, an array stores the total days, the lockdown day, the target temperature and the humidity for both stages. To add a new species, you just add one line to the array.
- Minute counter: millis() adds one minute every 60 seconds; the day is the elapsed minutes divided by 1440.
- Heater and humidity control: Temperature is controlled with ±0.2 °C hysteresis and humidity with ±3%. On lockdown day the target humidity goes up automatically.
- Safety: If the DHT22 can't be read, the heater and humidifier switch off, the buzzer sounds and the display shows "SENSOR HATASI" (sensor error). The alarm also sounds if the temperature goes above 38.5 °C or, after the first hour, below 36 °C.
- Egg turning: Every two hours the servo tilts the tray between 45 and 135 degrees, slowly, one degree at a time. From lockdown day on, the tray stays level at 90 degrees.
- Relay logic: The RELAY_ACTIVE_LOW constant picks the right level for modules that switch on LOW. Because the relays are set to off before the pins become outputs, the heater doesn't turn on even for an instant at power-up.
Surviving power outages with EEPROM
When the power goes out and comes back, the Arduino starts from scratch and millis() resets; without a saved record, a hatch on day 15 would think it was on day 1 and miss lockdown. That's why the code writes the elapsed minutes, the species and the tray angle to EEPROM every 10 minutes and on every turn. Each EEPROM cell is good for about 100,000 writes; since this code makes about 3,300 writes in 21 days, the memory will last for dozens of hatches. There are two limits to know about: the length of the outage isn't counted, and the Arduino Uno's ceramic resonator can drift by a few hours over 21 days. If you want the day to be exact to the minute, add a battery-backed RTC module and save the start date. To guard against the code ever hanging, you can also use the watchdog.
Egg turning: servo or motor?
Until lockdown, eggs should be turned at least 3–5 times a day, ideally every 1–2 hours. In a homemade incubator the most practical method is a tray where the eggs lie on their sides, mounted on a central axle that a servo tilts about 45 degrees to each side. A dozen chicken eggs plus the tray weigh a few hundred grams, so choose a metal-gear servo such as the MG996R and balance the tray on its axle. Power the servo from a separate 5 V supply rather than the Arduino's 5V pin; otherwise the Arduino may reset whenever the servo moves. For servo basics, see What Is a Servo Motor?. Large incubators may also use a 5 RPM gear motor, but a servo is easier to set up and always knows its exact angle.
Monitoring the incubator from your phone with an ESP32
An incubator often sits in a basement, a coop or a garage, and checking the display every hour for 21 days is hard. The ESP32 runs the same thermostat and, through a small web page, brings the temperature, humidity, day and heater status to your phone. The code below includes one important design decision: it tries to join Wi-Fi for 10 seconds at most and keeps heating if it can't; the machine's vital job must never depend on the network. The day counter is saved to the ESP32's flash with Preferences. Choose a relay module that can be triggered at 3.3 V; on some 5 V active-LOW modules, the ESP32's 3.3 V HIGH output can't fully release the relay. If you'd like an alert when the temperature goes out of range, combine this code with the approach in ESP32 Telegram Bot.
1#include <WiFi.h>
2#include <WebServer.h>
3#include <Preferences.h>
4#include <DHT.h>
5
6const char* ssid = "AgAdi";          // Wi-Fi adın / your Wi-Fi name
7const char* password = "Sifre123";   // Wi-Fi şifren / your Wi-Fi password
8const int DHT_PIN = 4;
9const int HEATER_PIN = 26;           // röle IN (LOW ile çeker) / relay IN (active LOW)
10const float TARGET = 37.5;
11const float HYST = 0.2;
12const int INCUBATION_DAYS = 21;
13
14DHT dht(DHT_PIN, DHT22);
15WebServer server(80);
16Preferences prefs;                   // flaşta kalıcı kayıt / persistent storage in flash
17
18float t = NAN, h = NAN;
19bool heaterOn = false;
20uint32_t minutes = 0;
21unsigned long lastReadMs = 0, lastMinuteMs = 0;
22
23void setHeater(bool on) {
24  heaterOn = on;
25  digitalWrite(HEATER_PIN, on ? LOW : HIGH);
26}
27
28void handleRoot() {
29  String s = "<meta name='viewport' content='width=device-width'>"
30             "<meta http-equiv='refresh' content='10'>"
31             "<h2>Kulucka / Incubator</h2>";
32  s += "<p>Sicaklik / Temp: " + String(t, 1) + " C</p>";
33  s += "<p>Nem / Humidity: " + String(h, 0) + " %</p>";
34  s += "<p>Gun / Day: " + String(minutes / 1440 + 1) + " / " + String(INCUBATION_DAYS) + "</p>";
35  s += "<p>Isitici / Heater: " + String(heaterOn ? "ON" : "OFF") + "</p>";
36  server.send(200, "text/html", s);
37}
38
39void setup() {
40  digitalWrite(HEATER_PIN, HIGH);    // önce kapalı / off first
41  pinMode(HEATER_PIN, OUTPUT);
42  Serial.begin(115200);
43  dht.begin();
44  prefs.begin("kulucka", false);
45  minutes = prefs.getUInt("min", 0); // kesintiden sonra kaldığı yerden / resume after a power cut
46
47  WiFi.begin(ssid, password);
48  unsigned long start = millis();
49  while (WiFi.status() != WL_CONNECTED && millis() - start < 10000) delay(250);   // en fazla 10 sn bekle / wait 10 s max
50  Serial.println(WiFi.localIP());
51  server.on("/", handleRoot);
52  server.begin();
53}
54
55void loop() {
56  server.handleClient();             // Wi-Fi yoksa da ısıtma sürer / heating continues without Wi-Fi
57
58  if (millis() - lastMinuteMs >= 60000UL) {
59    lastMinuteMs += 60000UL;
60    minutes++;
61    if (minutes % 10 == 0) prefs.putUInt("min", minutes);
62  }
63
64  if (millis() - lastReadMs < 2000) return;
65  lastReadMs = millis();
66  t = dht.readTemperature();
67  h = dht.readHumidity();
68  if (isnan(t)) setHeater(false);    // sensör okunamadı: ısıtıcı kapalı / sensor failed: heater off
69  else if (t < TARGET - HYST) setHeater(true);
70  else if (t > TARGET + HYST) setHeater(false);
71}
MicroPython thermostat on the Raspberry Pi Pico
MicroPython for the Raspberry Pi Pico includes a DHT22 driver, so you don't need to copy any extra files. The code below drives the relay on GP16 with the same hysteresis logic and switches the heater off whenever the sensor can't be read. On top of this you can add a servo, an LCD and a persistent day counter to port the whole Arduino version to the Pico; if it's your first time with the board, start with What Is the Raspberry Pi Pico?.
1from machine import Pin
2import dht, time
3
4sensor = dht.DHT22(Pin(15))           # DHT22 veri GP15 / DHT22 data on GP15
5heater = Pin(16, Pin.OUT, value=1)    # LOW ile çeken röle, başta kapalı / active-LOW relay, off at start
6TARGET, HYST = 37.5, 0.2
7
8while True:
9    try:
10        sensor.measure()
11        t, h = sensor.temperature(), sensor.humidity()
12        if t < TARGET - HYST:
13            heater.value(0)           # ısıtıcı açık / heater on
14        elif t > TARGET + HYST:
15            heater.value(1)           # ısıtıcı kapalı / heater off
16        state = "ON" if heater.value() == 0 else "OFF"
17        print("{:.1f} C  {:.0f} %  isitici/heater: {}".format(t, h, state))
18    except OSError:
19        heater.value(1)               # sensör okunamadı: güvenli tarafta kal / sensor failed: stay safe
20        print("DHT22 okunamadi / read failed")
21    time.sleep(2)
Incubation calendar: what to do over the 21 days
- 1–2 days before you start: Run the incubator empty and confirm that temperature and humidity hold at the target for at least 24 hours. Check the sensor against a thermometer you trust.
- Prepare the eggs: Choose clean, uncracked eggs no older than 7–10 days. Let them sit at room temperature for 8–12 hours so they don't "sweat" when they go into the incubator; don't wash them.
- Day 1: Lay the eggs on their sides in the tray and power up the board with the button held down; the counter starts from zero.
- Days 7 and 14: In a dark room, candle the eggs with a bright flashlight. Remove any that show no network of veins; they're infertile and can rot and spoil the others.
- Day 18: Lockdown begins: the code stops turning, levels the tray and raises the target humidity. Don't open the lid from now on.
- Days 19–21: The chicks break through the inner membrane first and then the shell; this can take 12–24 hours. Don't try to help them by breaking the shell.
- After the hatch: Leave the chicks in the incubator for 12–24 hours until they're dry and fluffy, then move them to a heated brooder.
Common mistakes and how to fix them
- The temperature is on target but nothing hatches: The sensor may be far from the eggs, for example near the lid. Put it at egg height and verify it with a reference thermometer.
- The temperature shoots up to 39 °C (102 °F): The heater is too powerful for the box. Use a smaller heater, place the fan in front of the heater or switch to PID control.
- The humidity won't come up: The water tray's surface is too small. Use a wider tray or one with a sponge in it, and close the vent holes a little if needed.
- The day reset to zero after a power cut: The button may have been held down at power-up. Also remember that the outage itself isn't counted; add an RTC for long outages.
- The servo jitters or the Arduino resets: The servo is being powered from the Arduino's 5V pin. Use a separate 5 V supply and connect the grounds.
- The DHT22 returns NaN now and then: The cable is too long or the pull-up resistor is missing. Add 10 kΩ on a bare sensor and keep the cable to 1–2 meters; meanwhile the code safely switches the heater off.
An egg incubator combines sensor reading, hysteresis control, motor driving, persistent memory and safety thinking in a single project, and in the end it delivers a result that's truly alive. Test the machine empty for a few days first, and once the readings are stable, set your first eggs. In the BlueGrays app you'll find wiring diagrams and step-by-step code for the DHT11 temperature and humidity, ESP32 DHT22 with LCD, NTC temperature, I2C LCD, relay-switched mains bulb and servo motor projects, so you can try out each part of this machine on its own.
Frequently asked questions
What temperature should an egg incubator be?
In a forced-air incubator the target is 37.5 °C (99.5 °F) for chicken, quail, duck and turkey eggs; for geese 37.2–37.5 °C (99–99.5 °F) is enough. In a still-air incubator warm air collects at the top, so you hold 38.3–38.9 °C (101–102 °F) at the level of the tops of the eggs. Always measure at egg height.
What humidity should an incubator be for chicken eggs?
For chicken eggs, 50–55% is recommended for the first 18 days and 65–75% for the last three. Duck and turkey eggs like it a little higher in the first stage, around 55–60%. Humidity depends on the surface area of the water tray, not on how much water is in it.
Can I use a DHT11 for an incubator?
It isn't recommended. The DHT11 has a ±2 °C error, and in incubation even 1 °C off lowers the hatch rate. A DHT22 (±0.5 °C), an SHT31, or a DS18B20 for temperature gives much more reliable results.
What happens if the power goes out during incubation?
During outages of a few hours the eggs cool slowly and the embryos usually survive; keep the lid closed and you can cover the box with a blanket. When the Arduino powers back up, the code in this article continues from the day it was on thanks to EEPROM. For long outages, consider a UPS and an RTC module.
How many times a day should eggs be turned in an incubator?
Until lockdown, at least 3–5 times a day; automatic incubators commonly turn every 1–2 hours. If you turn by hand, use an odd number of turns so the eggs don't spend every night on the same side. Stop turning completely three days before the hatch.
What heat source should I use for a homemade incubator?
The most common choices are an incandescent bulb, a ceramic heat emitter and a 12 V PTC heater. For student and beginner projects, 12 V heaters are safer because you don't have to work with mains voltage. Whichever you pick, add a thermal cutoff that works independently of the software.
Projects to build after reading this
See all projects
Temperature and Humidity with DHT11
How warm is your room, and is the air humid or dry? The DHT11 sensor measures temperature and humidity, and the Arduino writes the values on a two-line LCD screen, refreshing every couple of seconds.

ESP32 DHT22 Temperature and Humidity (with LCD Display)
This project measures ambient temperature and humidity using a DHT22 sensor and displays the data in real time on a 16x2 I2C LCD. Data is read from the sensor using the one-wire protocol via the Adafruit DHT library. This project serves as the foundation for IoT weather stations, smart home automation, or environmental monitoring systems in greenhouses. Communication with the DHT22 is established via the ESP32's GPIO 4 pin.
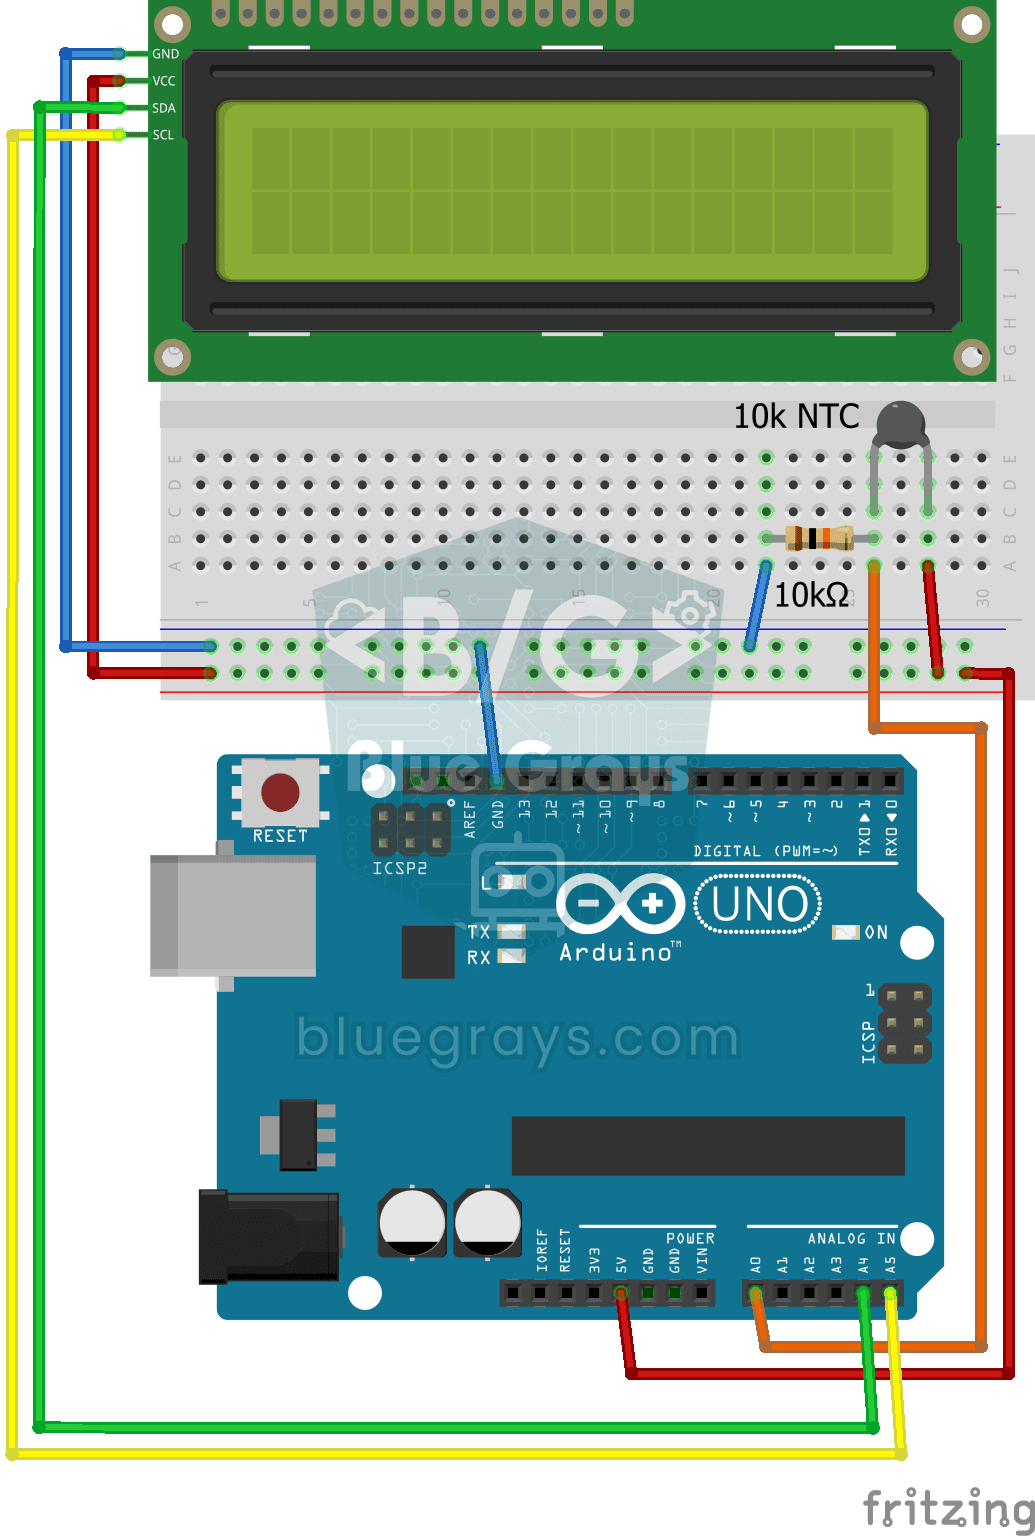
Temperature Measurement with NTC and 2x16 Lcd Display
Measure the temperature around you with a sensor that looks like a tiny bead. This part, called an NTC, lets electricity through more easily as it warms up; the Arduino reads that change, turns it…
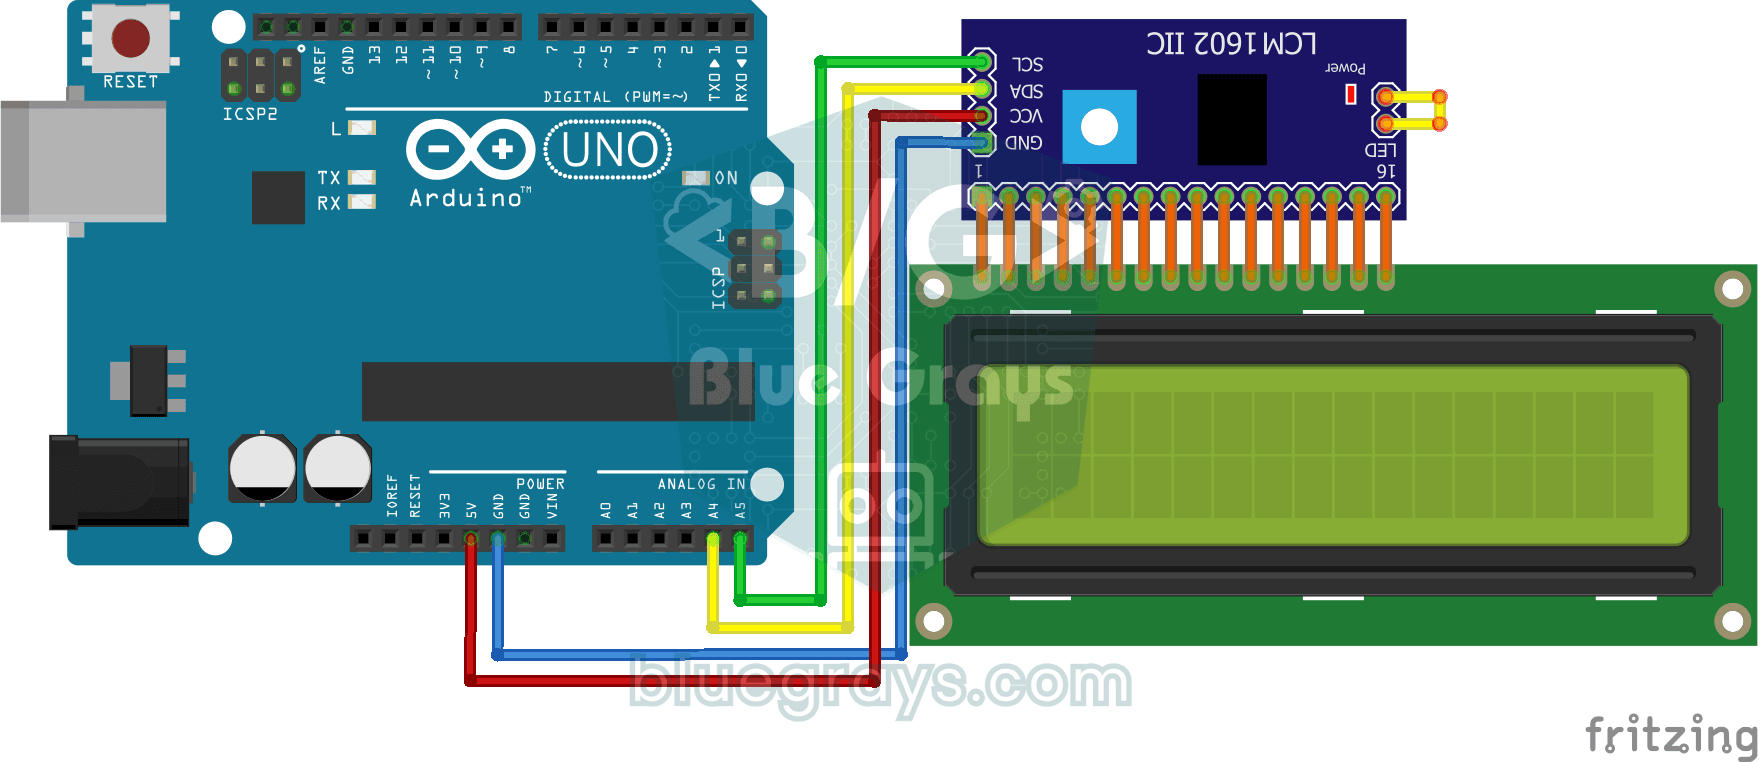
Using LCD Screen with I2C
Give your Arduino its own screen and make it write its first message. The two-line LCD screen hooks up with just a few wires; a greeting appears on the top line, then a second message on the bottom…
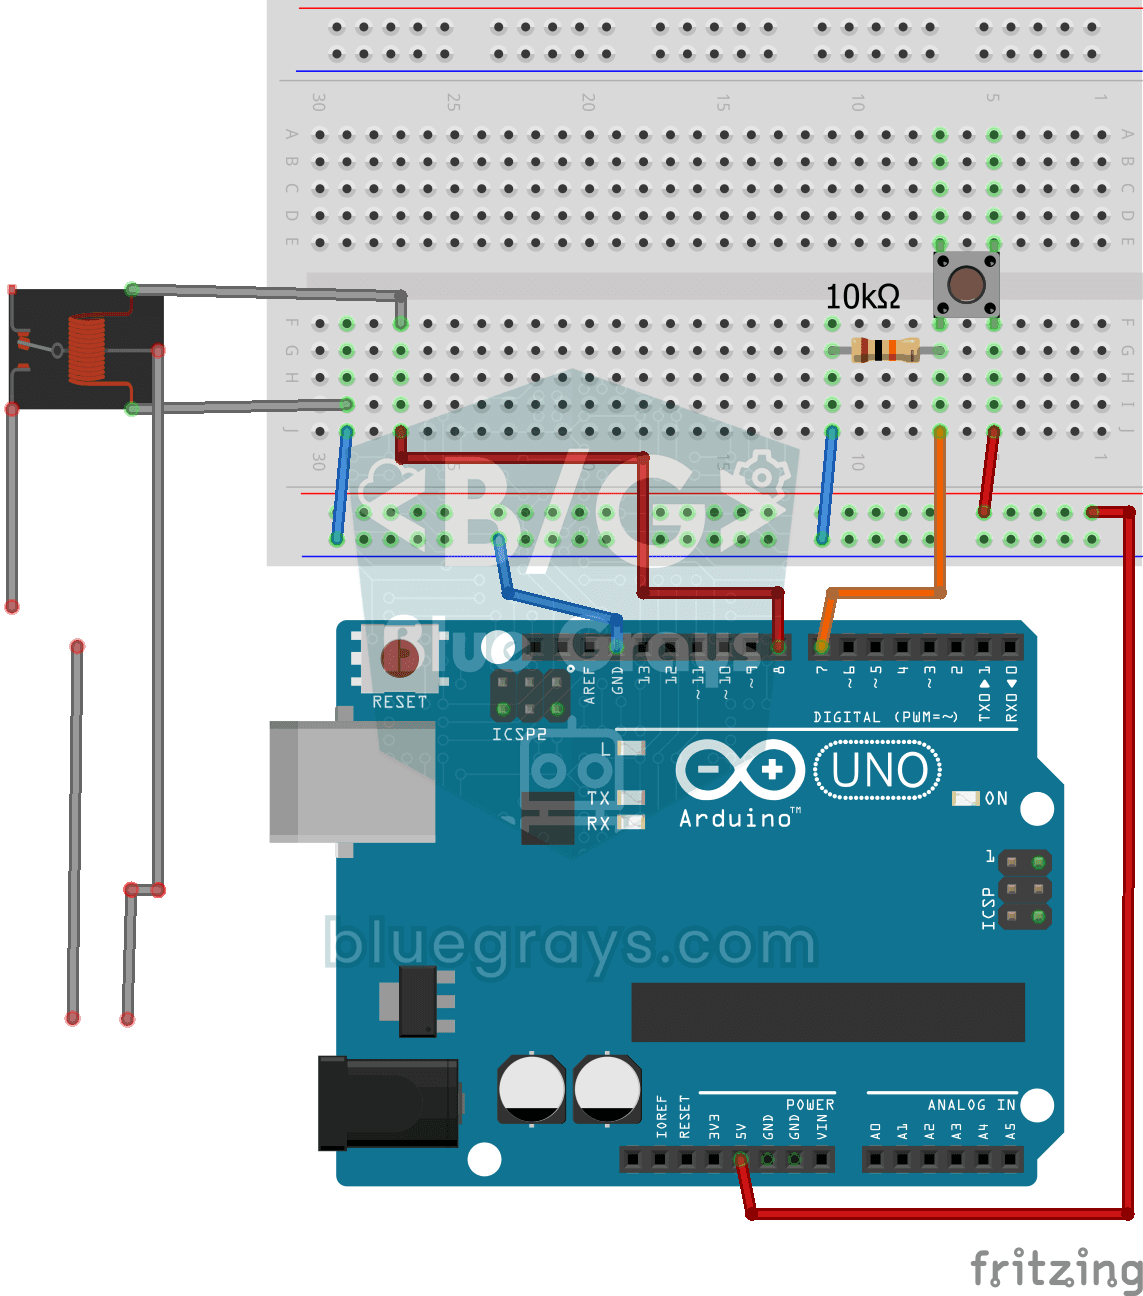
Lighting 220V Bulb with Push Button
As long as you hold the button, a real 220-volt bulb stays lit, and it goes out the moment you let go.
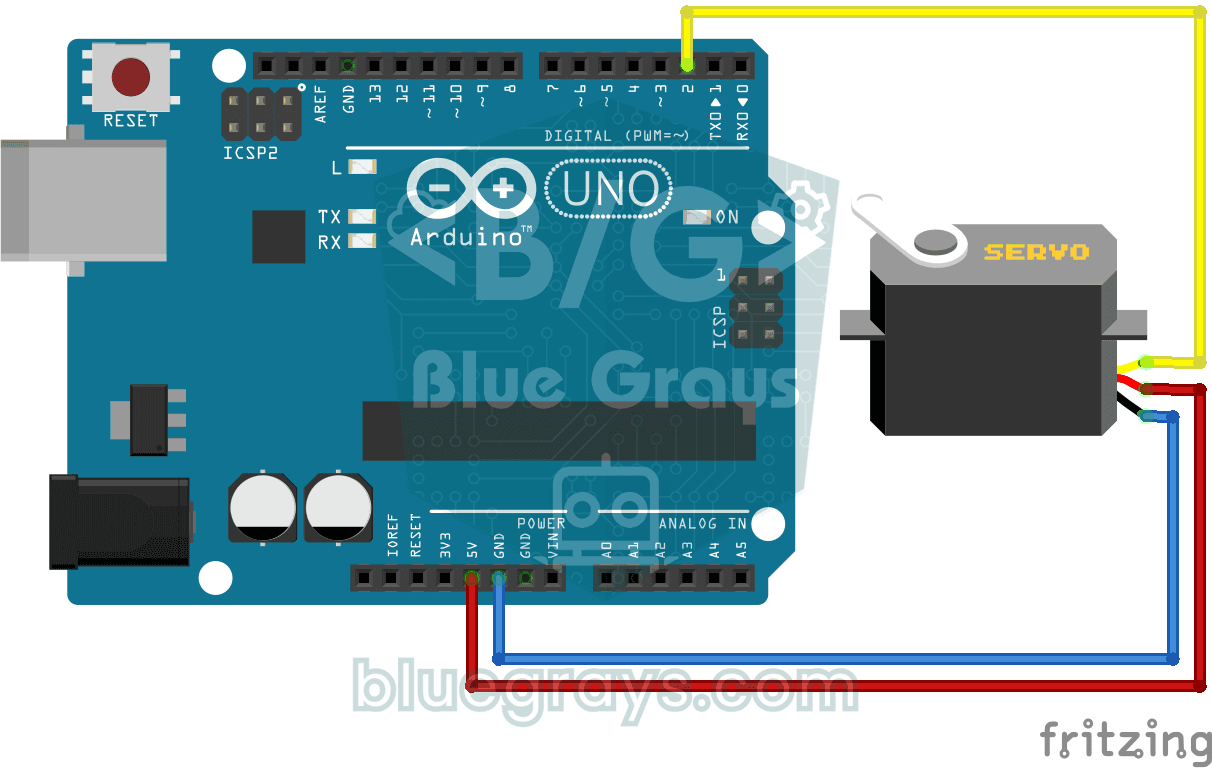
Using a Servo Motor
The arm of a small servo motor turns to three positions in turn: all the way to the start, right to the middle and all the way to the end, waiting two seconds at each stop.

ESP32 Temperature Data Logger (DHT22 + DS1307 RTC + microSD + OLED)
Build a timed temperature and humidity logger with the ESP32! A DHT22 sensor reads temperature and humidity once a minute, and each reading is saved to a microSD card in CSV format with a real-time stamp from the DS1307 RTC module. The OLED display shows the latest temperature, humidity, timestamp and total number of records live, in large text.

ESP32 Asynchronous Web Server (with IP Display on LCD)
In this project, we’re turning the ESP32 into an asynchronous web server that you can control from your phone or computer on the same Wi-Fi network. Thanks to the ESPAsyncWebServer library, the server can process multiple requests simultaneously (unlike the classic WebServer.h, which blocks on a single request). You’ll be able to open the ESP32’s IP address in a browser and click the ON/OFF buttons (the /on and /off routes) to turn the LED connected to GPIO 5 on and off.