
Raspberry Pi Pico W MQTT: Sensor and LED Control with umqtt
How do you use MQTT with the Raspberry Pi Pico W? Install MicroPython umqtt, use a free broker, publish temperature, subscribe to an LED and connect Home Assistant.

MQTT on the Raspberry Pi Pico W is the lightest and most common way to put your board online, send sensor data and receive remote commands. With the umqtt.simple library in MicroPython, the Pico W connects to an MQTT broker in a few lines of code, publishes the temperature it measures to a topic, and subscribes to another topic so that incoming "ON" or "OFF" messages switch an LED. You don't need to set up a web server, open a port on your router or memorise the board's IP address; your phone, computer and Home Assistant all talk to your board through the same broker.
In this guide you'll first learn the logic and basic concepts of MQTT. Then you'll install the umqtt library, connect to a free public broker, publish the value read from the Pico W's onboard temperature sensor every ten seconds and control the onboard LED remotely. Finally, you'll make the code recover on its own when the Wi-Fi or broker connection drops, and add the board to Home Assistant with MQTT Discovery without writing a single line of YAML.
What is MQTT and how does it work?
MQTT (Message Queuing Telemetry Transport) is a publish/subscribe messaging protocol designed for devices with low bandwidth and limited processing power. A server called the broker sits in the middle. Devices don't connect to each other directly; each one opens a TCP connection to the broker (port 1883 unencrypted, 8883 with TLS). When a device publishes a message to a topic such as "bluegrays/picow/temperature", the broker forwards it to everyone subscribed to that topic. So the Pico W never has to know who will read the message; a phone app, a data logger and Home Assistant can all receive the same data at once. The fixed header of an MQTT packet is only 2 bytes, so it uses far less data and energy than HTTP requests.
| Concept | Meaning | Example |
|---|---|---|
| Broker | The server that receives messages and distributes them to subscribers | Mosquitto, HiveMQ, EMQX |
| Client | Any device or app that connects to the broker | Pico W, phone, Home Assistant |
| Topic | The address a message is sent to, separated by / | bluegrays/picow/sicaklik |
| Publish | Sending a message to a topic | Send the value "23.4" |
| Subscribe | Listening to messages arriving on a topic | bluegrays/picow/led |
| QoS | Delivery guarantee: 0 at most once, 1 at least once, 2 exactly once | umqtt.simple supports 0 and 1 |
| Retain | The broker stores the last message and sends it immediately to new subscribers | Last state of the LED |
| Last Will (LWT) | A message the broker publishes if the device drops unexpectedly | "offline" |
| Keepalive | The longest interval in seconds between packets from the client | 60 |
Topics work like folder paths and are case-sensitive. When subscribing you can use two wildcards: + replaces a single level ("home/+/temperature" catches both "home/livingroom/temperature" and "home/kitchen/temperature"), while # covers all remaining levels and can only be used at the very end ("home/#"). You can't use wildcards when publishing. Avoiding spaces and non-ASCII characters in topic names reduces the chance of problems between different clients.
What you need and Pico W connections
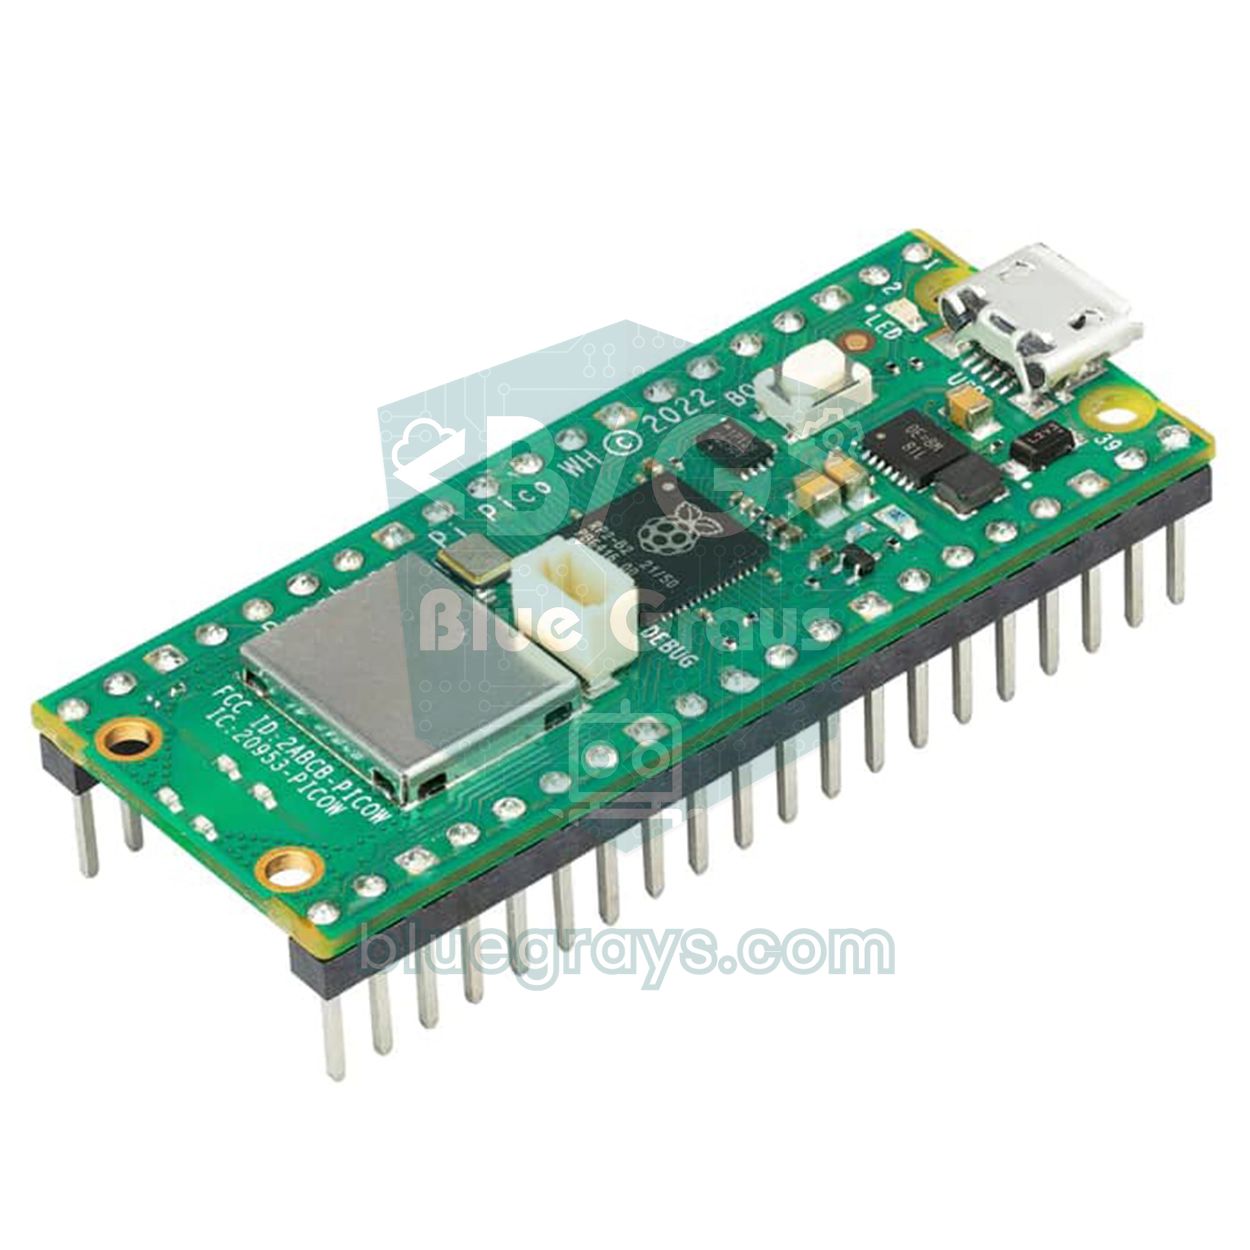
- Raspberry Pi Pico W or Pico 2 W: you can't use MQTT with a plain Pico that has no wireless chip.
- MicroPython firmware: the .uf2 file built for the W version. The installation steps are explained in What Is the Raspberry Pi Pico?.
- Thonny or another MicroPython editor, and a micro USB cable that can carry data.
- A 2.4 GHz Wi-Fi network: the Pico W can't connect to 5 GHz networks.
- An MQTT client: MQTT Explorer on your computer or an MQTT panel app on your phone for testing.
- Optional: an external LED and 220 Ω resistor, an external sensor such as a DHT22 or BME280, a relay module.
| Component | Pico W connection | Note |
|---|---|---|
| Onboard LED | Pin("LED") | Driven through the wireless chip, not GP25 |
| Onboard temperature sensor | ADC(4) | No wiring needed; it measures the chip's own temperature |
| External LED | GP15 → 220 Ω → LED anode, cathode → GND | Pin(15, Pin.OUT) in code |
| DHT22 data pin | GP16 (VCC → 3V3, GND → GND) | Read with MicroPython's dht module |
| Relay module IN | GP14 | Choose a module that can be triggered with 3.3 V |
| Pins reserved for the wireless chip | GPIO23, 24, 25, 29 | Not brought out of the board, can't be used for anything else |
Installing the umqtt library
- Hold the BOOTSEL button while connecting the board to your computer and copy the MicroPython .uf2 file for the W version to the RPI-RP2 drive that appears.
- In Thonny, choose MicroPython (Raspberry Pi Pico) as the interpreter at the bottom right and type from umqtt.simple import MQTTClient in the shell. If you get no error, the library came with the firmware and you don't need to install anything.
- If you get an ImportError, connect the board to your Wi-Fi network with the code below and download the library straight from the internet with mip.
- Alternatively, in Thonny open Tools > Manage packages, search for micropython-umqtt.simple and install it.
- After installation you should see the file /lib/umqtt/simple.py in the Pico's file system.
1import network
2import time
3import mip
4
5wlan = network.WLAN(network.STA_IF)
6wlan.active(True)
7wlan.connect("WIFI_ADIN", "WIFI_SIFREN")   # kendi ağ bilgilerin / your network credentials
8
9while not wlan.isconnected():
10    print("Baglaniyor... / Connecting...")
11    time.sleep(1)
12
13print("IP:", wlan.ifconfig()[0])
14mip.install("umqtt.simple")                 # /lib/umqtt/simple.py olarak kurulur / installed as /lib/umqtt/simple.py
15mip.install("umqtt.robust") # isteğe bağlı / optionalChoosing a free MQTT broker
You don't need to set up your own server to get started. Many companies run public brokers for testing; they ask for no username or password, so you can connect the board and send your first message within minutes. For a permanent project, installing Mosquitto on a Raspberry Pi at home, an old computer or Home Assistant is the most reliable route: your data stays inside your home, and devices on the local network keep messaging each other even if the internet goes down.
| Broker | Address | Port | Note |
|---|---|---|---|
| HiveMQ public broker | broker.hivemq.com | 1883 (TCP) | No sign-up, open to everyone |
| Eclipse Mosquitto test server | test.mosquitto.org | 1883 (unencrypted), 8883 (TLS) | No sign-up, open to everyone |
| EMQX public broker | broker.emqx.io | 1883 (TCP), 8883 (TLS) | No sign-up, open to everyone |
| Home Assistant Mosquitto add-on | Home Assistant's local IP address | 1883 | Username and password required |
| Your own Mosquitto server | IP address of your Raspberry Pi or computer | 1883 | Full control, works on the local network |
Step by step: publish temperature, subscribe to the LED
The program below does four jobs at once: it connects to your Wi-Fi network, connects to the broker with a unique client ID, subscribes to the bluegrays/picow/led topic and publishes the onboard temperature sensor value to the bluegrays/picow/sicaklik topic every ten seconds. If "ON" arrives on the LED topic the LED turns on, if "OFF" arrives it turns off, and the new state is reported to a separate topic with the retain flag. If you save the file to the Pico as main.py in Thonny, the program starts by itself every time the board powers up.
1import network
2import time
3import machine
4import binascii
5from machine import Pin, ADC
6from umqtt.simple import MQTTClient
7
8SSID = "WIFI_ADIN"                 # Wi-Fi ağ adın / your Wi-Fi name
9PASSWORD = "WIFI_SIFREN"           # Wi-Fi şifren / your Wi-Fi password
10BROKER = "broker.hivemq.com"       # ücretsiz genel broker / free public broker
11PORT = 1883
12MQTT_USER = None                   # Home Assistant için kullanıcı / user for Home Assistant
13MQTT_PASS = None                   # Home Assistant için şifre / password for Home Assistant
14
15CLIENT_ID = b"picow-" + binascii.hexlify(machine.unique_id())   # benzersiz kimlik / unique client id
16TOPIC_TEMP = b"bluegrays/picow/sicaklik"
17TOPIC_LED = b"bluegrays/picow/led"
18TOPIC_LED_STATE = b"bluegrays/picow/led/durum"
19TOPIC_STATUS = b"bluegrays/picow/durum"
20PUBLISH_MS = 10000                 # 10 saniyede bir yayınla / publish every 10 s
21
22led = Pin("LED", Pin.OUT)          # Pico W dahili LED / Pico W onboard LED
23sensor = ADC(4)                    # dahili sıcaklık sensörü / internal temperature sensor
24wlan = network.WLAN(network.STA_IF)
25client = None
26pending_state = None               # bildirilecek LED durumu / LED state to report
27
28
29def read_temp():
30    voltage = sensor.read_u16() * 3.3 / 65535
31    return 27 - (voltage - 0.706) / 0.001721
32
33
34def wifi_connect():
35    wlan.active(True)
36    if wlan.isconnected():
37        return
38    wlan.connect(SSID, PASSWORD)
39    for _ in range(20):            # en fazla 20 saniye bekle / wait up to 20 s
40        if wlan.isconnected():
41            print("IP:", wlan.ifconfig()[0])
42            return
43        time.sleep(1)
44    raise OSError("Wi-Fi baglanamadi / Wi-Fi failed")
45
46
47def on_message(topic, msg):
48    global pending_state
49    print("Mesaj / Message:", topic, msg)
50    if topic == TOPIC_LED:
51        if msg == b"ON":
52            led.on()
53            pending_state = b"ON"
54        elif msg == b"OFF":
55            led.off()
56            pending_state = b"OFF"
57
58
59def mqtt_connect():
60    c = MQTTClient(CLIENT_ID, BROKER, port=PORT, user=MQTT_USER,
61                   password=MQTT_PASS, keepalive=60)
62    c.set_callback(on_message)
63    c.set_last_will(TOPIC_STATUS, b"offline", retain=True)   # koparsa broker yayınlar / broker sends it on drop
64    try:
65        c.connect()
66    except Exception:
67        try:
68            c.sock.close()         # yarım kalan soketi kapat / close the half-open socket
69        except Exception:
70            pass
71        raise
72    c.subscribe(TOPIC_LED)
73    c.publish(TOPIC_STATUS, b"online", retain=True)
74    return c
75
76
77def reconnect():
78    global client
79    delay = 2
80    while True:
81        if client:
82            try:
83                client.sock.close()
84            except Exception:
85                pass
86        try:
87            wifi_connect()
88            client = mqtt_connect()
89            print("MQTT bagli / connected")
90            return
91        except Exception as e:
92            print("Tekrar denenecek / retrying:", e)
93            time.sleep(delay)
94            delay = min(delay * 2, 60)     # üstel bekleme / exponential backoff
95
96
97reconnect()
98last_pub = time.ticks_add(time.ticks_ms(), -PUBLISH_MS)   # ilk yayın hemen / first publish right away
99
100while True:
101    try:
102        client.check_msg()                 # gelen mesaj var mı? / any incoming message?
103        if pending_state:
104            client.publish(TOPIC_LED_STATE, pending_state, retain=True)
105            pending_state = None
106        if time.ticks_diff(time.ticks_ms(), last_pub) >= PUBLISH_MS:
107            last_pub = time.ticks_ms()
108            temp = "{:.1f}".format(read_temp())
109            client.publish(TOPIC_TEMP, temp.encode())
110            print("Yayinlandi / Published:", temp)
111    except Exception as e:
112        print("Baglanti koptu / Connection lost:", e)
113        reconnect()
114 time.sleep_ms(100)| Code part | What it does |
|---|---|
| CLIENT_ID | Creates a unique ID for each board with machine.unique_id(); two devices connecting with the same ID knock each other off the broker |
| read_temp() | Converts the ADC(4) value to a voltage, then to degrees Celsius with the formula 27 - (V - 0.706) / 0.001721 |
| set_last_will() | Makes the broker write "offline" to the status topic if the connection drops unexpectedly; it must run before the connect() call |
| subscribe() | Starts listening to the LED topic; it's called again on every new connection |
| check_msg() | Calls the on_message function if a message has arrived, otherwise returns without waiting |
| pending_state | Instead of publishing inside the callback, it leaves the state in a variable and the main loop does the publishing |
| ticks_diff() | Measures ten seconds without blocking on sleep, so LED commands are handled without delay |
| reconnect() | Retries the Wi-Fi and MQTT connection at intervals of 2, 4, 8 … up to 60 seconds |
After running the program, connect to the same broker with MQTT Explorer on your computer and subscribe to the bluegrays/picow/# topic. You should see a temperature value arrive every ten seconds and "online" on the status topic. To try the LED, publish ON in capital letters to the bluegrays/picow/led topic; the green LED on the board lights immediately and the incoming message is printed in the Thonny shell. If the Mosquitto client tools are installed, you can do the same from the command line with mosquitto_pub -h broker.hivemq.com -t bluegrays/picow/led -m ON. Because the onboard sensor measures the chip's own temperature, it may read a few degrees different from room temperature; for real ambient measurements, connect an external sensor such as the DHT11/DHT22 or BME280 and change read_temp() accordingly.
Reconnecting automatically after a dropped connection
The biggest enemy of an IoT device running at home is dropped connections: the router restarts, the Wi-Fi signal weakens or the broker goes down for maintenance. umqtt.simple doesn't recover on its own in this case; it raises an OSError on the next publish() or check_msg() call. The try/except block in the program catches this error and calls the reconnect() function. The function first closes the old socket, reconnects Wi-Fi if it dropped, then sets up the MQTT connection and subscription from scratch. After each failed attempt the wait time doubles (2, 4, 8, 16, 32, 60 seconds); this is called exponential backoff and stops you from flooding the broker with dozens of attempts per second.
The keepalive value matters too. We set 60 seconds in the code; under the MQTT rules, the broker closes the connection if no packet arrives from the client for 1.5 times this period (that is, 90 seconds). Since we publish every ten seconds, this isn't a problem. But if you stretch the publish interval to, say, five minutes, you need to add regular client.ping() calls; umqtt.simple doesn't send the ping packet automatically. Thanks to the Last Will message, even if the board is unplugged the broker writes "offline" to the status topic once the keepalive period runs out, and Home Assistant shows the device as "unavailable".
- Keep your Wi-Fi details and broker password in a separate secrets.py file; don't share that file when you share your code.
- For stability, set up a watchdog timer with machine.WDT(timeout=8000) and call wdt.feed() regularly in the main loop; if the program gets stuck somewhere, the board restarts itself. In that case, keep the waits inside reconnect() under 8 seconds or feed the watchdog while waiting.
- Publish the measurement at set intervals rather than every loop; to reduce momentary fluctuations, average several readings (sensor data filtering).
- Use retain for topics where the last value matters, such as the LED state; don't send retained messages to command topics, or the board will re-apply the old command every time it reconnects.
- If the connection drops often, try turning off the wireless chip's power-saving mode with wlan.config(pm=0xa11140); this reduces latency but increases current consumption.
Connecting the Pico W to Home Assistant
- In Home Assistant, install and start the Mosquitto broker add-on under Settings > Add-ons.
- Under Settings > People, create a separate user for the Pico W (for example "pico"); this user's name and password are used for the MQTT connection.
- Under Settings > Devices & Services, configure the discovered MQTT integration.
- Replace the BROKER value in the code with Home Assistant's local IP address (for example 192.168.1.50) and enter the username and password in the MQTT_USER and MQTT_PASS variables.
- Add the ha_discovery() function below to your code and call it as ha_discovery(c) after the subscribe() line in mqtt_connect().
- Within a few seconds, a new device named "Pico W" appears in the device list, with a temperature sensor and an LED switch under it.
1import json
2import binascii
3import machine
4
5DEVICE_ID = "picow_" + binascii.hexlify(machine.unique_id()).decode()
6DEVICE = {
7    "identifiers": [DEVICE_ID],
8    "name": "Pico W",
9    "manufacturer": "Raspberry Pi",
10    "model": "Pico W",
11}
12
13
14def ha_discovery(c):
15    temp_cfg = {
16        "name": "Sicaklik",
17        "unique_id": DEVICE_ID + "_temp",
18        "state_topic": "bluegrays/picow/sicaklik",
19        "unit_of_measurement": "°C",
20        "device_class": "temperature",
21        "availability_topic": "bluegrays/picow/durum",
22        "device": DEVICE,
23    }
24    led_cfg = {
25        "name": "LED",
26        "unique_id": DEVICE_ID + "_led",
27        "command_topic": "bluegrays/picow/led",
28        "state_topic": "bluegrays/picow/led/durum",
29        "payload_on": "ON",
30        "payload_off": "OFF",
31        "availability_topic": "bluegrays/picow/durum",
32        "device": DEVICE,
33    }
34    base = DEVICE_ID.encode()
35    # JSON'u bytes olarak gönder (°C çok baytlıdır) / send JSON as bytes (°C is multi-byte)
36    c.publish(b"homeassistant/sensor/" + base + b"/temp/config",
37              json.dumps(temp_cfg).encode(), retain=True)
38    c.publish(b"homeassistant/switch/" + base + b"/led/config",
39              json.dumps(led_cfg).encode(), retain=True)
40
41# mqtt_connect() içinde subscribe() satırından sonra çağır / call after subscribe() in mqtt_connect()
42# ha_discovery(c)
By default Home Assistant listens to topics starting with the homeassistant/ prefix. When the Pico W sends a JSON configuration to these topics with the retain flag, Home Assistant creates the entities automatically: the sensor configuration shows the temperature as a value you can chart, while the switch configuration adds an on/off switch to the interface. When you tap the switch, Home Assistant publishes "ON" or "OFF" to the command_topic, the board changes the LED and writes the new state to the state_topic; this way the switch in the interface always shows the real state. The availability_topic field uses the Last Will message to grey out the entities when the board goes offline. If you'd like to see the same structure on the ESP32 side, take a look at ESP32 MQTT and Home Assistant.
Project ideas with the Pico W and MQTT
- Room temperature and humidity dashboard: put a Pico W and a DHT22 in every room and watch the whole house on one screen with topics such as home/livingroom/temperature.
- Remote-controlled lamp: drive a relay module instead of the LED and switch the lamp on and off from Home Assistant.
- Plant watering notification: publish the soil moisture sensor value and send a notification to your phone with an automation when the soil dries out.
- Motion alarm: publish a message to the home/hallway/motion topic when the PIR sensor is triggered.
- Aquarium thermometer: measure the water temperature with a DS18B20 and send a retained warning message when a threshold is exceeded.
- Compare with a web interface: control the same LED with a Pico W web server too and see the difference between the two methods.
Common mistakes and how to fix them
| Symptom | Likely cause | Fix |
|---|---|---|
| ImportError: no module named 'umqtt' | The library isn't in the firmware | mip.install("umqtt.simple") or the Thonny package manager |
| Wi-Fi won't connect | 5 GHz network, wrong password or weak signal | Use a 2.4 GHz network, print wlan.status(), move the board closer to the router |
| OSError during connect() | The broker address couldn't be resolved or there's no network connection | Check wlan.isconnected() first, and write the broker name and port correctly |
| MQTTException: 4 or 5 | Wrong username or password, not authorised | Check the Home Assistant user and password |
| Connection drops after about 90 seconds | No packet is sent during the keepalive period | Publish regularly or add client.ping() |
| Messages never arrive | check_msg() isn't called in the loop or set_callback() was forgotten | Call set_callback() before subscribe(), and use check_msg() in the loop |
| The comparison is always false | Topic and message arrive as bytes and you compare with str | Use bytes constants such as b"ON" |
| Two boards keep knocking each other off | The same CLIENT_ID is used | Generate a unique ID with machine.unique_id() |
Once MQTT is set up, every new sensor or output you add to the board is just a new topic; the infrastructure stays the same. First run the program in this guide with the onboard LED and temperature sensor, then expand it with a relay and external sensors. If you'd like to reinforce basics such as LEDs, buttons and PWM in MicroPython, you'll find the circuit diagram and code for every step in the Raspberry Pi Pico projects in the BlueGrays app.
Frequently asked questions
Can I use MQTT with a regular Raspberry Pi Pico?
No. A plain Pico has no Wi-Fi or Ethernet, so it can't connect to a broker directly. For MQTT you need the Pico W or Pico 2 W with the wireless chip. A plain Pico can only get online with an external Wi-Fi or Ethernet module, which makes the setup considerably more complicated.
What is the difference between umqtt.simple and umqtt.robust?
umqtt.simple is a very small client that handles basic MQTT operations such as connecting, publishing and subscribing, and it raises an error when the connection drops. umqtt.robust is built on top of it and tries to reconnect automatically on errors. However, it doesn't renew subscriptions by itself, so you still have to call subscribe() again after reconnecting.
What is the best free MQTT broker?
For testing, broker.hivemq.com, test.mosquitto.org and broker.emqx.io are public brokers that need no sign-up and run on port 1883. Because they're open to everyone, you should only send test data to them. For a permanent and secure setup, installing Mosquitto on a Raspberry Pi at home or on Home Assistant is the best free option.
How do I add the Pico W to Home Assistant?
Install the Mosquitto broker add-on and the MQTT integration in Home Assistant, and create a separate user for the Pico W. Connect the board to Home Assistant's IP address with that user and publish a retained discovery configuration to topics starting with homeassistant/. Home Assistant then creates the sensor and the switch automatically.
Why does my Pico W MQTT connection keep dropping?
The most common cause is that no packet is sent within the keepalive period; umqtt.simple doesn't send the ping packet automatically, so you need a regular client.ping() or publish. A weak Wi-Fi signal, the router restarting and a second device using the same client ID can also cause drops. Writing your code to catch OSError and reconnect solves all of these cases.
Can I use TLS (port 8883) with MQTT on the Pico W?
Yes. You can make an encrypted connection on port 8883 with the ssl parameter of the umqtt.simple library; in current MicroPython versions you pass this parameter a context created with ssl.SSLContext. The TLS handshake can take a few seconds on the RP2040 and increases RAM usage. Cloud brokers such as HiveMQ Cloud usually require a TLS connection.
Projects to build after reading this
See all projects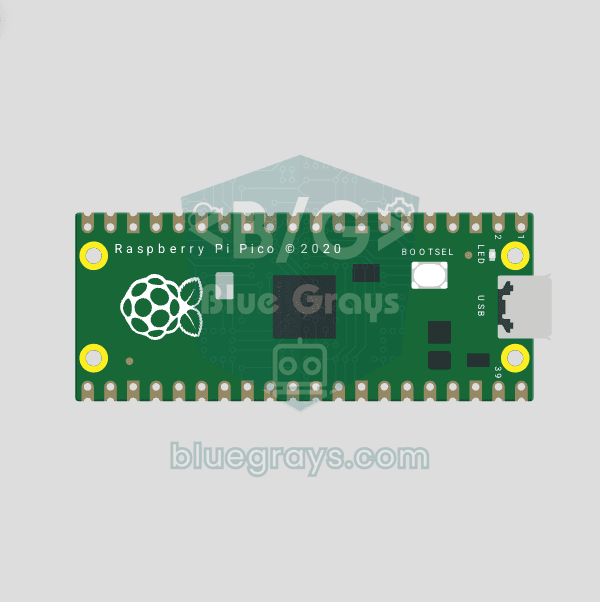
Raspberry Pi Pico Onboard LED Blink (Pico and Pico W)
The opening project of the Raspberry Pi Pico series! We blink the Pico's green built-in LED to confirm the board works, the classic "Hello World" first experiment. No external parts needed, just the Pico and a USB cable. The code is written in MicroPython, the language officially supported by the Raspberry Pi Foundation.
Raspberry Pi Pico: Controlling an External LED (Breadboard)
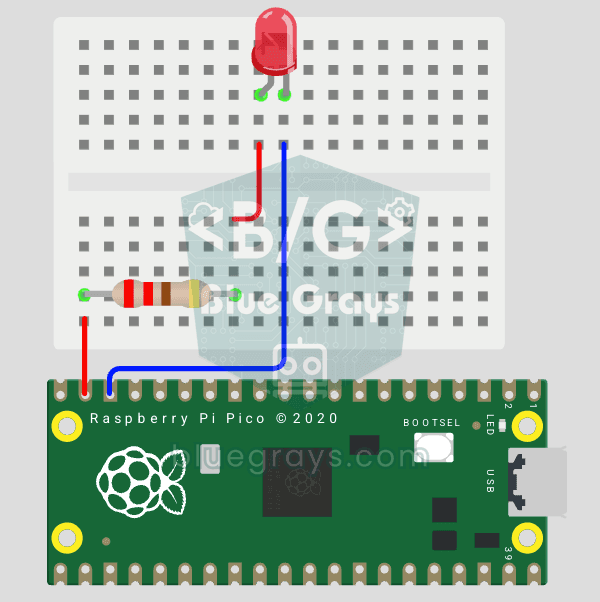
The next step after the Pico's built-in LED: connect an external LED on a breadboard and control it through pin GP14. You'll learn how to use any of the Pico's GPIO pins as an output, the LED's polarity (long leg = anode/+, short leg = cathode/–) and why a current-limiting resistor (220Ω) is a must. Without the resistor, too much current flows through the LED and it can burn out.
Raspberry Pi Pico Button Controlled LED (Push)
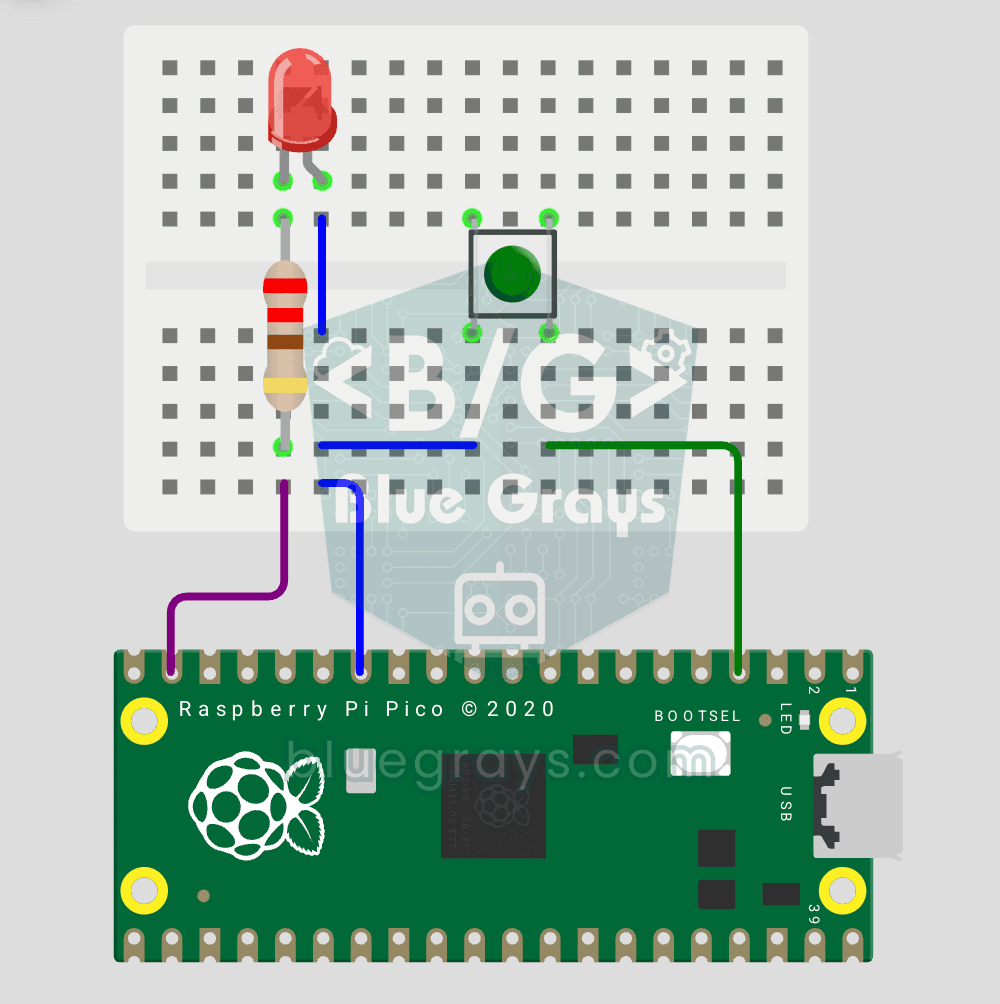
First input project with Pico — button read! LED lights while button is pressed, off when released. This is the big step after LED animations: signal input from the world to Pico. Learn Pin.IN (input mode), Pin.PULL_UP (internal pull-up resistor — standard for buttons), button.value() reading. GP14 LED, GP2 button (internal PULL_UP). Pressed = LOW (0), released = HIGH (1) — reverse logic seems confusing at first but is industry standard.
Raspberry Pi Pico Button Toggle LED
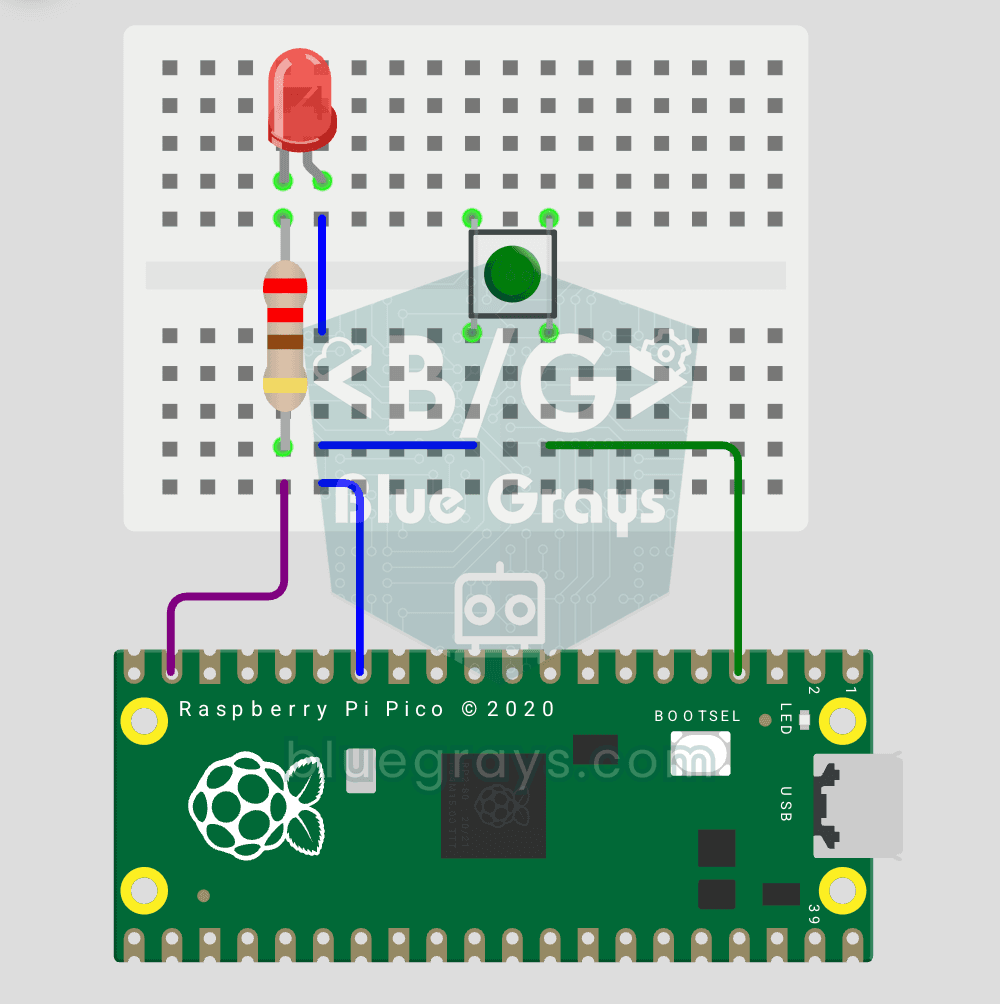
Button + LED — next level! Unlike the basic button project, there is no need to hold the button. Press and release → LED on. Press and release again → LED off (toggle). Same circuit (LED GP14, Button GP2), but big code difference. Learn edge detection (capturing the 1→0 falling moment), state tracking, debounce (mechanical bounce filter). MicroPython's led.toggle() swaps state in one line. Foundation of all interactive button projects (mode switcher, IRQ, double-click).
Raspberry Pi Pico PWM LED Fade (Breathing Effect)
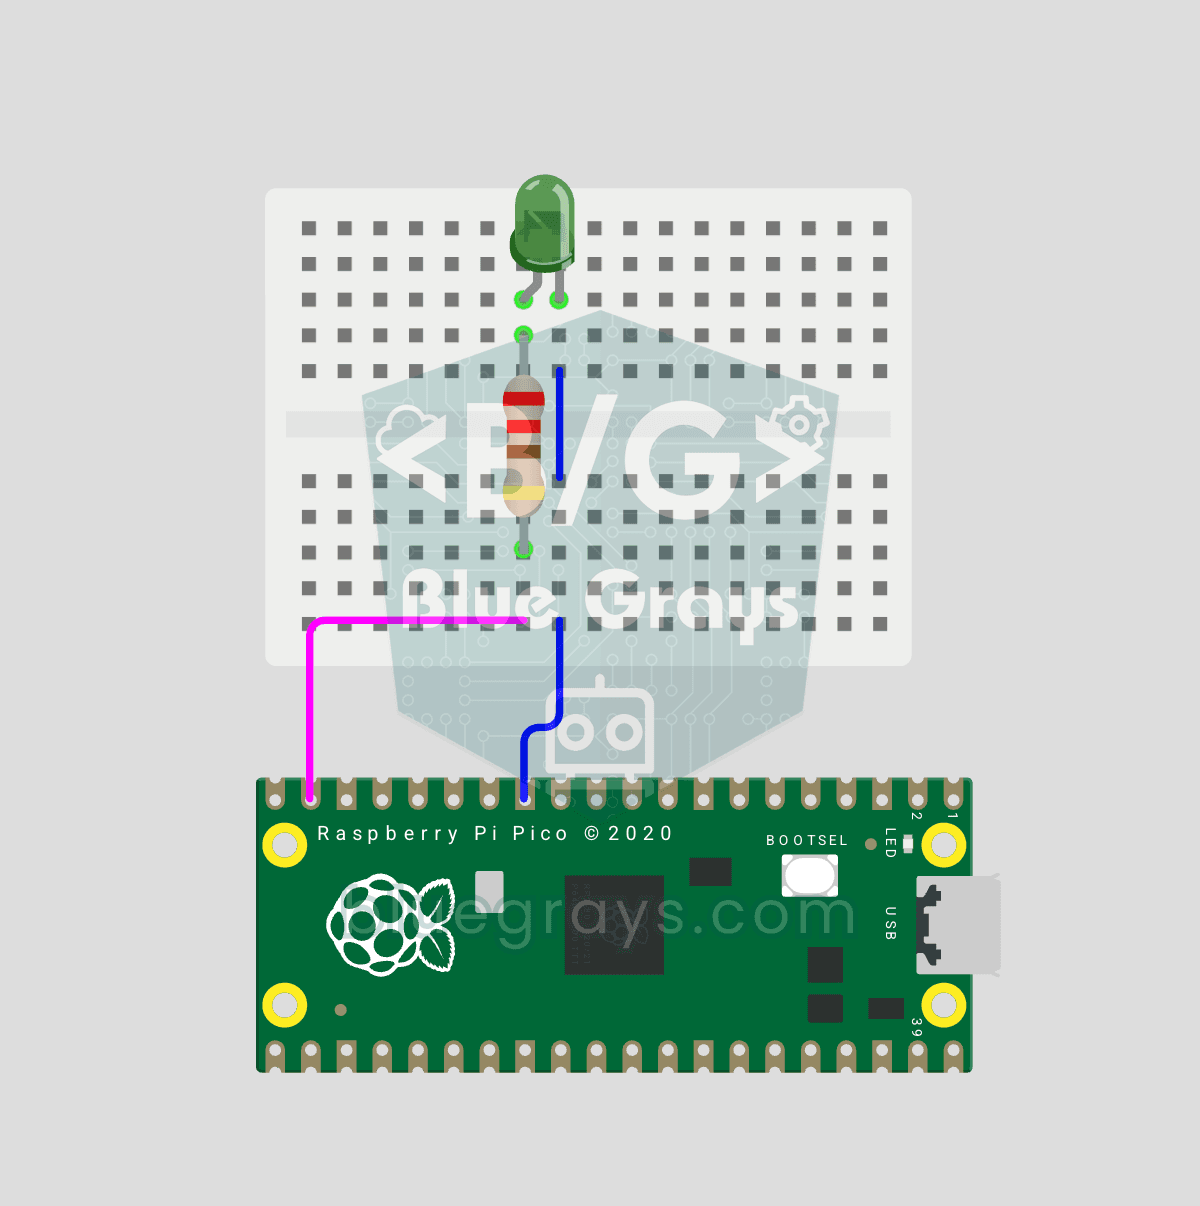
The LED doesn't just blink anymore, it breathes! With the Raspberry Pi Pico's PWM (Pulse Width Modulation), the LED's brightness slowly rises and then slowly fades, a calm "breathing" effect like a sleeping laptop's light. You'll learn the machine.PWM class, the 16-bit brightness value from 0–65535 with duty_u16() and the PWM frequency.
Raspberry Pi Pico RGB LED Color Cycle (3-Channel PWM)
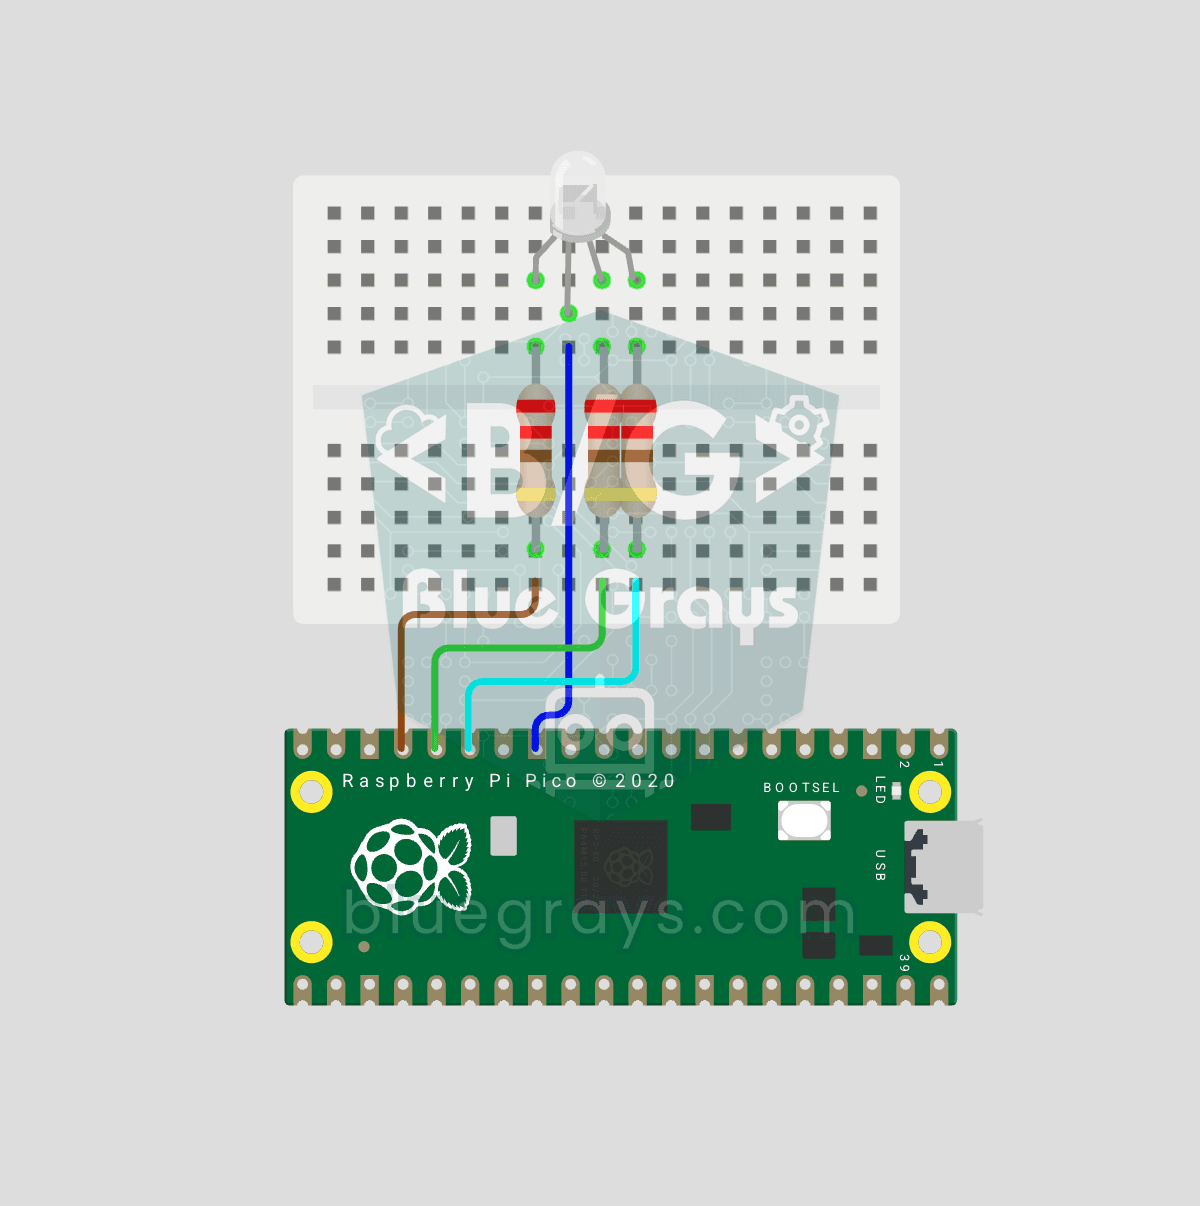
One LED, millions of colors! An RGB LED actually holds 3 separate LEDs: red, green and blue. Set the brightness of each one separately with the Pico's 3 PWM channels and the colors mix: red + green = yellow, green + blue = cyan, all three = white. In this project the LED cycles through 8 colors.

ESP32 Wi-Fi STA Connection (with LCD Screen)
In this project, we connect the ESP32 to the home Wi-Fi network in Station (STA) mode in a secure, fault-tolerant manner. We store the SSID and password in a separate secrets.h file to prevent leaking to Git, set up an auto-reconnect mechanism, and display the RSSI signal level and IP address on an I2C LCD screen. The internal LED works as a status indicator. It is a production-grade connection manager.

ESP32 Asynchronous Web Server (with IP Display on LCD)
In this project, we’re turning the ESP32 into an asynchronous web server that you can control from your phone or computer on the same Wi-Fi network. Thanks to the ESPAsyncWebServer library, the server can process multiple requests simultaneously (unlike the classic WebServer.h, which blocks on a single request). You’ll be able to open the ESP32’s IP address in a browser and click the ON/OFF buttons (the /on and /off routes) to turn the LED connected to GPIO 5 on and off.