
Water Flow Sensor Arduino: Measure Flow and Litres with YF-S201
How to connect a YF-S201 water flow sensor to Arduino: pulse counting, the 7.5 Hz = 1 L/min formula, calibration, water meter, leak alarm, ESP32 and Pico code.
A water flow sensor measures how fast water moves through a pipe (the flow rate) and how much has passed in total, and it's one of the easiest measuring parts to read with an Arduino. The YF-S201, the most common model in hobby projects, fits a half-inch pipe and produces pulses more often the more water flows through it. By counting those pulses you can work out how many litres per minute are flowing, how many litres a shower or an irrigation cycle used, and whether there's a leak somewhere in the pipe.
In this guide you'll learn how the turbine and Hall sensor inside it work, where the 7.5 Hz = 1 L/min formula comes from, how to connect the sensor safely to an Arduino Uno, ESP32 and Raspberry Pi Pico, how to count pulses with an interrupt and how to calculate the flow rate and total litres. Then you'll calibrate the sensor with a measuring jug, build a leak alarm, monitor water use over Wi-Fi with an ESP32, and read practical notes on size, pressure and installation.
What is a water flow sensor and how does it work?
Inside the YF-S201's plastic body there's a small turbine (impeller) that turns with the water flow. The turbine carries a magnet, and a Hall effect sensor sits in a sealed compartment outside the water path. Each time the turbine turns, the magnet passes the Hall sensor and a square-wave pulse appears at the output. The faster the water flows, the faster the turbine spins and the higher the pulse frequency. The water is measured without ever touching the electronics. You'll find how Hall sensors respond to magnets in detail in the Hall sensor article.
| Feature | YF-S201 (typical values) |
|---|---|
| Measuring range | 1–30 L/min |
| Pulse relation | F (Hz) = 7.5 × Q (L/min) |
| Pulses per litre | About 450 pulses/L (one pulse is about 2.2 mL) |
| Supply voltage | 5–18 V DC (5 V in hobby projects) |
| Current | Up to about 15 mA (at 5 V) |
| Output | Square-wave pulses, about 50% duty, at supply level |
| Accuracy | About ±10% without calibration |
| Connection | G1/2 (half-inch) male thread |
| Maximum pressure | 1.75 MPa (some sellers state 2.0 MPa) |
| Wires | Red: VCC, black: GND, yellow: signal |
What does the 7.5 Hz = 1 L/min formula mean?
The manufacturer's relation F = 7.5 × Q says that at a flow of 1 litre per minute the sensor produces 7.5 pulses per second. Two practical formulas follow: for flow rate, Q (L/min) = F / 7.5, and for total volume, Litres = total pulses / 450. The number 450 is 7.5 pulses per second multiplied by the 60 seconds in a minute. For example, if you count 60 pulses in one second the flow is 60 / 7.5 = 8 L/min; if you count 22,500 pulses during a shower, 22,500 / 450 = 50 litres of water were used.
| Flow (L/min) | Frequency (Hz) | Pulses in 1 second | Time to fill 1 L |
|---|---|---|---|
| 1 (lower limit) | 7.5 | 7–8 | 60 seconds |
| 5 (gently running tap) | 37.5 | 37–38 | 12 seconds |
| 10 (tap fully open) | 75 | 75 | 6 seconds |
| 20 | 150 | 150 | 3 seconds |
| 30 (upper limit) | 225 | 225 | 2 seconds |
The first row shows an important limit: when only 7–8 pulses are counted in a 1-second window, a one-pulse error shifts the reading by about 13%. For a steadier result at low flow you can stretch the window to 2–5 seconds or average the last few readings. The total-litre calculation doesn't have this problem, because the pulses add up without being lost.
Water flow sensor wiring
| Sensor wire | Arduino Uno | ESP32 | Raspberry Pi Pico |
|---|---|---|---|
| Red (VCC) | 5V | VIN (5 V from USB) | VBUS (5 V from USB) |
| Black (GND) | GND | GND | GND |
| Yellow (signal) | D2 (direct) | GPIO 27, through a voltage divider | GP15, through a voltage divider |
| Divider resistors | Not needed | 10 kΩ (signal–pin) + 20 kΩ (pin–GND) | 10 kΩ (signal–pin) + 20 kΩ (pin–GND) |
| High level seen at the pin | 5 V | About 3.3 V | About 3.3 V |
On the Uno, always connect the signal to an interrupt pin: on the Uno and Nano only D2 and D3 support external interrupts. Some sensor boards have an open-collector output without their own pull-up resistor, so opening the pin with INPUT_PULLUP in the Uno code is safe for both kinds of sensor. If the cable is long (a few metres), keep the signal wire away from motor and pump wires and, if needed, add a 100 nF capacitor between signal and GND to reduce noise pulses.
Why count pulses with an interrupt?
At 30 L/min the sensor produces 225 pulses per second, one every 4.4 milliseconds. A program that polls the pin with digitalRead in loop() misses some of those pulses whenever a delay(), an LCD update or a Wi-Fi operation gets in the way, and the reading silently comes out low. An interrupt makes the processor drop what it's doing and run a small function the moment the pin level changes; whatever the program is doing, no pulse is lost. The interrupt function should be as short as possible: it only increments the counter, and calculations and display output happen in loop(). For interrupt details, see the Arduino interrupt article.
Arduino code: flow rate and total litres
- Fit the sensor so the water flows in the direction of the arrow on the body.
- Connect the red wire to 5V, the black to GND and the yellow to D2.
- Upload the code below and open the Serial Monitor at 9600 baud.
- Open the tap slowly; watch the flow rate rise and the total litres build up.
- When you close the tap, the flow drops to zero while the total stays at its last value.
1// YF-S201 su akış sensörü: debi ve toplam litre / flow rate and total litres
2const byte SENSOR_PIN = 2;          // sarı kablo, kesme pini / yellow wire, interrupt pin
3const float DARBE_LITRE = 450.0;    // 1 L = 450 darbe, kalibrasyonla değiştir / pulses per litre, calibrate
4
5volatile unsigned long darbe = 0;   // kesmede artan sayaç / counter incremented in the ISR
6unsigned long toplamDarbe = 0;      // açılıştan beri toplam / total since power-up
7unsigned long oncekiZaman = 0;
8
9void darbeSay() {                   // kesme fonksiyonu: kısa tut / ISR: keep it short
10  darbe++;
11}
12
13void setup() {
14  Serial.begin(9600);
15  pinMode(SENSOR_PIN, INPUT_PULLUP);
16  attachInterrupt(digitalPinToInterrupt(SENSOR_PIN), darbeSay, FALLING);
17}
18
19void loop() {
20  unsigned long simdi = millis();
21  if (simdi - oncekiZaman >= 1000) {          // saniyede bir hesapla / compute once a second
22    noInterrupts();                           // sayacı güvenle kopyala / copy the counter safely
23    unsigned long sayi = darbe;
24    darbe = 0;
25    interrupts();
26
27    float sure = (simdi - oncekiZaman) / 1000.0;   // gerçek pencere (s) / real window (s)
28    oncekiZaman = simdi;
29    toplamDarbe += sayi;
30
31    float debi = (sayi / sure) * 60.0 / DARBE_LITRE;   // L/dk = Hz * 60 / 450 = Hz / 7,5
32    float litre = toplamDarbe / DARBE_LITRE;
33
34    Serial.print(F("Debi / Flow: "));
35    Serial.print(debi, 2);
36    Serial.print(F(" L/dk   Toplam / Total: "));
37    Serial.print(litre, 3);
38    Serial.println(F(" L"));
39  }
40}| Line | What does it do? |
|---|---|
| volatile unsigned long darbe | Counter shared between the interrupt and loop(); volatile stops the compiler from caching its value |
| attachInterrupt(..., FALLING) | darbeSay() runs every time the signal drops from HIGH to LOW |
| noInterrupts() / interrupts() | Pauses interrupts briefly so one can't corrupt the 4-byte counter halfway through reading it |
| sure = (simdi - oncekiZaman) / 1000.0 | Calculates with the real window even if it isn't exactly 1000 ms |
| (sayi / sure) * 60 / DARBE_LITRE | Converts frequency to L/min; with DARBE_LITRE at 450 it equals F / 7.5 |
| toplamDarbe / DARBE_LITRE | Calculates total litres from the accumulated pulses |
Water flow sensor calibration
450 pulses/L is the manufacturer's average; on a real sensor a 5–10% deviation caused by mounting direction, water pressure, pipe size and flow rate is normal. All you need for calibration is a container of known volume: a 1 or 2 litre measuring jug, or better a 5 litre canister. Testing in the setup where you'll use the sensor, at roughly the same flow rate, gives the most accurate result, because the turbine's turns per litre differ slightly between low and high flow.
- Upload the calibration code below and open the Serial Monitor (line ending: Newline).
- Hold the pipe end over the empty jug and type r in the Serial Monitor to reset the counter.
- Open the tap at your normal flow rate and close it when the jug reaches the mark exactly.
- Type the jug's volume in litres in the Serial Monitor (e.g. 2); the code calculates pulses per litre.
- Repeat at least three times and enter the average in the DARBE_LITRE constant of the main code.
1// YF-S201 kalibrasyonu: litre başına darbe sayısını bul / find pulses per litre
2const byte SENSOR_PIN = 2;
3volatile unsigned long darbe = 0;
4
5void darbeSay() {
6  darbe++;
7}
8
9void setup() {
10  Serial.begin(9600);
11  pinMode(SENSOR_PIN, INPUT_PULLUP);
12  attachInterrupt(digitalPinToInterrupt(SENSOR_PIN), darbeSay, FALLING);
13  Serial.println(F("r: sifirla / reset, sayi: kap hacmi litre / container volume in litres"));
14}
15
16void loop() {
17  if (Serial.available()) {
18    String satir = Serial.readStringUntil('\n');   // kısa ömürlü, tek seferlik / short-lived, one-off
19    satir.trim();
20    noInterrupts();
21    unsigned long sayi = darbe;
22    interrupts();
23    if (satir == "r") {
24      noInterrupts();
25      darbe = 0;
26      interrupts();
27      Serial.println(F("Sayac sifirlandi / Counter reset"));
28    } else {
29      float litre = satir.toFloat();
30      if (litre > 0) {
31        Serial.print(F("Darbe / Pulses: "));
32        Serial.print(sayi);
33        Serial.print(F("   Darbe/L: "));
34        Serial.println(sayi / litre, 1);       // DARBE_LITRE için yeni değer / new DARBE_LITRE
35      }
36    }
37  }
38}
For example, if you counted 931 pulses when the 2-litre jug filled, your sensor's factor is 931 / 2 = 465.5 pulses/L; had you kept using 450, it would show about 3.4 litres too much for every 100 litres. To verify the flow rate too, time how long the jug takes to fill: if 2 litres fill in 15 seconds, the real flow is 2 / 15 × 60 = 8 L/min and you can compare it with the Serial Monitor reading.
Water meter and leak alarm
The most useful job of a water flow sensor is spotting unexpected flow. Flow while nobody at home is using water, or a tap left open for many minutes, points to a leak or a forgotten hose. The code below sounds a buzzer and closes a solenoid valve that cuts off the water through a relay if the flow continues without a break for longer than a set time or exceeds a set amount in one go. Pressing the button resets the alarm and reopens the valve.
1// Sızıntı alarmı: uzun süreli ya da aşırı akışta vanayı kapat
2// Leak alarm: close the valve on long or excessive flow
3const byte SENSOR_PIN = 2;
4const byte ROLE_PIN = 7;            // selenoid vana rölesi (HIGH = vana açık) / valve relay (HIGH = open)
5const byte BUZZER_PIN = 8;
6const byte BUTON_PIN = 4;           // alarmı sıfırla / reset alarm
7const float DARBE_LITRE = 450.0;
8const unsigned long MAKS_SURE = 20UL * 60UL * 1000UL;   // 20 dk kesintisiz akış / 20 min continuous flow
9const float MAKS_LITRE = 150.0;                          // tek seferde en fazla / max per session
10
11volatile unsigned long darbe = 0;
12unsigned long akisBaslangic = 0;    // akışın başladığı an / when flow started
13unsigned long sonAkis = 0;          // son darbe görülen an / last time flow was seen
14float oturumLitre = 0;
15bool alarmVar = false;
16unsigned long oncekiZaman = 0;
17
18void darbeSay() {
19  darbe++;
20}
21
22void setup() {
23  Serial.begin(9600);
24  pinMode(SENSOR_PIN, INPUT_PULLUP);
25  pinMode(ROLE_PIN, OUTPUT);
26  pinMode(BUZZER_PIN, OUTPUT);
27  pinMode(BUTON_PIN, INPUT_PULLUP);
28  digitalWrite(ROLE_PIN, HIGH);     // vana açık / valve open
29  attachInterrupt(digitalPinToInterrupt(SENSOR_PIN), darbeSay, FALLING);
30}
31
32void loop() {
33  unsigned long simdi = millis();
34  if (simdi - oncekiZaman >= 1000) {
35    oncekiZaman = simdi;
36    noInterrupts();
37    unsigned long sayi = darbe;
38    darbe = 0;
39    interrupts();
40
41    if (sayi > 2) {                           // gerçek akış var / real flow present
42      if (simdi - sonAkis > 10000) {          // 10 s'den uzun aradan sonra yeni oturum / new session
43        akisBaslangic = simdi;
44        oturumLitre = 0;
45      }
46      sonAkis = simdi;
47      oturumLitre += sayi / DARBE_LITRE;
48      if (!alarmVar && (simdi - akisBaslangic > MAKS_SURE || oturumLitre > MAKS_LITRE)) {
49        alarmVar = true;
50        digitalWrite(ROLE_PIN, LOW);          // vanayı kapat / close the valve
51        Serial.println(F("SIZINTI ALARMI / LEAK ALARM"));
52      }
53    }
54  }
55  if (alarmVar) {
56    tone(BUZZER_PIN, 2000, 200);              // aralıklı bip / intermittent beep
57    delay(400);
58    if (digitalRead(BUTON_PIN) == LOW) {      // sıfırla / reset
59      alarmVar = false;
60      oturumLitre = 0;
61      sonAkis = 0;
62      digitalWrite(ROLE_PIN, HIGH);
63      Serial.println(F("Alarm sifirlandi / Alarm reset"));
64    }
65  }
66}
Choose the thresholds to suit your use: a shower runs at 8–12 L/min for 5–10 minutes and uses 50–100 litres, while watering a garden can take much longer. Solenoid valves usually run on 12 V and are powered from a separate adapter through a relay module; see the relay module article for the wiring. Keep in mind that a dripping tap or a leaking cistern loses a few litres an hour, far below the YF-S201's lower limit of 1 L/min; the sensor can't see such small leaks. To catch them, add a second check that logs every pulse during the night, or a water level sensor placed on the floor.
Tracking water use with an ESP32

Every GPIO pin on the ESP32 supports interrupts, and Wi-Fi lets you follow the readings from your phone. The code below reads the sensor on GPIO 27 (through the divider), shows the current flow rate and total litres on a web page that refreshes every two seconds, and saves the total to flash with Preferences, so the meter carries on where it left off even after a power cut. To avoid wearing out the flash, it only saves when the total has changed by at least 1 litre and at most once a minute.
1#include <WiFi.h>
2#include <WebServer.h>
3#include <Preferences.h>
4
5const char* AG_ADI = "AG_ADIN";          // Wi-Fi ağ adı / network name
6const char* SIFRE = "SIFREN";            // Wi-Fi şifresi / password
7const int SENSOR_PIN = 27;               // 10k + 20k bölücü üzerinden / through a 10k + 20k divider
8const float DARBE_LITRE = 450.0;
9
10volatile uint32_t darbe = 0;
11portMUX_TYPE kilit = portMUX_INITIALIZER_UNLOCKED;
12uint32_t toplamDarbe = 0;
13uint32_t kayitliDarbe = 0;
14float debi = 0;
15unsigned long oncekiOlcum = 0, oncekiKayit = 0;
16
17WebServer sunucu(80);
18Preferences ayarlar;
19
20void IRAM_ATTR darbeSay() {              // kesme RAM'de çalışır / ISR runs from IRAM
21  portENTER_CRITICAL_ISR(&kilit);
22  darbe++;
23  portEXIT_CRITICAL_ISR(&kilit);
24}
25
26void anaSayfa() {
27  char sayfa[300];
28  snprintf(sayfa, sizeof(sayfa),
29           "<html><head><meta charset='utf-8'><meta http-equiv='refresh' content='2'></head><body>"
30           "<h2>Su sayaci / Water meter</h2><p>Debi / Flow: %.2f L/dk</p><p>Toplam / Total: %.2f L</p></body></html>",
31           debi, toplamDarbe / DARBE_LITRE);
32  sunucu.send(200, "text/html", sayfa);
33}
34
35void sifirla() {                         // /sifirla adresi toplamı sıfırlar / resets the total
36  toplamDarbe = 0;
37  kayitliDarbe = 0;
38  ayarlar.putUInt("toplam", 0);
39  sunucu.send(200, "text/plain", "Sifirlandi / Reset");
40}
41
42void setup() {
43  Serial.begin(115200);
44  pinMode(SENSOR_PIN, INPUT);
45  attachInterrupt(digitalPinToInterrupt(SENSOR_PIN), darbeSay, FALLING);
46  ayarlar.begin("su", false);
47  toplamDarbe = ayarlar.getUInt("toplam", 0);   // kaldığı yerden devam / resume the total
48  kayitliDarbe = toplamDarbe;
49
50  WiFi.begin(AG_ADI, SIFRE);
51  while (WiFi.status() != WL_CONNECTED) {
52    delay(300);
53    Serial.print(".");
54  }
55  Serial.print("\nIP: ");
56  Serial.println(WiFi.localIP());
57  sunucu.on("/", anaSayfa);
58  sunucu.on("/sifirla", sifirla);
59  sunucu.begin();
60}
61
62void loop() {
63  sunucu.handleClient();
64  unsigned long simdi = millis();
65  if (simdi - oncekiOlcum >= 1000) {
66    float sure = (simdi - oncekiOlcum) / 1000.0;
67    oncekiOlcum = simdi;
68    portENTER_CRITICAL(&kilit);
69    uint32_t sayi = darbe;
70    darbe = 0;
71    portEXIT_CRITICAL(&kilit);
72    toplamDarbe += sayi;
73    debi = (sayi / sure) * 60.0 / DARBE_LITRE;
74  }
75  // en az 1 L değiştiyse ve 60 s geçtiyse kaydet / save if >= 1 L changed and 60 s passed
76  if (toplamDarbe - kayitliDarbe >= DARBE_LITRE && simdi - oncekiKayit >= 60000) {
77    ayarlar.putUInt("toplam", toplamDarbe);
78    kayitliDarbe = toplamDarbe;
79    oncekiKayit = simdi;
80  }
81}
After uploading, just type the IP address shown in the Serial Monitor into the browser of a phone on the same network. On the ESP32, IRAM_ATTR is added to the interrupt function because the interrupt must be able to run even while flash is being read; portENTER_CRITICAL protects the counter instead of noInterrupts() because the ESP32 has two cores. If you want daily charts or a phone notification when a threshold is crossed, you can send the same reading to MQTT and Home Assistant or a Telegram bot.
MicroPython code for the Raspberry Pi Pico
Every GPIO on the Pico supports interrupts too. Power the sensor with 5 V from VBUS and connect the signal to GP15 through a 10 kΩ + 20 kΩ divider. In MicroPython the interrupt handler is attached with Pin.irq, and machine.disable_irq() switches interrupts off briefly while reading the counter.
1from machine import Pin
2import machine
3import time
4
5DARBE_LITRE = 450                      # kalibrasyonla değiştir / change after calibration
6sayac = 0
7toplam_darbe = 0
8
9def darbe_say(pin):                    # kesme fonksiyonu / interrupt handler
10    global sayac
11    sayac += 1
12
13sensor = Pin(15, Pin.IN)               # bölücü üzerinden GP15 / GP15 through the divider
14sensor.irq(trigger=Pin.IRQ_FALLING, handler=darbe_say)
15
16onceki = time.ticks_ms()
17while True:
18    time.sleep_ms(1000)
19    simdi = time.ticks_ms()
20    sure = time.ticks_diff(simdi, onceki) / 1000   # gerçek pencere (s) / real window (s)
21    onceki = simdi
22    durum = machine.disable_irq()      # sayacı güvenle al / read the counter safely
23    n = sayac
24    sayac = 0
25    machine.enable_irq(durum)
26    toplam_darbe += n
27    debi = (n / sure) * 60 / DARBE_LITRE
28    print("Debi: {:.2f} L/dk  Toplam: {:.3f} L".format(debi, toplam_darbe / DARBE_LITRE))
Using it in a pump and irrigation system
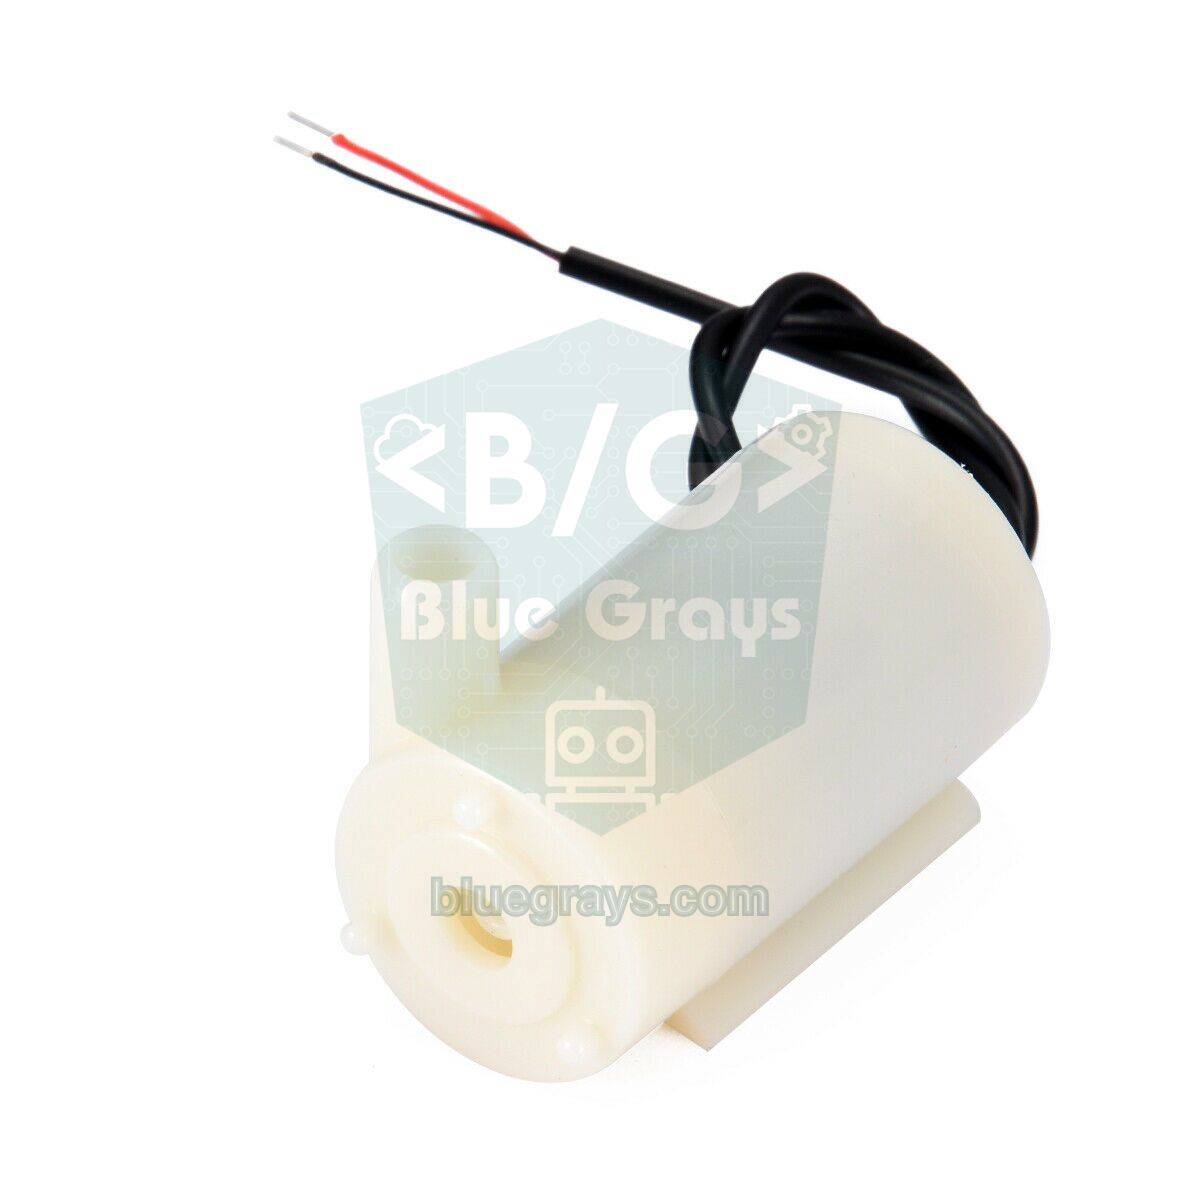
In irrigation projects a flow sensor is also very handy for confirming that the pump is really moving water. If no pulses arrive within a few seconds of starting the pump, the tank is empty, the hose is blocked or the pump has failed; switching the pump off then stops it from running dry and burning out. However, the small 3–6 V submersible pumps in hobby kits often deliver less than 1 L/min and fall outside the YF-S201's measuring range. In such setups use a small sensor such as the YF-S401, rated for 0.3–6 L/min. For pump wiring see Arduino water pump, and for a complete system the smart greenhouse project.
Size, pressure and choosing a model
| Model | Connection | Measuring range | Pulse relation | Pulses per litre |
|---|---|---|---|---|
| YF-S401 | Thin hose (about 6 mm) | 0.3–6 L/min | F = 98 × Q | About 5880 |
| YF-S201 | G1/2 (half-inch), plastic | 1–30 L/min | F = 7.5 × Q | About 450 |
| YF-B1 | G1/2, brass body | 1–25 L/min | F = 11 × Q | About 660 |
| FS300A | G3/4 (three-quarter inch) | 1–60 L/min | F = 5.5 × Q | About 330 |
- Choose by pipe size: Tap and shower lines in home plumbing are mostly half-inch; the YF-S201 fits them without adapters. Using a small sensor on a larger line restricts the flow.
- Pressure: Mains water pressure in a home is usually 2–5 bar (0.2–0.5 MPa), far below the YF-S201's 1.75 MPa limit. Still, the turbine resists the flow and creates a small pressure drop in the line at high flow rates.
- Flow direction and position: Follow the arrow on the body, mount the sensor horizontally if possible and leave a few tens of centimetres of straight pipe in front of it. A sensor fitted right after an elbow deviates more because of turbulence.
- Air bubbles and sediment: Air spins the turbine freely and creates false pulses, while sand and limescale slow it down. Fit a strainer in front of the sensor if needed.
- Plastic body: The YF-S201's nylon body is not as resistant to hot water and knocks as brass models. Most cheap models also lack drinking-water approval; on a drinking-water line choose a food-safe model.
- Sealing: Wrap PTFE tape around the threads, but don't let the tape get into the turbine chamber. Tighten the sensor by hand; tightening with pliers can crack the plastic thread.
Project ideas with a water flow sensor
- Shower meter: Show how many litres a shower used on an I2C LCD and warn with a buzzer when a set amount is exceeded.
- Smart irrigation: Start the pump when soil moisture drops, measure the water delivered in litres and stop at the target amount. For moisture measurement see the soil moisture sensor article.
- Home water meter: Log daily, weekly and monthly use with an ESP32, and send a notification if you see flow at night.
- Pump protection: If there's no flow while the pump is running, switch it off after a few seconds and show the fault with an LED.
- Aquarium filter monitor: Track the flow rate as it drops while the filter clogs and announce when it's time to clean.
- Dosing machine: Build an automatic filling station that fills a container with exactly 2 litres of water and closes the valve.
Common mistakes and how to fix them
| Symptom | Likely cause | Fix |
|---|---|---|
| Flow always 0 | Signal on a pin without interrupts, or sensor fitted backwards | Use D2 or D3 on the Uno; compare the water direction with the arrow on the body |
| Pulses counted although no water flows | Noise on a long cable or a floating pin | Use INPUT_PULLUP, add 100 nF between signal and GND, route the cable away from motor wires |
| Measured litres 10% higher or lower than reality | Sensor not calibrated | Calibrate with a measuring jug and update DARBE_LITRE |
| Reading jumps at low flow | Too few pulses in a 1-second window | Stretch the window to 2–5 seconds or average |
| ESP32 resets at random or the pin is damaged | 5 V signal connected directly to a 3.3 V pin | Use a 10 kΩ + 20 kΩ voltage divider or a logic level converter |
| Total litres reset after a power cut | The counter lives only in RAM | Save the total to EEPROM or Preferences at intervals |
| No pulses at all with a small pump | Flow below 1 L/min | Use a low-flow sensor such as the YF-S401 |
The YF-S201 water flow sensor is a perfect part for learning to count pulses with interrupts, and with proper calibration it gives reliable readings in many projects, from a home water meter to automatic irrigation. In the BlueGrays app you'll find the smart irrigation station and LCD measurement projects with step-by-step circuit diagrams and code, and you can easily add a flow sensor to them.
Frequently asked questions
How does a water flow sensor work?
A turbine inside the sensor spins as water flows, and the magnet on it passes a Hall sensor on every turn. The Hall sensor produces a pulse at each pass, and the faster the water flows, the higher the pulse frequency. The Arduino counts these pulses to calculate the flow rate and total litres.
How many pulses per litre does the YF-S201 give?
The manufacturer's formula is F = 7.5 × Q, so it produces 7.5 Hz at 1 L/min. That means about 450 pulses per litre. A real sensor can deviate by 5–10%, so calibrating with a measuring jug to find your own factor is recommended.
Can a water flow sensor connect directly to an ESP32?
When the YF-S201 runs on 5 V its signal is 5 V, which is too much for the ESP32's 3.3 V pins. You should add a 10 kΩ and 20 kΩ voltage divider or a logic level converter to the signal line. The sensor's supply can come from the ESP32's VIN pin.
Why is a water flow sensor connected to an interrupt pin?
At high flow the sensor produces more than 200 pulses per second, and a program polling the pin in loop() misses pulses during delays or display updates. An interrupt runs a small function instantly on every pulse, so none are lost. On the Arduino Uno the interrupt pins are D2 and D3.
Can a water flow sensor detect leaks?
Large leaks, such as a tap or hose left open for a long time, are easy to catch by tracking continuous flow time and litres used. Very small leaks like a dripping tap, however, stay below the YF-S201's 1 L/min lower limit and go unseen. For those you need a floor water sensor or a more sensitive meter.
What pipe does the YF-S201 fit?
The YF-S201 has a G1/2, or half-inch, male thread at both ends and fits most tap and shower lines in home plumbing directly. For thinner hoses there are models like the YF-S401, and for three-quarter-inch lines the FS300A. Wrapping PTFE tape around the threads and tightening the sensor by hand is enough.
Projects to build after reading this
See all projects
Temperature and Humidity with DHT11
How warm is your room, and is the air humid or dry? The DHT11 sensor measures temperature and humidity, and the Arduino writes the values on a two-line LCD screen, refreshing every couple of seconds.
HC-SR04 Distance Measurement (Serial Display)
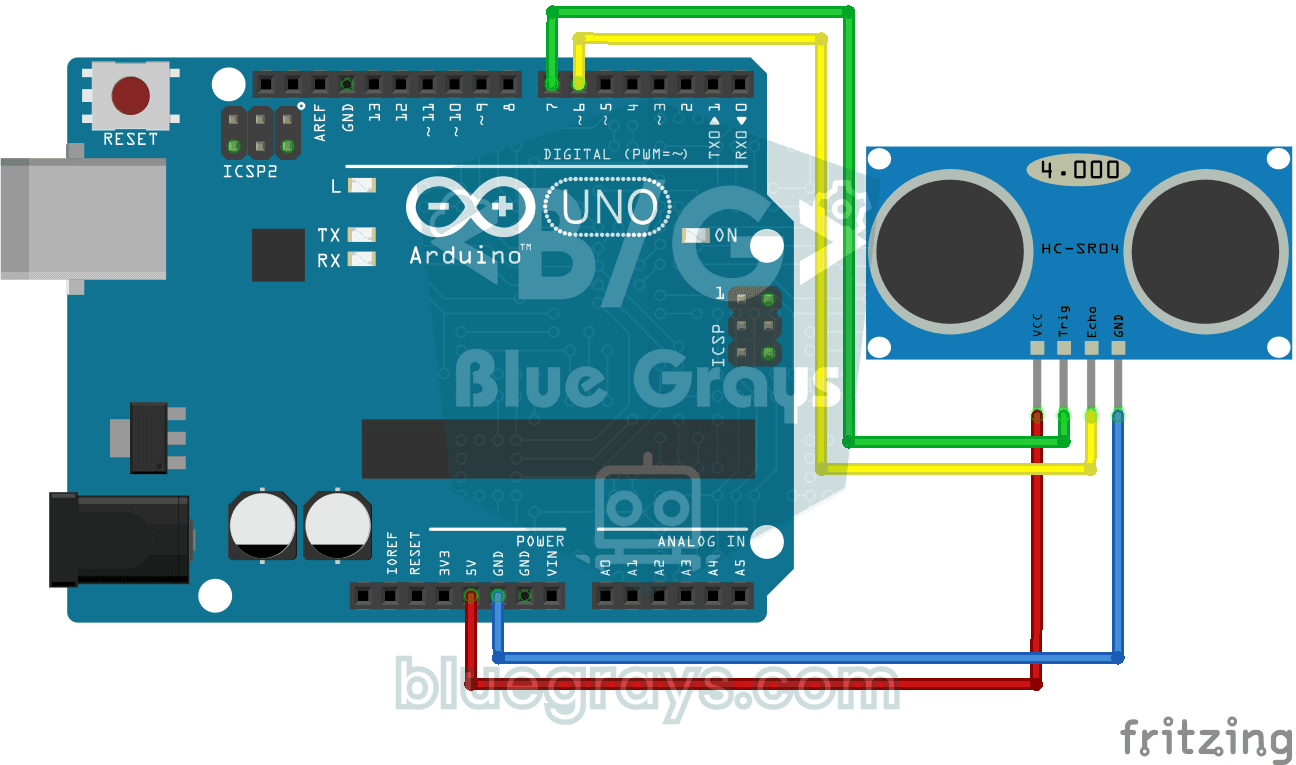
The HC-SR04 sensor works just like a bat finding its way in the dark: it sends out a sound you cannot hear, listens for the echo and measures how far away the object in front of it is.

Smart Irrigation Station
A gardener that waters your plants on its own, so they don't dry out while you're on vacation.
Digital Voltmeter with LCD Display
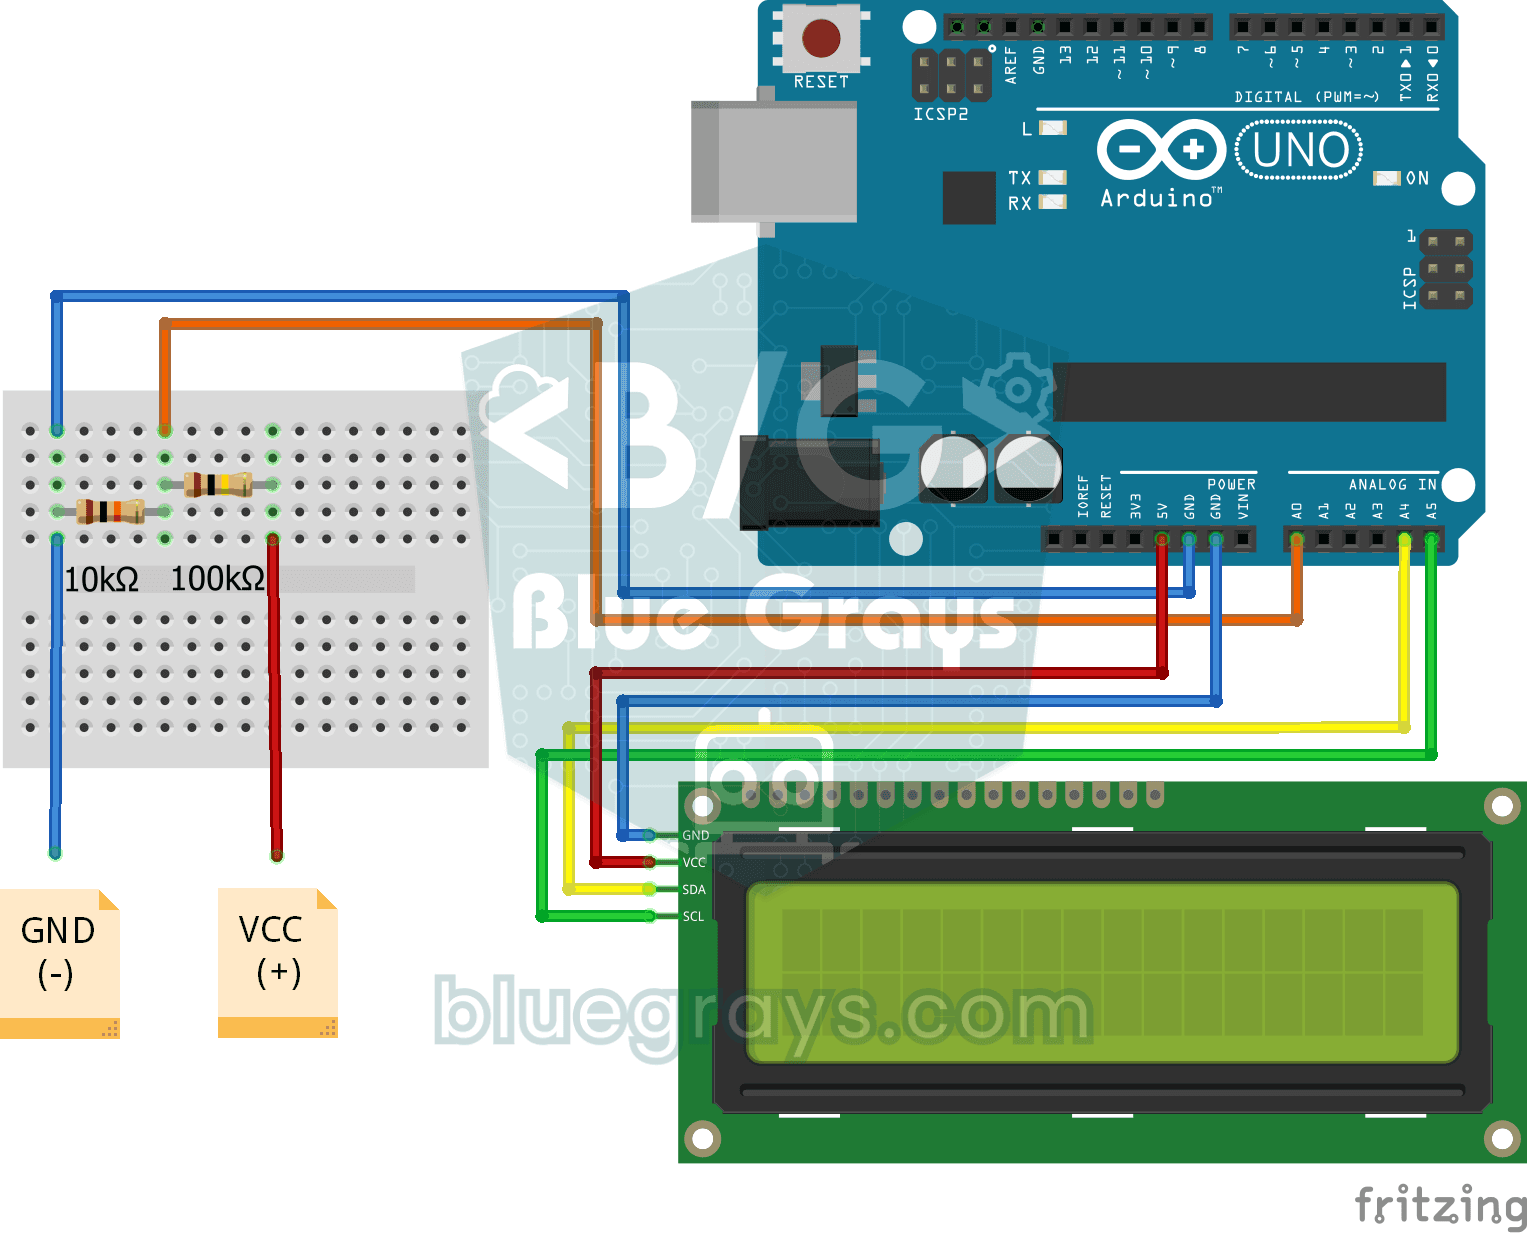
Find out how much voltage a battery or power adapter gives with a meter you built yourself.

ESP32 I2C LCD Display (16x2)
In this project we connect a 16x2 character LCD to the ESP32 over I2C and display text. With I2C, just 2 data pins (SDA and SCL) control the screen, instead of the 6+ pins a classic parallel connection wastes. The code prints a fixed message on the first line and a counter that goes up every second on the second. At startup an I2C scanner also prints the display's address to the Serial Monitor (usually 0x27 or 0x3F).

ESP32 Asynchronous Web Server (with IP Display on LCD)
In this project, we’re turning the ESP32 into an asynchronous web server that you can control from your phone or computer on the same Wi-Fi network. Thanks to the ESPAsyncWebServer library, the server can process multiple requests simultaneously (unlike the classic WebServer.h, which blocks on a single request). You’ll be able to open the ESP32’s IP address in a browser and click the ON/OFF buttons (the /on and /off routes) to turn the LED connected to GPIO 5 on and off.

ESP32 Wi-Fi STA Connection (with LCD Screen)
In this project, we connect the ESP32 to the home Wi-Fi network in Station (STA) mode in a secure, fault-tolerant manner. We store the SSID and password in a separate secrets.h file to prevent leaking to Git, set up an auto-reconnect mechanism, and display the RSSI signal level and IP address on an I2C LCD screen. The internal LED works as a status indicator. It is a production-grade connection manager.