
360 Degree Servo (FS90R): Speed and Direction with Arduino
How does the FS90R 360 degree servo work? Stopping with write(90), speed and direction control, the stop trimmer, use as a robot wheel, ESP32 and Pico PWM code.
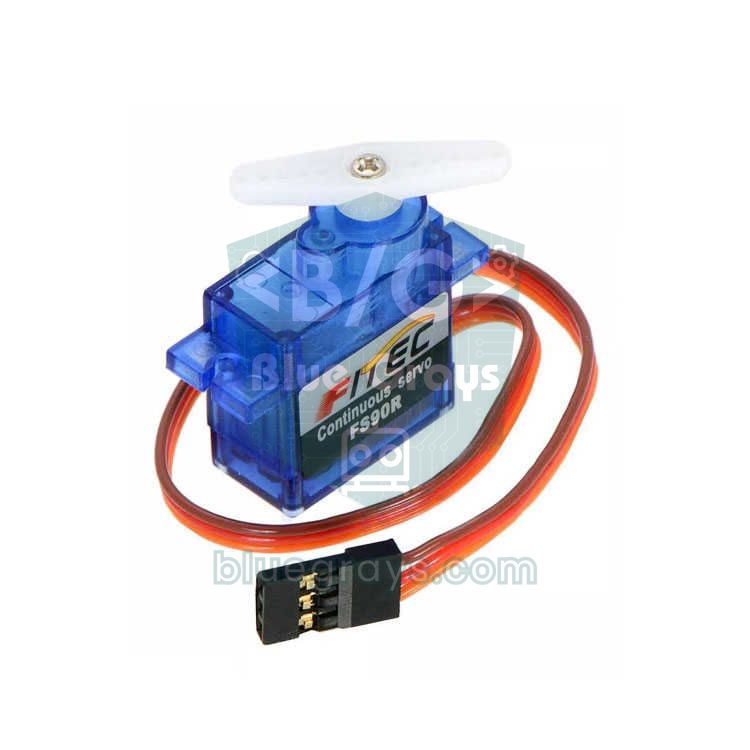
A 360 degree servo may be called a servo, but it's really a small geared motor that keeps spinning rather than moving to an angle and stopping there. The best-known one is the FEETECH FS90R: it has the same size and the same three wires as an SG90, but the signal you send sets its speed and direction of rotation instead of an angle. Because it connects straight to an Arduino pin with no motor driver, it's very handy for small robot wheels, turntables and things like pet feeders.
In this guide you'll learn what's different inside the FS90R compared with a normal servo, why the write(90) command stops the motor, how to set speed and direction with pulse width, and how to use the stop trimmer to fix a servo that keeps creeping. Then you'll drive a small robot with two FS90Rs, control speed with a potentiometer and try the same thing on an ESP32 and a Raspberry Pi Pico. Finally you'll see why this servo can't do position control and what to choose instead.
What is a 360 degree servo and how is it different from a normal servo?
A normal servo contains a small DC motor, a gearbox, a control circuit and a potentiometer linked to the output shaft. The control circuit compares the angle requested by the incoming pulse with the actual angle read from the potentiometer and turns the motor until the difference is zero; once the shaft reaches the target, it stops. In a continuous rotation servo this feedback link is broken: the potentiometer is disconnected from the shaft and fixed in its middle position, and the mechanical stop in the gears is removed. The circuit still calculates the "difference between target and actual position", but since the actual position never changes, the difference never closes. As a result, the bigger the difference, the faster the motor turns, and the sign of the difference sets the direction.
| Feature | SG90 (180° servo) | FS90R (360° continuous rotation) |
|---|---|---|
| What does the signal set? | The shaft angle (0–180°) | Speed and direction of rotation |
| 1500 µs pulse | Moves to the middle (90°) and stays there | Stops |
| 1000 µs / 2000 µs | Moves to one end or the other | Full speed one way or the other |
| Internal feedback | Potentiometer linked to the shaft | None; the potentiometer only sets the stop point |
| Mechanical stop | Yes | No, it turns endlessly |
| Holding position | Keeps its angle under load | Can't; it doesn't know where it stopped |
| Typical use | Arms, lids, steering | Wheels, turntables, screw feeders |
FS90R specifications
| Feature | Value |
|---|---|
| Operating voltage | 4.8–6 V |
| No-load speed | About 100–110 rpm at 4.8 V, about 130 rpm at 6 V |
| Stall torque | About 1.3 kg·cm at 4.8 V, about 1.5 kg·cm at 6 V |
| Current | 100–130 mA with no load, up to 800 mA at 6 V when stalled |
| Control signal | 50 Hz PWM; stop at 1500 µs, usable range about 900–2100 µs |
| Signal level | Works with 5 V and 3.3 V signals |
| Direction | Above 1500 µs one way, below it the other (seen from the output shaft, above 1500 µs is counterclockwise) |
| Weight and size | 9 g, about 23 × 12 × 22 mm (same body as the SG90) |
| Wires | Brown GND, red VCC, orange signal |
FS90R wiring: Arduino Uno, ESP32 and Pico
| Servo wire | Function | Arduino Uno | ESP32 | Raspberry Pi Pico |
|---|---|---|---|---|
| Brown | GND | GND | GND | GND |
| Red | Power 4.8–6 V | 5V (single servo) or external 5 V | VIN / 5V or external 5 V | VBUS (5 V) or external 5 V |
| Orange | PWM signal | D9 | GPIO 18 | GP15 |
The Uno's 5V pin is enough to run a single FS90R with no load. When the servo's wheel touches the ground or two servos start up together, the current jumps to a few hundred milliamps; the USB voltage sags, the Arduino may reset or the servos jitter. So on a robot, power the servos from a separate 5 V source (4 NiMH cells, a 5 V regulator or a suitable power supply), always connect the servo supply's GND to the Arduino's GND and add a 470 µF capacitor near the servo wires. The 3.3 V signal of the ESP32 and Pico is enough for the FS90R; the servo itself must still be powered from 5 V, not from the 3.3 V pin.
write(90) = stop: how does pulse width turn into speed?
The servo control signal is a pulse sent 50 times a second (every 20 ms), and what matters is the pulse's length. For the FS90R, 1500 µs means "stop". As the pulse gets longer than 1500 µs, the servo speeds up in one direction; as it gets shorter, it speeds up in the other; it reaches full speed around 1000 µs and 2000 µs, and beyond that the speed barely increases. That's why write(90) in Arduino's Servo library means stop, and write(0) and write(180) mean full speed in each direction. There's a small trap here: by default the library maps 0–180 to the 544–2400 µs range, so write(90) actually outputs 1472 µs. That difference can be enough to make the servo creep even at write(90). The fix is to narrow the range with attach(9, 1000, 2000) or to use writeMicroseconds(1500) directly.
| Pulse | Servo.write equivalent (with attach(pin, 1000, 2000)) | FS90R behaviour |
|---|---|---|
| 1000 µs | write(0) | Full speed, clockwise |
| 1300 µs | write(54) | Medium speed, clockwise |
| 1461 µs | write(83) | Very slow, clockwise |
| 1500 µs | write(90) | Stop (if the trimmer is set correctly) |
| 1538 µs | write(97) | Very slow, counterclockwise |
| 1700 µs | write(126) | Medium speed, counterclockwise |
| 2000 µs | write(180) | Full speed, counterclockwise |
First sketch: forward, stop, backward
1// FS90R ilk test: ileri, dur, geri / FS90R first test: forward, stop, backward
2#include <Servo.h>
3
4Servo teker;                         // sürekli dönüş servosu / continuous rotation servo
5
6void setup() {
7  teker.attach(9, 1000, 2000);       // write(0..180) artık 1000..2000 µs üretir / write(0..180) now outputs 1000..2000 µs
8}
9
10void loop() {
11  teker.write(180);                  // tam hız bir yöne / full speed one way
12  delay(2000);
13  teker.write(90);                   // 1500 µs: dur / 1500 µs: stop
14  delay(1000);
15  teker.write(0);                    // tam hız ters yöne / full speed the other way
16  delay(2000);
17  teker.write(110);                  // yavaş / slow
18  delay(2000);
19  teker.writeMicroseconds(1500);     // durmanın en kesin yolu / the most precise way to stop
20  delay(1000);
21}
The sketch attaches the servo to D9 and, with attach(9, 1000, 2000), maps the write() scale onto the range the FS90R actually uses, so write(90) is exactly 1500 µs. Speed doesn't follow the pulse linearly: right around 1500 µs there's a dead band of a few tens of microseconds where the servo doesn't move, within 1500 ± 300 µs the speed rises quickly, and towards the ends it stays almost constant. If you want slow, precise movement, keep the values close to 1500 µs. The general idea of pulse width is in What is PWM, and angle control with normal servos in What is a servo motor.
Adjusting the stop (centre) trimmer
- Upload the calibration sketch below; the servo receives a 1500 µs signal and should normally stop.
- If the servo creeps, find the small hole on the side of the case near the cable exit; inside is the trimmer that sets the stop point.
- Turn the trimmer a tiny amount with a small flat or Phillips screwdriver; if the servo slows down, you're going the right way.
- Keep going in small steps until the servo stops completely and even the faint hum disappears. The trimmer is very sensitive; even a quarter turn is too much.
- If you'd rather not touch the trimmer, send + and - from the Serial Monitor to find the pulse value at which the servo stops, and use that value instead of 1500 in your code.
1// Durma noktası ayarı: Serial Monitor'den µs değeri gönder
2// Stop point calibration: send a µs value from the Serial Monitor
3#include <Servo.h>
4
5Servo teker;
6int darbe = 1500;                    // başlangıç: teorik durma noktası / start: theoretical stop point
7
8void setup() {
9  Serial.begin(9600);
10  teker.attach(9);
11  teker.writeMicroseconds(darbe);
12  Serial.println(F("Sayi yaz (900-2100) ya da + / - gonder"));
13  Serial.println(F("Type a number (900-2100) or send + / -"));
14}
15
16void loop() {
17  if (Serial.available()) {
18    char c = Serial.peek();
19    if (c == '+') { Serial.read(); darbe += 5; }          // 5 µs artır / add 5 µs
20    else if (c == '-') { Serial.read(); darbe -= 5; }     // 5 µs azalt / subtract 5 µs
21    else if (isDigit(c)) darbe = Serial.parseInt();       // doğrudan değer / direct value
22    else { Serial.read(); return; }                       // satır sonu vb. atla / skip line endings etc.
23
24    darbe = constrain(darbe, 900, 2100);
25    teker.writeMicroseconds(darbe);
26    Serial.print(F("Darbe / pulse: "));
27    Serial.print(darbe);
28    Serial.println(F(" us"));
29  }
30}Speed and direction control with a potentiometer
1// Potansiyometreyle hız ve yön: ortada dur, sağa ileri, sola geri
2// Speed and direction with a pot: centre = stop, right = forward, left = backward
3#include <Servo.h>
4
5const int POT_PIN = A0;
6const int OLU_BOLGE = 40;            // ortadaki ±40 adım: kesin dur / ±40 steps in the middle: solid stop
7Servo teker;
8
9void setup() {
10  teker.attach(9);
11}
12
13void loop() {
14  int okuma = analogRead(POT_PIN) - 512;                   // -512 ... +511
15  int darbe = 1500;                                        // varsayılan: dur / default: stop
16  if (okuma > OLU_BOLGE) {
17    darbe = map(okuma, OLU_BOLGE, 511, 1540, 2000);        // ileri, yavaştan hızlıya / forward, slow to fast
18  } else if (okuma < -OLU_BOLGE) {
19    darbe = map(okuma, -OLU_BOLGE, -512, 1460, 1000);      // geri / backward
20  }
21  teker.writeMicroseconds(darbe);
22  delay(20);                                               // servo periyodu kadar / one servo period
23}
With the potentiometer connected between 5V, A0 and GND, the middle position means stop, turning right means forward and turning left means backward. The code defines a dead zone of ±40 steps in the middle, so the servo stops reliably even if the potentiometer isn't exactly centred or the readings wobble a little. Outside the dead zone the value is mapped to 1540–2000 µs or 1460–1000 µs, so turning the knob a little makes the servo turn slowly and turning it all the way gives full speed. You can apply the same idea with a joystick; the potentiometer wiring is in What is a potentiometer.
The FS90R as a small robot wheel
The FS90R is so popular in robots because it's simple: with the gearbox and driver circuit built in, you need no separate motor driver, H-bridge or encoder; one signal pin per wheel is enough. The two servos are mounted on either side of the chassis as mirror images, so to drive forward one must turn clockwise and the other counterclockwise. The code below handles this inside the surus() function; you just give a speed between -100 and +100. A 60 mm wheel turning at 130 rpm on 6 V covers about 0.4 metres per second; at 4.8 V that drops to around 0.3 m/s.
1// İki FS90R ile küçük robot: tekerlekler ayna gibi takılır
2// A small robot with two FS90Rs: the wheels are mounted as mirror images
3#include <Servo.h>
4
5Servo sol, sag;
6const int DUR_SOL = 1500;            // kalibrasyonla bulduğun değerler / values you found during calibration
7const int DUR_SAG = 1500;
8
9// hiz: -100 (tam geri) ... +100 (tam ileri) / speed: -100 (full back) ... +100 (full forward)
10void surus(int hizSol, int hizSag) {
11  sol.writeMicroseconds(DUR_SOL + hizSol * 5);             // sol teker normal yönde / left wheel normal direction
12  sag.writeMicroseconds(DUR_SAG - hizSag * 5);             // sağ teker ters takılı / right wheel is mounted reversed
13}
14
15void setup() {
16  sol.attach(9);
17  sag.attach(10);
18  surus(0, 0);
19  delay(1000);
20}
21
22void loop() {
23  surus(80, 80);    delay(1500);     // ileri / forward
24  surus(0, 0);      delay(500);      // dur / stop
25  surus(-60, 60);   delay(600);      // yerinde sola dön / spin left in place
26  surus(60, 60);    delay(1000);
27  surus(30, 80);    delay(1500);     // sola doğru yay çiz / curve to the left
28  surus(-80, -80);  delay(1000);     // geri / backward
29  surus(0, 0);      delay(2000);
30}
Two servos never turn at exactly the same speed; if your robot drifts to one side instead of going straight, calibrate each servo's stop value (DUR_SOL, DUR_SAG) separately and reduce the factor of the faster one slightly. The FS90R's 1.5 kg·cm of torque suits small robots weighing no more than a few hundred grams; for a heavier chassis or big wheels, a DC motor with an L298N or geared motors are the better choice. On batteries, 4 NiMH cells (4.8 V) give the ideal voltage; 4 fresh alkaline cells can reach 6.4 V and exceed the servo's limit. For a full chassis and sensor build, see Building an Arduino robot car.
FS90R with the ESP32
Arduino's Servo library doesn't work on the ESP32; install the ESP32Servo library from the Library Manager instead. It's used almost the same way, except that you set 50 Hz explicitly with setPeriodHertz(50). Almost any GPIO that can output PWM works for the signal; only GPIO 34–39, which are input-only, can't be used for this. Connect the servo's red wire to the ESP32's VIN (USB 5 V) pin or an external 5 V supply, not to the 3V3 pin. The code below ramps the servo gently from standstill to full speed, then slows it down and reverses it; the Serial Monitor shows the pulse length at each step.
1// ESP32 + FS90R: ESP32Servo kütüphanesiyle hız rampası
2// ESP32 + FS90R: a speed ramp with the ESP32Servo library
3#include <ESP32Servo.h>
4
5const int SERVO_PIN = 18;            // PWM verebilen herhangi bir GPIO / any PWM-capable GPIO
6Servo teker;
7
8void setup() {
9  Serial.begin(115200);
10  teker.setPeriodHertz(50);          // standart servo frekansı / standard servo frequency
11  teker.attach(SERVO_PIN, 1000, 2000);
12  teker.writeMicroseconds(1500);     // dur / stop
13  delay(1000);
14}
15
16void loop() {
17  for (int us = 1500; us <= 2000; us += 25) {   // yavaşça hızlan / speed up gently
18    teker.writeMicroseconds(us);
19    Serial.println(us);
20    delay(200);
21  }
22  for (int us = 2000; us >= 1000; us -= 25) {   // yavaşla, dur, ters yöne hızlan / slow down, stop, reverse
23    teker.writeMicroseconds(us);
24    Serial.println(us);
25    delay(200);
26  }
27  teker.writeMicroseconds(1500);
28  delay(2000);
29}
FS90R with the Raspberry Pi Pico and MicroPython
On the Pico you need no extra library: set the machine.PWM object to 50 Hz and give the pulse length in nanoseconds with duty_ns(). The hiz() function in the code converts a value between -100 and +100 into 1000–2000 µs; just put the stop value you found during your own calibration on the DUR_US line. When the program is stopped with Ctrl+C, the servo is stopped too; otherwise the PWM keeps running with the last value and the wheel keeps turning. Power the servo from the Pico's VBUS pin (the USB's 5 V). If you're new to MicroPython, read MicroPython basics first.
1# Raspberry Pi Pico (MicroPython) + FS90R: hız -100 ... +100
2# Raspberry Pi Pico (MicroPython) + FS90R: speed -100 ... +100
3from machine import Pin, PWM
4import time
5
6servo = PWM(Pin(15))
7servo.freq(50)                        # 20 ms periyot / 20 ms period
8DUR_US = 1500                         # kalibrasyonla bulduğun durma noktası / your calibrated stop point
9
10def hiz(yuzde):
11    yuzde = max(-100, min(100, yuzde))
12    us = DUR_US + yuzde * 5           # -100 -> 1000 µs, +100 -> 2000 µs
13    servo.duty_ns(us * 1000)
14
15try:
16    while True:
17        for h in (50, 100, 0, -50, -100, 0):
18            hiz(h)
19            print("Hiz / speed:", h)
20            time.sleep(2)
21except KeyboardInterrupt:
22    hiz(0)                            # durdurunca teker dönmeye devam etmesin / stop the wheel on exit
23    servo.deinit()
360 degree servo project ideas
- Mini line follower: A light chassis with two FS90Rs and two infrared sensors; the logic is in line follower robot.
- Obstacle-avoiding robot: Add an HC-SR04 at the front so it spins in place and changes direction when it sees an obstacle.
- Phone-controlled car: Send commands from your phone with an HC-05 Bluetooth module.
- Pet feeder: Let the FS90R turn an auger screw so food drops at set times on a timer.
- Display turntable: A very slowly turning platform for product photos or time-lapse shots; set the speed with values close to 1500 µs.
- Small winch or curtain puller: Wind up a light cord, with two limit switches at the ends to stop the motor in the right place.
Common problems and fixes
| Symptom | Likely cause | Fix |
|---|---|---|
| It creeps slowly even with write(90) | The default scale outputs 1472 µs or the stop trimmer is off | Use attach(pin, 1000, 2000) or writeMicroseconds(1500), adjust the trimmer |
| The servo doesn't turn at all | Wrong signal pin, GND not shared, or the product is actually a positional servo | Check the pin number and GND connection, make sure it's a continuous rotation servo |
| The servo jitters and the Arduino resets | USB power can't handle the current peaks | Power the servos from an external 5 V supply, join the GNDs, add a 470 µF capacitor |
| Changing the pulse from 1000 µs to 1200 µs barely changes the speed | Near the ends the servo is already at full speed; speed saturates | For fine speed control use the 1500 ± 300 µs range |
| The robot doesn't go straight | The two servos differ in speed and stop point | Calibrate each servo separately, reduce the factor of the faster one |
| The servo gets hot and hums but doesn't turn | The shaft is blocked or the load is too heavy | Remove the obstruction, lighten the load; stalling ruins the gears and motor |
| Compile error or no signal on the ESP32 | The AVR-only Servo library was used or GPIO 34–39 was chosen | Install the ESP32Servo library, pick a GPIO that can output |
The FS90R is the easiest way to control a continuously turning mechanism with a single pin and no motor driver: it stops at 1500 µs, turns both ways at whatever speed you like and is a ready-made wheel motor for small robots. Set the stop point once, remember to switch to a normal servo or a stepper for jobs that need position control, and it will run trouble-free for a long time. In the BlueGrays app you'll find servo basics, servo control with a potentiometer and a joystick, building a 360 degree servo from a stepper motor and robot car projects, with step-by-step wiring diagrams and ready-to-use code.
Frequently asked questions
How do you stop a 360 degree servo?
Continuous rotation servos like the FS90R stop when they receive a 1500 µs pulse; on Arduino you use writeMicroseconds(1500), or write(90) after attaching with attach(pin, 1000, 2000). If it still creeps at that value, adjust the small trimmer on the case with a screwdriver or use the value at which your servo really stops in your code.
What is the difference between a 360 degree servo and a normal servo?
A normal servo moves to a specific angle according to the signal and stays there, because the potentiometer inside measures the shaft position. A 360 degree continuous rotation servo has no such feedback; the signal sets speed and direction instead of an angle, and the servo turns endlessly.
Can a 360 degree servo do angle control?
No. The FS90R doesn't know where its shaft is, so it can't move to a specific angle and stop. Turning it for a set time gives an approximate result, but it varies with voltage and load. If you need an angle, use a normal servo, a stepper motor or a motor with an encoder.
What voltage does the FS90R run on?
The FS90R runs on 4.8–6 V; in Arduino projects it's usually powered from 5 V. Its signal line accepts both 5 V and 3.3 V levels, so it can be used directly with the ESP32 and Raspberry Pi Pico, but the power supply must still be 5 V.
How many FS90Rs can I connect to an Arduino?
The Servo library supports up to 12 servos on an Arduino Uno, but the real limit is current. Each FS90R can draw a few hundred milliamps under load and up to 800 mA when stalled, so always power more than two servos from an external 5 V supply and join the GNDs.
Can an SG90 be converted into a 360 degree servo?
Yes, but it's a permanent change. You open the servo, cut off the mechanical stop on the gear and disconnect the potentiometer from the shaft, either replacing it with two equal resistors or fixing it in its middle position. The result works like an FS90R, but the warranty is gone and the servo can never hold an angle again; buying a ready-made FS90R is usually less hassle.
Projects to build after reading this
See all projects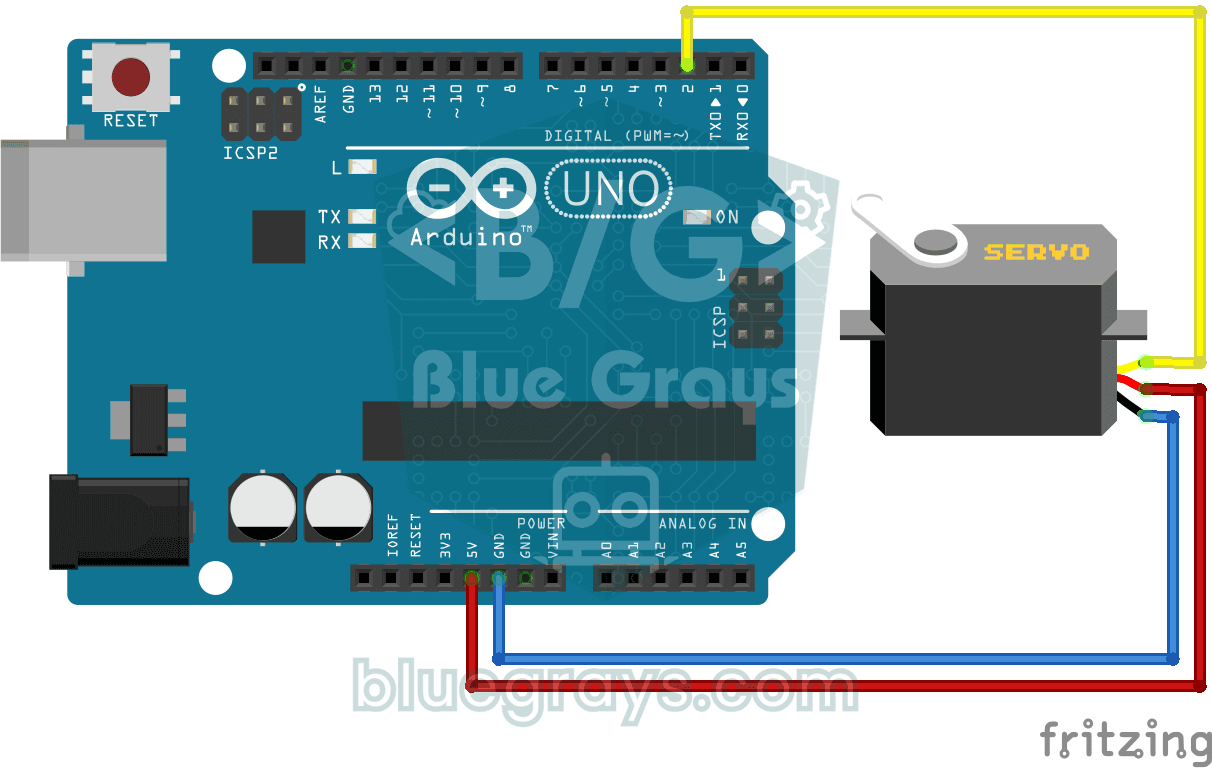
Using a Servo Motor
The arm of a small servo motor turns to three positions in turn: all the way to the start, right to the middle and all the way to the end, waiting two seconds at each stop. The Arduino tells the motor
Servo Motor Operation with Potentiometer
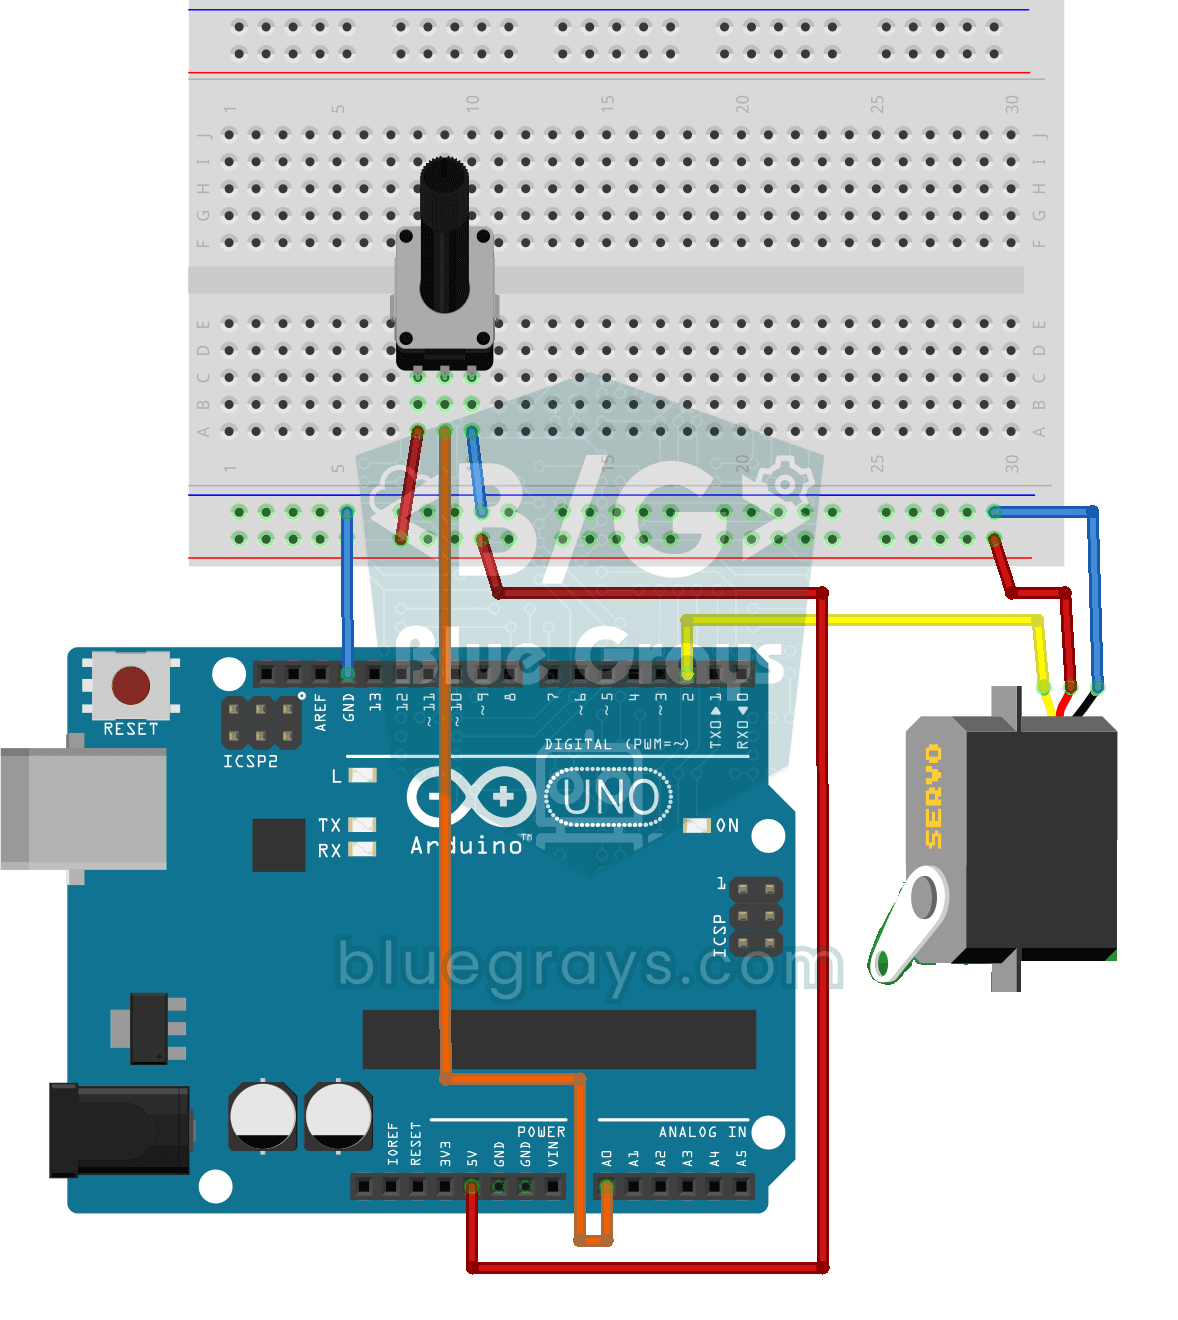
As you turn the potentiometer knob, the servo motor's arm turns right along with it: one end of the knob means zero degrees, the other end means half a turn. The Arduino keeps reading the knob's posit

ESP32 Servo Motor (Potentiometer Control)
In this project, we control an SG90 servo motor using a potentiometer. We adjust the servo angle by mapping the analog value read from the potentiometer to the 0–180-degree range. The ESP32Servo library generates servo signals on suitable output-capable GPIO pins of the ESP32; this project uses GPIO 18. This is a fundamental control method for robotic arms, camera gimbals, and automatic door mechanisms.
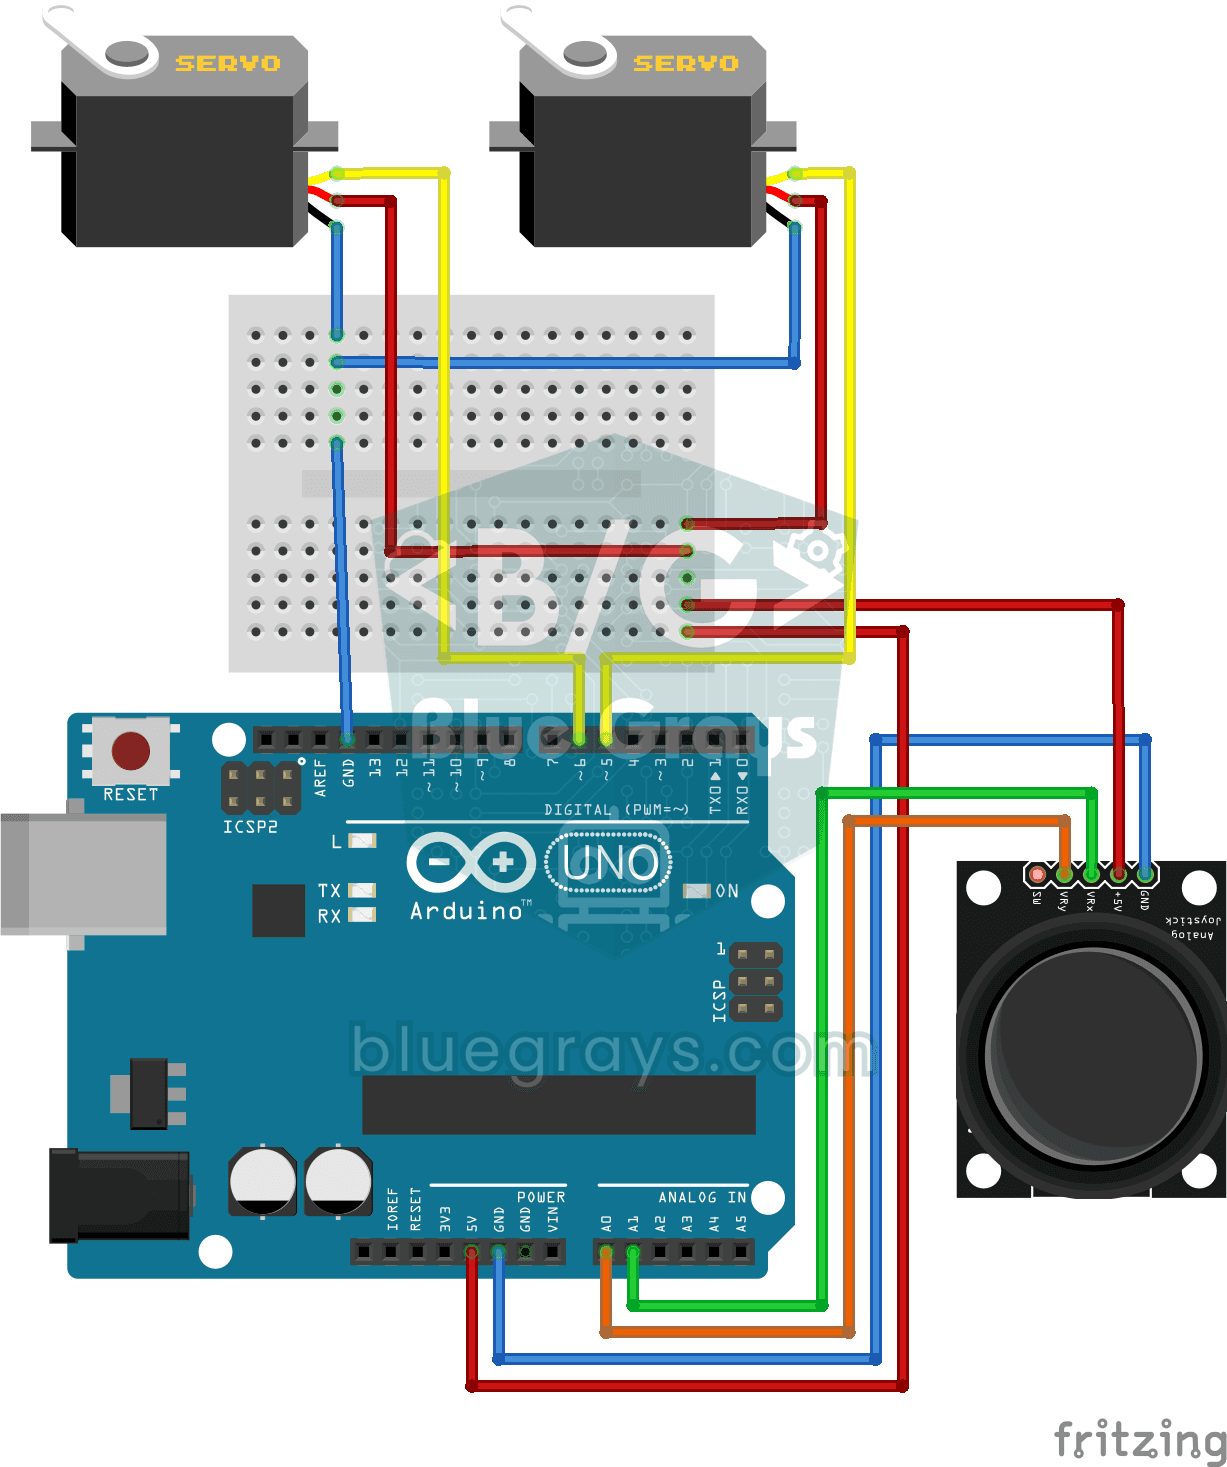
Servo Control with Joystick
Steer two motors with a joystick, just like turning a security camera. Push the stick left or right and the bottom servo motor slowly turns, push it up or down and the top servo tilts up and down; let
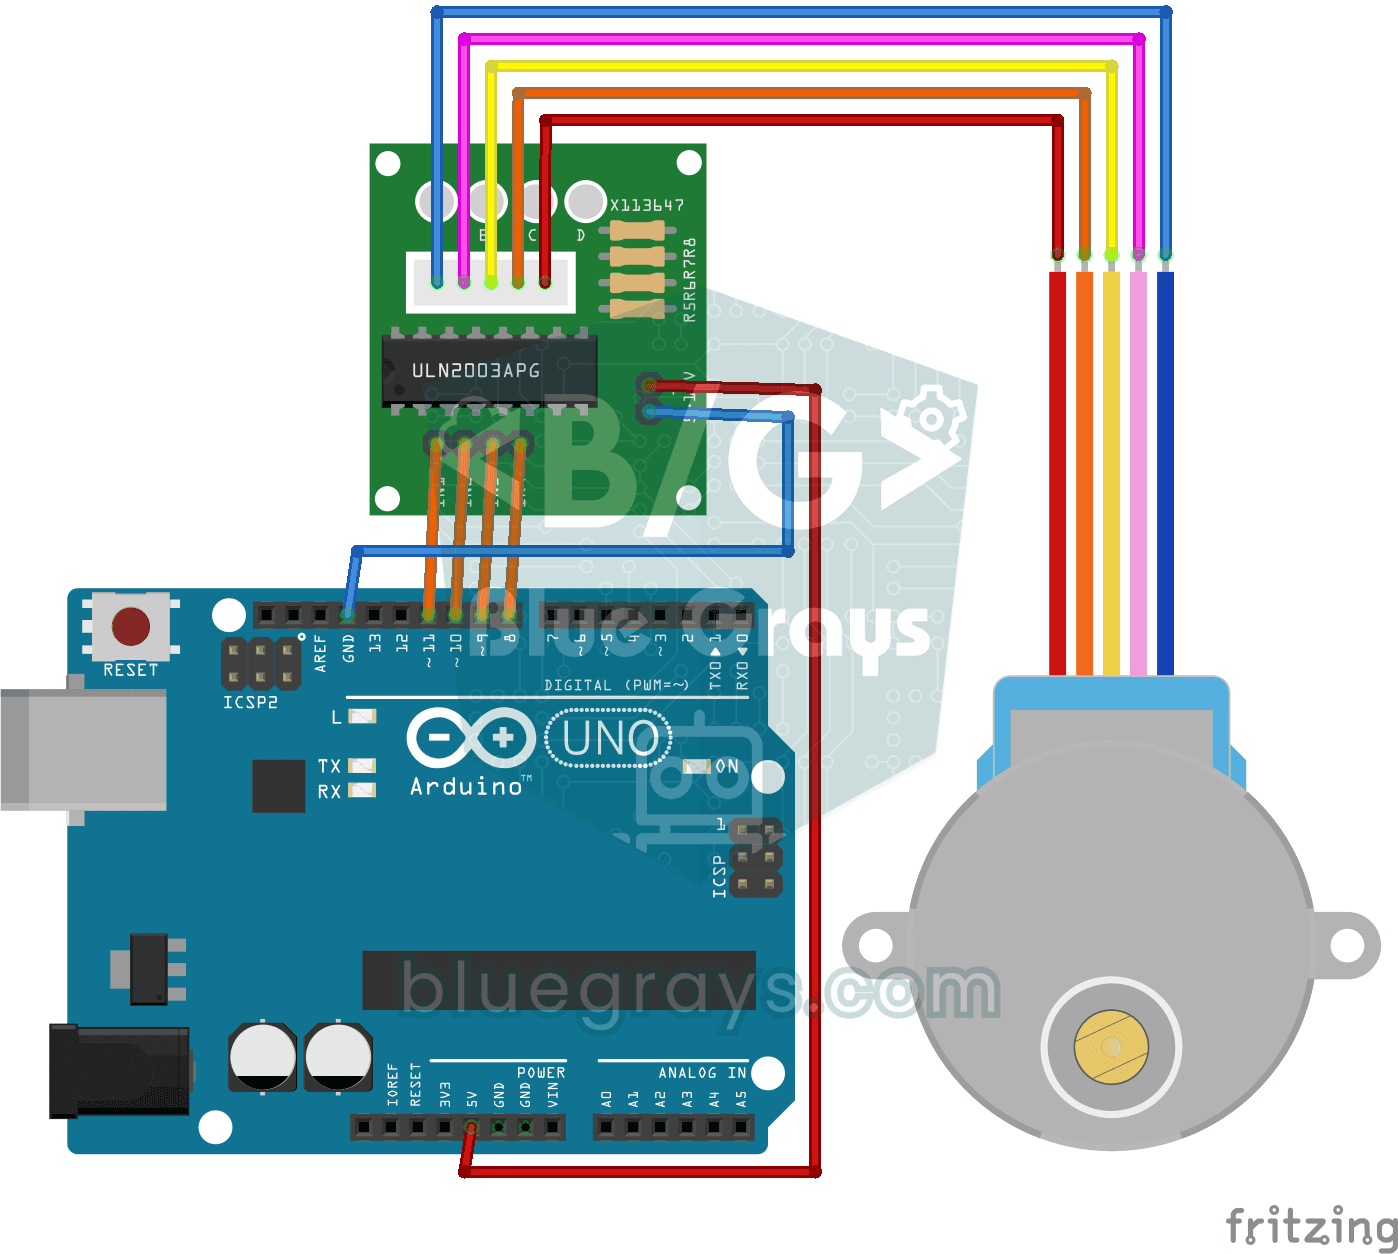
360-Degree Servo from a Stepper Motor
Teach an ordinary stepper motor to go to any angle you want, all the way around the circle. The Arduino works out how many steps each angle takes; the motor moves to 0, 90, 45, 180, 135 and 360 degree

Bluetooth Controlled Car with L298N
Turn your phone into a remote and drive your own robot car. The Arduino receives commands from a remote-control app on your phone through a Bluetooth module and spins the wheels with a motor driver; t

Obstacle Avoidance Robot
How about building a smart vehicle that finds its own way? The Obstacle Avoidance Robot constantly scans its surroundings thanks to the ultrasonic sensor in front of it. When it encounters an obstacle