
Arduino Calculator: 4x4 Keypad and I2C LCD for Four Operations
Build an Arduino calculator with a 4x4 keypad and I2C LCD: wiring, key mapping, multi-digit input, four operations, divide-by-zero check, plus Uno, ESP32 and Pico code.

An Arduino calculator is a project you can build with a 4x4 keypad, a 16x2 I2C LCD and a few jumper wires, and it's both fun and a great way to really learn programming. You type numbers with the keys, choose add, subtract, multiply or divide with the A, B, C and D keys, see the result on screen with the # key, and the * key clears everything. In this guide you'll learn step by step how to wire the circuit, map keys to operations, build a multi-digit number from the keys you press, catch errors like division by zero, and port the same project to the ESP32 and Raspberry Pi Pico.
Although a calculator looks like a small project, it contains almost all the basics of embedded software: reading input with matrix scanning, keeping state in variables, decision structures, the limits of floating-point numbers, and giving the user meaningful feedback. That's why it's so popular in school projects, science fairs and coding classes. I'll explain every important line of the code; by the end you'll be able to add your own features such as a decimal point, a memory key or key beeps.
How does an Arduino calculator work?
Splitting the project into three parts makes it much easier. On the input side, the keypad reports which key was pressed as a single character (like '7', 'A', '#'). On the processing side, the Arduino keeps the number being typed, the first number (or running result) and the selected operation in variables. On the output side, the I2C LCD shows the first number and operation on the top row, and the number you're typing or the result on the bottom row. Real pocket calculators work exactly like this: each key changes a small state inside the machine, and the display reflects the current state.
| Part | Qty | Purpose |
|---|---|---|
| Arduino Uno (or Nano) | 1 | Reads keys, does the maths, drives the display |
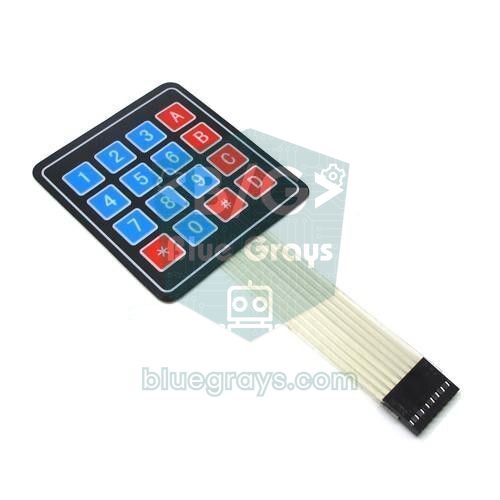
| 4x4 membrane keypad | 1 | Digits 0–9, four operations, equals and clear keys |
| 16x2 LCD + I2C module (PCF8574) | 1 | Shows the operation and result; only 2 data wires |
| Male-to-male jumper wire | 12 | 8 keypad + 4 LCD connections |
| USB cable | 1 | Uploading code and power |
How is a keypad read? Row-column scanning
A 4x4 keypad has 16 separate buttons but only 8 pins. The buttons are arranged in a grid of 4 rows and 4 columns; when pressed, each key connects one row line to one column line. The Keypad library sets the row pins as inputs with internal pull-ups, pulls the columns LOW one at a time, and checks which row reads LOW. For example, if row 3 also reads LOW while column 2 is LOW, the pressed key is the '8' at row 3, column 2. This scan runs hundreds of times per second, so you never notice any delay. The library also applies about 10 ms of built-in debounce, so a single press isn't counted twice. You can find the details of scanning in Using a Keypad.
| Key | Role in the calculator |
|---|---|
| 0–9 | Digit entry; the number grows digit by digit |
| A | Addition (+) |
| B | Subtraction (-) |
| C | Multiplication (*) |
| D | Division (/) |
| # | Equals (=), shows the result |
| * | Clear (C), resets everything |
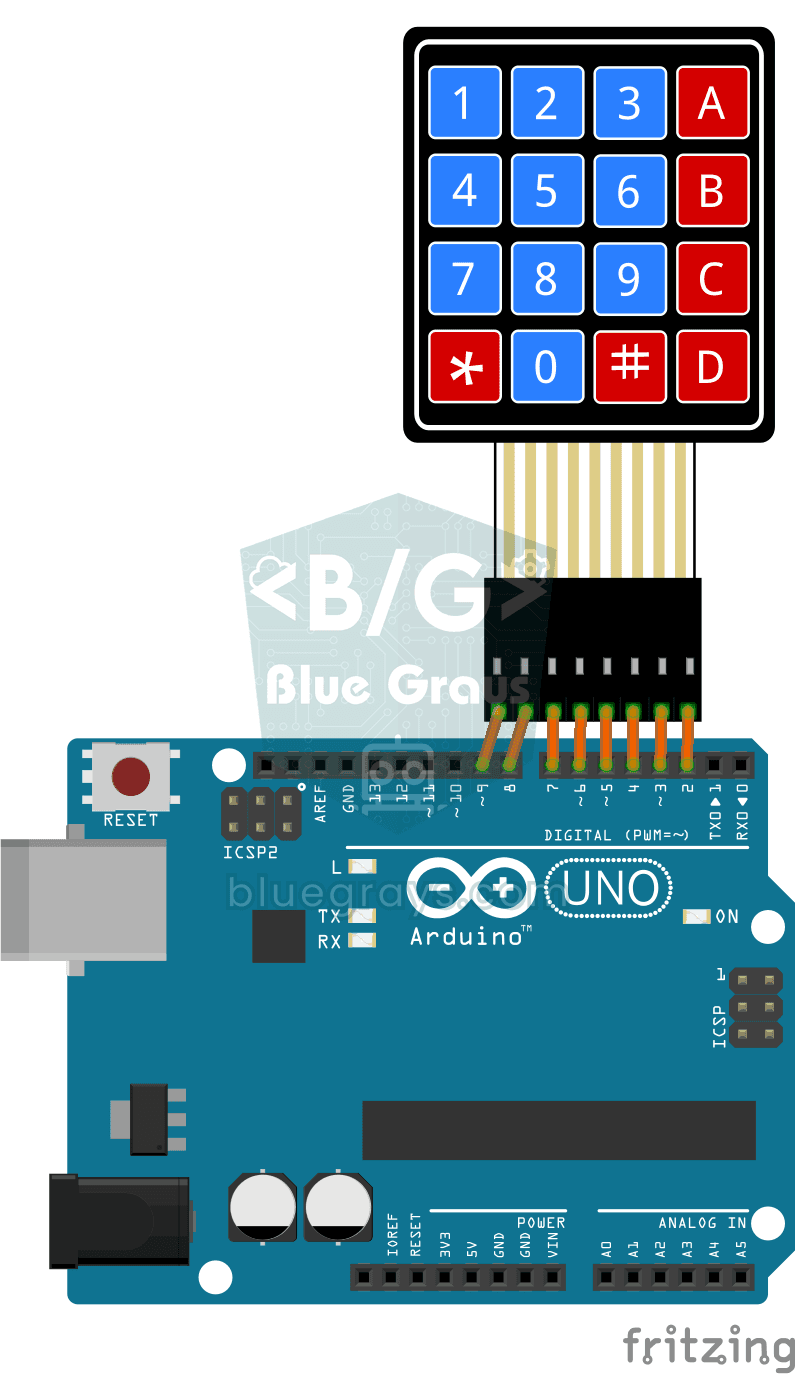
Wiring diagram: Uno, ESP32 and Pico pins
| Connection | Arduino Uno | ESP32 | Raspberry Pi Pico |
|---|---|---|---|
| Keypad R1 | D9 | GPIO 13 | GP6 |
| Keypad R2 | D8 | GPIO 14 | GP7 |
| Keypad R3 | D7 | GPIO 27 | GP8 |
| Keypad R4 | D6 | GPIO 26 | GP9 |
| Keypad C1 | D5 | GPIO 25 | GP10 |
| Keypad C2 | D4 | GPIO 33 | GP11 |
| Keypad C3 | D3 | GPIO 32 | GP12 |
| Keypad C4 | D2 | GPIO 4 | GP13 |
| LCD GND | GND | GND | GND |
| LCD VCC | 5V | VIN (5 V) | VBUS (5 V, from USB) |
| LCD SDA | A4 | GPIO 21 | GP4 |
| LCD SCL | A5 | GPIO 22 | GP5 |
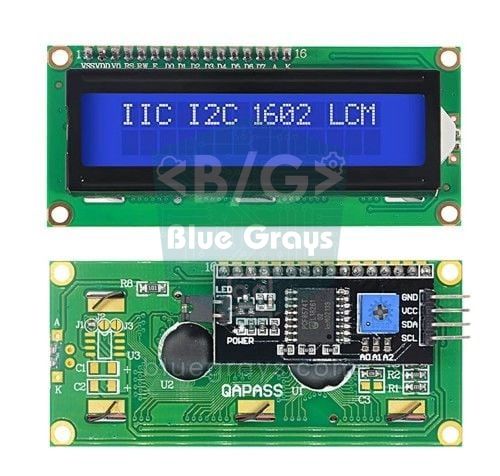
The I2C LCD module has only four wires: GND, VCC, SDA and SCL. On the Uno, SDA goes to A4 and SCL to A5. Most modules use address 0x27; those with a PCF8574A chip use 0x3F. If the backlight is on but no text appears, first turn the blue contrast potentiometer on the back of the module with a small screwdriver. If you're not sure of the address, run the I2C scanner code in Using an I2C LCD Display; if you're curious how two wires can carry so many devices, What is I2C is a good starting point.
Step-by-step setup
- Open the Library Manager in the Arduino IDE and install the Keypad (Mark Stanley, Alexander Brevig) and LiquidCrystal I2C (Frank de Brabander) libraries. If you don't know how, see adding libraries.
- Connect the keypad's 8 pins to the Uno's digital pins D9 down to D2, in the order shown in the table.
- Connect the LCD module's GND and VCC to the Uno's GND and 5V, SDA to A4 and SCL to A5.
- Upload the code below; at startup you should see "Hesap Makinesi" on the screen.
- Press 1, 2, A, 5 and # in order; if the screen shows 17 as the result, the circuit and code are working correctly.
- If no text appears, adjust the contrast and try address 0x3F; if the keys are mixed up, check the pin arrays.
Arduino Uno calculator code
The code builds the typed number not as text (String) but directly as a long integer; this is fast and doesn't strain the Uno's 2 KB of RAM. The first number and results are kept in a type we call Number (float on the Uno) so they can carry a fractional part. We wrote a separate function for each type of key, so loop() stays a short dispatcher that just routes the pressed key to the right function and the code is easy to read.
1#include <Wire.h>
2#include <LiquidCrystal_I2C.h>
3#include <Keypad.h>
4
5using Number = float;                 // ESP32'de double yapılabilir / can be double on ESP32
6const byte MAX_DIGITS = 7;            // float ~7 basamak / float ~7 digits
7const Number LIMIT = 99999999.0;      // taşma sınırı / overflow limit
8
9const byte ROWS = 4;
10const byte COLS = 4;
11char keys[ROWS][COLS] = {
12  {'1', '2', '3', 'A'},
13  {'4', '5', '6', 'B'},
14  {'7', '8', '9', 'C'},
15  {'*', '0', '#', 'D'}
16};
17byte rowPins[ROWS] = {9, 8, 7, 6};    // R1-R4
18byte colPins[COLS] = {5, 4, 3, 2};    // C1-C4
19
20Keypad keypad = Keypad(makeKeymap(keys), rowPins, colPins, ROWS, COLS);
21LiquidCrystal_I2C lcd(0x27, 16, 2);   // adres 0x27 ya da 0x3F / address 0x27 or 0x3F
22
23long entry = 0;                       // yazılan sayı / number being typed
24byte digits = 0;                      // girilen hane / digits typed
25Number first = 0;                     // ilk sayı ya da ara sonuç / first operand or running result
26bool hasFirst = false;
27char op = 0;                          // '+', '-', '*', '/' ya da 0 / or 0
28bool justCalculated = false;          // sonuç ekranda mı? / is a result shown?
29
30void printNumber(Number v) {
31  long n = (long)(v >= 0 ? v + 0.5 : v - 0.5);
32  if (fabs(v - n) < 0.0005) lcd.print(n);   // tam sayı / whole number
33  else lcd.print(v, 3);                     // 3 ondalık / 3 decimals
34}
35
36void showScreen() {
37  lcd.clear();
38  if (hasFirst) {                     // üst satır: ilk sayı ve işlem / top row: first operand and operator
39    printNumber(first);
40    if (op) {
41      lcd.print(' ');
42      lcd.print(op);
43    }
44  }
45  lcd.setCursor(0, 1);                // alt satır: yazılan sayı / bottom row: number being typed
46  if (digits > 0) lcd.print(entry);
47  else if (!hasFirst) lcd.print('0');
48}
49
50void clearState() {
51  entry = 0;
52  digits = 0;
53  first = 0;
54  hasFirst = false;
55  op = 0;
56  justCalculated = false;
57}
58
59void clearAll() {
60  clearState();
61  showScreen();
62}
63
64void showError(const char *msg) {
65  lcd.clear();
66  lcd.print("Hata / Error");
67  lcd.setCursor(0, 1);
68  lcd.print(msg);
69  delay(1500);
70  clearAll();
71}
72
73bool applyOp(Number b) {              // first = first (op) b
74  if (op == '/' && b == 0) {
75    showError("Sifira bolunmez");     // sıfıra bölme / division by zero
76    return false;
77  }
78  Number r;
79  switch (op) {
80    case '+': r = first + b; break;
81    case '-': r = first - b; break;
82    case '*': r = first * b; break;
83    case '/': r = first / b; break;
84    default:  r = b; break;
85  }
86  if (fabs(r) > LIMIT) {
87    showError("Tasma");               // taşma / overflow
88    return false;
89  }
90  first = r;
91  return true;
92}
93
94void handleDigit(char k) {
95  if (justCalculated) clearState();   // yeni hesap / new calculation
96  if (entry == 0) digits = 0;         // baştaki sıfırları sayma / ignore leading zeros
97  if (digits >= MAX_DIGITS) return;
98  entry = entry * 10 + (k - '0');     // sayı biriktirme / build the number
99  digits++;
100  showScreen();
101}
102
103void handleOperator(char newOp) {
104  if (digits > 0) {
105    if (!hasFirst) {
106      first = entry;
107      hasFirst = true;
108    } else if (!applyOp(entry)) {
109      return;                         // hata oldu / an error occurred
110    }
111    entry = 0;
112    digits = 0;
113  } else if (!hasFirst) {
114    return;                           // henüz sayı yok / no number yet
115  }
116  op = newOp;
117  justCalculated = false;
118  showScreen();
119}
120
121void handleEquals() {
122  if (!hasFirst || op == 0 || digits == 0) return;   // eksik işlem / incomplete operation
123  if (!applyOp(entry)) return;
124  entry = 0;
125  digits = 0;
126  op = 0;
127  justCalculated = true;
128  lcd.clear();
129  lcd.print("Sonuc:");
130  lcd.setCursor(0, 1);
131  printNumber(first);
132}
133
134void setup() {
135  lcd.init();
136  lcd.backlight();
137  lcd.print("Hesap Makinesi");
138  lcd.setCursor(0, 1);
139  lcd.print("BlueGrays");
140  delay(1500);
141  clearAll();
142}
143
144void loop() {
145  char k = keypad.getKey();
146  if (!k) return;                     // tuş yok / no key
147  if (k >= '0' && k <= '9') handleDigit(k);
148  else if (k == 'A') handleOperator('+');
149  else if (k == 'B') handleOperator('-');
150  else if (k == 'C') handleOperator('*');
151  else if (k == 'D') handleOperator('/');
152  else if (k == '#') handleEquals();
153  else if (k == '*') clearAll();
154}
How does the code work?
| Function / variable | What it does |
|---|---|
| entry, digits | The number being typed and its digit count; at most 7 digits on the Uno |
| first, hasFirst | The first number, or the running result in chained operations |
| op | The selected operation: '+', '-', '*', '/' or 0 (none) |
| handleDigit() | Appends the digit to the number: entry = entry × 10 + digit |
| handleOperator() | Moves the number into first, applies any pending operation, stores the new operation |
| applyOp() | Performs the four operations; reports an error on division by zero and overflow |
| handleEquals() | Calculates the result and shows it on the bottom row |
| clearAll() | The * key: resets all variables and clears the screen |
The secret of building a number is a single formula: entry = entry × 10 + digit. Imagine you press 4, 7 and 2 in turn. On the first press entry becomes 0 × 10 + 4 = 4, on the second 4 × 10 + 7 = 47, on the third 47 × 10 + 2 = 472. To turn the pressed character into a number we use the expression k - '0': in the ASCII table the code of '0' is 48 and the code of '7' is 55, and their difference is exactly 7. So that leading zeros don't waste the digit limit, the digit counter is reset while entry is 0; typing 0, 0, 5 gives the number 5 and counts as one digit. The reason for the 7-digit limit is the float precision we'll explain in the next section.
The smartest part of the code is chained operations. If you type 5 + 3 and press B (subtract) instead of #, handleOperator() first performs the pending addition, writes the intermediate result 8 into first, and then stores the subtraction; so 5 + 3 - 2 is calculated left to right just like on a pocket calculator and gives 6. Remember there's no operator precedence: 2 + 3 × 4 gives 20, not 14, and most simple calculators behave the same way. If you press an operator key after a result is shown, the result becomes the first number and you carry on; if you press a digit key, a new calculation begins. The justCalculated flag that controls this behaviour is really a small state machine; to learn more, check out State machines in Arduino.
Division by zero and overflow checks
Dividing a number by zero is undefined in maths, and Arduino doesn't prevent it on its own: in float division, a positive number divided by zero gives inf (infinity) and zero divided by zero gives nan (not a number), and a meaningless value is printed on the screen. That's why applyOp() checks whether the divisor is zero before dividing; if it is, it shows the message "Sifira bolunmez" for 1.5 seconds and resets the calculator. The second safeguard is against overflow. On the Uno, float is 32-bit and gives about 6–7 significant digits of precision; integers above 16,777,216 can no longer be stored exactly and the last digit may be rounded. Arduino's print function also prints float values above about 4.29 billion as "ovf". The code gives a "Tasma" (overflow) error if the absolute value of the result exceeds 99,999,999, so it never shows the user results that don't fit on the 16-character screen or can't be trusted.
Calculator with the ESP32
The same code runs on the ESP32; the only things you need to change are the pin arrays and, optionally, the number type. For the LCD, the ESP32's default I2C pins GPIO 21 (SDA) and GPIO 22 (SCL) are used; the LiquidCrystal I2C library starts Wire with these pins itself. There's one more advantage: on the ESP32, double is truly 64-bit and gives about 15 significant digits. If you make Number a double, you can raise the digit limit to 9 and calculate large multiplications correctly down to the last digit. On the Uno, double and float are the same 32-bit type, so this change makes no difference there. If you're using the ESP32 for the first time, we covered board setup in What is the ESP32?.
1// ESP32: Uno kodunda yalnız bu satırları değiştir / change only these lines in the Uno code
2using Number = double;                  // 64 bit, ~15 basamak / 64-bit, ~15 digits
3const byte MAX_DIGITS = 9;              // 9 haneli giriş / 9-digit input
4const Number LIMIT = 999999999.0;       // long sınırına sığar / fits in a long
5
6byte rowPins[ROWS] = {13, 14, 27, 26};  // R1-R4
7byte colPins[COLS] = {25, 33, 32, 4};   // C1-C4
8// LCD: SDA = GPIO 21, SCL = GPIO 22 (Wire varsayılanı / Wire default)Calculator with Raspberry Pi Pico and MicroPython
On the Pico, we write the scanning ourselves in place of Arduino's Keypad library; this is a great exercise for truly understanding matrix scanning. The rows are connected to GP6–GP9 as inputs with pull-ups, the columns to GP10–GP13 as outputs, and each column is driven LOW in turn. Since MicroPython has no ready-made LCD module, you need to copy the lcd_api.py and pico_i2c_lcd.py driver files to the Pico with Thonny. On the Pico the float is also 32-bit, so the digit limit is again 7; however, in Python it's very easy to build the number as text and convert it with float(). The 5 V warning we gave for the ESP32 applies to the Pico too. If you're new to the Pico, take a look at What is the Raspberry Pi Pico? and MicroPython basics.
1from machine import Pin, I2C
2import time
3from pico_i2c_lcd import I2cLcd          # lcd_api.py + pico_i2c_lcd.py Pico'da olmalı / must be on the Pico
4
5KEYS = [["1", "2", "3", "A"],
6        ["4", "5", "6", "B"],
7        ["7", "8", "9", "C"],
8        ["*", "0", "#", "D"]]
9OPS = {"A": "+", "B": "-", "C": "*", "D": "/"}
10
11rows = [Pin(p, Pin.IN, Pin.PULL_UP) for p in (6, 7, 8, 9)]     # R1-R4
12cols = [Pin(p, Pin.OUT, value=1) for p in (10, 11, 12, 13)]    # C1-C4
13
14i2c = I2C(0, sda=Pin(4), scl=Pin(5), freq=100000)
15lcd = I2cLcd(i2c, 0x27, 2, 16)           # adres, satır, sütun / address, rows, columns
16
17def get_key():
18    for c, col in enumerate(cols):
19        col.value(0)                     # bu sütunu LOW yap / drive this column LOW
20        for r, row in enumerate(rows):
21            if row.value() == 0:
22                time.sleep_ms(20)        # debounce
23                if row.value() == 0:
24                    while row.value() == 0:   # bırakılmasını bekle / wait for release
25                        time.sleep_ms(5)
26                    col.value(1)
27                    return KEYS[r][c]
28        col.value(1)
29    return None
30
31def fmt(x):
32    if abs(x - round(x)) < 0.0005:
33        return str(int(round(x)))        # tam sayı / whole number
34    return "{:.3f}".format(x)            # 3 ondalık / 3 decimals
35
36def show(top, bottom):
37    lcd.clear()
38    lcd.putstr(top[:16])
39    lcd.move_to(0, 1)
40    lcd.putstr(bottom[:16])
41
42def calc(a, o, b):
43    if o == "+":
44        r = a + b
45    elif o == "-":
46        r = a - b
47    elif o == "*":
48        r = a * b
49    else:
50        if b == 0:
51            raise ValueError("Sifira bolunmez")   # sıfıra bölme / division by zero
52        r = a / b
53    if abs(r) > 99999999:
54        raise ValueError("Tasma")                  # taşma / overflow
55    return r
56
57def screen():
58    top = ""
59    if first is not None:
60        top = fmt(first) + (" " + op if op else "")
61    show(top, entry or ("0" if first is None else ""))
62
63first, op, entry, done = None, None, "", False
64show("Hesap Makinesi", "Pico hazir")
65time.sleep(1.5)
66screen()
67
68while True:
69    k = get_key()
70    if k is None:
71        time.sleep_ms(10)
72        continue
73    try:
74        if k == "*":                     # temizle / clear
75            first, op, entry, done = None, None, "", False
76        elif k.isdigit():
77            if done:                     # yeni hesap / new calculation
78                first, op, done = None, None, False
79            if entry == "0":
80                entry = ""               # baştaki sıfırı at / drop leading zero
81            if len(entry) < 7:
82                entry += k
83        elif k in OPS:
84            if entry:
85                b = float(entry)
86                first = b if (first is None or op is None) else calc(first, op, b)
87                entry = ""
88            if first is not None:
89                op = OPS[k]
90                done = False
91        elif k == "#" and first is not None and op and entry:
92            first = calc(first, op, float(entry))
93            entry, op, done = "", None, True
94    except ValueError as e:
95        show("Hata / Error", str(e))
96        time.sleep(1.5)
97        first, op, entry, done = None, None, "", False
98    if done:
99        show("Sonuc:", fmt(first))
100    else:
101        screen()
Ideas for improving the calculator
- Decimal point: Turn an unused key combination into a decimal point; add each digit after the point to the number with decreasing multipliers such as 0.1, 0.01.
- Memory keys (M+, MR): Write the result to EEPROM; the last result isn't lost even when the Arduino is switched off.
- Key beep: Add a buzzer for a short beep on every press; for a buzzer on D10, the line tone(10, 2000, 30) is enough.
- Scientific mode: Add square root (sqrt), power (pow) and percentages with a second key layer.
- Bigger display: Use an OLED display instead of the 16x2 LCD and show the calculation history line by line.
- Calculation log: Print every result to the Serial Monitor too, to keep a calculation history on your computer.
- Code lock: Build a keypad door lock with the same keypad and LCD; the number-building logic works there just the same.
Common mistakes and how to fix them
| Problem | Likely cause | Fix |
|---|---|---|
| LCD is lit but no text | Contrast not adjusted or wrong I2C address | Turn the potentiometer on the back; try 0x3F instead of 0x27 |
| Black blocks on the top row | LCD not initialised or I2C line broken | Make sure lcd.init() is called and SDA/SCL are on A4/A5 |
| Keys give the wrong character | Row and column pins mixed up | Swap or reverse the rowPins and colPins arrays |
| One key counted twice | Contact bounce | Increase the debounce time with keypad.setDebounceTime(50) |
| No keys work | Pins 0/1 used on the Uno or GPIO 34–39 on the ESP32 | Use the pins in the table |
| Last digit wrong on a big product | Float holds only 6–7 digits on the Uno | Keep the digit limit or use double on the ESP32 |
| Division result has no fraction | The operation was done with two integers (int/long) | Convert at least one side to float; in this code first is already of type Number |
This calculator you've built with a keypad and I2C LCD brings input reading, state keeping, error handling and the memory limits of numbers together in a single project. You'll use the same logic again and again in code locks, counters and menu systems. In the BlueGrays app you can explore projects like an I2C calculator, a 4x4 keypad and LCD password app and a smart electronic safe, with step-by-step circuit diagrams and ready code, and build your own version.
Frequently asked questions
How do you make a calculator with Arduino?
An Arduino Uno, a 4x4 keypad and an I2C 16x2 LCD are enough. The keypad's 8 pins go to digital pins, and the LCD's SDA and SCL go to A4 and A5. With the Keypad and LiquidCrystal I2C libraries you read the keys, build numbers with the formula entry = entry × 10 + digit, and apply the chosen operation with the # key.
How many pins does a 4x4 keypad use?
A 4x4 keypad uses 8 digital pins in total, for 4 rows and 4 columns. On the Arduino Uno, pins D2–D9 are usually chosen because D0 and D1 are reserved for serial communication. If you run short of pins, a PCF8574-based I2C keypad module can cut the connection down to two data wires.
How do you show decimal results on an Arduino calculator?
Keep the result in a float variable and give the number of decimal places as a second parameter, like lcd.print(result, 3). When you divide two integers (int or long), the fractional part is lost; 7 / 2 gives 3. If you convert at least one number to float before dividing, you get 3.5.
What happens when you divide by zero on Arduino?
Dividing by zero with integers is undefined and can produce inconsistent values; with float division the result is inf or nan. Arduino keeps running, but you see a meaningless value on the screen. So you should check with an if whether the divisor is zero before dividing and show the user an error message.
Why does my I2C LCD show no text?
The two most common causes are a badly adjusted contrast and a wrong I2C address. Turn the potentiometer on the back of the module to adjust the contrast, then try the address as 0x27 and 0x3F. If there's still a problem, use an I2C scanner sketch to check whether the module shows up on the bus.
Does an Arduino calculator follow operator precedence?
The code in this guide, like most pocket calculators, does operations from left to right; 2 + 3 × 4 gives 20. For operator precedence you'd need to write a parser that first stores the expression in an array and calculates multiplication and division before addition and subtraction. It's a nice programming exercise for the next level.
Projects to build after reading this
See all projects
Arduino I2C Calculator
It is an Arduino-based calculator project that performs addition, subtraction, multiplication and division operations using a 4x4 membrane keypad and a 16x2 I2C LCD display. Thanks to I2C, the display connection is provided with only 2 cables, thus reducing cable clutter and keeping more pins open for use. There is also decimal number input and negative number support.
4x4 Keypad Operation
On the 4x4 keypad, which looks a lot like a phone's buttons, the Arduino instantly knows which key you pressed and writes it to your computer screen.
Password Lock with 4x4 Keypad and LCD
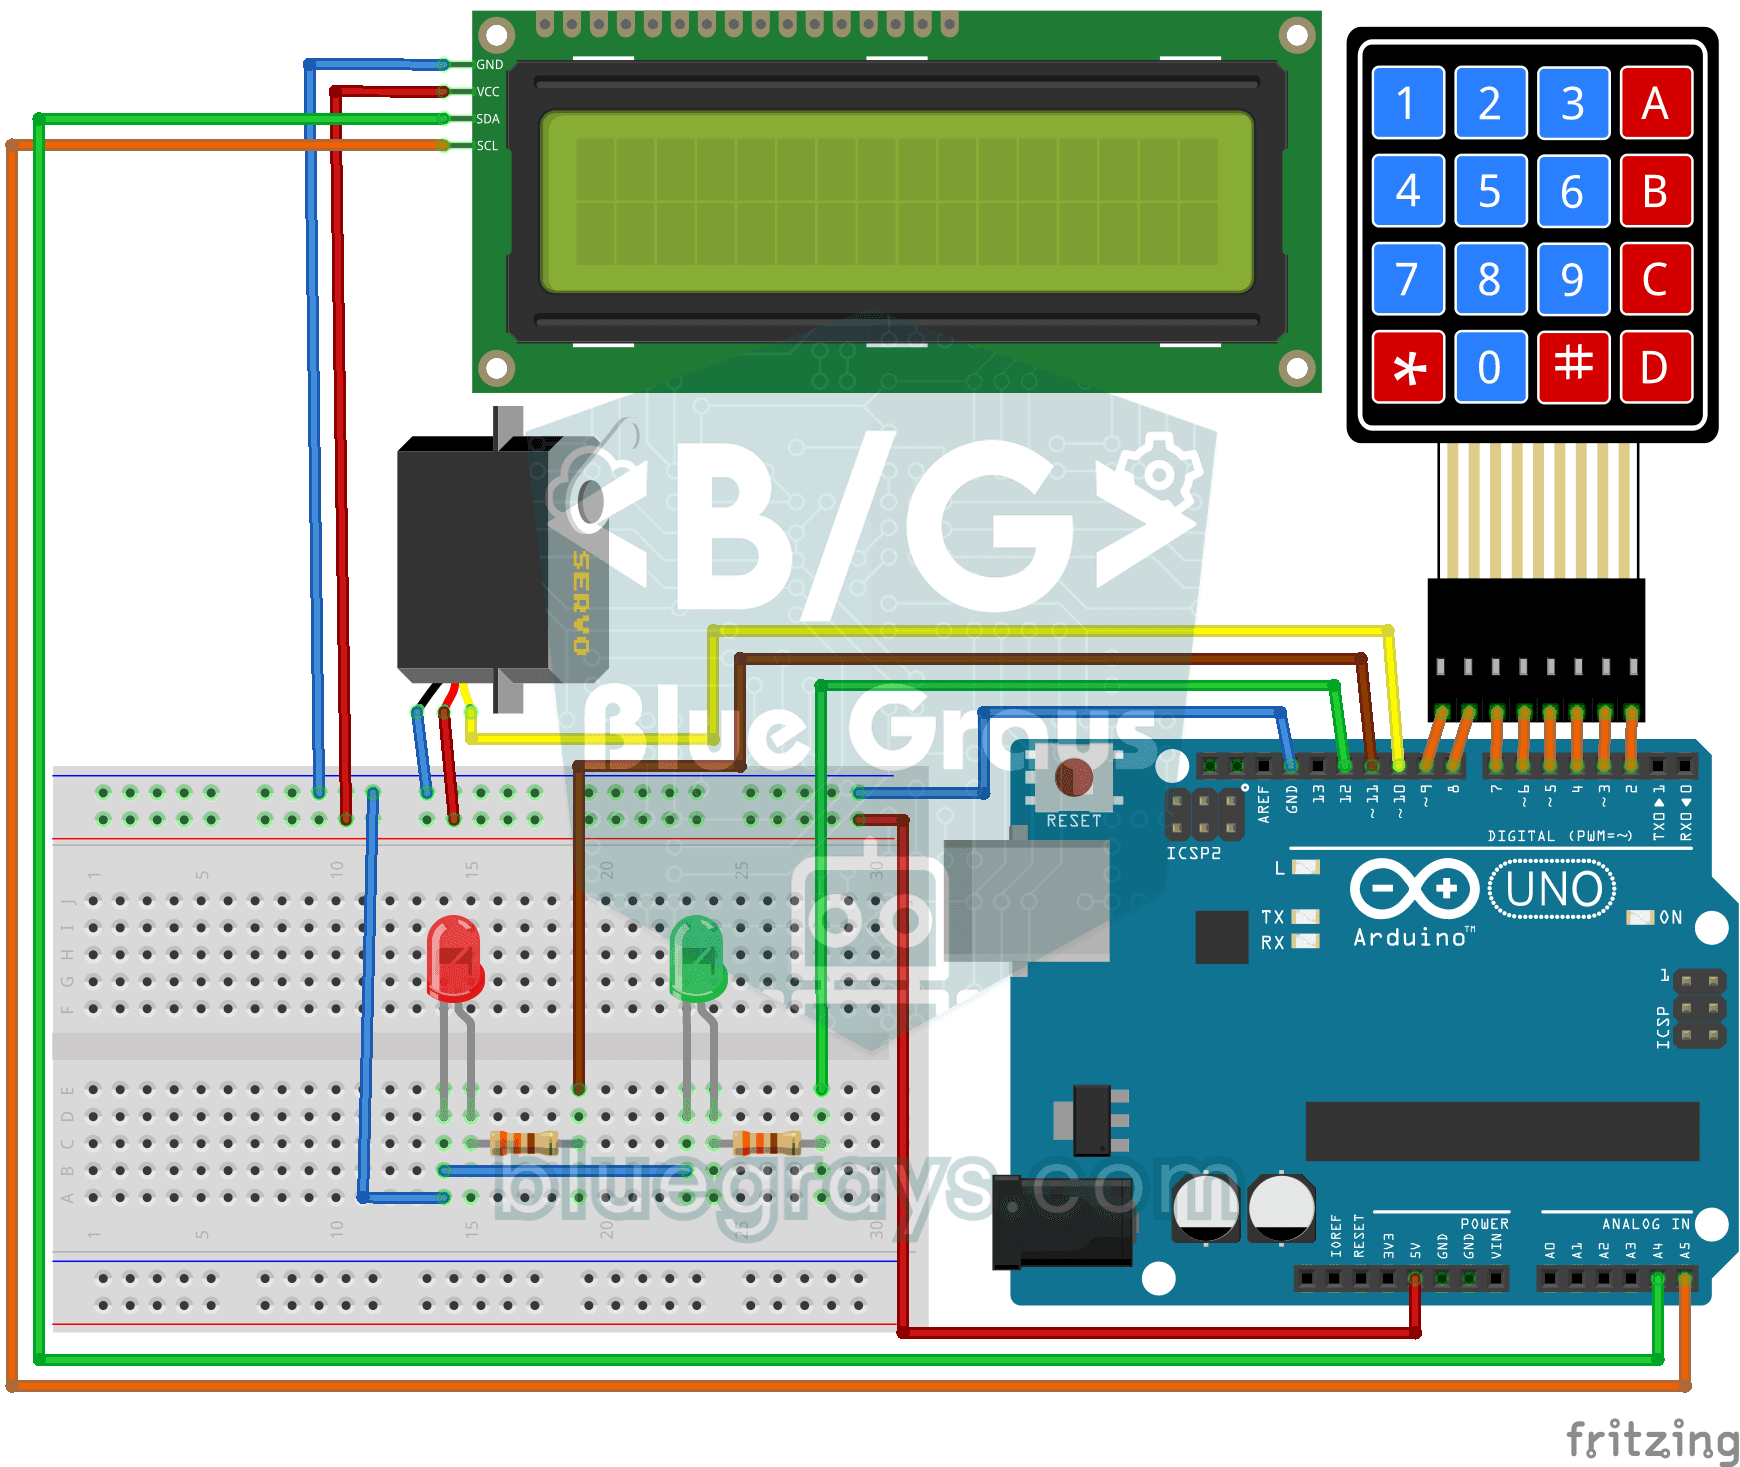
A small electronic door lock that keeps out anyone who doesn't know the code. You press the hash key and type the code on the keypad; if it is right, the screen says access granted, the green LED…
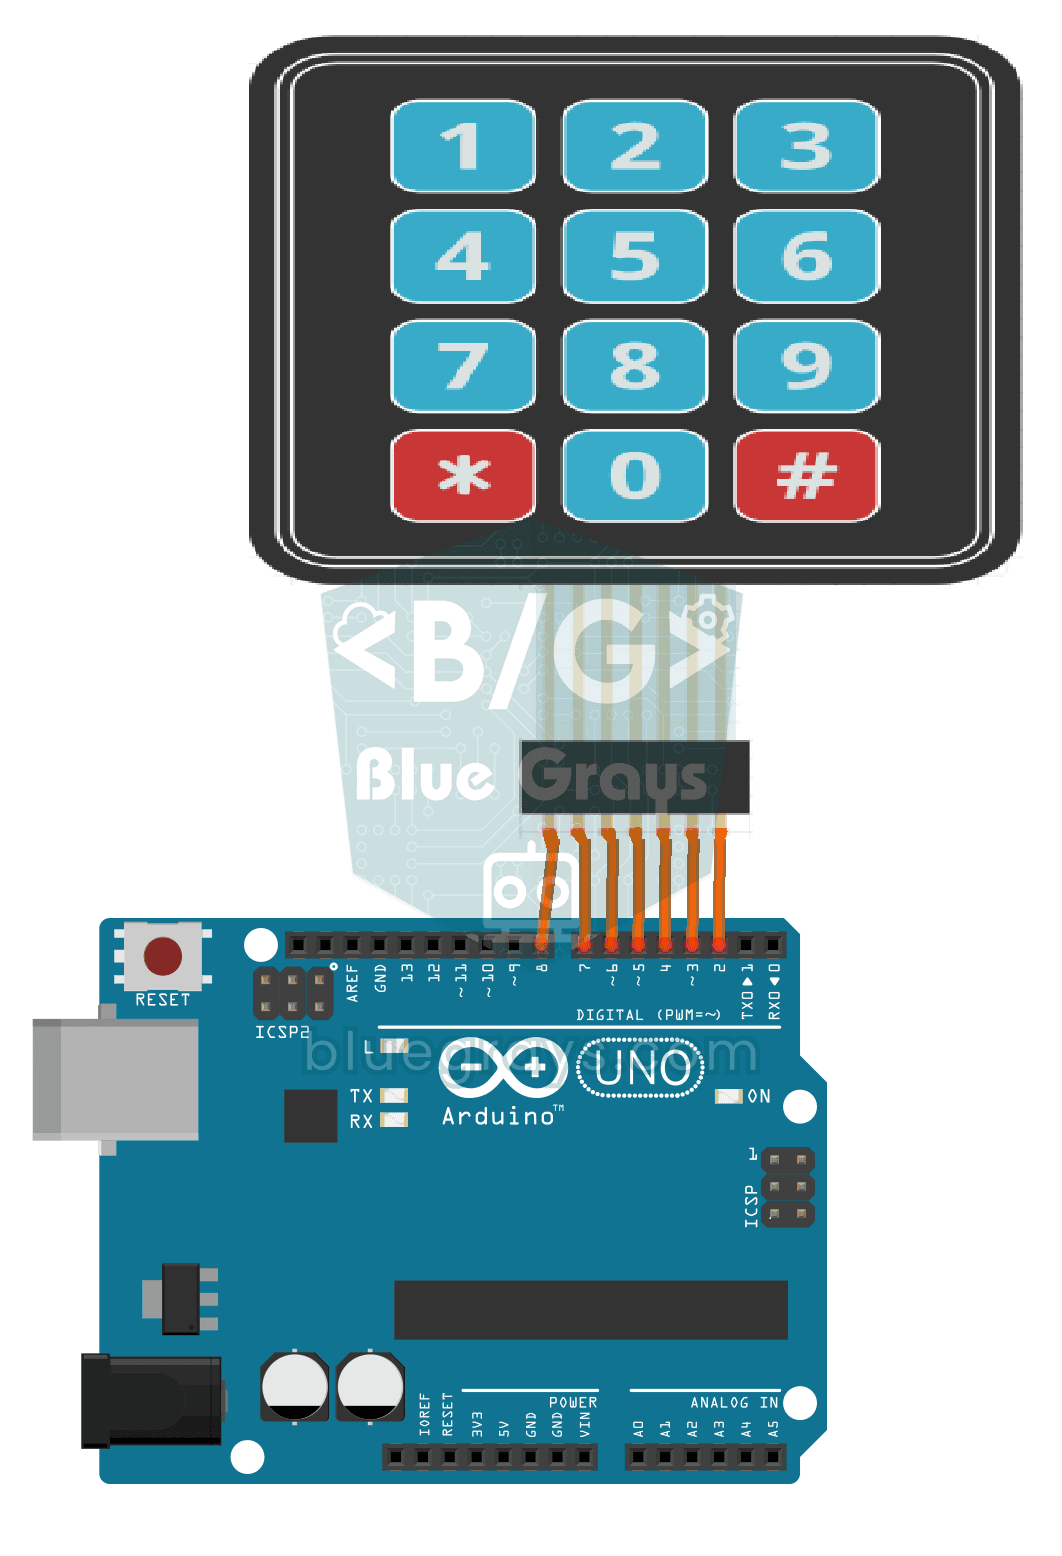
3x4 Keypad Operation
The Arduino instantly knows which key you press on a 12-key keypad that looks like a phone dial pad, and writes it on your computer screen.
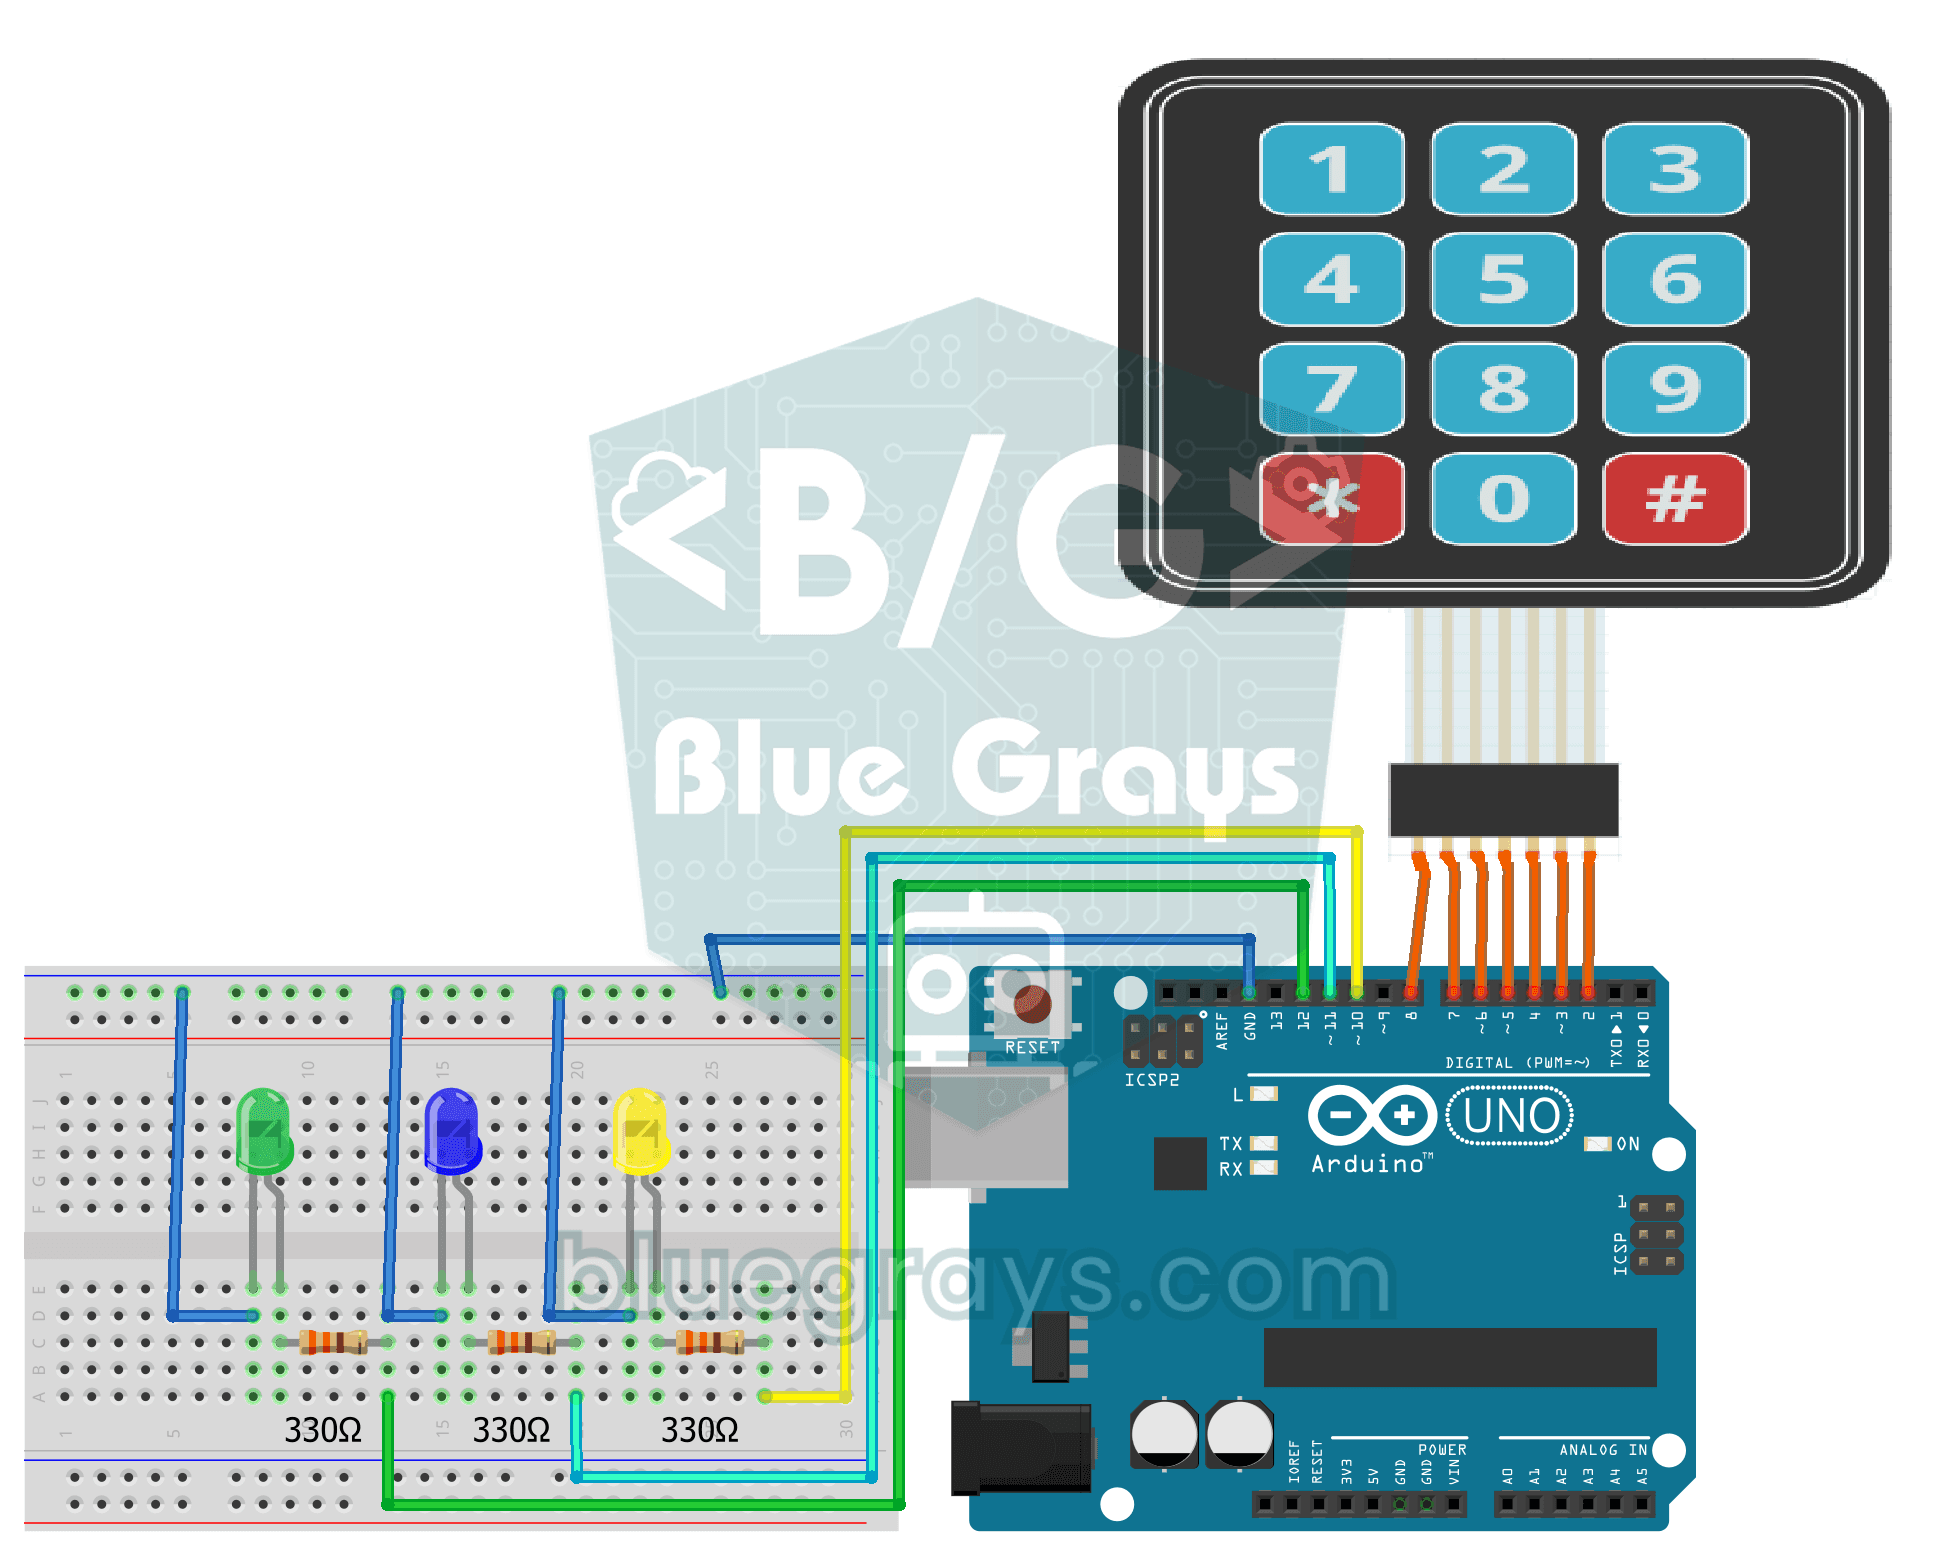
LED Control with a 3x4 Keypad
With a keypad like the one on a phone, you control three separate lights. Keys 1, 2 and 3 turn on the green, blue and yellow LEDs, keys 4, 5 and 6 turn the same lights off, the star key turns them…
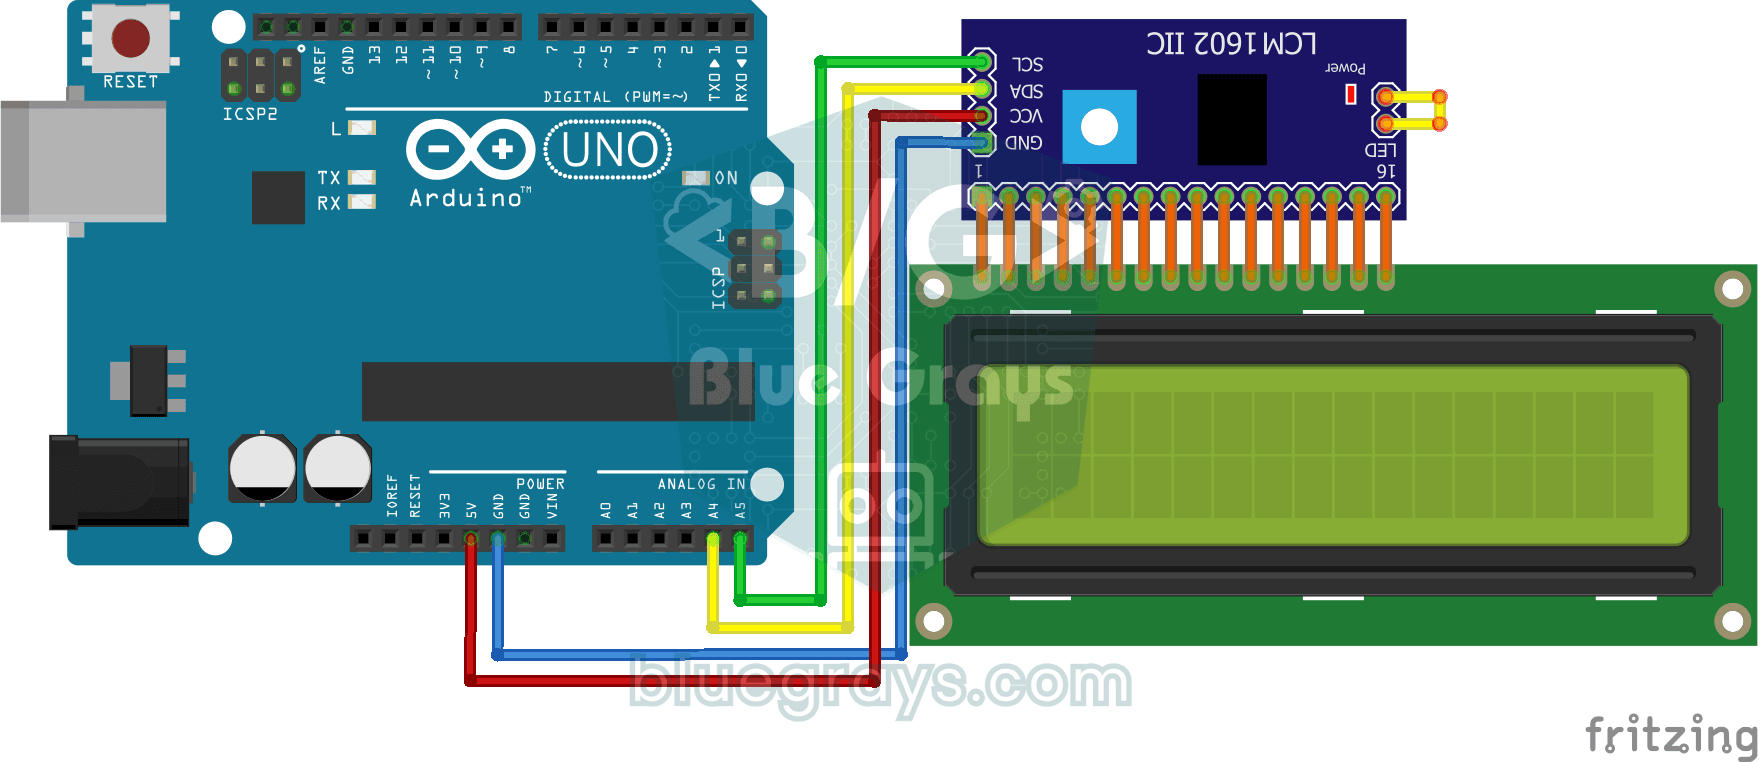
Using LCD Screen with I2C
Give your Arduino its own screen and make it write its first message. The two-line LCD screen hooks up with just a few wires; a greeting appears on the top line, then a second message on the bottom…

Smart Electronic Safe
A small safe for your valuables that opens with a code. You type your four-digit code on the keypad; if it is right, the servo motor opens the lock, the green light comes on and the screen shows the…

ESP32 I2C LCD Display (16x2)
In this project we connect a 16x2 character LCD to the ESP32 over I2C and display text. With I2C, just 2 data pins (SDA and SCL) control the screen, instead of the 6+ pins a classic parallel connection wastes. The code prints a fixed message on the first line and a counter that goes up every second on the second. At startup an I2C scanner also prints the display's address to the Serial Monitor (usually 0x27 or 0x3F).