
Arduino Parking Sensor: HC-SR04 Beeper, LED Bar and OLED Display
Build an Arduino parking sensor with an HC-SR04: a distance-to-beep table, non-blocking millis() code, LED bar, OLED display, ESP32 version and mounting tips.

An Arduino parking sensor is a small driving aid that measures the distance to an obstacle behind you with an HC-SR04 ultrasonic sensor, beeps faster as you get closer, fills an LED bar from green to red and, if you like, shows the distance in centimetres on an OLED display. The parking sensors in real cars work on the same principle: a sensor in the bumper sends out a sound wave, works out the distance from the time the echo takes to come back and warns the driver with a beep. With an Arduino Uno, an HC-SR04, a buzzer and five LEDs you can build the same thing in one evening.
In this guide we'll first define the distance zones and the beep interval for each one in a table. Then we'll write code that runs with millis() instead of delay(), so the beeping never stops the measurement. After that we'll add an OLED display, reduce measurement errors with a median filter and temperature correction, write an ESP32 version with a passive buzzer and hysteresis, and finally look at how to mount the sensor on a car or a garage wall.
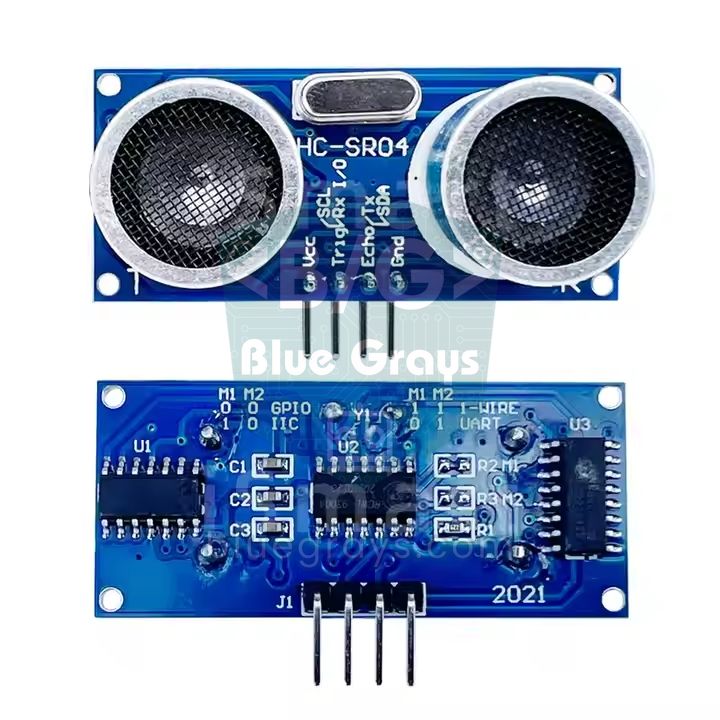
How does a parking sensor work?
When you give the HC-SR04's TRIG pin a 10-microsecond pulse, the sensor sends eight bursts of sound at 40 kHz, a frequency the human ear can't hear, and sets the ECHO pin HIGH. When the sound hits an obstacle and comes back, the ECHO pin goes LOW. The time ECHO stays HIGH is the sound's round-trip time. At 20 °C sound travels about 343 metres per second in air, so it covers one centimetre in about 29 microseconds. Counting both the trip out and back, the formula becomes very simple: distance (cm) = time (µs) / 58. For example, the echo from a wall 1 metre away takes about 5800 µs.
The parking sensor repeats this measurement 15–20 times a second and turns the result into a zone. As the zone changes, the number of lit LEDs and the beep rate change too. These are the HC-SR04 values that matter for a parking sensor:
| Feature | Value |
|---|---|
| Supply | 5 V, about 15 mA |
| Sound frequency | 40 kHz |
| Measuring range | 2–400 cm (reliable range for parking 3–250 cm) |
| Detection angle | A cone about 15° wide |
| Trigger pulse | At least 10 µs HIGH on TRIG |
| Measurement rate | At least 60 ms between two measurements |
| Resolution | About 3 mm |
Parts list
| Part | Qty | Note |
|---|---|---|
| Arduino Uno or Nano | 1 | ESP32 version below |
| HC-SR04 ultrasonic sensor | 1 | Outside the car, prefer a waterproof JSN-SR04T |
| Active buzzer | 1 | Passive buzzer in the ESP32 version |
| LEDs (2 green, 2 yellow, 1 red) | 5 | Lined up side by side as an LED bar |
| 220 Ω resistor | 5 | One per LED |
| 0.96-inch I2C OLED display | 1 | Optional display |
| Breadboard and jumper wires | 1 set | Keep the wires short |
| 1 kΩ and 2 kΩ resistors | One each | ESP32 only, ECHO voltage divider |
Distance and beep interval table
Parking sensors in real cars usually start with a slow beep at about 1.5 metres, speed up as the obstacle gets closer and turn into a continuous tone in the last 25–30 centimetres. The driver can tell how much room is left from the rhythm alone, without looking at a screen. Our design has five warning zones and one safe zone. Each beep lasts 50 ms; the interval in the table is the time between the start of two beeps:
| Zone | Distance | Beep interval | LEDs lit | Meaning |
|---|---|---|---|---|
| Safe | More than 150 cm | Silent | None | All clear |
| 1 | 101–150 cm | 800 ms | 1 green | Obstacle detected |
| 2 | 71–100 cm | 500 ms | 2 green | Slow down |
| 3 | 46–70 cm | 300 ms | 2 green + 1 yellow | Careful |
| 4 | 26–45 cm | 150 ms | 2 green + 2 yellow | Very close |
| 5 | 25 cm or less | Continuous tone | All five (red included) | Stop |
You can change these values to suit your car: on a car with a long rear overhang, or in a tight garage, moving the stop zone to 35–40 cm is safer. If you'd rather have the beep rate change smoothly instead of step by step, you can replace the zone table with a conversion like interval = map(distance, 25, 150, 100, 800) using the map() function. Still, a stepped table is easier to tell apart by ear: the driver immediately notices the change in sound when moving from zone three to zone four.
Wiring: HC-SR04, buzzer and LED bar
| Part and pin | Arduino Uno | ESP32 | Note |
|---|---|---|---|
| HC-SR04 VCC | 5V | VIN (5V) | The sensor needs 5 V |
| HC-SR04 GND | GND | GND | Common ground |
| HC-SR04 TRIG | D9 | GPIO 4 | Trigger output |
| HC-SR04 ECHO | D10 | GPIO 18 | Through a 1 kΩ + 2 kΩ divider on the ESP32 |
| Buzzer (+) | D8 | GPIO 19 | Active buzzer on the Uno, passive on the ESP32 |
| LED 1 and 2 (green) | D2, D3 | GPIO 25, 26 | 220 Ω series resistor on each LED |
| LED 3 and 4 (yellow) | D4, D5 | GPIO 27, 32 | 220 Ω series resistor on each LED |
| LED 5 (red) | D6 | GPIO 33 | Lights up in the stop zone |
| OLED SDA / SCL | A4 / A5 | GPIO 21 / 22 | Optional |
| OLED VCC | 5V | 3V3 | Check the module's pin order |
Why millis() instead of delay()?
Most parking sensor sketches online make the beep like this: buzzer on, delay(50), off, delay(interval). In an 800 ms zone this blinds the Arduino for almost a second on every loop. A car reversing at 2 km/h (about 1.2 mph) covers roughly 45 cm in that time; the LEDs and the sound always lag behind the real distance and, worst of all, the measurement is frozen just as you enter the stop zone. The right way is to separate the two jobs: take a measurement every 60 ms and, on every loop, decide with millis() whether the buzzer should be on or off. We explain the idea in detail in millis() vs delay().
Step-by-step build
- Plug the HC-SR04 into one end of the breadboard with the cylinders facing outwards; connect VCC to 5V and GND to GND.
- Connect TRIG to D9 and ECHO to D10. Keep the wires short; a loose jumper scrambles the readings at random.
- Line up the five LEDs: from left to right two green, two yellow and one red. Connect each LED's long leg (anode) to pins D2–D6 through a 220 Ω resistor and its short leg to the GND rail.
- Connect the active buzzer's + leg to D8 and the other leg to GND. Active buzzers usually have a + mark on top and beep on their own when you apply 5 V.
- Upload the code, open the Serial Monitor at 115200 baud and slowly move your hand towards the sensor. The distance and zone number should be printed every 60 ms.
- Put a cardboard box on the floor, mark 150, 100, 70, 45 and 25 cm with a tape measure and move the box to these points to check that the zones change correctly.
Arduino parking sensor code (LED bar + buzzer)
The code below applies the zones from the table exactly. It measures every 60 ms, takes the median of the last three readings and generates the beep with millis(), independently of the measurement. There isn't a single delay() in it:
1// Arduino park sensörü: HC-SR04 + 5 LED bar + aktif buzzer / Arduino parking sensor: HC-SR04 + 5-LED bar + active buzzer
2const int TRIG_PIN = 9;
3const int ECHO_PIN = 10;
4const int BUZZER_PIN = 8;
5const int LED_PINS[5] = {2, 3, 4, 5, 6};          // yeşil, yeşil, sarı, sarı, kırmızı / green, green, yellow, yellow, red
6
7// Bölge sınırları (cm) ve bip aralıkları (ms), tablodaki değerler / zone limits (cm) and beep periods (ms) from the table
8const int ZONE_CM[5] = {150, 100, 70, 45, 25};
9const unsigned int BEEP_MS[5] = {800, 500, 300, 150, 0};  // 0 = sürekli ses / 0 = continuous tone
10const unsigned int BEEP_ON_MS = 50;                // her bipin süresi / length of each beep
11const unsigned long MEASURE_MS = 60;               // HC-SR04 için en az 60 ms / at least 60 ms for the HC-SR04
12
13unsigned long lastMeasure = 0;
14unsigned long lastBeep = 0;
15int samples[3] = {999, 999, 999};                  // son 3 ölçüm / last 3 readings
16int sampleIndex = 0;
17int distanceCm = 999;
18int zone = 0;                                      // 0 = güvenli, 5 = dur / 0 = safe, 5 = stop
19
20long readDistanceCm() {
21  digitalWrite(TRIG_PIN, LOW);
22  delayMicroseconds(2);
23  digitalWrite(TRIG_PIN, HIGH);                    // 10 µs tetik darbesi / 10 µs trigger pulse
24  delayMicroseconds(10);
25  digitalWrite(TRIG_PIN, LOW);
26  unsigned long us = pulseIn(ECHO_PIN, HIGH, 25000UL);  // 25 ms zaman aşımı, yaklaşık 4,3 m / 25 ms timeout, about 4.3 m
27  if (us == 0) return 999;                         // yankı yok: engel uzakta / no echo: obstacle far away
28  return us / 58;                                  // µs / 58 = cm (gidiş-dönüş / round trip)
29}
30
31int median3(int a, int b, int c) {                 // üçün ortancası, ani sıçramaları atar / median of three, drops spikes
32  return max(min(a, b), min(max(a, b), c));
33}
34
35int zoneFor(int d) {
36  int z = 0;
37  for (int i = 0; i < 5; i++) {
38    if (d <= ZONE_CM[i]) z = i + 1;
39  }
40  return z;
41}
42
43void updateLeds() {
44  for (int i = 0; i < 5; i++) {
45    digitalWrite(LED_PINS[i], i < zone ? HIGH : LOW);  // bölge kadar LED yak / light as many LEDs as the zone
46  }
47}
48
49void updateBuzzer(unsigned long now) {
50  if (zone == 0) {                                 // güvenli bölge: sessiz / safe zone: silent
51    digitalWrite(BUZZER_PIN, LOW);
52    return;
53  }
54  unsigned int period = BEEP_MS[zone - 1];
55  if (period == 0) {                               // dur bölgesi: sürekli ses / stop zone: continuous tone
56    digitalWrite(BUZZER_PIN, HIGH);
57    return;
58  }
59  if (now - lastBeep >= period) lastBeep = now;    // yeni bip zamanı / time for a new beep
60  digitalWrite(BUZZER_PIN, (now - lastBeep < BEEP_ON_MS) ? HIGH : LOW);
61}
62
63void setup() {
64  pinMode(TRIG_PIN, OUTPUT);
65  pinMode(ECHO_PIN, INPUT);
66  pinMode(BUZZER_PIN, OUTPUT);
67  for (int i = 0; i < 5; i++) pinMode(LED_PINS[i], OUTPUT);
68  Serial.begin(115200);
69}
70
71void loop() {
72  unsigned long now = millis();
73  if (now - lastMeasure >= MEASURE_MS) {           // 60 ms'de bir ölç / measure every 60 ms
74    lastMeasure = now;
75    samples[sampleIndex] = readDistanceCm();
76    sampleIndex = (sampleIndex + 1) % 3;
77    distanceCm = median3(samples[0], samples[1], samples[2]);
78    zone = zoneFor(distanceCm);
79    updateLeds();
80    Serial.print(F("Mesafe / Distance: "));
81    Serial.print(distanceCm);
82    Serial.print(F(" cm  Bolge / Zone: "));
83    Serial.println(zone);
84  }
85  updateBuzzer(millis());                          // bip, ölçümden bağımsız akar / beeping runs independently of measuring
86}| Code part | What it does |
|---|---|
| ZONE_CM and BEEP_MS | Keep the zone limits and beep intervals in one place; to change the table you only edit these two lines. |
| pulseIn(..., 25000UL) | Waits at most 25 ms for the echo (about 4.3 m). If no echo arrives it returns 0, and the code treats that as 999, meaning no obstacle. |
| us / 58 | Converts the round-trip time into centimetres. |
| median3() | Takes the median of the last three readings; a single bad reading doesn't upset the LEDs or the sound. |
| now - lastBeep >= period | Checks whether it's time for a new beep; the buzzer is on for the first 50 ms of each beep and off for the rest. |
| MEASURE_MS = 60 | The shortest measurement cycle recommended for the HC-SR04; measuring faster makes you mistake a late echo from the previous measurement for a new one. |
Measurement accuracy: the effect of temperature and surface
The number 58 in the code assumes the speed of sound is about 345 m/s, in other words that the air is around 22 °C. But the speed of sound changes with temperature: v = 331.3 + 0.606 × T (m/s, T in °C). In winter at 0 °C sound is slower, the echo comes back later and the sensor thinks the obstacle is a little further away than it is. With a real distance of 100 cm, the readings are roughly:
| Air temperature | Speed of sound | Reading (time ÷ 58) |
|---|---|---|
| -10 °C | 325 m/s | About 106 cm |
| 0 °C | 331 m/s | About 104 cm |
| 10 °C | 337 m/s | About 102 cm |
| 20 °C | 343 m/s | About 100 cm |
| 30 °C | 350 m/s | About 99 cm |
| 40 °C | 356 m/s | About 97 cm |
A few centimetres don't matter when parking. Still, if you want the same stop point in a 40 °C garage in summer and below freezing in winter, you can measure the temperature with a DHT11 or DS18B20 and calculate the distance with time × (331.3 + 0.606 × T) / 20000. The surface has a much bigger effect than temperature: a flat wall, a garage door or another car's bumper reflects sound well, while a thin post, a wire fence, a bush or soft surfaces such as fabric weaken the echo or don't return it at all. A surface at an angle to the sensor also bounces the sound away. That's why an ultrasonic parking sensor should never be your only safety measure.
Showing the distance on an OLED display
A 0.96-inch OLED display is ideal for an indicator the driver can see: it shows the distance in big digits and draws a bar underneath that fills as the obstacle gets closer. We cover the display's I2C wiring and how to install the Adafruit SSD1306 and Adafruit GFX libraries in detail in OLED display SSD1306. The screen refreshes five times a second; each refresh takes about 25–30 ms, so drawing more often would upset the measurement and beep timing.
1// Park sensörü + 0,96" OLED: büyük rakamla mesafe ve doluluk çubuğu / parking sensor + 0.96" OLED: big distance digits and a fill bar
2#include <Wire.h>
3#include <Adafruit_GFX.h>
4#include <Adafruit_SSD1306.h>
5
6Adafruit_SSD1306 display(128, 64, &Wire, -1);     // 128x64, reset pini yok / 128x64, no reset pin
7
8const int TRIG_PIN = 9;
9const int ECHO_PIN = 10;
10const int BUZZER_PIN = 8;
11const int LED_PINS[5] = {2, 3, 4, 5, 6};
12const int ZONE_CM[5] = {150, 100, 70, 45, 25};
13const unsigned int BEEP_MS[5] = {800, 500, 300, 150, 0};
14const unsigned int BEEP_ON_MS = 50;
15const int MAX_SHOW_CM = 200;                       // çubuğun boş olduğu mesafe / distance where the bar is empty
16
17unsigned long lastMeasure = 0, lastBeep = 0, lastDraw = 0;
18int samples[3] = {999, 999, 999};
19int sampleIndex = 0;
20int distanceCm = 999;
21int zone = 0;
22
23long readDistanceCm() {
24  digitalWrite(TRIG_PIN, LOW);
25  delayMicroseconds(2);
26  digitalWrite(TRIG_PIN, HIGH);
27  delayMicroseconds(10);
28  digitalWrite(TRIG_PIN, LOW);
29  unsigned long us = pulseIn(ECHO_PIN, HIGH, 25000UL);
30  return us == 0 ? 999 : us / 58;
31}
32
33int median3(int a, int b, int c) {
34  return max(min(a, b), min(max(a, b), c));
35}
36
37void drawScreen() {
38  display.clearDisplay();
39  display.setTextSize(1);
40  display.setCursor(0, 0);
41  if (zone == 5) display.print(F("DUR / STOP"));
42  else if (zone == 0) display.print(F("Yol acik / Clear"));
43  else display.print(F("Yaklasiyor / Closer"));
44
45  display.setTextSize(3);                          // büyük rakamlar / big digits
46  display.setCursor(0, 18);
47  if (distanceCm >= 999) display.print(F("---"));
48  else display.print(distanceCm);
49  display.setTextSize(2);
50  display.print(F(" cm"));
51
52  // Yaklaştıkça dolan çubuk / a bar that fills as you get closer
53  int d = constrain(distanceCm, 0, MAX_SHOW_CM);
54  int fill = map(d, MAX_SHOW_CM, 0, 0, 124);
55  display.drawRect(0, 50, 128, 12, SSD1306_WHITE);
56  display.fillRect(2, 52, fill, 8, SSD1306_WHITE);
57  display.display();
58}
59
60void setup() {
61  pinMode(TRIG_PIN, OUTPUT);
62  pinMode(ECHO_PIN, INPUT);
63  pinMode(BUZZER_PIN, OUTPUT);
64  for (int i = 0; i < 5; i++) pinMode(LED_PINS[i], OUTPUT);
65  if (!display.begin(SSD1306_SWITCHCAPVCC, 0x3C)) {  // OLED adresi genelde 0x3C / OLED address is usually 0x3C
66    for (;;);                                      // ekran yoksa dur / stop if no display
67  }
68  display.setTextColor(SSD1306_WHITE);
69}
70
71void loop() {
72  unsigned long now = millis();
73  if (now - lastMeasure >= 60) {
74    lastMeasure = now;
75    samples[sampleIndex] = readDistanceCm();
76    sampleIndex = (sampleIndex + 1) % 3;
77    distanceCm = median3(samples[0], samples[1], samples[2]);
78    zone = 0;
79    for (int i = 0; i < 5; i++) if (distanceCm <= ZONE_CM[i]) zone = i + 1;
80    for (int i = 0; i < 5; i++) digitalWrite(LED_PINS[i], i < zone ? HIGH : LOW);
81  }
82  if (now - lastDraw >= 200) {                     // ekranı saniyede 5 kez yenile / refresh the screen 5 times a second
83    lastDraw = now;
84    drawScreen();
85  }
86  now = millis();
87  if (zone == 0) {
88    digitalWrite(BUZZER_PIN, LOW);
89  } else if (BEEP_MS[zone - 1] == 0) {
90    digitalWrite(BUZZER_PIN, HIGH);
91  } else {
92    if (now - lastBeep >= BEEP_MS[zone - 1]) lastBeep = now;
93    digitalWrite(BUZZER_PIN, (now - lastBeep < BEEP_ON_MS) ? HIGH : LOW);
94  }
95}
Depending on the zone, the top line shows Yol acik / Clear, Yaklasiyor / Closer or DUR / STOP. The texts are bilingual (Turkish / English) and written without special characters, because the OLED library's default font only covers plain ASCII. About 1 KB of the Uno's 2 KB of RAM goes to the screen buffer; as you extend the code, keep fixed text inside F(), otherwise the display may not start at all.
Parking sensor with the ESP32
The ESP32 version has three differences. First, the sensor is still powered from 5 V, but the ECHO pin goes through the voltage divider. Second, we use a passive buzzer instead of an active one and generate the sound as a 2.5 kHz tone with the ESP32's LEDC hardware; by changing the frequency you can choose the sound yourself. Third, we added 3 cm of hysteresis so the LEDs don't flicker at a zone boundary: as the car moves away, the distance has to pass the limit by 3 cm before dropping to a lower zone. Because the LEDC functions changed in version 3.x of the ESP32 Arduino core, the code uses an ESP_ARDUINO_VERSION_MAJOR check and compiles on both 2.x and 3.x.
1// ESP32 park sensörü: HC-SR04 + 5 LED + pasif buzzer (LEDC), çekirdek 2.x ve 3.x / ESP32 parking sensor: HC-SR04 + 5 LEDs + passive buzzer (LEDC), core 2.x and 3.x
2const int TRIG_PIN = 4;
3const int ECHO_PIN = 18;                           // 1 kΩ + 2 kΩ gerilim bölücüyle / through a 1 kΩ + 2 kΩ divider
4const int BUZZER_PIN = 19;
5const int LED_PINS[5] = {25, 26, 27, 32, 33};
6const int ZONE_CM[5] = {150, 100, 70, 45, 25};
7const unsigned int BEEP_MS[5] = {800, 500, 300, 150, 0};
8const unsigned int BEEP_ON_MS = 50;
9const unsigned int TONE_HZ = 2500;                 // pasif buzzerın en yüksek sesi genelde 2–4 kHz / passive buzzers are loudest around 2–4 kHz
10const int HYST_CM = 3;                             // bölge sınırında titremeyi önler / stops flicker at zone limits
11const int BUZZER_CH = 0;                           // yalnız 2.x için LEDC kanalı / LEDC channel, 2.x only
12
13unsigned long lastMeasure = 0, lastBeep = 0;
14int samples[3] = {999, 999, 999};
15int sampleIndex = 0;
16int distanceCm = 999;
17int zone = 0;
18bool buzzerOn = false;
19
20void buzzer(bool on) {
21  if (on == buzzerOn) return;                      // yalnız değişince yaz / write only on change
22  buzzerOn = on;
23#if ESP_ARDUINO_VERSION_MAJOR >= 3
24  ledcWriteTone(BUZZER_PIN, on ? TONE_HZ : 0);     // 3.x: pin numarasıyla / 3.x: by pin number
25#else
26  ledcWriteTone(BUZZER_CH, on ? TONE_HZ : 0);      // 2.x: kanal numarasıyla / 2.x: by channel number
27#endif
28}
29
30long readDistanceCm() {
31  digitalWrite(TRIG_PIN, LOW);
32  delayMicroseconds(2);
33  digitalWrite(TRIG_PIN, HIGH);
34  delayMicroseconds(10);
35  digitalWrite(TRIG_PIN, LOW);
36  unsigned long us = pulseIn(ECHO_PIN, HIGH, 25000UL);
37  return us == 0 ? 999 : us / 58;
38}
39
40int median3(int a, int b, int c) {
41  return max(min(a, b), min(max(a, b), c));
42}
43
44int zoneFor(int d, int current) {
45  int z = 0;
46  for (int i = 0; i < 5; i++) if (d <= ZONE_CM[i]) z = i + 1;
47  if (current > 0 && z < current && d <= ZONE_CM[current - 1] + HYST_CM) z = current;  // uzaklaşırken 3 cm pay / 3 cm margin when moving away
48  return z;
49}
50
51void setup() {
52  Serial.begin(115200);
53  pinMode(TRIG_PIN, OUTPUT);
54  pinMode(ECHO_PIN, INPUT);
55  for (int i = 0; i < 5; i++) pinMode(LED_PINS[i], OUTPUT);
56#if ESP_ARDUINO_VERSION_MAJOR >= 3
57  ledcAttach(BUZZER_PIN, TONE_HZ, 8);              // 3.x: pin, frekans, çözünürlük / 3.x: pin, frequency, resolution
58#else
59  ledcSetup(BUZZER_CH, TONE_HZ, 8);                // 2.x: kanal kur, sonra pine bağla / 2.x: set up a channel, then attach the pin
60  ledcAttachPin(BUZZER_PIN, BUZZER_CH);
61#endif
62  buzzerOn = true;
63  buzzer(false);                                   // sessiz başla / start silent
64}
65
66void loop() {
67  unsigned long now = millis();
68  if (now - lastMeasure >= 60) {
69    lastMeasure = now;
70    samples[sampleIndex] = readDistanceCm();
71    sampleIndex = (sampleIndex + 1) % 3;
72    distanceCm = median3(samples[0], samples[1], samples[2]);
73    zone = zoneFor(distanceCm, zone);
74    for (int i = 0; i < 5; i++) digitalWrite(LED_PINS[i], i < zone ? HIGH : LOW);
75    Serial.printf("Mesafe / Distance: %d cm  Bolge / Zone: %d\n", distanceCm, zone);
76  }
77  now = millis();
78  if (zone == 0) {
79    buzzer(false);
80  } else if (BEEP_MS[zone - 1] == 0) {
81    buzzer(true);
82  } else {
83    if (now - lastBeep >= BEEP_MS[zone - 1]) lastBeep = now;
84    buzzer(now - lastBeep < BEEP_ON_MS);
85  }
86}Mounting tips for a car or garage
- Height and angle: Mount the sensor 50–70 cm above the ground, parallel to it and tilted 3–5 degrees upwards. A sensor that points down mistakes bumps in the road and the kerb for obstacles.
- Water and dust: The HC-SR04 isn't waterproof; rain, mud and car washes soon ruin it. For a system fitted to the bumper, use a waterproof ultrasonic probe such as the JSN-SR04T. These probes have a minimum range of 20–25 cm, so you'll need to move the stop zone to 30–35 cm.
- Power: A car's electrical system rises to 13.8–14.4 V with the engine running, with sudden dips when cranking and spikes when a load is switched off. Don't power the Arduino straight from 12 V; step it down to 5 V with a buck converter such as the LM2596 and run it through a 1 A fuse. If you power the circuit from the reversing light circuit, the system only runs in reverse gear.
- Wiring: You can put the sensor in the bumper, the Arduino in the boot (trunk), and the buzzer and LED bar where the driver can see them. For TRIG and ECHO cables longer than 3–4 metres use twisted-pair wire and add a 100 nF capacitor between the sensor's VCC and GND.
- Several sensors: Real cars usually have 3–4 sensors in the rear bumper. If you trigger two HC-SR04s at the same time, one hears the other's echo; measure them one after another with at least 30–60 ms in between and report the smallest distance to the driver.
- Garage wall version: If you don't want to touch the car at all, mount the sensor on the back wall of the garage at bumper height. As the car comes in, the LED bar goes from green to red like a traffic light; this is the easiest and safest parking aid of all.
Common mistakes and fixes
| Symptom | Likely cause | Fix |
|---|---|---|
| Distance is always 999 or never changes | TRIG and ECHO swapped, VCC isn't 5 V or a wire is loose | Compare the pins with the wiring table and power the sensor from 5V |
| Values jump around randomly | Soft or angled surface, loose breadboard, measuring too often | Use the median filter and leave at least 60 ms between measurements |
| Distance freezes while beeping | There's a delay() in the code | Generate the beep with millis() and use the code in this article |
| Buzzer crackles or stays silent | Active-buzzer code used with a passive buzzer, or the other way round | Use an active buzzer with the Uno code and a passive one with the ESP32 code |
| LEDs flicker at a zone boundary | The distance is hovering right at the limit | Add the ESP32 code's 3 cm hysteresis to the Uno code too |
| ESP32 reads no distance at all | Sensor powered from 3.3 V or divider wired backwards | Connect VCC to VIN and make sure the 2 kΩ resistor is on the GND side |
| Correct on the desk, false alarms on the car | The sensor sees the ground, the number plate or the tow bar | Mount the sensor higher and tilt it 3–5 degrees upwards |
| Buzzer is too quiet | The pin can't supply enough current | Drive the buzzer with an NPN transistor such as a BC547 |
Projects to try after the parking sensor
- Colour garage indicator: Use a WS2812B NeoPixel ring instead of the LED bar and let it fill from green to red as the car gets closer.
- Car park occupancy system: Build an Arduino parking system that puts a sensor in each space and counts the empty ones.
- Ultrasonic radar: Make an Arduino radar that sweeps the sensor on a servo to scan its surroundings.
- Obstacle-avoiding robot: Combine the same distance measurement with motor control to make an obstacle-avoiding robot.
- Precise short-range measurement: To set the stop point to the millimetre, try the VL53L0X laser distance sensor; you'll find the differences in our distance sensor comparison.
Because an Arduino parking sensor combines sound, light and measurement in one project, it's a great choice both as a first serious project and for a science fair. Tune the zone table to your car, test the system in the garage first, then take it a step further with the mounting tips. You'll find the step-by-step wiring diagram and ready-made code for the same circuit in the HC-SR04 parking sensor and ESP32 parking sensor projects in the BlueGrays app.
Frequently asked questions
How do you make a parking sensor with Arduino?
You need an HC-SR04 ultrasonic sensor, a buzzer and a few LEDs. The Arduino measures the echo time every 60 ms, converts it to centimetres with time / 58 and maps the distance to zones that set the beep rate and the number of lit LEDs. Using millis() instead of delay() keeps the measurement running while it beeps.
How far can an HC-SR04 detect?
On paper the HC-SR04 measures 2–400 cm, but on a flat, wide surface the reliable range is about 3–250 cm. For parking, starting the warning at 150 cm is plenty. Thin posts and soft surfaces may not show up even at shorter distances.
Should I use an active or passive buzzer for a parking sensor?
An active buzzer has its own oscillator, so it beeps as soon as it gets 5 V and works with digitalWrite; the Uno code in this article is written for one. A passive buzzer needs a frequency from tone() or, on the ESP32, from LEDC, but lets you choose the pitch. To tell them apart, apply 5 V: the one that beeps on its own is active.
Can I mount an HC-SR04 on a car bumper?
You can, but the HC-SR04 isn't waterproof or dustproof and won't survive rain and car washes for long. Outside the car, a waterproof probe such as the JSN-SR04T is the better choice. If you only need help in the garage, mounting the sensor on the wall is the easiest solution.
Why does my HC-SR04 give random or wrong readings?
The usual causes are a loose wire, the sensor seeing the ground, soft or angled surfaces, and waiting less than 60 ms between measurements. Taking the median of the last three readings removes the occasional bad value. Tilting the sensor 3–5 degrees upwards also reduces ground echoes.
Can I use multiple HC-SR04 sensors at the same time?
Yes, but if they fire at the same moment they can hear each other's echoes. Measure the sensors one after another with at least 30–60 ms in between and report the smallest distance. Each sensor just needs its own TRIG and ECHO pins.
Projects to build after reading this
See all projects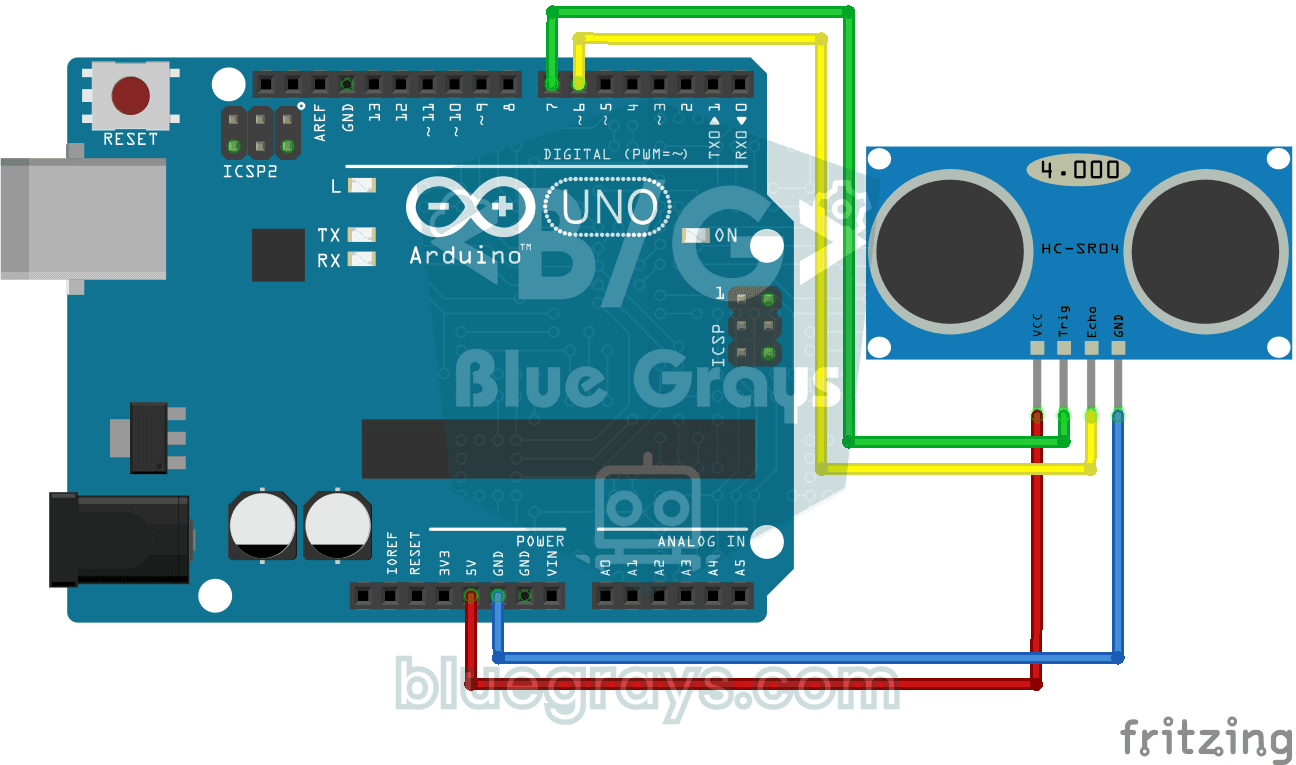
HC-SR04 Distance Measurement (Serial Display)
The HC-SR04 sensor works just like a bat finding its way in the dark: it sends out a sound you cannot hear, listens for the echo and measures how far away the object in front of it is.
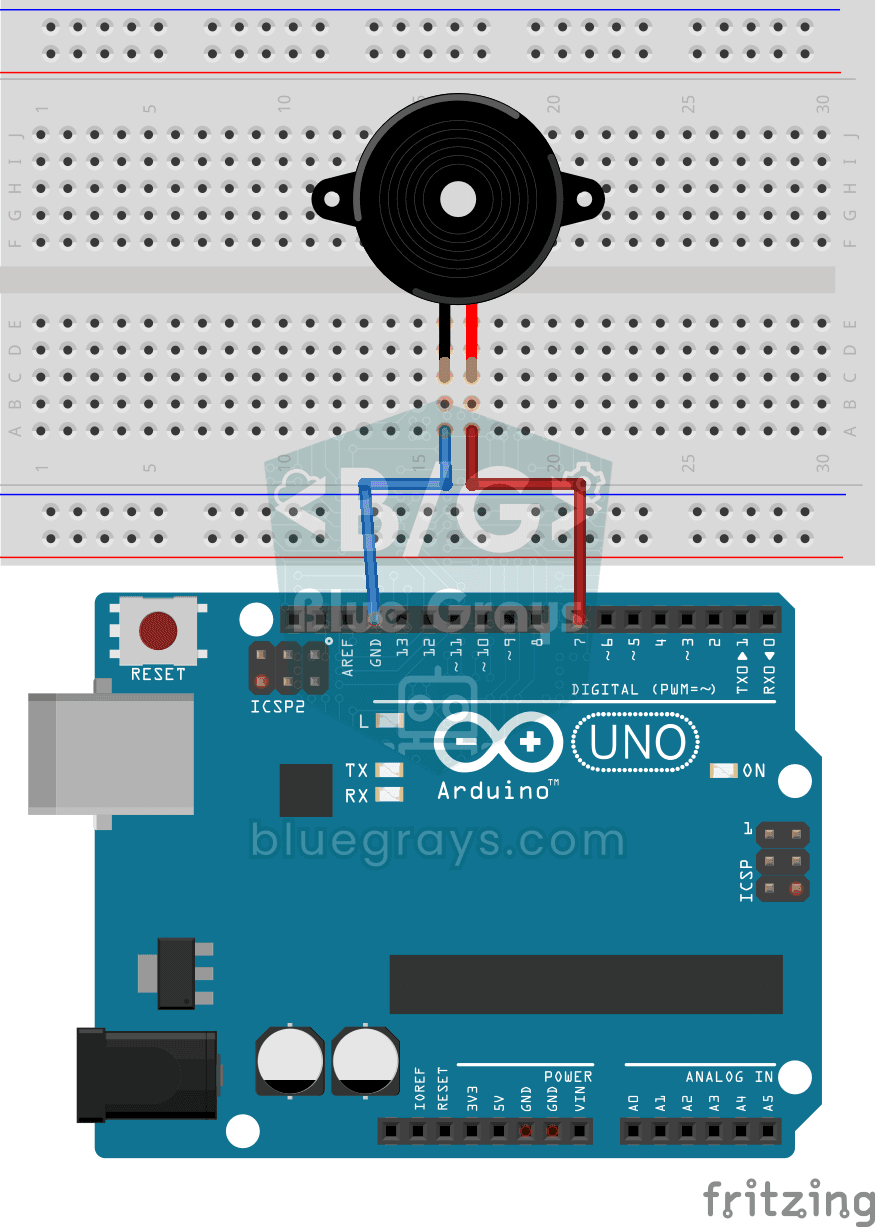
Using a Buzzer
Ever wondered how a doorbell or an alarm makes its sound? The Arduino makes a small buzzer beep at short intervals: beep, pause, beep, pause.
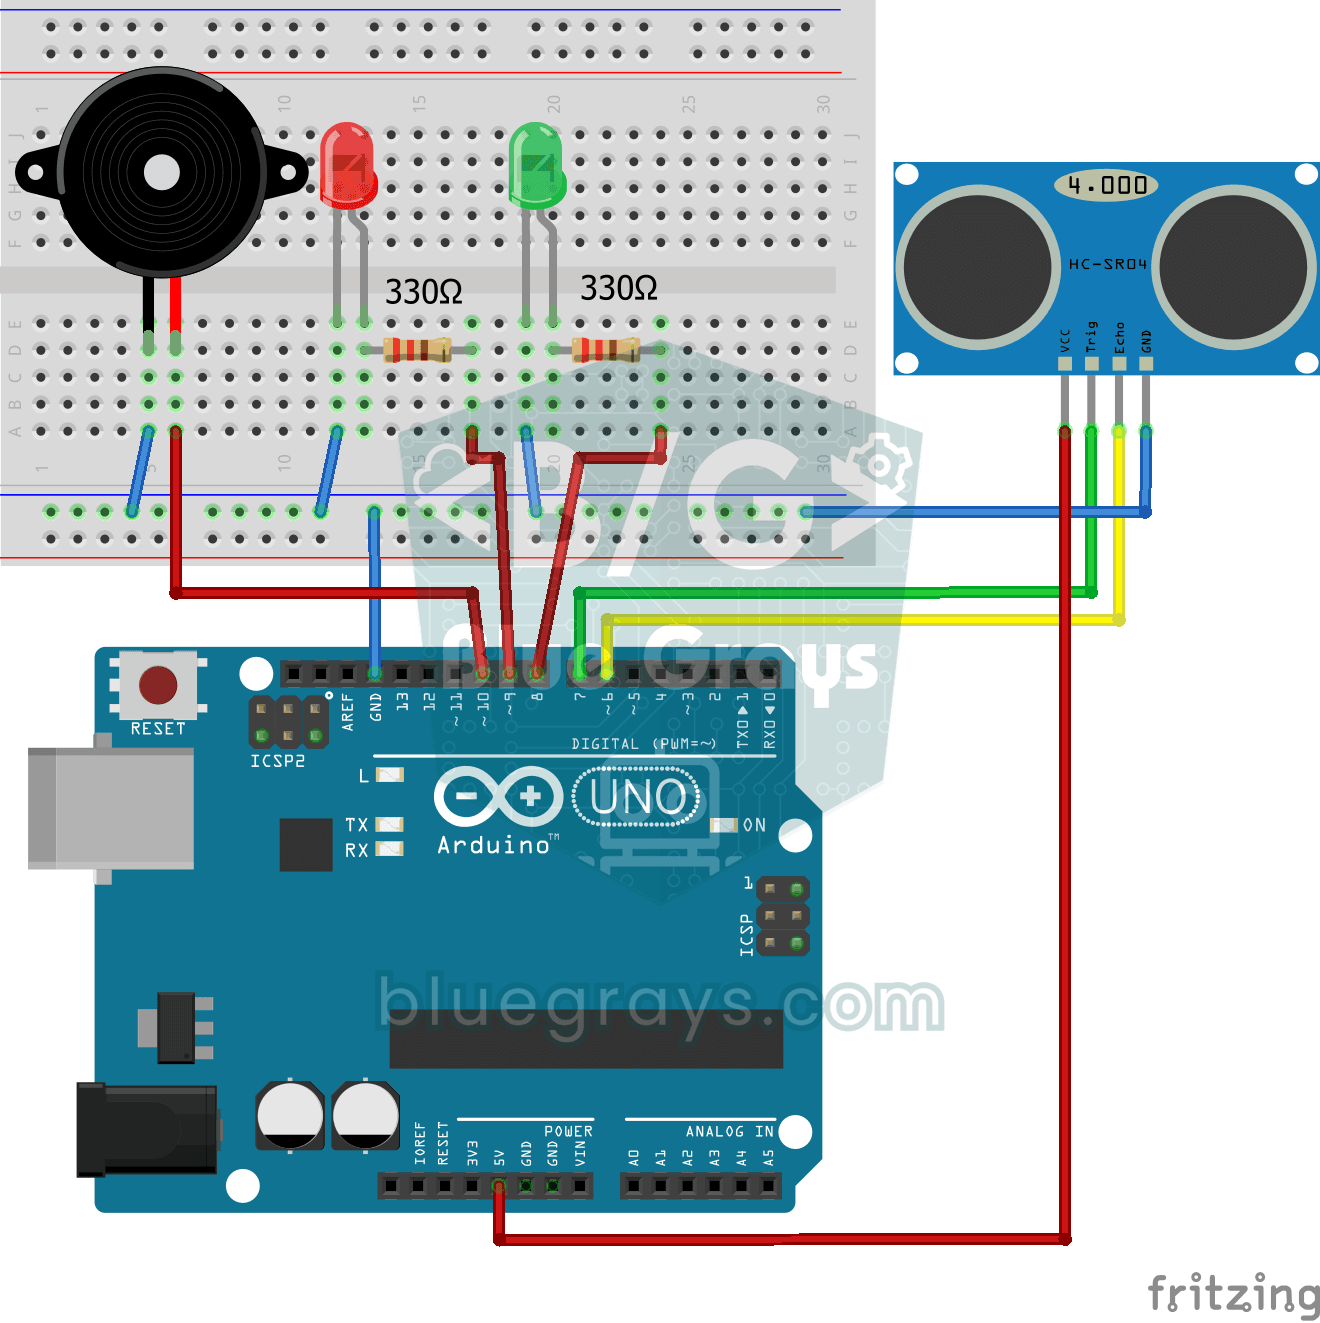
Parking Sensor with HC-SR04
A mini version of a car's parking sensor: the closer something gets, the faster the beeps.

ESP32 Parking Sensor (HC-SR04 + 5-LED Bar + Buzzer + OLED)
The ESP32 version of a car parking sensor! The HC-SR04 ultrasonic sensor measures the distance to the object in front. As it gets closer, a 5-LED bar fills up (green → yellow → red) and the buzzer beeps faster. Very close (under 10 cm), a continuous alarm sounds and all LEDs light up. The SSD1306 OLED display shows the live distance in cm in large text, plus a status message.

ESP32 HC-SR04 Ultrasonic Distance Sensor
The HC-SR04 ultrasonic sensor measures distance by timing how long its sound pulse takes to bounce off an object and return (time of flight). In this project the ESP32 sends a 10-microsecond pulse to the TRIG pin and reads the echo time from the ECHO pin with pulseIn(). The distance is shown in cm on a 16x2 I2C LCD. The HC-SR04 runs on 5V, so the ECHO pin needs a voltage divider, or the ESP32's 3.3V GPIO gets damaged.
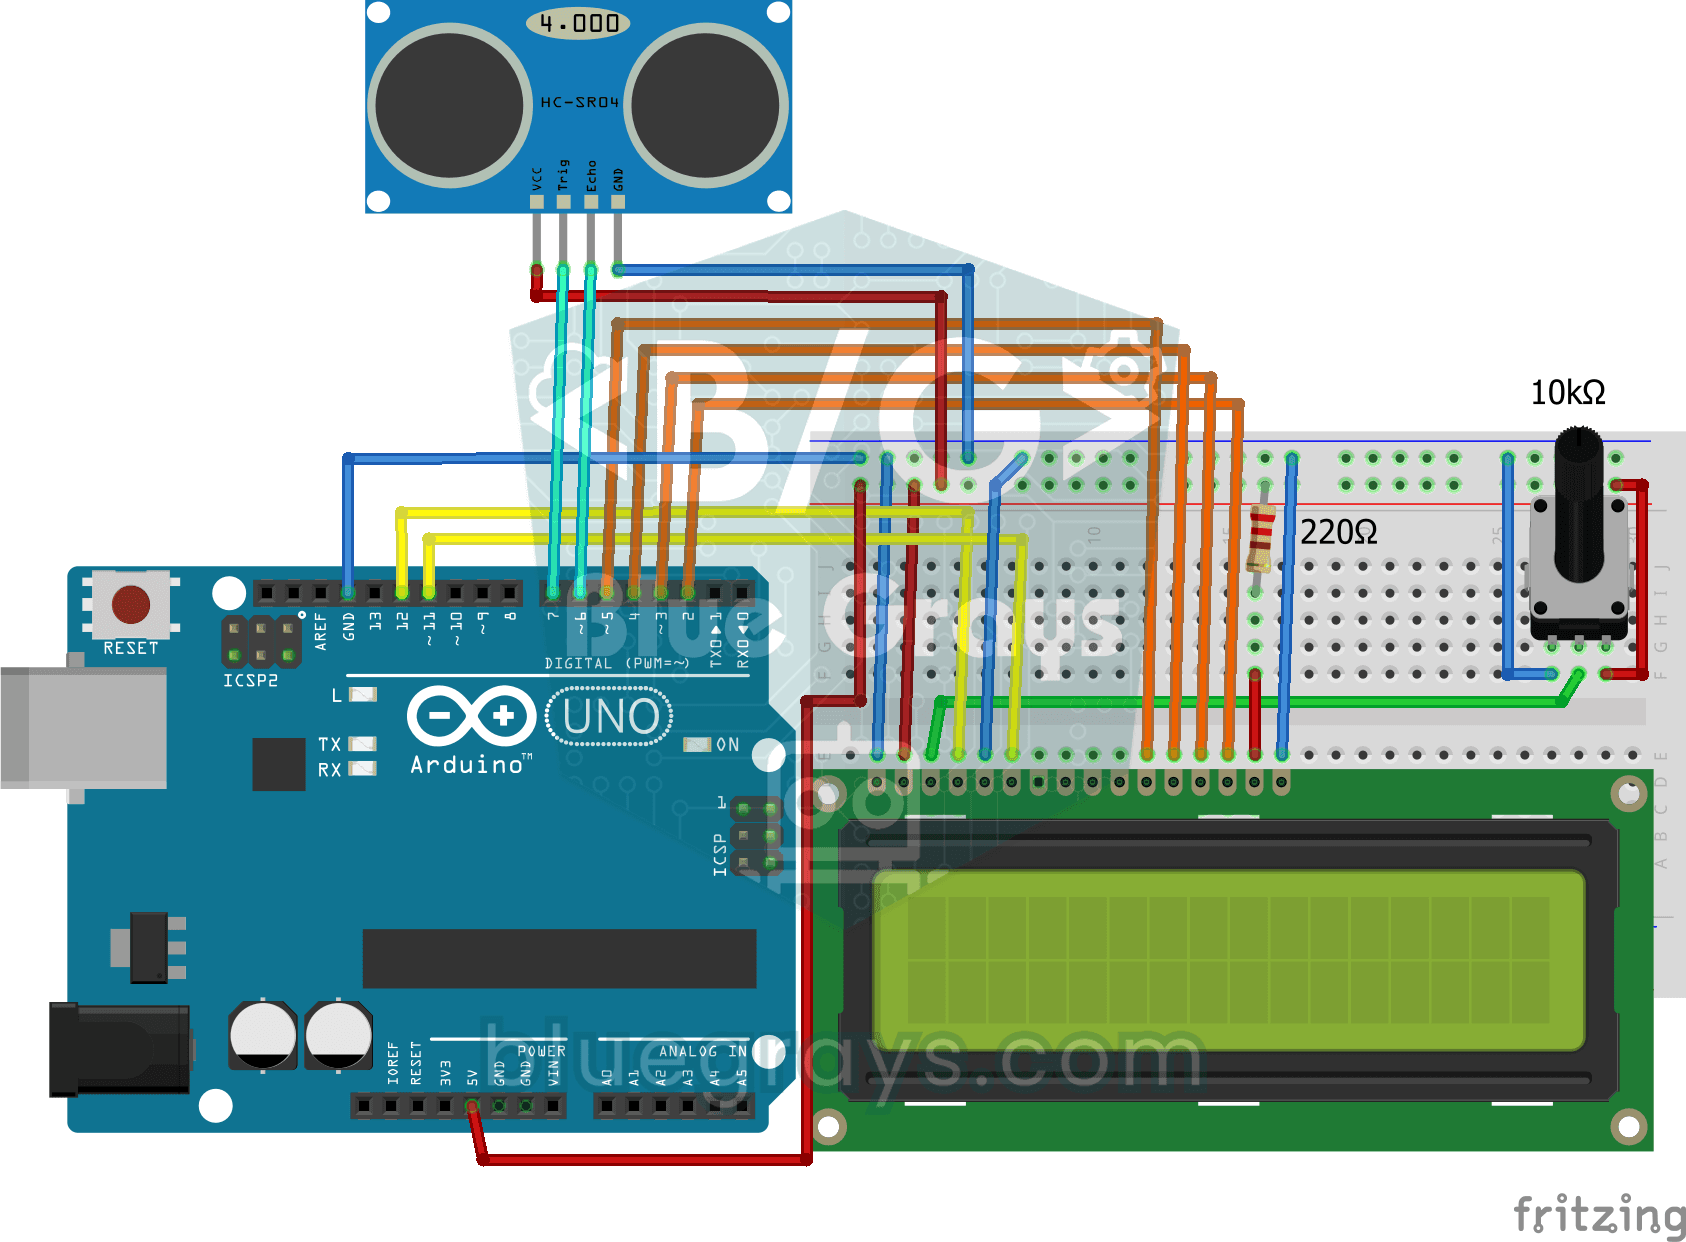
Measuring Distance Using LCD Display
A tool that measures distance without a ruler: move your hand back and forth in front of the sensor and watch the number change.

Obstacle Avoidance Robot
How about building a smart vehicle that finds its own way? The Obstacle Avoidance Robot constantly scans its surroundings thanks to the ultrasonic sensor in front of it.
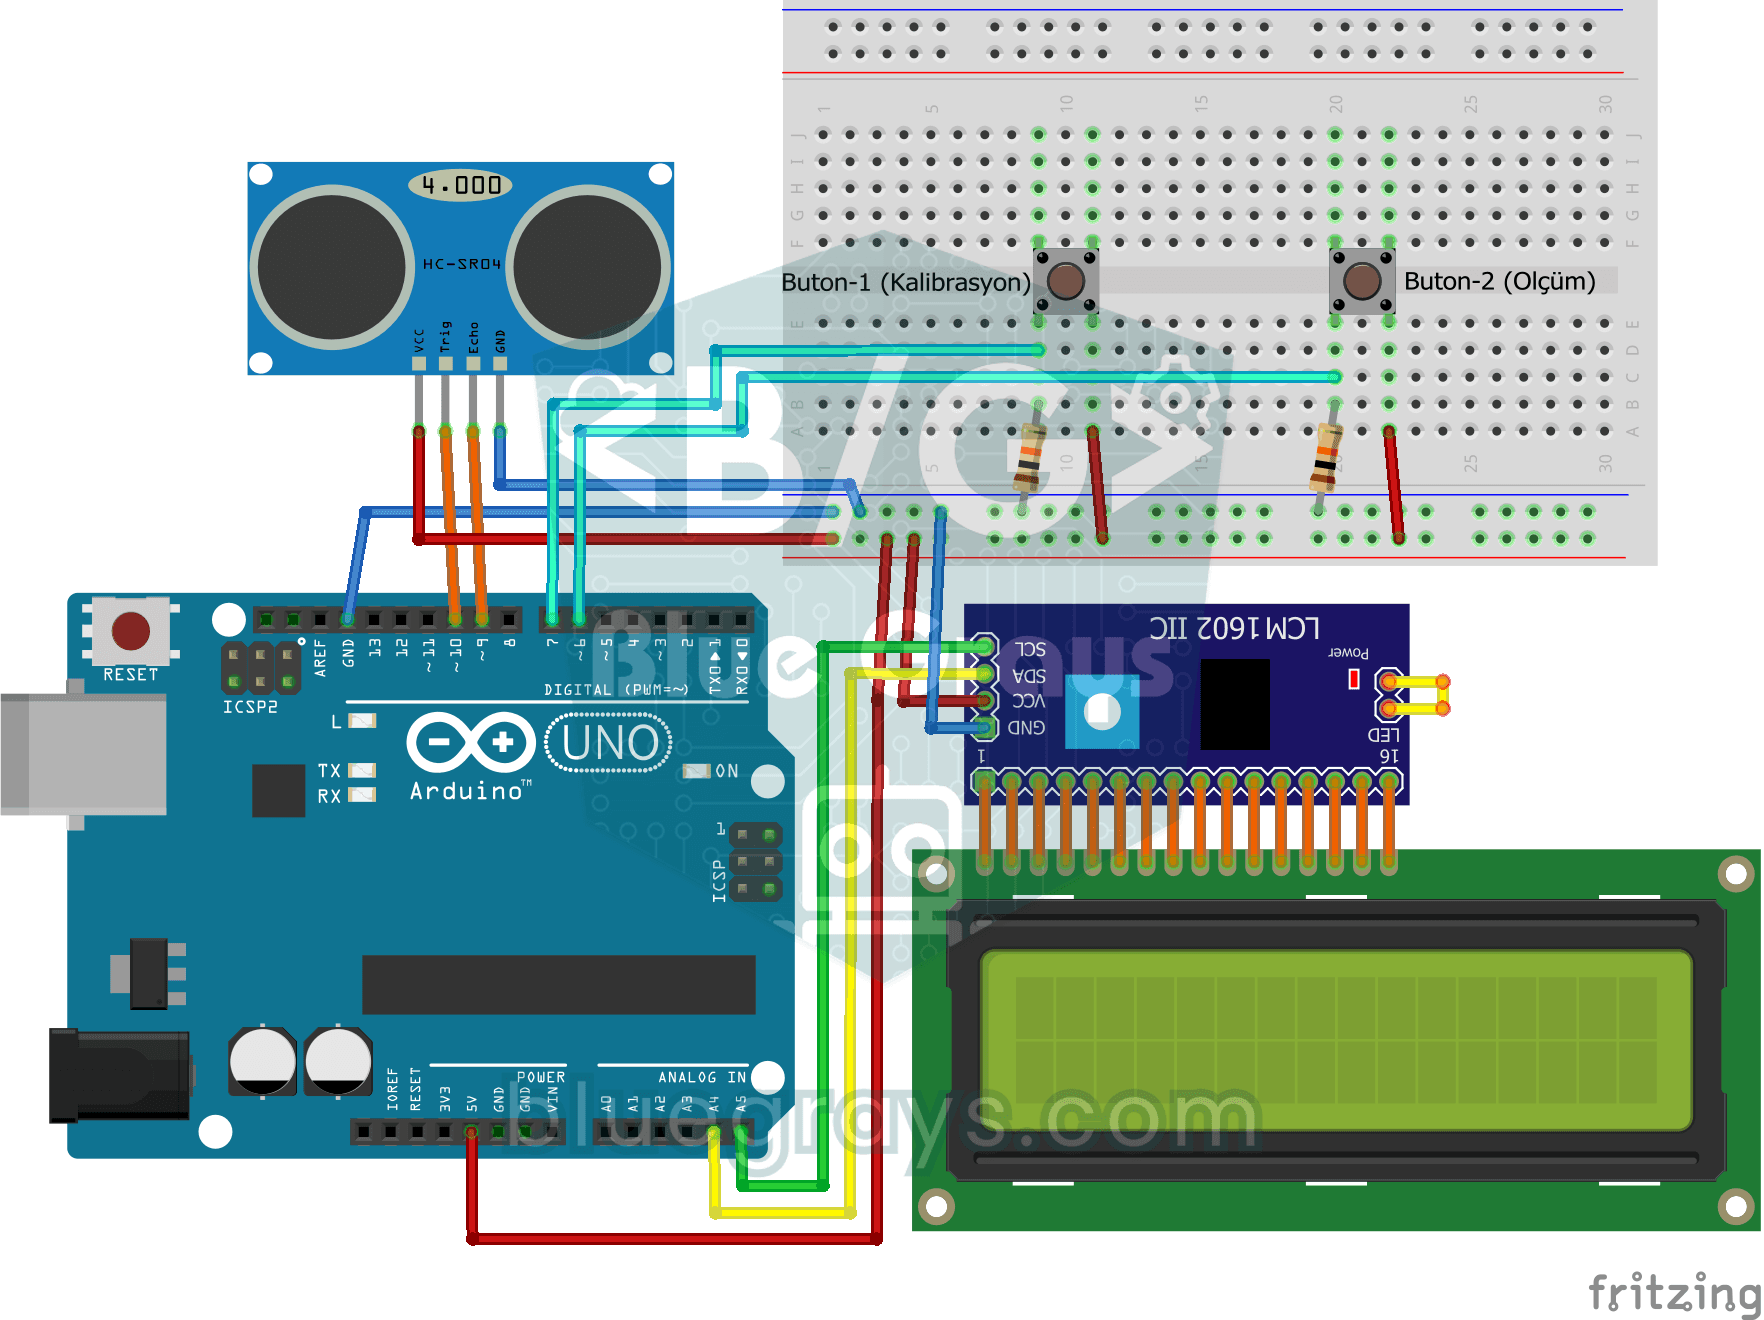
Height Measurement Project
A height meter that hangs from a door frame and tells you, in centimetres, how tall the person standing under it is.