
Arduino Parking System: Barrier Gate and LCD Free-Space Counter
How do you build an Arduino parking system? HC-SR04 and IR sensors detect spaces, an SG90 servo barrier, free spots on an I2C LCD, plus Uno, ESP32 and Pico code.

An Arduino parking system is a model project that uses sensors to detect whether each parking space is taken or free, opens and closes an entrance barrier with a servo motor, and shows the number of remaining spaces on an LCD. It's a small desktop copy of the "Free spaces: 12" signs you see at shopping-centre car parks. Because it combines distance measuring, digital inputs, servo control and a display in one circuit, it makes a great first big project as well as a school or science fair presentation.
In this guide you'll build a four-space model from start to finish: an infrared sensor in every space, an HC-SR04 ultrasonic sensor at the entrance that opens the barrier when a car approaches, a separate sensor at the exit, an SG90 servo barrier and a 16x2 I2C LCD. First we'll go through the Arduino Uno code line by line, then move the same system to the ESP32 with a web dashboard you can watch from your phone, and finally write a MicroPython version for the Raspberry Pi Pico. At the end you'll find model dimensions and presentation tips.
What is an Arduino parking system and how does it work?
The system does three jobs at once. The first is occupancy tracking: a sensor placed on or beside each space constantly reports whether a car is there; the Arduino counts the occupied spaces and subtracts them from the total. The second is barrier control: when the entrance sensor sees a car and there is a free space, the barrier lifts 90 degrees and lowers a few seconds after the car has passed; if the car park is full, the barrier stays closed and the red LED lights. For a car coming from the exit, the barrier always opens. The third is information: the first line of the LCD shows "Free: 3/4" and the second line shows the state of each space. Because we calculate the free-space count directly from the space sensors rather than by counting entries and exits, the counter doesn't drift permanently even if a sensor misses a car; that's far more reliable than simple projects based on entry-exit counting.
| Job | Component | What it does |
|---|---|---|
| Space occupancy | 4 infrared obstacle sensors (FC-51 or TCRT5000 module) | OUT pin goes LOW when a car is present |
| Detecting a car at the entrance | HC-SR04 ultrasonic sensor | Measures the car's distance in cm |
| Detecting a car at the exit | 1 infrared obstacle sensor | Sees the car coming from inside |
| Barrier | SG90 servo motor + popsicle stick | 0° closed, 90° open |
| Information display | 16x2 I2C LCD | Free-space count and space states |
| Status light | Green and red LED | Space available / car park full |
Parts list
| Part | Qty | Note |
|---|---|---|
| Arduino Uno (or Nano) | 1 | ESP32 and Pico versions below |
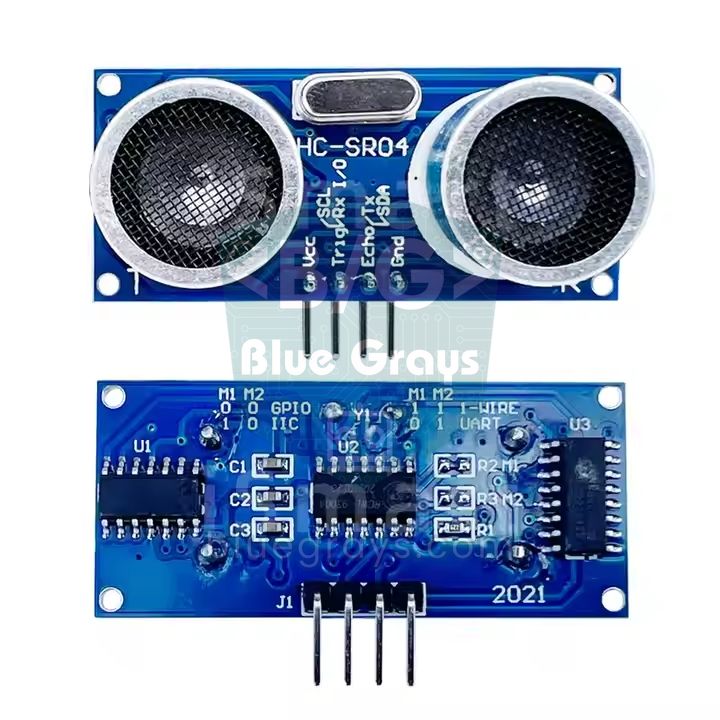
| HC-SR04 distance sensor | 1 | Runs on 5 V |
| Infrared obstacle sensor (FC-51 / TCRT5000 module) | 5 | 4 spaces + 1 exit |
| SG90 servo motor | 1 | For the barrier arm |
| 16x2 LCD + I2C module | 1 | Address is usually 0x27 or 0x3F |
| Green and red LED | 2 | 220 Ω resistor for each |
| Breadboard and jumper wires | 1 set | Male-to-female wires are handy for the sensors |
| External 5 V adapter (2 A) | 1 | Recommended for the servo and sensors |
| Model materials | - | Foam board, cardboard, toy cars, coloured tape |
HC-SR04 or infrared sensor?
You can detect space occupancy in two ways. The HC-SR04 measures a car with sound waves; if you put one in every space, each uses two pins (TRIG and ECHO), so four spaces cost eight pins. Also, if the sensors measure at the same time they can hear each other's echoes, so they have to be triggered one after another. Infrared obstacle sensors give a single digital output, are cheap, and their detection distance is set with the small potentiometer on the board. That's why the best balance is infrared sensors in the spaces and an HC-SR04, which gives distance as a number, at the entrance. You can find the differences between sensor types in more detail in the distance sensor comparison article.
| Feature | HC-SR04 | FC-51 obstacle sensor | TCRT5000 module |
|---|---|---|---|
| Detection range | 2–400 cm | About 2–30 cm (adjustable) | About 1–25 mm |
| Output | Pulse duration (measured) | Digital (LOW = obstacle) | Digital + analog |
| Pins used | 2 | 1 | 1 |
| Supply | 5 V | 3.3–5 V | 3.3–5 V |
| Weakness | Soft and angled surfaces | Sunlight, black surfaces | Very short range, black surfaces |
| Best place in a car park | Entrance barrier | Back edge of a space | Floor of a space |
Wiring diagram and pin table
| Connection | Arduino Uno | ESP32 | Raspberry Pi Pico |
|---|---|---|---|
| Space 1–4 sensors (OUT) | D2, D3, D4, D5 | GPIO 32, 33, 25, 26 | GP2, GP3, GP4, GP5 |
| Exit sensor (OUT) | D6 | GPIO 27 | GP6 |
| HC-SR04 TRIG | D7 | GPIO 23 | GP16 |
| HC-SR04 ECHO | D8 | GPIO 18 (via voltage divider) | GP17 (via voltage divider) |
| Servo signal (orange wire) | D9 | GPIO 13 | GP15 |
| Green / red LED (with 220 Ω) | D10 / D11 | Not used | Not used |
| I2C LCD SDA / SCL | A4 / A5 | Not used | Not used |
| Power | Sensors 5V, servo external 5 V | HC-SR04 and servo 5V/VIN, IR sensors 3V3 | HC-SR04 and servo VBUS, IR sensors 3V3(OUT) |
Adjust the blue potentiometer on each infrared sensor so that its LED lights when a toy car is in the space and goes out when the car is removed. On the Arduino Uno a 220 Ω resistor is fine for the LEDs; if you use a different colour or voltage, find the value with the LED resistor calculator. You can quickly check board pin layouts with the pinout tool. I2C LCD wiring details and the address scanner code are covered in the I2C LCD display article.
Building the car park model step by step
- Get a piece of foam board or thick cardboard about 40×30 cm; this size is enough for four spaces, an entrance lane and an electronics compartment.
- Measure your toy car and draw each space about 1.5 times the car's width; 6×11 cm areas suit a 1:43 scale car. Make the lines stand out with white or yellow tape.
- Place an FC-51 sensor at the back edge of each space facing the car, or cut a small hole in the floor and bury a TCRT5000 facing up. Route the wires under the board.
- Next to the entrance lane, place the HC-SR04 facing the middle of the lane, 5–10 cm before the barrier. Put the fifth infrared sensor in the exit lane.
- Fix the SG90 with hot glue inside a small booth cut from foam and glue a painted popsicle stick to the servo arm. Before attaching the arm, move the servo to 0 degrees, then fit the stick so that it's horizontal.
- Put the LCD and LEDs on a sign board where the driver will see them at the entrance; hide the Arduino and breadboard in the compartment behind or under the board.
- Check every connection against the pin table; first test only the sensors in the Serial Monitor, then add the servo and the LCD.
Arduino Uno parking code
For this code you only need to install the LiquidCrystal I2C library (by Frank de Brabander) from the Library Manager; the Servo and Wire libraries come with the Arduino IDE. If the LCD shows nothing, change the 0x27 address in the code to 0x3F. The program doesn't use a long delay to hold the barrier; it times it with millis, so it keeps reading the sensors while the barrier is open. Because the Servo library uses Timer1 on the Uno, analogWrite doesn't work on D9 and D10; since we only switch the LEDs on and off, this isn't a problem.
1#include <Wire.h>
2#include <LiquidCrystal_I2C.h>
3#include <Servo.h>
4
5const byte SPOT_COUNT = 4;
6const byte SPOT_PINS[SPOT_COUNT] = {2, 3, 4, 5};  // park yeri sensörleri / parking spot sensors
7const byte EXIT_PIN  = 6;    // çıkış sensörü / exit sensor
8const byte TRIG_PIN  = 7;    // HC-SR04 TRIG
9const byte ECHO_PIN  = 8;    // HC-SR04 ECHO
10const byte SERVO_PIN = 9;    // bariyer servosu / barrier servo
11const byte GREEN_LED = 10;   // yer var / space available
12const byte RED_LED   = 11;   // otopark dolu / car park full
13
14const int GATE_CLOSED = 0;                // kapalı açı / closed angle
15const int GATE_OPEN   = 90;               // açık açı / open angle
16const long CAR_DISTANCE_CM = 8;           // bu mesafeden yakınsa araç var / car present if closer
17const unsigned long GATE_HOLD_MS = 3000;  // son algılamadan sonra bekleme / wait after last detection
18
19LiquidCrystal_I2C lcd(0x27, 16, 2);       // adres 0x27 ya da 0x3F / address 0x27 or 0x3F
20Servo gate;
21
22bool gateOpen = false;
23unsigned long lastSeen = 0;
24byte lastMask = 0xFF;                     // ilk çizimi zorlar / forces the first redraw
25
26byte readSpots() {
27  byte mask = 0;
28  for (byte i = 0; i < SPOT_COUNT; i++) {
29    if (digitalRead(SPOT_PINS[i]) == LOW) {   // LOW = araç var / LOW = car present
30      mask |= (1 << i);
31    }
32  }
33  return mask;
34}
35
36byte freeSpots(byte mask) {
37  byte count = 0;
38  for (byte i = 0; i < SPOT_COUNT; i++) {
39    if (!(mask & (1 << i))) count++;
40  }
41  return count;
42}
43
44long readDistanceCm() {
45  digitalWrite(TRIG_PIN, LOW);
46  delayMicroseconds(2);
47  digitalWrite(TRIG_PIN, HIGH);
48  delayMicroseconds(10);                  // 10 µs tetik darbesi / 10 µs trigger pulse
49  digitalWrite(TRIG_PIN, LOW);
50  unsigned long us = pulseIn(ECHO_PIN, HIGH, 25000UL);  // 25 ms zaman aşımı / 25 ms timeout
51  if (us == 0) return 999;                // yankı yok / no echo
52  return us / 58;                         // µs -> cm
53}
54
55void showLcd(byte mask, byte freeCount) {
56  lcd.setCursor(0, 0);
57  lcd.print(F("Bos yer: "));
58  lcd.print(freeCount);
59  lcd.print('/');
60  lcd.print(SPOT_COUNT);
61  lcd.print(F("    "));
62  lcd.setCursor(0, 1);
63  for (byte i = 0; i < SPOT_COUNT; i++) {
64    lcd.print(i + 1);
65    lcd.print((mask & (1 << i)) ? 'X' : '-');   // X = dolu, - = boş / X = occupied, - = free
66    lcd.print(' ');
67  }
68  if (freeCount == 0) {
69    lcd.print(F("DOLU"));                 // otopark dolu / car park full
70  } else {
71    lcd.print(F("    "));
72  }
73}
74
75void setup() {
76  for (byte i = 0; i < SPOT_COUNT; i++) pinMode(SPOT_PINS[i], INPUT);
77  pinMode(EXIT_PIN, INPUT);
78  pinMode(TRIG_PIN, OUTPUT);
79  pinMode(ECHO_PIN, INPUT);
80  pinMode(GREEN_LED, OUTPUT);
81  pinMode(RED_LED, OUTPUT);
82
83  gate.attach(SERVO_PIN);
84  gate.write(GATE_CLOSED);                // bariyer kapalı başlar / barrier starts closed
85
86  lcd.init();
87  lcd.backlight();
88  lcd.setCursor(0, 0);
89  lcd.print(F("Akilli Otopark"));
90  lcd.setCursor(0, 1);
91  lcd.print(F("BlueGrays"));
92  delay(1500);
93  lcd.clear();
94}
95
96void loop() {
97  byte mask = readSpots();
98  byte freeCount = freeSpots(mask);
99
100  if (mask != lastMask) {                 // yalnız değişince yaz / redraw only on change
101    showLcd(mask, freeCount);
102    lastMask = mask;
103  }
104  digitalWrite(GREEN_LED, freeCount > 0 ? HIGH : LOW);
105  digitalWrite(RED_LED, freeCount == 0 ? HIGH : LOW);
106
107  bool carAtEntry = readDistanceCm() < CAR_DISTANCE_CM;
108  bool carAtExit  = digitalRead(EXIT_PIN) == LOW;
109  bool wantOpen   = (carAtEntry && freeCount > 0) || carAtExit;
110
111  if (wantOpen) {
112    lastSeen = millis();
113    if (!gateOpen) {
114      gate.write(GATE_OPEN);
115      gateOpen = true;
116    }
117  } else if (gateOpen && millis() - lastSeen > GATE_HOLD_MS) {
118    gate.write(GATE_CLOSED);
119    gateOpen = false;
120  }
121  delay(60);                              // HC-SR04 ölçüm aralığı / HC-SR04 measurement interval
122}
How does the code work?
| Part | Purpose |
|---|---|
| readSpots() | Reads the four space sensors and returns a mask with the bit set to 1 for occupied spaces; for example 0b0101 means spaces 1 and 3 are occupied. |
| freeSpots() | Counts the 0 bits in the mask to find the number of free spaces. |
| readDistanceCm() | Sends a 10 µs trigger pulse to the HC-SR04, measures the echo time with pulseIn and divides by 58 to get cm. If no echo arrives within 25 ms it returns 999. |
| showLcd() | Updates the LCD only when the state of the spaces changes, so the screen doesn't flicker. |
| wantOpen | States that the barrier should open if there's a car at the entrance and a free space, or a car at the exit. |
| GATE_HOLD_MS | The barrier lowers 3 seconds after the last detection; you can increase this time to suit your model so the arm doesn't come down while a car is under the barrier. |
| delay(60) | Leaves at least 60 ms between HC-SR04 measurements so the echo of the previous one doesn't disturb the next. |
This simple logic has one limit: a car that has just passed the entrance hasn't reached a space yet, so for a few seconds the free-space count doesn't change. If two cars arrive one after another for the last free space, both can be let in. To solve this, you can keep the cars that have passed the entrance in an "on the way" counter and subtract it from the free-space count, then reduce the counter when a car settles into a space. The way to write this kind of step-by-step behaviour neatly is the state machine approach; you can also read why the timing uses millis in the millis vs delay article.
Parking system with an ESP32 web dashboard
If you build the same system with an ESP32, you can monitor the car park from a phone or computer on the same Wi-Fi network. The code below runs a small web server on the ESP32: the home page shows the free-space count, each space is shown as a green or red box, the page refreshes itself every two seconds, and with the "Open barrier" link you can lift the barrier remotely. The /api address also returns the state as JSON, which you can use later in a mobile app or on another board. For the servo, install the ESP32Servo library from the Library Manager; the WiFi and WebServer libraries come with the ESP32 Arduino core and work the same way on both version 2.x and 3.x.
1#include <WiFi.h>
2#include <WebServer.h>
3#include <ESP32Servo.h>
4
5const char* WIFI_SSID = "WIFI_ADIN";      // kendi ağ adın / your network name
6const char* WIFI_PASS = "WIFI_SIFREN";    // kendi şifren / your password
7
8const int SPOT_COUNT = 4;
9const int SPOT_PINS[SPOT_COUNT] = {32, 33, 25, 26};  // park yeri sensörleri / parking spot sensors
10const int EXIT_PIN  = 27;    // çıkış sensörü / exit sensor
11const int TRIG_PIN  = 23;    // HC-SR04 TRIG
12const int ECHO_PIN  = 18;    // HC-SR04 ECHO (gerilim bölücüyle / via voltage divider)
13const int SERVO_PIN = 13;    // bariyer servosu / barrier servo
14
15const int GATE_CLOSED = 0;
16const int GATE_OPEN   = 90;
17const long CAR_DISTANCE_CM = 8;
18const unsigned long GATE_HOLD_MS = 3000;
19
20WebServer server(80);
21Servo gate;
22bool gateOpen = false;
23unsigned long lastSeen = 0;
24
25bool spotFull(int i) {
26  return digitalRead(SPOT_PINS[i]) == LOW;   // LOW = araç var / LOW = car present
27}
28
29int freeSpots() {
30  int count = 0;
31  for (int i = 0; i < SPOT_COUNT; i++) {
32    if (!spotFull(i)) count++;
33  }
34  return count;
35}
36
37long readDistanceCm() {
38  digitalWrite(TRIG_PIN, LOW);
39  delayMicroseconds(2);
40  digitalWrite(TRIG_PIN, HIGH);
41  delayMicroseconds(10);                  // 10 µs tetik darbesi / 10 µs trigger pulse
42  digitalWrite(TRIG_PIN, LOW);
43  unsigned long us = pulseIn(ECHO_PIN, HIGH, 25000UL);  // 25 ms zaman aşımı / 25 ms timeout
44  if (us == 0) return 999;                // yankı yok / no echo
45  return us / 58;
46}
47
48void openGate() {
49  lastSeen = millis();
50  if (!gateOpen) {
51    gate.write(GATE_OPEN);
52    gateOpen = true;
53  }
54}
55
56void handleRoot() {
57  String html = "<!DOCTYPE html><html><head><meta charset='utf-8'>";
58  html += "<meta name='viewport' content='width=device-width,initial-scale=1'>";
59  html += "<meta http-equiv='refresh' content='2'><title>Otopark</title></head>";
60  html += "<body style='font-family:sans-serif;text-align:center'>";
61  html += "<h1>Akilli Otopark</h1>";
62  html += "<h2>Bos yer: " + String(freeSpots()) + " / " + String(SPOT_COUNT) + "</h2>";
63  for (int i = 0; i < SPOT_COUNT; i++) {
64    html += "<div style='display:inline-block;width:70px;height:90px;line-height:90px;margin:6px;";
65    html += "border-radius:8px;color:#fff;font-size:24px;background:";
66    html += spotFull(i) ? "#c62828'>" : "#2e7d32'>";   // kırmızı = dolu, yeşil = boş / red = full, green = free
67    html += "P" + String(i + 1) + "</div>";
68  }
69  html += "<p>Bariyer: ";
70  html += gateOpen ? "ACIK" : "KAPALI";
71  html += "</p><p><a href='/open'>Bariyeri ac</a></p></body></html>";
72  server.send(200, "text/html", html);
73}
74
75void handleApi() {
76  String json = "{\"free\":" + String(freeSpots()) + ",\"spots\":[";
77  for (int i = 0; i < SPOT_COUNT; i++) {
78    json += spotFull(i) ? "1" : "0";
79    if (i < SPOT_COUNT - 1) json += ",";
80  }
81  json += "],\"gate\":";
82  json += gateOpen ? "true" : "false";
83  json += "}";
84  server.send(200, "application/json", json);
85}
86
87void handleOpen() {
88  openGate();                              // görevli bariyeri elle açar / operator opens the gate manually
89  server.sendHeader("Location", "/");
90  server.send(303, "text/plain", "");
91}
92
93void setup() {
94  Serial.begin(115200);
95  for (int i = 0; i < SPOT_COUNT; i++) pinMode(SPOT_PINS[i], INPUT);
96  pinMode(EXIT_PIN, INPUT);
97  pinMode(TRIG_PIN, OUTPUT);
98  pinMode(ECHO_PIN, INPUT);
99
100  gate.setPeriodHertz(50);                 // standart servo frekansı / standard servo frequency
101  gate.attach(SERVO_PIN, 500, 2400);       // darbe aralığı µs / pulse range in µs
102  gate.write(GATE_CLOSED);
103
104  WiFi.mode(WIFI_STA);
105  WiFi.begin(WIFI_SSID, WIFI_PASS);
106  Serial.print("Wi-Fi baglaniyor");
107  while (WiFi.status() != WL_CONNECTED) {
108    delay(500);
109    Serial.print('.');
110  }
111  Serial.println();
112  Serial.print("Panel IP: ");
113  Serial.println(WiFi.localIP());          // bu adresi tarayıcıya yaz / type this address in the browser
114
115  server.on("/", handleRoot);
116  server.on("/open", handleOpen);
117  server.on("/api", handleApi);
118  server.begin();
119}
120
121void loop() {
122  server.handleClient();
123
124  static unsigned long lastCheck = 0;
125  if (millis() - lastCheck < 60) return;   // 60 ms'de bir ölç / measure every 60 ms
126  lastCheck = millis();
127
128  bool carAtEntry = readDistanceCm() < CAR_DISTANCE_CM;
129  bool carAtExit  = digitalRead(EXIT_PIN) == LOW;
130
131  if ((carAtEntry && freeSpots() > 0) || carAtExit) {
132    openGate();
133  } else if (gateOpen && millis() - lastSeen > GATE_HOLD_MS) {
134    gate.write(GATE_CLOSED);
135    gateOpen = false;
136  }
137}
Before uploading the code, replace WIFI_ADIN and WIFI_SIFREN with your own network details. After uploading, open the Serial Monitor at 115200 baud; once the ESP32 connects to the network it prints its IP address, and you just type that address into your phone's browser. ESP32 pins work at 3.3 V and aren't 5 V tolerant; since the HC-SR04's ECHO pin outputs a 5 V pulse, put a voltage divider of 1 kΩ and 2 kΩ in between: 5 V × 2 / (1 + 2) = 3.33 V. You can check the result with other resistor values using the voltage divider calculator. Power the infrared sensors from the 3V3 pin so their outputs are 3.3 V too. If you want instant updates instead of the page reloading from scratch on each refresh, use the method in the ESP32 WebSocket article.
MicroPython version with the Raspberry Pi Pico
If you use a Raspberry Pi Pico, you don't need an extra library for the servo; the Pico's hardware PWM generates the 50 Hz servo signal directly. The servo angle is converted into a pulse width: 0.5 ms for 0° and 2.4 ms for 180°; over a 20 ms period this value is scaled to the 0–65535 range with duty_u16. machine.time_pulse_us measures the HC-SR04's echo time. The code below prints the free-space count to the Thonny console; as with the ESP32, don't forget to put a voltage divider on the ECHO line.
1from machine import Pin, PWM, time_pulse_us
2import time
3
4spots = [Pin(p, Pin.IN) for p in (2, 3, 4, 5)]   # park yeri sensörleri / parking spot sensors
5exit_ir = Pin(6, Pin.IN)                         # çıkış sensörü / exit sensor
6trig = Pin(16, Pin.OUT)                          # HC-SR04 TRIG
7echo = Pin(17, Pin.IN)                           # gerilim bölücüyle / via voltage divider
8servo = PWM(Pin(15))
9servo.freq(50)                                   # 20 ms periyot / 20 ms period
10
11GATE_CLOSED = 0
12GATE_OPEN = 90
13CAR_DISTANCE_CM = 8
14GATE_HOLD_MS = 3000
15
16def set_angle(angle):
17    us = 500 + angle * 1900 // 180               # 0,5-2,4 ms darbe / 0.5-2.4 ms pulse
18    servo.duty_u16(us * 65535 // 20000)
19
20def distance_cm():
21    trig.low()
22    time.sleep_us(2)
23    trig.high()
24    time.sleep_us(10)                            # 10 µs tetik / 10 µs trigger
25    trig.low()
26    t = time_pulse_us(echo, 1, 25000)            # 25 ms zaman aşımı / 25 ms timeout
27    if t < 0:
28        return 999                               # yankı yok / no echo
29    return t / 58
30
31def free_spots():
32    return sum(1 for s in spots if s.value() == 1)   # 1 = boş / 1 = free
33
34gate_open = False
35last_seen = 0
36last_free = -1
37set_angle(GATE_CLOSED)
38
39while True:
40    free = free_spots()
41    if free != last_free:                        # yalnız değişince yaz / print only on change
42        print("Bos yer:", free, "/", len(spots))
43        last_free = free
44    car_in = distance_cm() < CAR_DISTANCE_CM
45    car_out = exit_ir.value() == 0
46    now = time.ticks_ms()
47    if (car_in and free > 0) or car_out:
48        last_seen = now
49        if not gate_open:
50            set_angle(GATE_OPEN)
51            gate_open = True
52    elif gate_open and time.ticks_diff(now, last_seen) > GATE_HOLD_MS:
53        set_angle(GATE_CLOSED)
54        gate_open = False
55    time.sleep_ms(60)                            # ölçüm aralığı / measurement interval
Ideas to extend the parking project
- Card-based subscriber entry: Add an RFID RC522 reader at the entrance; the barrier opens only for subscribers who scan a registered card.
- Big number sign: Show the free-space count on a 7-segment display so it can be read from the road.
- Full notification: Add a Telegram bot to the ESP32 version and send a message to your phone when the car park fills up.
- Parking time and fee: Record the moment each space fills with millis, and when the car leaves, calculate the fee from the elapsed time and show it on the LCD.
- Night lighting: Use an LDR to switch on the road LEDs automatically when it gets dark.
- Disabled space warning: Play a short buzzer warning when a car enters the reserved space.
School project and science fair presentation tips
- Start with the problem: Open your talk with a question like "How many minutes do drivers lose looking for a free space?" and explain in one sentence which real problem your project solves.
- Prepare a flowchart: A diagram showing the steps "Has a car arrived? Is there a free space? Open the barrier" lets the judges understand the logic without reading the code.
- Plan a live demo: Bring as many toy cars as there are spaces so you can fill the car park completely and show the "FULL" message and the red LED.
- Bring backups: Keep spare jumper wires, a second USB cable, a power bank and a laptop with the code loaded; loose connections at a fair are very common.
- Be honest about the limits: Mentioning that infrared sensors can be fooled by sunlight, and that real car parks use magnetic or camera-based systems, earns extra points with the judges.
- Present a development plan: Describing next steps such as the ESP32 web dashboard, RFID subscriptions or fee calculation shows that the project can grow. For more tips, see the science fair project presentation article.
Common mistakes and how to fix them
| Problem | Likely cause | Fix |
|---|---|---|
| Servo jitters, Arduino resets | Servo is powered from USB, not enough current | Power the servo from an external 5 V supply, join the GNDs, add a 470 µF capacitor across the supply |
| LCD is lit but shows no text | Wrong I2C address or contrast setting | Try address 0x3F, turn the potentiometer on the back of the I2C module |
| A space always looks occupied | Sensor sensitivity too high or it sees the floor | Reduce the range with the potentiometer, tilt the sensor slightly upward |
| Black car isn't detected | Black surface absorbs infrared light | Stick white tape on the side of the car facing the sensor |
| HC-SR04 always gives 999 or random values | TRIG and ECHO swapped, measurements too frequent or car too angled | Check the pins, wait at least 60 ms between measurements, face the sensor square to the car |
| Barrier comes down while a car is under it | GATE_HOLD_MS is too short | Raise it to 4–5 seconds or put a second sensor under the barrier |
| ESP32 page doesn't open | Phone is on a different network or wrong IP | Connect the phone to the same Wi-Fi network, use the IP from the Serial Monitor |
An Arduino parking system brings sensor reading, decision making, motor control and display use together in one fun model project, which makes it one of the best ways to combine what you've learned. If you want to get to know the components one by one, take a look at the servo motor and TCRT5000 infrared sensor articles too. In the BlueGrays app you'll find step-by-step projects with circuit diagrams and code for distance measuring with the HC-SR04, a parking sensor, a distance display with LCD, servo control and an ESP32 web server, so you can try each part of this car park separately.
Frequently asked questions
Which sensor is used for an Arduino parking project?
For space occupancy the most practical choice is an infrared obstacle sensor such as the FC-51 or TCRT5000; each uses a single digital pin and they're cheap. To detect an approaching car at the entrance, the HC-SR04 ultrasonic sensor, which gives distance as a number, is more suitable. You can put an HC-SR04 in every space too, but each sensor uses two pins and has to be triggered in turn.
How do you calculate the number of free spaces in a car park with Arduino?
The most reliable method is to put a sensor in each space, count the occupied ones and subtract them from the total. The method that counts cars passing the entrance and exit uses fewer sensors, but a single missed car shifts the counter permanently. The code in this article reads the four sensors on every loop and recalculates the free-space count.
Why does the Arduino reset when the servo barrier opens?
When it starts moving, an SG90 servo can briefly draw close to 500 mA and pull down the voltage of the USB supply. When the voltage drops, the Arduino restarts and the LCD dims. Power the servo from an external 5 V source, join the GNDs and add a capacitor such as 470 µF across the servo supply.
How do you make a model car park, and what materials do you use?
Foam board or thick cardboard is easy to cut and can be drilled to hide sensors and wires. A base of about 40×30 cm is enough for four spaces and an entrance lane. You can use coloured tape for the parking lines, a popsicle stick for the barrier arm and 1:43 scale toy cars as vehicles.
How many parking space sensors can you connect to an Arduino Uno?
The Uno has 20 pins, D0–D13 and A0–A5; after reserving pins for serial, I2C, the servo, the HC-SR04, the exit sensor and the LEDs, about 10 pins remain for spaces. Pins A0–A3 can also be used as digital inputs. For more spaces you can use an input shift register such as the 74HC165, or an Arduino Mega.
Can a parking system be monitored from a phone?
Yes. In the ESP32 version the board runs its own web server; by typing the ESP32's IP address into the browser of a phone on the same Wi-Fi network you can see the free-space count and the state of each space. For access from outside the home, you can add a Telegram bot, MQTT or a cloud solution such as Blynk.
Projects to build after reading this
See all projects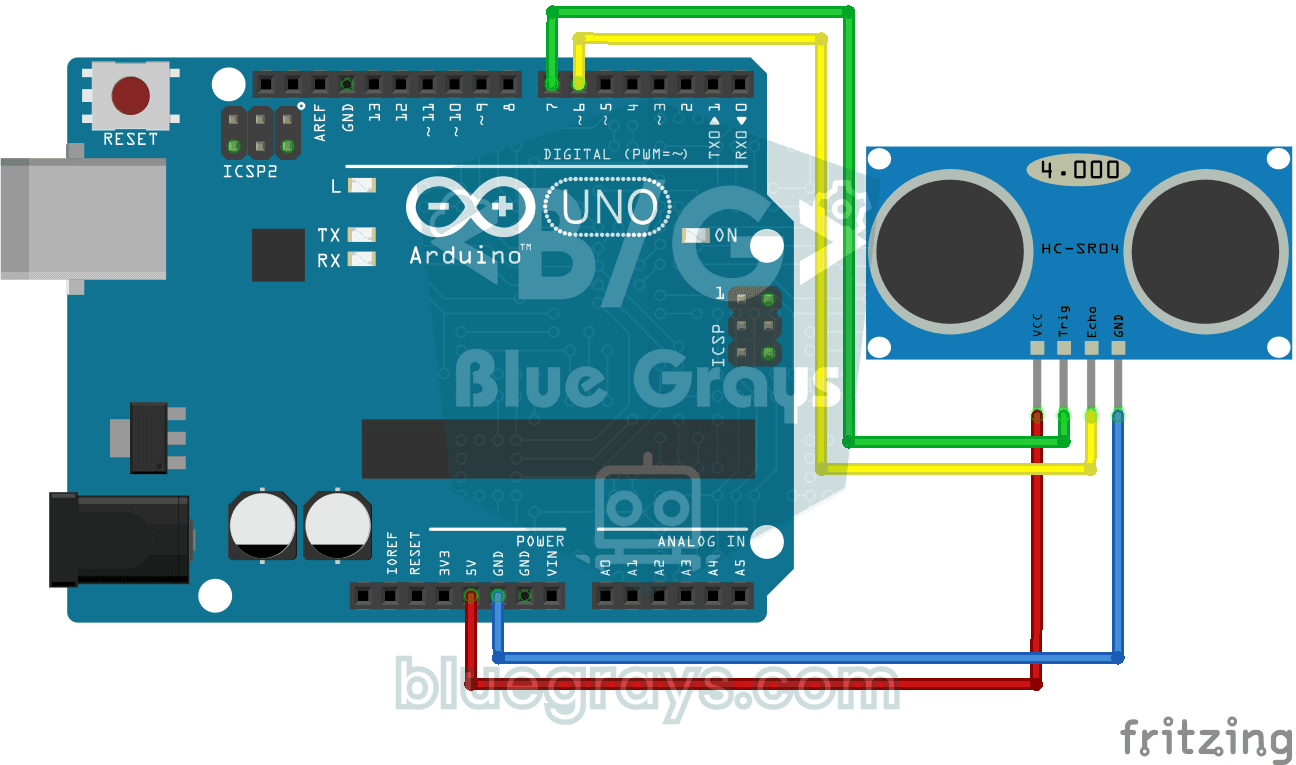
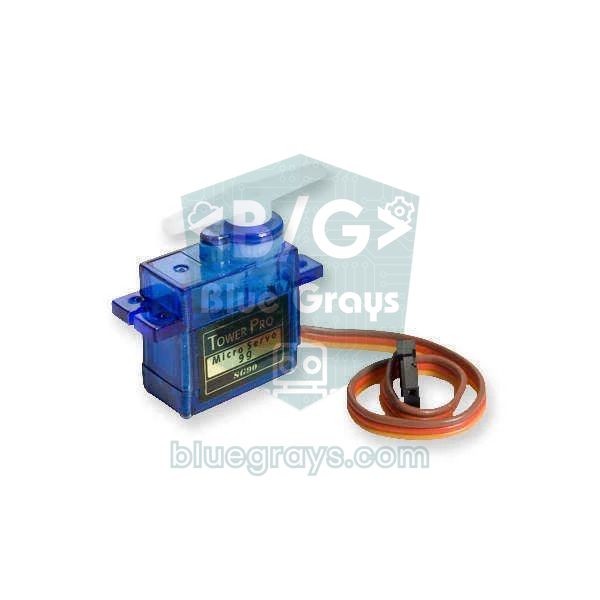
HC-SR04 Distance Measurement (Serial Display)
The HC-SR04 sensor works just like a bat finding its way in the dark: it sends out a sound you cannot hear, listens for the echo and measures how far away the object in front of it is.
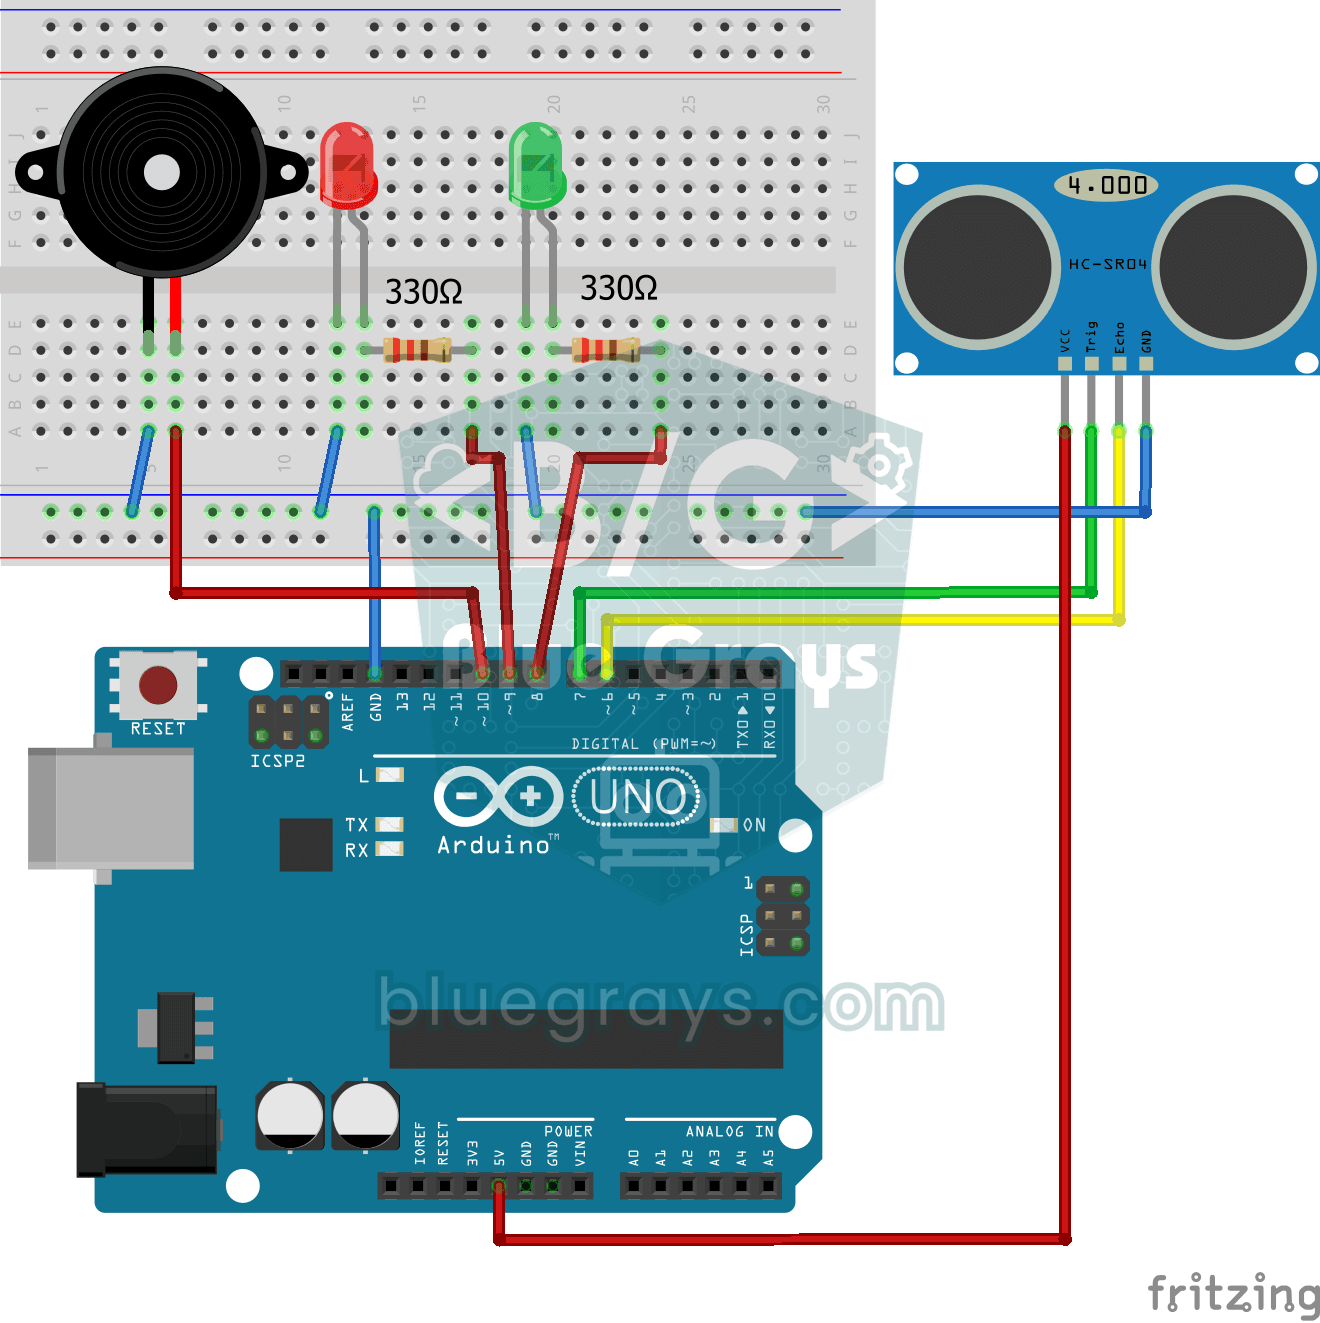
Parking Sensor with HC-SR04
A mini version of a car's parking sensor: the closer something gets, the faster the beeps.
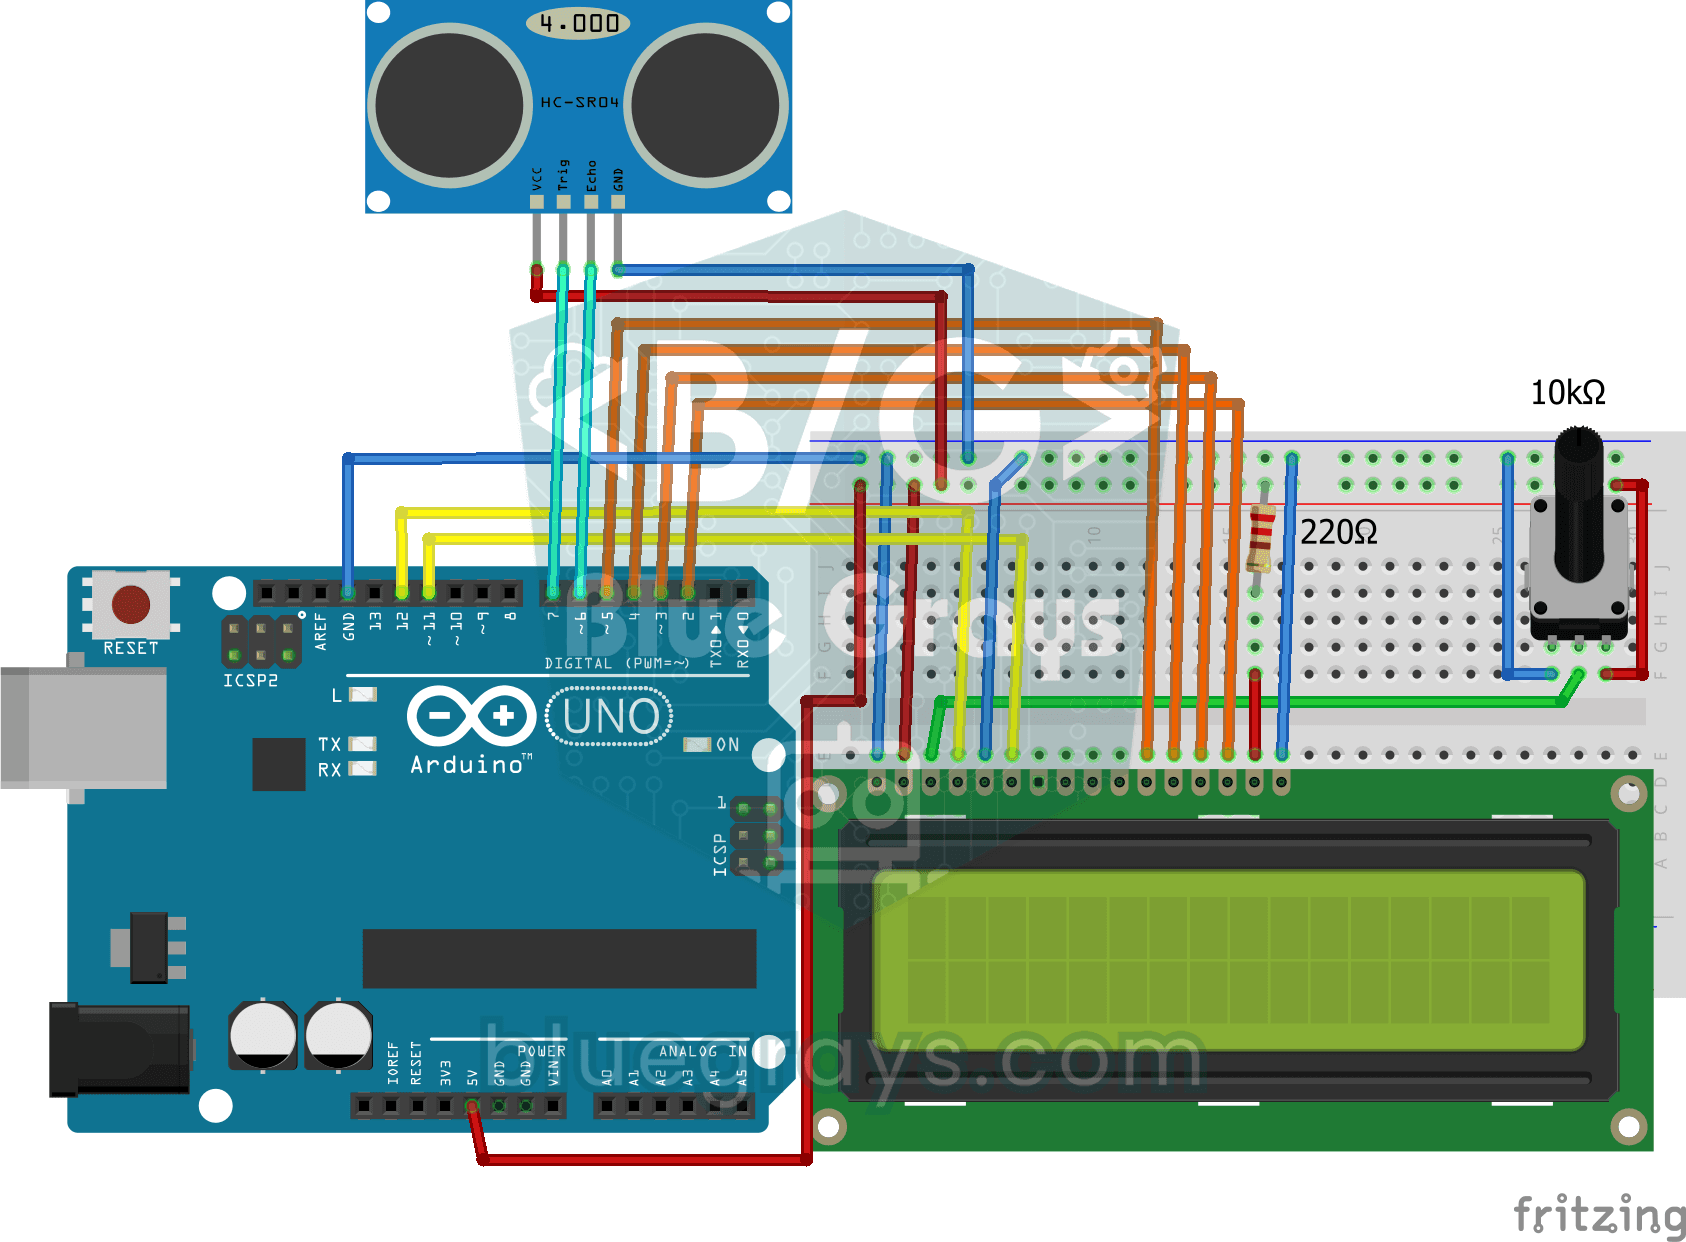
Measuring Distance Using LCD Display
A tool that measures distance without a ruler: move your hand back and forth in front of the sensor and watch the number change.
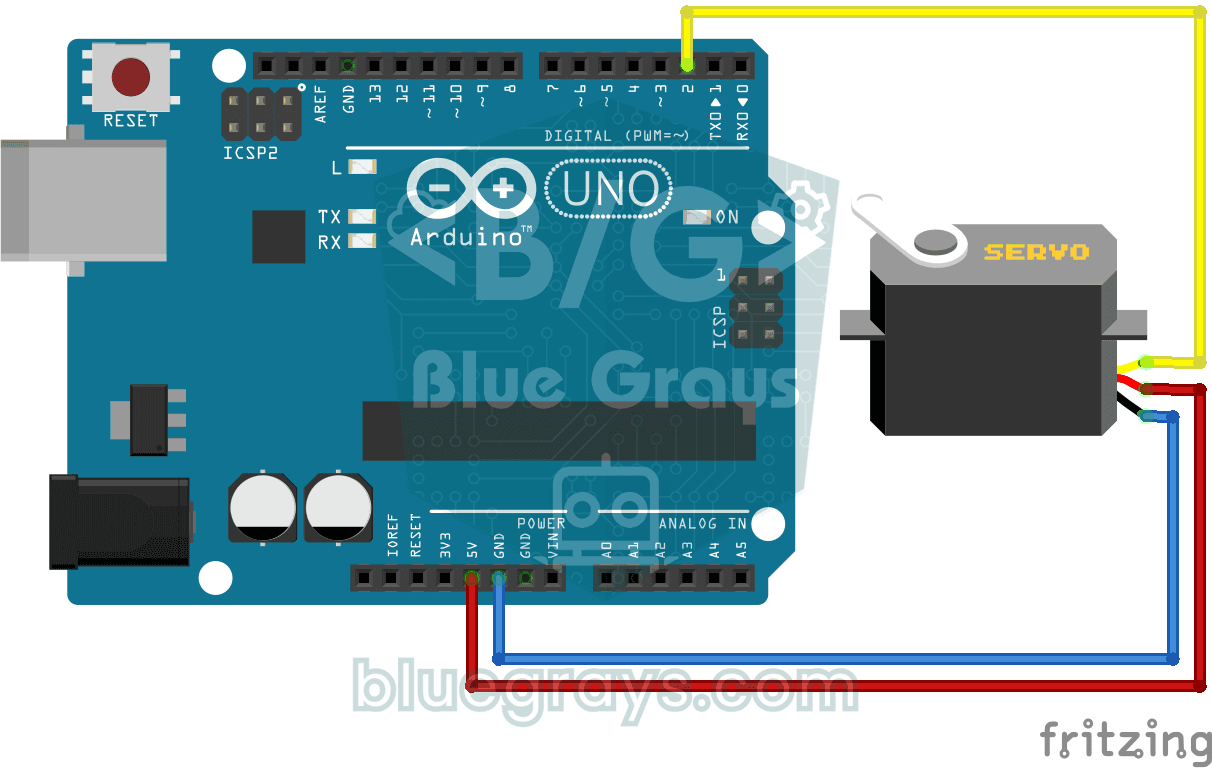
Using a Servo Motor
The arm of a small servo motor turns to three positions in turn: all the way to the start, right to the middle and all the way to the end, waiting two seconds at each stop.

Reading Reflection (Proximity) with TCRT5000
With a small sensor that sends out invisible light and measures how much bounces back, you can detect the surface in front of it.

ESP32 HC-SR04 Ultrasonic Distance Sensor
The HC-SR04 ultrasonic sensor measures distance by timing how long its sound pulse takes to bounce off an object and return (time of flight). In this project the ESP32 sends a 10-microsecond pulse to the TRIG pin and reads the echo time from the ECHO pin with pulseIn(). The distance is shown in cm on a 16x2 I2C LCD. The HC-SR04 runs on 5V, so the ECHO pin needs a voltage divider, or the ESP32's 3.3V GPIO gets damaged.

ESP32 Asynchronous Web Server (with IP Display on LCD)
In this project, we’re turning the ESP32 into an asynchronous web server that you can control from your phone or computer on the same Wi-Fi network. Thanks to the ESPAsyncWebServer library, the server can process multiple requests simultaneously (unlike the classic WebServer.h, which blocks on a single request). You’ll be able to open the ESP32’s IP address in a browser and click the ON/OFF buttons (the /on and /off routes) to turn the LED connected to GPIO 5 on and off.

ESP32 Parking Sensor (HC-SR04 + 5-LED Bar + Buzzer + OLED)
The ESP32 version of a car parking sensor! The HC-SR04 ultrasonic sensor measures the distance to the object in front. As it gets closer, a 5-LED bar fills up (green → yellow → red) and the buzzer beeps faster. Very close (under 10 cm), a continuous alarm sounds and all LEDs light up. The SSD1306 OLED display shows the live distance in cm in large text, plus a status message.