
PlatformIO Setup: Arduino, ESP32 and Pico Guide for VS Code
PlatformIO setup in VS Code: configure Uno, ESP32 and Pico with platformio.ini, add libraries via lib_deps, upload code and move over from the Arduino IDE.
Installing PlatformIO adds a single extension to VS Code and lets you program boards such as the Arduino Uno, ESP32 and Raspberry Pi Pico from one professional environment. In short: install VS Code, search for PlatformIO IDE in the Extensions tab and install it, wait for the required tools to download on first launch, then create a new project from the PIO Home screen by picking your board. The rest happens in a small settings file called platformio.ini: which board, which framework, which libraries and which serial port speed to use are all written there.
The Arduino IDE is a great tool for learning, but as projects grow you feel its limits: code completion is basic, libraries are shared across all projects, a library update can break an old project, and the board settings aren't saved with the project. PlatformIO solves these problems. In this guide you'll install it step by step, create your first project, define three different boards in one project with platformio.ini, add a library, upload code, open the serial monitor and learn how to move existing Arduino IDE projects over. In the last section we'll compare the two tools fairly so you can decide which one suits you.
What is PlatformIO and how does it work?
PlatformIO is an open-source development ecosystem for embedded systems. At its heart is a command-line tool written in Python called PlatformIO Core; the VS Code extension makes it convenient with buttons, menus and the PIO Home screen. When you build a project, PlatformIO first reads platformio.ini, then downloads the required compiler (avr-gcc for the Uno, the Xtensa toolchain for the ESP32, arm-none-eabi-gcc for the Pico), the framework and the libraries from its own registry, and compiles your code. These packages are downloaded only once and stored in the .platformio folder in your user directory; later projects reuse the same packages. Knowing the concepts below will make the file much easier to read:
| Concept | Meaning | Example |
|---|---|---|
| Platform | The compiler and upload tool package for a microcontroller family | atmelavr, espressif32, raspberrypi |
| Board | A specific board within a platform; pin map, clock speed and memory info | uno, nanoatmega328, esp32dev, pico |
| Framework | The software foundation your code is written on | arduino, espidf |
| Environment (env) | The section that defines the platform, board, framework and extra settings together | [env:uno] |
| Library | A ready-made code package added to the project with lib_deps | adafruit/DHT sensor library |
| PIO Home | The screen for opening projects and searching boards and libraries | The home icon in the status bar |
PlatformIO setup step by step
- Download Visual Studio Code from its official site and install it. On Windows, ticking Add to PATH during installation makes using the terminal easier.
- Open VS Code and click the Extensions tab on the left, or use the Ctrl+Shift+X shortcut (Cmd+Shift+X on macOS).
- Type PlatformIO IDE in the search box and install the extension published by PlatformIO with the Install button. The required C/C++ extension comes along automatically.
- An "Installing PlatformIO Core" notification appears at the bottom right. Depending on your internet speed this takes a few minutes; don't close VS Code meanwhile.
- When the installation finishes, VS Code asks you to restart. After restarting, a PlatformIO icon appears on the left edge and a home icon in the bottom status bar.
- Click the home icon to open the PIO Home screen. If this screen looks fine, the installation is complete.
Creating your first project and the folder structure
Click the New Project button in PIO Home. In the window that opens, give the project a name (for example blink-uno), type Arduino Uno in the Board box and pick it from the list, leave the framework as Arduino and choose the location. When you click Finish, PlatformIO downloads the platform package needed for your chosen board for the first time; that's why the first project can take a few minutes, while later ones open in seconds. Once the project is created, VS Code opens the folder and you see this structure:
| Folder / file | What it's for |
|---|---|
| platformio.ini | The heart of the project: board, framework, library and port settings |
| src/ | Your source code; the program starts from main.cpp |
| include/ | Your own header (.h) files |
| lib/ | Project-specific local libraries you add by hand (each in its own subfolder) |
| test/ | A folder reserved for unit tests |
| .pio/ | Build output and downloaded libraries; recreated if deleted |
| .vscode/ | VS Code and IntelliSense settings; generated automatically |
What is the platformio.ini file?
platformio.ini is a plain text file in INI format. Each [env:name] section that starts with square brackets defines a build environment. The board and port speed you pick from the Tools menu in the Arduino IDE are written out here as text; so when you move the project to another computer or give it to a friend, the settings go along with the code. Lines starting with a semicolon are comments. When we add the serial monitor speed to the file created for the Uno, it looks like this:
1; PlatformIO proje ayarları / PlatformIO project settings
2[env:uno]
3platform = atmelavr
4board = uno
5framework = arduino
6; Seri monitör hızı, Serial.begin ile aynı olmalı / Monitor speed, must match Serial.begin
7monitor_speed = 115200| Setting | What it does | Example value |
|---|---|---|
| platform | The platform package to use; the version can be pinned too | atmelavr, [email protected] |
| board | Board ID | uno, megaatmega2560, esp32dev, pico |
| framework | Software framework | arduino |
| monitor_speed | Serial monitor speed (default 9600) | 115200 |
| upload_port | Upload port (found automatically if left empty) | COM5, /dev/ttyUSB0 |
| upload_speed | Upload baud rate (especially on ESP boards) | 921600 |
| lib_deps | Libraries to download automatically | adafruit/DHT sensor library@^1.4.4 |
| build_flags | Extra flags and macros for the compiler | -D LED_PIN=2 |
| monitor_filters | Filters applied to the serial monitor output | time, esp32_exception_decoder |
First code: main.cpp and the Arduino.h difference
The main.cpp file in the src folder is the equivalent of the .ino file in the Arduino IDE, but there are two important differences. First, the file must begin with an #include line that adds the Arduino.h header; the Arduino IDE adds it behind the scenes, PlatformIO doesn't. Second, a .cpp file follows real C++ rules: the compiler must know a function before you call it. The Arduino IDE generates function prototypes for you; in PlatformIO you either define the function before using it or write a one-line prototype at the top of the file. The example below is a blink program that works on the Uno, ESP32 and Pico alike:
1#include <Arduino.h>
2
3// LED_PIN platformio.ini'den gelebilir / LED_PIN may come from platformio.ini
4#ifndef LED_PIN
5#define LED_PIN LED_BUILTIN   // Uno: 13, Pico: GP25
6#endif
7
8void blinkLed(int count);     // prototip / prototype
9
10void setup() {
11  Serial.begin(115200);
12  pinMode(LED_PIN, OUTPUT);
13  Serial.println("PlatformIO hazir / ready");
14}
15
16void loop() {
17  blinkLed(3);
18  delay(1000);
19}
20
21void blinkLed(int count) {
22  for (int i = 0; i < count; i++) {
23    digitalWrite(LED_PIN, HIGH);
24    delay(150);
25    digitalWrite(LED_PIN, LOW);
26    delay(150);
27  }
28  Serial.print("Yanip sondu / Blinked: ");
29  Serial.println(count);
30}Build, upload and serial monitor
| Action | Status bar / menu | Terminal command |
|---|---|---|
| Build | Checkmark | pio run |
| Upload | Right arrow | pio run -t upload |
| Upload and open monitor | PlatformIO menu > Upload and Monitor | pio run -t upload -t monitor |
| Serial monitor | Plug icon | pio device monitor |
| Clean | Trash can | pio run -t clean |
| List ports | PIO Home > Devices | pio device list |
| Build a specific environment | Environment selector (env:...) | pio run -e esp32dev |
| Install a library | PIO Home > Libraries | pio pkg install -l "adafruit/DHT sensor library" |
For the serial monitor to work correctly, the monitor_speed value in platformio.ini must match the Serial.begin() speed in your code; otherwise you'll see garbage characters on screen. PlatformIO usually finds the connected board by itself, but if the computer has more than one serial device it may try to upload to the wrong port. In that case, list the ports with pio device list and write the correct one into the upload_port and monitor_port lines. If the Arduino IDE's serial monitor or another terminal program is holding the port open, the upload stops with an "Access is denied" or "Resource busy" error; closing that program is enough. To get to know the serial monitor itself better, you can also check out the Arduino Serial Monitor post. The pio command always works in the PlatformIO Core CLI terminal opened from the PlatformIO menu.
Defining Uno, ESP32 and Pico in one project
One of PlatformIO's strongest features is that it can build the same code for several boards. You write a separate [env:...] section for each board; if you put shared settings in the unnamed [env] section, all environments inherit them. The table below summarizes the basic values of three popular boards:
| Value | Arduino Uno | ESP32 DevKit | Raspberry Pi Pico |
|---|---|---|---|
| platform | atmelavr | espressif32 | raspberrypi |
| board | uno | esp32dev | pico |
| framework | arduino | arduino | arduino (Arduino Mbed core) |
| Onboard LED | D13 | GPIO 2 (on most DevKit boards) | GP25 |
| Upload method | USB-serial and bootloader | USB-serial and esptool | USB and BOOTSEL mode |
| Typical monitor_speed | 9600 or 115200 | 115200 | 115200 |
1[platformio]
2; Varsayılan ortam / Default environment
3default_envs = uno
4
5; Tüm ortamlarda ortak ayarlar / Settings shared by all environments
6[env]
7framework = arduino
8monitor_speed = 115200
9
10[env:uno]
11platform = atmelavr
12board = uno
13
14[env:esp32dev]
15platform = espressif32
16board = esp32dev
17upload_speed = 921600
18monitor_filters = esp32_exception_decoder
19; Dahili LED GPIO 2 / Onboard LED on GPIO 2
20build_flags = -D LED_PIN=2
21
22[env:pico]
23platform = raspberrypi
24board = pico
The default_envs line decides which environment the build and upload buttons in the status bar use; if you don't write it, PlatformIO builds all the environments in the file one after another. You can switch to another board on the fly from the environment selector in the status bar, or upload straight to the ESP32 by typing pio run -e esp32dev -t upload in the terminal. The -D LED_PIN=2 flag in the ESP32 environment defines the LED_PIN macro in the code; since the Uno and Pico don't have this flag, the code falls back to the LED_BUILTIN value (13 and 25). That way a single main.cpp runs on all three boards without any changes. To quickly see the pin layout of the boards, you can use the pinout tool.
PlatformIO settings for the ESP32
ESP32 boards are uploaded with esptool in PlatformIO just as in the Arduino IDE. upload_speed = 921600 noticeably shortens upload time; if your cable is long or poor quality and you get errors, drop to 460800 or 115200. The esp32_exception_decoder filter converts the meaningless address dump shown in the serial monitor when the board crashes into function names and line numbers; it's very valuable for tracking down Guru Meditation errors. If the upload gets stuck at the "Connecting..." stage, hold the BOOT button on the board and release it once the upload starts; detailed solutions are in the ESP32 Failed to Connect post. One more detail to know is the core version: PlatformIO's official espressif32 platform used the 2.x version of the Arduino-ESP32 core for a long time; if you need APIs specific to 3.x, you can switch to the community-maintained pioarduino platform. You can see which core is used from the framework-arduinoespressif32 version on the PACKAGES line at the top of the build output. If you want your code to compile on both versions, you can distinguish them with the ESP_ARDUINO_VERSION_MAJOR macro.
Raspberry Pi Pico and PlatformIO
With board = pico, the official raspberrypi platform uses Arduino's official Mbed OS-based RP2040 core. Many users prefer Earle Philhower's arduino-pico core, which offers more features and better library compatibility; in PlatformIO it's used through a separate community-maintained platform package and the board_build.core = earlephilhower setting. Whichever core you choose, for the first upload you may need to plug the Pico into USB while holding the BOOTSEL button; the board shows up on your computer as a drive named RPI-RP2, and after PlatformIO uploads the program it restarts by itself. For later uploads you usually don't need the button. An important note: PlatformIO does not support MicroPython. If you want to program the Pico with MicroPython, you should use an editor like Thonny; for details, see the MicroPython Basics and What Is the Raspberry Pi Pico? posts.
Adding libraries: lib_deps
In PlatformIO, libraries are installed separately for each project, not for the whole computer. The cleanest method is to add a lib_deps line to platformio.ini: on the first build PlatformIO downloads the library from the registry and puts it in the .pio/libdeps/ folder. You can also search for the library's exact name in the Libraries tab in PIO Home and add it with the Add to Project button; this button writes the lib_deps line for you. Below is an example that connects a DHT11 sensor to pin D2 of the Uno; for the sensor wiring, see the DHT11 Temperature and Humidity Sensor post.
1[env:uno]
2platform = atmelavr
3board = uno
4framework = arduino
5monitor_speed = 115200
6; Kütüphaneler ilk derlemede otomatik iner / Libraries download on first build
7lib_deps =
8    adafruit/DHT sensor library@^1.4.4
9 adafruit/Adafruit Unified Sensor@^1.1.91#include <Arduino.h>
2#include <DHT.h>
3
4#define DHT_PIN 2 // Uno D2 pini / Uno pin D2
5#define DHT_TYPE DHT11
6
7DHT dht(DHT_PIN, DHT_TYPE);
8
9void setup() {
10 Serial.begin(115200);
11 dht.begin();
12}
13
14void loop() {
15 delay(2000); // DHT11 en fazla 1 Hz / DHT11 max 1 Hz
16 float h = dht.readHumidity();
17 float t = dht.readTemperature();
18 if (isnan(h) || isnan(t)) {
19 Serial.println("Sensor okunamadi / Read failed");
20 return;
21 }
22 Serial.print("Sicaklik / Temp: ");
23 Serial.print(t, 1);
24 Serial.print(" C Nem / Hum: ");
25 Serial.print(h, 0);
26 Serial.println(" %");
27}In version notation, ^1.4.4 allows versions 1.4.4 and above but below 2.0.0; ~1.4.4 accepts only 1.4.x patches; if you write just 1.4.4, the version is pinned completely. Pinning versions guarantees that when you open the project a year from now, the same code compiles the same way. If you place a library that isn't in the registry, or one you wrote yourself, in the project's lib folder as a subfolder with its own name, PlatformIO finds it automatically. If you want to compare it with how libraries work in the Arduino IDE, you can read the Adding Arduino Libraries post.
Moving a project from the Arduino IDE to PlatformIO
- Create a new project in PIO Home and choose the same board you used in the Arduino IDE.
- Paste the contents of the .ino file into src/main.cpp; append any other .ino tabs in the same folder to the end of main.cpp, and copy .h and .cpp files into the src folder.
- Add the #include line for Arduino.h at the very top of the file.
- Write a prototype at the top of the file for every function you wrote besides setup() and loop().
- Find the libraries you use through PIO Home > Libraries and add them to lib_deps; if you write the version number from the Arduino IDE, you get the same behavior.
- Write the Serial.begin() speed into the monitor_speed line and build the project. Fix the remaining warnings in the error list one by one.
Alternatively, you can import an existing folder directly with the Import Arduino Project button in PIO Home. PlatformIO converts the .ino files in the src folder to .cpp during the build and tries to generate the prototypes. However, since this conversion can get things wrong with complex code and IntelliSense doesn't work at full efficiency on .ino files, moving to main.cpp is healthier in the long run. If you have trouble interpreting build messages, the explanations in the Arduino compile errors post apply to PlatformIO as well.
Arduino IDE or PlatformIO?
| Feature | Arduino IDE 2.x | PlatformIO (VS Code) |
|---|---|---|
| Installation | A single package, a few minutes | VS Code plus the extension; tools download on first setup |
| Code completion | Basic | Advanced IntelliSense, go to definition, bulk rename |
| Board settings | In the Tools menu, not saved with the project | In platformio.ini, travels with the project |
| Libraries | Shared across the whole computer | Separate per project, versions can be pinned |
| Multiple boards | Changed from the menu each time | Multiple environments in one project |
| File structure | .ino; folder name must match the file name | src, include, lib; standard .cpp and .h |
| Function prototypes | Generated automatically | Written by hand (automatic when importing .ino) |
| Version control with Git | Possible, but board settings are left out | Easy; everything except the .pio folder is tracked |
| Debugging and testing | A debugger on some boards | Debugger (debug probe) and unit test support |
| Beginner-friendliness | Very high | Medium; needs a short adjustment period |
In short, if you're lighting your first LED or doing a school project with a few files, the Arduino IDE is enough and less confusing. If you're dealing with multiple boards, multi-file code, version control with Git or teamwork, PlatformIO saves a lot of time. The two tools don't exclude each other; you can use both on the same computer. If you haven't installed the Arduino IDE yet, you can start with the Arduino IDE Installation post.
Common mistakes and how to fix them
| Symptom | Likely cause | Fix |
|---|---|---|
| 'xyz' was not declared in this scope | Missing function prototype | Write the prototype before setup() or move the function up |
| fatal error: DHT.h: No such file or directory | The library isn't in lib_deps or was added to a different environment | Add the library to the right [env] section and rebuild |
| Garbage characters in the serial monitor | monitor_speed differs from the Serial.begin() speed | Make the two values equal (e.g. 115200) |
| Board not showing, no port | Charge-only cable, or the CH340/CP2102 driver is missing | Use a data cable, install the driver, check with pio device list |
| Access is denied / Resource busy | The port is open in another program | Close the Arduino IDE serial monitor and other terminals |
| ESP32: Failed to connect, Wrong boot mode | The board didn't enter download mode | Start the upload while holding the BOOT button |
| Upload to the Pico won't start | The board isn't in BOOTSEL mode | Plug it in while holding BOOTSEL, check that the RPI-RP2 drive appears |
| Permission denied: /dev/ttyUSB0 on Linux | Missing udev rule or user permission | Install the 99-platformio-udev.rules file, add your user to the dialout group |
| On Windows the build stops with meaningless path errors | Non-English characters or spaces in the username | Move the core folder to C:\platformio with PLATFORMIO_CORE_DIR |
| Stuck at the Installing PlatformIO Core stage | Internet, antivirus or Python problem | Restart VS Code, check the Output > PlatformIO log |
First projects to try with PlatformIO
- Multi-board blink: Upload the three-environment project above to the Uno, ESP32 and Pico in turn to grasp how the environment selector works.
- Timestamped sensor log: Print DHT11 data to the serial monitor with timestamps using the monitor_filters = time setting.
- Wi-Fi web server: In the ESP32 web server project, split the code into several .cpp and .h files to build a tidy structure.
- Wireless updates: With ESP32 OTA, upload code over Wi-Fi by setting upload_protocol = espota and writing the board's IP address in the upload_port line.
- State machine: Write the Arduino state machine logic in a separate class file and take advantage of PlatformIO's folder structure.
- Delay-free timing: Write a program that runs several tasks at once using millis().
Although installing PlatformIO takes a bit longer than the Arduino IDE at first, the platformio.ini file keeps all of a project's settings in one place, so over time it becomes the tool that saves you the most time. Once the setup is done, the first thing to do is build and upload a simple LED project, then move on to projects with libraries and multiple boards. In the BlueGrays app you'll find LED blinking, ESP32 and Pico starter projects, and sensor projects like the DHT11 and HC-SR04 step by step with circuit diagrams and code, and you can try them by moving the code straight into your own PlatformIO project.
Frequently asked questions
Is PlatformIO free?
Yes. PlatformIO Core and the PlatformIO IDE extension for VS Code are open source and free to use. For hobby, school or commercial projects, you don't have to pay any license fee for the board definitions, library manager, build and upload features.
Does Arduino IDE code work in PlatformIO?
Yes, because when you choose framework = arduino the same Arduino core and the same functions are used. All you need to do is move the code to src/main.cpp, add the Arduino.h include at the top, write the function prototypes and add the libraries you use to lib_deps.
Why is the PlatformIO installation taking so long?
On first setup PlatformIO Core, the Python environment and the basic tools are downloaded; in your first project the compiler and framework for the board you chose are downloaded as well. Since ESP32 packages can be hundreds of megabytes, this can take 5–15 minutes depending on your connection. Once the packages are downloaded, later projects open quickly.
Does PlatformIO support MicroPython?
No, PlatformIO is designed for C/C++-based frameworks such as Arduino and ESP-IDF. If you want to program a Raspberry Pi Pico or ESP32 with MicroPython, you should use an editor like Thonny. If you like, you can also program the same board with the Arduino framework in PlatformIO.
How do you add a library in PlatformIO?
The easiest way is to open the Libraries tab in PIO Home, search for the library and choose your project with Add to Project. This adds a lib_deps line to platformio.ini and the library downloads automatically on the first build. You can put your own libraries in the project's lib folder as subfolders.
How do you choose the COM port in PlatformIO?
PlatformIO finds the connected board automatically most of the time. If there are multiple serial devices, you can lock the port using the port selector in the status bar or by writing upload_port = COM5 and monitor_port = COM5 lines in platformio.ini. You can see which ports are connected with the pio device list command.
Projects to build after reading this
See all projects
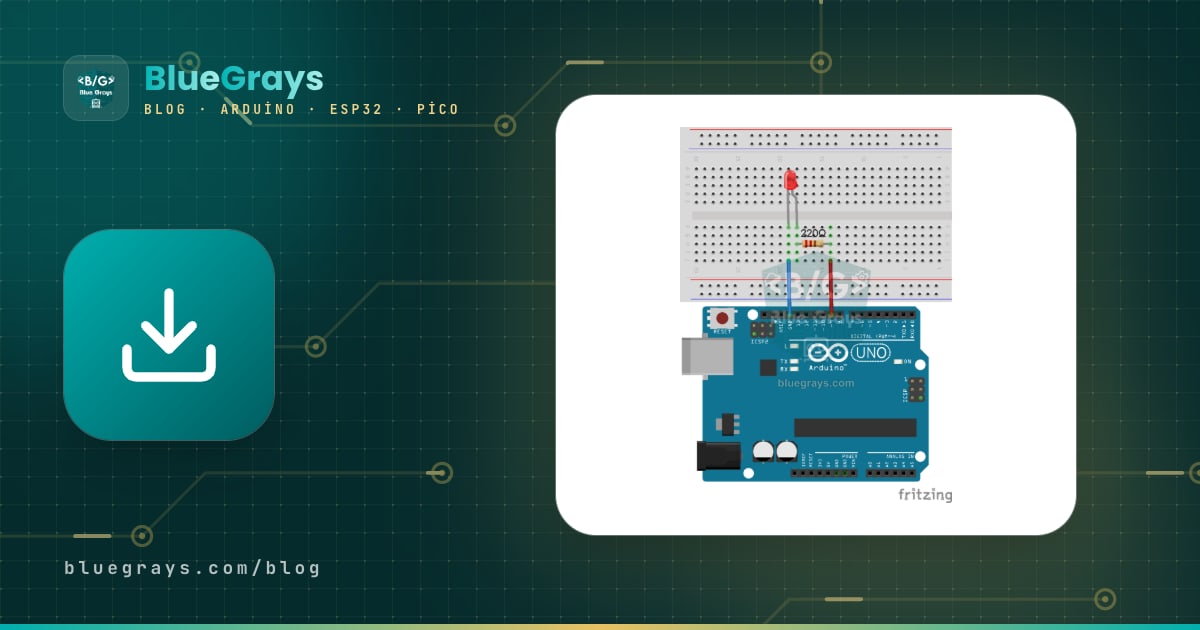
LED Blink
The very first hello of electronics: switching a single LED on and off. The Arduino turns the LED on and off at short intervals, so the light blinks quickly.

LED Blink with ESP32
Teaches basic GPIO output usage with ESP32. We achieve a blinking effect by turning an LED on and off from a digital pin. ESP32 version of the classic blink project on Arduino UNO; the basic blink commands in the Arduino environment are the same, but the ESP32's pin layout and 3.3 V GPIO levels differ from those of the Arduino UNO.
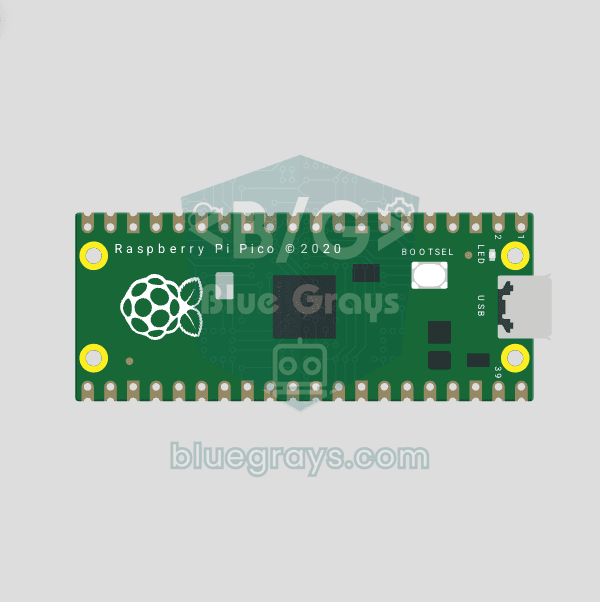
Raspberry Pi Pico Onboard LED Blink (Pico and Pico W)
The opening project of the Raspberry Pi Pico series! We blink the Pico's green built-in LED to confirm the board works, the classic "Hello World" first experiment. No external parts needed, just the Pico and a USB cable. The code is written in MicroPython, the language officially supported by the Raspberry Pi Foundation.

Temperature and Humidity with DHT11
How warm is your room, and is the air humid or dry? The DHT11 sensor measures temperature and humidity, and the Arduino writes the values on a two-line LCD screen, refreshing every couple of seconds.
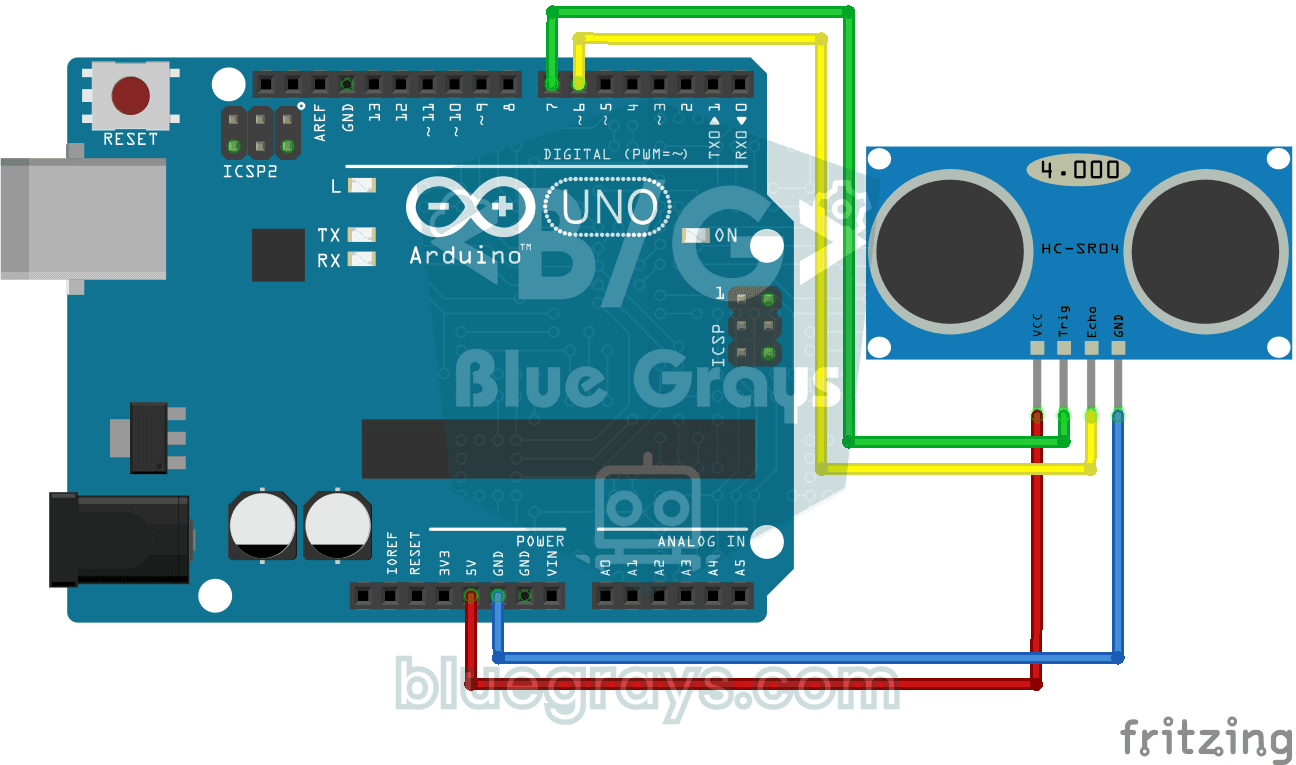
HC-SR04 Distance Measurement (Serial Display)
The HC-SR04 sensor works just like a bat finding its way in the dark: it sends out a sound you cannot hear, listens for the echo and measures how far away the object in front of it is.

ESP32 Built-in LED Blink
Blinking the built-in blue LED on the ESP32 DevKit V1. No external components required! The first project you should try when you buy an ESP32. GPIO 2 is connected to the built-in LED.
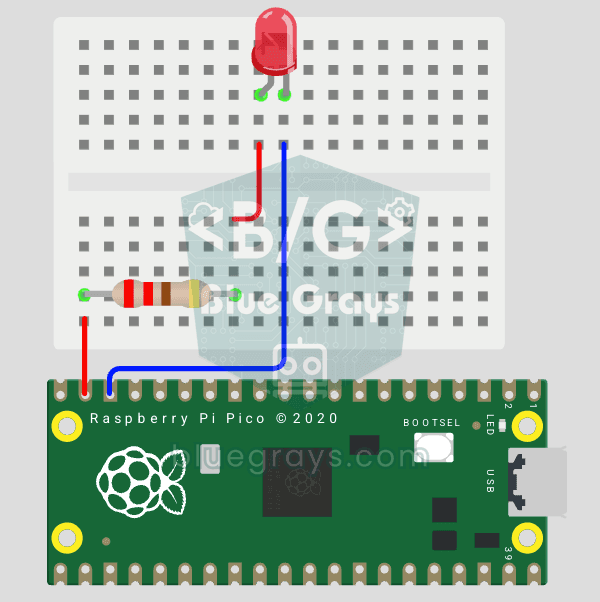
Raspberry Pi Pico: Controlling an External LED (Breadboard)
The next step after the Pico's built-in LED: connect an external LED on a breadboard and control it through pin GP14. You'll learn how to use any of the Pico's GPIO pins as an output, the LED's polarity (long leg = anode/+, short leg = cathode/–) and why a current-limiting resistor (220Ω) is a must. Without the resistor, too much current flows through the LED and it can burn out.

ESP32 LED Control with Push Button (Push)
The LED lights up when the button is pressed and turns off when released. Shows how the ESP32's digital input pin and internal pull-up resistor are used. The INPUT_PULLUP mode eliminates the need for an external resistor.