
ESP32 Send WhatsApp Message: Sensor Alerts with CallMeBot
Send WhatsApp messages with an ESP32: get a CallMeBot API key, URL-encode text, set up temperature and door sensor alerts, rate-limit messages and debug errors.

Sending WhatsApp messages with an ESP32 is one of the most practical ways to get an instant phone alert when a sensor at home crosses a threshold. When a door opens, the fridge gets too warm or the water tank runs low, the ESP32 connects to the internet and drops a message into your WhatsApp with a single HTTPS request. You don't need a paid server or complicated authentication: the free CallMeBot service forwards web requests that carry your API key straight to your own WhatsApp number.
In this guide you'll learn how to get the API key, why messages with special or accented characters need URL encoding and how to do it, and how to send your first test message. Then you'll build a real notification system with a DHT22 temperature sensor and a reed door sensor, limit the message frequency so your phone doesn't get flooded, and debug by reading the server's responses. If you don't know the ESP32 yet, first take a look at What Is the ESP32?.
What is CallMeBot, and how does a message get from the ESP32 to WhatsApp?
WhatsApp doesn't offer an open API that devices can use directly for personal accounts. CallMeBot is a bridge in between: a bot with its own WhatsApp account sends messages to the numbers that have given it permission. From the ESP32 you make a GET request to api.callmebot.com/whatsapp.php containing your phone number, your API key and the message text; the service queues the request and within a few seconds the message arrives in your WhatsApp from the bot's number. So from the ESP32's point of view, the job is no more than opening a web page. The service is free for personal use, but since it's a third-party service run by an individual, rate limits and rules may change over time. So don't use it as your only notification channel in life-critical situations such as a fire or gas leak; add a local buzzer or a second channel next to it.
| Method | Setup | Cost | Best for |
|---|---|---|---|
| CallMeBot (WhatsApp) | API key via a single message | Free for personal use | Simple alerts to your own phone |
| Telegram bot | Get a token from BotFather | Free | Two-way commands, photos, group messages |
| WhatsApp Business Cloud API | Meta business account and approved template | May be charged per message | Commercial notifications to customers |
| Email (SMTP) | Needs an app password | Free | Detailed reports, daily summaries |
How do you get a CallMeBot API key?
- Save the current bot number published on the WhatsApp page of the CallMeBot website in your phone's contacts; the number changes from time to time, so always check it there and not from another source.
- Send this contact the sentence I allow callmebot to send me messages in WhatsApp, exactly as written.
- Shortly afterwards you'll get a reply that starts with "API Activated for your phone number" and contains your APIKEY; note this number down.
- If no reply comes, don't send the same message over and over; wait a while (until the next day if needed) and try again, because activation can be delayed when the service is busy.
- You can do the first test without the ESP32: type a URL in the format below, with your own number and key, into your browser's address bar; if the message arrives, your account is ready.
The message URL and URL encoding
The request address has three parameters: phone (the number with country code; for Turkey it starts with +90, and the leading 0 of the number is left out), apikey and text. An example request looks like this: api.callmebot.com/whatsapp.php?phone=%2B905551234567&apikey=123456&text=Door%20opened. In URLs, characters such as space, &, ?, # and + have special meanings; for example, an & in your message cuts the text off and the rest is taken as a new parameter, while a + may be interpreted as a space. Accented and non-Latin letters take two or more bytes in UTF-8 and can't appear directly in a URL. The solution is to write every unsafe byte as a percent sign followed by two hexadecimal digits; this is called URL encoding (percent-encoding).
| Character | UTF-8 bytes | Encoded form |
|---|---|---|
| space | 0x20 | %20 |
| + | 0x2B | %2B |
| & | 0x26 | %26 |
| ı | 0xC4 0xB1 | %C4%B1 |
| ş | 0xC5 0x9F | %C5%9F |
| ü | 0xC3 0xBC | %C3%BC |
| ° | 0xC2 0xB0 | %C2%B0 |
| newline | 0x0A | %0A |
The code below includes a small urlEncodeText() function that does this: it leaves letters, digits and the characters - _ . ~ as they are and converts every other byte to the %XX form. Because the Arduino IDE saves source files as UTF-8, a word like "Sıcaklık" that you type into the code goes out with the right bytes and looks correct in WhatsApp. If you want a ready-made solution, the UrlEncode library in the Library Manager does the same job with its urlEncode() function. To add a new line to a message, just write \n in the text; the function turns it into %0A. WhatsApp formatting works too: if you put a word between asterisks it appears in bold.
First test: say hello from the ESP32 to WhatsApp
- Install the ESP32 board package in the Arduino IDE and select ESP32 Dev Module as the board.
- Replace the WIFI_SSID, WIFI_PASS, PHONE and API_KEY values in the code with your own; write the number in the +905551234567 format.
- Upload the code and open the Serial Monitor at 115200 baud.
- After the Wi-Fi connection you should see the HTTP 200 code and CallMeBot's reply text in the Serial Monitor; within a few seconds the message arrives on your phone.
1#include <WiFi.h>
2#include <WiFiClientSecure.h>
3#include <HTTPClient.h>
4
5const char* WIFI_SSID = "WIFI_ADIN";       // Wi-Fi ağ adı / Wi-Fi network name
6const char* WIFI_PASS = "WIFI_SIFREN";     // Wi-Fi şifresi / Wi-Fi password
7const char* PHONE     = "+905551234567";   // ülke kodlu numaran / your number with country code
8const char* API_KEY   = "123456";          // CallMeBot API anahtarı / CallMeBot API key
9
10// UTF-8 metni URL için kodlar / URL-encodes UTF-8 text
11String urlEncodeText(const String &s) {
12  const char *digits = "0123456789ABCDEF";
13  String out;
14  out.reserve(s.length() * 3);
15  for (unsigned int i = 0; i < s.length(); i++) {
16    uint8_t c = (uint8_t)s[i];
17    bool safe = (c >= 'A' && c <= 'Z') || (c >= 'a' && c <= 'z') ||
18                (c >= '0' && c <= '9') || c == '-' || c == '_' || c == '.' || c == '~';
19    if (safe) {
20      out += (char)c;
21    } else {
22      out += '%';
23      out += digits[c >> 4];
24      out += digits[c & 0x0F];
25    }
26  }
27  return out;
28}
29
30// WhatsApp mesajı gönderir / sends a WhatsApp message
31bool sendWhatsApp(const String &message) {
32  if (WiFi.status() != WL_CONNECTED) {
33    Serial.println("Wi-Fi yok / no Wi-Fi");
34    return false;
35  }
36  WiFiClientSecure client;
37  client.setInsecure();                      // sertifika doğrulaması yok / no certificate check
38  HTTPClient http;
39  String url = String("https://api.callmebot.com/whatsapp.php?phone=") +
40               urlEncodeText(PHONE) + "&apikey=" + API_KEY +
41               "&text=" + urlEncodeText(message);
42  if (!http.begin(client, url)) {
43    Serial.println("Baglanti baslatilamadi / begin failed");
44    return false;
45  }
46  http.setTimeout(10000);                    // 10 sn zaman aşımı / 10 s timeout
47  int code = http.GET();
48  if (code > 0) {
49    Serial.printf("HTTP %d\n", code);
50    Serial.println(http.getString());        // CallMeBot yanıtı / CallMeBot reply
51  } else {
52    Serial.printf("Hata / error: %s\n", HTTPClient::errorToString(code).c_str());
53  }
54  http.end();
55  return code == 200;
56}
57
58void setup() {
59  Serial.begin(115200);
60  WiFi.mode(WIFI_STA);
61  WiFi.begin(WIFI_SSID, WIFI_PASS);
62  Serial.print("Wi-Fi baglaniyor / connecting");
63  unsigned long start = millis();
64  while (WiFi.status() != WL_CONNECTED && millis() - start < 20000) {
65    delay(500);
66    Serial.print(".");
67  }
68  Serial.println();
69  if (WiFi.status() == WL_CONNECTED) {
70    Serial.print("IP: ");
71    Serial.println(WiFi.localIP());
72    sendWhatsApp("Merhaba! ESP32 çevrimiçi.\nSıcaklık testi: 24,5 °C");
73  } else {
74    Serial.println("Wi-Fi baglantisi kurulamadi / Wi-Fi failed");
75  }
76}
77
78void loop() {
79}| Code piece | What it does |
|---|---|
| WiFiClientSecure + setInsecure() | Sets up the HTTPS connection encrypted but doesn't verify the server certificate |
| urlEncodeText() | Converts the + in the number and special or accented characters in the message to %XX form |
| http.begin(client, url) | Prepares the request; the client parameter is required for HTTPS |
| http.GET() | Sends the request; a positive value is an HTTP code, a negative value is a connection error |
| http.getString() | Reads CallMeBot's reply text; error explanations are written here |
| http.end() | Closes the connection and frees the memory used |
Circuit: wiring the temperature and door sensors
The example system has two sensors. The DHT22 measures temperature with about ±0.5 °C accuracy and uses a single data line; if you're using a bare sensor, add a 10 kΩ pull-up resistor between the data pin and 3.3 V, while module versions already have this resistor. For the door we use a reed switch: the reed is stuck to the door frame and the magnet to the door leaf. When the door is closed, the magnet closes the contact and the pin is pulled to GND (LOW); when the door opens, the contact opens and the internal pull-up resistor makes the pin HIGH. You can find the working principle of the reed switch in detail in Reed Switch. Since the Arduino Uno has no Wi-Fi, the table includes only boards with Wi-Fi.
| Connection | ESP32 | ESP8266 (NodeMCU) | Raspberry Pi Pico W |
|---|---|---|---|
| DHT22 VCC | 3V3 | 3V3 | 3V3(OUT) |
| DHT22 DATA | GPIO 4 | D2 (GPIO 4) | GP16 |
| DHT22 GND | GND | GND | GND |
| Reed terminal 1 | GPIO 27 | D5 (GPIO 14) | GP15 |
| Reed terminal 2 | GND | GND | GND |
Alerts on a threshold: temperature and door alarm
In a real notification system the most important question is "when should it send a message?" If you send a message every 5 seconds for as long as the temperature stays above 30 °C, you get 12 notifications a minute. To prevent this, the code uses two techniques. The first is hysteresis: the alarm triggers at 30 °C but doesn't reset until the temperature drops to 28 °C; so a value bouncing between 29.9 and 30.1 won't bury you in notifications. The second is a cooldown: at least 10 minutes must pass between two messages of the same type for temperature and 1 minute for the door. For the door sensor we don't catch the continuous state, only the moment of the closed-to-open transition. For this code, install the DHT sensor library (Adafruit) from the Library Manager along with its dependencies.
1#include <WiFi.h>
2#include <WiFiClientSecure.h>
3#include <HTTPClient.h>
4#include <DHT.h>
5
6const char* WIFI_SSID = "WIFI_ADIN";
7const char* WIFI_PASS = "WIFI_SIFREN";
8const char* PHONE     = "+905551234567";
9const char* API_KEY   = "123456";
10
11#define DHT_PIN  4      // DHT22 veri pini / DHT22 data pin
12#define DOOR_PIN 27     // reed röle / reed switch
13
14DHT dht(DHT_PIN, DHT22);
15
16const float TEMP_HIGH  = 30.0;                // alarm eşiği / alarm threshold
17const float TEMP_RESET = 28.0;                // sıfırlama eşiği (histerezis) / reset threshold (hysteresis)
18const unsigned long READ_MS     = 5000;       // ölçüm aralığı / read interval
19const unsigned long TEMP_GAP_MS = 600000UL;   // sıcaklık mesajları arası 10 dk / 10 min between temp messages
20const unsigned long DOOR_GAP_MS = 60000UL;    // kapı mesajları arası 1 dk / 1 min between door messages
21const unsigned long MIN_GAP_MS  = 15000UL;    // iki istek arası en az 15 sn / at least 15 s between requests
22
23bool tempAlarm = false;
24bool lastDoorOpen = false;
25unsigned long lastRead = 0;
26unsigned long lastTempMsg = 0;
27unsigned long lastDoorMsg = 0;
28unsigned long lastRequest = 0;
29
30// UTF-8 metni URL için kodlar / URL-encodes UTF-8 text
31String urlEncodeText(const String &s) {
32  const char *digits = "0123456789ABCDEF";
33  String out;
34  out.reserve(s.length() * 3);
35  for (unsigned int i = 0; i < s.length(); i++) {
36    uint8_t c = (uint8_t)s[i];
37    bool safe = (c >= 'A' && c <= 'Z') || (c >= 'a' && c <= 'z') ||
38                (c >= '0' && c <= '9') || c == '-' || c == '_' || c == '.' || c == '~';
39    if (safe) {
40      out += (char)c;
41    } else {
42      out += '%';
43      out += digits[c >> 4];
44      out += digits[c & 0x0F];
45    }
46  }
47  return out;
48}
49
50bool sendWhatsApp(const String &message) {
51  if (WiFi.status() != WL_CONNECTED) {         // ESP32 kendisi yeniden bağlanır / ESP32 reconnects itself
52    Serial.println("Wi-Fi yok / no Wi-Fi");
53    return false;
54  }
55  if (lastRequest != 0 && millis() - lastRequest < MIN_GAP_MS) {
56    Serial.println("Cok sik istek, atlandi / too frequent, skipped");
57    return false;
58  }
59  lastRequest = millis();
60  WiFiClientSecure client;
61  client.setInsecure();
62  HTTPClient http;
63  String url = String("https://api.callmebot.com/whatsapp.php?phone=") +
64               urlEncodeText(PHONE) + "&apikey=" + API_KEY +
65               "&text=" + urlEncodeText(message);
66  if (!http.begin(client, url)) {
67    return false;
68  }
69  http.setTimeout(10000);
70  int code = http.GET();
71  if (code > 0) {
72    Serial.printf("HTTP %d: %s\n", code, http.getString().c_str());
73  } else {
74    Serial.printf("Hata / error: %s\n", HTTPClient::errorToString(code).c_str());
75  }
76  http.end();
77  return code == 200;
78}
79
80void setup() {
81  Serial.begin(115200);
82  pinMode(DOOR_PIN, INPUT_PULLUP);             // kapalı kapı = LOW / closed door = LOW
83  dht.begin();
84  WiFi.mode(WIFI_STA);
85  WiFi.begin(WIFI_SSID, WIFI_PASS);
86  unsigned long start = millis();
87  while (WiFi.status() != WL_CONNECTED && millis() - start < 20000) {
88    delay(500);
89    Serial.print(".");
90  }
91  Serial.println(WiFi.status() == WL_CONNECTED ? "\nWi-Fi OK" : "\nWi-Fi yok / no Wi-Fi");
92  lastDoorOpen = digitalRead(DOOR_PIN) == HIGH; // açılıştaki durum / initial state
93}
94
95void loop() {
96  unsigned long now = millis();
97
98  // Kapı: yalnızca kapalı -> açık geçişi / door: only closed -> open edge
99  bool doorOpen = digitalRead(DOOR_PIN) == HIGH;
100  if (doorOpen && !lastDoorOpen) {
101    if (lastDoorMsg == 0 || now - lastDoorMsg >= DOOR_GAP_MS) {
102      if (sendWhatsApp("Kapı açıldı!")) {
103        lastDoorMsg = millis();
104      }
105    } else {
106      Serial.println("Kapi acildi, bekleme suresinde / door opened, in cooldown");
107    }
108  }
109  lastDoorOpen = doorOpen;
110
111  // Sıcaklık: 5 sn'de bir oku / temperature: read every 5 s
112  if (now - lastRead >= READ_MS) {
113    lastRead = now;
114    float t = dht.readTemperature();
115    if (isnan(t)) {
116      Serial.println("DHT22 okunamadi / read failed");
117    } else {
118      Serial.printf("Sicaklik / temp: %.1f C\n", t);
119      if (!tempAlarm && t >= TEMP_HIGH) {
120        if (lastTempMsg == 0 || now - lastTempMsg >= TEMP_GAP_MS) {
121          String msg = String("Uyarı: sıcaklık ") + String(t, 1) + " °C (eşik " + String(TEMP_HIGH, 1) + " °C)";
122          if (sendWhatsApp(msg)) {
123            tempAlarm = true;
124            lastTempMsg = millis();
125          }
126        }
127      } else if (tempAlarm && t <= TEMP_RESET) {
128        tempAlarm = false;                       // alarm sıfırlandı / alarm reset
129        sendWhatsApp(String("Sıcaklık normale döndü: ") + String(t, 1) + " °C");
130      }
131    }
132  }
133  delay(20);
134}
Because the code uses millis()-based timing, loop() never waits for long; only while a message is being sent does the HTTPS connection take 1–3 seconds. The MIN_GAP_MS check in sendWhatsApp() leaves at least 15 seconds between two requests for whatever reason; if your API key is wrong or the service returns errors, the code won't flood the server with requests. An event that occurs within this short interval isn't sent as a message, it is only written to the Serial Monitor. If a temperature message can't be sent successfully, the tempAlarm flag isn't set to true, so it's retried on the following readings. You shouldn't read the DHT22 more often than every 2 seconds; here it's read every 5 seconds, and if a reading fails (NaN) the error is printed without sending a message. For details on using millis instead of delay, see millis and delay.
Why is limiting message frequency essential?
CallMeBot is a free service and may temporarily block numbers that send too many requests in a short time to prevent abuse. Since the exact limits can change over time, the safest approach is to design the notification system so that it never exceeds a few messages per minute. And this works in your favour too: a phone that keeps buzzing gets ignored after a while and you miss a real alarm. A good notification is rare and meaningful.
- Send per event: Send one message when the state changes (door opened, temperature threshold crossed); don't repeat it while the state persists.
- Leave hysteresis: Choose alarm and reset thresholds at least 1–2 °C apart; for jumpy values like humidity, keep the gap even wider.
- Cooldown per type: Use times such as 1 minute for the door and 10–30 minutes for temperature.
- Summary message: If many events happen in a short time, count them and report them in a single message such as "the door opened 7 times in the last 10 minutes".
- Daily cap: Allow at most, say, 50 messages a day with a counter; once the limit is reached, only write to the Serial Monitor.
- Limit the startup message: If the ESP32 sends an "online" message on every reset, power fluctuations can cause a flood of notifications; remove this message if necessary.
MicroPython with the Raspberry Pi Pico W
The Wi-Fi-enabled Pico W can use the same service too; the urequests module in MicroPython supports HTTPS requests. The code below ports the same URL-encoding logic to Python and reads the DHT22 from GP16 and the reed from GP15. In the MicroPython build for the Pico W the dht module is built in, so you don't need to copy any extra files. This code won't run on the classic Pico without Wi-Fi. If you're new to MicroPython, MicroPython Basics is a good place to start.
1import network
2import time
3import urequests
4import dht
5from machine import Pin
6
7SSID = "WIFI_ADIN"
8PASSWORD = "WIFI_SIFREN"
9PHONE = "+905551234567"     # ülke kodlu numara / number with country code
10API_KEY = "123456"          # CallMeBot API anahtarı / CallMeBot API key
11
12TEMP_HIGH = 30.0            # alarm eşiği / alarm threshold
13TEMP_RESET = 28.0           # sıfırlama eşiği / reset threshold
14DOOR_GAP = 60000            # kapı mesajları arası 1 dk / 1 min between door messages
15
16sensor = dht.DHT22(Pin(16))
17door = Pin(15, Pin.IN, Pin.PULL_UP)   # kapalı kapı = 0 / closed door = 0
18
19def url_encode(s):
20    out = ""
21    for b in s.encode("utf-8"):
22        if 48 <= b <= 57 or 65 <= b <= 90 or 97 <= b <= 122 or b in (45, 46, 95, 126):
23            out += chr(b)
24        else:
25            out += "%{:02X}".format(b)
26    return out
27
28def send_whatsapp(msg):
29    url = ("https://api.callmebot.com/whatsapp.php?phone=" + url_encode(PHONE)
30           + "&apikey=" + API_KEY + "&text=" + url_encode(msg))
31    try:
32        r = urequests.get(url)
33        ok = r.status_code == 200
34        print("HTTP", r.status_code, r.text)
35        r.close()
36        return ok
37    except Exception as e:
38        print("Hata / error:", e)
39        return False
40
41wlan = network.WLAN(network.STA_IF)
42wlan.active(True)
43wlan.connect(SSID, PASSWORD)
44for _ in range(40):                    # en fazla 20 sn bekle / wait up to 20 s
45    if wlan.isconnected():
46        break
47    time.sleep(0.5)
48print("IP:", wlan.ifconfig()[0])
49
50last_open = door.value() == 1
51last_door_msg = None
52temp_alarm = False
53last_read = time.ticks_ms()
54
55while True:
56    now = time.ticks_ms()
57    is_open = door.value() == 1
58    if is_open and not last_open:      # kapalı -> açık / closed -> open
59        if last_door_msg is None or time.ticks_diff(now, last_door_msg) >= DOOR_GAP:
60            if send_whatsapp("Kapı açıldı! (Pico W)"):
61                last_door_msg = time.ticks_ms()
62    last_open = is_open
63
64    if time.ticks_diff(now, last_read) >= 5000:
65        last_read = now
66        try:
67            sensor.measure()
68            t = sensor.temperature()
69            print("Sicaklik / temp:", t)
70            if not temp_alarm and t >= TEMP_HIGH:
71                if send_whatsapp("Uyarı: sıcaklık {:.1f} °C".format(t)):
72                    temp_alarm = True
73            elif temp_alarm and t <= TEMP_RESET:
74                temp_alarm = False
75                send_whatsapp("Sıcaklık normale döndü: {:.1f} °C".format(t))
76        except OSError:
77            print("DHT22 okunamadi / read failed")
78    time.sleep_ms(50)
Using it with the ESP8266 (NodeMCU, Wemos D1 Mini)
The logic is exactly the same on ESP8266 boards; only the header files change. Include ESP8266WiFi.h instead of WiFi.h and ESP8266HTTPClient.h instead of HTTPClient.h. The WiFiClientSecure class on the ESP8266 is based on BearSSL and is used the same way with setInsecure(); the http.begin(client, url) line works unchanged. Since the ESP8266 has far less RAM than the ESP32, a TLS connection uses a significant part of the memory; if you use it with large libraries, reduce String concatenations and remember to call http.end() when the request is finished. For pin numbers, use the ESP8266 column in the table.
Project ideas with WhatsApp notifications
- Motion alarm: Send a message if a PIR sensor detects movement while nobody is home.
- Gas leak warning: When an MQ-2 gas sensor exceeds its threshold, sound a buzzer and write to WhatsApp at the same time.
- Flood detector: Get notified when a water level sensor placed under the washing machine gets wet.
- Plant watering reminder: Send a "the pot is thirsty" message when a soil moisture sensor detects dryness.
- Frost alarm: Warn when the greenhouse or balcony temperature drops below 2 °C; details are in the frost alarm post.
- Battery-powered mailbox sensor: Keep the ESP32 waiting in deep sleep; it wakes when the flap opens, sends one message and goes back to sleep.
Common mistakes and debugging
| Symptom | Likely cause | Fix |
|---|---|---|
| Wi-Fi never connects | Wrong password or a 5 GHz network | The ESP32 connects only to 2.4 GHz networks; check the SSID and password |
| HTTP -1 or connection refused | No HTTPS client, DNS or internet problem | Check the http.begin(client, url) form and the setInsecure() line |
| HTTP 200 but no message arrives | Wrong number format or slow service | Use a number starting with +90 without the 0; wait a few minutes and read the reply text |
| The reply says the API key is invalid | Wrong or missing key | Copy the number from the activation message again; the number and key must belong to the same account |
| The message is cut off midway | An & or # in the text isn't encoded | Encode the whole text with urlEncodeText() |
| Letters show up as %C4%B1 | The text has been encoded twice | Encode the text only once |
| The ESP32 resets while sending | Voltage drops during the Wi-Fi current spike | Use a good USB cable and a supply that can deliver at least 500 mA |
| Constant "door opened" messages | A pin without pull-up or a loose wire | Use a pull-up-capable pin such as GPIO 27 and secure the connection |
WhatsApp notifications take sensor projects from "I'll know when I look at the screen" to "I'll know wherever I am". If you want two-way commands, photos and group messages, an ESP32 Telegram bot is a good next step. In the BlueGrays app you'll find projects such as ESP32 Wi-Fi connection, weather with HTTPClient, DHT22 measurement and a motion alarm, step by step with circuit diagrams and code, and you can easily add the WhatsApp function from this post to them.
Frequently asked questions
Can you send WhatsApp messages from an ESP32 for free?
Yes. The CallMeBot service is free for personal use and only asks for an API key; the ESP32 sends a message to your own number with a single HTTPS GET request. The official WhatsApp Business Cloud API, on the other hand, requires a business account and approved templates and may be charged per message.
What should I do if I don't receive my CallMeBot API key?
First check that the bot number is the current one on the CallMeBot website and that you typed the activation sentence exactly. If no reply arrives within a few minutes, don't send the message repeatedly; wait a while, until the next day if needed, and try again. Activation can be delayed when the service is busy.
Can CallMeBot send messages to another number?
Each API key is tied to the single number that did the activation and only sends messages to that number. For a family member to get notifications too, they need to activate the bot and get their own key; the ESP32 code can send two separate requests. If you want to send notifications to groups, a Telegram bot is a better choice.
How do you send accented or special characters in an ESP32 WhatsApp message?
Before adding the message text to the URL you need to convert its UTF-8 bytes to %XX form with URL encoding; for example, the letter ı goes out as %C4%B1. The urlEncodeText() function in this post or the UrlEncode library does this automatically. Be careful not to encode the text twice, or you'll see codes instead of letters in WhatsApp.
Is WhatsApp or Telegram better for ESP32 notifications?
If you only want to send short alerts to your own phone, WhatsApp with CallMeBot is the quickest setup. If you want to send commands from your phone to the ESP32, share photos or message a group, the Telegram Bot API is an official, free and far more flexible solution.
Can you send a WhatsApp message with an Arduino Uno?
The Arduino Uno has no Wi-Fi, so it can't send one on its own. You can add a Wi-Fi module such as the ESP-01 to the Uno, but an HTTPS request is awkward in that setup. The most practical solution is to use an ESP32 or ESP8266 directly, or to pass the Uno's sensor data over serial to an ESP32.
Projects to build after reading this
See all projects
ESP32 Wi-Fi STA Connection (with LCD Screen)
In this project, we connect the ESP32 to the home Wi-Fi network in Station (STA) mode in a secure, fault-tolerant manner. We store the SSID and password in a separate secrets.h file to prevent leaking to Git, set up an auto-reconnect mechanism, and display the RSSI signal level and IP address on an I2C LCD screen. The internal LED works as a status indicator. It is a production-grade connection manager.

ESP32 HTTPClient + Weather API (with LCD Screen)
In this project the ESP32 makes a REST API call over the internet to a weather API (wttr.in) using HTTPClient.h. The JSON response is parsed with ArduinoJson v7, and the city, temperature, humidity, weather and wind are shown on an I2C LCD. wttr.in needs no API key; just type the name of any city.
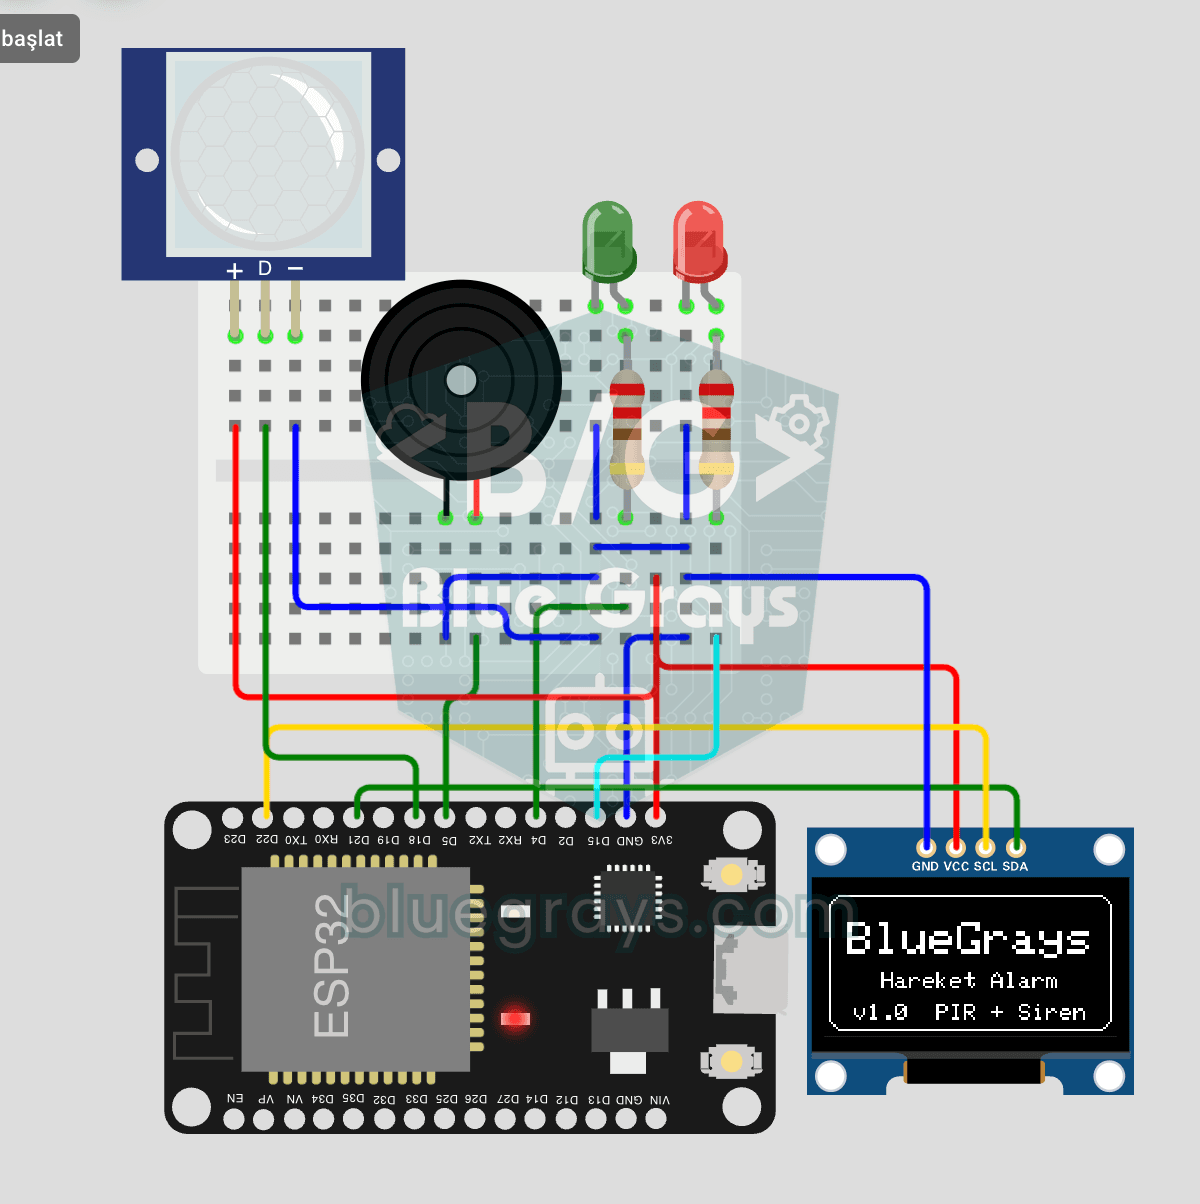
ESP32 Motion Alarm System (PIR + Buzzer + LED + Telegram)
A smart security alarm: when the PIR sensor detects motion, it sounds the buzzer, lights the LED and sends the owner an instant Telegram notification. A 30-second cooldown limits how often the alarm repeats; it does not filter out the PIR sensor's false detections. Use it at home, in a garage, a storeroom or a study.

ESP32 DHT22 Temperature and Humidity (with LCD Display)
This project measures ambient temperature and humidity using a DHT22 sensor and displays the data in real time on a 16x2 I2C LCD. Data is read from the sensor using the one-wire protocol via the Adafruit DHT library. This project serves as the foundation for IoT weather stations, smart home automation, or environmental monitoring systems in greenhouses. Communication with the DHT22 is established via the ESP32's GPIO 4 pin.

ESP32 MQ-2 Gas/Smoke Detector Alarm
In this project, combustible gas (LPG, methane, propane) and smoke detection is performed using an MQ-2 gas sensor module, and a siren-like alarm is played through a passive buzzer upon detection. The sensor's digital threshold output (DO) is connected to GPIO 4 on the ESP32; when gas or smoke exceeds the threshold, DO goes LOW and the alarm is triggered. Sensitivity is adjusted via the module's potentiometer. The passive buzzer is driven using tone() to produce a two-frequency siren effect.
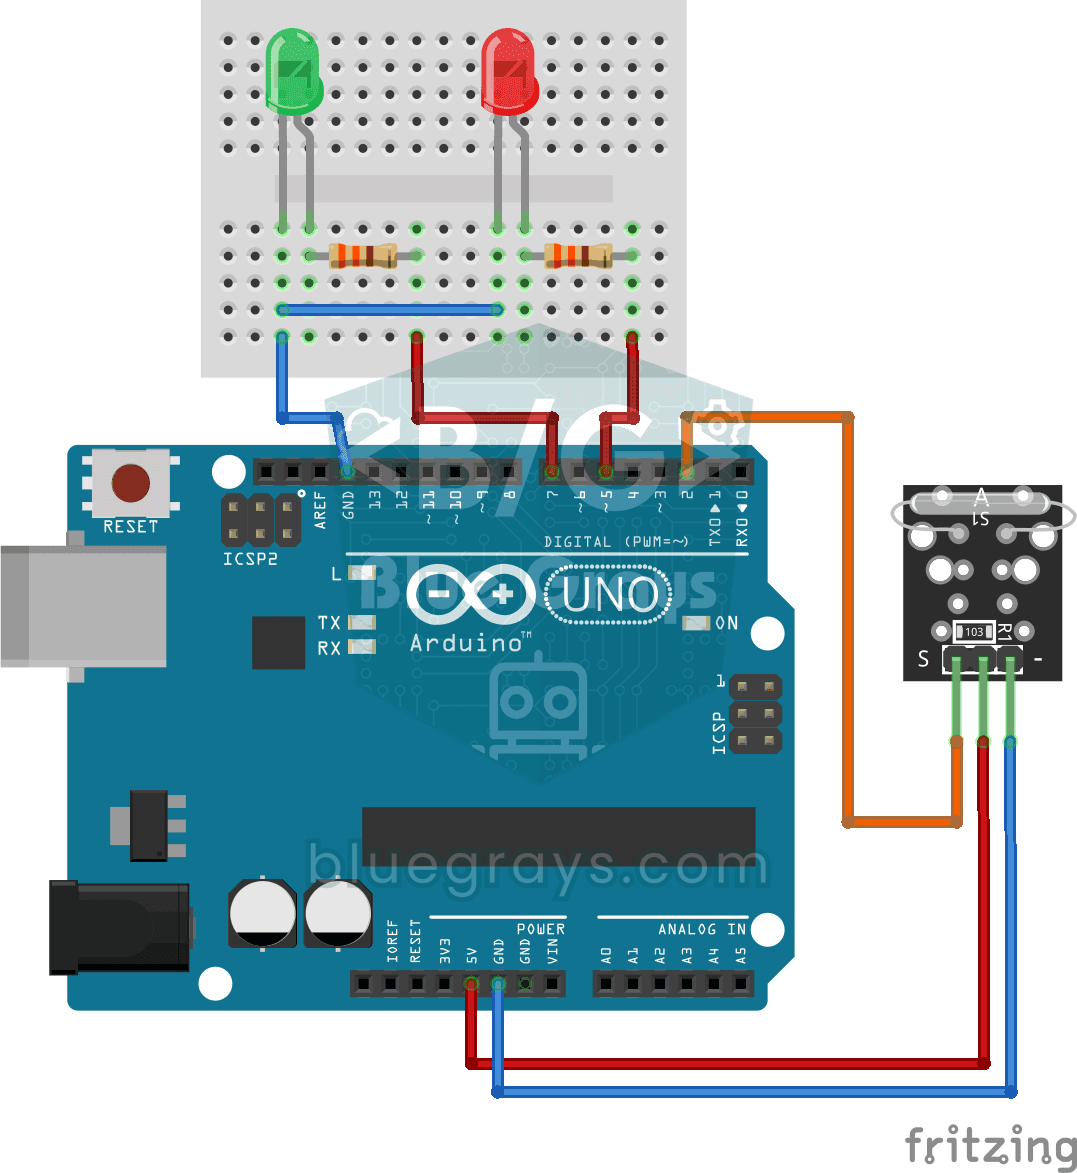
Reed Switch Door Sensor
Tell whether your door is open or closed just by looking at a light. You attach a small magnet to the door and a magnet-sensing switch to the frame; when the door is closed they sit side by side and…

ESP32 Temperature Data Logger (DHT22 + DS1307 RTC + microSD + OLED)
Build a timed temperature and humidity logger with the ESP32! A DHT22 sensor reads temperature and humidity once a minute, and each reading is saved to a microSD card in CSV format with a real-time stamp from the DS1307 RTC module. The OLED display shows the latest temperature, humidity, timestamp and total number of records live, in large text.