
Rain Sensor Arduino Guide: Wiring, Code and Automatic Window
Rain sensor with Arduino: FC-37/YL-83 wiring, AO and DO outputs, threshold setting, preventing corrosion, a buzzer alarm, a servo window, ESP32 and Pico code.
A rain sensor lets your Arduino detect raindrops and report "it's started raining" within milliseconds, and it's one of the cheapest and most fun sensors you can buy. It consists of a sensing pad that catches the water and a small board with an LM393 comparator, and it connects to the Arduino with just four wires. A reminder to bring the laundry in before it gets soaked, a window or awning that closes by itself when rain starts, a garden system that skips watering on rainy days and a small weather station all start with this module.
In this guide you'll learn what's inside the rain sensor module sold as FC-37, YL-83 and MH-RD, the difference between the analog (AO) and digital (DO) outputs, how to set the threshold with the potentiometer and the most overlooked topic of all: how to stop the pad from corroding. Then we'll build, step by step, a rain alarm with intensity levels on the Arduino, an automatic window closer with a servo motor, phone notifications with the ESP32 and a MicroPython example for the Raspberry Pi Pico.
What is a rain sensor and how does it work?
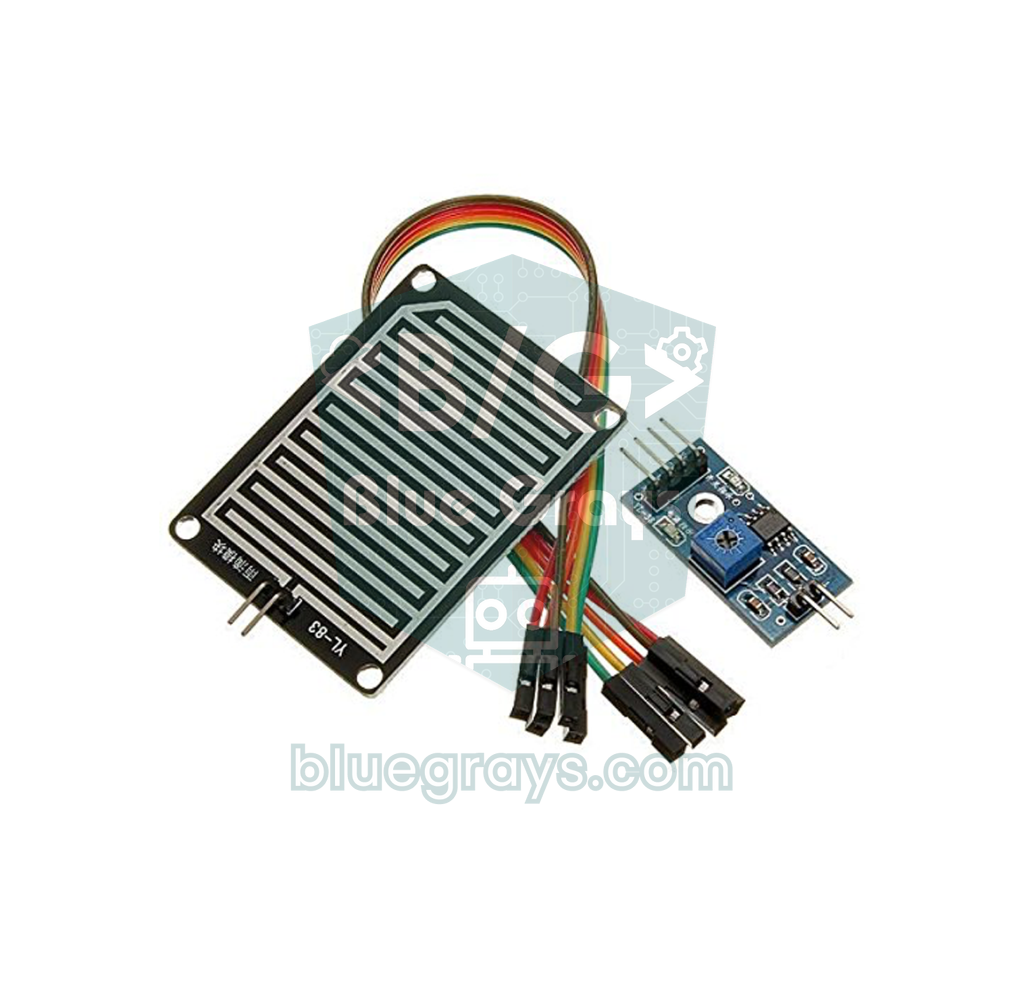
The sensing pad has two conductive traces that interleave like the teeth of two combs without ever touching. When the pad is dry, the resistance between them is in the megohm range, so the circuit is practically open. When a raindrop lands across two traces, the water forms a bridge between them and the resistance falls. The more drops land and the more of the pad gets wet, the lower the resistance goes. On the control board, the pad forms a voltage divider together with a resistor, 10 kΩ on most models: with a dry pad the voltage on the AO pin is close to the supply (VCC), and it drops as the pad gets wetter. You can try out how the output changes with different resistances using the voltage divider calculator.
The LM393 on the board is a comparator IC that compares two voltages. One input gets the voltage from the pad and the other gets a reference voltage that you set with the potentiometer. The moment the pad voltage drops below the reference, that is, when enough water is detected, the DO output goes LOW and the DO LED on the board lights up. The LM393 has an open-collector output; thanks to a pull-up resistor on the board, DO stays HIGH when there's no rain. The other LED (PWR) simply shows that the module is powered.
| Feature | Value |
|---|---|
| Sensing pad | About 5.4 × 4 cm; interleaved traces on FR4, nickel-plated on most models |
| Control board | About 3 × 1.5 cm, LM393 comparator |
| Supply voltage | 3.3–5 V |
| Current | About 8 mA (at 5 V with both LEDs lit) |
| Analog output (AO) | Between 0 V and VCC; drops as the pad gets wet |
| Digital output (DO) | HIGH when dry, LOW once the threshold is crossed |
| Indicators | PWR LED (power) and DO LED (rain detected) |
| Adjustment | Sensitivity potentiometer (only changes the DO threshold) |
| Connections | 2 pins on the pad side (orientation doesn't matter), 4 pins on the Arduino side: VCC, GND, DO, AO |
FC-37, YL-83 and MH-RD: is there any difference?
In short, no. FC-37, YL-83 and MH-RD are names different manufacturers give to the same circuit; they all consist of a sensing pad and an LM393 control board, and they all work with the same code. The differences are usually in the pad size, small changes to the trace pattern and the quality of the plating. The control board is almost identical to the one used with the soil moisture sensor, so the boards of the two modules are interchangeable. The two pins between the pad and the board have no plus or minus, so it doesn't matter which way round you plug in the cable. When the pad wears out over time, you only need to replace the pad.
Analog (AO) vs digital (DO) output
Which output you use depends on your project. DO only says "raining" or "not raining"; you set the threshold with the potentiometer on the board, and a single digitalRead() on the Arduino is enough. AO, on the other hand, gives you a number from 0 to 1023 that shows how wet the pad is, so you can tell drizzle from a downpour, change the threshold in code and decide when the rain has started or stopped by looking at consecutive readings. You can also use both outputs at the same time.
| Feature | DO (digital) | AO (analog) |
|---|---|---|
| What it tells you | Raining / not raining | How wet the pad is (0–1023 on the Uno) |
| Threshold setting | Potentiometer on the board | In code, however you like |
| Arduino pin | Any digital pin | Analog pin (A0–A5) |
| Distinguishes intensity | No | Yes (drizzle, rain, downpour) |
| Works with interrupts | Yes | No |
| Best for | Simple alarms, wake-up signals | Level measurement, automation with hysteresis |
Rain sensor wiring: Arduino Uno, ESP32 and Pico
| Module pin / part | Arduino Uno | ESP32 | Raspberry Pi Pico |
|---|---|---|---|
| VCC | D7 (to power it only while measuring) or 5V | GPIO 25 or 3V3 | GP15 or 3V3(OUT) |
| GND | GND | GND | GND |
| AO | A0 | GPIO 34 (ADC1) | GP26 (ADC0) |
| DO | D2 | Optional (e.g. GPIO 27) | GP14 |
| Active buzzer (+) | D8 | Optional | GP13 |
| Servo signal wire | D9 | Optional | GP16 |
You've probably noticed that VCC goes to a digital pin instead of 5V in the table. The module draws only around 8 mA at 5 V, so an Arduino pin can power it easily (the recommended limit is 20 mA per pin). That way you switch the module on only for the few milliseconds you're measuring and keep it off the rest of the time. We'll see why this matters so much in the corrosion section. The Pico's pins are set to a 4 mA drive strength by default; since the module draws only a few mA at 3.3 V that's usually enough, but if your readings are unstable you can power the module from the 3V3(OUT) pin instead.
Setting the sensitivity: adjusting the threshold with the potentiometer
- Wipe the pad dry and power the module; the PWR LED should be on and the DO LED off.
- Slowly turn the potentiometer with a small screwdriver until the DO LED lights up. If the LED is already on with a dry pad, turn it the other way.
- Go back to the exact point where the LED goes out. This is the most sensitive setting at which DO stays HIGH with a dry pad.
- Turn it a little further in the same direction to leave a safety margin; otherwise even humid air or dew can trigger the alarm.
- Let two or three drops of water fall onto the pad from your finger. The DO LED should light up; if it doesn't, increase the sensitivity slightly.
- Dry the pad and watch how long it takes for the LED to go out; this gives you an idea of how long your system should wait before deciding "the rain has stopped".
Step by step: your first reading with Arduino
- Connect the module's VCC to D7, GND to GND, AO to A0 and DO to D2. Plug the pad into the board with the two-wire cable.
- Open the code below in the Arduino IDE, select Arduino Uno as the board and upload it.
- Open the Serial Monitor at 9600 baud and note the AO value with the pad dry.
- Drip a few drops of water onto the pad, then more, and write down the AO value each time.
- Also note the value when the pad is completely wet; these values will be the DRY and WET constants you use in the next sketches.
1// Yağmur sensörü: AO ve DO okuma / Rain sensor: reading AO and DO
2const int SENSOR_POWER = 7;   // modülün VCC'si bu pinden beslenir / module VCC is fed from this pin
3const int RAIN_AO = A0;       // analog çıkış / analog output
4const int RAIN_DO = 2;        // dijital çıkış / digital output
5
6void setup() {
7  Serial.begin(9600);
8  pinMode(SENSOR_POWER, OUTPUT);
9  digitalWrite(SENSOR_POWER, LOW);  // başlangıçta kapalı / off at start-up
10  pinMode(RAIN_DO, INPUT);
11}
12
13void loop() {
14  digitalWrite(SENSOR_POWER, HIGH);             // modülü aç / power the module
15  delay(50);                                    // değerin oturmasını bekle / let the reading settle
16  int analogValue = analogRead(RAIN_AO);        // 0-1023: kuruyken yüksek / high when dry
17  bool raining = digitalRead(RAIN_DO) == LOW;   // yağmurda DO = LOW / DO goes LOW in rain
18  digitalWrite(SENSOR_POWER, LOW);              // modülü kapat / power it off
19
20  Serial.print(F("AO: "));
21  Serial.print(analogValue);
22  Serial.print(F("  DO: "));
23  Serial.println(raining ? F("YAGMUR / RAIN") : F("KURU / DRY"));
24  delay(2000);                                  // 2 sn'de bir ölç / measure every 2 s
25}
Before each measurement the code sets D7 HIGH to power the module, waits 50 ms for the capacitors on the board to charge and the reading to settle, reads AO and DO, and switches the module off right away. That way the module is powered for only 50 ms of each 2-second loop, or 2.5% of the time. Because DO goes LOW in rain, we wrote the condition as digitalRead(RAIN_DO) == LOW. The Turkish words in the printed messages are written without special characters because some terminals display those characters garbled.
| Pad condition | Approx. AO (Uno, 5 V) | DO (adjusted board) |
|---|---|---|
| Dry and clean | 1000–1023 | HIGH |
| A few drops | 750–950 | HIGH or LOW depending on the setting |
| Drizzle, part of the pad wet | 500–750 | LOW |
| Heavy rain | 300–500 | LOW |
| Completely wet, tap water | 150–350 | LOW |
These numbers are only a rough guide; the pad size, the condition of the plating, the purity of the water and dust on the pad all change them noticeably. Even the same module's values drift after the pad has been outside for a few months. That's why, in the next sketches, instead of using the raw value directly we convert it into a wetness percentage from 0 to 100 using the dry (DRY) and wet (WET) values you measured yourself; then you only need to update these two constants without touching the thresholds.
Arduino rain alarm: intensity levels and a buzzer
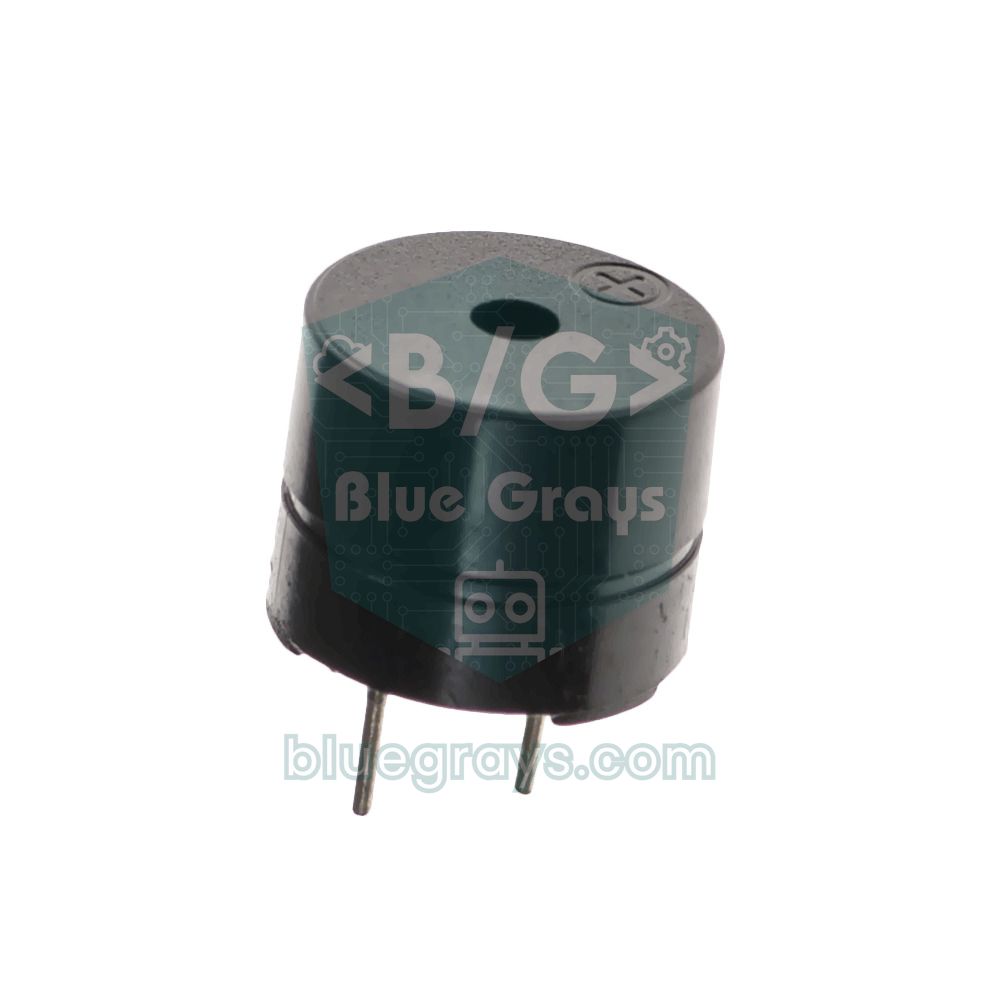
Now let's turn the measurement into a useful alarm. The code takes 8 readings from AO in a row, averages them, converts the result into a wetness percentage with map() and puts it into one of four levels: dry, drizzle, rain and downpour. As the rain gets heavier, the active buzzer beeps as many times as the level number: once for drizzle, twice for rain and three times for a downpour. Connect the buzzer's plus lead to D8 and its minus lead to GND; you'll find the difference between active and passive buzzers in What Is a Buzzer?.
1// Yağmur şiddeti seviyeleri ve sesli alarm / Rain intensity levels and audible alarm
2const int SENSOR_POWER = 7;     // modülün VCC'si / module VCC
3const int RAIN_AO = A0;         // analog çıkış / analog output
4const int BUZZER = 8;           // aktif buzzer / active buzzer
5const int DRY = 1015;           // kuru panel değeri / dry pad reading (kendin ölç / measure yours)
6const int WET = 350;            // tamamen ıslak panel / fully wet pad (kendin ölç / measure yours)
7
8const char* const LEVEL_NAMES[] = {"Kuru / Dry", "Ciseleme / Drizzle", "Yagmur / Rain", "Saganak / Downpour"};
9int lastLevel = 0;
10
11int readWetness() {
12  digitalWrite(SENSOR_POWER, HIGH);
13  delay(50);
14  long sum = 0;
15  for (int i = 0; i < 8; i++) sum += analogRead(RAIN_AO);  // 8 ölçümün ortalaması / average of 8 readings
16  digitalWrite(SENSOR_POWER, LOW);
17  return constrain(map(sum / 8, DRY, WET, 0, 100), 0, 100);  // % ıslaklık / % wetness
18}
19
20void beep(int count) {
21  for (int i = 0; i < count; i++) {
22    digitalWrite(BUZZER, HIGH);
23    delay(150);
24    digitalWrite(BUZZER, LOW);
25    delay(150);
26  }
27}
28
29void setup() {
30  Serial.begin(9600);
31  pinMode(SENSOR_POWER, OUTPUT);
32  pinMode(BUZZER, OUTPUT);
33}
34
35void loop() {
36  int wet = readWetness();
37  int level;
38  if (wet < 10) level = 0;        // kuru / dry
39  else if (wet < 40) level = 1;   // çiseleme / drizzle
40  else if (wet < 75) level = 2;   // yağmur / rain
41  else level = 3;                 // sağanak / downpour
42
43  Serial.print(F("Islaklik / Wetness: %"));
44  Serial.print(wet);
45  Serial.print(F("  "));
46  Serial.println(LEVEL_NAMES[level]);
47
48  if (level > lastLevel) beep(level);  // şiddet artınca seviye kadar bip / beep once per level when it gets heavier
49  lastLevel = level;
50  delay(3000);                         // 3 sn'de bir ölç / measure every 3 s
51}
The percentage here shows how much of the pad is wet; it's not a rainfall measurement in millimetres per hour like the ones meteorologists use. Still, it's very useful in practice: light drizzle bridges only a few of the traces, while a downpour covers almost the whole surface. You can change the level limits (10, 40 and 75) to match your own observations. Because the buzzer only sounds when the level rises, you won't hear a beep every 3 seconds while the rain stays at the same level.
Corrosion: why does the pad rust, and how can you make it last?
The biggest problem with rain sensors is that they wear out over time. When direct current (DC) is applied to the pad continuously, the water between the traces acts as an electrolyte and electrolysis begins: the metal of the trace connected to the positive side slowly dissolves, the nickel plating thins and the copper beneath turns dark or green. As a result, the dry pad's resistance falls, the readings drift and eventually the traces break. A pad left outdoors on a constant 5 V can wear noticeably within a few weeks. The good news: the wear is proportional to the time the pad is powered, and you're in control of that time.
- Power it only while measuring: Feed VCC from a digital pin and keep the module on for just 50 ms per reading. In a system that measures every 2 seconds, the pad is powered 2.5% of the time, which slows the wear by about 40 times.
- Measure less often: Rain doesn't change within seconds. For window or notification projects, one reading every 5–30 seconds is enough; a system that measures every 30 seconds keeps the pad powered only about 0.2% of the time.
- Swap the polarity (advanced): If you connect the pad directly to two digital pins and switch which end is HIGH on every reading, the wear is shared equally between the two traces. With this method you don't use the control board; you build the voltage divider yourself with a resistor and take a reading in each direction.
- Keep the pad clean: Dust, pollen and bird droppings increase conductivity and lower the dry reading. Clean the pad now and then with isopropyl alcohol and a soft brush; sandpaper or an abrasive sponge will scratch the plating.
- Protect the board, not the pad: Put the control board in a waterproof box or give it a conformal coating. Never cover the pad with varnish, silicone or tape; the water has to touch the traces.
- Keep a spare pad: The pad is a cheap consumable. When the readings drift noticeably or the traces turn dark, just replace the pad and measure DRY and WET again.
Automatic window or awning closing with a servo motor
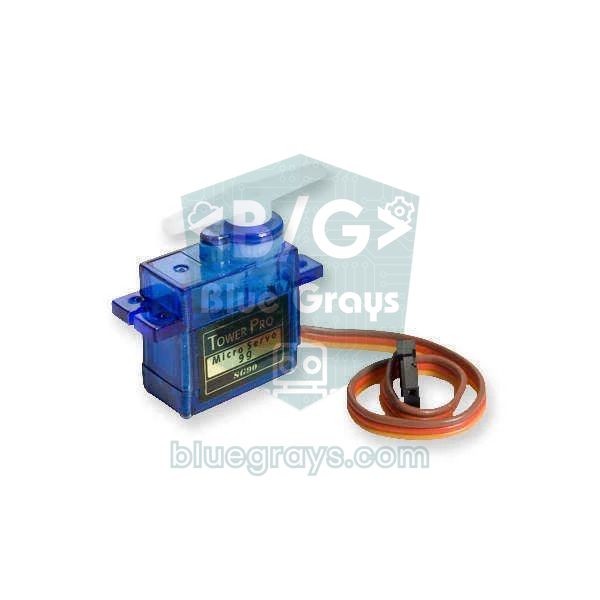
The rain sensor's most popular application is a system that closes a window, awning or greenhouse roof on its own when rain starts. You can build it on a model with an SG90 servo motor. Two rules matter here. The first is confirmation: a single drop or an insect landing on the pad shouldn't close the window, so we wait for 3 wet readings in a row before closing. The second is hysteresis: when the rain stops, the pad doesn't dry instantly and the value hovers around the threshold. To stop the window from opening and closing over and over, we use two separate thresholds for "raining" and "dry", and we only open the window after the pad has stayed dry for 10 uninterrupted minutes. For servo wiring and angle control, see What Is a Servo Motor?.
1// Yağmurda pencereyi servo ile kapatan sistem / Closes a window with a servo when it rains
2#include <Servo.h>
3
4const int SENSOR_POWER = 7;     // modülün VCC'si / module VCC
5const int RAIN_AO = A0;         // analog çıkış / analog output
6const int BUZZER = 8;           // aktif buzzer / active buzzer
7const int SERVO_PIN = 9;        // servo sinyal kablosu / servo signal wire
8
9const int DRY = 1015;           // kuru panel / dry pad (kendin ölç / measure yours)
10const int WET = 350;            // ıslak panel / wet pad (kendin ölç / measure yours)
11const int RAIN_ON = 25;         // %25 ve üstü: yağıyor / 25% and above: raining
12const int RAIN_OFF = 8;         // %8 ve altı: panel kurudu / 8% and below: pad is dry
13const int CONFIRM_COUNT = 3;    // art arda 3 ıslak ölçüm / 3 wet readings in a row
14const unsigned long SAMPLE_MS = 2000UL;   // 2 sn'de bir ölç / measure every 2 s
15const unsigned long DRY_MS = 600000UL;    // 10 dk kuru kalmalı / must stay dry for 10 min
16
17const int OPEN_ANGLE = 90;      // pencere açık / window open
18const int CLOSED_ANGLE = 0;     // pencere kapalı / window closed
19
20Servo windowServo;
21bool closed = false;
22int wetCount = 0;
23unsigned long lastSample = 0;
24unsigned long drySince = 0;
25
26int readWetness() {
27  digitalWrite(SENSOR_POWER, HIGH);
28  delay(50);                                              // değerin oturmasını bekle / let it settle
29  int raw = analogRead(RAIN_AO);
30  digitalWrite(SENSOR_POWER, LOW);
31  return constrain(map(raw, DRY, WET, 0, 100), 0, 100);  // % ıslaklık / % wetness
32}
33
34void beep(int count) {
35  for (int i = 0; i < count; i++) {
36    digitalWrite(BUZZER, HIGH);
37    delay(150);
38    digitalWrite(BUZZER, LOW);
39    delay(150);
40  }
41}
42
43void setup() {
44  Serial.begin(9600);
45  pinMode(SENSOR_POWER, OUTPUT);
46  pinMode(BUZZER, OUTPUT);
47  windowServo.write(OPEN_ANGLE);   // attach'tan önce açı ver, servo zıplamasın / set the angle before attach to avoid a jump
48  windowServo.attach(SERVO_PIN);
49}
50
51void loop() {
52  unsigned long now = millis();
53  if (now - lastSample < SAMPLE_MS) return;   // ölçüm zamanı gelmedi / not time to measure yet
54  lastSample = now;
55
56  int wet = readWetness();
57  Serial.print(F("Islaklik / Wetness: %"));
58  Serial.println(wet);
59
60  if (wet >= RAIN_ON) {
61    drySince = now;                            // kuruma sayacını sıfırla / reset the drying timer
62    if (wetCount < CONFIRM_COUNT) wetCount++;
63    if (!closed && wetCount >= CONFIRM_COUNT) {
64      closed = true;
65      beep(3);
66      windowServo.write(CLOSED_ANGLE);         // pencereyi kapat / close the window
67      Serial.println(F("Yagmur: pencere kapandi / Rain: window closed"));
68    }
69  } else {
70    wetCount = 0;
71    if (wet > RAIN_OFF) {
72      drySince = now;                          // ara bölge kuru sayılmaz / the middle zone does not count as dry
73    } else if (closed && now - drySince >= DRY_MS) {
74      closed = false;
75      windowServo.write(OPEN_ANGLE);           // 10 dk kuruysa aç / open after 10 dry minutes
76      Serial.println(F("Kuru: pencere acildi / Dry: window opened"));
77    }
78  }
79}| Constant | What it does | Starting value |
|---|---|---|
| DRY / WET | The dry and wet pad readings you measured yourself | 1015 / 350 |
| RAIN_ON | At or above this percentage it counts as "raining" | 25% |
| RAIN_OFF | At or below this percentage it counts as "dry" | 8% |
| CONFIRM_COUNT | Number of wet readings in a row needed to close the window | 3 (about 6 s) |
| DRY_MS | How long the pad must stay dry before the window opens | 10 minutes |
| OPEN_ANGLE / CLOSED_ANGLE | Servo angle in the open and closed positions | 90° / 0° |
Rain notifications to your phone with the ESP32
To find out that it's started raining while you're away from home, you can use an ESP32. The code below sends a "bring in the laundry" message via Telegram when rain starts, and a "rain has stopped" message once the pad has been dry for 15 minutes. You'll need to install the UniversalTelegramBot and ArduinoJson libraries from the Library Manager. We explain how to create a bot and find your chat ID step by step in ESP32 Telegram Bot.
1// ESP32 yağmur bildirimi (Telegram) / ESP32 rain notification (Telegram)
2#include <WiFi.h>
3#include <WiFiClientSecure.h>
4#include <UniversalTelegramBot.h>        // ArduinoJson kütüphanesi de gerekir / also needs the ArduinoJson library
5
6const char* WIFI_SSID = "WIFI_ADI";      // Wi-Fi ağının adı / your Wi-Fi name
7const char* WIFI_PASS = "WIFI_SIFRESI";  // Wi-Fi şifren / your Wi-Fi password
8#define BOT_TOKEN "1234567890:ABCdefGhIJKlmNoPQRstuVWXyz"  // BotFather'dan / from BotFather
9#define CHAT_ID "123456789"              // senin chat ID'n / your chat ID
10
11const int SENSOR_POWER = 25;             // modülün VCC'si (3,3 V) / module VCC (3.3 V)
12const int RAIN_AO = 34;                  // ADC1 pini, Wi-Fi ile çalışır / ADC1 pin, works with Wi-Fi
13const int DRY = 4095;                    // kuru panel / dry pad (kendin ölç / measure yours)
14const int WET = 1500;                    // ıslak panel / wet pad (kendin ölç / measure yours)
15const int RAIN_ON = 25;                  // %25 ve üstü: yağıyor / 25% and above: raining
16const int RAIN_OFF = 8;                  // %8 ve altı: kuru / 8% and below: dry
17const unsigned long SAMPLE_MS = 5000UL;  // 5 sn'de bir ölç / measure every 5 s
18const unsigned long DRY_MS = 900000UL;   // 15 dk kuru: yağmur bitti / 15 dry minutes: rain is over
19
20WiFiClientSecure client;
21UniversalTelegramBot bot(BOT_TOKEN, client);
22
23bool raining = false;
24int wetCount = 0;
25unsigned long lastSample = 0;
26unsigned long drySince = 0;
27
28int readWetness() {
29  digitalWrite(SENSOR_POWER, HIGH);
30  delay(50);                             // değerin oturmasını bekle / let it settle
31  int raw = analogRead(RAIN_AO);         // 0-4095
32  digitalWrite(SENSOR_POWER, LOW);
33  return constrain(map(raw, DRY, WET, 0, 100), 0, 100);
34}
35
36void connectWiFi() {
37  WiFi.mode(WIFI_STA);
38  WiFi.begin(WIFI_SSID, WIFI_PASS);
39  unsigned long start = millis();
40  while (WiFi.status() != WL_CONNECTED && millis() - start < 15000) {  // en fazla 15 sn bekle / wait up to 15 s
41    delay(500);
42  }
43}
44
45void notify(const String& text) {
46  if (WiFi.status() != WL_CONNECTED) connectWiFi();  // bağlantı koptuysa yeniden bağlan / reconnect if dropped
47  if (WiFi.status() == WL_CONNECTED) {
48    bot.sendMessage(CHAT_ID, text, "");
49  }
50}
51
52void setup() {
53  Serial.begin(115200);
54  pinMode(SENSOR_POWER, OUTPUT);
55  digitalWrite(SENSOR_POWER, LOW);
56  client.setCACert(TELEGRAM_CERTIFICATE_ROOT);  // api.telegram.org kök sertifikası / root certificate
57  connectWiFi();
58  notify("Yagmur sensoru devrede / Rain sensor is online");
59}
60
61void loop() {
62  unsigned long now = millis();
63  if (now - lastSample < SAMPLE_MS) return;
64  lastSample = now;
65
66  int wet = readWetness();
67  Serial.printf("Islaklik / Wetness: %%%d\n", wet);
68
69  if (!raining) {
70    wetCount = (wet >= RAIN_ON) ? wetCount + 1 : 0;
71    if (wetCount >= 2) {                 // art arda 2 ıslak ölçüm (~10 sn) / 2 wet readings in a row (~10 s)
72      raining = true;
73      drySince = now;
74      String msg = "Yagmur basladi, camasirlari topla! / It's raining, bring in the laundry! %";
75      msg += wet;
76      notify(msg);
77    }
78  } else {
79    if (wet > RAIN_OFF) {
80      drySince = now;                    // hâlâ ıslak / still wet
81    } else if (now - drySince >= DRY_MS) {
82      raining = false;
83      wetCount = 0;
84      notify("Yagmur durdu / The rain has stopped");
85    }
86  }
87}
The ESP32's ADC is 12-bit, so values range from 0 to 4095, and with the module powered at 3.3 V a dry pad usually reads very close to 4095; you should still measure the DRY and WET values yourself. Because sending a message can take a second or two, we kept the measurement interval at 5 seconds, and we used the raining flag so the same shower doesn't trigger message after message. If you want to run the system on batteries, you can put the ESP32 into deep sleep between readings, and if you use Home Assistant you can send the data over MQTT.
Rain sensor with the Raspberry Pi Pico and MicroPython
The logic is the same on the Raspberry Pi Pico. Power the module at 3.3 V through GP15 and connect AO to GP26, DO to GP14, the active buzzer to GP13 and the servo's signal wire to GP16. The Pico's ADC returns values from 0 to 65535 with read_u16(). The code below beeps three times when it detects rain and retracts an awning with the servo; once the pad has been dry for 10 minutes, it opens the awning again.
1# Raspberry Pi Pico yağmur sensörü + servo tente / Raspberry Pi Pico rain sensor + servo awning
2from machine import Pin, ADC, PWM
3import time
4
5power = Pin(15, Pin.OUT, value=0)   # modülün VCC'si (3,3 V) / module VCC (3.3 V)
6rain_ao = ADC(26)                   # GP26 = ADC0, AO çıkışı / AO output
7rain_do = Pin(14, Pin.IN)           # DO: yağmurda 0 / DO: 0 in rain
8buzzer = Pin(13, Pin.OUT, value=0)  # aktif buzzer / active buzzer
9servo = PWM(Pin(16))
10servo.freq(50)                      # servolar 50 Hz ister / servos expect 50 Hz
11
12DRY, WET = 65000, 24000             # kendi değerlerinle değiştir / replace with your readings
13RAIN_ON, RAIN_OFF = 25, 8           # % eşikler / % thresholds
14DRY_MS = 10 * 60 * 1000             # 10 dk kuru kalmalı / must stay dry for 10 min
15OPEN_ANGLE, CLOSED_ANGLE = 90, 0
16
17def set_angle(deg):
18    us = 544 + deg * (2400 - 544) // 180    # Arduino Servo ile aynı aralık / same range as Arduino Servo
19    servo.duty_u16(us * 65535 // 20000)     # 20 ms periyodun oranı / share of the 20 ms period
20
21def read_sensor():
22    power.value(1)
23    time.sleep_ms(50)                       # değerin oturmasını bekle / let it settle
24    raw = rain_ao.read_u16()                # 0-65535
25    do_wet = rain_do.value() == 0
26    power.value(0)
27    pct = (DRY - raw) * 100 // (DRY - WET)
28    return max(0, min(100, pct)), do_wet
29
30def beep(count):
31    for _ in range(count):
32        buzzer.value(1)
33        time.sleep_ms(150)
34        buzzer.value(0)
35        time.sleep_ms(150)
36
37closed = False
38wet_count = 0
39dry_since = time.ticks_ms()
40set_angle(OPEN_ANGLE)                       # tente açık başlar / awning starts open
41
42while True:
43    wet, do_wet = read_sensor()
44    print("Islaklik / Wetness: %", wet, " DO:", "YAGMUR / RAIN" if do_wet else "KURU / DRY")
45    now = time.ticks_ms()
46    if wet >= RAIN_ON:
47        dry_since = now                     # kuruma sayacını sıfırla / reset the drying timer
48        wet_count += 1
49        if not closed and wet_count >= 3:   # art arda 3 ıslak ölçüm / 3 wet readings in a row
50            closed = True
51            beep(3)
52            set_angle(CLOSED_ANGLE)         # tenteyi kapat / retract the awning
53    else:
54        wet_count = 0
55        if wet > RAIN_OFF:
56            dry_since = now
57        elif closed and time.ticks_diff(now, dry_since) >= DRY_MS:
58            closed = False
59            set_angle(OPEN_ANGLE)           # 10 dk kuruysa aç / open after 10 dry minutes
60    time.sleep(2)
MicroPython has no built-in servo class, so we convert the angle into a pulse width ourselves: servos are positioned by pulses roughly 0.5–2.5 ms long that arrive every 20 ms. The set_angle() function maps 0–180 degrees to the same 544–2400 microsecond range the Arduino Servo library uses, and then converts that time into a 0–65535 ratio for duty_u16(). If you save the code to the Pico as main.py with Thonny, it runs automatically every time the Pico powers up.
Outdoor installation: tips for the right placement
- Mount the pad at an angle: A tilt of 20–45 degrees lets drops run off and helps the pad dry faster after the rain stops. On a flat pad, water pools and the system may keep saying "raining" for hours.
- Choose a spot with open sky: Don't place the pad under eaves, trees or a dripping air conditioner; in such spots it both misses real rain and gets triggered by stray drips.
- Keep the electronics indoors: Only the pad should be outside. Put the control board and the Arduino in a waterproof box and seal the cable entry with a cable gland or silicone.
- Keep the cable short: The cable between the pad and the board can be extended to a few metres; on longer cables noise increases. Averaging the readings reduces this fluctuation.
- Watch out for dew and fog: On cool nights, moisture condensing on the pad can produce a small wetness reading. A RAIN_ON threshold set a little higher and confirmation with consecutive readings prevent most of these false alarms.
- It's slow to detect snow: Dry snow doesn't conduct electricity; the sensor only reacts once the snow melts into water. In cold climates, treat the sensor as reliable for rain only.
Rain sensor vs soil moisture and water level sensors: the differences
| Sensor | What does it measure? | Output | Typical use |
|---|---|---|---|
| Rain sensor (FC-37, YL-83) | Water drops landing on its surface | AO and DO | Rain alarm, window and awning automation |
| Soil moisture sensor | Moisture in the soil | AO and DO (same LM393 board) | Plant watering |
| Water level sensor (parallel traces) | Height of the water in a container | Analog (S) | Tank and aquarium level |
| Tipping bucket rain gauge | Amount of rainfall (mm) | One pulse per tip | Weather station |
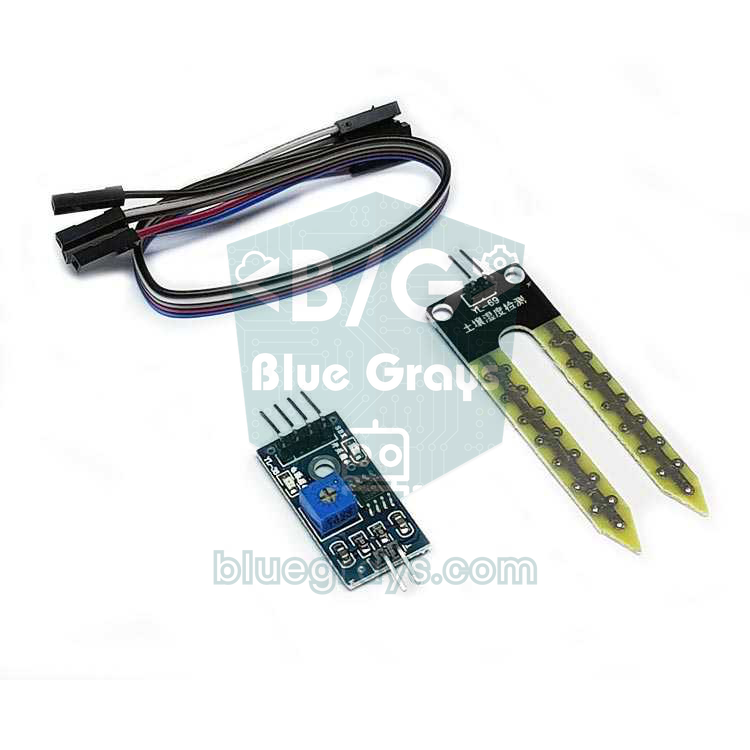
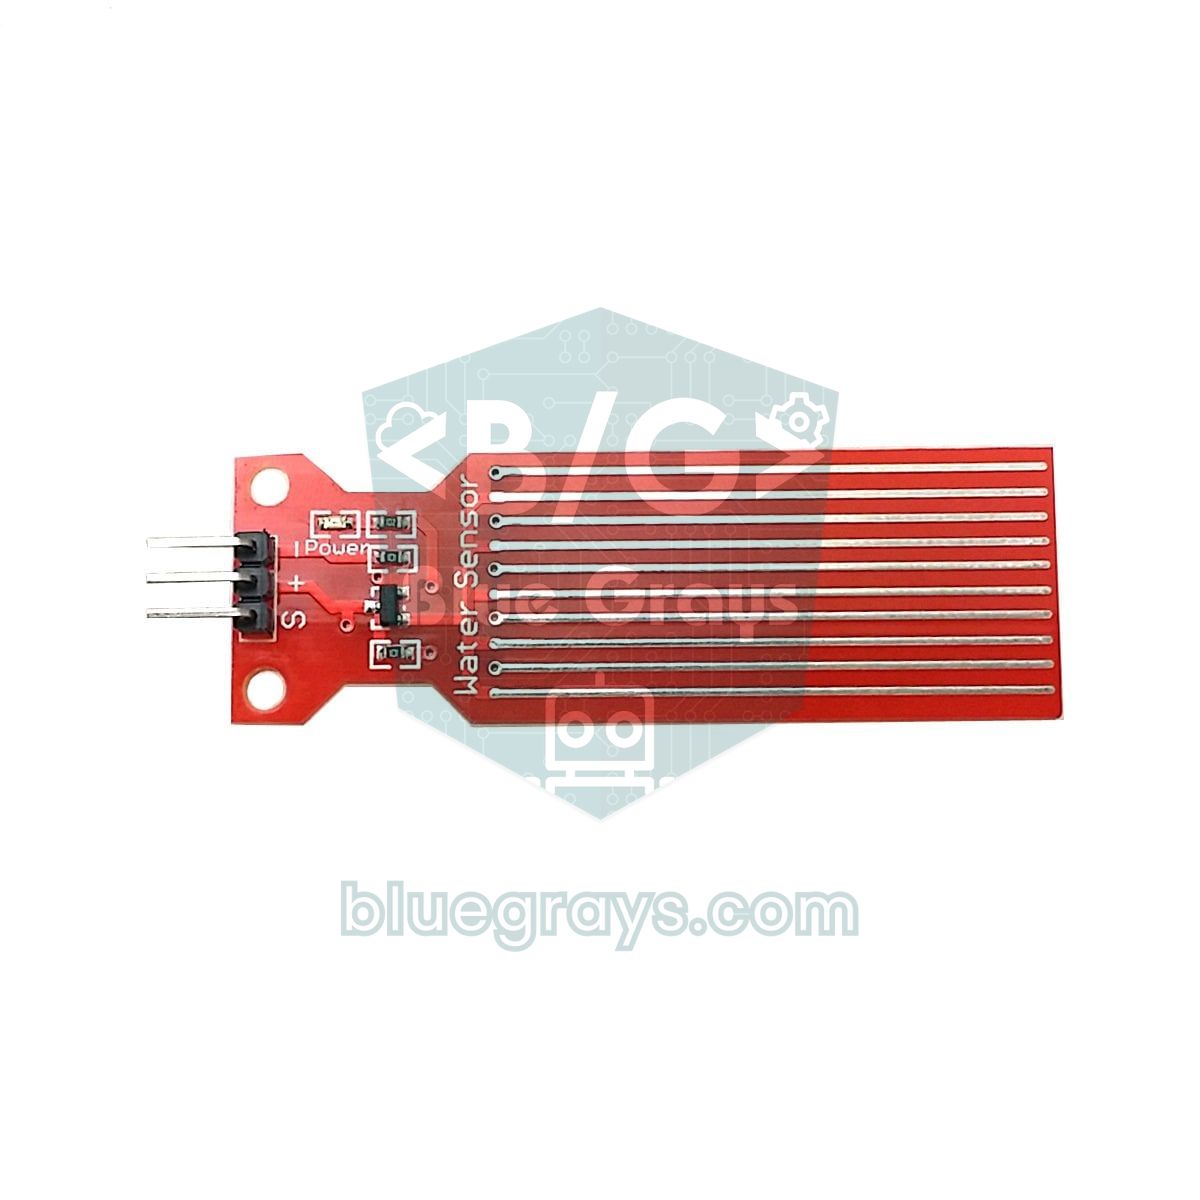
A rain sensor can't answer the question "how much did it rain?"; for that you need the tipping bucket rain gauge used in weather stations. Water from a funnel fills a small bucket, the bucket tips at a set amount (in common weather station kits one tip equals 0.2794 mm of rain), and with every tip a magnet briefly closes a reed switch. The Arduino counts these pulses with an interrupt and multiplies the count by the bucket value to get the rainfall in millimetres. Using both sensors together makes sense too: the rain sensor reports instantly that rain has started, while the bucket gauge records the total. If you want to measure the height of water collecting in a container, a water level sensor is a better choice.
Rain sensor project ideas
- Laundry alert: A buzzer that sounds and an LED that lights up when rain starts; with an ESP32 you also get a message on your phone.
- Smart greenhouse roof: Close the roof vent with a servo in the rain and open it for ventilation based on temperature. See the smart greenhouse project for details.
- Skip watering in the rain: Stop the automatic watering system you built with a soil moisture sensor from running the pump while it's raining.
- Mini weather station: Show the rain status on an OLED display together with the temperature, humidity and pressure you measure with a BME280.
- Wiper model: A fun project that imitates a car's automatic wipers by swinging a servo faster as the rain gets heavier.
- Smart home scenario: For a system that closes the windows, retracts the awning and alerts you when rain starts, check out the Arduino smart home project guide.
Common mistakes and how to fix them
| Symptom | Possible cause | Fix |
|---|---|---|
| AO is always 1023 and never changes | The pad cable is unplugged or broken; DO is wired to A0 instead of AO | Check the two wires between the pad and the board and the A0 connection |
| AO is very low even with a dry pad | The pad is dirty or still wet; something bridges the traces; the reading is taken before the module is powered | Clean and dry the pad; in code, read only after switching the power on and waiting |
| DO never changes | The potentiometer is turned all the way to one end | Repeat the sensitivity adjustment steps from the start |
| Rain alarm in dry weather | Dew, fog, a dirty pad or a threshold that's too sensitive | Raise RAIN_ON, confirm with consecutive readings, clean the pad |
| The rain has stopped but the system still says "raining" | The pad is mounted flat and dries slowly | Mount the pad at an angle, adjust RAIN_OFF and DRY_MS |
| Readings drifted within weeks and the traces went dark | Corrosion from continuous power | Power the module from a pin, measure less often, replace the pad |
| On the ESP32, readings go wrong when Wi-Fi turns on | AO is connected to an ADC2 pin | Move AO to a pin between GPIO 32 and 39 |
| The servo jitters or the Arduino resets | The servo current pulls the 5V rail down | Power the servo from a separate 5 V supply, connect the grounds, add a 470 µF capacitor across the supply |
The rain sensor is a cheap but instructive module that teaches you about voltage dividers, comparators, hysteresis and real-world problems like corrosion all at once. If you remember to power the pad only while measuring and to set the thresholds from your own readings, it will serve you for a long time. In the BlueGrays app you'll find step-by-step projects with circuit diagrams and code that use the parts from this article, such as a buzzer, a servo motor, a smart watering station and an ESP32 Telegram alarm, and you can easily add a rain sensor to them.
Frequently asked questions
How does a rain sensor work?
The two interleaved conductive traces on the sensing pad are insulated from each other when dry. As raindrops bridge the traces, the pad's resistance falls and the output (AO) of the voltage divider on the control board drops. The LM393 comparator compares this voltage with the threshold set by the potentiometer and pulls the DO output LOW once the threshold is crossed.
Can a rain sensor measure the amount of rainfall?
No. A rain sensor shows how much of the pad is wet; that's enough to tell that rain has started and roughly how heavy it is, but it doesn't give rainfall in millimetres. To measure the amount of rain, you use a tipping bucket rain gauge, which produces a pulse through a reed switch every time it tips.
Why does a rain sensor corrode, and how long does it last?
When direct current is applied to the pad continuously, electrolysis takes place in the water between the traces and the metal of the trace on the positive side dissolves. A pad left outdoors on a constant 5 V can wear noticeably within a few weeks. If you power the module from a digital pin and keep it on for only a few milliseconds per reading, the pad lasts much longer, often working for many months without problems.
Does a rain sensor output LOW or HIGH when it rains?
On the common LM393 modules the DO output is HIGH when dry; it goes LOW and the DO LED lights up once the water on the pad crosses the threshold set by the potentiometer. The AO output is at its highest when dry and falls as the pad gets wet; on an Arduino Uno a dry pad usually reads above 1000.
Does a rain sensor work with the ESP32 and 3.3 V?
Yes, the module works from 3.3 to 5 V. On the ESP32 and Raspberry Pi Pico you should power it from 3.3 V so that the AO and DO outputs never exceed 3.3 V either. On the ESP32, connect AO to one of the ADC1 pins (GPIO 32–39), which keep working while Wi-Fi is on.
Can a rain sensor detect snow, dew or fog?
Dry snow doesn't conduct electricity, so the sensor only detects snow once it melts. Dew and thick fog, on the other hand, can leave a thin film of moisture on the pad, producing a small wetness reading and sometimes a false alarm. To prevent this, keep the threshold a little higher, confirm the alarm with several consecutive readings and mount the pad at an angle.
Projects to build after reading this
See all projects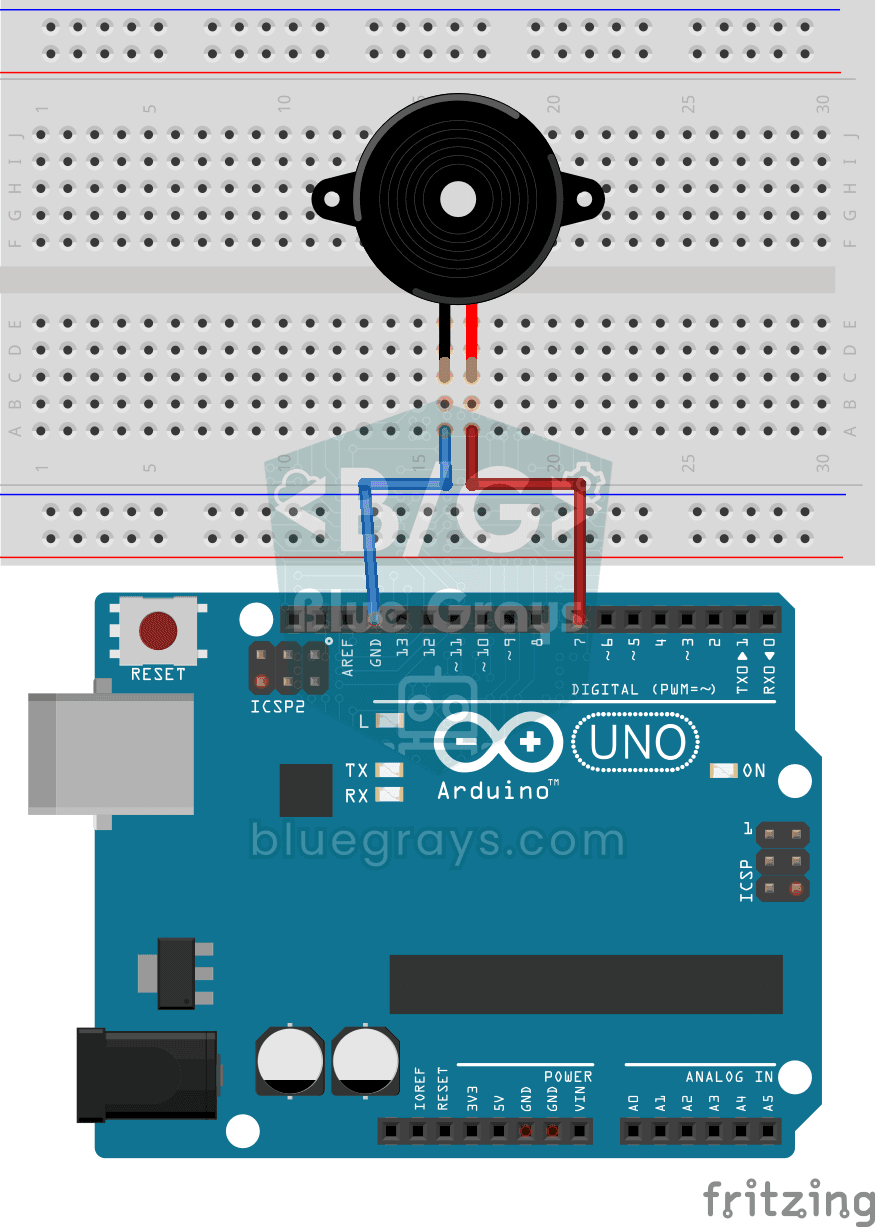
Using a Buzzer
Ever wondered how a doorbell or an alarm makes its sound? The Arduino makes a small buzzer beep at short intervals: beep, pause, beep, pause. You see how sound is made with electricity and take the fi

Temperature and Humidity with DHT11
How warm is your room, and is the air humid or dry? The DHT11 sensor measures temperature and humidity, and the Arduino writes the values on a two-line LCD screen, refreshing every couple of seconds.
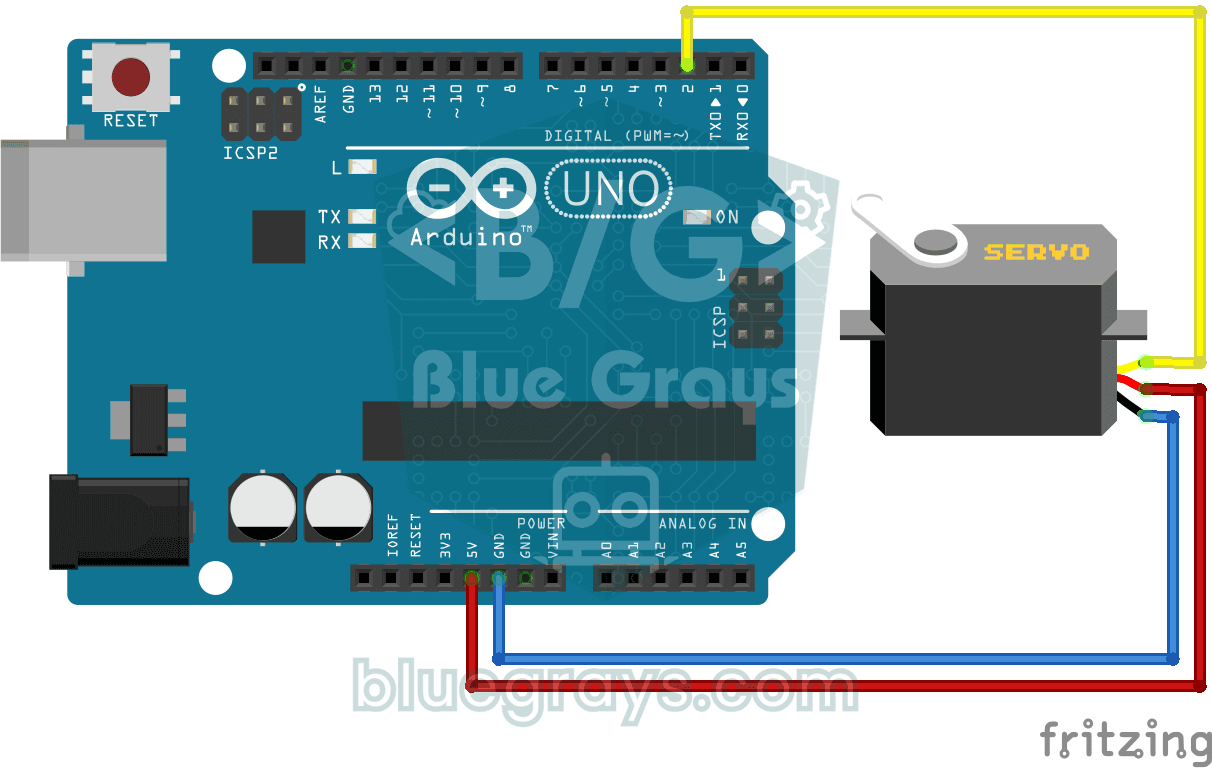
Using a Servo Motor
The arm of a small servo motor turns to three positions in turn: all the way to the start, right to the middle and all the way to the end, waiting two seconds at each stop. The Arduino tells the motor

Smart Irrigation Station
A gardener that waters your plants on its own, so they don't dry out while you're on vacation. A soil moisture sensor measures how wet the soil is; when it gets dry, the Arduino runs the water pump fo
Using a Flame Sensor
A little guard that spots fire before you do, in the kitchen or the workshop. The flame sensor picks up the invisible light that fire gives off; while all is well the green LED is on, and when it sees
ESP32 Motion Alarm System (PIR + Buzzer + LED + Telegram)
A smart security alarm system that activates the buzzer and LED when the PIR sensor detects motion, while simultaneously sending an instant notification to the owner via Telegram. It includes a 30-second cooldown to limit the frequency of repeated alarms; this mechanism does not validate PIR detections or eliminate false triggers. Suitable for home security, garage monitoring, warehouses, or workrooms. With ESP32-CAM, photo notifications can be added; with the classic ESP32 DevKit V1, text notif

ESP32 HTTPClient + Weather API (with LCD Screen)
In this project, we use the ESP32 to make a REST API call to a weather API (wttr.in) over the internet using HTTPClient.h. We parse the returned JSON response using ArduinoJson v7 and display the city, temperature, humidity, weather, and wind information on an I2C LCD screen in both Turkish and English. wttr.in is free and does not require an API key—you can simply enter any city name to retrieve that city’s current weather conditions. It automatically updates every 30 minutes, provides differ