
Arduino Police Lights: LED Flash Patterns, WS2812B and Siren
Build Arduino police lights: red and blue LED double and triple flash, non-blocking millis code, a WS2812B light bar, a buzzer siren, plus ESP32 and Pico code.
Arduino police lights are one of the most fun first projects for beginners: red and blue LEDs flash with precise timing to mimic the light bar on a police car. You start with two LEDs, two resistors and a few lines of code; add a WS2812B stick and it becomes a real light bar, add a passive buzzer and you get the siren too. It is perfect for toy cars, model towns, science fair projects and school presentations.
In this guide you will see the double and triple flash patterns used by light bars in a table, down to the millisecond. First you will build the simplest version with delay, then write millis() code that runs the lights and the siren at the same time without one blocking the other. After that you will build an eight-LED WS2812B light bar driven from a single pin, and finally port the same project to the ESP32 and the Raspberry Pi Pico with MicroPython.
How do police lights work? Flash patterns and timing
Real light bars do not stay on for long; they use very short flashes in quick succession, because the eye notices brief, intense bursts of light far more easily. Each flash usually lasts 50–60 ms; one color flashes two or three times, there is a short gap, and then the other color does the same. That is why every pattern in the code is made of steps that answer the question "which LED is on, and for how long". The timings in the table are exactly the ones the sketches in this guide use; play with the numbers and create your own pattern.
| Pattern | Steps for one side | Cycle time | Flashes per second |
|---|---|---|---|
| Double flash | 60 ms on, 60 ms off, 60 ms on, 180 ms off | 720 ms | About 5.6 |
| Triple flash | 3 × (50 ms on, 50 ms off), final gap 170 ms | 840 ms | About 7.1 |
| Alternating (wig-wag) | 250 ms red, 250 ms blue | 500 ms | 4 |
| WS2812B bar | Left and right double flash, then 4 × 150 ms outer-inner swap | 1320 ms | Depends on the pattern |
Parts and wiring
| Part | Arduino Uno | ESP32 | Raspberry Pi Pico |
|---|---|---|---|
| Red LED (with resistor) | D9 | GPIO 26 | GP11 |
| Blue LED (with resistor) | D10 | GPIO 27 | GP12 |
| Passive buzzer | D8 | GPIO 25 | GP15 |
| Pattern button (to GND) | D2 | - | - |
| Siren button (to GND) | D3 | - | - |
| WS2812B DIN (via 330 Ω) | D6 | - | - |
| Common ground | GND | GND | GND |
The long leg of each LED goes to the pin through the resistor and the short leg goes to GND. The resistor value comes from R = (Vsupply - VLED) / I. A red LED needs about 2.0 V and a blue LED 3.0–3.2 V. On the Uno's 5 V output, 220 Ω lets (5 - 2) / 220 ≈ 13.6 mA through the red LED and about 8.6 mA through the blue one, and both are clearly visible. The ESP32 and Pico supply 3.3 V, which leaves very little headroom for the blue LED: 150 Ω for red and 47–68 Ω for blue work better. To calculate your own values, use the LED resistor calculator or the LED resistor guide. The buttons are read with INPUT_PULLUP, so one leg goes to the pin and the other straight to GND.
First try: double flash with delay
1// En basit çakar: delay ile çift flaş / simplest police light: double flash with delay
2const int RED_PIN = 9;
3const int BLUE_PIN = 10;
4
5void flash(int pin) {
6  for (int i = 0; i < 2; i++) {      // iki kısa flaş / two short flashes
7    digitalWrite(pin, HIGH);
8    delay(60);
9    digitalWrite(pin, LOW);
10    delay(60);
11  }
12  delay(120);                        // iki taraf arası boşluk / gap between the sides
13}
14
15void setup() {
16  pinMode(RED_PIN, OUTPUT);
17  pinMode(BLUE_PIN, OUTPUT);
18}
19
20void loop() {
21  flash(RED_PIN);
22  flash(BLUE_PIN);
23}
The flash() function turns the pin on and off twice for 60 ms and then waits another 120 ms, so each side lasts 360 ms, just like in the table. The code is short and easy to follow, but it has one big flaw: while delay() runs, the Arduino cannot do anything else. Buttons respond late, the siren stutters and you cannot run two groups of lights at different speeds. That is why the next step switches to a structure that measures time with millis() and never waits. For the background, read millis vs delay.
Non-blocking police lights and siren with millis
In the non-blocking approach every pattern is a list of steps: each step stores the state of the red and blue LEDs and how many milliseconds it lasts. On every pass, loop() only asks "is the current step over?"; if it is, it moves to the next step and updates the LEDs. In the same loop() the siren changes its frequency every 10 ms and the buttons are read. All three jobs run side by side and none of them holds up the others.
1// millis ile bekletmesiz çakar + siren / non-blocking police lights + siren with millis
2const int RED_PIN = 9;
3const int BLUE_PIN = 10;
4const int BUZZER_PIN = 8;            // pasif buzzer / passive buzzer
5const int PATTERN_BTN = 2;           // desen değiştir / change pattern
6const int SIREN_BTN = 3;             // sireni aç-kapat / siren on-off
7
8struct Step { bool red; bool blue; uint16_t ms; };
9
10// Çift flaş / double flash: 720 ms
11const Step DOUBLE_FLASH[] = {
12  {1, 0, 60}, {0, 0, 60}, {1, 0, 60}, {0, 0, 180},
13  {0, 1, 60}, {0, 0, 60}, {0, 1, 60}, {0, 0, 180}
14};
15// Üçlü flaş / triple flash: 840 ms
16const Step TRIPLE_FLASH[] = {
17  {1, 0, 50}, {0, 0, 50}, {1, 0, 50}, {0, 0, 50}, {1, 0, 50}, {0, 0, 170},
18  {0, 1, 50}, {0, 0, 50}, {0, 1, 50}, {0, 0, 50}, {0, 1, 50}, {0, 0, 170}
19};
20// Sırayla yanıp sönme / alternating wig-wag: 500 ms
21const Step WIG_WAG[] = { {1, 0, 250}, {0, 1, 250} };
22
23struct Pattern { const Step* steps; uint8_t count; };
24const Pattern PATTERNS[] = {
25  {DOUBLE_FLASH, sizeof(DOUBLE_FLASH) / sizeof(Step)},
26  {TRIPLE_FLASH, sizeof(TRIPLE_FLASH) / sizeof(Step)},
27  {WIG_WAG, sizeof(WIG_WAG) / sizeof(Step)},
28};
29const uint8_t PATTERN_COUNT = sizeof(PATTERNS) / sizeof(Pattern);
30
31enum SirenMode { WAIL, YELP, HILO };
32const SirenMode SIREN = WAIL;        // siren türü / siren type
33
34uint8_t pattern = 0;
35uint8_t step = 0;
36unsigned long stepStart = 0;
37bool sirenOn = false;
38unsigned long lastTone = 0;
39unsigned long lastPress = 0;
40bool lastPatternBtn = HIGH;
41bool lastSirenBtn = HIGH;
42
43void applyStep() {
44  const Step& s = PATTERNS[pattern].steps[step];
45  digitalWrite(RED_PIN, s.red);
46  digitalWrite(BLUE_PIN, s.blue);
47}
48
49void updateLights() {
50  const Pattern& p = PATTERNS[pattern];
51  if (millis() - stepStart >= p.steps[step].ms) {   // adım süresi doldu mu? / step time over?
52    stepStart = millis();
53    step = (step + 1) % p.count;
54    applyStep();
55  }
56}
57
58void updateSiren() {
59  if (!sirenOn || millis() - lastTone < 10) return; // 10 ms'de bir güncelle / update every 10 ms
60  lastTone = millis();
61  unsigned long t = millis();
62  unsigned int freq;
63  if (SIREN == HILO) {
64    freq = (t / 500) % 2 ? 587 : 440;              // iki ton / two tones
65  } else {
66    unsigned long period = (SIREN == WAIL) ? 4000 : 300;
67    unsigned long half = period / 2;
68    unsigned long phase = t % period;
69    unsigned long pos = phase < half ? phase : period - phase;
70    freq = 600 + (800UL * pos) / half;             // 600-1400 Hz üçgen tarama / triangle sweep
71  }
72  tone(BUZZER_PIN, freq);
73}
74
75bool pressed(int pin, bool& last) {
76  bool now = digitalRead(pin);
77  bool fell = (last == HIGH && now == LOW && millis() - lastPress > 200);
78  if (fell) lastPress = millis();
79  last = now;
80  return fell;
81}
82
83void setup() {
84  pinMode(RED_PIN, OUTPUT);
85  pinMode(BLUE_PIN, OUTPUT);
86  pinMode(PATTERN_BTN, INPUT_PULLUP);
87  pinMode(SIREN_BTN, INPUT_PULLUP);
88  applyStep();
89}
90
91void loop() {
92  if (pressed(PATTERN_BTN, lastPatternBtn)) {
93    pattern = (pattern + 1) % PATTERN_COUNT;
94    step = 0;
95    stepStart = millis();
96    applyStep();
97  }
98  if (pressed(SIREN_BTN, lastSirenBtn)) {
99    sirenOn = !sirenOn;
100    if (!sirenOn) noTone(BUZZER_PIN);
101  }
102  updateLights();
103  updateSiren();
104}
The PATTERNS array holds the three patterns in order; every press of the button on D2 moves to the next one and resets the step counter. The button on D3 turns the siren on and off. The pressed() function only counts the moment the button goes from HIGH to LOW and requires 200 ms between presses, which keeps contact bounce from being read as several presses. To change the siren type, set the SIREN constant to WAIL, YELP or HILO. Add a state machine to this structure and you can design modes such as "patrol", "pursuit" and "parked".
Siren sound: wail, yelp and two-tone
| Siren type | Frequency | Cycle | Character |
|---|---|---|---|
| Wail (long) | 600 → 1400 → 600 Hz | About 4 s | The classic slow rise and fall heard across North and South America |
| Yelp (fast) | 600 → 1400 → 600 Hz | About 0.3 s | The rapid whoop used at intersections and in emergencies |
| Hi-lo (two-tone) | 440 Hz and 587 Hz | 0.5 s per tone | Similar to European ambulance and police sirens |
A WS2812B police light bar from a single pin
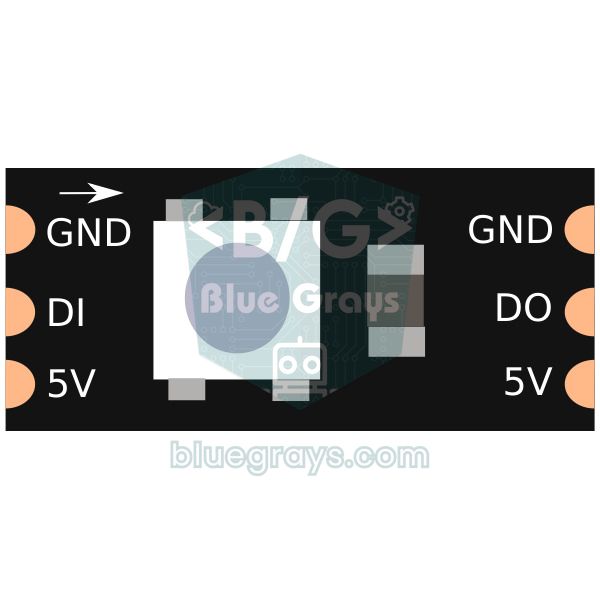
Addressable LEDs give you the result closest to a real light bar. On an eight-LED WS2812B stick, the four LEDs on the left light up red and the four on the right blue, all controlled from one data pin. Each step in the code is a mask plus a duration: every bit of the mask stands for one LED. For example, 0x0F lights the four left LEDs, 0xF0 the four right ones, and 0xC3 the outer LEDs (0, 1, 6, 7). Install the Adafruit NeoPixel library from the Library Manager.
1// WS2812B ışık çubuğu: tek pinden 8 LED / WS2812B light bar: 8 LEDs from one pin
2#include <Adafruit_NeoPixel.h>
3
4const int LED_PIN = 6;
5const int NUM_LEDS = 8;              // 0-3 kırmızı, 4-7 mavi / 0-3 red, 4-7 blue
6Adafruit_NeoPixel bar(NUM_LEDS, LED_PIN, NEO_GRB + NEO_KHZ800);
7
8struct Step { uint8_t mask; uint16_t ms; };   // her bit bir LED / each bit is one LED
9
10const Step PATTERN[] = {
11  {0x0F, 60}, {0x00, 60}, {0x0F, 60}, {0x00, 180},   // sol çift flaş / left double flash
12  {0xF0, 60}, {0x00, 60}, {0xF0, 60}, {0x00, 180},   // sağ çift flaş / right double flash
13  {0xC3, 150}, {0x3C, 150}, {0xC3, 150}, {0x3C, 150} // dış-iç geçiş / outer-inner swap
14};
15const uint8_t STEP_COUNT = sizeof(PATTERN) / sizeof(Step);
16
17uint8_t step = 0;
18unsigned long stepStart = 0;
19
20void showMask(uint8_t mask) {
21  for (int i = 0; i < NUM_LEDS; i++) {
22    uint32_t color = (i < NUM_LEDS / 2) ? bar.Color(255, 0, 0) : bar.Color(0, 0, 255);
23    bar.setPixelColor(i, (mask >> i) & 1 ? color : 0);
24  }
25  bar.show();
26}
27
28void setup() {
29  bar.begin();
30  bar.setBrightness(80);             // akımı sınırla / limit the current
31  showMask(PATTERN[0].mask);
32}
33
34void loop() {
35  if (millis() - stepStart >= PATTERN[step].ms) {
36    stepStart = millis();
37    step = (step + 1) % STEP_COUNT;
38    showMask(PATTERN[step].mask);
39  }
40}
The showMask() function walks through the eight LEDs, lights the ones whose mask bit is 1 in the color of their side, turns the rest off and finally sends everything to the strip in one go with bar.show(). By adding steps to the end of the pattern you can easily design your own effects that spread out from the middle, rotate or flash the whole bar. If you use a longer strip, change NUM_LEDS and widen the masks to a 16-bit or 32-bit type.
Police lights with an ESP32
On the ESP32 the LEDs work with the same digitalWrite logic; what changes is how the sound is made. The siren comes from the LEDC controller's ledcWriteTone function. In version 3.x of the ESP32 Arduino core the pin is attached directly with ledcAttach(pin, frequency, resolution), while 2.x first sets up a channel with ledcSetup and then binds it to the pin with ledcAttachPin. The code below separates the two with #if, so it compiles on both versions. Since the ESP32 runs at 3.3 V, remember the smaller resistor for the blue LED. Add Wi-Fi and you can switch the lights from your phone; to get started, see what is the ESP32.
1// ESP32 çakar + siren (çekirdek 2.x ve 3.x) / ESP32 police lights + siren (core 2.x and 3.x)
2const int RED_PIN = 26;
3const int BLUE_PIN = 27;
4const int BUZZER_PIN = 25;
5
6struct Step { bool red; bool blue; uint16_t ms; };
7const Step DOUBLE_FLASH[] = {
8  {1, 0, 60}, {0, 0, 60}, {1, 0, 60}, {0, 0, 180},
9  {0, 1, 60}, {0, 0, 60}, {0, 1, 60}, {0, 0, 180}
10};
11const uint8_t STEP_COUNT = sizeof(DOUBLE_FLASH) / sizeof(Step);
12
13uint8_t step = 0;
14unsigned long stepStart = 0;
15unsigned long lastTone = 0;
16
17void buzzerTone(uint32_t freq) {     // 0 = sessiz / 0 = silent
18#if ESP_ARDUINO_VERSION_MAJOR >= 3
19  ledcWriteTone(BUZZER_PIN, freq);
20#else
21  ledcWriteTone(0, freq);
22#endif
23}
24
25void setup() {
26  pinMode(RED_PIN, OUTPUT);
27  pinMode(BLUE_PIN, OUTPUT);
28#if ESP_ARDUINO_VERSION_MAJOR >= 3
29  ledcAttach(BUZZER_PIN, 2000, 8);   // pin, frekans, çözünürlük / pin, frequency, resolution
30#else
31  ledcSetup(0, 2000, 8);             // kanal 0 / channel 0
32  ledcAttachPin(BUZZER_PIN, 0);
33#endif
34}
35
36void loop() {
37  if (millis() - stepStart >= DOUBLE_FLASH[step].ms) {
38    stepStart = millis();
39    step = (step + 1) % STEP_COUNT;
40    digitalWrite(RED_PIN, DOUBLE_FLASH[step].red);
41    digitalWrite(BLUE_PIN, DOUBLE_FLASH[step].blue);
42  }
43  if (millis() - lastTone >= 10) {   // wail sireni: 4 saniyelik tarama / wail siren: 4 s sweep
44    lastTone = millis();
45    unsigned long phase = millis() % 4000;
46    unsigned long pos = phase < 2000 ? phase : 4000 - phase;
47    buzzerTone(600 + (800UL * pos) / 2000);
48  }
49}
Police lights with a Raspberry Pi Pico (MicroPython)
On the Pico the same idea fits into a few lines of MicroPython. The steps are a list of (red, blue, duration) tuples; time is measured with time.ticks_ms() and time.ticks_diff(), and the buzzer is driven with machine.PWM. The red LED goes to GP11, the blue LED to GP12 and the passive buzzer to GP15. To use WS2812B LEDs, apply the same mask logic with the neopixel module that ships with MicroPython. If you have not flashed MicroPython to the Pico yet, start with what is the Raspberry Pi Pico and MicroPython basics.
1# Raspberry Pi Pico çakar + siren (MicroPython) / police lights + siren (MicroPython)
2from machine import Pin, PWM
3import time
4
5red = Pin(11, Pin.OUT)
6blue = Pin(12, Pin.OUT)
7buzzer = PWM(Pin(15))                 # pasif buzzer / passive buzzer
8
9# (kırmızı, mavi, süre ms) / (red, blue, duration ms): çift flaş / double flash
10DOUBLE_FLASH = [(1, 0, 60), (0, 0, 60), (1, 0, 60), (0, 0, 180),
11                (0, 1, 60), (0, 0, 60), (0, 1, 60), (0, 0, 180)]
12
13siren_on = True
14step = 0
15step_start = time.ticks_ms()
16red.value(DOUBLE_FLASH[0][0])
17blue.value(DOUBLE_FLASH[0][1])
18
19
20def wail(t, period=4000):
21    # 600-1400 Hz üçgen tarama / triangle sweep
22    phase = t % period
23    half = period // 2
24    pos = phase if phase < half else period - phase
25    return 600 + 800 * pos // half
26
27
28while True:
29    now = time.ticks_ms()
30    if time.ticks_diff(now, step_start) >= DOUBLE_FLASH[step][2]:
31        step = (step + 1) % len(DOUBLE_FLASH)
32        step_start = now
33        red.value(DOUBLE_FLASH[step][0])
34        blue.value(DOUBLE_FLASH[step][1])
35    if siren_on:
36        buzzer.freq(wail(now))
37        buzzer.duty_u16(32768)        # %50 görev oranı / 50 % duty cycle
38    else:
39        buzzer.duty_u16(0)
40    time.sleep_ms(5)
Police light project ideas
- Toy police car: Mount the lights on a robot car chassis and let the siren play while it drives.
- Model town: Run the police car from the same Arduino that controls a traffic light and the street lights.
- Fire truck and ambulance: Create other vehicles with a red-white pattern and a two-tone siren.
- Alarm system: Have the light bar and siren kick in when a PIR sensor detects motion.
- Remote-controlled light bar: Switch patterns with an IR remote and start the siren from across the room.
- Light effect collection: Combine the police patterns with Knight Rider and chasing LED effects in one project.
Common problems and fixes
| Symptom | Likely cause | Fix |
|---|---|---|
| LED does not light | LED inserted backwards | Long leg to the pin through the resistor, short leg to GND |
| Blue LED is very dim | At 3.3 V the blue LED is close to its forward voltage | Use a smaller resistor (47–68 Ω) or drive it from 5 V with a transistor |
| Siren gives one tone or a buzz | An active buzzer was used | Switch to a passive buzzer |
| One press skips two patterns | Contact bounce | Increase the 200 ms value inside pressed() |
| PWM on pin 3 or 11 breaks with the siren on | tone() uses Timer2 | Move PWM outputs to pins 5, 6, 9 or 10 |
| WS2812B shows random colors | No common GND, no data resistor or weak supply | Join the grounds and add 330 Ω and 1000 µF |
Police lights bring LEDs, resistors, timing and sound generation together in one fun project, and the step-list logic you learned here will help you in many others, from traffic lights to light shows. In the BlueGrays app you will find police light projects for Arduino, ESP32, Raspberry Pi Pico and WS2812B with step-by-step circuit diagrams and code, along with buzzer projects to refine your siren.
Frequently asked questions
What do I need to make police lights with Arduino?
For the simplest version you need an Arduino Uno, one red and one blue LED, two 220 Ω resistors, a breadboard and jumper wires. Add a passive buzzer for the siren and an 8-LED WS2812B stick for a light bar.
What resistor should I use for red and blue LEDs?
On the Arduino Uno's 5 V output, 220 Ω is a good starting point for both colors and gives 9–14 mA. On the 3.3 V ESP32 and Pico, 150 Ω for red and 47–68 Ω for blue give a brighter result. You can also work it out yourself with R = (V - VLED) / I.
Why use millis instead of delay for flashing LEDs?
While delay() runs, the Arduino cannot do anything else: buttons go unread and the siren cuts out. With millis() you time each job separately, so lights, siren and buttons all run at once. Changing patterns is also much easier with this structure.
How do I make a siren sound with an Arduino buzzer?
Use a passive buzzer and keep changing its frequency with tone(). Sweep between 600 and 1400 Hz over about 4 seconds for a wail, or over 0.3 seconds for a yelp. For a two-tone siren, simply alternate 440 and 587 Hz every half second.
How many WS2812B LEDs do I need for a police light bar?
An 8-LED stick with 4 red LEDs on the left and 4 blue LEDs on the right already looks like a realistic light bar. For longer strips use the same code with a bigger NUM_LEDS; beyond about 30 LEDs you need a separate 5 V supply.
Is it legal to put police lights on my car?
No. Red and blue light bars and sirens are reserved for authorized emergency vehicles, and fitting them to a private car is an offense in most countries. This project is for toys, models and education only.
Projects to build after reading this
See all projects
LED Police Lights
Just like the lights on a police car: the red LED flashes three times in quick succession, then the blue LED flashes three times, and the pattern keeps repeating without a break.
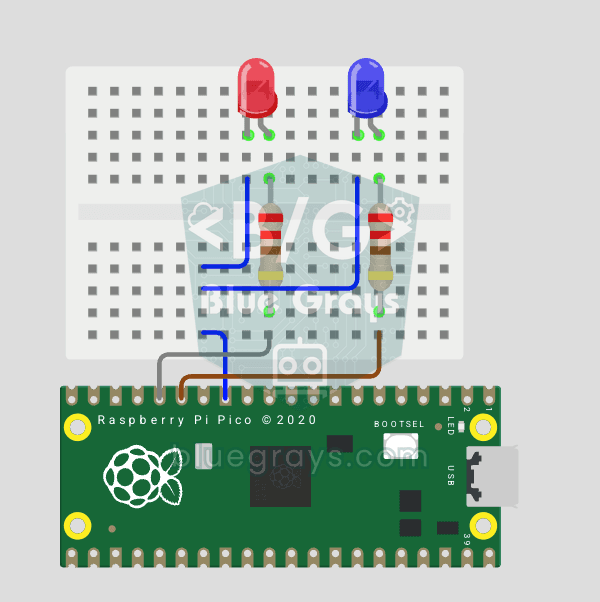
Raspberry Pi Pico Police Strobe Light Effect (Red + Blue)
We simulate a police car's light bar with a Raspberry Pi Pico in its simplest form! The red and blue LEDs take turns (flip-flop): while red is on, blue is off, and they swap every 0.3 seconds, forever. The code writes the two steps directly in a single while True loop; the speed is set with the WAIT_MS constant.
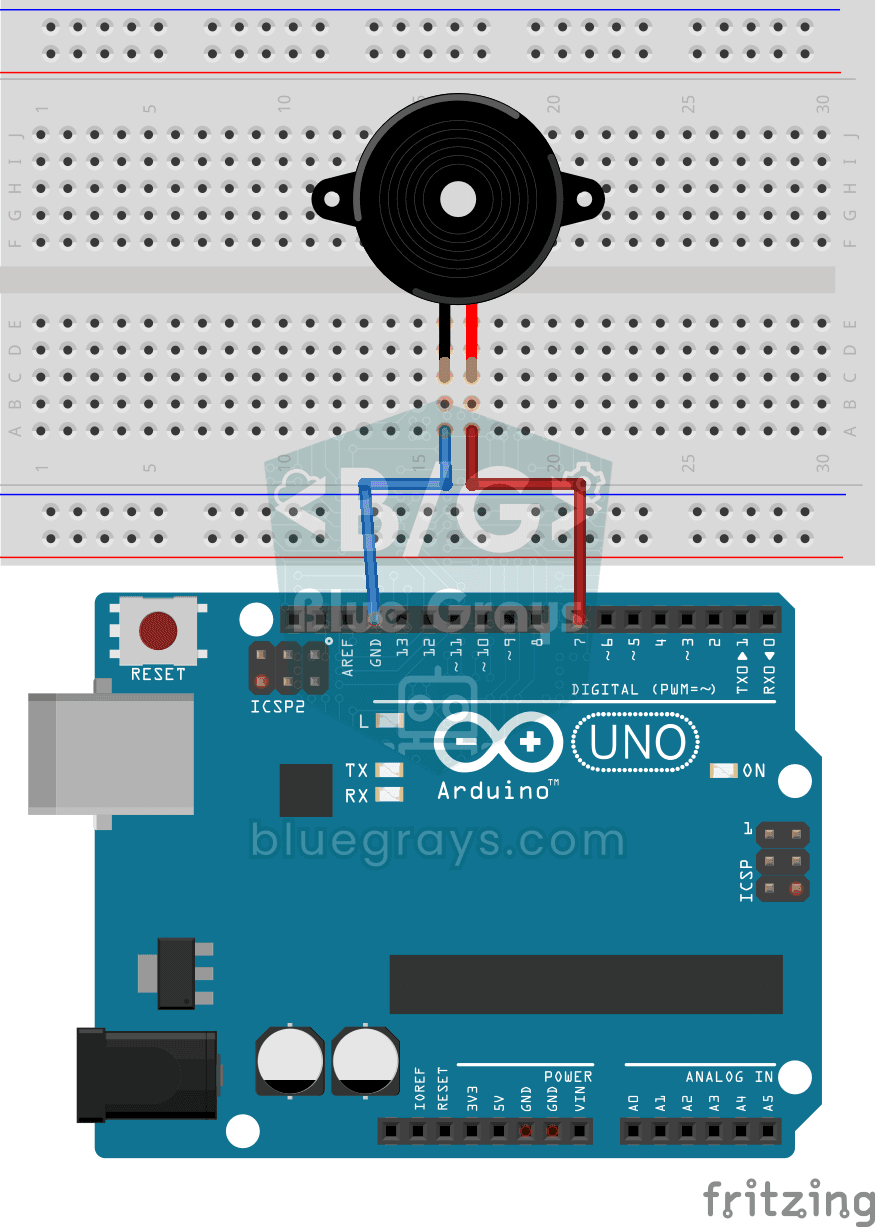
Using a Buzzer
Ever wondered how a doorbell or an alarm makes its sound? The Arduino makes a small buzzer beep at short intervals: beep, pause, beep, pause.
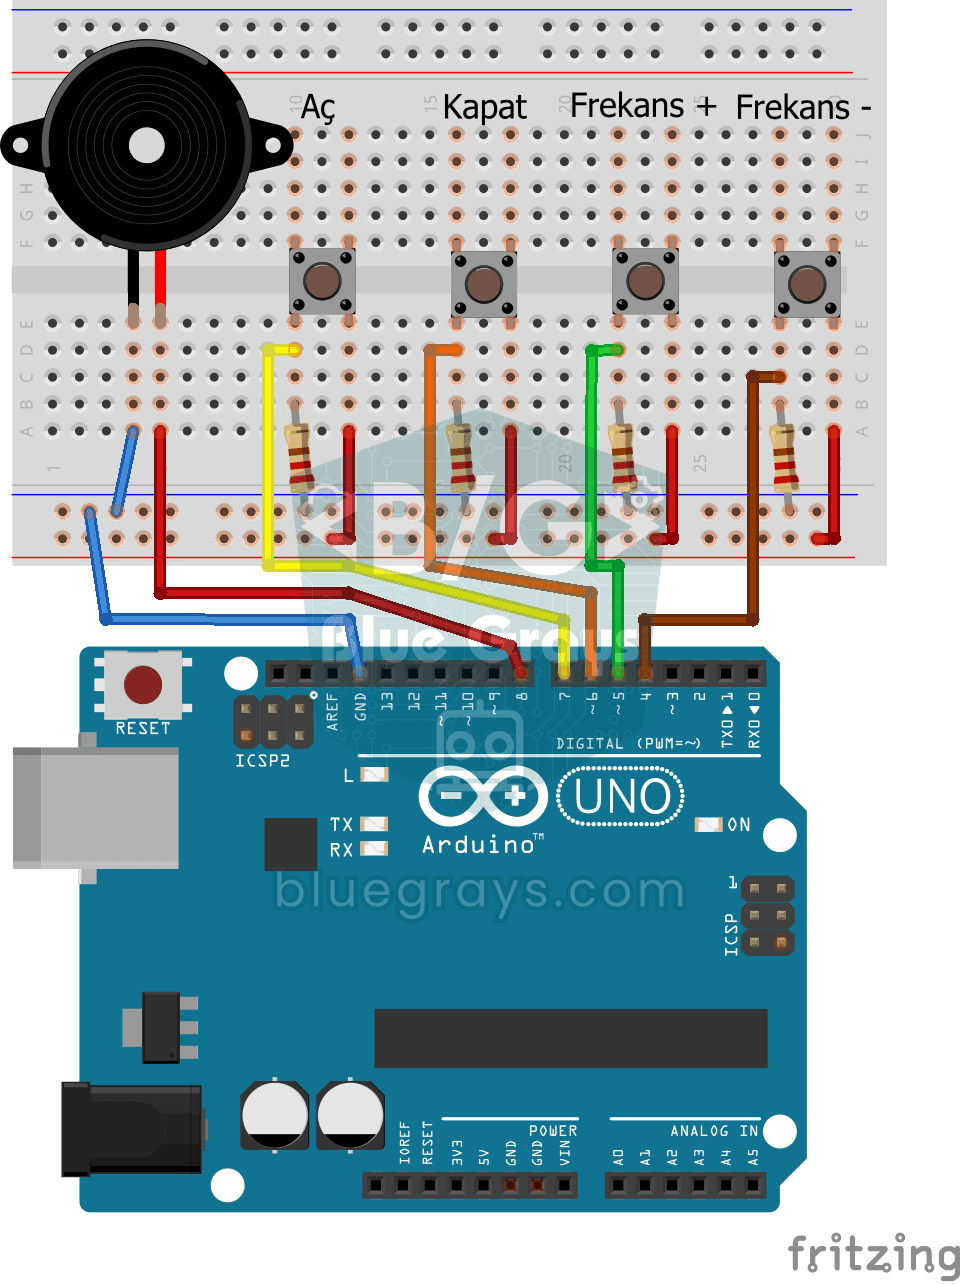
Frequency Setting with Buzzer
You control the sound of a buzzer with four buttons: one starts the sound, one silences it, and the other two make it higher or lower.
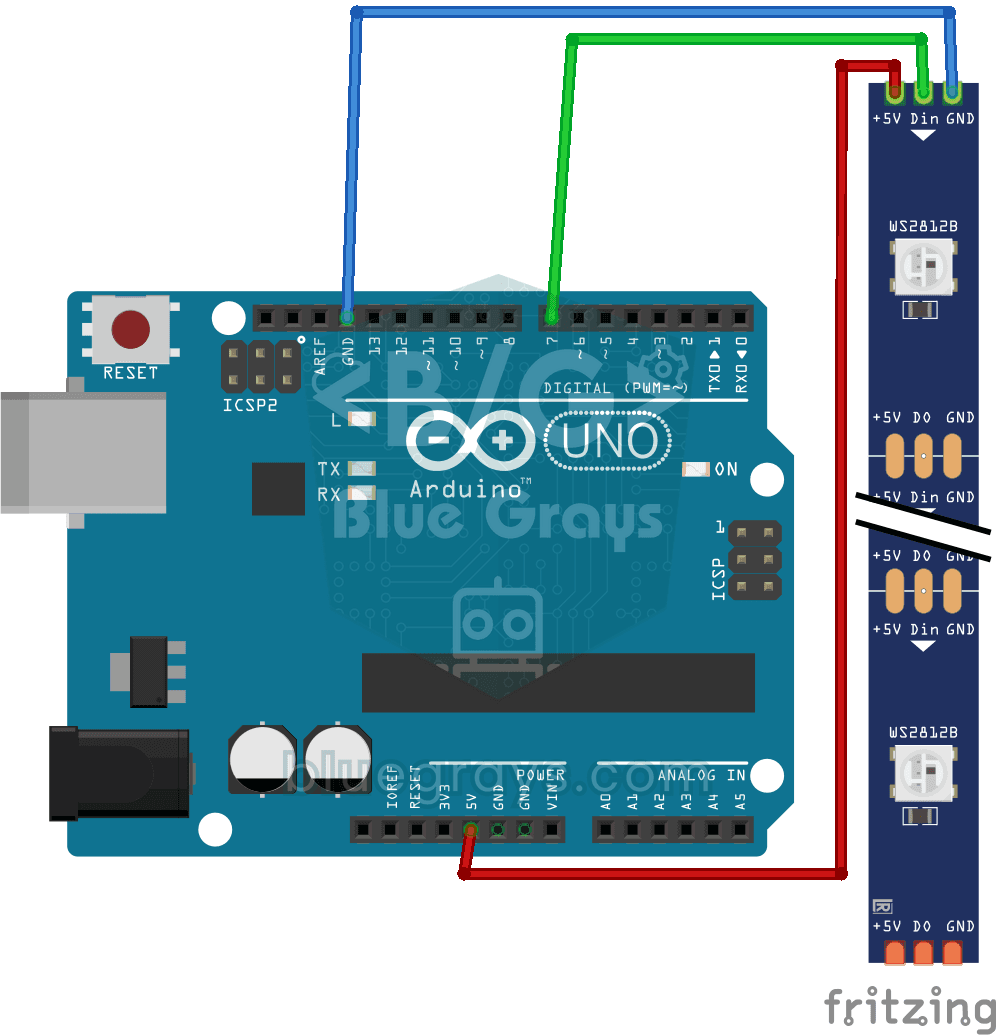
Police Lights with WS2812B
You bring the red and blue lights from the roof of a police car right onto your desk.

ESP32 Police Strobe Light Effect
Simulate the strobe lights of a police car by rapidly flashing red and blue LED groups. Using 2 LEDs in each group makes the effect more dramatic. A classic example of fast toggle pattern and group control.
Raspberry Pi Pico 3-Burst Police Flip-Flop (2 LEDs)
Rhythmic variation of the police strobe project — 3-burst flip-flop! Same 2-LED circuit (GP11 red + GP12 blue), but a different pattern: red LED flashes 3 times rapidly, then blue flashes 3 times, forever. This "burst + switch" pattern is the most recognizable rhythm of real police siren lights. Learn parametrized function def burst(led, count, duration_ms), rhythm design, and generating different visual effects with code on same circuit.
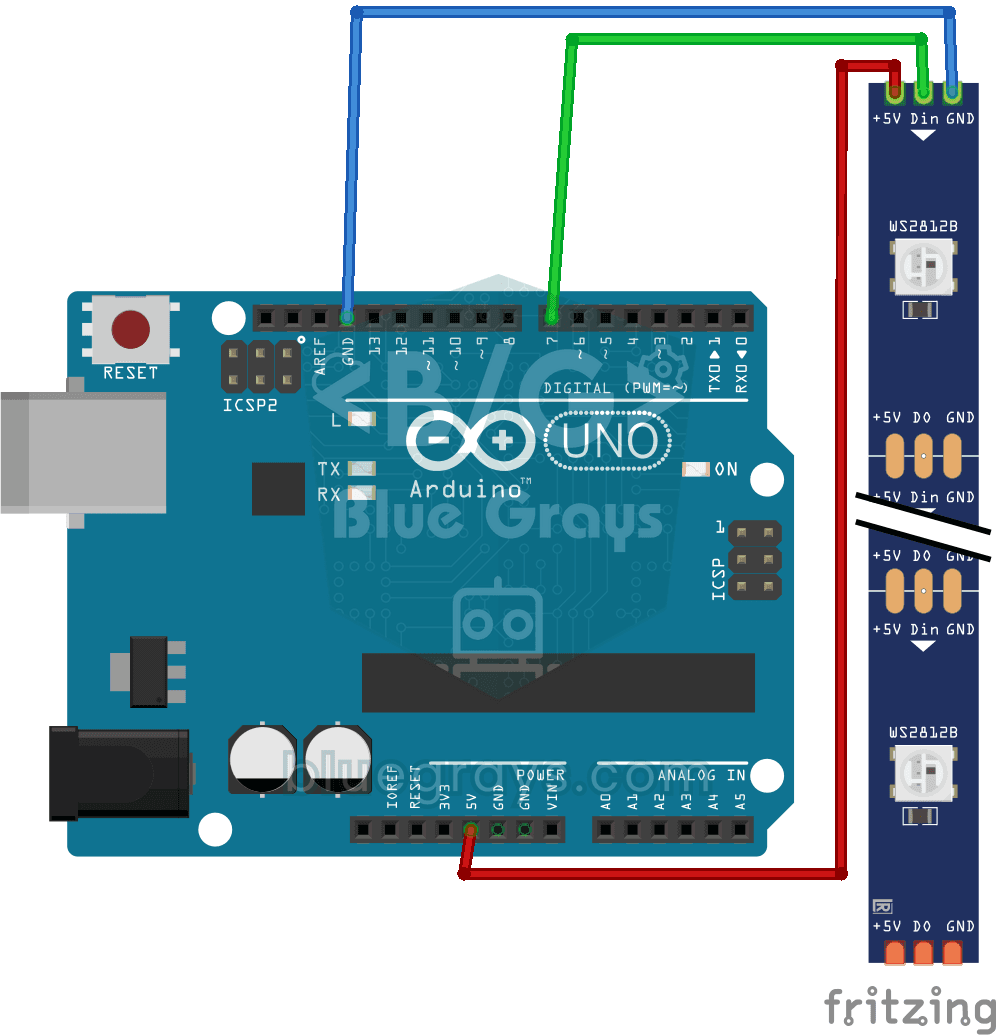
Using a WS2812B LED Strip
Meet a smart LED strip where you can colour every single light on its own. The Arduino first lights the first five LEDs red, a second later turns the other five blue, then switches them all off and…