
Gifts for Electronics Hobbyists: 20 Ideas for Arduino Fans
Gifts for electronics hobbyists: 20 ideas from starter kits, ESP32 and Pico boards to soldering stations and logic analysers, with a level and budget table.

The hardest part of finding gifts for electronics hobbyists is guessing the other person's level: a starter kit that's perfect for a beginner is something a seasoned builder already has three of in a drawer. In this guide we've split 20 gift ideas for anyone into Arduino, ESP32 or Raspberry Pi Pico by level: boards and kits, workshop tools and advanced test equipment. For each one we explain why it's useful, what to look for when buying and which project can be built with it on day one.
We don't name brands or prices, because the same type of product sells at very different prices from country to country, and for a good choice the features matter, not the brand. Instead we've grouped budgets into low, medium and high, and listed the technical details to check for each product type. That way you can pick the right product whichever shop you buy from.
Ask first: who is it for, and at what level?
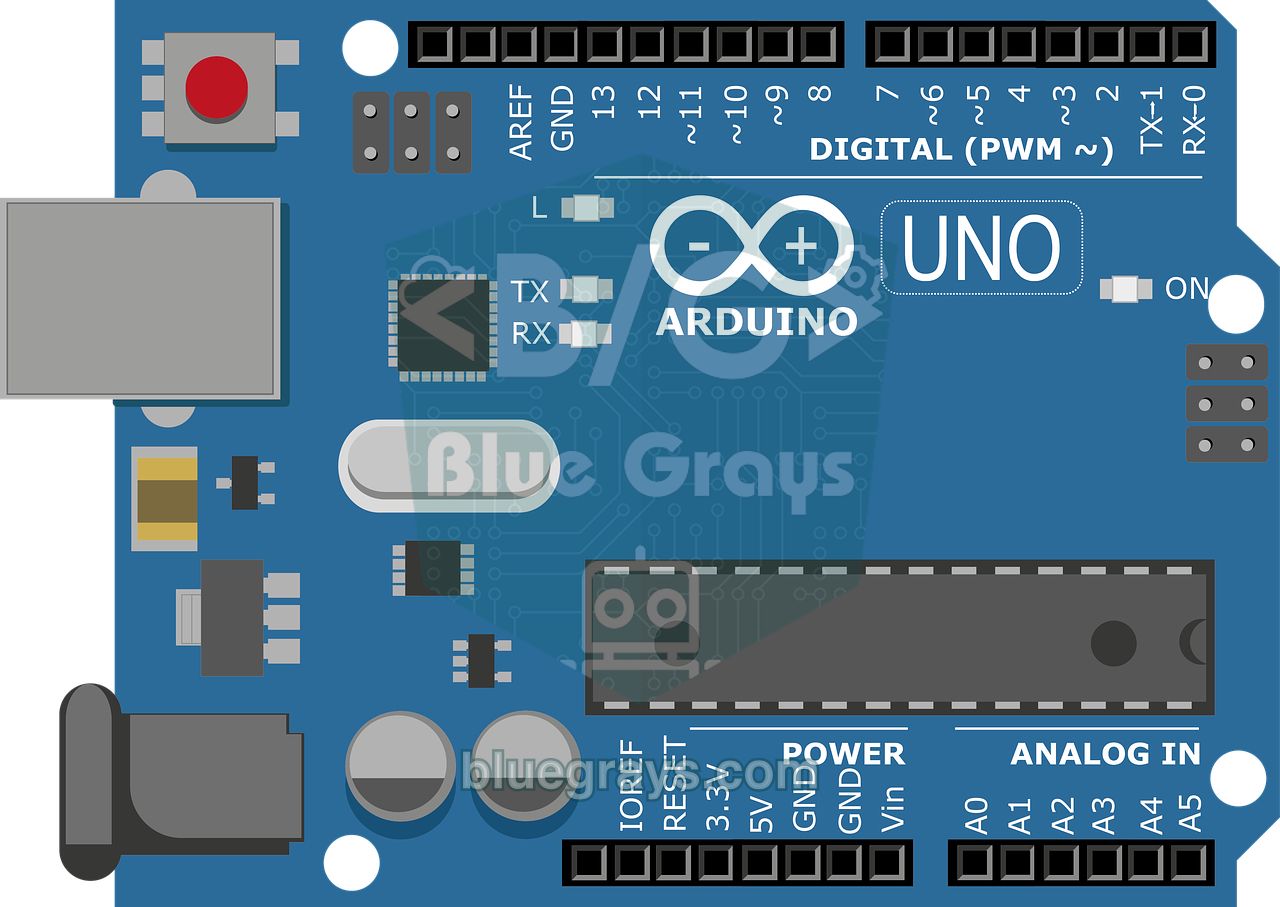
A quick look at the person's desk usually gives you enough clues. A breadboard, a few LEDs and jumper wires mean beginner; a soldering iron, perfboard and boxed-up projects mean intermediate; if they talk about oscilloscopes, their own circuit boards or microcontroller programming protocols, they're advanced. If you're not sure, asking "What are you working on right now, and what's missing?" won't spoil the surprise and helps you find the most useful gift.
| Level | Signs | Suitable gift type |
|---|---|---|
| Beginner | Breadboard, LEDs, a few sensors; copies code from examples | Kit, board, sensor pack |
| Intermediate | Solders, puts projects in enclosures, uses Wi-Fi boards | Workshop tools, measuring instruments |
| Advanced | Designs their own circuit boards, works with communication protocols | Logic analyser, oscilloscope, rework station |
20 gift ideas: level and budget table
| # | Gift | Level | Budget | Day-one project |
|---|---|---|---|---|
| 1 | Arduino starter kit | Beginner | Medium | Traffic light |
| 2 | 37-in-1 sensor pack | Beginner | Medium | Temperature and humidity meter |
| 3 | Breadboard, jumper wire and power module set | Beginner | Low | Two-LED flip-flop |
| 4 | ESP32 development board (2-pack) | Beginner | Low | Switching an LED from a phone |
| 5 | Raspberry Pi Pico W kit | Beginner | Low | Blinking LED in MicroPython |
| 6 | WS2812B LED ring and strip pack | Beginner | Low | Rainbow star |
| 7 | Display pack (OLED + I2C LCD) | Beginner | Low | Clock or temperature on screen |
| 8 | Temperature-controlled soldering station | Intermediate | Medium | Soldering header pins |
| 9 | Digital multimeter (auto-ranging) | Intermediate | Medium | Measuring batteries and adapters |
| 10 | Helping hands and magnifier lamp | Intermediate | Low | Splicing wires |
| 11 | Soldering accessory set (solder, flux, pump, wick) | Intermediate | Low | Removing a bad joint |
| 12 | Precision hand tool set | Intermediate | Low | Preparing a project box |
| 13 | Adjustable bench power supply | Intermediate | High | Testing a motor with a current limit |
| 14 | Component organiser + resistor and capacitor kit | Intermediate | Low | Sorting parts |
| 15 | Robot car kit (2 motors) | Intermediate | Medium | Obstacle-avoiding robot |
| 16 | USB logic analyser (8 channels) | Advanced | Low | Watching I2C traffic |
| 17 | Digital oscilloscope | Advanced | High | Seeing a PWM signal |
| 18 | Hot-air rework station | Advanced | Medium | Removing SMD parts |
| 19 | USB power meter | Advanced | Low | Measuring a project's battery draw |
| 20 | Pair of wireless modules (LoRa or nRF24L01) | Advanced | Low | Messaging between two boards |
The budget column helps you compare within the same shop: Low is roughly the price of a book or a gift mug; Medium is about the price of a decent pair of headphones; High covers instruments that will be used for many years. The day-one project column matters too: if the person can get something working the same evening, the gift won't be forgotten in a drawer.
7 gifts for beginners
- Arduino starter kit: Kits with an Uno-compatible board, breadboard, LEDs, resistors, button, buzzer, potentiometer, servo, display and a few sensors cover everything needed for the first few months. Choose one that comes with a printed or downloadable project guide; we list what's really necessary in Arduino starter kit.
- Sensor pack: 37- or 45-module packs bring temperature, humidity, sound, light, tilt, flame, IR and joystick modules together in one box. For someone who already has a kit, it's a great second step for trying out the sensors they're curious about; you'll find what each one measures in Arduino sensors.
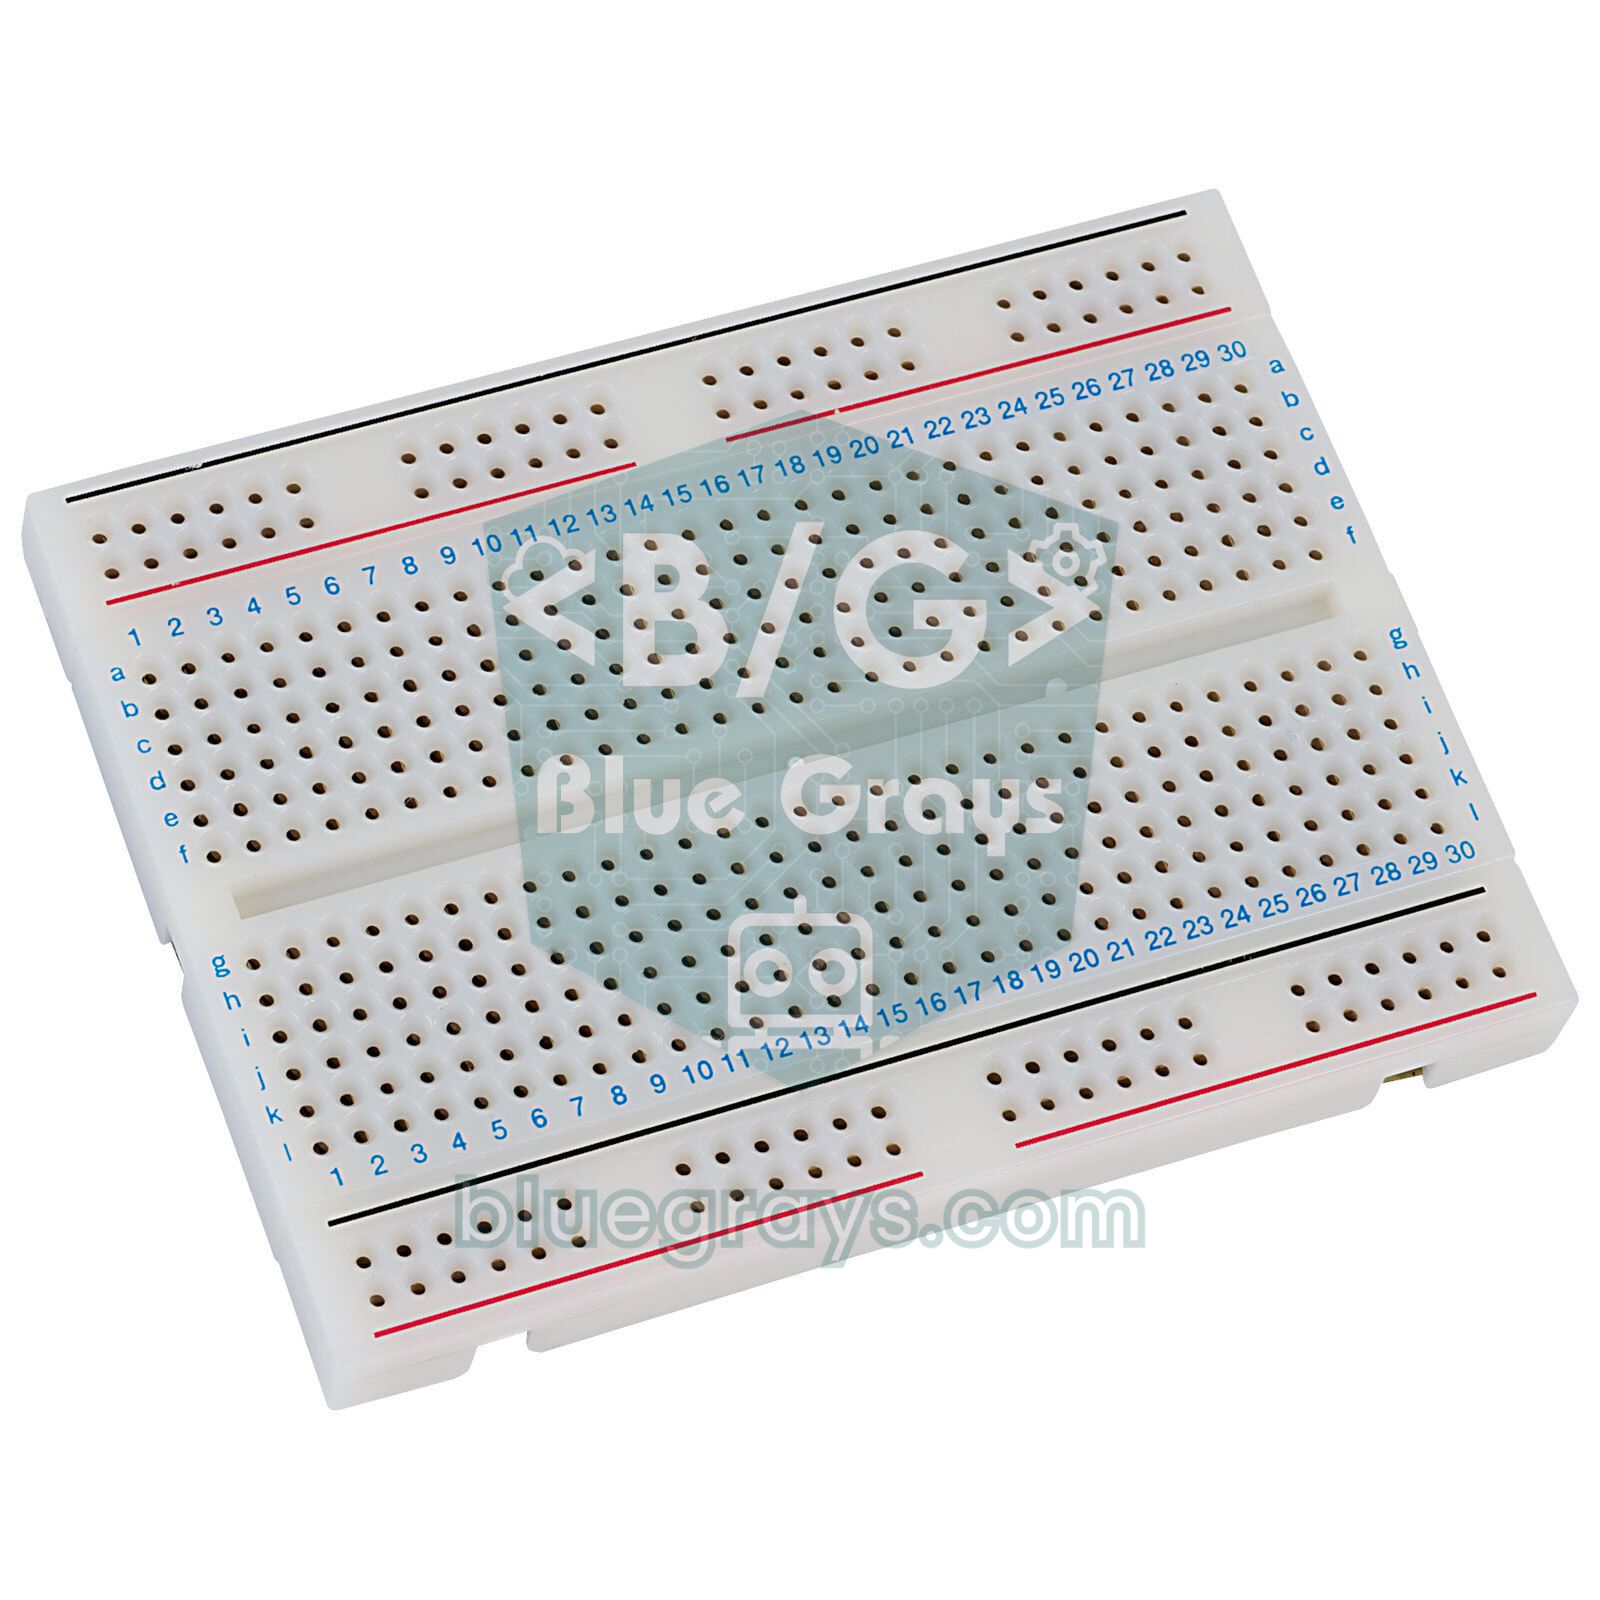
- Breadboard, jumpers and power module: Two 830-hole breadboards, male-male, male-female and female-female jumper wires and a 3.3/5 V breadboard power module are very handy the moment a kit's single breadboard isn't enough. A small gift that gets used all the time.
- ESP32 development board: With Wi-Fi and Bluetooth, the ESP32 is the natural next step for someone who knows Arduino; phone-controlled lights, web servers and smart home projects start here. Buying two boards instead of one opens the door to projects where they talk to each other. We compare them in Arduino or ESP32?.
- Raspberry Pi Pico W kit: For someone who knows Python or wants to learn it, the Pico W programmed in MicroPython is an ideal gift. Choose the version with pre-soldered headers so it plugs straight into a breadboard; we introduce the board in What is the Raspberry Pi Pico?.
- WS2812B LED ring and strip: Addressable LEDs are the most visually satisfying start, because every LED gets its own colour. A few 12-, 16- or 24-LED rings and a 1 m strip make a seasonal gift; how to use them is in WS2812B NeoPixel LED.
- Display pack: A 0.96-inch I2C OLED and a 16x2 I2C LCD let you add a clock, temperature readout or a small game to projects. Both connect with just four wires; using the OLED is explained in OLED display.
8 gifts for intermediate makers: workshop tools
- Temperature-controlled soldering station: The first serious tool for anyone moving up to intermediate. Choose a station adjustable from 200 to 450 °C, with a digital temperature display and replaceable tips; unregulated pencil irons burn the tip and lift the board's traces. We cover the tricks in How to solder.
- Digital multimeter: Voltage, current, resistance, continuity (beep) and diode test are needed in every project. An auto-ranging model is easier for newcomers; capacitance and frequency are bonus features. We show how to use one step by step in How to use a multimeter.
- Helping hands and magnifier lamp: A "third hand" with crocodile clips that holds the board and wire while you solder, plus an LED magnifier, makes work on tiny pins much easier.
- Soldering accessory set: 0.6–0.8 mm rosin-core solder, a flux pen, a desoldering pump and desoldering wick; removing a bad joint is almost impossible without them.
- Precision hand tools: Side cutters, a wire stripper, needle-nose pliers, an ESD-safe tweezer set and a precision screwdriver set are everyday tools for someone who has started boxing up projects.
- Adjustable bench power supply: A current-limited supply adjustable from 0–30 V and 0–5 A protects both the boards and the user by limiting current during a short circuit. It's indispensable for projects with motors and LED strips.
- Component organiser and resistor kit: A drawer organiser and an E12 resistor kit from 10 Ω to 1 MΩ, together with ceramic and electrolytic capacitor kits, turn a messy desk into a tidy workshop. The resistor colour code calculator is a big help for reading values.
- Robot car kit: Kits with two geared motors, wheels, a chassis, a motor driver and a distance sensor combine electronics with mechanics; assembly and code are in How to build an Arduino robot car.
| Product | Feature to check | Why it matters |
|---|---|---|
| Soldering station | Adjustable temperature and digital display | Lead-free solder needs about 340–380 °C; an unregulated iron burns the tip and the board |
| Soldering station | Replaceable tips | A fine tip for SMD, a chisel or bevel tip for large pads |
| Multimeter | Auto-ranging and continuity beep | Prevents picking the wrong range and finds a broken wire in seconds |
| Multimeter | Fused current input and category (CAT) rating | Protects the meter and the user when a current measurement goes wrong |
| Power supply | Adjustable current limit | Cuts the current in a short circuit and protects parts during first tests |
5 gifts for advanced makers
- USB logic analyser: Small 8-channel analysers sampling at 24 MHz decode I2C, SPI and UART traffic bit by bit with open-source software. It's the most productive gift for someone who'd rather see why a sensor isn't responding than guess.
- Digital oscilloscope: Shows PWM signals, voltage ripple and signal noise on screen. At least 2 channels and 50 MHz of bandwidth are enough for almost every hobby project; both handheld and benchtop models do the job.
- Hot-air rework station: Needed for removing SMD parts, using heat-shrink tubing and swapping modules. Choose a model with separately adjustable temperature and airflow.
- USB power meter: A small meter that plugs into the USB line shows a project's live voltage, current and total mAh consumption. It's perfect for working out how many hours a battery-powered project will last; finish the maths with the battery life calculator.
- Pair of wireless modules: Two LoRa modules give kilometres of range, while two nRF24L01 modules provide a low-latency remote-control link. They inspire remote-controlled vehicles, garden sensors or messaging between two houses.
A gift you make yourself: a coded surprise
The most personal gift for an electronics fan is a circuit you built. Put an Arduino Nano, an LDR and a passive buzzer inside the gift box: when the box is opened the LDR detects the incoming light, the LED turns on and a short melody plays. The circuit has only five parts and can wait for days on 4 × AA batteries. The code below runs unchanged on an Uno or Nano; the passive buzzer goes to D8, one leg of the LDR goes to 5V and the other to A0, and a 10 kΩ resistor goes between A0 and GND. That way the value on A0 rises as the light increases.
1// Hediye kutusu sürprizi: kutu açılınca LDR ışığı görür, LED yanar ve melodi çalar
2// Gift box surprise: when the box opens the LDR sees light, the LED turns on and a melody plays
3const int LDR_PIN = A0;          // LDR + 10 kOhm gerilim bölücü / LDR + 10 kOhm voltage divider
4const int BUZZER_PIN = 8;        // pasif buzzer / passive buzzer
5const int LED_PIN = 13;
6const int THRESHOLD = 500;       // karanlık kutu ~100, açık kutu ~700 (kendin ölç) / dark ~100, open ~700 (measure yours)
7
8const int melody[] = {523, 659, 784, 1047, 784, 1047};   // C5 E5 G5 C6 G5 C6
9const int lengths[] = {150, 150, 150, 300, 150, 450};    // ms
10bool wasOpen = false;
11
12void setup() {
13  Serial.begin(9600);
14  pinMode(LED_PIN, OUTPUT);
15}
16
17void loop() {
18  int light = analogRead(LDR_PIN);
19  Serial.println(light);                 // eşiği ayarlamak için izle / watch this to tune the threshold
20  bool isOpen = light > THRESHOLD;
21  if (isOpen && !wasOpen) {              // yalnızca açıldığı an / only at the moment it opens
22    digitalWrite(LED_PIN, HIGH);
23    for (int i = 0; i < 6; i++) {
24      tone(BUZZER_PIN, melody[i], lengths[i]);
25      delay(lengths[i] + 30);
26    }
27  }
28  if (!isOpen) digitalWrite(LED_PIN, LOW);
29  wasOpen = isOpen;
30  delay(100);
31}
To set the threshold, upload the code first and note the Serial Monitor values with the box closed and then open. In a closed box the value is usually below 100, and in room light above 600; putting THRESHOLD halfway between the two is enough. The code only catches the moment the box opens, so the melody doesn't repeat while the lid stays open. You'll find how the LDR works in LDR light sensor, and more seasonal ideas in the Arduino Christmas projects list.
Projects to build with the gift on day one
| Gift | First project | BlueGrays project |
|---|---|---|
| Arduino starter kit | Lighting an LED and a traffic light | LED blink, traffic light (free) |
| Sensor pack | Measuring temperature and humidity | DHT11 temperature and humidity (free) |
| Kit with a buzzer | A first melody | Buzzer usage (free) |
| ESP32 board | First LED and traffic light on the ESP32 | ESP32 LED, ESP32 traffic light (free) |
| Raspberry Pi Pico | Lighting the on-board LED | Pico on-board LED (free) |
| Kit with a distance sensor | Reading distance in the Serial Monitor | HC-SR04 distance measurement (free) |
| WS2812B ring | Colour animation | WS2812B usage |
| Robot car kit | Obstacle-avoiding robot | Obstacle-avoiding robot |
Choosing a gift for children
- Ages 8–11: Pick solderless kits built with a breadboard and jumper wires, and projects that run on batteries or USB. Writing code with block-based tools keeps motivation high at this age.
- Ages 12 and up: Soldering can be learned under adult supervision. A temperature-controlled station, a sturdy iron stand and safety glasses should be given together.
- Lead-free solder and ventilation: Choose lead-free solder, work with a window open or a small fume extractor fan so the smoke isn't inhaled, and always wash hands after soldering.
- No mains voltage: In projects with children, stay away from relay projects that run on mains; stick to 5 V and batteries.
- Small parts: Screws, jumper caps and coin cells are a choking hazard for younger siblings; keep the kit box closed and labelled.
What to check before you buy
- Board compatibility: "Uno-compatible" boards are programmed exactly like the original design; the differences are usually in the USB chip. The product description should say which board to select in the Arduino IDE.
- ESP32 board width: Some 38-pin ESP32 boards don't fit a standard breadboard and leave no free row of holes. Details are in ESP32 30-pin vs 38-pin.
- Header pins: Boards supplied without soldered pins mean an extra soldering job for a beginner; choose the pre-soldered version.
- Kit contents: Check the resistor values, sensor names and number of wires in the parts list; what matters isn't the part count but whether the parts complement each other.
- Guide and examples: A kit with sample code and circuit diagrams saves the first week; for kits without them, point to a ready project source for the first steps.
Common gift mistakes
| Mistake | Why it's a problem | Better option |
|---|---|---|
| An expensive oscilloscope for a beginner | Complex and unnecessary for someone who doesn't know what to measure yet | A starter kit and a multimeter |
| A cheap unregulated pencil iron | The tip oxidises quickly, pads lift and solder won't stick | A temperature-controlled station |
| Just a board, no parts | On its own the board can't do much more than blink an LED | Board + breadboard + parts pack |
| The same thing they already have | A second starter kit piles up in a drawer | The next step: ESP32, a display or a tool |
| A board that comes with a charge-only cable | The computer doesn't see the board and the first experience is ruined | A pack with a data cable or a separate data cable |
Whichever gift you choose, the best surprise is being able to make something work the same day. The LED blink, traffic light, buzzer, DHT11 temperature and humidity, ESP32 LED and Pico on-board LED projects in the BlueGrays app are free, and each comes with a circuit diagram, wiring list and ready-to-run code. Suggesting one of them in a little note with the gift turns the first evening into an enjoyable success.
Frequently asked questions
What should I buy someone who loves Arduino?
If they're just starting, a starter kit with a board, breadboard, LEDs, sensors and a display is the safest choice. For someone who already has a kit, a sensor pack, an ESP32 board or a display pack works well. For someone who solders, a temperature-controlled soldering station or a digital multimeter is very useful.
What is the best gift for someone new to electronics?
An Arduino starter kit with a project guide is the best first gift, because it bundles all the parts and sample code for the first months. Adding a simple auto-ranging multimeter lets them solve wiring and battery problems on their own.
Which tools make good gifts for an electronics hobbyist?
The most-used tools are a temperature-controlled soldering station, a digital multimeter, side cutters, a wire stripper, a tweezer set and helping hands. For someone more advanced, a current-limited bench power supply, a logic analyser and an oscilloscope are valuable gifts.
Is an Arduino kit a good gift for a child?
Yes, from about age 8 solderless kits built on a breadboard and block-based coding are a good start. Around age 12 they can move on to soldering under adult supervision. Children's projects should only use circuits powered by USB or batteries, never mains voltage.
Should I give an Arduino or an ESP32?
For someone who hasn't started yet, an Arduino Uno-based kit is easier because most examples and tutorials are written for it. For someone who knows Arduino and wants phone control, Wi-Fi or smart home projects, an ESP32 is a more exciting gift.
What does a logic analyser do, and who is it for?
A logic analyser records the signals on digital pins over time and decodes communication such as I2C, SPI or UART. For intermediate and advanced makers working with sensors and protocols, it's an affordable gift that turns debugging from guesswork into observation.
Projects to build after reading this
See all projects
LED Blink
The very first hello of electronics: switching a single LED on and off. The Arduino turns the LED on and off at short intervals, so the light blinks quickly.

Traffic Light
A tiny copy of the traffic light you see on the road every day. Red stays on for two seconds, yellow flashes for a moment, green stays on for two seconds, then it goes back to red through yellow…
Using a Buzzer
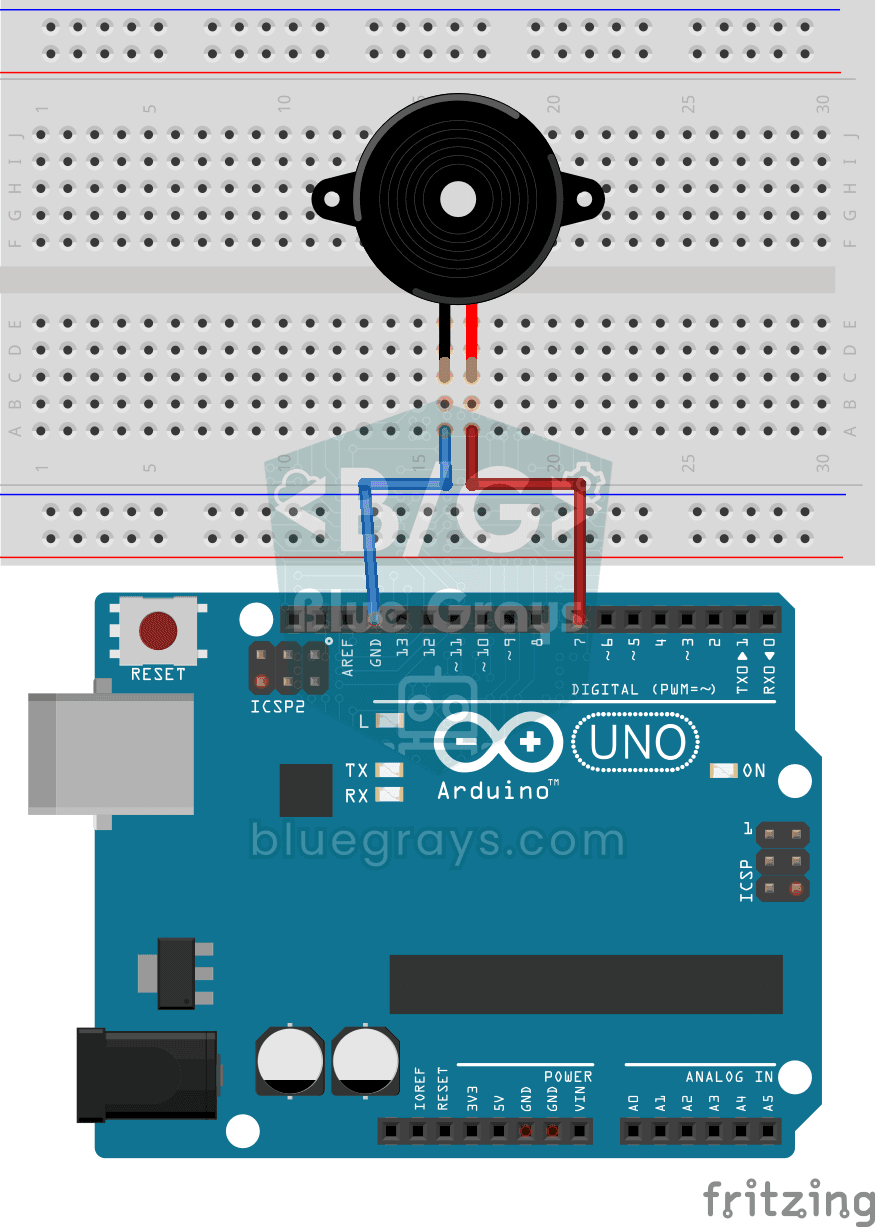
Ever wondered how a doorbell or an alarm makes its sound? The Arduino makes a small buzzer beep at short intervals: beep, pause, beep, pause.

Temperature and Humidity with DHT11
How warm is your room, and is the air humid or dry? The DHT11 sensor measures temperature and humidity, and the Arduino writes the values on a two-line LCD screen, refreshing every couple of seconds.

LED Blink with ESP32
Teaches basic GPIO output usage with ESP32. We achieve a blinking effect by turning an LED on and off from a digital pin. ESP32 version of the classic blink project on Arduino UNO; the basic blink commands in the Arduino environment are the same, but the ESP32's pin layout and 3.3 V GPIO levels differ from those of the Arduino UNO.

ESP32 Traffic Light
Real traffic light simulation with 3 LEDs red-yellow-green. Timings close to real traffic logic: red long, yellow short, green long. Classic example of sequential GPIO control.
Raspberry Pi Pico Onboard LED Blink (Pico and Pico W)
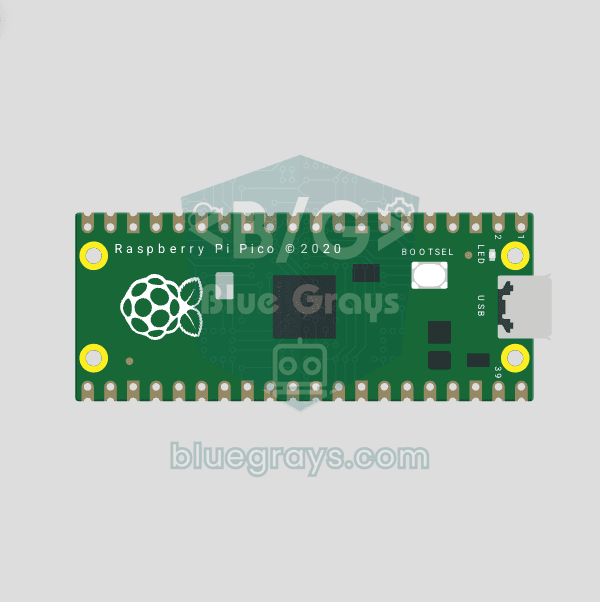
The opening project of the Raspberry Pi Pico series! We blink the Pico's green built-in LED to confirm the board works, the classic "Hello World" first experiment. No external parts needed, just the Pico and a USB cable. The code is written in MicroPython, the language officially supported by the Raspberry Pi Foundation.
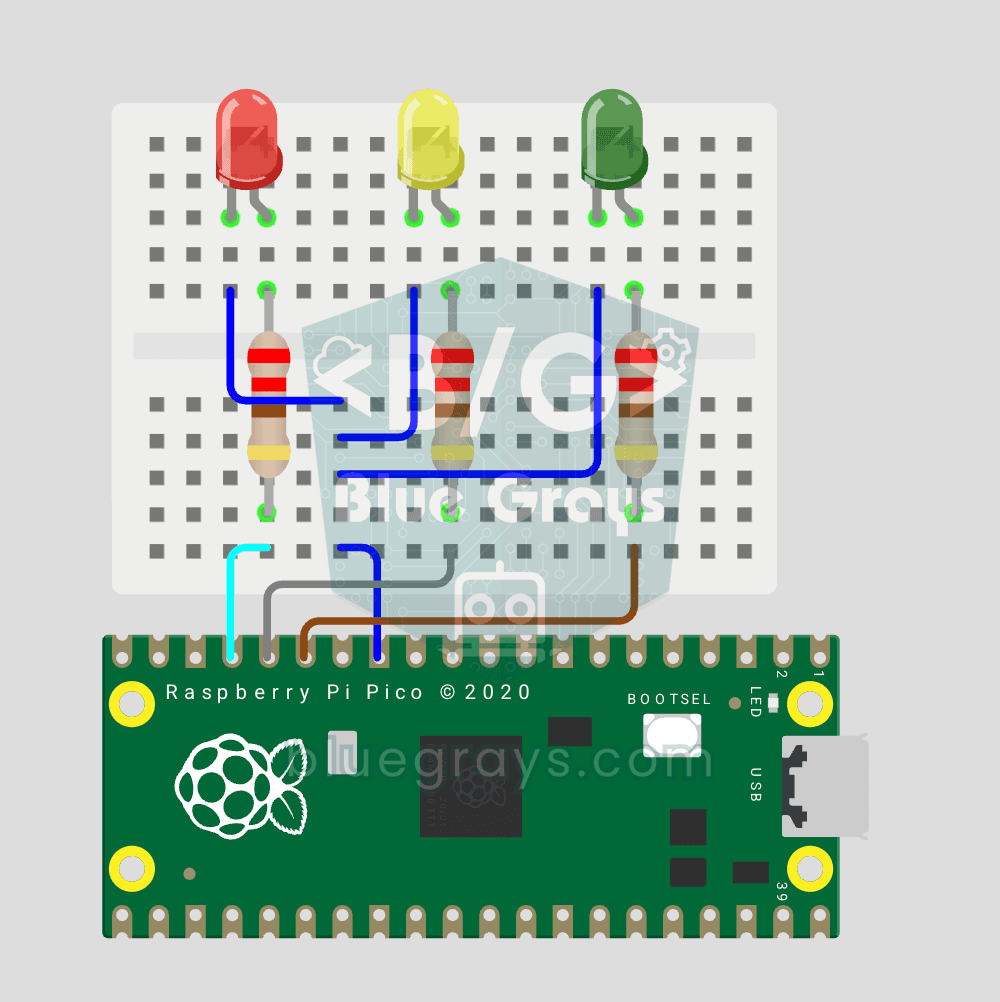
Raspberry Pi Pico Traffic Light Simulator (3 LEDs Sequential)
We recreate real traffic light logic with red, yellow and green LEDs, the first Pico project to move up to 3 LEDs! Green says "go" for 4 seconds, yellow "get ready" for 1.5 seconds, red "stop" for 3 seconds, and red+yellow "set off" for 1 second (the European traffic light pattern). You'll learn to define functions (def all_off()), state machine logic and multi-GPIO synchronization.