
Raspberry Pi vs Arduino: Key Differences and Which to Choose
Raspberry Pi vs Arduino: Linux computer vs microcontroller compared on boot time, power, GPIO, analog input, language and price, with project picks and code.
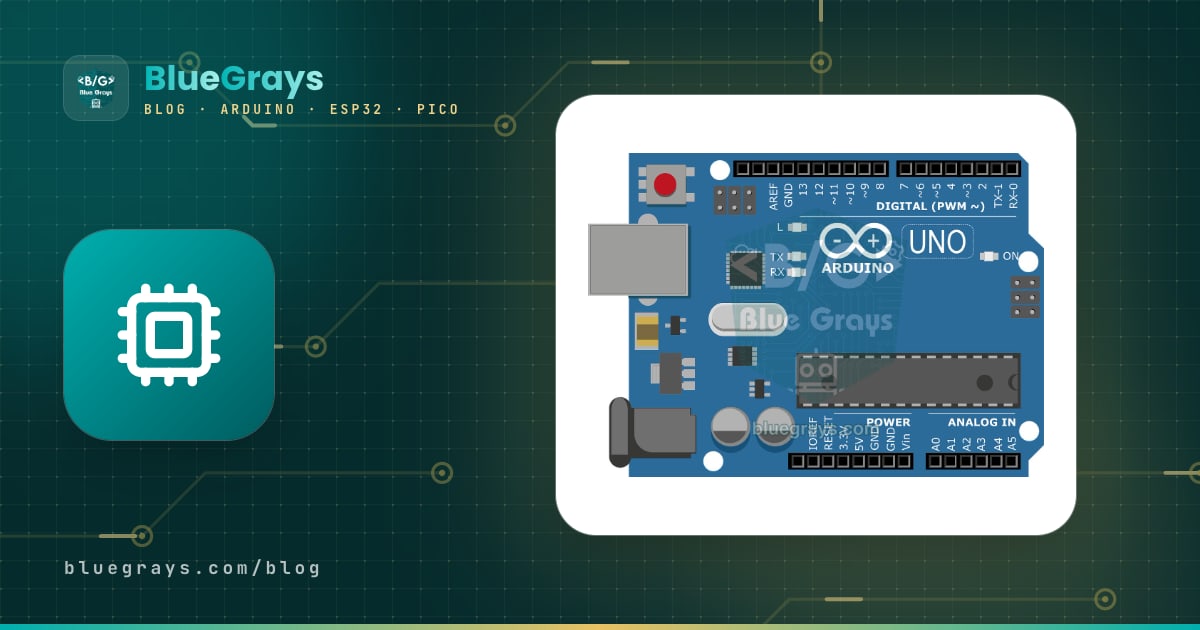
The difference between Raspberry Pi and Arduino fits in one sentence: a Raspberry Pi is a credit-card-sized computer running a Linux operating system, while an Arduino is a microcontroller board that runs a single program you upload, over and over. You can plug a keyboard, mouse and monitor into a Pi, browse the web, process camera images with Python or run a small server at home. An Arduino starts running the moment you power it, reads sensors with microsecond precision, drives motors and LEDs without ever stuttering, and can run on batteries for days.
In short, the Raspberry Pi is the better choice for projects that need a camera, image processing, a graphical interface or network services, while the Arduino wins when you need sensors, motors, precise timing and low power. In this guide we compare the two platforms with real numbers: boot time, power consumption, GPIO and analog input, programming language, real-time behaviour and price. Then we show in a table which one to pick for which project, give you example code that runs both together over a USB cable, and explain where the Raspberry Pi Pico fits in, since despite its name it is much closer to an Arduino.

What is a Raspberry Pi, and what is an Arduino?
The Raspberry Pi is a single-board computer (SBC) developed by the Raspberry Pi Foundation in the UK. The Raspberry Pi 5 has a quad-core 2.4 GHz Arm Cortex-A76 processor, 1 to 16 GB of RAM, two 4K HDMI outputs, USB 3.0, Gigabit Ethernet, Wi-Fi and Bluetooth. Instead of a hard drive it uses a microSD card (or an NVMe SSD on an add-on board) and runs the Debian-based Raspberry Pi OS. In other words, it's a small, cheap sibling of your desktop computer; the only difference is the 40-pin GPIO header along its edge that lets you connect LEDs, buttons and sensors directly.
The Arduino, on the other hand, is an open-source microcontroller platform born in Italy. Its most common board, the Arduino Uno R3, is built around an 8-bit ATmega328P running at 16 MHz: the processor, 2 KB of RAM, 32 KB of program memory and the analog-to-digital converter all live inside one small chip. There's no operating system, no file system and no video output. The code you write in the Arduino IDE on your computer is compiled and stored in the board's flash memory; every time the board powers up, setup() runs once and then loop() runs forever. To get to know the platform better, read What is Arduino?.
Quick answer: which one for which situation?
| Your situation | Pick | Why? |
|---|---|---|
| You're new to electronics | Arduino Uno | Simple, robust, works directly with 5 V modules |
| Camera, face or object recognition | Raspberry Pi | Processing power, RAM, OpenCV and camera support |
| Robot car, servo, stepper motor | Arduino | Uninterrupted, precise timing |
| Web server, database, smart home hub | Raspberry Pi | Linux, network services, storage |
| Sensor that runs on batteries for days | Arduino or Pico | Consumption in milliwatts, not watts |
| Device used with a screen, keyboard and mouse | Raspberry Pi | Desktop, browser, HDMI |
| Learning Python and controlling hardware | Raspberry Pi Pico or Raspberry Pi | MicroPython or full Python |
| Image processing and motor control together | Raspberry Pi + Arduino | The Pi decides, the Arduino executes |
Comparison table: Raspberry Pi 5, Arduino Uno and Raspberry Pi Pico
| Feature | Raspberry Pi 5 | Arduino Uno R3 | Raspberry Pi Pico |
|---|---|---|---|
| Type | Single-board computer | Microcontroller board | Microcontroller board |
| Processor | BCM2712, 4-core Cortex-A76, 2.4 GHz | ATmega328P, 8-bit, 16 MHz | RP2040, 2-core Cortex-M0+, 133 MHz |
| RAM | 1, 2, 4, 8 or 16 GB | 2 KB | 264 KB |
| Storage | microSD card or NVMe SSD | 32 KB flash | 2 MB flash |
| Operating system | Raspberry Pi OS (Linux) | None | None |
| Boot time | About 15–40 seconds | Under 1 second | Under 1 second |
| Power consumption | About 3 W idle, 7–8 W under load | About 0.25 W (50 mA) | About 0.1 W (20–25 mA) |
| Power supply | USB-C, 5 V 5 A recommended | USB 5 V or 7–12 V barrel jack | USB 5 V or 1.8–5.5 V on VSYS |
| Logic voltage | 3.3 V (not 5 V tolerant) | 5 V | 3.3 V (not 5 V tolerant) |
| GPIO | 28 GPIOs on the 40-pin header | 20 (14 digital + 6 analog) | 26 |
| Analog input (ADC) | None (external ADC needed) | 6 channels, 10-bit | 3 channels, 12-bit |
| Hardware PWM | On 4 pins (GPIO 12, 13, 18, 19) | 6 pins | On all GPIOs, 16 channels |
| Wireless | Wi-Fi 5 + Bluetooth 5.0 | None | None (Wi-Fi + Bluetooth on Pico W) |
| Video and audio | 2 × 4K HDMI, 2 camera connectors | None | None |
| Programming | Python, C/C++, Node.js and almost any Linux language | Arduino C/C++ | MicroPython, C/C++ SDK, Arduino |
| Real-time | No (Linux scheduling) | Yes, microsecond level | Yes, even finer with PIO |
| Sudden power loss | SD card may get corrupted | No problem | No problem |
| List price (October 2026) | From $45 (1 GB) to over $300 (16 GB) | Genuine about $25–30, clone $5–10 | $4 (Pico W $6, Pico 2 $5) |
A quick note on prices: because the cost of the LPDDR4 memory chips used in the Raspberry Pi 4 and 5 has soared with demand from AI data centres, Raspberry Pi has raised prices several times since December 2025; as of October 2026 the 2 GB Pi 5 lists at $77.50. The Pi Zero 2 W, which uses older memory, has stayed at $15. On top of that, a Pi needs a microSD card, a 27 W USB-C power supply and ideally a cooler, which add another $20–30 to the total. An Arduino Uno or a Pico only needs a USB cable.
The fundamental difference between a Linux computer and a microcontroller
On a Raspberry Pi, the Python program you write is just one of hundreds of processes Linux manages at the same time. The kernel hands the processor in turn to the network connection, the display, USB devices, background services and your program. That's a very powerful setup: you can log to files, run a web server and a camera stream at the same time, and edit your code over SSH from another room. On an Arduino, the only thing running on the processor is your code. With no operating system in between, a digitalWrite call changes the pin within a few microseconds, and it takes the same time every time. In practice this difference means:
- Multitasking: A Pi runs a browser, a Python script and a database at once; an Arduino runs a single loop(), and you schedule several jobs yourself with millis().
- Storage: On a Pi you can keep gigabytes of photos, logs and databases; on an Uno your program has to fit in 32 KB and your variables in 2 KB of RAM.
- Networking: A Pi connects to the internet over Wi-Fi and Ethernet out of the box; the Uno has no network connection, so you need an ESP32 or an extra module.
- Maintenance: Because a Pi is a computer, it needs updates, a user password and some security care; you upload code to an Arduino once and it keeps working the same way for years.
- When things go wrong: If a program crashes on a Pi, the system stays up and you can read the error message; if the code hangs on an Arduino, the board silently stops, but a watchdog timer can reset it automatically.
Boot time and sudden power loss
When you power an Arduino, your program starts in less than a second; even when you press the reset button, the bootloader waits only a moment. A Raspberry Pi first loads its bootloader, then the Linux kernel and its services; depending on the model and the speed of the SD card, it takes 15–40 seconds to reach the desktop. That matters for devices that must work right after a power cut, such as a doorbell, an alarm or an irrigation system. Shutting down is even more critical: Linux writes to the SD card constantly, and if power is lost in the middle of a write, the file system can get corrupted and the Pi may not boot again. Since an Arduino's program sits unchanged in flash memory, you can pull the plug whenever you like.
Power consumption and running on batteries
On power, the difference is a factor of 10 to 30. A Raspberry Pi 5 uses about 3 W at idle and 7–8 W with the CPU fully loaded, and more again once you add a USB drive and a camera. An Arduino Uno draws about 50 mA, or 0.25 W at 5 V, and a Pico around 0.1 W. The table below shows approximate run times on a 10,000 mAh power bank. Here's the maths: the 10,000 mAh on the label refers to 3.7 V cells, which is about 37 Wh; after the losses of converting to 5 V, roughly 30 Wh is usable. Divide that by the board's consumption in watts. For your own circuit, use the battery life calculator.
| Board | Typical consumption | On a 10,000 mAh power bank |
|---|---|---|
| Raspberry Pi 5 (idle) | About 3 W | About 10 hours |
| Raspberry Pi 5 (full load) | 7–8 W | About 4 hours |
| Raspberry Pi Zero 2 W | About 0.6 W | About 2 days |
| Arduino Uno R3 | About 0.25 W | About 5 days |
| Raspberry Pi Pico | About 0.1 W | About 12 days (if the power bank stays on) |
| Sleeping Arduino Pro Mini (LED and regulator removed) | Microamp range | Months directly on batteries |
GPIO pins and analog input
The Raspberry Pi's 40-pin header has 28 GPIOs; GPIO 0 and 1 are reserved for the ID EEPROM of HAT boards and are usually left alone. These pins run at 3.3 V, are not 5 V tolerant and can supply only a few milliamps per pin (about 16 mA at most); you can light an LED through a series resistor, but you shouldn't drive a relay coil or a motor directly. The biggest gap is the lack of analog inputs: there's no analogRead equivalent on a Pi, so reading an analog sensor such as a potentiometer, an LDR or a soil moisture sensor requires an external ADC chip. The Arduino Uno has 6 analog inputs, and almost every 5 V sensor connects to it directly.
| Topic | Raspberry Pi | Arduino Uno | Raspberry Pi Pico |
|---|---|---|---|
| Logic level | 3.3 V | 5 V | 3.3 V |
| Current per pin | A few mA, about 16 mA at most | 20 mA recommended, 40 mA absolute max | 4 mA by default, configurable up to 12 mA |
| Analog reading | None; needs an MCP3008 or ADS1115 | analogRead(), 0–1023 | ADC(26).read_u16(), 0–65535 |
| PWM | Hardware on 4 pins, software on the rest | analogWrite() on 6 pins | Hardware on every pin |
| Pin numbering | GPIO number differs from the physical pin (GPIO17 = pin 11) | Number printed on the board | GP number (GP15 = pin 20) |
| 5 V modules such as the HC-SR04 | Voltage divider required | Direct | Voltage divider required |
There are two ways to connect an analog sensor to a Pi. The first is an ADC module such as the 8-channel, 10-bit MCP3008 on SPI or the 4-channel, 16-bit ADS1115 on I2C; the gpiozero library supports the MCP3008 out of the box. The second is to connect the sensors to an Arduino or a Pico and send the readings to the Pi over USB; we'll give you the code for that below. You'll find how analog reading works in What is an ADC? and the boards' pin maps in the Pinout tool.
Programming language and development environment
An Arduino is programmed in the C/C++-based Arduino language: you write the code in the Arduino IDE on your computer, and it gets compiled and uploaded to the board over USB. On a Raspberry Pi, the code is written and run on the Pi itself, with no separate upload step. The most popular language is Python, and Raspberry Pi OS comes with the Thonny editor and the gpiozero library preinstalled. You can also use any language that runs on Linux, such as C, C++, Node.js, Go or Java. Here's what a "light the LED while the button is pressed" program looks like in Python on a Pi:
1from gpiozero import LED, Button
2from signal import pause
3
4led = LED(17)       # GPIO17 = fiziksel pin 11 / GPIO17 = physical pin 11
5buton = Button(27)  # GPIO27 = fiziksel pin 13, dahili pull-up açık / physical pin 13, internal pull-up on
6
7buton.when_pressed = led.on    # Basınca LED yanar / LED on when pressed
8buton.when_released = led.off  # Bırakınca söner / LED off when released
9
10pause()  # Programı açık tut, olayları bekle / keep running and wait for events
Wire the button between GPIO27 and GND and the LED to GPIO17 through a 220 Ω resistor; the Button class turns on the internal pull-up resistor by itself. Save the file as buton_led.py and run it by typing python3 buton_led.py in the terminal. Note: on the Raspberry Pi 5, the GPIOs are handled by the new RP1 chip, so the old RPi.GPIO library doesn't work and fails with "RuntimeError: Cannot determine SOC peripheral base address"; use gpiozero for new projects. If pip install fails with "externally-managed-environment" on current Raspberry Pi OS, install the package with sudo apt install python3-... or create a virtual environment (venv). On a Raspberry Pi Pico, you use the same Python knowledge with MicroPython.
Real-time behaviour: why Arduino for motors and sensors?
Because Linux shares the processor between programs, your Python code may occasionally be paused for a few milliseconds, and you can't predict when that will happen. That's irrelevant for a web page but a serious problem for hardware that depends on timing. A few concrete examples:
- HC-SR04 distance sensor: Sound needs about 58 µs for the round trip per 1 cm of distance. If a 100 µs delay creeps in while you measure the echo time, the reading is off by 1.7 cm; on a Pi, deviations like this are common.
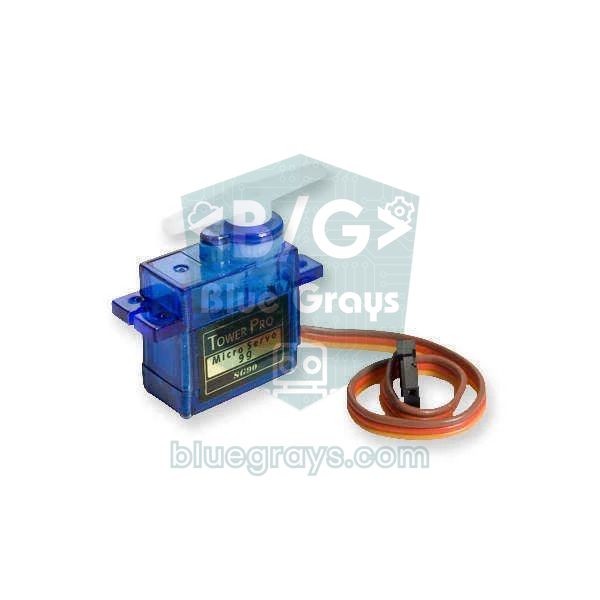
- Servo motor: A servo is positioned by a 1–2 ms pulse in a 50 Hz signal, and 1 degree corresponds to roughly 5.5 µs. A servo driven by software PWM on a Pi jitters; on an Arduino it holds still.
- WS2812B LED strip: Each bit lasts 1.25 µs and the timing needs 0.15 µs accuracy; a Pi can only manage it with the SPI or PWM hardware plus DMA, while an Arduino or a Pico drives it directly.
- Stepper motors and encoders: Thousands of step pulses per second or fast encoder signals are caught without misses on an Arduino using interrupts.
Which one for which project?
| Project | Best board | Why? |
|---|---|---|
| Camera that recognises faces or objects | Raspberry Pi 5 | OpenCV, Picamera2, AI accelerators |
| Wi-Fi security camera, sending photos | ESP32-CAM or Raspberry Pi Zero 2 W | ESP32-CAM is enough for simple shots, a Pi for streaming and recording |
| Obstacle-avoiding or line-following robot | Arduino | Precise, uninterrupted loop for sensors and motors |
| Robot that navigates with a camera | Raspberry Pi + Arduino | The Pi sees and decides, the Arduino drives the motors |
| Automatic plant watering | Arduino or ESP32 | Analog moisture sensor, low power, instant start-up |
| Smart home hub (Home Assistant) | Raspberry Pi | Always-on server, database, web interface |
| Weather station | ESP32 or Pico W | Wi-Fi and low power together |
| Retro game console, media player | Raspberry Pi | HDMI, audio, USB gamepad |
| Battery-powered data logger | Arduino Pro Mini or Pico | Very low consumption in sleep mode |
| Electronics class, first circuits | Arduino Uno | 5 V, robust pins, plenty of examples |
Cameras and image processing are where the Raspberry Pi is strongest. The 12 MP autofocus Camera Module 3 connects to the board's camera connector with a ribbon cable; you can take a photo with rpicam-still -o photo.jpg and do motion detection, colour tracking, QR code reading or face recognition in Python with the Picamera2 and OpenCV libraries. For heavier AI models you can add an accelerator board such as the AI HAT+ or use the AI Camera, which processes the image inside the camera itself. The Raspberry Pi 5's camera connectors are smaller (22-pin) than on older models, so older cameras need a suitable adapter cable. The Arduino Uno's 2 KB of RAM can't even hold one small photo; if you just want to take pictures and send them to Telegram, the cheap ESP32-CAM is a good middle ground.
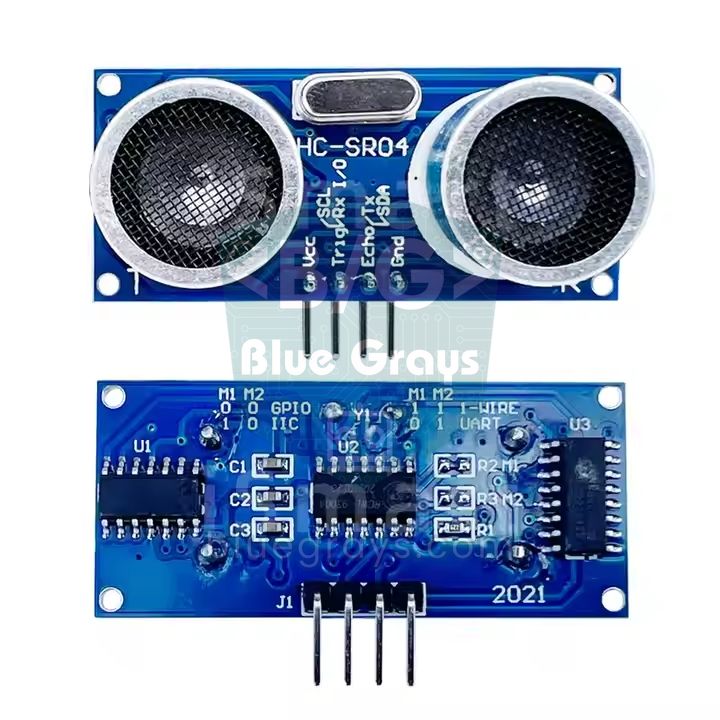
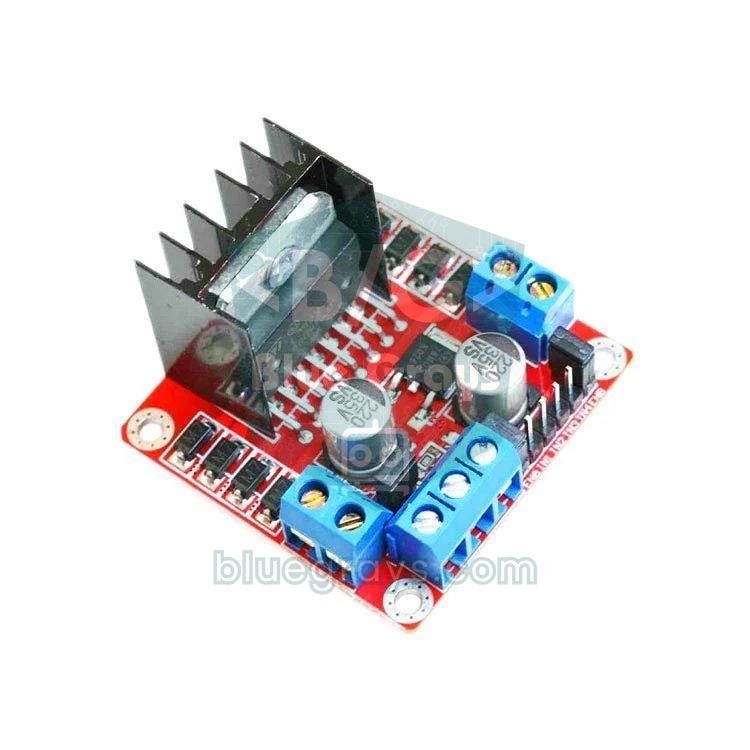
When it comes to sensors and motors, though, the Arduino has practically no rival. Because it runs at 5 V, most modules on the market, such as the HC-SR04, relay modules, the L298N motor driver and character LCDs, connect without any extra circuitry, and motor driver, relay and sensor shields plug straight on top of the board. In a robot car, the Arduino reads the distance sensor dozens of times per second and stops the motors the instant it sees an obstacle; that reaction time never depends on how busy an operating system is. Servo motors and stepper motors run smoothly on an Arduino for the same reason.
Using both together: Raspberry Pi + Arduino
In most advanced projects, the best solution is to use both. Think of it like the human body: the Raspberry Pi is the brain; it processes the camera, connects to the internet, keeps records and makes decisions. The Arduino is the spinal cord and muscles; it reads the sensors, drives the motors and, in an emergency, reacts by reflex without asking the Pi. In a robot car with a camera, for example, the Pi finds the line in the image and sends a "turn left" command; the Arduino translates it into motor speeds and stops on its own if an obstacle appears. The common ways to connect the two boards are:
| Connection | How? | Watch out for |
|---|---|---|
| USB serial (easiest) | Plug the Arduino into a USB port on the Pi; it appears as /dev/ttyACM0 or /dev/ttyUSB0 | The Pi also powers the Arduino, no level shifter needed |
| UART (GPIO 14 and 15) | Pi TX → Arduino RX, Arduino TX → Pi RX, common GND | Voltage divider required for the Arduino's 5 V TX signal |
| I2C | Pi as master, Arduino as slave at an address such as 0x08 | A level shifter is recommended |
| Wi-Fi / MQTT | An ESP32 sends readings over the network to an MQTT broker on the Pi | No cables, but some network latency |
- Upload the Arduino code below to the board from your computer (you can also upload it from the Pi with arduino-cli).
- Connect the Arduino to the Pi with a USB cable and find the port name by typing ls /dev/ttyACM* /dev/ttyUSB* in the terminal. A genuine Uno usually shows up as /dev/ttyACM0, clones with a CH340 chip as /dev/ttyUSB0.
- If the pyserial library isn't installed, install it with sudo apt install python3-serial.
- If your user can't access the serial port, type sudo usermod -a -G dialout $USER, then log out and back in.
- Save the Python code as pi_arduino.py and run it with python3 pi_arduino.py; if the Arduino IDE's Serial Monitor is open, close it first.
1// Arduino Uno: A0 değerini Pi'ye gönderir, Pi'den gelen komutla LED'i yönetir
2// Arduino Uno: sends the A0 reading to the Pi and drives the LED on the Pi's command
3const int SENSOR_PIN = A0;      // LDR ya da potansiyometre / LDR or potentiometer
4const int LED_PIN = 13;         // Dahili LED / built-in LED
5unsigned long sonGonderim = 0;  // Son gönderim zamanı / time of the last send
6
7void setup() {
8  Serial.begin(115200);         // Pi tarafıyla aynı hız / same baud rate as the Pi
9  pinMode(LED_PIN, OUTPUT);
10}
11
12void loop() {
13  // Pi'den komut geldi mi? / has a command arrived from the Pi?
14  if (Serial.available()) {
15    String komut = Serial.readStringUntil('\n');  // Satır sonuna kadar oku / read up to the newline
16    komut.trim();                                  // Boşluk ve \r karakterlerini sil / strip spaces and \r
17    if (komut == "LED1") digitalWrite(LED_PIN, HIGH);
18    else if (komut == "LED0") digitalWrite(LED_PIN, LOW);
19  }
20
21  // 500 ms'de bir ölçüm gönder, loop'u bekletmeden / send a reading every 500 ms without blocking
22  if (millis() - sonGonderim >= 500) {
23    sonGonderim = millis();
24    int deger = analogRead(SENSOR_PIN);  // 0-1023
25    Serial.print("A0:");
26    Serial.println(deger);               // Örnek: A0:512 / example: A0:512
27  }
28}1import time
2import serial # sudo apt install python3-serial
3
4# Orijinal Uno: /dev/ttyACM0, CH340'lı klon: /dev/ttyUSB0 / genuine Uno: /dev/ttyACM0, CH340 clone: /dev/ttyUSB0
5ser = serial.Serial("/dev/ttyACM0", 115200, timeout=1)
6time.sleep(2) # Port açılınca Arduino yeniden başlar / opening the port resets the Arduino
7ser.reset_input_buffer() # Eski verileri temizle / drop stale data
8
9ESIK = 300 # Karanlık eşiği, sensörüne göre ayarla / darkness threshold, tune it for your sensor
10led_durum = None
11
12while True:
13 satir = ser.readline().decode("utf-8", errors="ignore").strip()
14 if not satir.startswith("A0:") or not satir[3:].isdigit():
15 continue # Boş ya da yarım satırı atla / skip empty or partial lines
16 deger = int(satir[3:])
17 print("Sensor:", deger)
18
19 yeni = "LED1" if deger < ESIK else "LED0" # Karanlıkta LED'i yak / LED on in the dark
20 if yeni != led_durum: # Yalnız değişince gönder / send only on change
21 ser.write((yeni + "\n").encode())
22 led_durum = yeniEvery 500 ms the Arduino sends a line like "A0:512" and listens for "LED1" or "LED0" commands ending with a newline; because it uses millis(), waiting for commands never delays the measurements. On the Python side, the time.sleep(2) line matters: when the Pi opens the serial port, the Arduino automatically resets, and anything sent in the first two seconds is lost. Adjust the threshold of 300 to your own sensor; depending on which way round you wired the LDR, the value may rise or fall in the dark. For more on serial communication, see Arduino and Python serial communication and What is UART?.
Where the Raspberry Pi Pico fits: Raspberry Pi by name, microcontroller by nature
This is the most common source of confusion. Although it's made by Raspberry Pi, the Raspberry Pi Pico isn't a computer but a microcontroller board like the Arduino: it has no operating system, starts instantly, uses about 0.1 W and runs in real time. At its heart is the dual-core RP2040 chip designed by Raspberry Pi itself (the Pico 2 uses the 150 MHz RP2350). Compared with the Arduino Uno it has far more RAM (264 KB), a 12-bit ADC and PIO blocks for timing-critical jobs, and it's programmed in MicroPython, C/C++ or the Arduino IDE. At $4 it's cheaper than an Arduino Uno, but since it runs at 3.3 V you have to be careful with 5 V modules. For the details, read What is the Raspberry Pi Pico?.
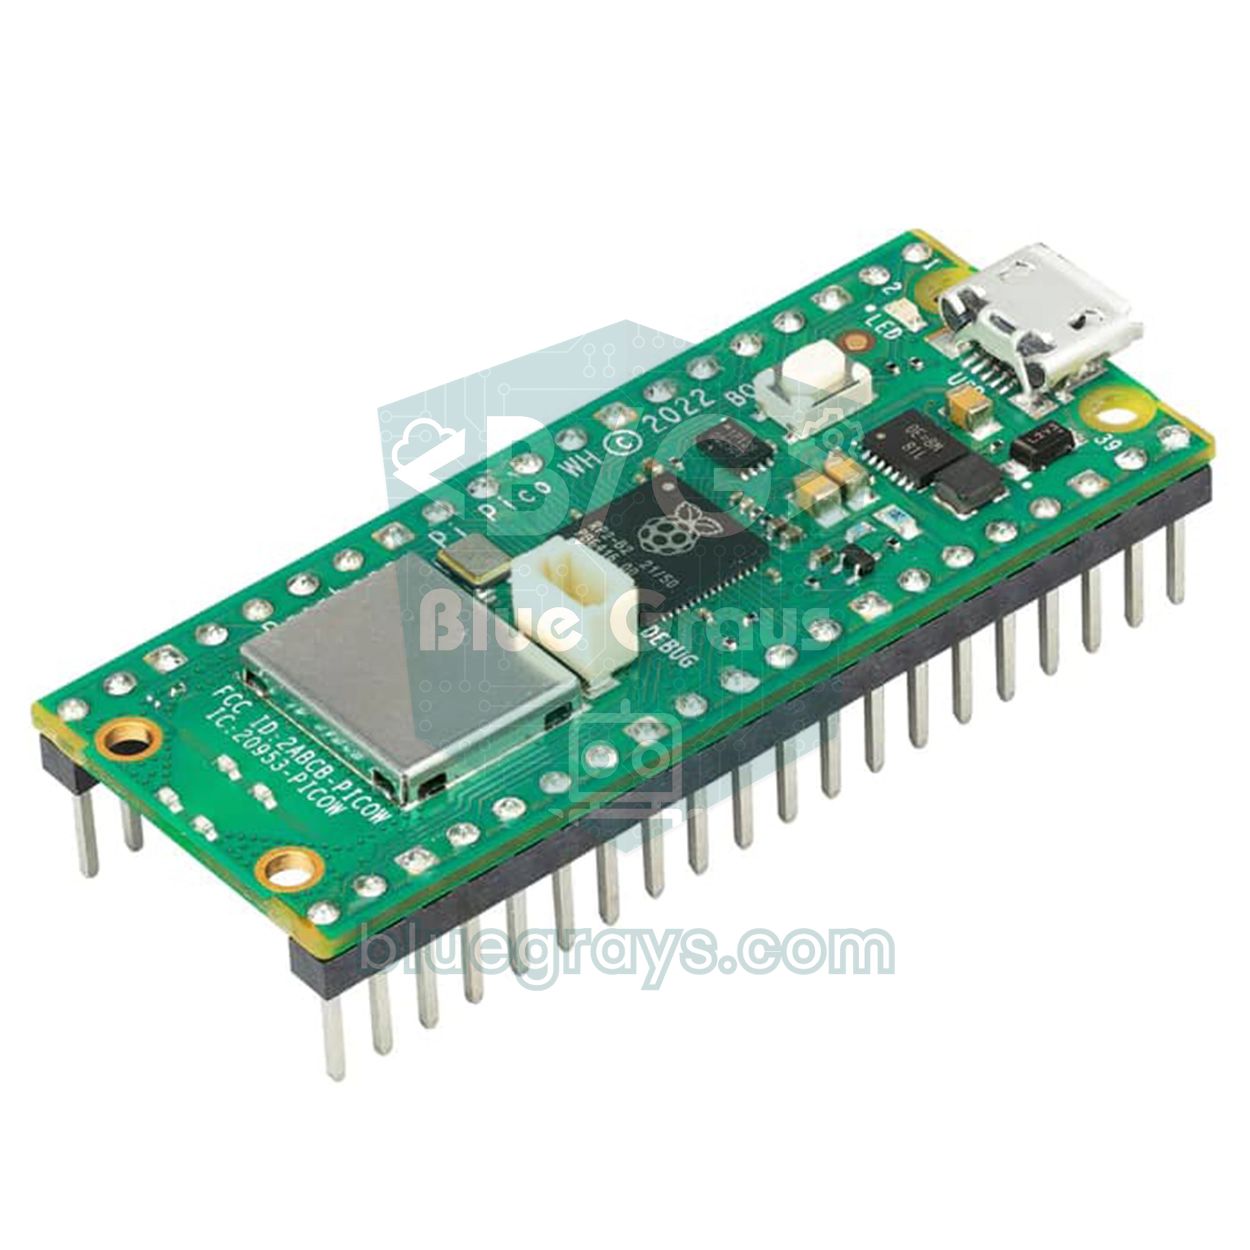
The Pico's biggest advantage in this comparison is that it runs at the same 3.3 V level as the Raspberry Pi: you can wire its UART pins straight to the Pi without a level shifter, or plug it into USB and use it just like an Arduino. The MicroPython code below sends data in the same "A0:value" format as the Arduino code above and listens for the same LED commands, so the Python script on the Pi works without a single change. Save the code to the Pico as main.py with Thonny, then close Thonny so the serial port is free for the script on the Pi.
1import sys, select, time
2from machine import ADC, Pin
3
4sensor = ADC(26)        # GP26 = ADC0 (fiziksel pin 31) / GP26 = ADC0 (physical pin 31)
5led = Pin(25, Pin.OUT)  # Pico dahili LED; Pico W'de Pin("LED") / onboard LED; use Pin("LED") on Pico W
6poll = select.poll()
7poll.register(sys.stdin, select.POLLIN)  # USB'den gelen veriyi dinle / listen for data over USB
8son = time.ticks_ms()
9
10while True:
11    # Pi'den komut var mı? / is there a command from the Pi?
12    if poll.poll(0):
13        komut = sys.stdin.readline().strip()
14        if komut == "LED1":
15            led.on()
16        elif komut == "LED0":
17            led.off()
18
19    # 500 ms'de bir, Arduino ile aynı biçimde gönder / every 500 ms, same format as the Arduino
20    if time.ticks_diff(time.ticks_ms(), son) >= 500:
21        son = time.ticks_ms()
22        deger = sensor.read_u16() >> 6  # 0-65535 -> 0-1023
23        print("A0:" + str(deger))
The lines are also getting blurrier. In 2025 Arduino introduced the Arduino UNO Q, which combines both worlds on a single board: this Uno-sized board carries a quad-core Qualcomm processor running Debian Linux alongside an STM32U585 microcontroller that runs Arduino sketches in real time. In other words, the "Pi + Arduino" architecture now fits on one board. The logic doesn't change, though: the Linux side handles networking, video and the application, while the microcontroller side handles the pins and the timing. Anyone who understands the differences in this article will get far more out of hybrid boards like this.
Common mistakes and misconceptions
- "The Raspberry Pi Pico is a small Raspberry Pi": It isn't; it doesn't run Linux and has no HDMI output. The Pico is a microcontroller and belongs in the same class as the Arduino.
- Connecting a 5 V signal to a Pi: If the HC-SR04's ECHO pin or the Arduino's TX line is connected straight to a GPIO, the pin or even the processor can be permanently damaged; use a voltage divider.
- Looking for analogRead on a Pi: The Raspberry Pi has no analog inputs; use an MCP3008, an ADS1115 or a helper Arduino or Pico.
- Shutting down by pulling the plug: It's the fastest way to corrupt an SD card; use sudo poweroff every time.
- Running a Pi 5 from a phone charger: With a supply that can't deliver 5 V 5 A, the Pi 5 limits the total USB port current to 600 mA and may reboot under load.
- The "Permission denied: '/dev/ttyACM0'" error: Your user isn't in the dialout group; run the usermod command and log in again. With "Device or resource busy", another program (the Serial Monitor or Thonny) is holding the port.
- Thinking "Arduino is outdated, now there's the Pi": They aren't rivals but tools for different jobs; most devices, from washing machines to cars, still run on microcontrollers today.
In short, the Raspberry Pi is a computer that thinks and sees, while the Arduino is a controller that instantly turns what it senses into action; a good project often combines the strengths of both. In the BlueGrays app you'll find dozens of projects with Arduino, ESP32 and Raspberry Pi Pico, from LEDs and sensors to robots and Wi-Fi builds, each with a step-by-step circuit diagram and ready-made code, and you can start with the free ones.
Frequently asked questions
What is the difference between Raspberry Pi and Arduino?
A Raspberry Pi is a single-board computer running a Linux operating system; with a screen, keyboard, internet and camera it's used like a PC. An Arduino is a microcontroller board with no operating system that runs the one uploaded program instantly and in real time. The Pi is strong at complex computing and networking, the Arduino at sensors, motors and low-power tasks.
Should a beginner buy a Raspberry Pi or an Arduino?
If you want to learn electronics, start with an Arduino Uno: it works directly with 5 V modules, is more forgiving of mistakes and has a huge number of examples. If your main goal is Linux, Python programming, cameras or server projects, a Raspberry Pi is the better first step. For those who like Python and want to learn microcontrollers, the Raspberry Pi Pico is a cheap middle path.
Can Arduino code run on a Raspberry Pi?
Not directly. Arduino sketches are compiled for microcontrollers such as the ATmega328P; on a Raspberry Pi you have to rewrite the same logic with Python and libraries like gpiozero. You can, however, use the Raspberry Pi as a computer to upload code to an Arduino with arduino-cli.
Can you use a Raspberry Pi and an Arduino together?
Yes. The easiest way is to connect the Arduino to the Pi with a USB cable and exchange data over the serial port; the pyserial library in Python is all you need. In this setup the Pi handles the camera, networking and decisions, and the Arduino handles sensors and motors. If you connect them via UART or I2C on the GPIO pins, use a voltage divider or level shifter because of the 5 V vs 3.3 V difference.
Is the Raspberry Pi Pico an Arduino?
No, but it's in the same class: like an Arduino, the Pico is a microcontroller board with no operating system. Thanks to its RP2040 chip it's faster than the Uno, has more RAM and can be programmed in MicroPython; you can also code it in the Arduino IDE if you prefer. Its key difference is that it runs at 3.3 V instead of 5 V.
Is Raspberry Pi or Arduino better for building a robot?
For a robot that avoids obstacles, follows a line or drives by remote control, an Arduino is enough and more reliable; it handles motors and sensors without delays. If the robot needs to recognise objects with a camera, build a map or be controlled over the internet, you need a Raspberry Pi. Advanced robots usually use both: the Pi decides and the Arduino drives the motors.
Projects to build after reading this
See all projects
LED Blink
The very first hello of electronics: switching a single LED on and off. The Arduino turns the LED on and off at short intervals, so the light blinks quickly. You see in the simplest way how the board
Raspberry Pi Pico Onboard LED Blink (Pico and Pico W)
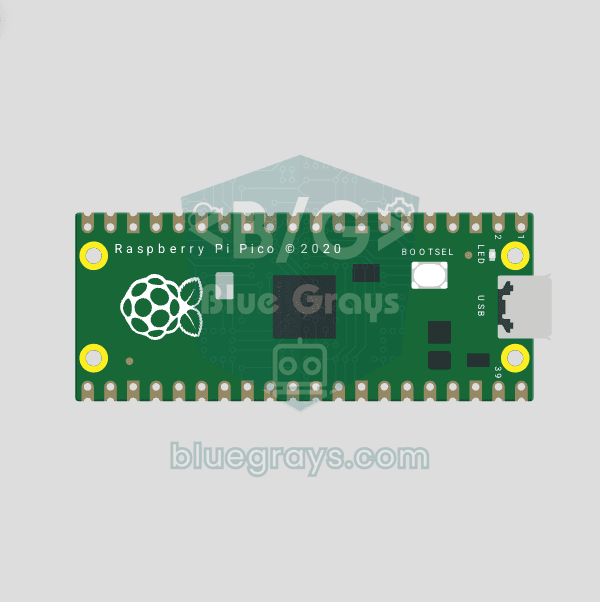
The opening project of the Raspberry Pi Pico series! We blink the green onboard LED to verify the board works — a classic "Hello World" first experiment. NO external components, just Pico and USB cable. Code is written in MicroPython (the official language backed by Raspberry Pi Foundation). Learn machine.Pin class, Pin.OUT mode, led.on()/off() methods, and time.sleep() in Thonny IDE. Follow every toggle live in the Serial (REPL) output. Also perfect to verify

Measuring Light Intensity with an LDR
Want to see how bright your room is as a number? The LDR, a small part that reacts to light, measures the light around it, and the Arduino writes the value to your computer screen every half second. C

Temperature and Humidity with DHT11
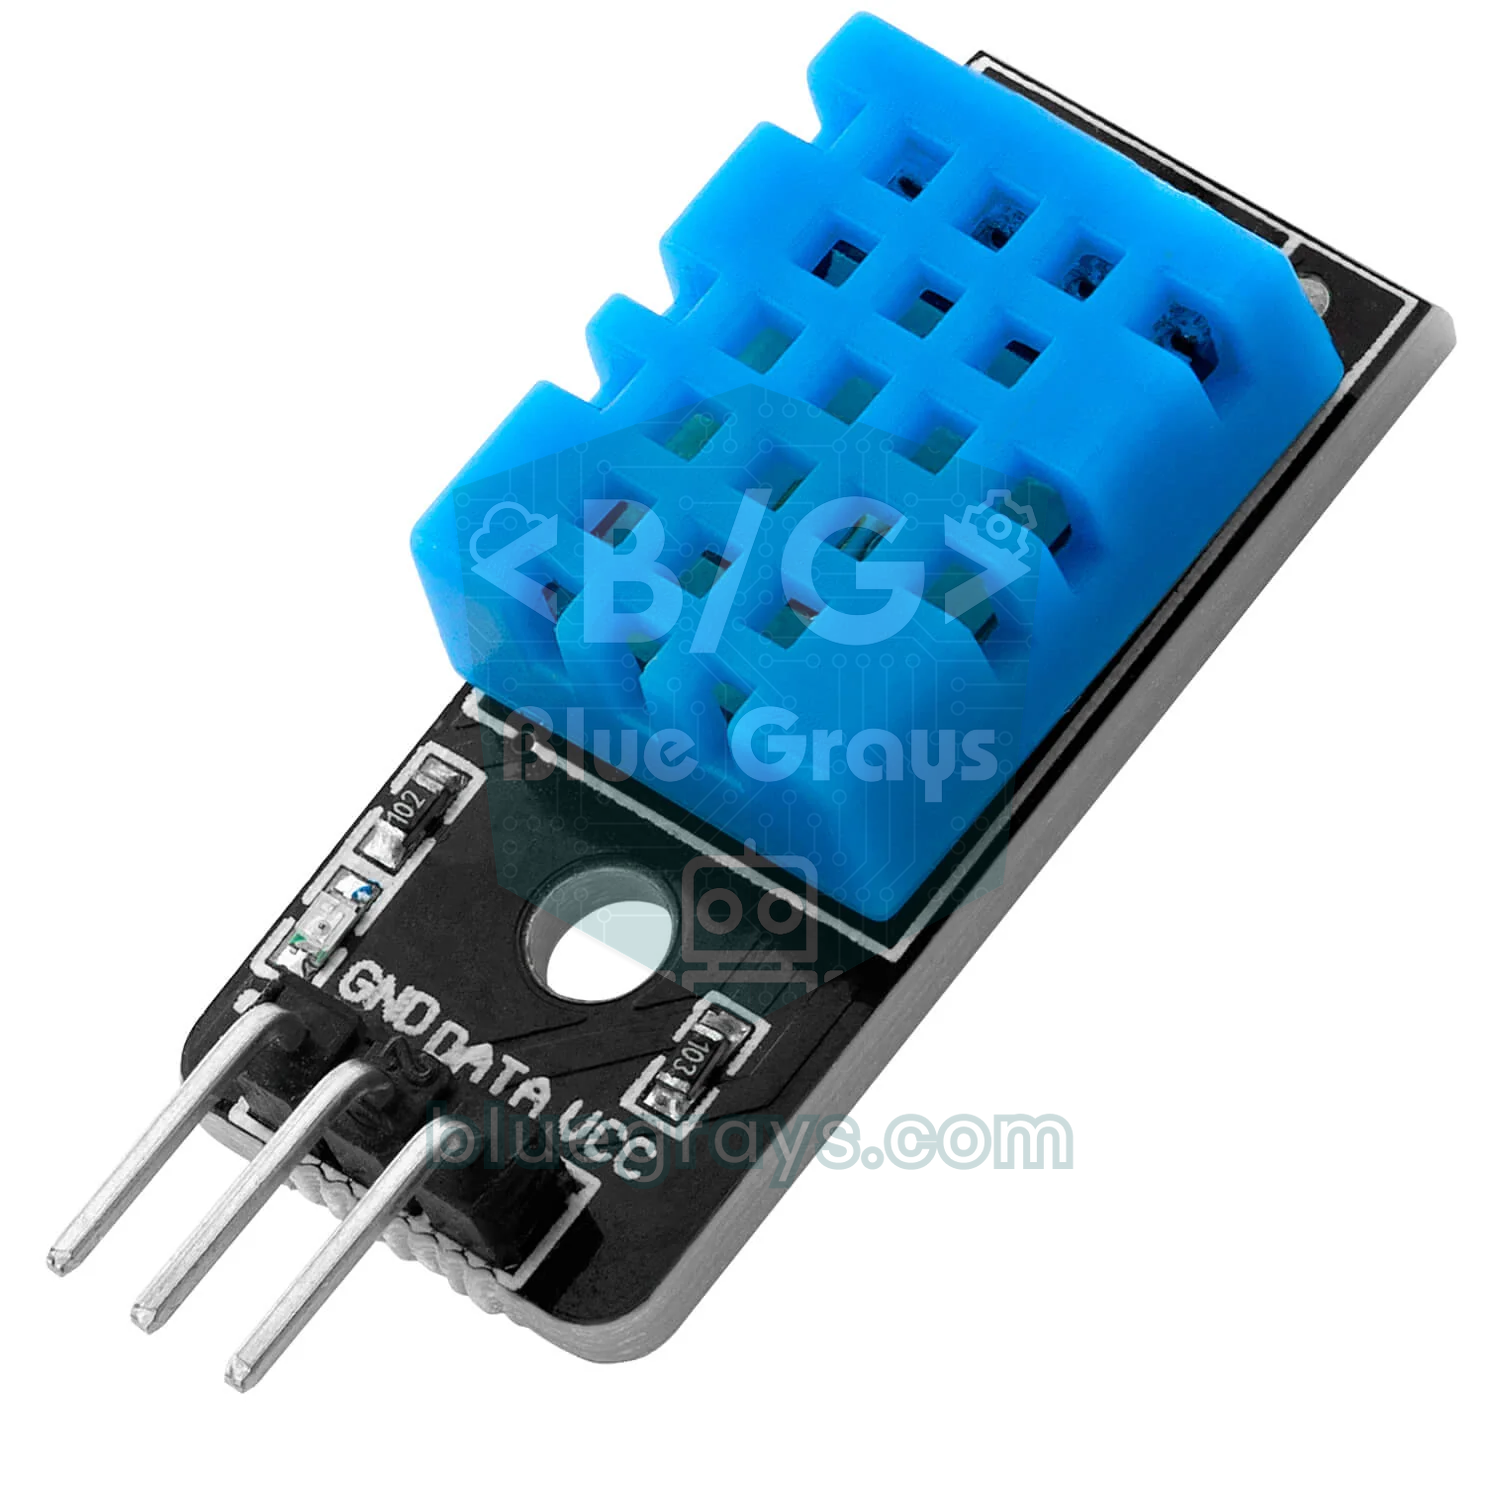
How warm is your room, and is the air humid or dry? The DHT11 sensor measures temperature and humidity, and the Arduino writes the values on a two-line LCD screen, refreshing every couple of seconds.

HC-SR04 Distance Measurement (Serial Display)
The HC-SR04 sensor works just like a bat finding its way in the dark: it sends out a sound you cannot hear, listens for the echo and measures how far away the object in front of it is. The Arduino wri
One-Way Communication Between 2 Arduinos
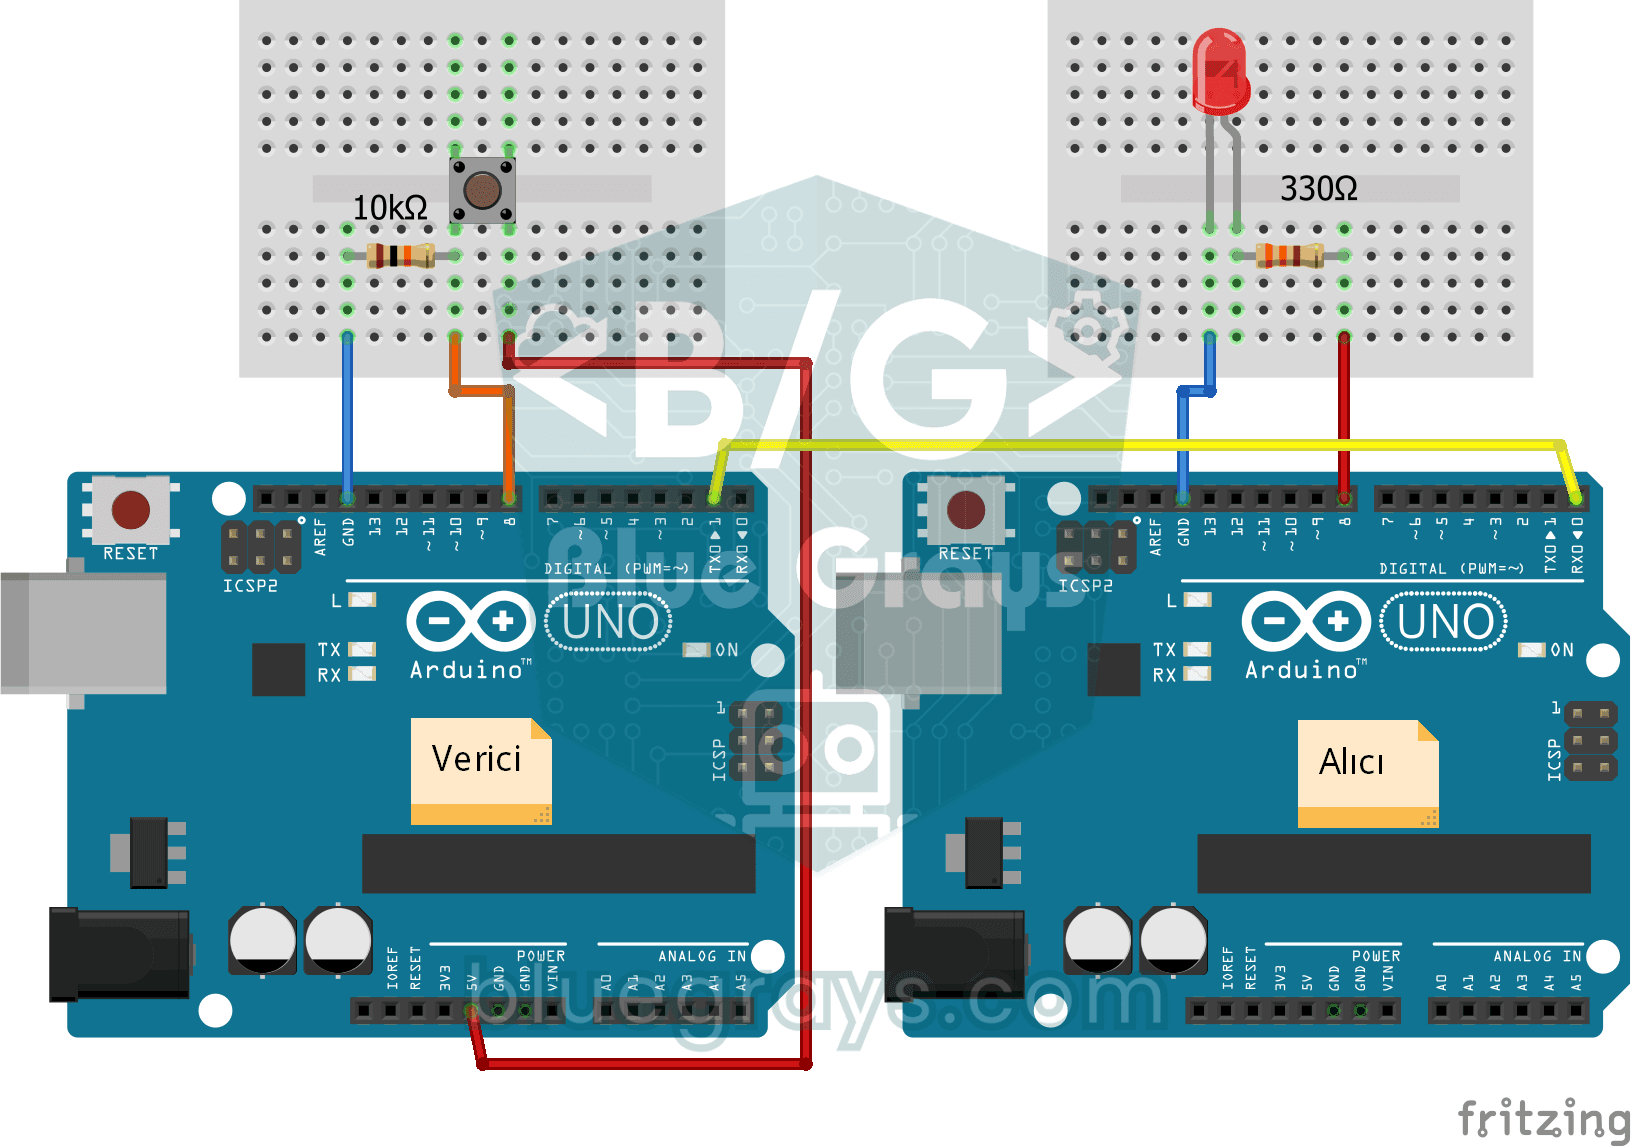
You get two Arduinos talking over a single wire: press the button on one and the LED on the other lights up, press it again and it goes off. The sending board reports the button press with a short mes
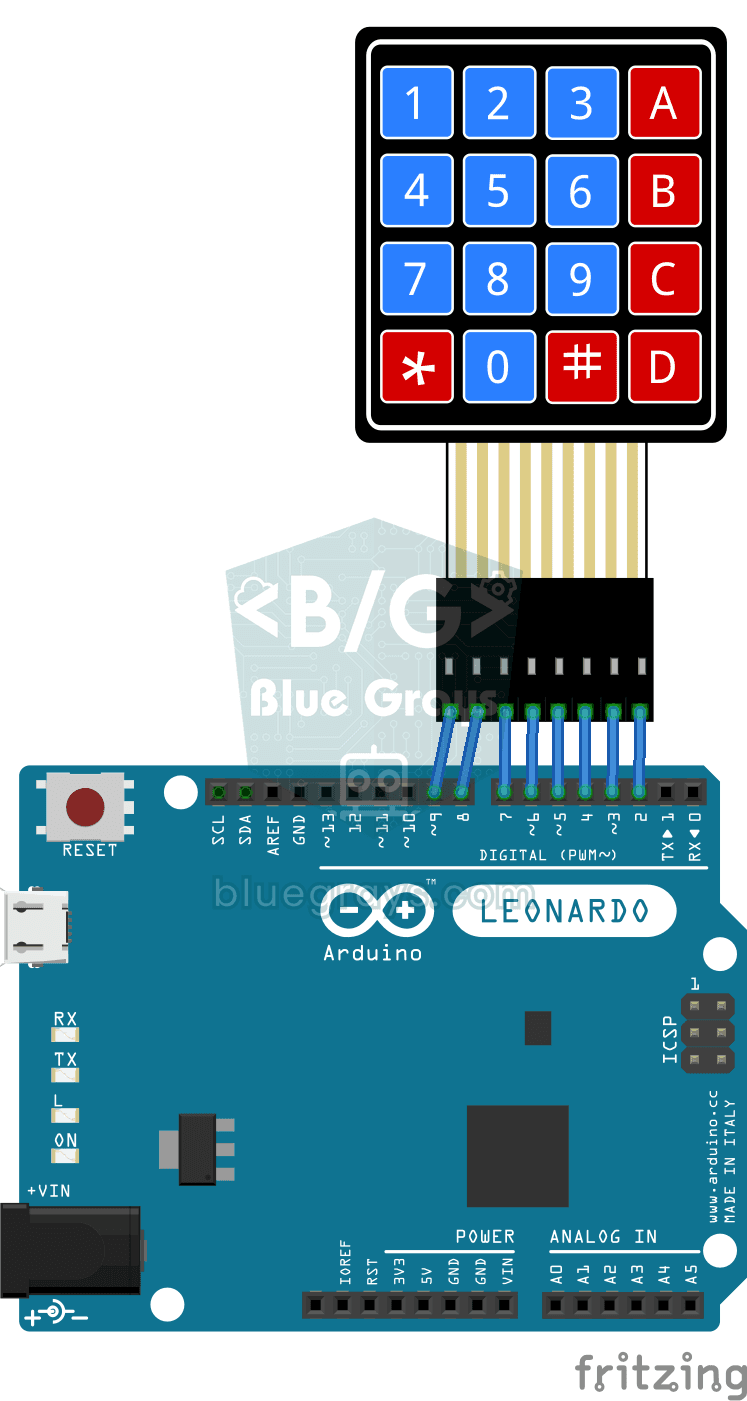
Python Developer Keyboard
If you are tired of typing the same patterns over and over while coding, this little keyboard is made for you. The Arduino Leonardo connects to your computer just like a keyboard, and each key on the

Smart Irrigation Station
A gardener that waters your plants on its own, so they don't dry out while you're on vacation. A soil moisture sensor measures how wet the soil is; when it gets dry, the Arduino runs the water pump fo