
Arduino Wireless Communication: Bluetooth, Wi-Fi, RF, LoRa, GSM
Arduino wireless communication guide: HC-05, BLE, Wi-Fi, nRF24L01, 433 MHz, LoRa, ESP-NOW, SIM800L and IR compared by range, speed, power and cost.
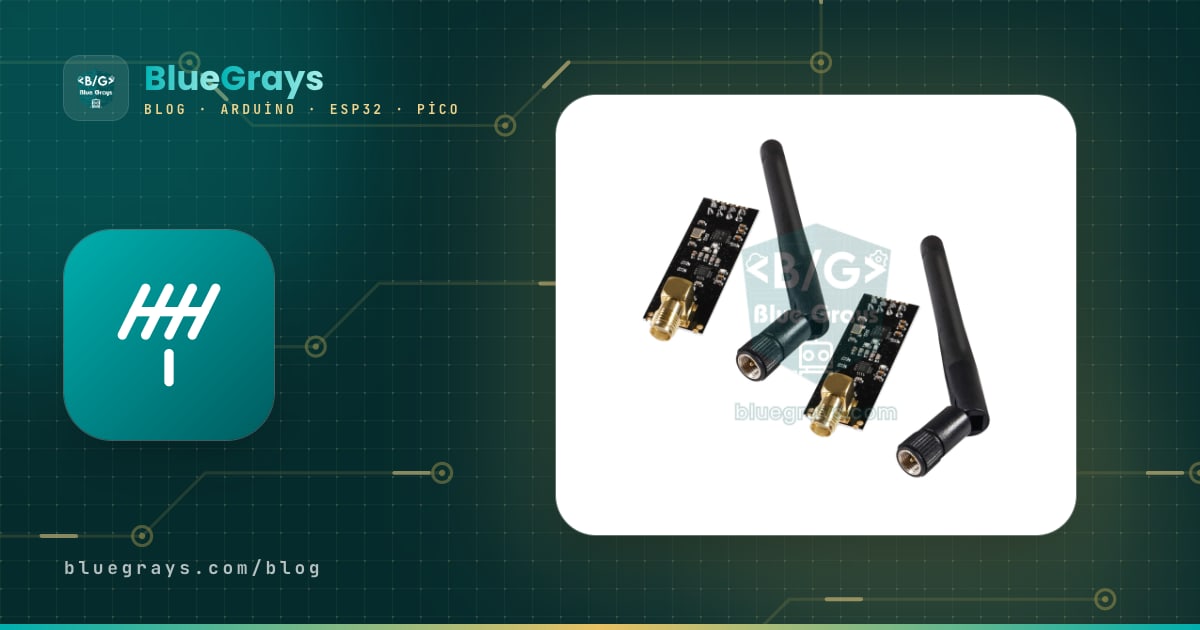
There's no single right module for Arduino wireless communication; every technology strikes a different balance between range, speed, energy and cost. Driving a robot car from your phone, reading a garden sensor from inside the house, carrying data kilometres from a field, or sending an SMS from somewhere with no internet all need completely different solutions. Choosing the wrong module is also the most common mistake: pick Bluetooth for kilometres of range, a 433 MHz module for a phone connection or LoRa for dozens of readings a second, and the project won't work no matter how hard you try.
In this guide you'll get to know infrared (IR), 433 MHz RF, Bluetooth Classic (HC-05) and BLE, the nRF24L01, Wi-Fi (ESP32 and ESP8266), ESP-NOW, LoRa and GSM (SIM800L) one by one, and see them all side by side in a range, speed, power, cost and difficulty table. Then we'll look at which one to choose for which project, a robust data packet layout that works over any link, and general rules for extending range. There are links to the detailed setup guide for each technology.
What to look for when choosing a wireless module
Before deciding, write down your project's answers to six questions. The answers usually narrow the options down to two or three on their own.
- Range: The same room, the same house, the other end of the street, or kilometres away?
- Amount of data and speed: A temperature value once a minute, hundreds of joystick readings a second, or audio and video?
- Energy: Is the board powered from the mains, or will it run on batteries for months?
- The other side: Will two Arduinos talk to each other, will a phone connect, or does the data need to reach the internet?
- Direction: Does only one side send, or do both send and receive and need delivery confirmation?
- Cost and difficulty: The price of the module, any SIM or subscription fees, and how complex the library and wiring are.
Comparison table: range, speed, power, cost and difficulty
| Technology | Typical module | Typical range | Data rate | Current (transmitting) | Cost | Difficulty |
|---|---|---|---|---|---|---|
| Infrared (IR) | VS1838B receiver and IR LED | 5–10 m, line of sight | Under 1 kbit/s | Receiver ~1 mA | Very cheap | Easy |
| 433 MHz RF | FS1000A and XY-MK-5V | 20–100 m (with antenna) | 1–10 kbit/s | 10–40 mA | Very cheap | Easy |
| Bluetooth Classic | HC-05, HC-06 | ~10 m | Serial speed (9600–115200 baud) | ~30–40 mA | Cheap | Easy |
| BLE | ESP32, HM-10 | 10–20 m indoors | Small packets, tens of kbit/s | Very low average | Cheap | Medium |
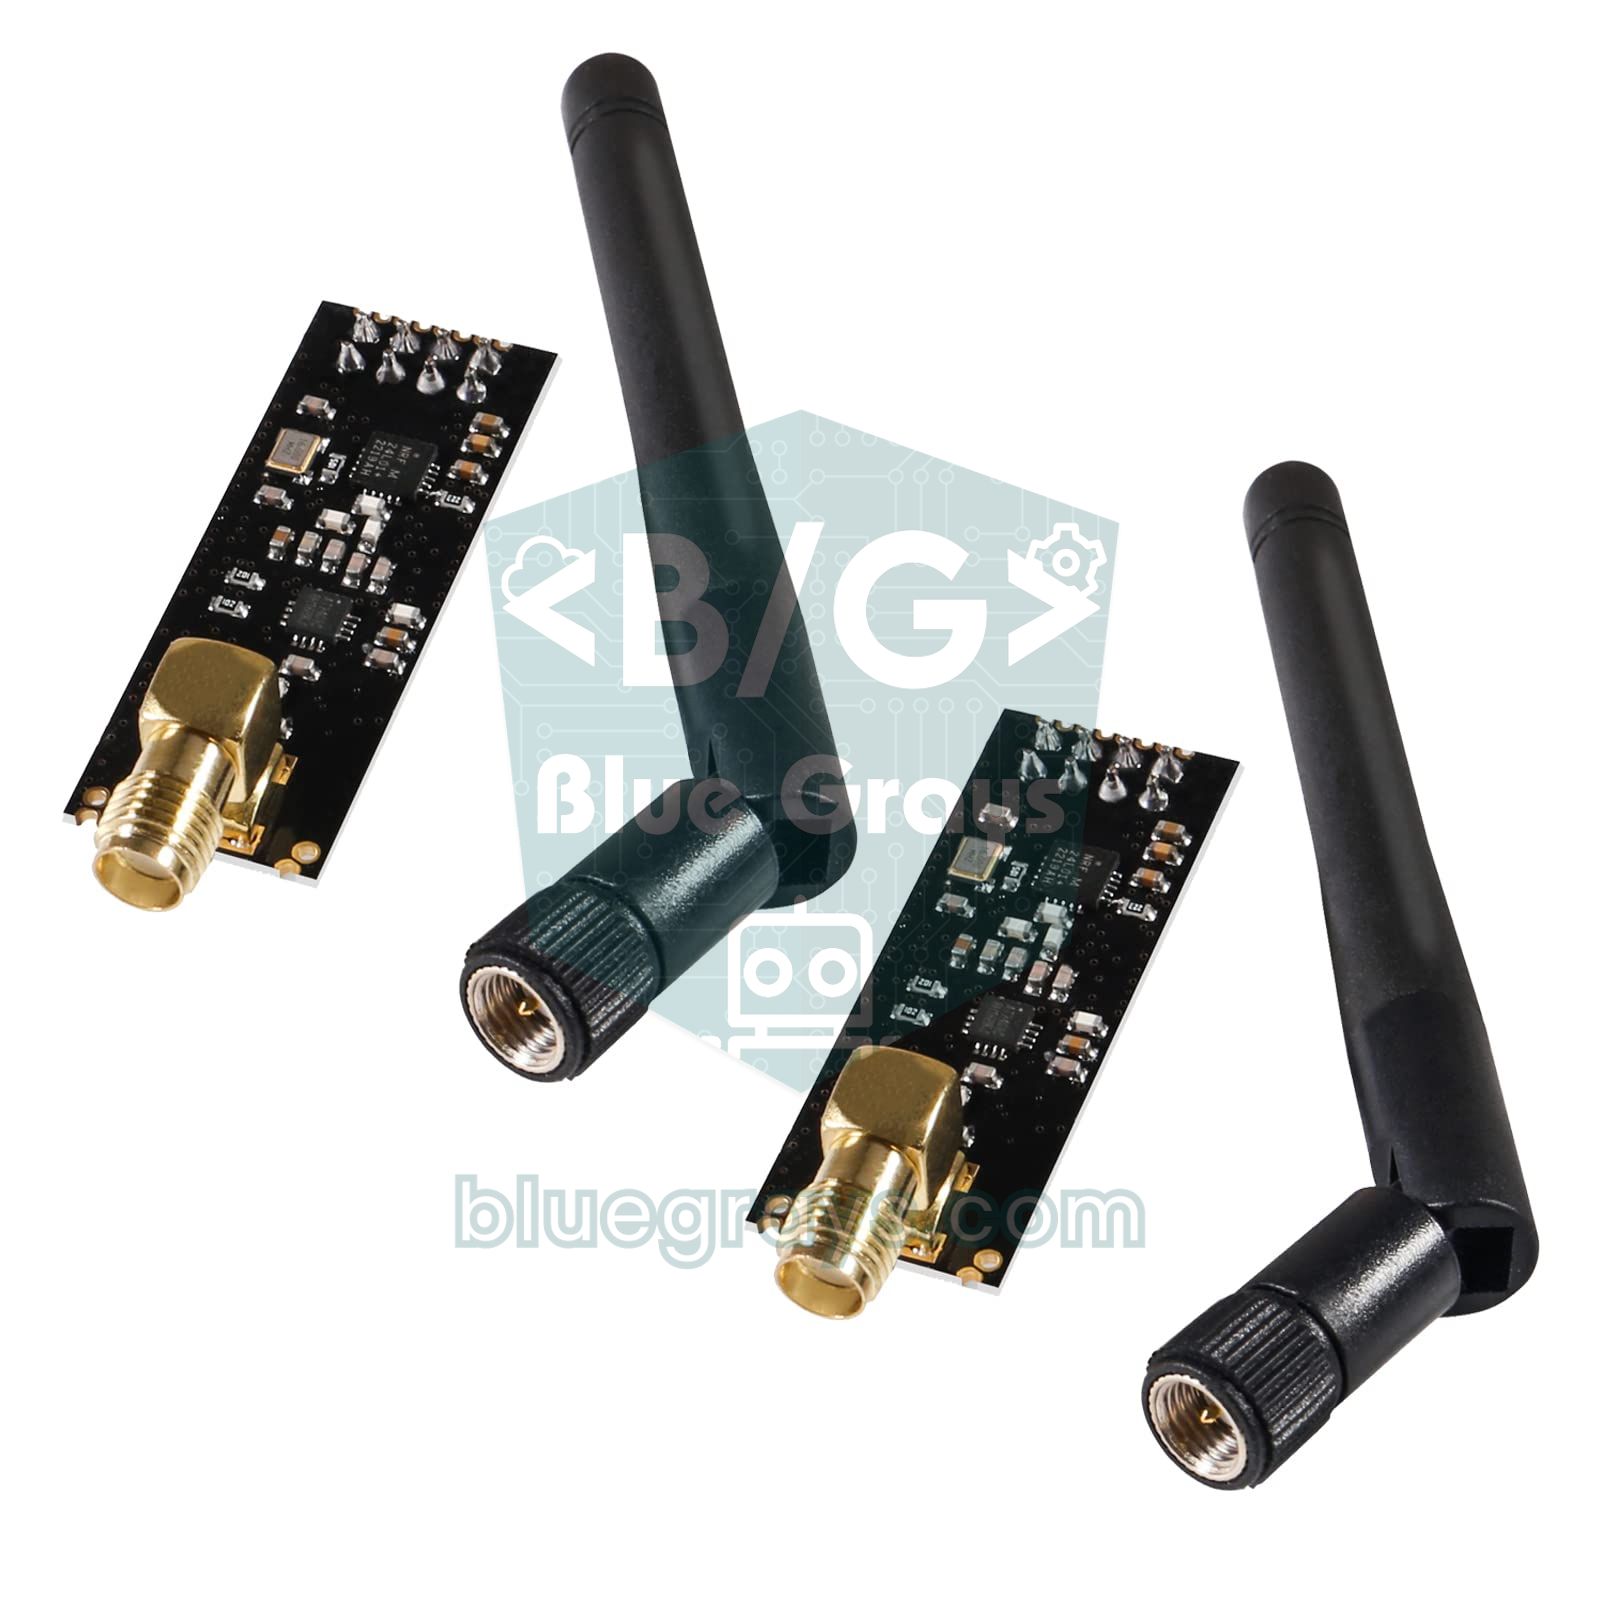
| nRF24L01 | nRF24L01+, PA+LNA | 50–100 m (~1 km with PA+LNA) | 250 kbit/s – 2 Mbit/s | 11–12 mA (much more with PA+LNA) | Cheap | Medium |
| Wi-Fi | ESP32, ESP8266 | Router coverage, unlimited via the internet | Mbit/s range | 120–240 mA | Cheap (built into the board) | Medium |
| ESP-NOW | ESP32, ESP8266 | 100–200 m in the open | 1 Mbit/s, 250-byte packets | Same as Wi-Fi, but for a very short time | No extra module | Medium |
| LoRa | SX1278 Ra-02 | 1–3 km in a city, up to 10 km in the open | 0.3–5.5 kbit/s | 40–120 mA | Medium | Medium |
| GSM | SIM800L | Anywhere with a 2G network | SMS, GPRS ~85 kbit/s | Up to 2 A peaks | Medium, plus SIM plan | Hard |
The values in the table are typical for hobby modules and vary a lot with the antenna, the walls around, the supply voltage and the settings. What matters is the order: as range increases, speed usually drops, and when speed and range rise together, power consumption goes up. No technology is best at all three; you have to decide which one your project can give up.
Infrared (IR): the simplest and shortest link
Infrared is the method TV remotes use. An IR LED flashes on a 38 kHz carrier to send a code, and a receiver such as the VS1838B picks up the light. It's very cheap, needs no pairing and is the easiest way to connect household remotes to an Arduino. On the other hand, light doesn't pass through walls, the transmitter has to see the receiver, and the range with a good remote is 8–10 metres. The data rate is very low; sending one key code takes tens of milliseconds. It's ideal for controlling LEDs, relays or menus with a remote; details are in the IR receiver and remote guide.
433 MHz RF modules: the cheapest one-way link
The 433 MHz set, made of an FS1000A transmitter and an XY-MK-5V receiver, is the cheapest way to send data wirelessly between two Arduinos, and it connects with a single data wire. With a 17 cm wire antenna it reaches tens of metres, up to 100 metres in good conditions. Its weaknesses are just as clear: the link is one-way, there's no delivery confirmation, speed is limited to a few kilobits, and doorbells and weather stations on the same band add interference. It's also used to read and copy the codes of remote-controlled sockets and doorbells. Setup and RadioHead examples are in the 433 MHz RF module guide.
Bluetooth: connecting to a phone with the HC-05 and BLE
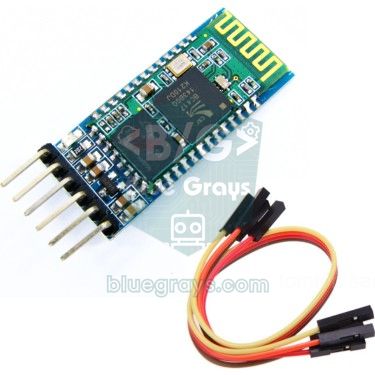
If you want to control your project from a phone, Bluetooth is the first thing that comes to mind. The HC-05 and HC-06 are Bluetooth Classic modules that connect to the Arduino over the serial port (TX and RX): they work as if there were an invisible serial cable between phone and board. Range is about 10 metres, and with ready-made Android terminal or controller apps you can drive a robot car within minutes. There's one important limit: the iPhone doesn't support the Bluetooth Classic serial port profile, so you can't connect an HC-05 to an iPhone. For setup see the HC-05 Bluetooth module guide, and to build your own phone app see Arduino Bluetooth with App Inventor.
BLE (Bluetooth Low Energy) is designed for devices that send little data and must run on batteries for a long time, and it works with every current phone, iPhone included. Instead of a serial stream, data is shared in small boxes called services and characteristics. The ESP32 has BLE built in; to add it to an Arduino Uno you need a module such as the HM-10. It's the right choice for fitness bands, smart key finders, sensors where battery life is critical and projects to be controlled from an iPhone. Details are in the ESP32 Bluetooth and BLE guide.
nRF24L01: a fast, cheap link between two boards
The nRF24L01 is a small module that works in the 2.4 GHz band, connects over SPI and creates a fast, two-way link between two or more Arduinos. It offers 250 kbit/s to 2 Mbit/s, carries 32 bytes per packet and gets an automatic acknowledgement from the other side for every packet sent. The standard version reaches 50–100 metres in the open and the PA+LNA version with an antenna up to 1 kilometre in good conditions. It's the most popular solution for wireless joystick controllers, robots and sensor networks spread around a house. The one thing to watch is the power supply: the module needs 3.3 V, and a 10 µF capacitor across its supply pins solves most problems. Setup and code are in the nRF24L01 wireless module guide.
Wi-Fi: getting online with the ESP32 and ESP8266

If the data has to reach the internet, be accessible from your phone anywhere in the world or appear on a web page, the answer is Wi-Fi. Rather than adding a module to an Arduino Uno, it's much easier to use a board with built-in Wi-Fi: the ESP32 or the ESP8266 NodeMCU. Range is your router's coverage, speed is in the megabit range, and over the internet the range limit disappears. The price is power: with Wi-Fi on, the ESP32 draws 120–240 mA, so deep sleep is a must in battery-powered projects. For examples of what Wi-Fi can do, see ESP32 web server and WebSocket, ESP32 Telegram bot, Home Assistant over MQTT and ESP32 weather API. If you really must put an Uno online, the ESP-01 module is an option, but in most cases switching straight to an ESP32 is less hassle.
ESP-NOW: fast ESP-to-ESP communication without a router
ESP-NOW is Espressif's protocol that lets ESP32 and ESP8266 boards talk to each other directly, without connecting to a router. The boards use the Wi-Fi radio but don't join any network; each device knows the other by its MAC address and delivers packets of up to 250 bytes in a few milliseconds. Range in the open is 100–200 metres, there's delivery confirmation and up to 20 peers can be registered. Because there's no connection setup or server to wait for, it's much faster than Wi-Fi in projects where a relay on the other side must click the instant a button is pressed. If you have a few ESP32s, you can do the same job as an nRF24L01 with no extra module; details are in the ESP-NOW guide.
LoRa: kilometres of range, little data
LoRa is a radio modulation developed by Semtech that can decode signals even below the noise level. With SX1278-based modules such as the Ra-02 you can send data 1–3 km in a city and up to 10 km in open country, and the module draws only microamps while asleep. The price is speed: it carries a few hundred bits to a few kilobits per second. So LoRa isn't for audio, video or frequent readings; it's ideal for carrying the soil moisture of a field, the water level of a tank or the state of a door over long distances every few minutes. Settings, code and a range test are in the LoRa module guide.
GSM (SIM800L): SMS and calls from anywhere
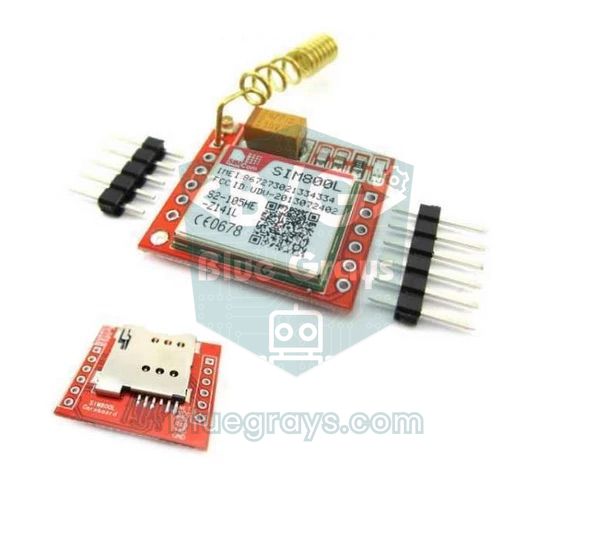
If you need to hear from somewhere with no Wi-Fi and too far away even for LoRa, a GSM module steps in. With a SIM card inserted, the SIM800L can send and receive SMS, make calls and connect to the internet at low speed over GPRS. An alarm in a country house that sends an SMS, a distant pump switched on by an SMS command or a vehicle sending its location are typical uses. The module is controlled with AT commands over a serial port. For a detailed setup see the SIM800L GSM module guide.
Which one for which project?
| Project | Recommended technology | Why? |
|---|---|---|
| Controlling a robot car or LEDs from a phone (Android) | HC-05 | Easy, cheap, ready-made apps |
| Control from an iPhone, battery-powered wearable | BLE (ESP32) | iPhone compatible, very little energy |
| Wireless joystick controller, toy car | nRF24L01 | Fast, low latency, delivery confirmation |
| Gathering sensors around the house in one place | ESP-NOW or nRF24L01 | No router needed, two-way |
| Sending data to the internet, a phone or a cloud dashboard | Wi-Fi (ESP32) | Direct internet access |
| Sensor data from remote spots such as fields, vineyards or tanks | LoRa | Kilometres of range, months on batteries |
| Alarms and SMS from places with no mains power or internet | GSM (SIM800L) | Reach you from anywhere with coverage |
| Sockets, doorbells and simple remotes | 433 MHz RF | Cheapest, works with off-the-shelf devices |
| Controlling an Arduino with a household remote | Infrared | Uses the remote you already have |
A data packet that works over any link
Whatever module you choose, data coming through the air is sometimes corrupted, sometimes lost and sometimes cut off halfway. So instead of sending sensor values as plain text like "23.4,55", it's far more reliable to send a fixed-size packet with a start byte and a checksum. The code below defines a packet layout you can use with any radio that works over a serial port, such as an HC-05 pair, an HC-12 or UART LoRa modules. You can also send the same struct as it is with the nRF24L01's write() or ESP-NOW's esp_now_send().
1// Her kablosuz bağlantıda işe yarayan paket yapısı / A packet layout that works over any wireless link
2// HC-05 çifti, HC-12 ya da UART'lı LoRa gibi seri modüllerle / with serial radios: HC-05 pair, HC-12, UART LoRa
3#include <SoftwareSerial.h>
4
5#define IS_SENDER 1                    // alıcı kartta 0 yap / set to 0 on the receiver
6
7SoftwareSerial radio(10, 11);          // RX, TX
8
9struct __attribute__((packed)) Packet {  // dolgu baytı yok, her kartta aynı boyut / no padding, same size on every board
10  uint8_t  start;                      // başlangıç baytı 0xAA / start byte 0xAA
11  uint8_t  nodeId;                     // hangi istasyon / which station
12  uint16_t counter;                    // kayıp paketleri görmek için / to spot lost packets
13  int16_t  tempX10;                    // 23,4 °C -> 234 (float yerine) / instead of float
14  uint8_t  humidity;                   // nem % / humidity %
15  uint8_t  checksum;                   // XOR sağlama / XOR checksum
16};
17
18uint8_t calcChecksum(const Packet &p) {
19  const uint8_t *b = (const uint8_t *)&p;
20  uint8_t c = 0;
21  for (size_t i = 0; i < sizeof(Packet) - 1; i++) c ^= b[i];   // son bayt hariç / all but the last byte
22  return c;
23}
24
25uint16_t counter = 0;
26
27void setup() {
28  Serial.begin(9600);
29  radio.begin(9600);                   // modülün baud hızı / the radio's baud rate
30}
31
32void loop() {
33#if IS_SENDER
34  Packet p;
35  p.start    = 0xAA;
36  p.nodeId   = 1;
37  p.counter  = counter++;
38  p.tempX10  = 234;                    // sensör okumanı buraya yaz / put your sensor reading here
39  p.humidity = 55;
40  p.checksum = calcChecksum(p);
41  radio.write((const uint8_t *)&p, sizeof(p));
42  delay(2000);
43#else
44  if (radio.available() && radio.read() == 0xAA) {             // başlangıç baytını yakala / catch the start byte
45    Packet p;
46    p.start = 0xAA;
47    size_t n = radio.readBytes((uint8_t *)&p + 1, sizeof(p) - 1);
48    if (n == sizeof(p) - 1 && calcChecksum(p) == p.checksum) {
49      Serial.print("Istasyon / node ");
50      Serial.print(p.nodeId);
51      Serial.print("  #");
52      Serial.print(p.counter);
53      Serial.print("  ");
54      Serial.print(p.tempX10 / 10.0, 1);
55      Serial.print(" C  %");
56      Serial.println(p.humidity);
57    } else {
58      Serial.println("Bozuk paket / corrupt packet");
59    }
60  }
61#endif
62}
The packet has four key tricks. First, the 0xAA start byte: even if the receiver starts listening in the middle of the stream, it finds where a packet begins. Second, the checksum: all the bytes are XORed together, the other side computes the same and throws the packet away if it doesn't match. Third, the counter: if the receiver sees 43 after 41, it knows a packet was lost and you can measure link quality. Fourth, data types: an int is 2 bytes on an Arduino Uno and 4 bytes on an ESP32, and the compiler may add invisible padding bytes inside a struct. Fixed-width types such as int16_t and the packed attribute make sure the packet is the same size on the Uno, ESP32 and Pico. Sending the temperature as an integer multiplied by 10 instead of a float also saves space and improves compatibility between boards. For serial communication basics, see the UART serial communication guide.
General rules for range and reliability
- The antenna is everything: A straight 17 cm wire for 433 MHz, or an external antenna on 2.4 GHz modules, multiplies the range. Don't shut the antenna inside a metal box.
- Height helps: Raising the module 1–2 metres off the ground noticeably extends the range, especially in the open.
- Keep the supply clean: nRF24L01, LoRa and GSM modules draw current pulses while transmitting; put a 10–100 µF capacitor next to the supply pins and use a separate regulator if needed.
- The 3.3 V rule: nRF24L01, LoRa and ESP modules are 3.3 V parts; watch the supply and signal levels when using them with an Arduino Uno.
- Speed versus range: Lowering the data rate on the same module (250 kbit/s on the nRF24L01, a higher SF on LoRa) increases the range.
- Acknowledge and retry: For important commands, wait for confirmation from the other side and resend a few times if it doesn't arrive.
- Legal limits: Allowed transmit power on licence-free bands differs from country to country; set the module's output power according to the rules where you are.
Common mistakes
| Mistake | Result | Better choice |
|---|---|---|
| Choosing Bluetooth for long range | The link drops beyond 10 metres | nRF24L01, ESP-NOW or LoRa |
| Trying to use an HC-05 with an iPhone | The phone doesn't see the module | ESP32 with BLE or an HM-10 |
| Sending frequent data or audio over LoRa | Packets queue up and delays reach minutes | Wi-Fi or nRF24L01 |
| Powering an nRF24L01 from the Uno's 3.3V pin without a capacitor | Some packets get through, others are lost | 10 µF capacitor or a separate 3.3 V regulator |
| Powering a SIM800L from the Arduino's 5V pin | The module keeps restarting and never registers on the network | A separate supply that can deliver 2 A |
| Using a 433 MHz module without an antenna | Range stays at 1–3 metres | A 17 cm wire antenna |
| Sending data as plain text | Corrupted data is processed unnoticed | A packet with a start byte and a checksum |
Choosing well among Arduino wireless communication options starts with honestly writing down your project's needs for range, speed, energy and the other side. Bluetooth is the best answer for phones, Wi-Fi for the internet, ESP-NOW and nRF24L01 for board-to-board links, LoRa for kilometres and GSM for places with no infrastructure. In the BlueGrays app you'll find projects for switching an LED from a phone over Bluetooth, wireless communication between two Arduinos, a Bluetooth-controlled car, IR remote control, ESP32 Wi-Fi and an alarm with Telegram, each with a step-by-step circuit diagram and code.
Frequently asked questions
What is the longest-range wireless option for Arduino?
Among options that need no infrastructure, LoRa has the longest range: 1–3 km in a city and up to 10 km in open country. If you need to communicate from anywhere with network coverage, GSM modules do the job, and with Wi-Fi and the internet there's practically no range limit.
How do two Arduinos communicate wirelessly?
The most common ways are nRF24L01, 433 MHz RF, a pair of HC-05s and LoRa modules; with ESP32 boards, ESP-NOW needs no extra module. Choose the nRF24L01 or ESP-NOW for short distances and fast data, 433 MHz for the cheapest one-way link, and LoRa for kilometres of range.
Is Bluetooth or Wi-Fi better for Arduino?
Bluetooth is better for a direct, close-range, low-power connection to a phone; Wi-Fi is better for sending data to the internet or reaching the device remotely. Bluetooth stops at about 10 metres but needs no router; Wi-Fi needs a router but gives you access from anywhere via the internet. The ESP32 offers both on the same board.
What is the difference between nRF24L01 and LoRa?
The nRF24L01 works at 2.4 GHz, is fast at up to 2 megabits per second and has a range of 50–100 metres; LoRa is much slower but reaches kilometres and uses very little energy while asleep. Choose the nRF24L01 for fast remote controls and home networks, and LoRa for occasional sensor data from far away.
Can an Arduino send SMS without internet?
Yes, with a GSM module such as the SIM800L and a SIM card you can send and receive SMS without Wi-Fi or internet. Remember that the module uses the 2G network and draws up to 2 A while transmitting; you need 2G coverage where you are and a separate, strong power supply.
Does the Arduino Uno have Wi-Fi?
The classic Arduino Uno R3 has no Wi-Fi; you can add it with a module such as the ESP-01, but that setup is fiddly. If you need Wi-Fi, a board with it built in, such as the ESP32, the ESP8266 or the Arduino Uno R4 WiFi, is much easier.
Projects to build after reading this
See all projects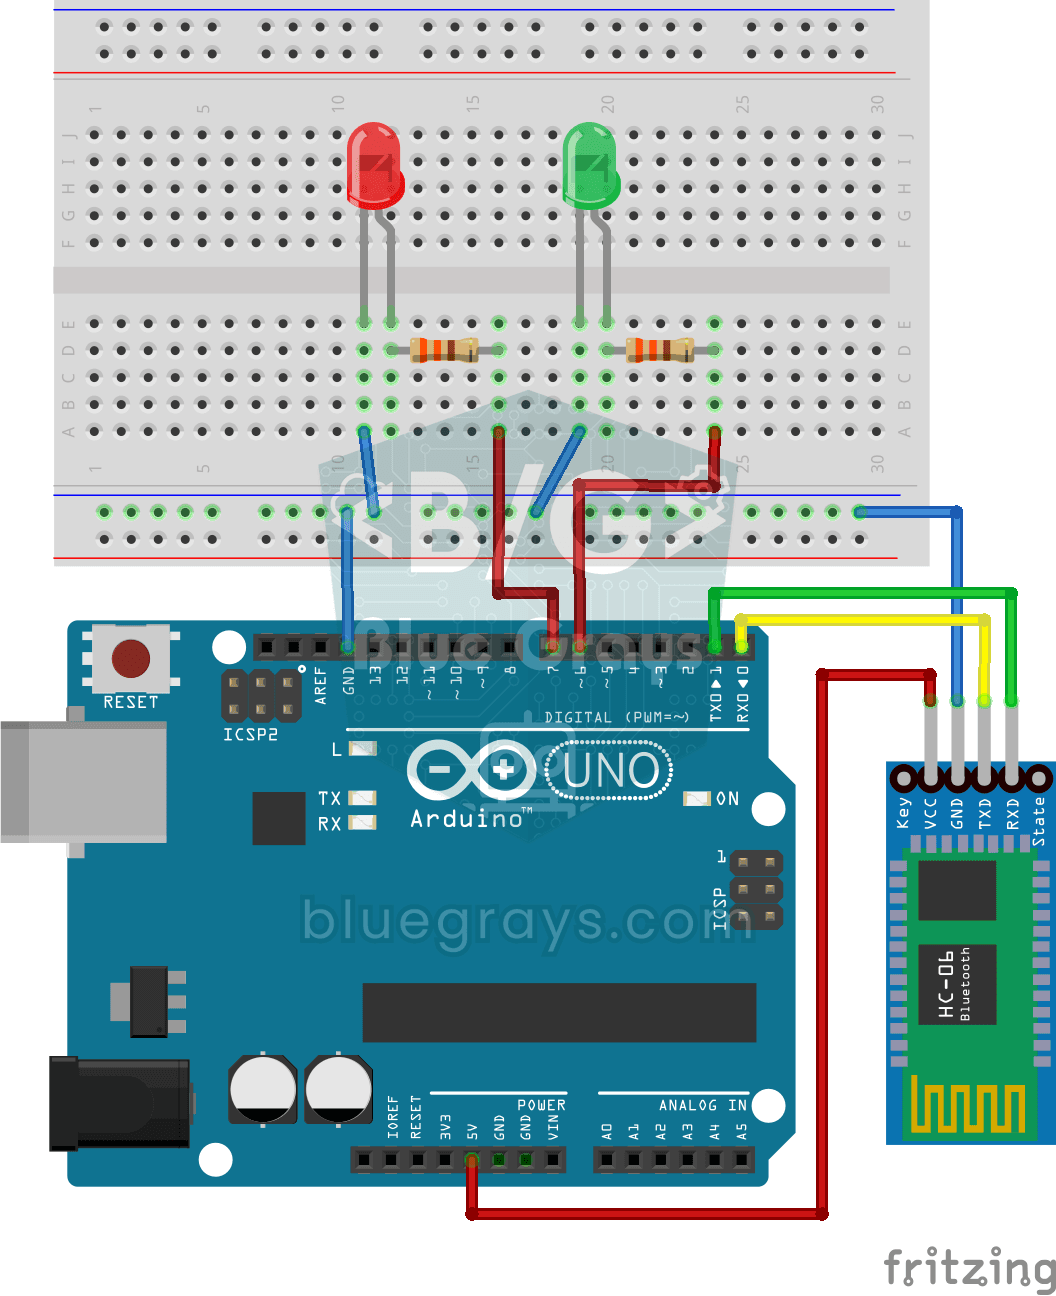
Control an LED from Your Phone via Bluetooth
A small rehearsal for switching the lights in your room on and off from your phone.
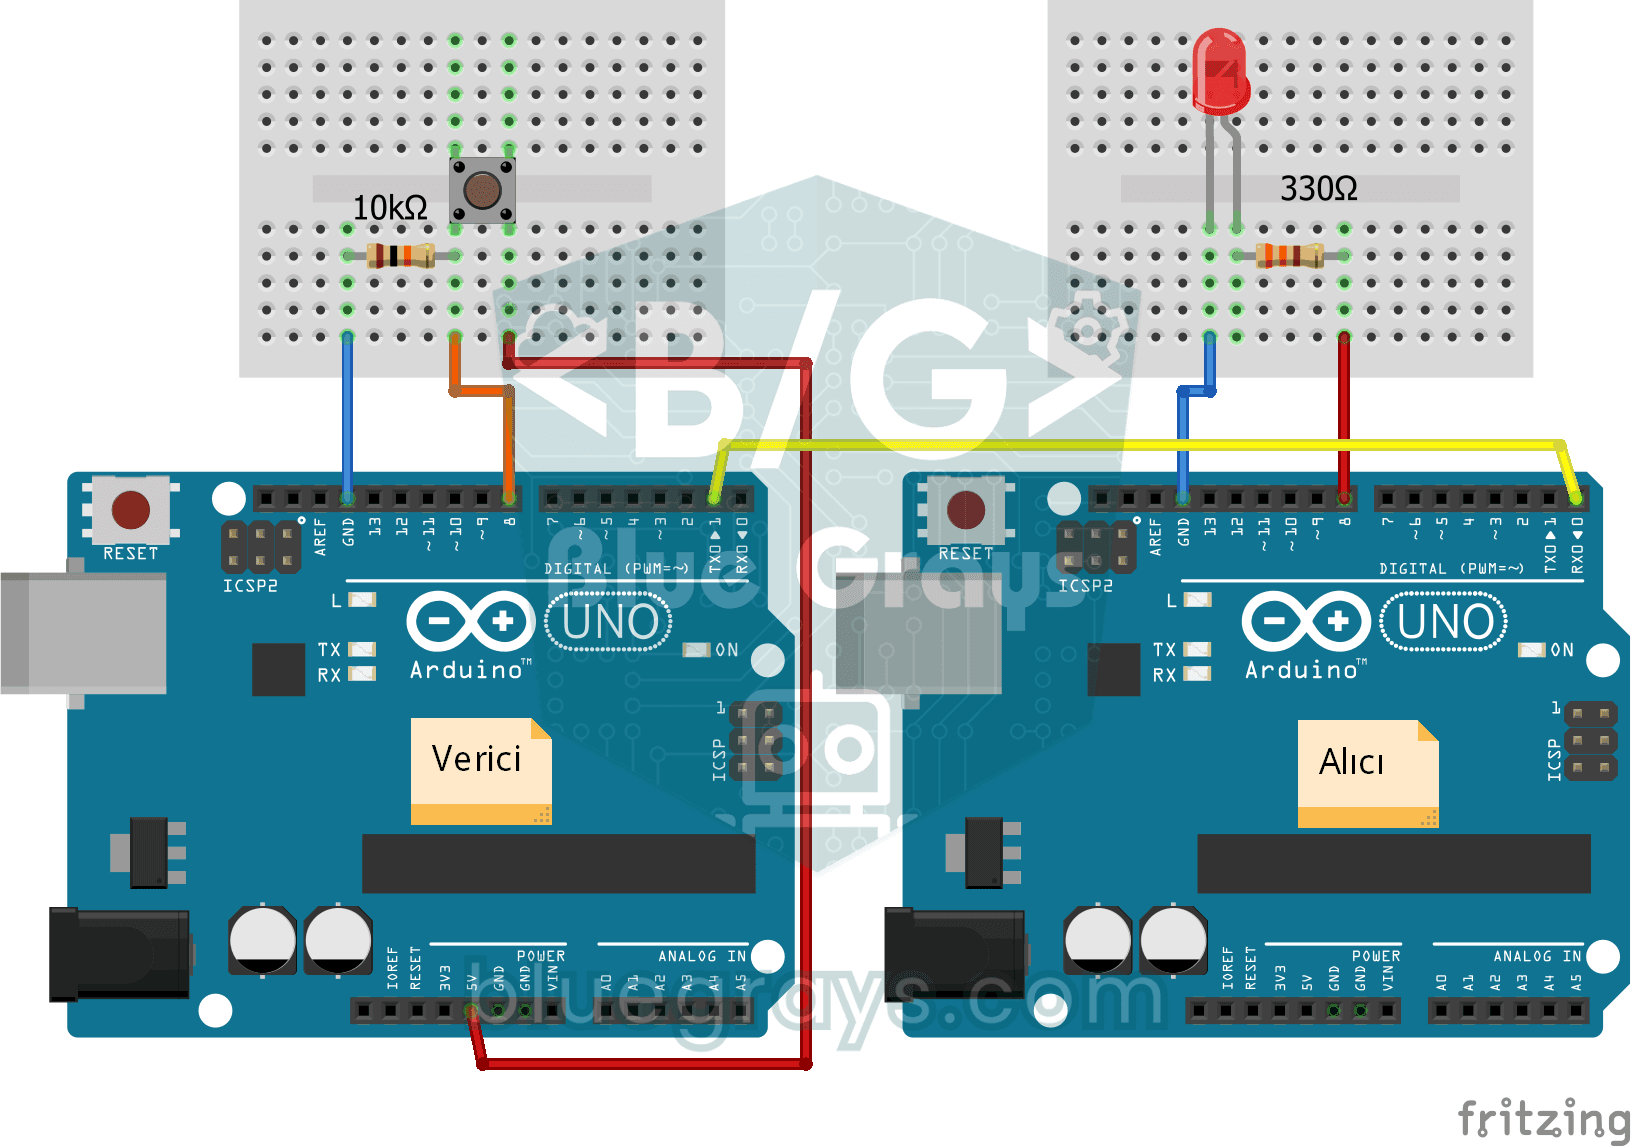
One-Way Communication Between 2 Arduinos
You get two Arduinos talking over a single wire: press the button on one and the LED on the other lights up, press it again and it goes off.
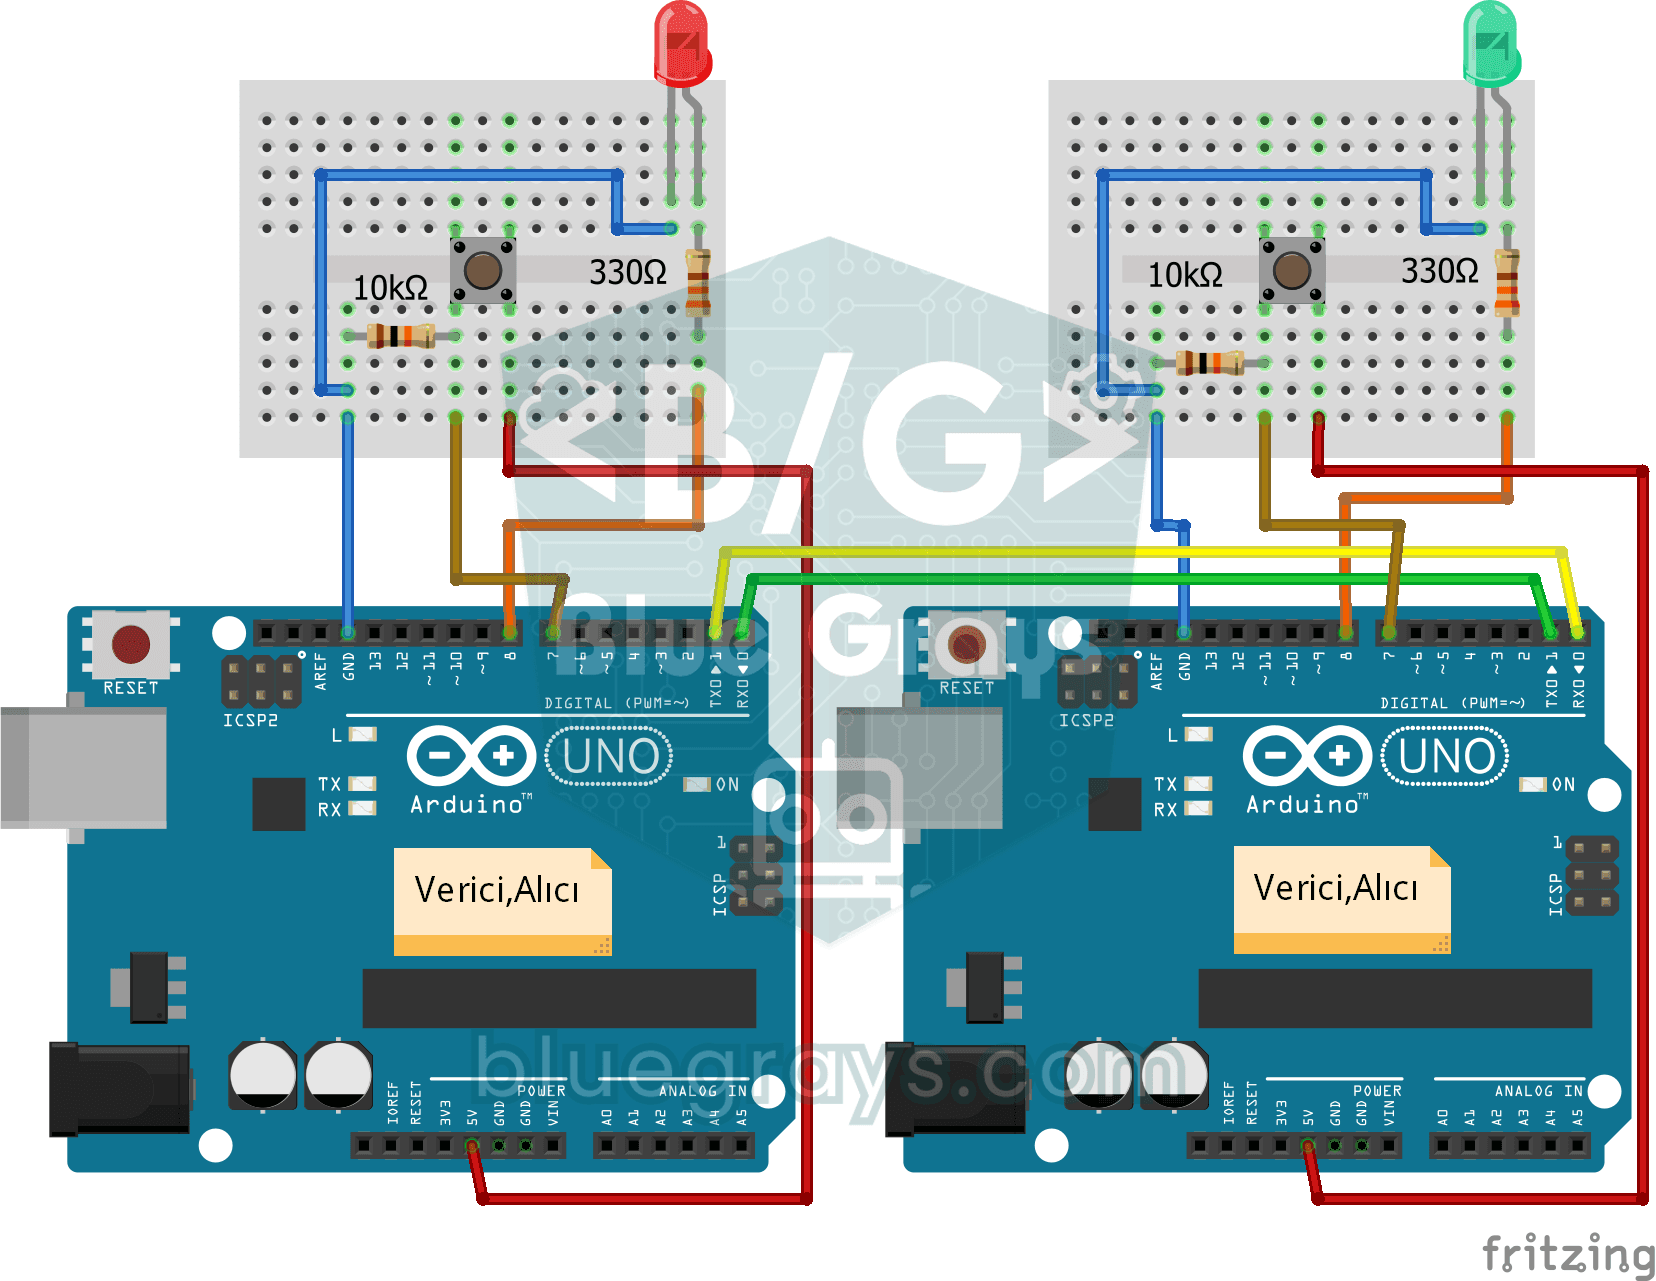
Two-Way Communication Between 2 Arduinos
Two Arduinos are wired together and talk to each other: press the button on one and the light on the other comes on, press it again and it goes off.

Bluetooth Controlled Car with L298N
Turn your phone into a remote and drive your own robot car. The Arduino receives commands from a remote-control app on your phone through a Bluetooth module and spins the wheels with a motor driver…
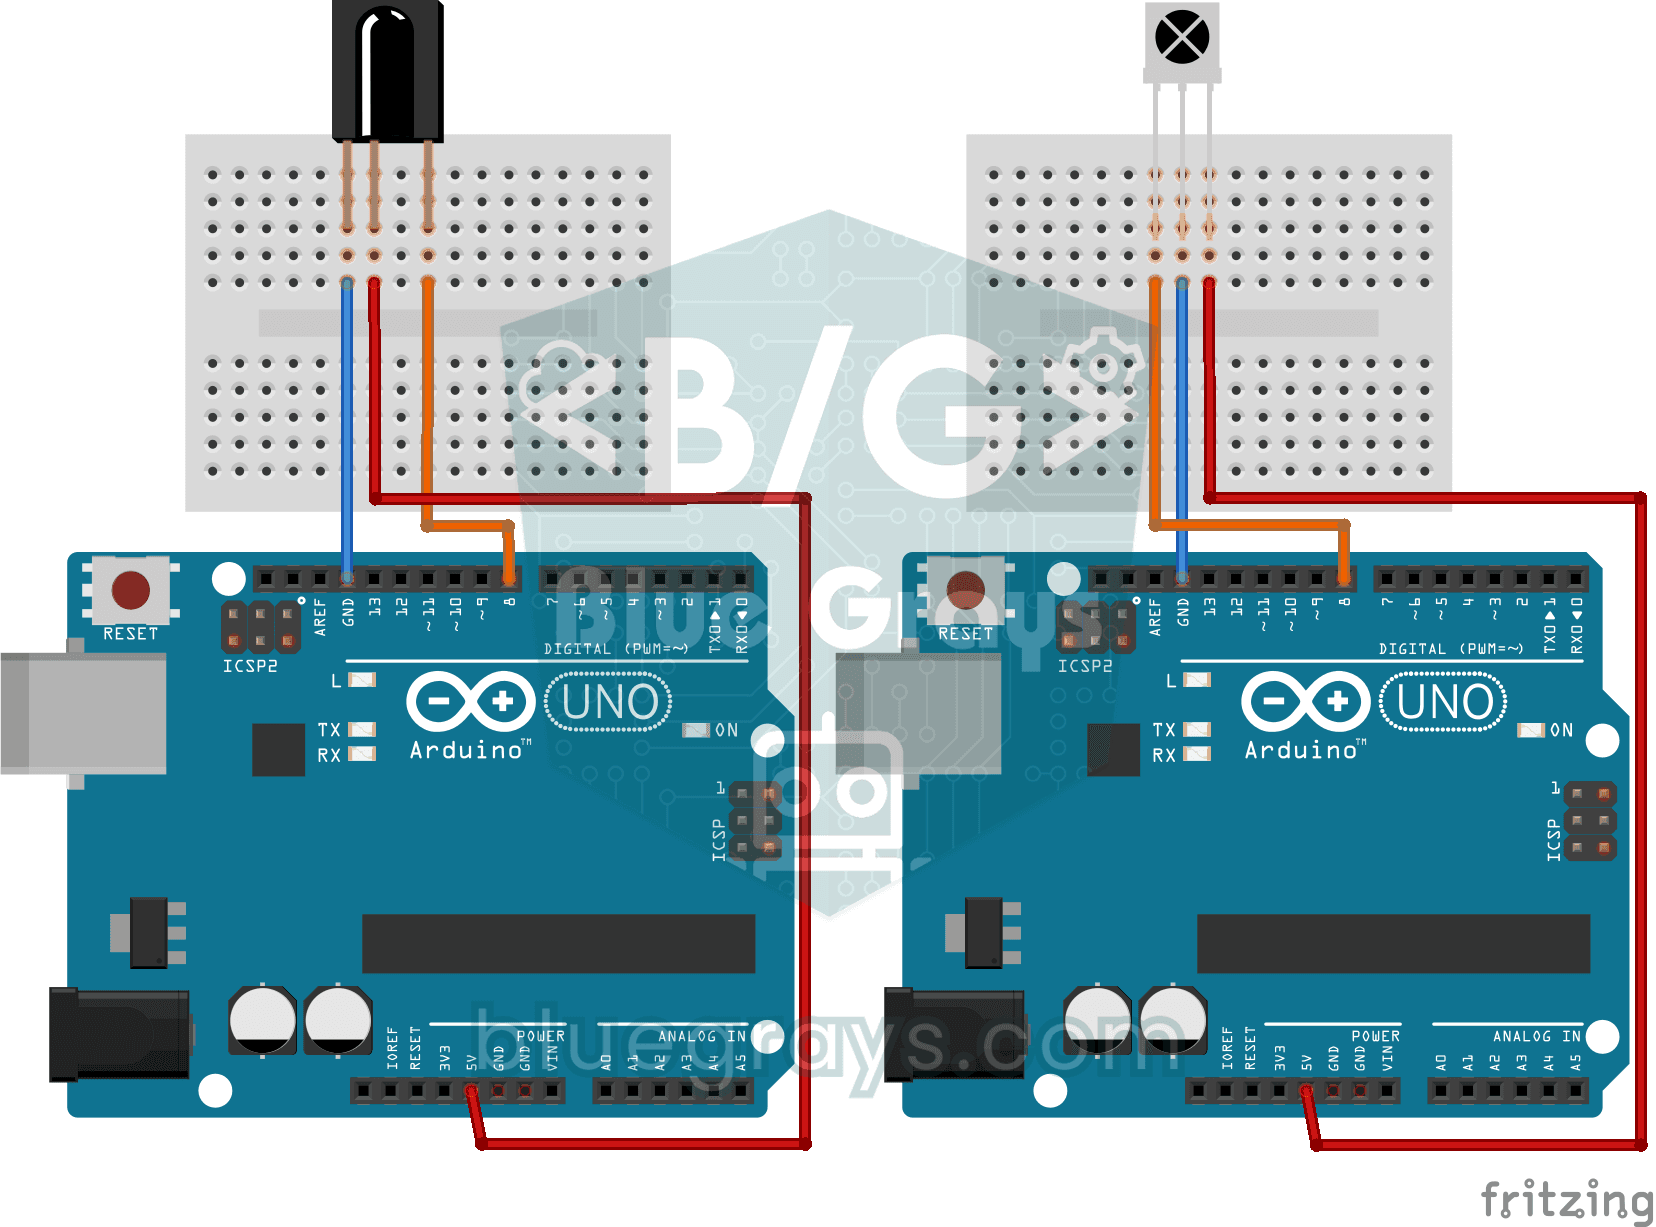
Reading IR Remote Control Codes
Every button on your TV remote sends a secret code using light you cannot see. The infrared receiver catches that light, and the Arduino writes the code of every button you press on your computer…
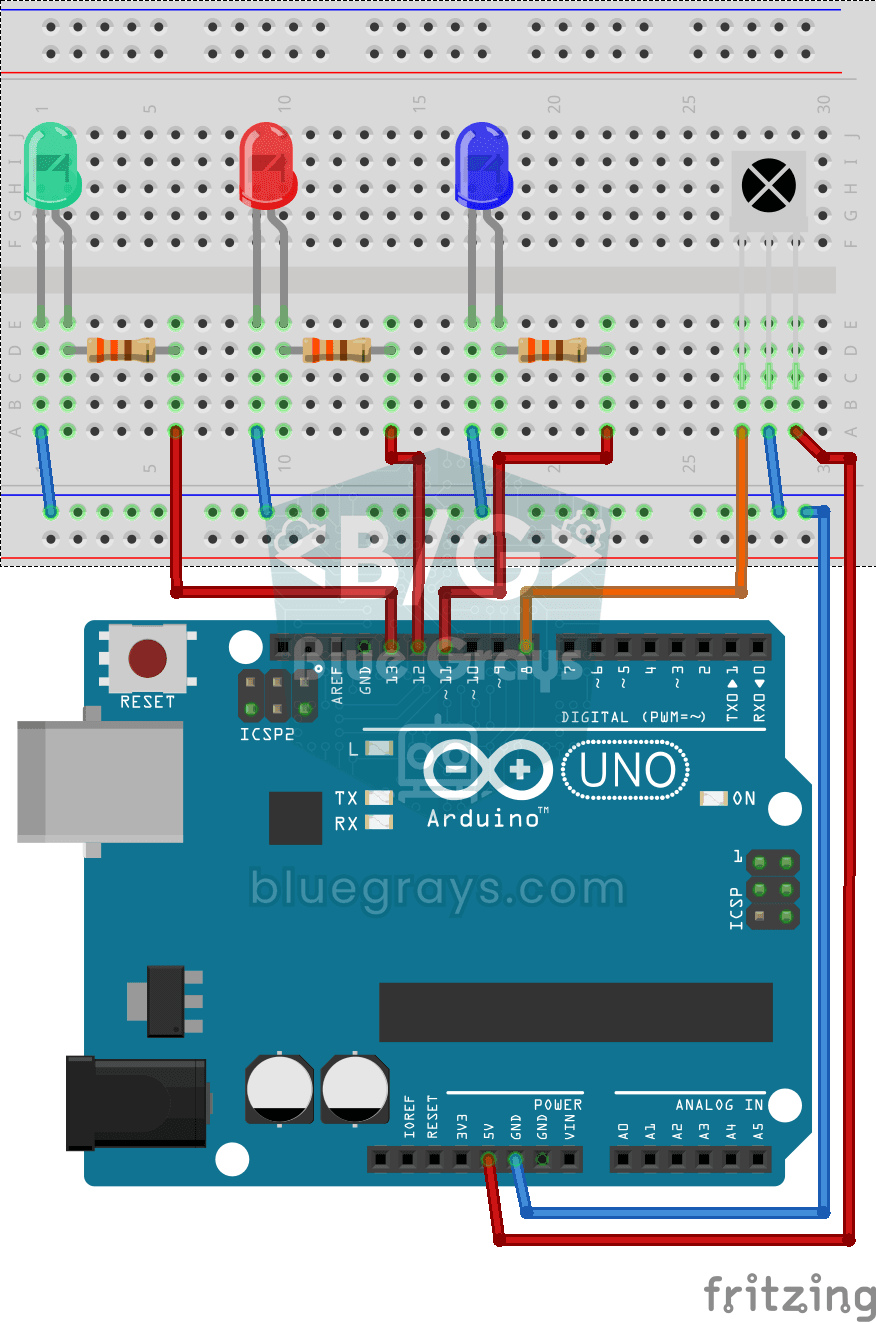
Led On/Off with IR Receiver and Remote Control
Like controlling three separate lamps without leaving your armchair: keys 1, 2 and 3 on the remote turn on the blue, red and green LEDs, and keys 4, 5 and 6 turn them off in the same order.

ESP32 Wi-Fi STA Connection (with LCD Screen)
In this project, we connect the ESP32 to the home Wi-Fi network in Station (STA) mode in a secure, fault-tolerant manner. We store the SSID and password in a separate secrets.h file to prevent leaking to Git, set up an auto-reconnect mechanism, and display the RSSI signal level and IP address on an I2C LCD screen. The internal LED works as a status indicator. It is a production-grade connection manager.
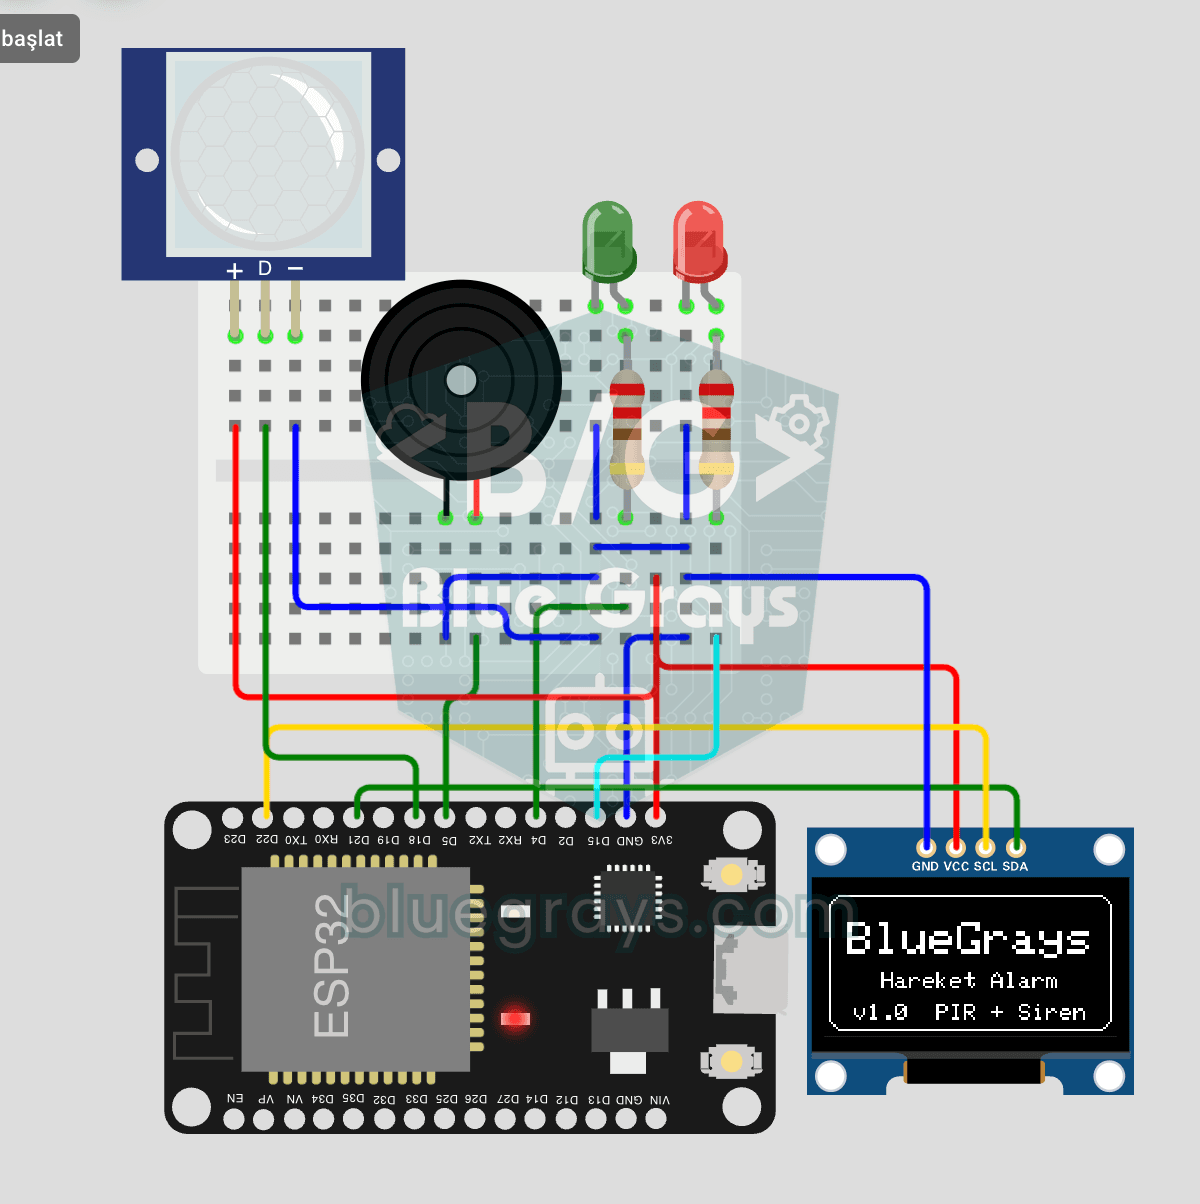
ESP32 Motion Alarm System (PIR + Buzzer + LED + Telegram)
A smart security alarm: when the PIR sensor detects motion, it sounds the buzzer, lights the LED and sends the owner an instant Telegram notification. A 30-second cooldown limits how often the alarm repeats; it does not filter out the PIR sensor's false detections. Use it at home, in a garage, a storeroom or a study.