
Arduino Sensor Projects for Students: 20 Ideas with Code
Arduino sensor projects for students: 20 school and science fair ideas with temperature, distance, light, motion, gas and pulse sensors, plus cost and code.

Arduino sensor projects for students are the fastest way to learn electronics and coding, because a sensor turns a real-world quantity (temperature, distance, light, motion, gas or heart rate) into a number, and the Arduino makes a decision based on that number. Blinking an LED is a nice start, but when you build a circuit that measures the temperature of your classroom, notices an approaching car or counts heartbeats, you see cause and effect with your own eyes. Most of these projects run on a sensor that costs a few dollars, an Arduino Uno and a breadboard, and you can get them working in a single afternoon.
In this guide we compare 20 sensor projects picked for class assignments, STEM courses and science fairs in one table: you'll see which sensor each one uses, what it measures, which board to build it on (Arduino Uno, ESP32 or Raspberry Pi Pico), how hard it is and roughly what it costs. Then we describe each project briefly, give you a sketch that reads three sensors at once, and show you step by step how to turn your readings into a scientific experiment and how to avoid the most common mistakes.
What should you look for when choosing a sensor project?
What makes a project good isn't the number of parts you use but the question it answers. A judge or teacher will ask: "What did you measure, how accurate is your measurement and what did you conclude from it?" So before you pick a project, think about these five points:
- A measurable question: Instead of "a smart home", choose a question you can answer with a number, such as "How many degrees does the classroom cool down in 10 minutes with the window open?"
- The right difficulty for your level: For your first project, one sensor and one output (an LED or a buzzer) is plenty; in your second project you can add a display or a second sensor.
- Choice of board: If you don't need wireless, the Arduino Uno is the board that causes the fewest problems. Pick an ESP32 if you want to watch the data on your phone, or a Raspberry Pi Pico if you want to learn Python.
- Budget and availability: Sensors such as the DHT11, HC-SR04, LDR and PIR come in almost every starter kit and electronics shop; special sensors can take weeks to arrive.
- Time: If your project is due in two weeks, set aside at least a few days for collecting data; writing the code is often the shortest part.
20 Arduino sensor projects: comparison table
The cost in the table is the approximate price of the sensor and small parts (resistors, LEDs, buzzer, wires), not counting the board, and it varies by country. We assume you already have an Arduino Uno compatible board and a breadboard for every project. Difficulty is rated easy (one sensor, ready-made library), medium (two parts or calibration) and advanced (several modules, wireless or signal processing).
| # | Project | Sensor | Measured quantity | Board | Difficulty | Cost |
|---|---|---|---|---|---|---|
| 1 | Classroom weather station | DHT11 / DHT22 | Temperature and relative humidity | Uno | Easy | $2–5 |
| 2 | Waterproof thermometer | DS18B20 | Water and soil temperature | Uno / Pico | Easy | $2–3 |
| 3 | Automatic plant watering | Capacitive soil moisture sensor | Soil moisture | Uno / ESP32 | Medium | $5–8 |
| 4 | Barometer and floor counter | BMP280 / BME280 | Air pressure and altitude | Uno / ESP32 | Medium | $3–6 |
| 5 | Parking sensor | HC-SR04 | Distance | Uno | Easy | $2–3 |
| 6 | Smart trash can | HC-SR04 + servo | Distance | Uno | Medium | $4–6 |
| 7 | Digital height meter | HC-SR04 | Distance | Uno | Easy | $2–4 |
| 8 | Motion alarm | PIR (HC-SR501) | Infrared motion | Uno / ESP32 | Easy | $2–3 |
| 9 | Earthquake and vibration alarm | MPU-6050 | Acceleration | Uno | Medium | $3–4 |
| 10 | Automatic night light | LDR | Light intensity | Uno / Pico | Easy | $1 |
| 11 | Solar tracker | 2 LDRs + servo | Direction of light | Uno | Medium | $4–6 |
| 12 | Laser security tripwire | Laser module + LDR | Broken light beam | Uno | Easy | $2 |
| 13 | Gas and smoke alarm | MQ-2 | Flammable gas and smoke | Uno | Easy | $2–3 |
| 14 | Classroom air quality monitor | MQ-135 or MH-Z19 | Air quality, CO2 | ESP32 | Advanced | $3–25 |
| 15 | Fire alarm | Flame sensor | Infrared light from a flame | Uno | Easy | $1–2 |
| 16 | Heart rate monitor | Pulse Sensor / KY-039 | Heartbeat (BPM) | Uno | Medium | $2–4 |
| 17 | Pulse oximeter | MAX30102 + OLED | Heart rate and SpO2 | ESP32 | Advanced | $5–8 |
| 18 | Rain alarm | Rain sensor | Water drops | Uno | Easy | $1–2 |
| 19 | Digital scale | Load cell + HX711 | Weight | Uno | Medium | $4–6 |
| 20 | Classroom noise traffic light | KY-038 + 3 LEDs | Sound level | Uno | Easy | $1–2 |
Temperature, humidity and pressure sensor projects
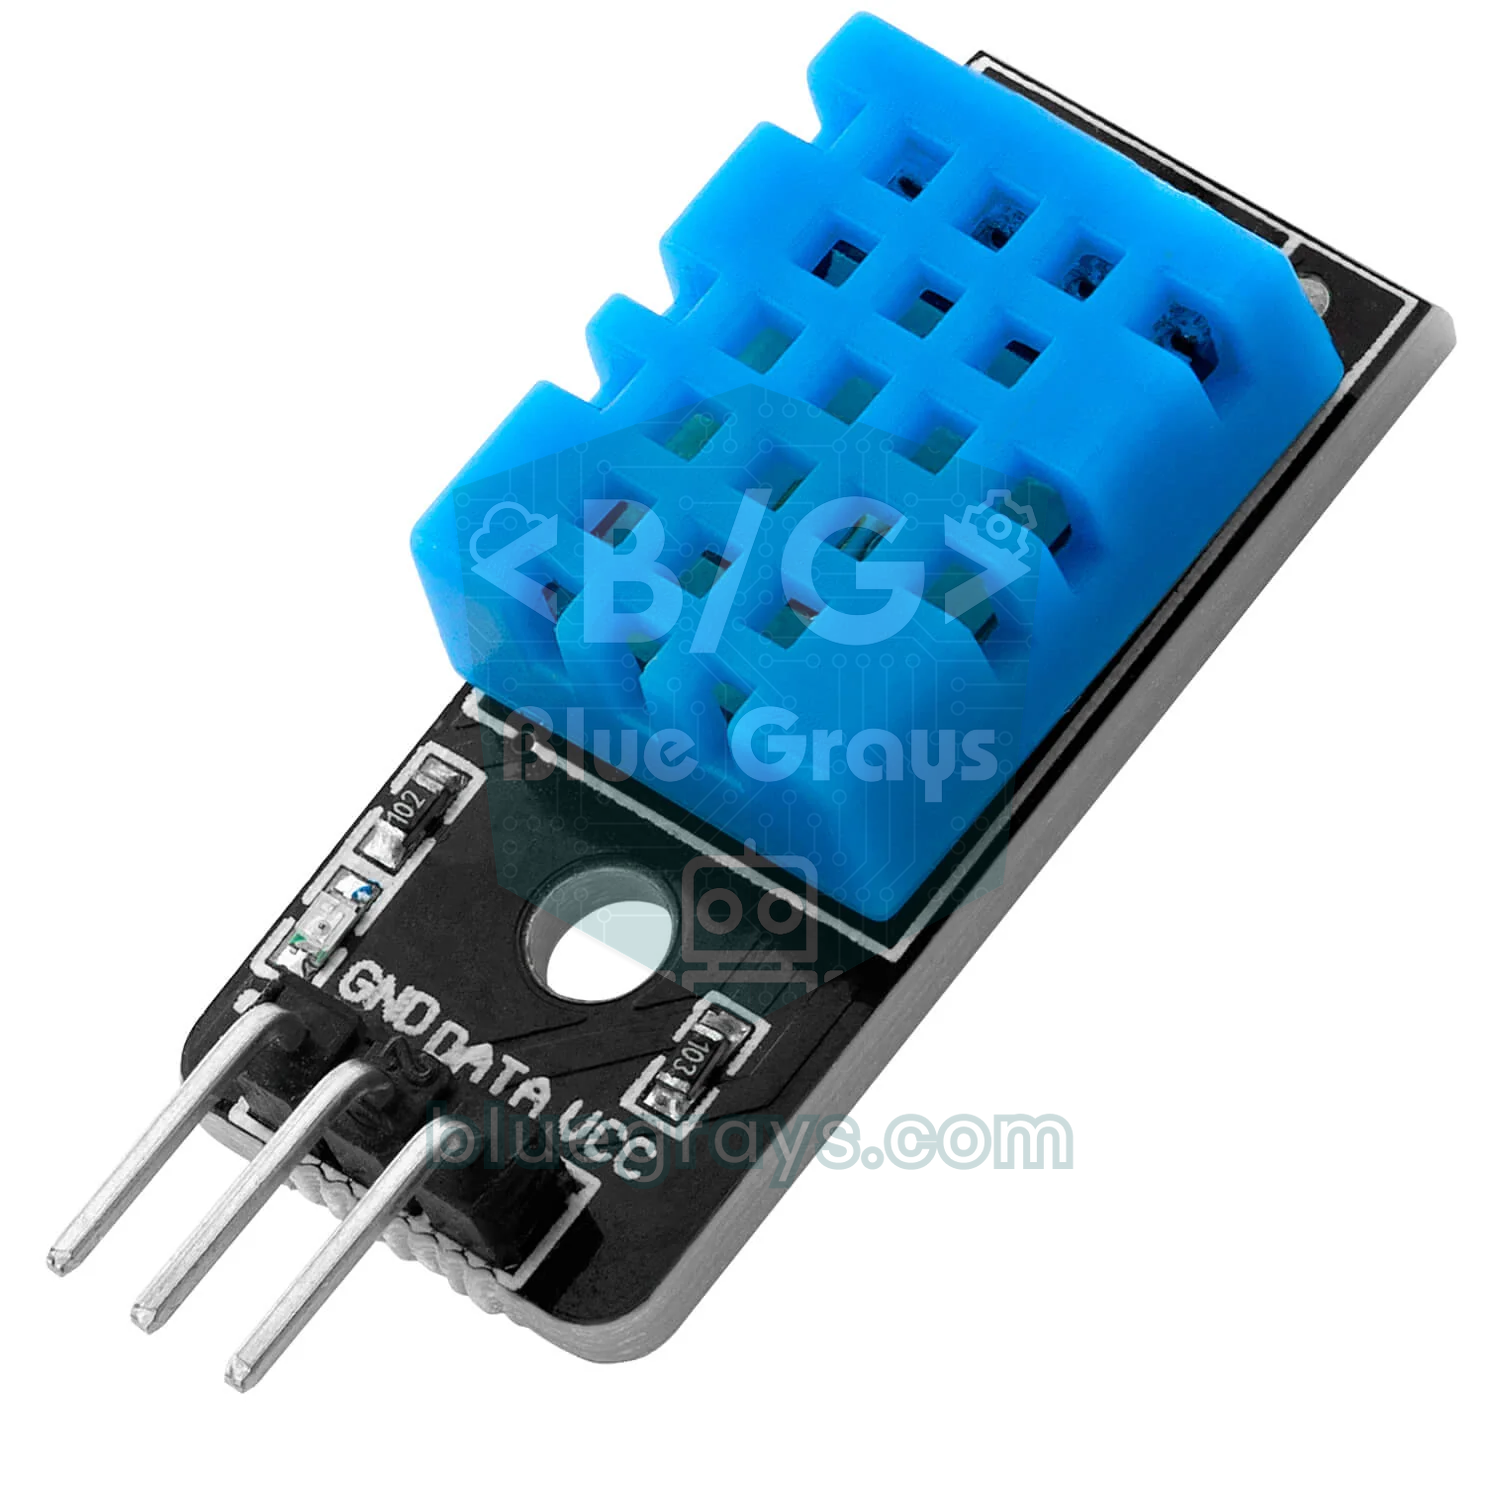
- 1. Classroom weather station: The DHT11 measures temperature to ±2 °C and humidity to ±5%, and gives at most one reading per second. For more precise readings use a DHT22 (±0.5 °C). Show the values on an LCD and log how the air in your classroom changes during the day.
- 2. Waterproof thermometer: The metal-cased DS18B20 measures from -55 to +125 °C and can go under water. Comparing how fast hot water cools in different cups turns a classic physics experiment into hard numbers.
- 3. Automatic plant watering: When the soil moisture sensor drops below the threshold you set, a relay switches on a mini pump. Choose a capacitive sensor over the fork-shaped resistive probes because it doesn't corrode; as an experiment, compare a watered pot with an unwatered one.
- 4. Barometer and floor counter: The BMP280 measures air pressure with an absolute accuracy of ±1 hPa, but it can tell the difference between two readings to about ±0.12 hPa (roughly 1 meter). Near sea level, pressure drops by about 1 hPa for every 8 meters of height; measure the difference between the ground floor and the top floor of your school and estimate the height of the building.
Distance and motion sensor projects
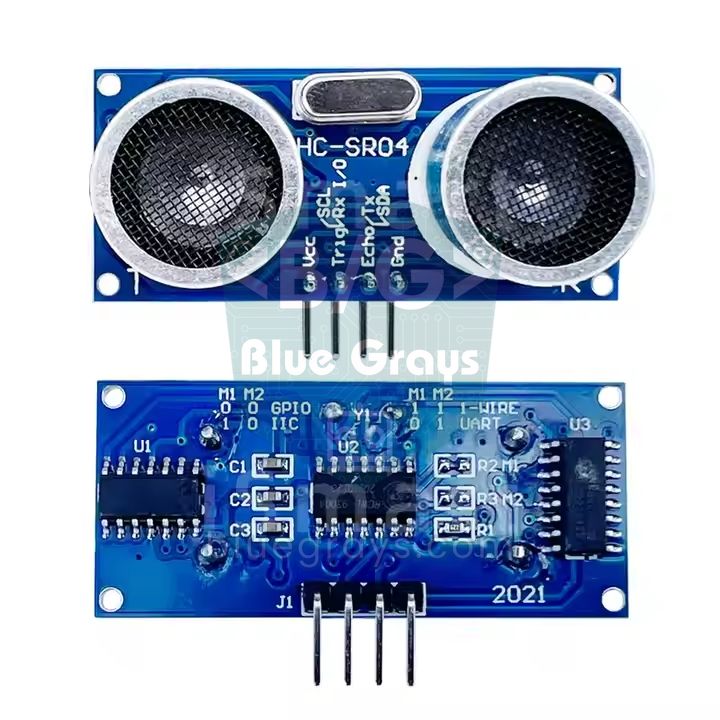
- 5. Parking sensor: The HC-SR04 measures how long a sound pulse takes to bounce back: distance (cm) = time (µs) / 58. Make the buzzer beep faster as an obstacle gets closer, and let it sound continuously below 30 cm.
- 6. Smart trash can: When your hand comes within 20 cm of the lid, a servo opens it. For the full build, see the Smart Trash Can post.
- 7. Digital height meter: Mount the sensor facing down at a height of 200 cm; height = 200 - measured distance. Measuring the same person five times and working out how much the results spread is a great way to explain measurement error.
- 8. Motion alarm: A PIR sensor detects changes in the infrared light given off by the human body up to about 7 meters away. It needs 30–60 seconds to warm up after power-on; ignore any false alarms during that time.
- 9. Earthquake and vibration alarm: The MPU-6050 accelerometer measures shaking on a table; when the acceleration crosses your threshold, the alarm goes off. The full idea and code are in the Arduino Earthquake Alarm post.
Light sensor projects
- 10. Automatic night light: An LDR is a part whose resistance rises as the light fades; you build a voltage divider with a 10 kΩ resistor and read it from an analog pin. When the room gets dark, the LED turns on. It's the cheapest project on the list and the quickest to get working.
- 11. Solar tracker: Based on the difference between two LDRs, a servo turns a small solar panel toward the brightest light. Comparing a fixed panel with a tracking one over a whole day makes an impressive science fair experiment; details are in the Solar Tracker post.
- 12. Laser security tripwire: A laser module shines onto an LDR on the other side; when someone breaks the beam, the LDR reading drops suddenly and the buzzer sounds. With a few mirrors you can zigzag the beam across a hallway.
Gas, air quality and flame sensor projects
- 13. Gas and smoke alarm: The MQ-2 reacts to LPG, propane, methane, alcohol vapor and smoke. Its built-in heater draws about 150 mA; let it warm up for a few hours the first time you use it and for at least 1–2 minutes every time you power it on.
- 14. Classroom air quality monitor: The MQ-135 shows the trend of pollution in the air but can't measure a real CO2 value. For true ppm readings use the infrared MH-Z19: outdoor air is about 420 ppm, while a crowded classroom with the windows shut easily goes above 1500 ppm.
- 15. Fire alarm: A flame sensor detects the infrared light a flame gives off at 760–1100 nm and spots a lighter flame from roughly 80 cm to 1 meter away. Sunlight also contains infrared, so it can give false alarms next to a window.
Heart rate and health sensor projects
- 16. Heart rate monitor: A pulse sensor measures how much light the blood flowing through your fingertip absorbs, producing a small wave with every heartbeat. Measuring how your heart rate changes at rest and after 20 squats is a nice experiment that combines PE with science class.
- 17. Pulse oximeter: The MAX30102 uses red and infrared LEDs to calculate both heart rate and blood oxygen saturation (SpO2), and connects over I2C. Showing the results on an OLED display makes the project look like a real device.
Rain, weight and sound sensor projects
- 18. Rain alarm: Water drops falling on the rain sensor plate connect its conductive traces and lower the analog reading. When the value drops below a threshold, a buzzer sounds or a servo closes a small model window.
- 19. Digital scale: With a load cell and an HX711 amplifier you can weigh things to the gram with a 1 kg cell. Don't forget to calibrate with a known weight (for example a full 500 ml bottle); that's the most educational part of the project.
- 20. Classroom noise traffic light: The KY-038 sound sensor measures loudness; a green LED lights up when the class is quiet, yellow as the chatter grows and red when it gets too loud. Measuring the difference between the highest and lowest value over 50 ms gives far steadier results than a single analog reading.
Example code: a three-sensor data logger (Arduino Uno)
Most projects share the same skeleton: read the sensors at regular intervals, process the values, and show or save the result. The sketch below reads temperature and humidity from a DHT11, light from an LDR and distance from an HC-SR04 every two seconds, and prints the results to the Serial Monitor as comma-separated (CSV) lines. You can copy those lines into a spreadsheet and draw a chart right away. For the DHT11, install the DHT sensor library (Adafruit) from the Library Manager. The wiring is:
| Part | Part pin | Arduino Uno |
|---|---|---|
| DHT11 | VCC / DATA / GND | 5V / D2 / GND |
| LDR | One leg | 5V |
| LDR + 10 kΩ resistor | Shared point | A0 (the other end of the 10 kΩ to GND) |
| HC-SR04 | VCC / TRIG / ECHO / GND | 5V / D9 / D10 / GND |
1// Üç sensörlü ölçüm istasyonu / Three-sensor data logger
2#include <DHT.h>
3
4const int DHT_PIN = 2;      // DHT11 veri pini / DHT11 data pin
5const int LDR_PIN = A0;     // LDR + 10 kΩ gerilim bölücü / LDR + 10 kΩ voltage divider
6const int TRIG_PIN = 9;     // HC-SR04 TRIG
7const int ECHO_PIN = 10;    // HC-SR04 ECHO
8const unsigned long PERIOD = 2000;   // 2 sn'de bir ölçüm / one reading every 2 s
9
10DHT dht(DHT_PIN, DHT11);
11unsigned long lastRead = 0;
12
13float readDistanceCm() {
14  digitalWrite(TRIG_PIN, LOW);
15  delayMicroseconds(2);
16  digitalWrite(TRIG_PIN, HIGH);
17  delayMicroseconds(10);                                // 10 µs tetik darbesi / 10 µs trigger pulse
18  digitalWrite(TRIG_PIN, LOW);
19  unsigned long us = pulseIn(ECHO_PIN, HIGH, 30000UL);  // en fazla 30 ms bekle / wait at most 30 ms
20  if (us == 0) return -1;                               // yankı yok / no echo
21  return us / 58.0;                                     // µs -> cm
22}
23
24void setup() {
25  Serial.begin(9600);
26  pinMode(TRIG_PIN, OUTPUT);
27  pinMode(ECHO_PIN, INPUT);
28  dht.begin();
29  Serial.println(F("zaman_s,sicaklik_C,nem_yuzde,isik_yuzde,mesafe_cm"));  // CSV başlığı / CSV header
30}
31
32void loop() {
33  if (millis() - lastRead < PERIOD) return;             // bekleme yok, sadece zaman kontrolü / no blocking, just a time check
34  lastRead = millis();
35
36  float t = dht.readTemperature();
37  float h = dht.readHumidity();
38  int light = map(analogRead(LDR_PIN), 0, 1023, 0, 100);  // 0 = karanlık, 100 = aydınlık / 0 = dark, 100 = bright
39  float d = readDistanceCm();
40
41  Serial.print(lastRead / 1000);
42  Serial.print(',');
43  if (isnan(t) || isnan(h)) {
44    Serial.print(F("NaN,NaN"));                         // DHT11 okunamadı / DHT11 read failed
45  } else {
46    Serial.print(t, 1);
47    Serial.print(',');
48    Serial.print(h, 0);
49  }
50  Serial.print(',');
51  Serial.print(light);
52  Serial.print(',');
53  Serial.println(d, 1);
54}
Notice that the code uses millis() instead of delay(): on every pass, loop() only checks "have two seconds passed?" and returns right away if not. That way the program won't freeze when you add a button or a buzzer later. If the DHT11 can't be read, the value is printed as NaN (not a number), so you can easily filter those rows out of your spreadsheet. The map() function turns the 0–1023 analog value into a 0–100 percentage. If you open the Serial Plotter from the Tools menu instead of the Serial Monitor, you'll see a live chart of the values. To send the data straight into a spreadsheet, check out sending Arduino data to Excel.
Turning measurements into a science experiment
What impresses science fair judges isn't a working circuit but a careful experiment done with it. Your sensor project is a measuring instrument; the real work is using that instrument to answer a question. Follow these steps:
- Write the question: For example: "How much does opening the windows at recess change the classroom's temperature and humidity?"
- Form a hypothesis: "Within 10 minutes of opening the window, the temperature drops by at least 2 °C."
- Define your variables: What you change (window open or closed), what you measure (temperature) and what you keep the same (sensor position, time of day, number of people in the room).
- Check your sensor: Compare its readings with a trusted thermometer and write down the difference; that difference is your measurement error.
- Repeat the experiment: Measure on at least three different days and take the average. Drawing conclusions from a single run is the most common mistake.
- Plot and interpret: Import the CSV data into a spreadsheet, draw a time-temperature chart and write whether your hypothesis was confirmed.
Watching readings on your phone with the ESP32
If your project sits somewhere far away, like a greenhouse, a chicken coop or a storage room, seeing the readings on your phone is a big help. The ESP32 connects to Wi-Fi and serves a small web page; just open the IP address shown in the Serial Monitor in your phone's browser on the same network. The code below reads a DHT22 on GPIO 4 and an LDR on GPIO 34, and refreshes the page every five seconds. Connect the LDR divider to the 3V3 pin, not 5V; the ESP32's pins are not 5 V tolerant. With Wi-Fi on, only use ADC1 pins (GPIO 32–39) for analog readings.
1#include <WiFi.h>
2#include <WebServer.h>
3#include <DHT.h>
4
5const char* ssid = "AgAdi";          // Wi-Fi adın / your Wi-Fi name
6const char* password = "Sifre123";   // Wi-Fi şifren / your Wi-Fi password
7const int DHT_PIN = 4;               // DHT22 veri / DHT22 data
8const int LDR_PIN = 34;              // ADC1 pini: Wi-Fi açıkken de okur / ADC1 pin: works with Wi-Fi on
9
10DHT dht(DHT_PIN, DHT22);
11WebServer server(80);
12
13void handleRoot() {
14  float t = dht.readTemperature();
15  float h = dht.readHumidity();
16  int light = map(analogRead(LDR_PIN), 0, 4095, 0, 100);   // ESP32 ADC 12 bit: 0-4095 / 12-bit ADC: 0-4095
17  String html = "<meta name='viewport' content='width=device-width'>"
18                "<meta http-equiv='refresh' content='5'>"   // sayfa 5 sn'de bir yenilenir / page refreshes every 5 s
19                "<h2>Olcum istasyonu</h2>";
20  html += "<p>Sicaklik / Temp: " + String(t, 1) + " C</p>";
21  html += "<p>Nem / Humidity: " + String(h, 0) + " %</p>";
22  html += "<p>Isik / Light: " + String(light) + " %</p>";
23  server.send(200, "text/html", html);
24}
25
26void setup() {
27  Serial.begin(115200);
28  dht.begin();
29  WiFi.begin(ssid, password);
30  while (WiFi.status() != WL_CONNECTED) delay(500);
31  Serial.println(WiFi.localIP());    // bu adresi telefonda aç / open this address on your phone
32  server.on("/", handleRoot);
33  server.begin();
34}
35
36void loop() {
37  server.handleClient();
38}
Measuring with no extra sensor: Raspberry Pi Pico (MicroPython)
The Raspberry Pi Pico has a temperature sensor built in, so you can take your first reading without connecting a single part. This sensor measures the chip's temperature rather than the air, so it can read a few degrees off room temperature; still, it's a perfect way to learn to read sensors in Python. The code below reads the built-in sensor and an LDR on GP26, and prints CSV lines to the Thonny shell. The Pico's ADC runs at 3.3 V, so connect the LDR divider to the 3V3(OUT) pin.
1from machine import ADC, Pin
2import time
3
4temp_sensor = ADC(4)                  # dahili sıcaklık sensörü / built-in temperature sensor
5ldr = ADC(Pin(26))                    # GP26 = ADC0, LDR + 10 kΩ bölücü / LDR + 10 kΩ divider
6TO_VOLT = 3.3 / 65535                 # read_u16 değerini volta çevirir / converts read_u16 to volts
7
8print("zaman_s,cip_sicaklik_C,isik_yuzde")
9start = time.ticks_ms()
10while True:
11    v = temp_sensor.read_u16() * TO_VOLT
12    temp_c = 27 - (v - 0.706) / 0.001721       # RP2040 veri sayfası formülü / RP2040 datasheet formula
13    light = ldr.read_u16() * 100 // 65535      # 0-100 arası ışık yüzdesi / light percentage 0-100
14    seconds = time.ticks_diff(time.ticks_ms(), start) // 1000
15    print("{},{:.1f},{}".format(seconds, temp_c, light))
16    time.sleep(2)
Which project for which grade level?
| Level | Suggested projects | Expected work |
|---|---|---|
| Elementary school (ages 8–10) | Night light, parking sensor, noise traffic light | Build with ready-made code, teacher support, try it in a simulator first |
| Middle school (ages 11–14) | Weather station, gas alarm, plant watering, motion alarm | Choose the threshold yourself, a data table and a simple chart |
| High school (ages 15–18) | Heart rate monitor, CO2 monitor, earthquake alarm, solar tracker, remote monitoring with ESP32 | Hypothesis, calibration, repeated measurements, error margin and averages |
| College and capstone courses | Multi-sensor IoT station, pulse oximeter, data logging and filtering | Data logging, signal processing, wireless transfer and a written report |
If you want to try your circuit before buying parts, the Wokwi and Tinkercad simulators have virtual versions of sensors like the DHT, HC-SR04, PIR and LDR ready to go. If you're looking for a topic for a regional science fair or a STEM competition, our science fair project ideas post has 25 more ideas grouped by age.
Common mistakes and how to fix them
- The DHT11 keeps returning NaN: The data pin is wrong, the sensor type in the code is wrong (DHT22 instead of DHT11) or you're reading too often. If you're using a bare sensor, add a 10 kΩ resistor between the data pin and VCC, and read it no more than once every two seconds.
- The HC-SR04 shows 0 or nonsense values: The target may be outside the sensor's 15-degree beam, too close (under 2 cm) or a sound-absorbing surface like fabric. Also check that TRIG and ECHO aren't swapped.
- The LDR works backwards: If the LDR and the resistor swap places in the divider, the value goes down as the light goes up. Either swap the parts or use 100 - light in the code.
- The MQ-2 reading keeps drifting: The sensor hasn't warmed up enough. Wait a few minutes before you start measuring and set your threshold based on the value in clean air.
- The sensors work one by one but not together: The ground (GND) lines may not be joined, or the long power rails of your breadboard may be split in the middle. Make sure all the GNDs are connected.
- Connecting a 5 V sensor to an ESP32 or Pico: The HC-SR04's ECHO output is 5 V and can damage these boards' pins; put a voltage divider in between.
Sensor projects teach you to measure, make decisions and interpret results all at once, which makes them the most rewarding place for students to start. Pick one of the ideas on this list, focus on a single question and log your measurements carefully. For a closer look at what each sensor does, see the Arduino Sensors Guide; and in the BlueGrays app you'll find wiring diagrams and step-by-step code for projects like the DHT11 weather station, HC-SR04 parking sensor, LDR night light, motion and gas alarms, and automatic plant watering.
Frequently asked questions
What are some good Arduino projects with sensors for beginners?
The most popular beginner sensor projects are a temperature and humidity station (DHT11), a parking sensor (HC-SR04), a night light (LDR), a motion alarm (PIR), a gas alarm (MQ-2) and automatic plant watering. All of them can be built with an Arduino Uno, parts that cost a few dollars and ready-made libraries.
What is the best Arduino sensor project for a science fair?
Judges care more about a measurable question than about flashy hardware. Projects built around a repeatable experiment stand out, such as measuring CO2 in a classroom, comparing a solar tracker with a fixed panel, or recording how heart rate changes after exercise. Repeat your measurements at least three times and show the results in a chart.
How many sensors can you connect to one Arduino?
The Arduino Uno has 14 digital and 6 analog pins, and I2C sensors share just two pins, so many of them can sit on the same bus. In practice the limit is usually the current drawn from the 5 V line rather than the pin count: heated sensors such as the MQ series can draw 150 mA each, so power several of them from an external supply.
What is the easiest sensor to use with Arduino?
The LDR is the easiest: it works with one resistor and a single analogRead() line, and needs no library. Next come the DHT11 temperature and humidity sensor and the HC-SR04 distance sensor; both have ready-made libraries and plenty of examples.
How much does an Arduino sensor project cost?
Not counting the board, simple projects use sensors that cost between $1 and $5; once you add an Arduino Uno compatible board and a breadboard, the total usually stays around $10–20. Specialized sensors such as the MH-Z19 CO2 sensor or a pulse oximeter module push the budget up.
Do you need to know how to code to make Arduino projects?
You don't need to know it to get started; you can begin by opening and running the example sketches that come with most sensor libraries. You'll pick up basics like variables, if statements and loops naturally over a few projects, and you can also start with block-based tools similar to Scratch.
Projects to build after reading this
See all projects
Temperature and Humidity with DHT11
How warm is your room, and is the air humid or dry? The DHT11 sensor measures temperature and humidity, and the Arduino writes the values on a two-line LCD screen, refreshing every couple of seconds.
HC-SR04 Distance Measurement (Serial Display)
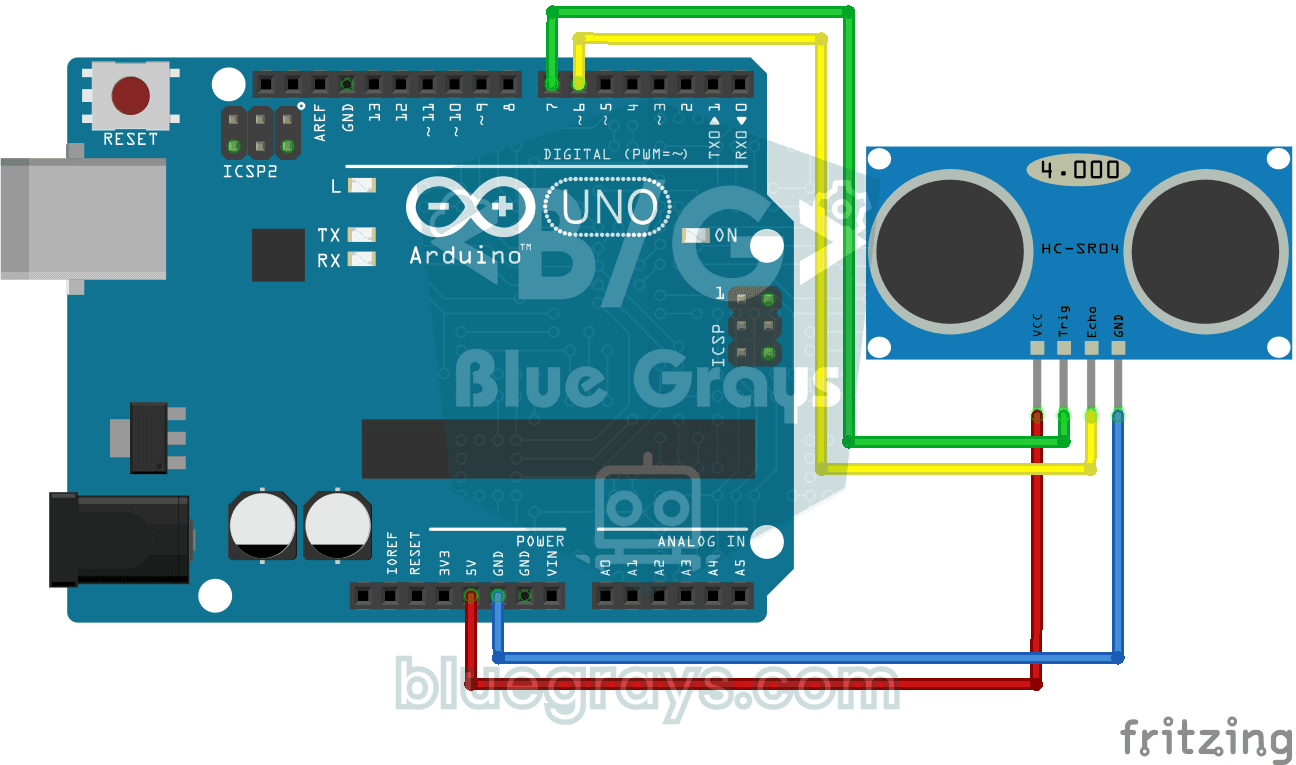
The HC-SR04 sensor works just like a bat finding its way in the dark: it sends out a sound you cannot hear, listens for the echo and measures how far away the object in front of it is.

Night Light with Ldr
A little night light that turns on by itself when it gets dark and goes off when morning comes.
Parking Sensor with HC-SR04
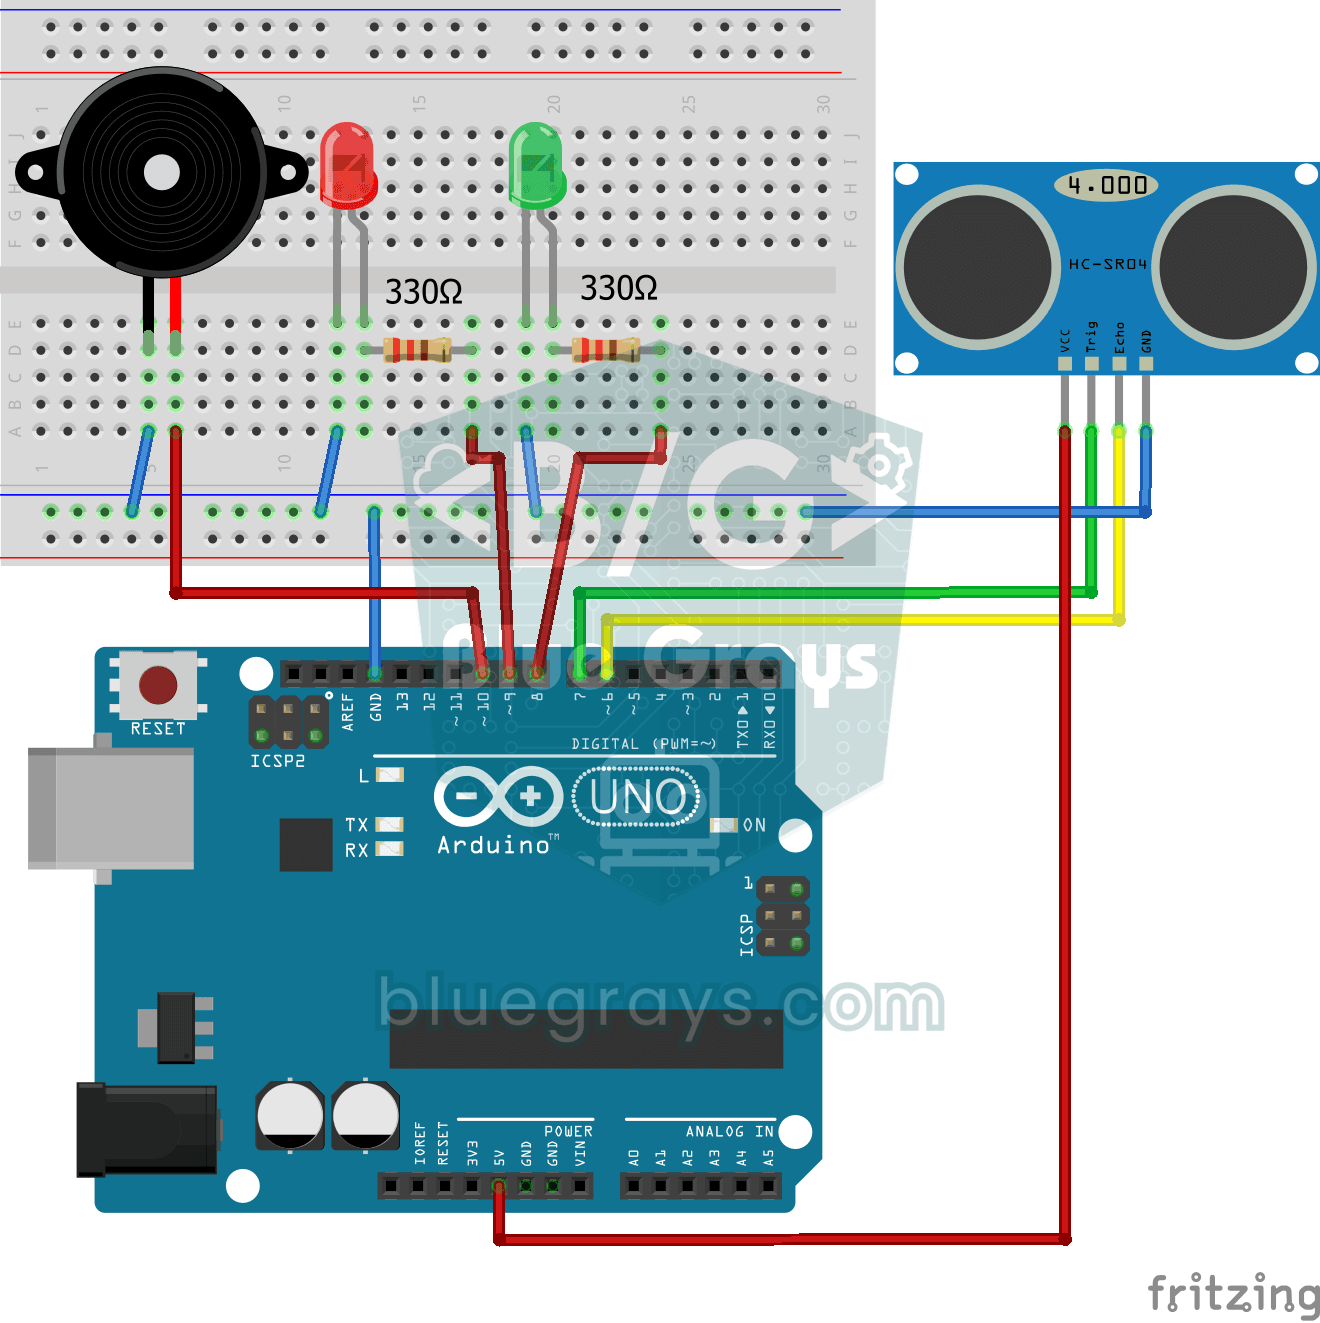
A mini version of a car's parking sensor: the closer something gets, the faster the beeps.
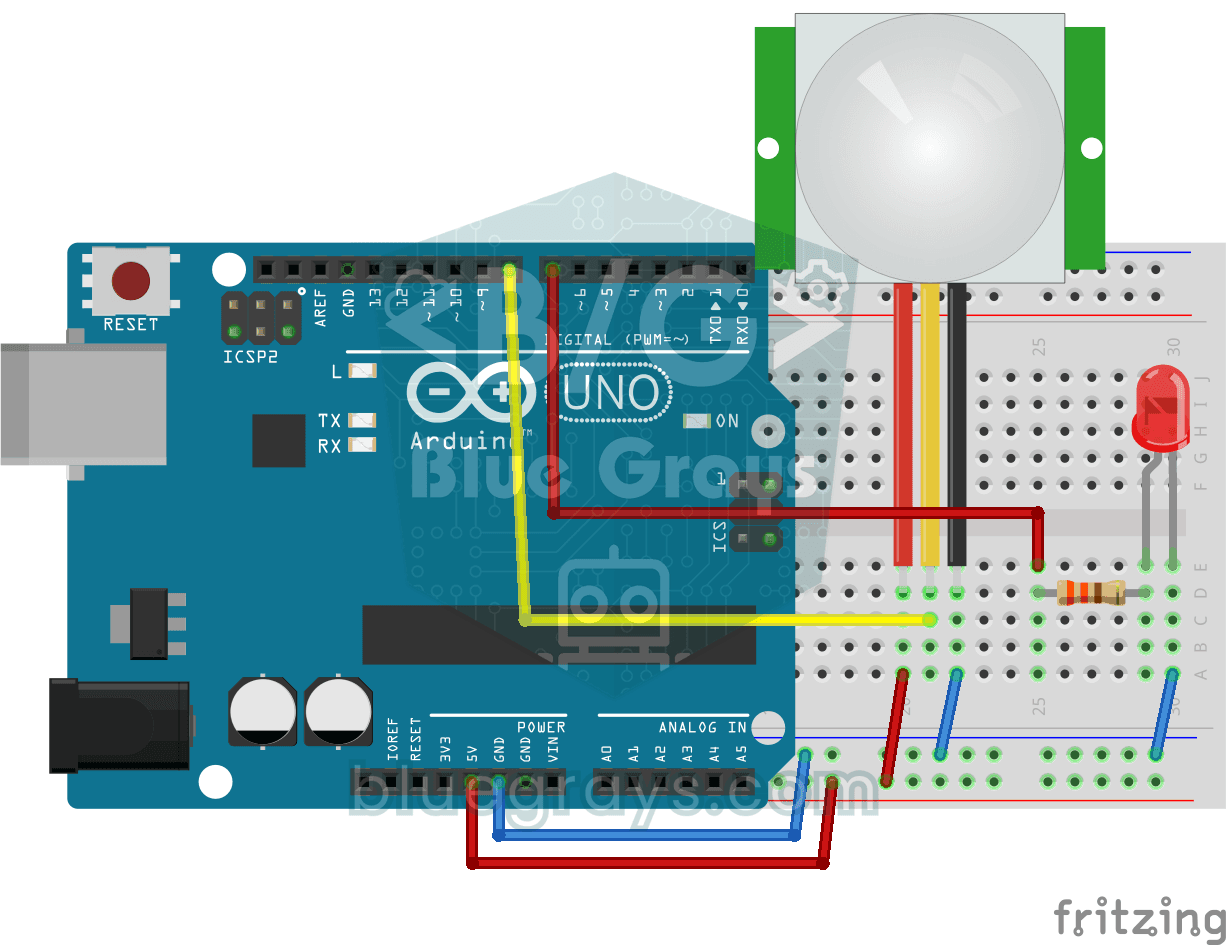
Motion Detector with Motion Sensor
A simple guard that tells you when someone walks into the room. The motion sensor picks up the warmth given off by the human body, and the Arduino keeps the LED on as long as there is movement and…
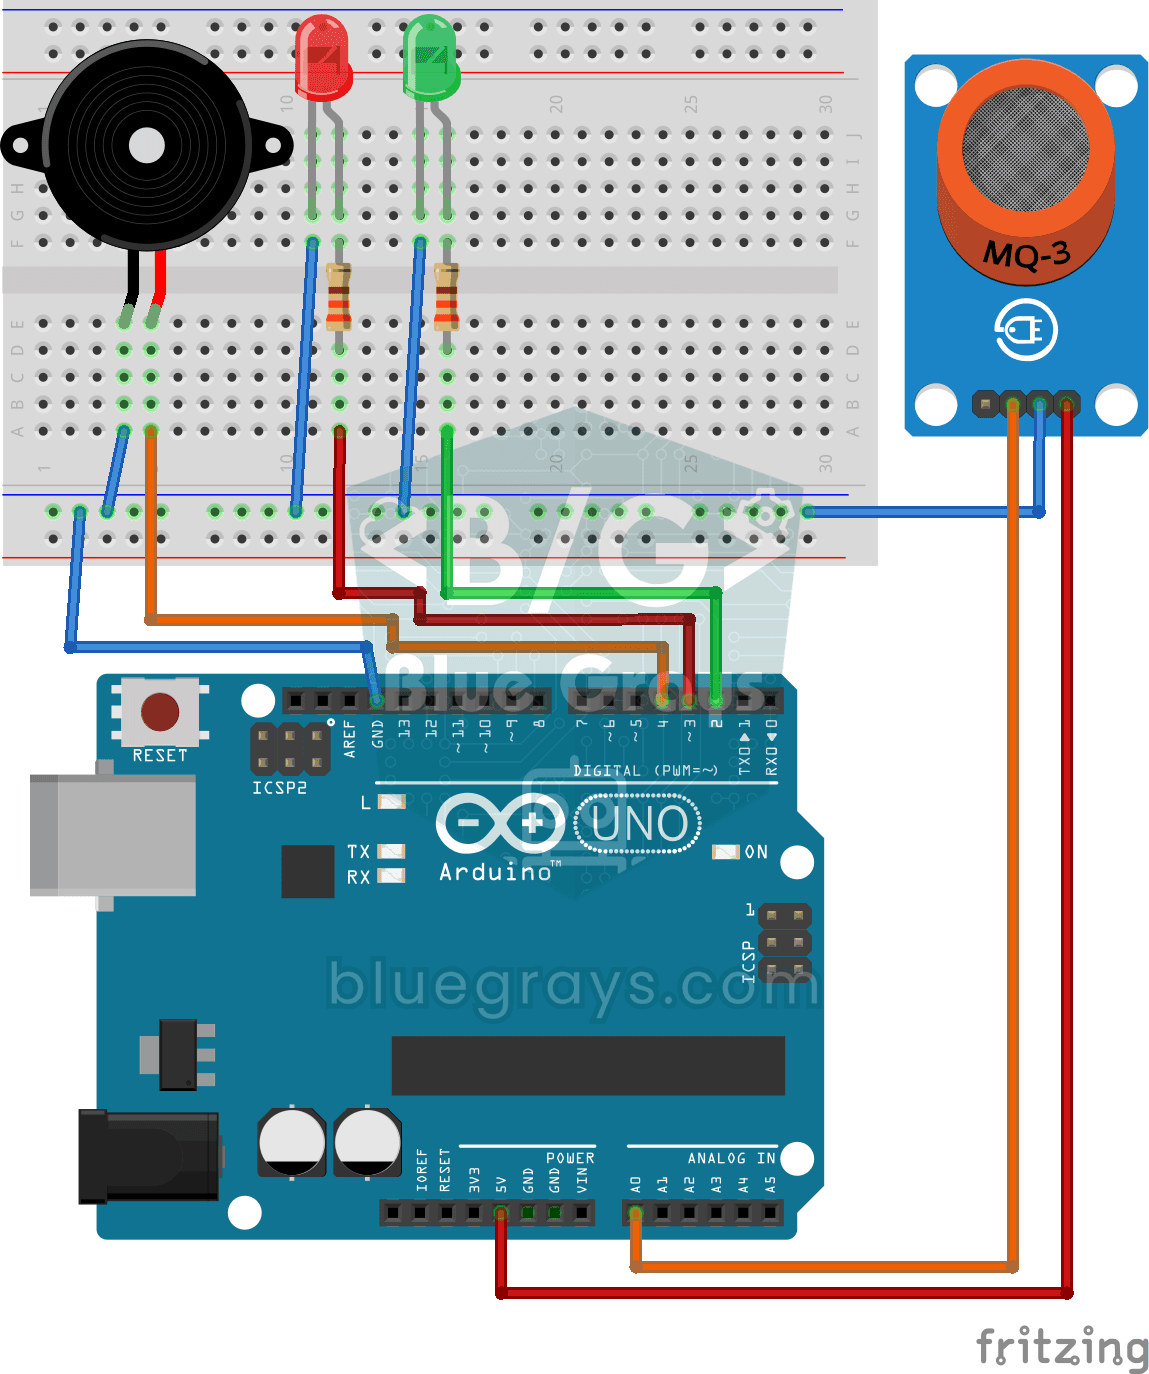
Using a Gas Sensor
A little guard that notices a gas leak in the kitchen before you do. The gas sensor keeps sniffing the air; while everything is fine the green LED stays on, and when the gas in the air passes a…

Smart Irrigation Station
A gardener that waters your plants on its own, so they don't dry out while you're on vacation.

ESP32 Temperature Data Logger (DHT22 + DS1307 RTC + microSD + OLED)
Build a timed temperature and humidity logger with the ESP32! A DHT22 sensor reads temperature and humidity once a minute, and each reading is saved to a microSD card in CSV format with a real-time stamp from the DS1307 RTC module. The OLED display shows the latest temperature, humidity, timestamp and total number of records live, in large text.