
mBlock Arduino Tutorial: Setup, Live vs Upload Mode and Blocks
mBlock Arduino tutorial: install mBlock 5, add Arduino Uno and its firmware, Live vs Upload mode, LED, button and sensor blocks, Arduino C code, 9 activities.
Programming an Arduino with mBlock is one of the easiest ways to make an Arduino Uno blink an LED or read a button or sensor without writing a single line of code. mBlock 5, developed for free by Makeblock, is a block-based coding environment built on Scratch 3.0: you snap colourful blocks together like a puzzle, and mBlock quietly turns them into Arduino C code, compiles it and uploads it to your board. You can also run the blocks on the board instantly and let them interact with characters on the stage. That's why it's one of the most popular tools in school robotics coding classes, in science fair projects and as a first step into Arduino.
In this guide you'll learn, step by step, how to install mBlock on your computer or use it in the browser, add and connect an Arduino Uno as a device, upload the firmware for Live mode, the difference between Live mode and Upload mode, the LED, button and sensor blocks, which Arduino C lines the blocks turn into, nine activities you can use in class, how to move on to the Arduino IDE and how to fix the most common connection problems.

What is mBlock and how does it work with Arduino?
mBlock is a programming environment built on top of Scratch 3.0, which was developed at MIT. Its biggest difference from Scratch is that, besides the characters on screen (sprites), it can also program real hardware. The interface has two separate tabs: on the Sprites tab you program the characters on the stage, and on the Devices tab you program boards such as Arduino, micro:bit or Makeblock robots. When you select a device, categories specific to that board are added to the block palette; for the Arduino Uno these are the pin and serial port blocks. In Upload mode your block script is translated into Arduino C, compiled into machine code and written to the board's flash memory over USB. In other words, mBlock does the same job as the Arduino IDE through a block interface, and because it shows you the code it generates, it also makes the move to text code easier.
| Feature | mBlock 5 |
|---|---|
| Developer | Makeblock |
| Based on | Scratch 3.0 (opens Scratch and mBlock 3 projects) |
| Price | Free |
| Versions | Windows and macOS desktop, browser (Chrome or Edge), Android and iOS app |
| Arduino boards | Uno, Nano, Nano (old), Mega 2560; Leonardo, Micro and Yun in the desktop version or via mLink |
| Text language | Arduino C on Arduino boards, Python on Makeblock boards and the stage |
| Project file | .mblock |
| Interface language | Dozens of languages, including English |
Installing mBlock: desktop and web version
- In your browser, go to mblock.cc and download the mBlock 5 desktop version for your operating system from the Download page. At the time of writing the current release is V5.6; it supports 64-bit Windows 7 and later and macOS 10.12 and later, with a separate installer for Apple M-series Macs.
- On Windows, run the installer and follow the wizard. If it offers to install the CH340 driver during setup, accept: most clone Arduino boards use this USB-to-serial chip, and without the driver the port won't show up.
- On macOS, if the installer won't open, right-click the file and choose Open, or use the Open Anyway button under Privacy & Security in System Settings.
- Open mBlock and pick your language from the globe icon in the top menu. From then on the menus and block names appear in that language.
- On school computers where you can't install software, open ide.mblock.cc in the browser; for the Arduino connection use an up-to-date version of Chrome or Edge.
For a long time the web version connected to boards through a small helper program called mLink. In newer versions the default method is a direct connection that uses the browser's serial port feature: when you click connect, the browser opens a window, you pick the Arduino's port and you're connected without installing anything extra. This works with the Uno, Nano, Nano (old) and Mega 2560; boards that use USB differently, such as the Leonardo, Micro and Yun, still need mLink. While mLink is running, a small panda icon appears in the taskbar. Don't keep the desktop and web versions, or two mBlock tabs, open at the same time; both try to use the same port and the connection fails.
| Feature | Desktop version | Web version |
|---|---|---|
| Installation | Required (Windows, macOS) | Not needed, opens in the browser |
| Browser requirement | None | Chrome or Edge (for serial port support) |
| Arduino connection | USB cable and driver are enough | Direct connection or mLink |
| Leonardo, Micro, Yun | Supported | Only with mLink |
| Chromebook and Linux | No desktop version | Works with Chrome |
| Saving projects | .mblock file on the computer | To your account or downloaded to the computer |
| School suitability | Runs more smoothly on slow or restricted networks | Handy on computers without install rights |
Adding a device: connecting the Arduino Uno to mBlock
- Plug the Arduino into the computer with a USB cable; the board's ON (power) LED should light up.
- In mBlock, switch to the Devices tab below the stage. Remove the Makeblock device that's there by default (Codey Rocky or CyberPi, depending on the version) with the cross in its corner.
- Click + Add, type "Arduino" in the search box of the Device Library that opens, select Arduino Uno and click OK. If you click the star in the board's top-left corner, mBlock will have it ready the next time it opens.
- Click Connect. On the USB tab of the window that opens, choose the port mBlock found: on Windows you'll see a name such as COM3 or COM4, on macOS something like /dev/cu.usbmodem… or, on boards with a CH340, /dev/cu.wchusbserial…. If the port isn't listed, tick Show all connectable devices.
- Click Connect again. If the "Device connected" message appears, you're ready; the Arduino-specific pin and serial port blocks show up in the block palette.
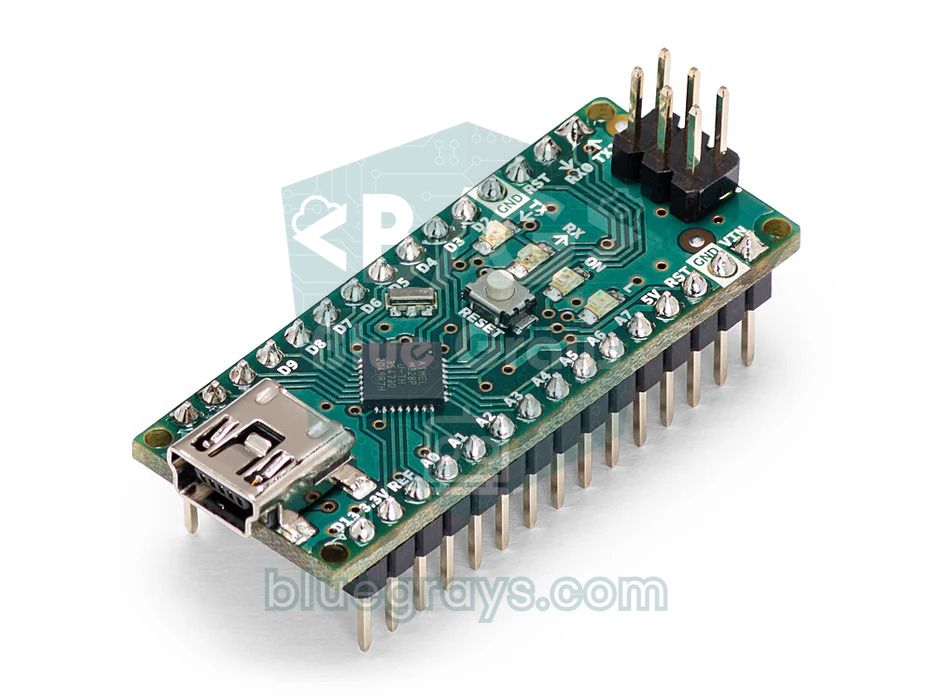
Choosing the right device is half the battle. Whether it's an original or a clone, select Arduino Uno for an Uno and Arduino Mega2560 for a Mega. Most cheap Arduino Nano clones have the old bootloader; on these boards uploading fails with Arduino Nano, while the Arduino Nano (old) option works. Newer boards with a different processor, such as the Arduino Uno R4, can't be programmed with mBlock's Uno device; use the Arduino IDE directly for those. If you haven't decided which board to buy yet, read Which Arduino Should I Buy?, and for the Nano's pin layout see the Arduino Nano pinout guide.
Live mode vs Upload mode: what's the difference?
mBlock offers two modes for programming devices, and you switch between them with the toggle on the Devices tab. In Live mode the program actually runs on the computer: mBlock reads each block in turn and sends commands such as "turn on pin 13" or "read A0 and send back the result" to the Arduino over USB. For this the Arduino needs special firmware that understands these commands. You see the result instantly, you can watch sensor values on the stage and make the Arduino talk to the sprites, but the moment you unplug the USB cable or close mBlock, the program stops. In Upload mode the blocks are translated into Arduino C, compiled and written permanently to the board; even with the cable unplugged, the program keeps running on a battery or adapter. In this mode your program must sit under the when Arduino Uno starts up hat block; stage events such as the green flag aren't transferred to the board.
| Feature | Live mode | Upload mode |
|---|---|---|
| Where does the program run? | On the computer, commands travel over USB | On the Arduino's own processor |
| Starting block | Events such as when green flag clicked or when a key is pressed | when Arduino Uno starts up |
| USB cable | Must stay plugged in | Only needed while uploading |
| Software on the Arduino | mBlock firmware | Your compiled program |
| Timing | Slower and irregular, because every command goes back and forth over USB | Precise to the millisecond, even the microsecond |
| Interaction with sprites | Directly with variable and broadcast blocks | Only with the Upload Mode Broadcast extension on devices that support it |
| Best for | Testing, debugging, stage games | Robots, alarms, finished battery-powered projects |
Uploading the firmware: getting the Arduino ready for Live mode
- Connect the Arduino (Connect) and set the mode toggle to Live.
- If the board doesn't have the mBlock firmware, mBlock usually offers to update it. If it doesn't, choose Update Firmware from the Setting menu next to the connection buttons and start the update in the window that opens.
- During the upload the board's TX and RX LEDs flicker quickly; don't unplug the cable or close mBlock until the progress bar finishes.
- To test it, drag the set digital pin (13) output as (high) block from the pin blocks into the scripts area and click it once. If the L LED on the board lights up immediately, Live mode is working; click the same block with the (low) option and the LED turns off.
Basic Arduino blocks: LEDs, buttons and sensors
Once the Arduino Uno is added, the block palette gets board-specific pin and serial port categories next to the Events, Control, Operators, Variables and My Blocks categories you know from Scratch. The table below lists the blocks by their English names along with what they do. Block names may differ slightly between versions; if you right-click any block and choose Help, mBlock shows a description of it. On the Uno, PWM only works on pins 3, 5, 6, 9, 10 and 11; you can see the full pin map in the Pinout tool.
| Block (English name) | What does it do? | Example use |
|---|---|---|
| when Arduino Uno starts up | Hat block where the program starts in Upload mode | Every program uploaded to the board |
| set digital pin (13) output as (high) | Sets the pin HIGH (5 V) or LOW (0 V) | LED, active buzzer, relay |
| read digital pin (2) | Reads the level on the pin as true or false | Button, PIR, infrared obstacle sensor |
| read analog pin (A) (0) | Turns the voltage on pins A0–A5 into a number from 0 to 1023 | LDR, potentiometer, soil moisture sensor |
| set pwm pin (5) output as (128) | Produces a PWM signal from 0 to 255 | LED brightness, DC motor speed |
| set servo pin (9) angle as (90) | Moves the servo to an angle between 0 and 180 degrees | SG90 barrier, robot arm |
| play pin (8) with note (C4) for (0.25) beat | Plays a note on a passive buzzer | Melody, doorbell |
| forever / repeat (10) / if … then … else | Loop and condition blocks | Continuous checking, counting, decisions |
| wait (1) seconds | Pauses the program for the given time | Blinking, traffic light |
Wiring table: one lesson kit for every activity
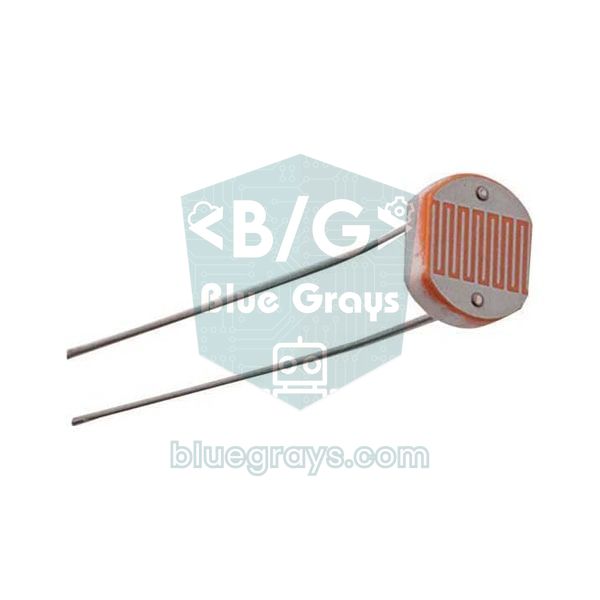
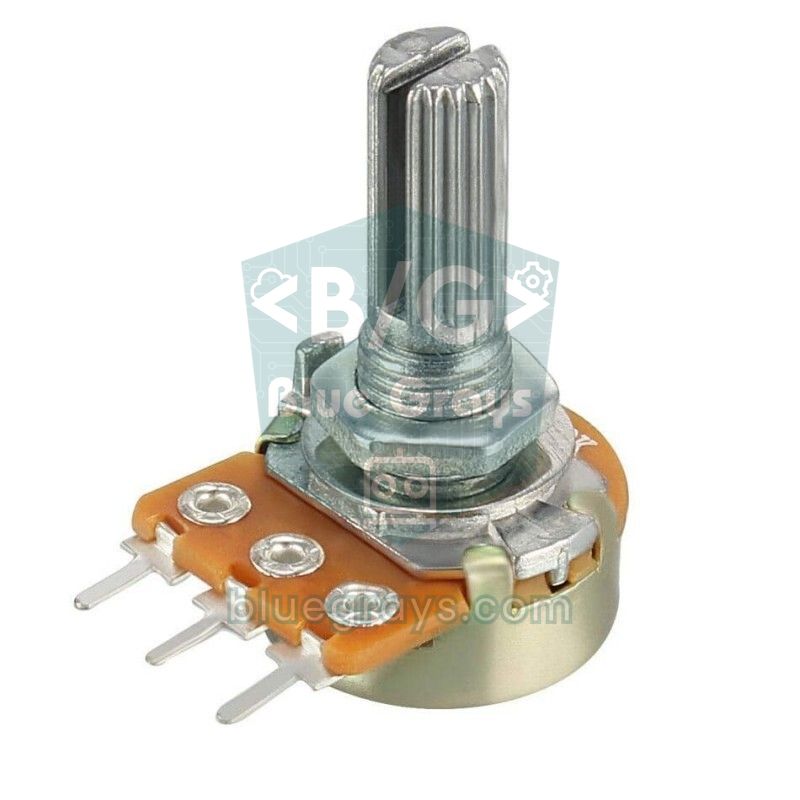
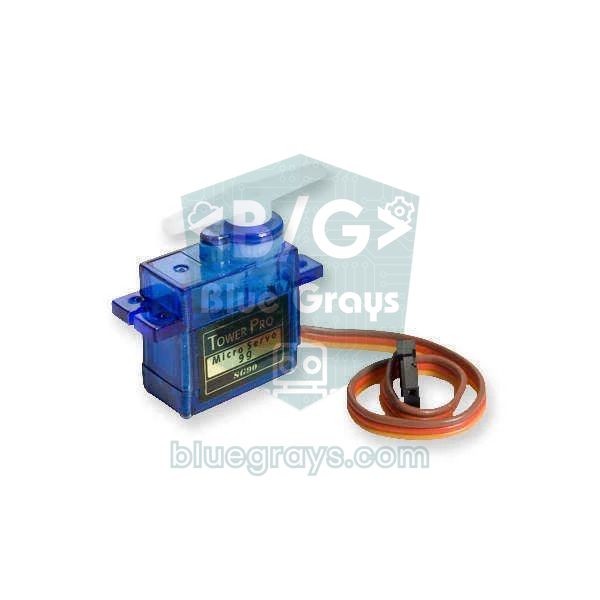
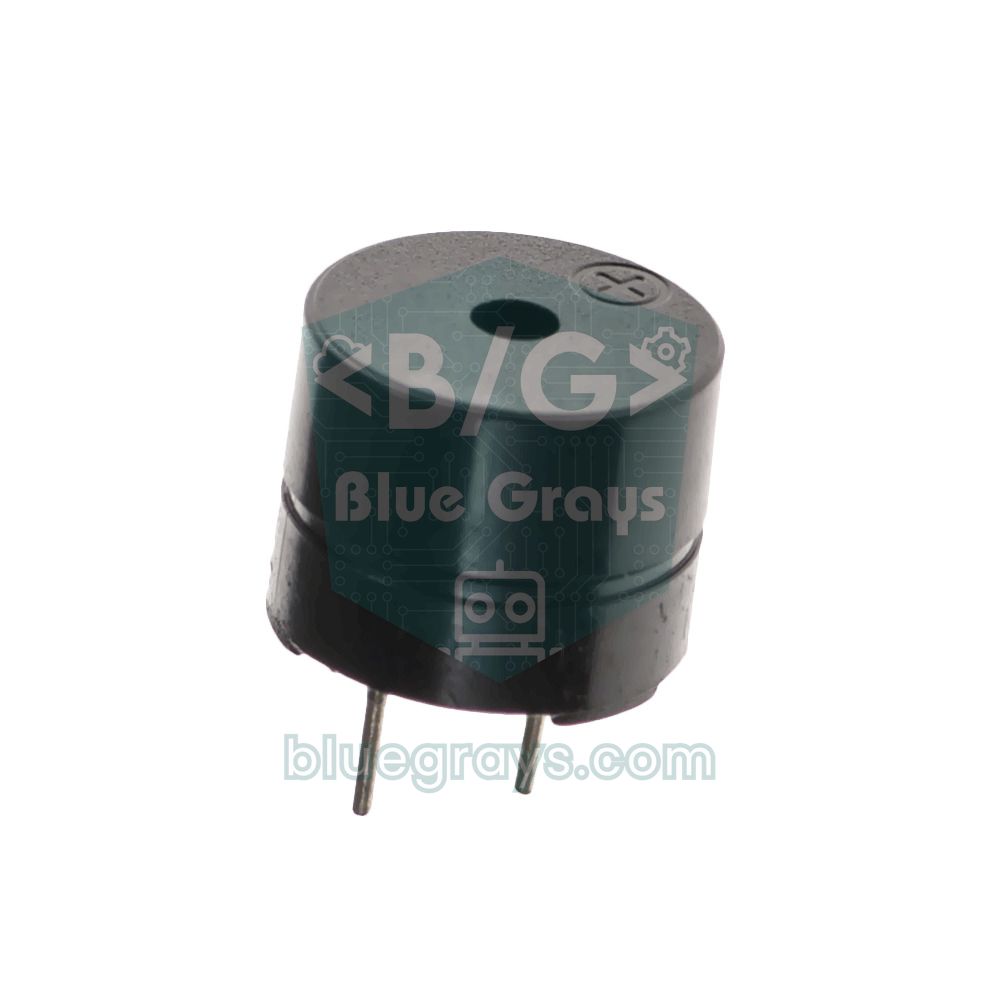
Rebuilding the circuit every week wastes lesson time. If you build the wiring below on a breadboard once, you can do all nine activities without touching the cables. You can check the resistor for the LED with the LED resistor calculator and the voltage the LDR divider gives with the voltage divider tool. If you're using these parts for the first time, the LED, button, LDR and servo motor articles explain each connection in detail.
| Part | Arduino Uno | ESP32 | Raspberry Pi Pico | Note |
|---|---|---|---|---|
| LED + 220 Ω resistor | D5 | GPIO 18 | GP14 | Long leg (anode) to the pin, short leg to GND |
| Button + 10 kΩ pull-down | D2 | GPIO 4 | GP2 | Other side of the button to 5V on the Uno, to 3V3 on the ESP32 and Pico |
| LDR + 10 kΩ resistor | A0 | GPIO 34 | GP26 (ADC0) | LDR between supply and pin, resistor between pin and GND |
| Potentiometer (middle pin) | A1 | GPIO 35 | GP27 (ADC1) | Outer pins to supply and GND |
| SG90 servo (signal) | D9 | GPIO 13 | GP16 | Red wire to 5 V (VIN on the ESP32, VBUS on the Pico), brown to GND |
| Passive buzzer | D8 | GPIO 25 | GP15 | Other pin to GND |
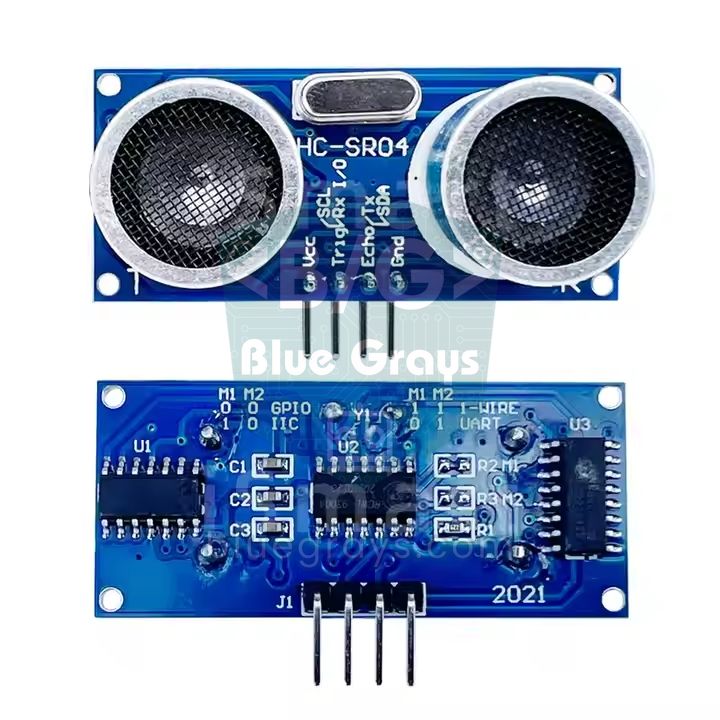
| HC-SR04 Trig / Echo | D11 / D12 | GPIO 26 / 27 | GP17 / GP18 | On the ESP32 and Pico, bring the Echo line down to 3.3 V with a voltage divider |
First program: blinking an LED in Upload mode
- Set the mode toggle to Upload.
- Drag the when Arduino Uno starts up block from the Events category into the scripts area.
- Attach a forever block from the Control category underneath it.
- Inside the forever block, place set digital pin (13) output as (high), wait (1) seconds, set digital pin (13) output as (low) and another wait (1) seconds, in that order.
- Click Upload. mBlock compiles the code and sends it to the board; after a few seconds a message tells you the upload has finished.
- The L LED on the board starts blinking once a second. If you unplug the USB cable and power the board from a power bank or a 7–12 V adapter, the program still runs; we cover the power options in running an Arduino on batteries.
How do blocks turn into Arduino C code?
In Upload mode, click the Arduino C code button on the right edge (the angle bracket icon) and mBlock shows the code that corresponds to your blocks in a panel. Every change you make to the blocks updates the code instantly; it's the easiest way to learn which block produces which line. If you add a variable called sayac (counter) to the Blink program above and increase it by 1 on every pass, the generated code looks roughly like this. We added the comment lines; spacing and the position of some lines, such as pinMode, may vary slightly between versions.
1// generated by mBlock5 for <your product>
2// codes make you happy
3// mBlock'un ürettiği kodun yapısı: Blink + sayaç / Structure of mBlock-generated code: Blink + counter
4
5#include <Arduino.h>
6#include <Wire.h>
7#include <SoftwareSerial.h>
8
9float sayac = 0;               // mBlock değişkenleri float olur / mBlock variables become float
10
11void _loop();                  // ön bildirim, Arduino IDE de ekler / forward declaration, the Arduino IDE adds it too
12
13void _delay(float seconds) {   // "wait (1) seconds" bloğu / the "wait (1) seconds" block
14  long endTime = millis() + seconds * 1000;
15  while (millis() < endTime) _loop();
16}
17
18void setup() {                 // "when Arduino Uno starts up" altındaki bloklar / blocks under "when Arduino Uno starts up"
19  pinMode(13, OUTPUT);
20  while (1) {                  // "forever" bloğu / the "forever" block
21    digitalWrite(13, 1);       // pin 13 HIGH: dahili L LED'i yanar / pin 13 HIGH: the built-in L LED turns on
22    _delay(1);
23    digitalWrite(13, 0);       // pin 13 LOW: LED söner / pin 13 LOW: the LED turns off
24    _delay(1);
25    sayac += 1;                // "change sayac by 1" bloğu / the "change sayac by 1" block
26    _loop();
27  }
28}
29
30void _loop() {                 // uzantıların sürekli çalışan kodu buraya eklenir / extensions add their recurring code here
31}
32
33void loop() {
34  _loop();
35}
There are four things to notice in this code. First, the forever block doesn't become Arduino's loop() function but an endless while(1) loop inside setup(); loop() only calls the _loop() function. Second, the wait block uses a _delay() function instead of delay(); while it waits, this function keeps calling _loop(), so the work some extensions need to do in the background isn't held up. Third, every variable you create in mBlock is declared as a float (a decimal number); on the Uno each one takes 4 bytes of RAM and can cause small rounding errors in equality comparisons. For example, a variable you increase in steps of 0.1 may not be exactly 1 after ten steps, so a "greater than" or "less than" comparison is safer than "equals". Fourth, the Wire and SoftwareSerial libraries at the top are usually included even if you don't use them; the program still works but may take up a little more space than a hand-written version.
| Block | Arduino C equivalent |
|---|---|
| when Arduino Uno starts up | Code inside void setup() { … } |
| forever | while(1) { … _loop(); } |
| repeat (10) | for (int count = 0; count < 10; count++) { … } |
| wait (1) seconds | _delay(1); |
| wait until (condition) | while (!(condition)) { _loop(); } |
| if (condition) then … else … | if (condition) { … } else { … } |
| set digital pin (13) output as (high) | pinMode(13, OUTPUT); digitalWrite(13, 1); |
| read digital pin (2) | digitalRead(2) |
| read analog pin (A) (0) | analogRead(A0) |
| set pwm pin (5) output as (128) | analogWrite(5, 128); |
| set servo pin (9) angle as (90) | Servo library: attach(9) and write(90) |
| set [sayac] to (0) / change [sayac] by (1) | sayac = 0; / sayac += 1; |
Example activities for robotics coding classes
The nine activities below are ordered from easiest to hardest for 40-minute lessons, and all of them work with the single wiring kit above. Starting every activity in Live mode is a good approach: students click a block and see the result immediately, watch sensor values on the stage and find their own mistakes. Once the program works as intended, moving the same blocks to Upload mode and writing them permanently to the board teaches the idea of "a device that works without a computer". You'll also find the programming concepts behind these activities in text code in the Arduino programming basics article.
| Lesson | Activity | Blocks used | Concept learned |
|---|---|---|---|
| 1 | Blinking signal light (D13 or D5) | set digital pin, wait, forever | Sequence, infinite loop |
| 2 | Traffic light (three LEDs on D5, D6 and D7) | set digital pin, wait | Timing, order of states |
| 3 | Toggling an LED with a button | read digital pin, if … else | Input and output, conditions |
| 4 | Automatic night light | read analog pin, less-than operator | Analog value, threshold |
| 5 | LED dimmer with a potentiometer | read analog pin, set pwm pin, division | Scaling, PWM |
| 6 | Servo barrier gate | set servo pin, multiplication and division | Proportion, angle |
| 7 | Doorbell and melody | play pin with note, repeat | Frequency, notes, repetition |
| 8 | Parking sensor (HC-SR04 extension) | Extension block, if … else, buzzer | Adding extensions, measuring distance |
| 9 | Paddle game on the stage with a potentiometer | Live mode, variable, sprite movement | Hardware and software interaction |
The number conversions are the most instructive part of the lessons. The potentiometer gives a value from 0 to 1023 while PWM expects 0 to 255, so in activity 5 you divide the reading by 4 (1023 ÷ 4 ≈ 255). To turn the same value into an angle for the servo, you build value × 180 ÷ 1023 with operator blocks. In activity 9 you give the Arduino the script "when green flag clicked, forever, set [pot] to (read analog pin A1)" in Live mode; on the sprite you use the same variable in a set x to (pot × 480 ÷ 1023 − 240) block to spread the paddle across the stage width from −240 to 240. If you don't tick the "for all sprites" option when creating the variable, the device and the sprite can't see the same variable. For the parking sensor, open the Extension Center with the + extension button at the bottom of the block palette and add an ultrasonic sensor extension; most of these extensions are made by community developers, so block names and supported pins vary from one extension to another. You'll find how the sensor works in the HC-SR04 distance sensor article and note frequencies in the buzzer article.
Moving to the Arduino IDE: from blocks to real code
At some point blocks aren't enough: as programs grow the scripts area gets messy, you need a sensor library that isn't in the Extension Center, or you want to run several tasks at once without delay. That's when it's time for the Arduino IDE installation and the move to text code; adding libraries for new sensors is then in your own hands. The best way to smooth the transition is to rewrite a project you made in mBlock in the Arduino IDE, so you see two views of the same logic side by side.
- In mBlock, select and copy the code in the Arduino C panel; open a new sketch in the Arduino IDE and paste it in.
- Choose the board (Arduino Uno) and the port from the Tools menu, then click Verify first and Upload second. The code should work just as it did in mBlock.
- Then simplify the code: gather the pinMode lines in setup(), move the contents of the while(1) loop into loop(), and use delay() or millis() instead of _delay().
- Change float variables to int or bool where appropriate and give pin numbers meaningful names with const int.
- Print variables to the Serial Monitor to follow what the program does; that's the text-code equivalent of live monitoring in mBlock.
Below is the program that combines activities 3 and 4, an automatic night light you switch on and off with a button, written in the Arduino IDE. The pin numbers match the wiring table above.
1// mBlock gece lambası etkinliğinin Arduino IDE ile yazılmış hali
2// The mBlock night-light activity rewritten for the Arduino IDE
3const int LED_PIN = 5;         // LED + 220 ohm direnç (PWM pini) / LED + 220 ohm resistor (PWM pin)
4const int BUTON_PIN = 2;       // buton 5V'a, 10k pull-down GND'ye / button to 5V, 10k pull-down to GND
5const int LDR_PIN = A0;        // LDR + 10k gerilim bölücü / LDR + 10k voltage divider
6const int ESIK = 400;          // bu değerin altı "karanlık" sayılır / below this value counts as "dark"
7
8bool sistemAcik = true;        // butonla açılıp kapanır / toggled with the button
9int oncekiButon = LOW;         // önceki buton durumu / previous button state
10unsigned long sonYazma = 0;    // son Seri Monitör yazma zamanı / last Serial Monitor print time
11
12void setup() {
13  pinMode(LED_PIN, OUTPUT);
14  pinMode(BUTON_PIN, INPUT);   // harici pull-down olduğu için INPUT / INPUT because of the external pull-down
15  Serial.begin(9600);          // Seri Monitör 9600 baud / Serial Monitor at 9600 baud
16}
17
18void loop() {
19  int buton = digitalRead(BUTON_PIN);
20  if (buton == HIGH && oncekiButon == LOW) {   // yalnız basıldığı an / only at the moment of the press
21    sistemAcik = !sistemAcik;
22    delay(30);                                 // basit debounce / simple debounce
23  }
24  oncekiButon = buton;
25
26  int isik = analogRead(LDR_PIN);              // 0 karanlık, 1023 aydınlık / 0 dark, 1023 bright
27  if (sistemAcik && isik < ESIK) {
28    int parlaklik = map(isik, 0, ESIK, 255, 40);   // karardıkça daha parlak / brighter as it gets darker
29    analogWrite(LED_PIN, parlaklik);
30  } else {
31    analogWrite(LED_PIN, 0);
32  }
33
34  if (millis() - sonYazma >= 500) {            // delay olmadan yarım saniyede bir yaz / print every half second without delay
35    sonYazma = millis();
36    Serial.print("Isik: ");
37    Serial.print(isik);
38    Serial.print("  Sistem: ");
39    Serial.println(sistemAcik ? "acik" : "kapali");
40  }
41}
Look at how it differs from the mBlock version: setup() runs only once and prepares the pins, while loop() repeats on its own, so no while(1) is needed. The button is compared with its previous state and registered only at the moment it's pressed; otherwise, while your finger is on the button, the system would toggle hundreds of times per second. The map() function scales the LDR value to between 255 and 40, so the LED glows brighter as the room gets darker. Printing to the Serial Monitor happens every half second with millis() instead of delay(), so the program doesn't miss a button press while waiting. You'll find the details of this technique in millis vs delay and more on printing data in the Arduino Serial Monitor article.
The same program on the ESP32 and Raspberry Pi Pico
mBlock's device library includes Makeblock's own ESP32-based boards such as CyberPi and HaloCode, but there's no official device for an ordinary ESP32 development board or the Raspberry Pi Pico; the community extensions you sometimes see also change from version to version. The good news is that the logic you learned with blocks doesn't change from board to board. When you program the ESP32 with the Arduino IDE you use almost the same code; only the pin numbers, the 3.3 V operating voltage and the ADC's 12-bit 0–4095 scale change. That's why the darkness threshold becomes about 1600 instead of 400.
1// Aynı gece lambası ESP32'de (Arduino IDE) / The same night light on the ESP32 (Arduino IDE)
2const int LED_PIN = 18;        // LED + 220 ohm direnç / LED + 220 ohm resistor
3const int BUTON_PIN = 4;       // buton 3V3'e, 10k pull-down GND'ye / button to 3V3, 10k pull-down to GND
4const int LDR_PIN = 34;        // ADC1 girişi, LDR + 10k bölücü (3V3) / ADC1 input, LDR + 10k divider (3V3)
5const int ESIK = 1600;         // ESP32 ADC 12 bit: 0-4095 / ESP32 ADC is 12-bit: 0-4095
6
7bool sistemAcik = true;        // butonla açılıp kapanır / toggled with the button
8int oncekiButon = LOW;         // önceki buton durumu / previous button state
9unsigned long sonYazma = 0;    // son yazma zamanı / last print time
10
11void setup() {
12  pinMode(LED_PIN, OUTPUT);
13  pinMode(BUTON_PIN, INPUT);   // harici pull-down / external pull-down
14  Serial.begin(115200);        // ESP32 için yaygın hız / common speed for the ESP32
15}
16
17void loop() {
18  int buton = digitalRead(BUTON_PIN);
19  if (buton == HIGH && oncekiButon == LOW) {   // yalnız basıldığı an / only at the moment of the press
20    sistemAcik = !sistemAcik;
21    delay(30);                                 // basit debounce / simple debounce
22  }
23  oncekiButon = buton;
24
25  int isik = analogRead(LDR_PIN);              // 0 karanlık, 4095 aydınlık / 0 dark, 4095 bright
26  if (sistemAcik && isik < ESIK) {
27    analogWrite(LED_PIN, map(isik, 0, ESIK, 255, 40));   // karardıkça daha parlak / brighter as it gets darker
28  } else {
29    analogWrite(LED_PIN, 0);
30  }
31
32  if (millis() - sonYazma >= 500) {            // yarım saniyede bir yaz / print every half second
33    sonYazma = millis();
34    Serial.printf("Isik: %d  Sistem: %s\n", isik, sistemAcik ? "acik" : "kapali");
35  }
36}
On the Raspberry Pi Pico the most common route is MicroPython. The program below, which you run in the Thonny editor, does the same job: read_u16() returns the ADC value from 0 to 65535, and duty_u16() expects the PWM duty cycle on the same scale. We explain why Python is a good second step after block coding in the MicroPython basics article.
1# Aynı gece lambası Raspberry Pi Pico'da (MicroPython) / The same night light on Raspberry Pi Pico (MicroPython)
2from machine import Pin, ADC, PWM
3import time
4
5led = PWM(Pin(14))                     # LED + 220 ohm direnç / LED + 220 ohm resistor
6led.freq(1000)                         # PWM frekansı 1 kHz / PWM frequency 1 kHz
7buton = Pin(2, Pin.IN, Pin.PULL_DOWN)  # buton 3V3'e, pull-down / button to 3V3, pull-down
8ldr = ADC(26)                          # GP26 = ADC0, LDR + 10k bölücü / GP26 = ADC0, LDR + 10k divider
9ESIK = 25000                           # 0-65535 arası karanlık eşiği / darkness threshold on 0-65535
10
11sistem_acik = True                     # butonla açılıp kapanır / toggled with the button
12onceki = 0                             # önceki buton durumu / previous button state
13son_yazma = time.ticks_ms()            # son yazma zamanı / last print time
14
15while True:
16    b = buton.value()
17    if b == 1 and onceki == 0:         # yalnız basıldığı an / only at the moment of the press
18        sistem_acik = not sistem_acik
19        time.sleep_ms(30)              # basit debounce / simple debounce
20    onceki = b
21
22    isik = ldr.read_u16()              # 0 karanlık, 65535 aydınlık / 0 dark, 65535 bright
23    if sistem_acik and isik < ESIK:
24        # karardıkça daha parlak / brighter as it gets darker
25        led.duty_u16(65535 - isik * 55000 // ESIK)
26    else:
27        led.duty_u16(0)
28
29    if time.ticks_diff(time.ticks_ms(), son_yazma) >= 500:   # yarım saniyede bir / every half second
30        son_yazma = time.ticks_ms()
31        print("Isik:", isik, " Sistem:", "acik" if sistem_acik else "kapali")
Opening the same projects as blocks on your phone
If you want to keep working with the block logic you built in mBlock when you're away from the computer, take a look at the BlueGrays app. The code of more than 100 Arduino, ESP32 and Raspberry Pi Pico projects in the app is also available in our own Blockly-based blocks. Turn on Show as blocks in a project and the code is replaced by the same program in blocks; the Understand the blocks tab then explains what each block does, step by step. The LED, traffic light, button LED, LDR night light, buzzer, parking sensor and potentiometer servo activities from this guide are all there, both as blocks and as Arduino C code, and you can switch between the two with one tap. Comparing the sequence you built in mBlock with the blocks in the app is an easy way to see how the same logic is put together in two different tools.
For the ESP32 and the Pico, which have no official mBlock device as mentioned above, the app also has projects with blocks: look at the block version first, then move on to the Arduino C or MicroPython code of the same project. In the app's Code guide, the examples for basic commands such as digitalWrite, if/else and loops are shown as blocks too. If you want to reinforce what you've learned, Daily questions gives you 5 questions a day across levels from A1 to C2, plus a weekly leaderboard and badges.
Common connection problems and fixes
| Symptom | Likely cause | Fix |
|---|---|---|
| The port list is empty | Charge-only cable or no CH340 driver | Use a data cable and install the CH340 driver; Device Manager should show a line such as "USB-SERIAL CH340 (COM3)" |
| The port appears but won't connect | Another program is using the port | Close the Arduino IDE's Serial Monitor, a second mBlock window or the web tab |
| Connected, but the upload fails | Wrong board selected in the Device Library | Select the exact board model; on a clone Nano try Arduino Nano (old) |
| The port list doesn't open in the web version | The browser doesn't support serial ports | Use an up-to-date version of Chrome or Edge |
| The Leonardo won't connect in the web version | Direct connection doesn't support the Leonardo, Micro and Yun | Install mLink or use the desktop version |
| Blocks don't respond in Live mode | No firmware, or it was erased by an uploaded program | Upload the firmware again with Setting > Update Firmware |
| The upload finished but the program doesn't run | The blocks aren't under when Arduino Uno starts up | Attach the program to the hat block; loose blocks aren't turned into code |
| The program freezes or the board keeps resetting | A servo or motor draws too much current from USB | Power servos and motors from an external 5 V supply and connect the GNDs together |
| mLink won't install or open | Antivirus software or a firewall is blocking it | Allow the installation and add mLink to the trusted list |
A quick way to tell whether the problem comes from mBlock or from the board is to try uploading the Blink example to the same board with the Arduino IDE. If the Arduino IDE also shows an error such as avrdude: stk500_getsync() attempt 10 of 10: not in sync: resp=0x00, the board and the computer can't communicate: the problem lies in the port, the cable, the board type or the bootloader. We go through every cause of this error in the Arduino code won't upload guide; for more on the CH340 chip and its drivers, see the USB-TTL converter article. If the board resets itself while a servo is connected, the power tips in Arduino keeps resetting will help.
Project ideas you can build with mBlock
- Traffic light with a pedestrian button: press the button and the car light turns red while the pedestrian green comes on; for the circuit and code see the Arduino traffic light article.
- Parking sensor: a beep that speeds up and more LEDs that light up as the HC-SR04 measures a shorter distance.
- Obstacle-avoiding robot: a car with two motors and a distance sensor that sees the obstacle ahead and changes direction; details in the obstacle-avoiding robot guide.
- Line-following robot: a competition robot that follows black tape using infrared sensors (line-following robot).
- Stage controller: a Live mode game in which a potentiometer or joystick steers a spaceship on the stage.
- Automatic plant watering: a system that switches on a small pump when a soil moisture sensor detects dry soil.
- Servo radar: a project that scans its surroundings with a distance sensor mounted on a servo and draws a radar screen on the stage (Arduino radar).
- Robot car: take the motor and sensor logic you learned in mBlock to the Arduino robot car project.
mBlock is the gentlest way to program a real Arduino with the comfort of block coding and to move on to text code when you're ready. If you don't have a board yet, you can try the same activities in the browser with the Tinkercad Arduino simulation. In the BlueGrays app you'll find step-by-step circuit diagrams and code for the LED, traffic light, button LED, LDR night light, buzzer, HC-SR04 parking sensor and potentiometer servo projects, and you can open the same projects as blocks too, so you can compare the block version and the text-code version of every activity you built in mBlock with one tap.
Frequently asked questions
Is mBlock free?
Yes. The desktop, web and mobile versions of mBlock 5 are free, and you don't even need an account to program an Arduino. Only some extensions that use AI and cloud services have a daily usage limit and ask you to sign in.
Why doesn't mBlock detect my Arduino?
The most common causes are a charge-only USB cable or a missing CH340 driver; most clone boards use this chip. Plug the board straight into the computer with a data cable, install the CH340 driver and close programs that use the port, such as the Arduino IDE's Serial Monitor. If the port shows up, tick Show all connectable devices in the connection window and pick the right port manually.
What is the difference between Live mode and Upload mode in mBlock?
In Live mode the program runs on the computer and sends commands to the Arduino over USB; you see the result instantly, but the program stops when the cable is unplugged, and the board needs the mBlock firmware. In Upload mode the blocks are translated into Arduino C and written permanently to the board; the program runs without the cable and must start with the when Arduino Uno starts up block.
Can I use mBlock code in the Arduino IDE?
Yes. In Upload mode open the Arduino C code panel on the right, copy the code, then paste and compile it in the Arduino IDE. mBlock turns the forever block into a while(1) loop inside setup() and declares variables as float; the code works as it is, but it's a good idea to simplify it into the usual loop() structure for readability.
Does mBlock support the ESP32 or Raspberry Pi Pico?
mBlock can program Makeblock's ESP32-based boards such as CyberPi and HaloCode, but there's no official device support for ordinary ESP32 development boards or the Raspberry Pi Pico. For those boards it's better to use the Arduino IDE for the ESP32 and MicroPython in Thonny for the Pico; the logic you learned with blocks still applies.
Should I use mBlock 3 or mBlock 5?
If you're just starting out, use mBlock 5. mBlock 3's Flash-based web editor no longer works in current browsers, and its 32-bit Mac version won't open on macOS 10.15 and later. mBlock 5 is based on Scratch 3.0, can open mBlock 3 and Scratch projects, and new boards and extensions are added to it.
Projects to build after reading this
See all projects
LED Blink
The very first hello of electronics: switching a single LED on and off. The Arduino turns the LED on and off at short intervals, so the light blinks quickly. You see in the simplest way how the board

Traffic Light
A tiny copy of the traffic light you see on the road every day. Red stays on for two seconds, yellow flashes for a moment, green stays on for two seconds, then it goes back to red through yellow again

Toggle an LED with a Button (On/Off)
Press the button once and the light comes on, press it again and it goes off, just like the light switch in your room. The Arduino notices every press and flips the LED to the opposite state, waiting

Night Light with Ldr
A little night light that turns on by itself when it gets dark and goes off when morning comes. A light sensor measures how bright the room is, and the Arduino switches the LED on when it is dark enou
Using a Buzzer
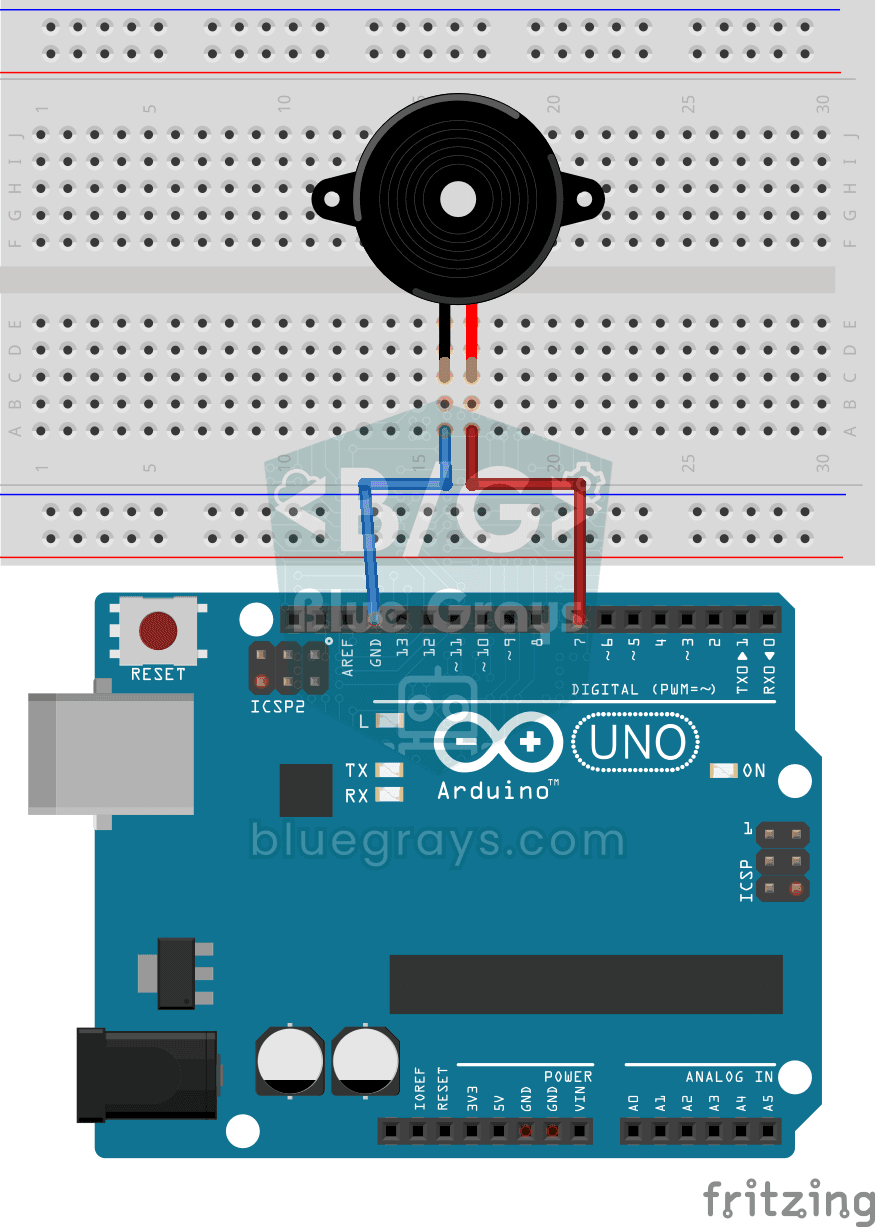
Ever wondered how a doorbell or an alarm makes its sound? The Arduino makes a small buzzer beep at short intervals: beep, pause, beep, pause. You see how sound is made with electricity and take the fi

HC-SR04 Distance Measurement (Serial Display)
The HC-SR04 sensor works just like a bat finding its way in the dark: it sends out a sound you cannot hear, listens for the echo and measures how far away the object in front of it is. The Arduino wri
Servo Motor Operation with Potentiometer
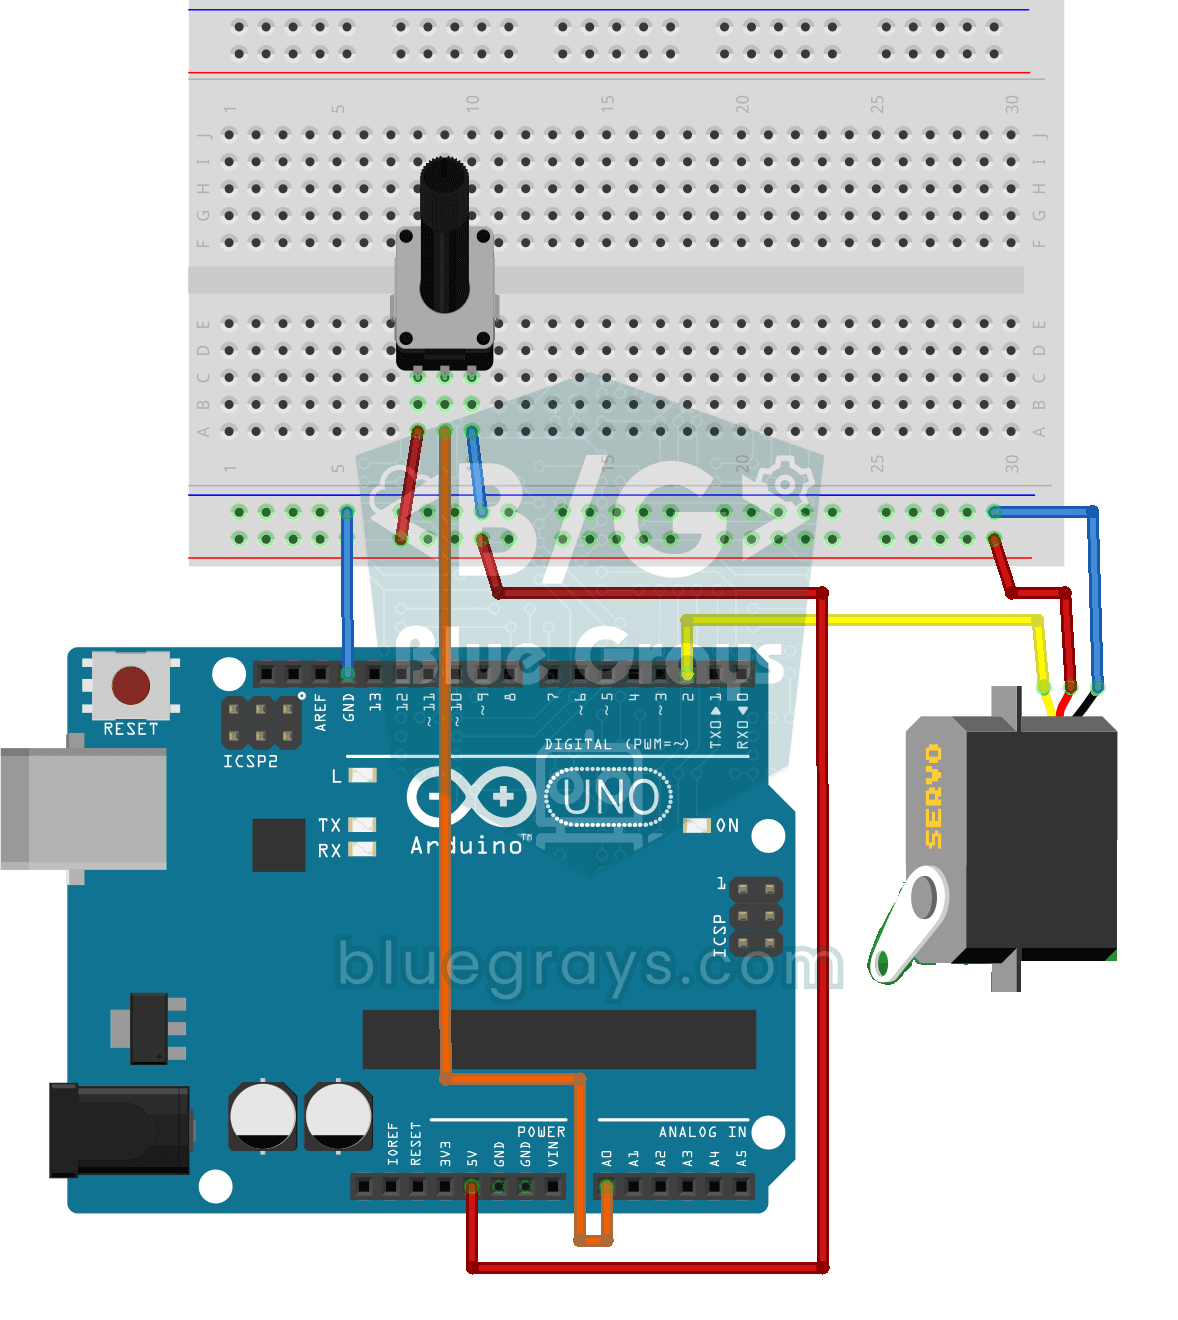
As you turn the potentiometer knob, the servo motor's arm turns right along with it: one end of the knob means zero degrees, the other end means half a turn. The Arduino keeps reading the knob's posit
Parking Sensor with HC-SR04
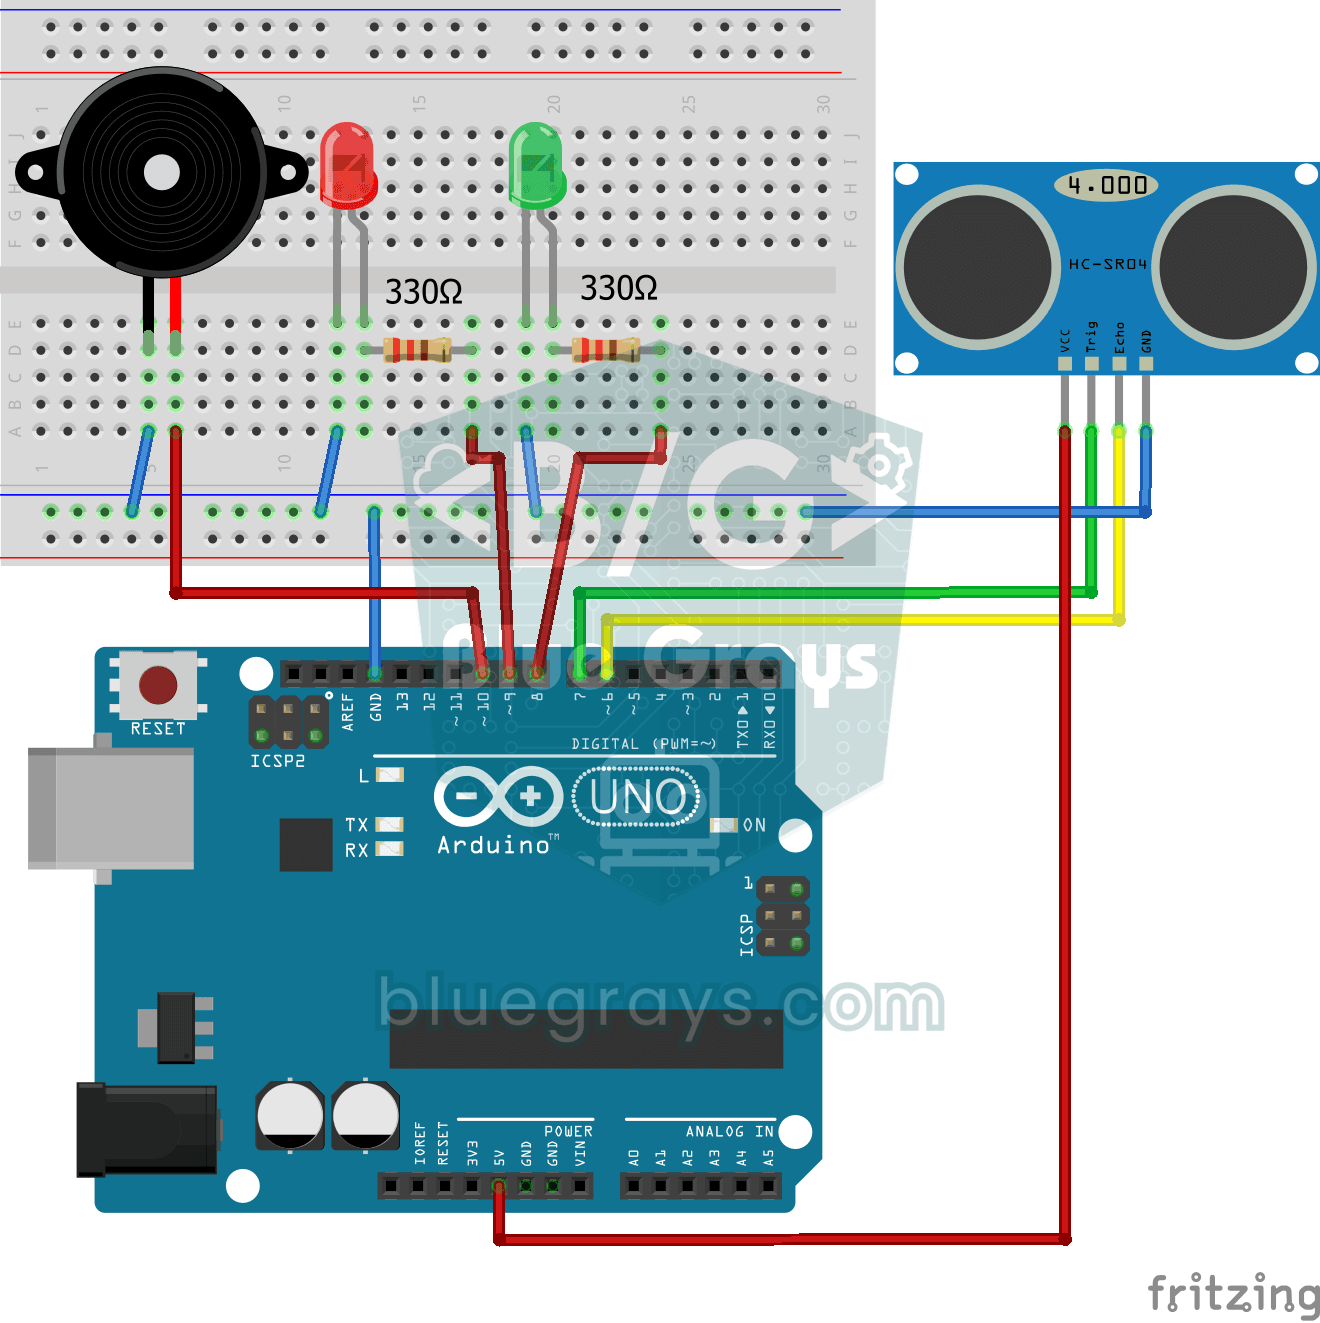
A mini version of a car's parking sensor: the closer something gets, the faster the beeps. The distance sensor measures the object in front of it; if it is more than 20 centimetres away the green LED